上节把窗户绘制出来了:
这节继续来做门的绘制。
和窗户流程是一样的,我们来快速实现一遍:
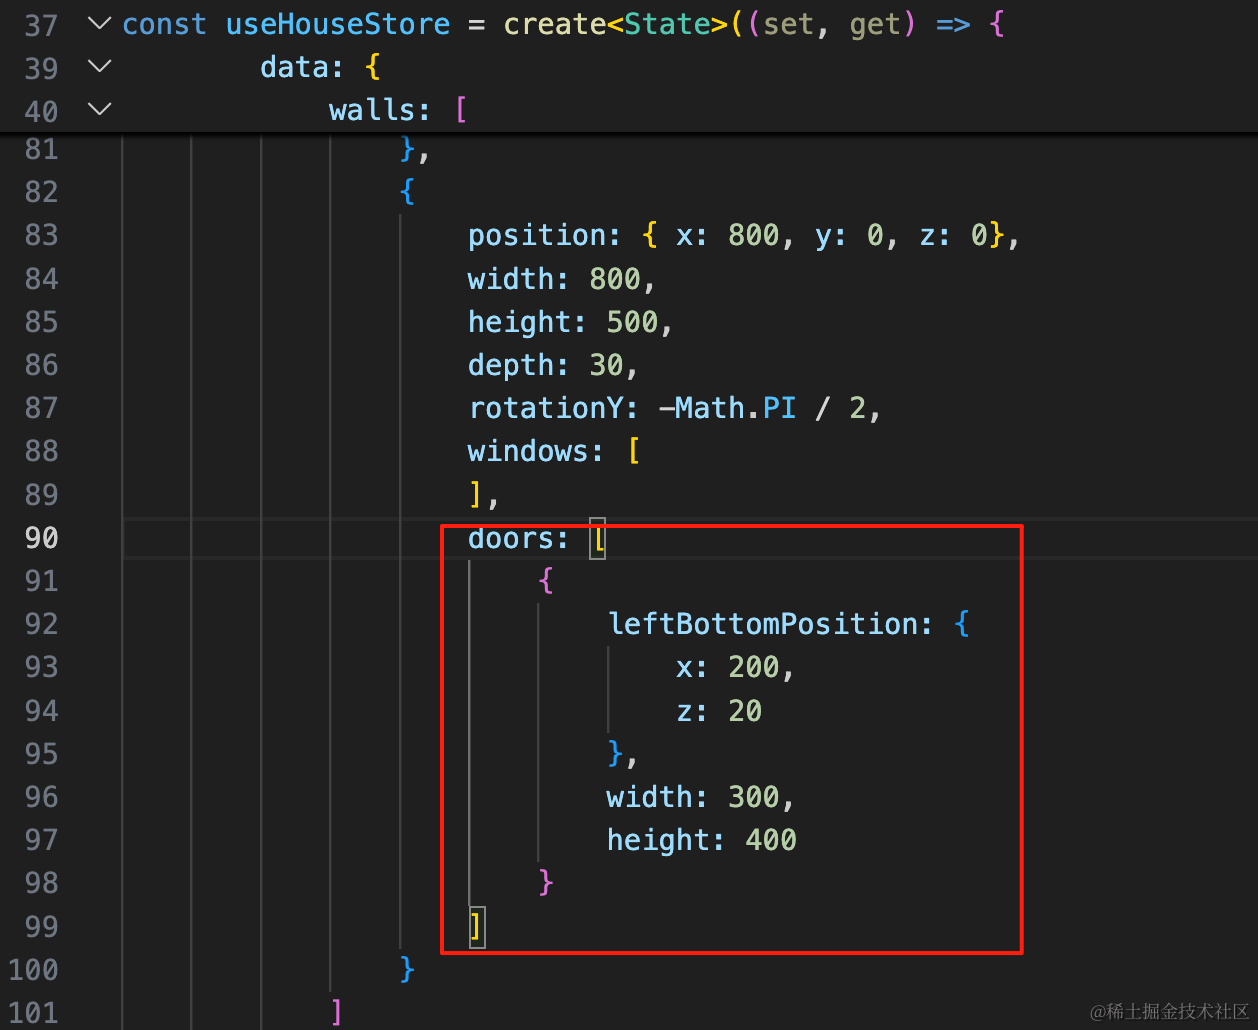
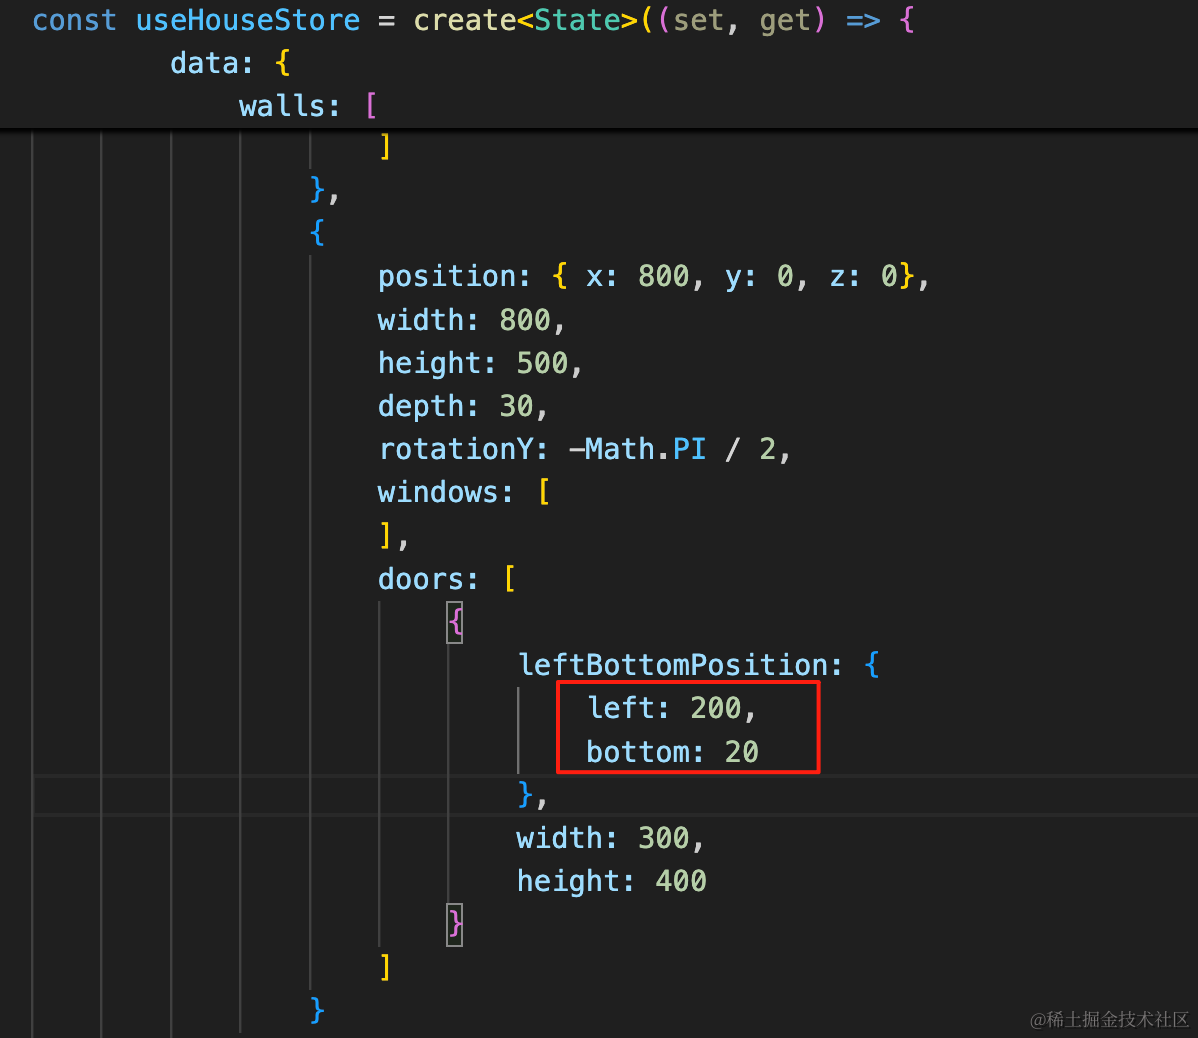
首先在最后一面墙加一个 doors 的数组,结构和 windows 一样。
doors: [
    {
        leftBottomPosition: {
            x: 200,
            z: 20
        },
        width: 300,
        height: 400
    }
]
然后在 ts 类型里也加一下:

doors?: [
    {
        leftBottomPosition: {
            x: number,
            z: number
        },
        width: number,
        height: number
    }
]
绘制的时候也和 windows 差不多。
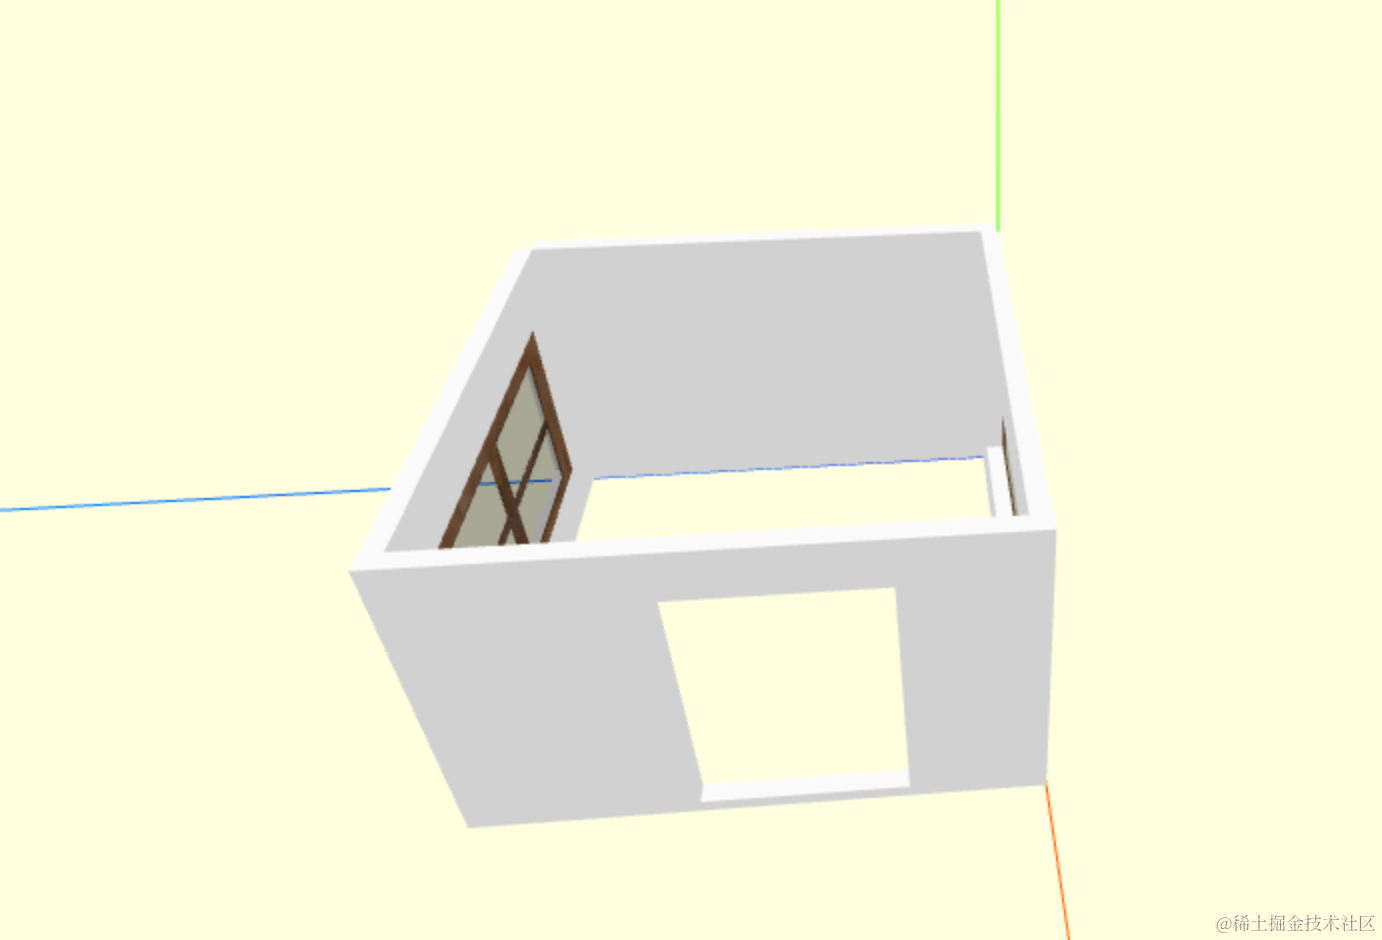
我们先把 holes 绘制出来:
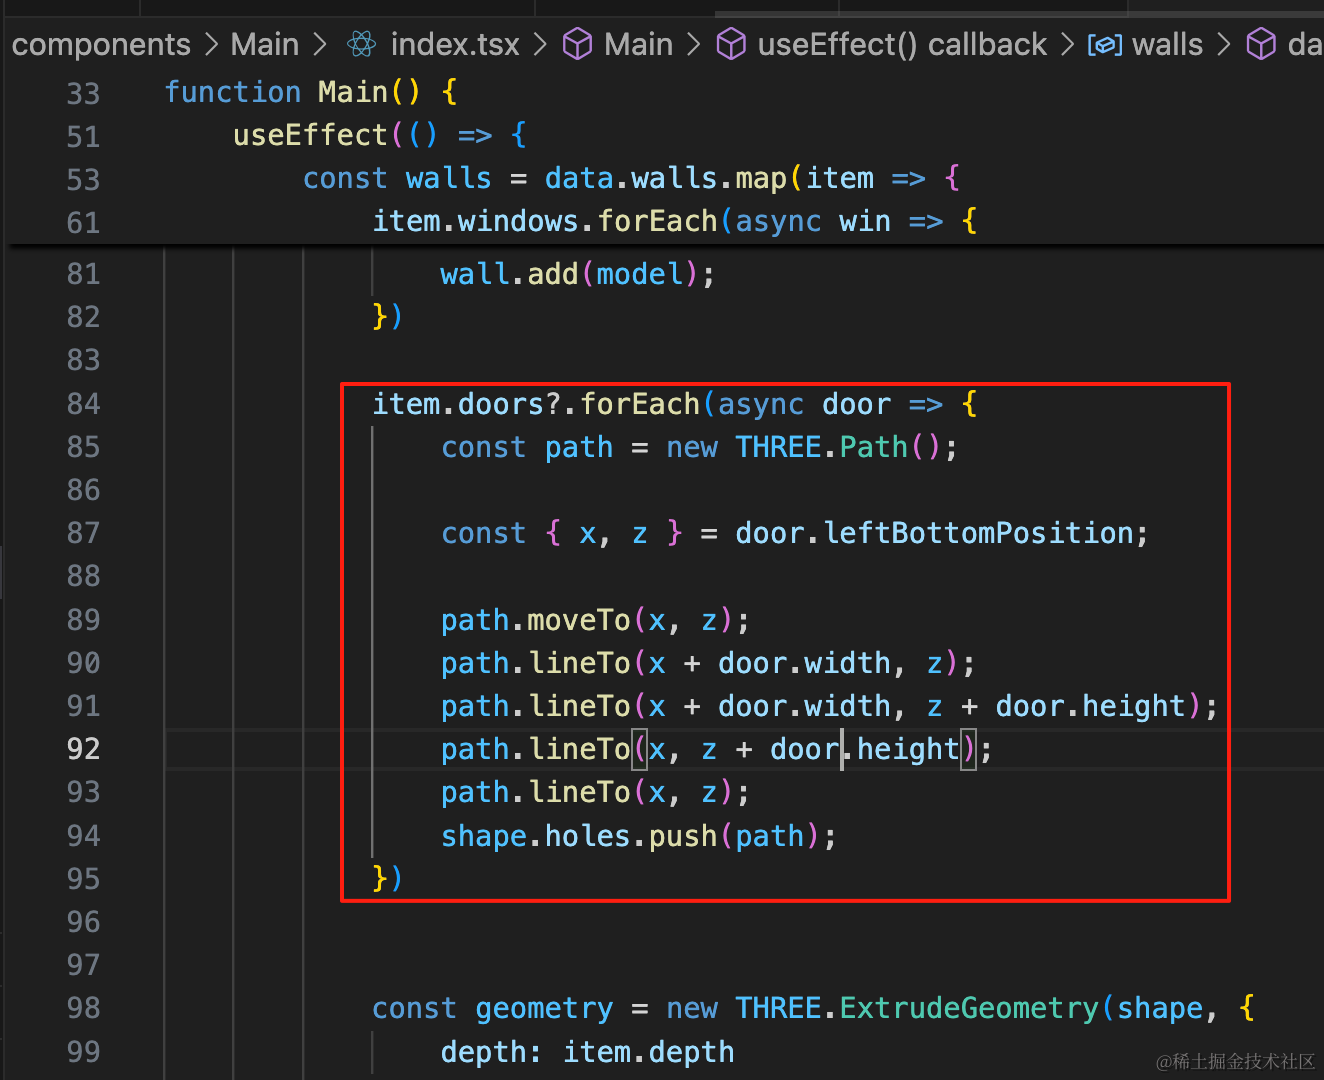
item.doors?.forEach(async door => {
    const path = new THREE.Path();

    const { x, z } = door.leftBottomPosition;

    path.moveTo(x, z);
    path.lineTo(x + door.width, z);
    path.lineTo(x + door.width, z + door.height);
    path.lineTo(x, z + door.height);
    path.lineTo(x, z);
    shape.holes.push(path);
})
然后找个门的模型。
从 sketchfab.com 来找:
https://sketchfab.com/3d-models/door-adf292f437f24151918a3b16ecef52d2#download
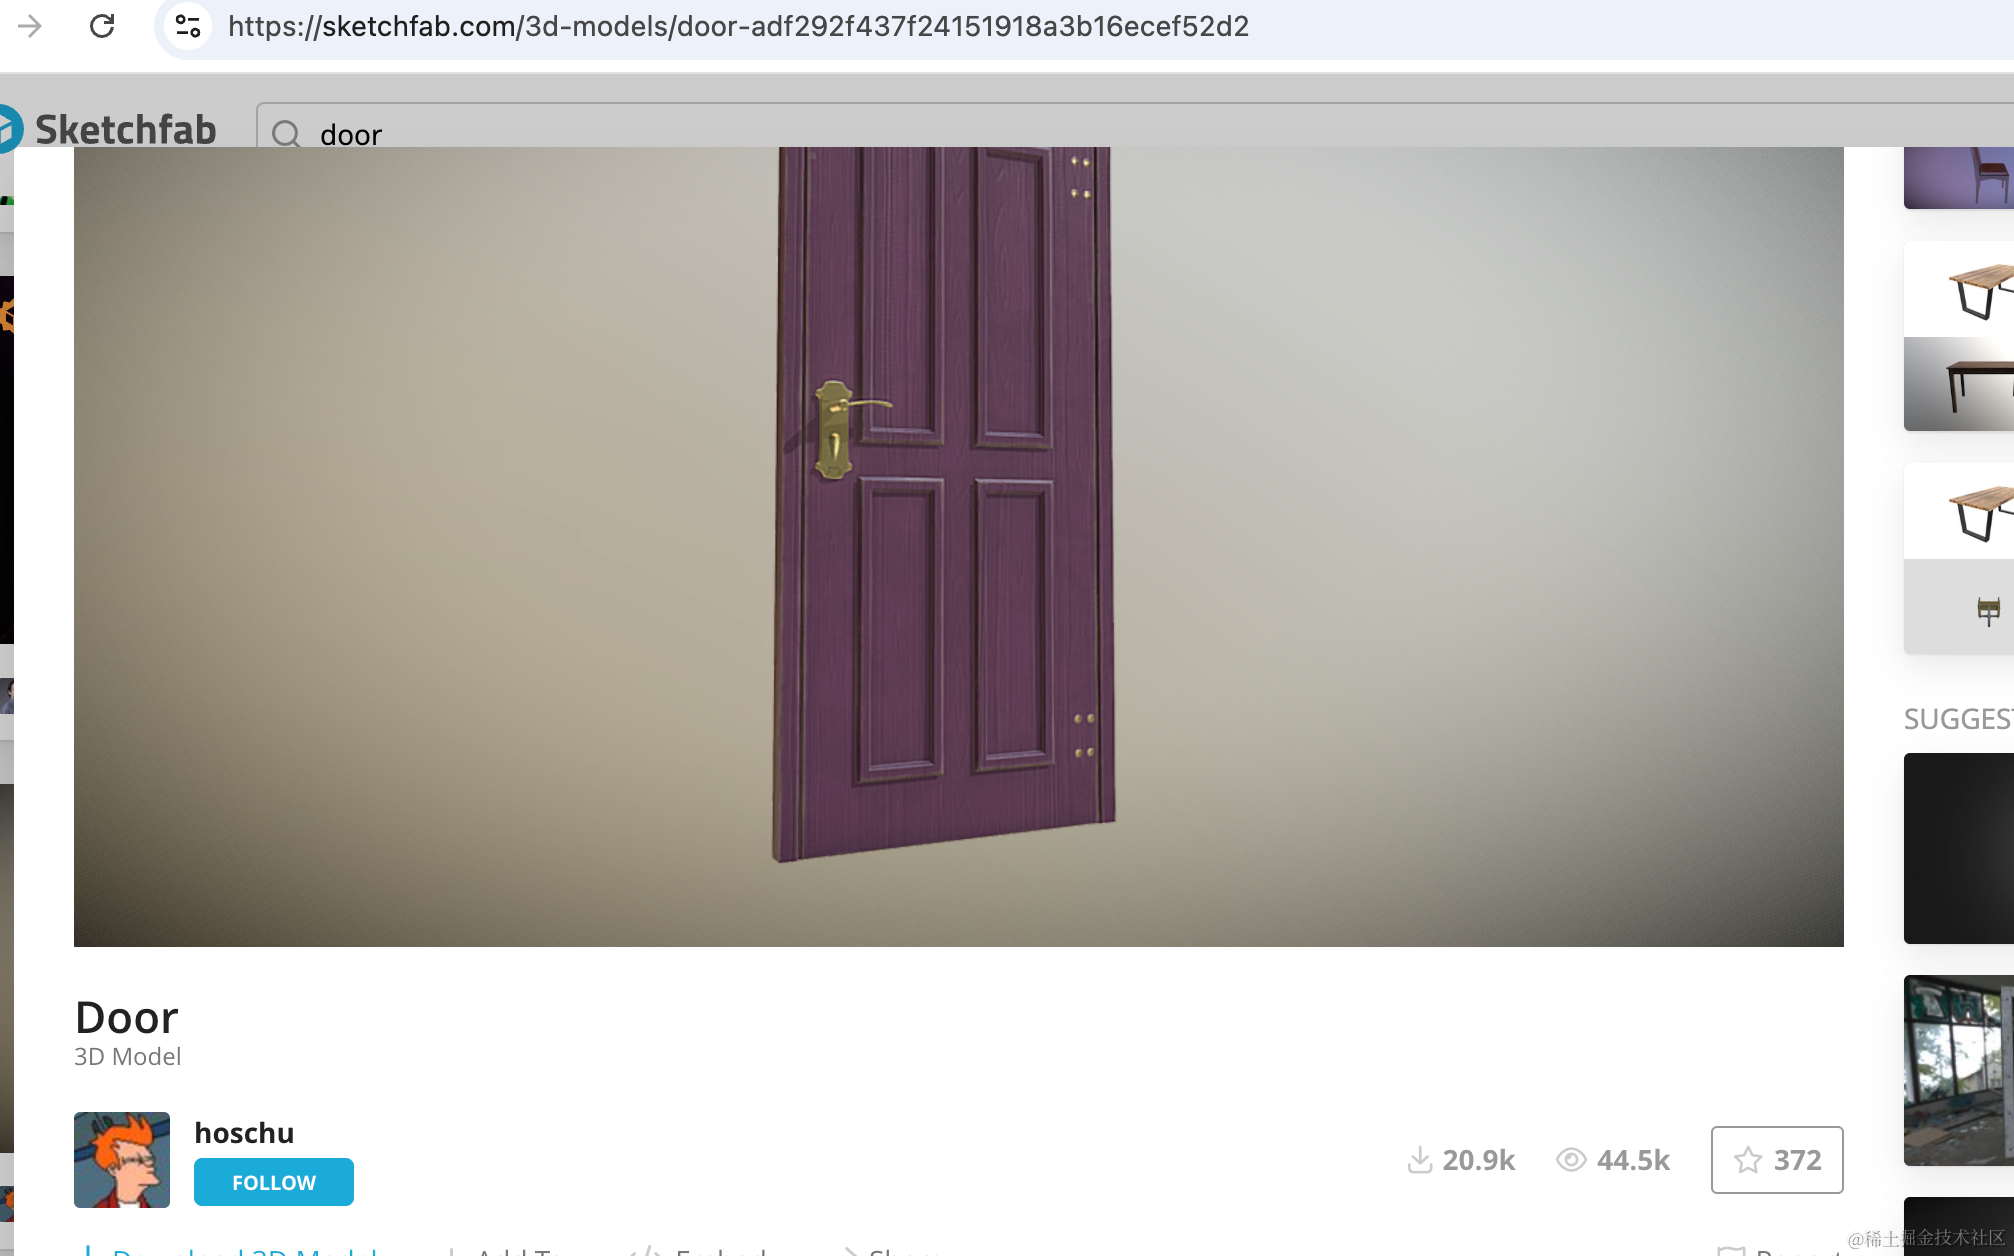
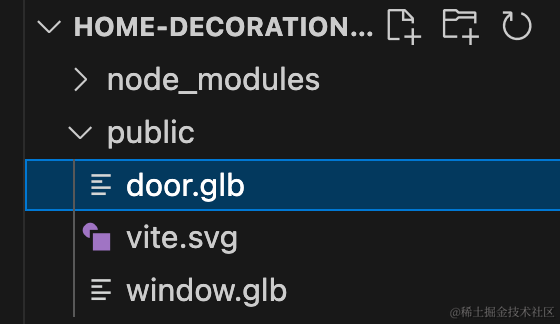
下载下来放到 public 目录。
写个 loadDoor 方法,和 loadWindow 一样:
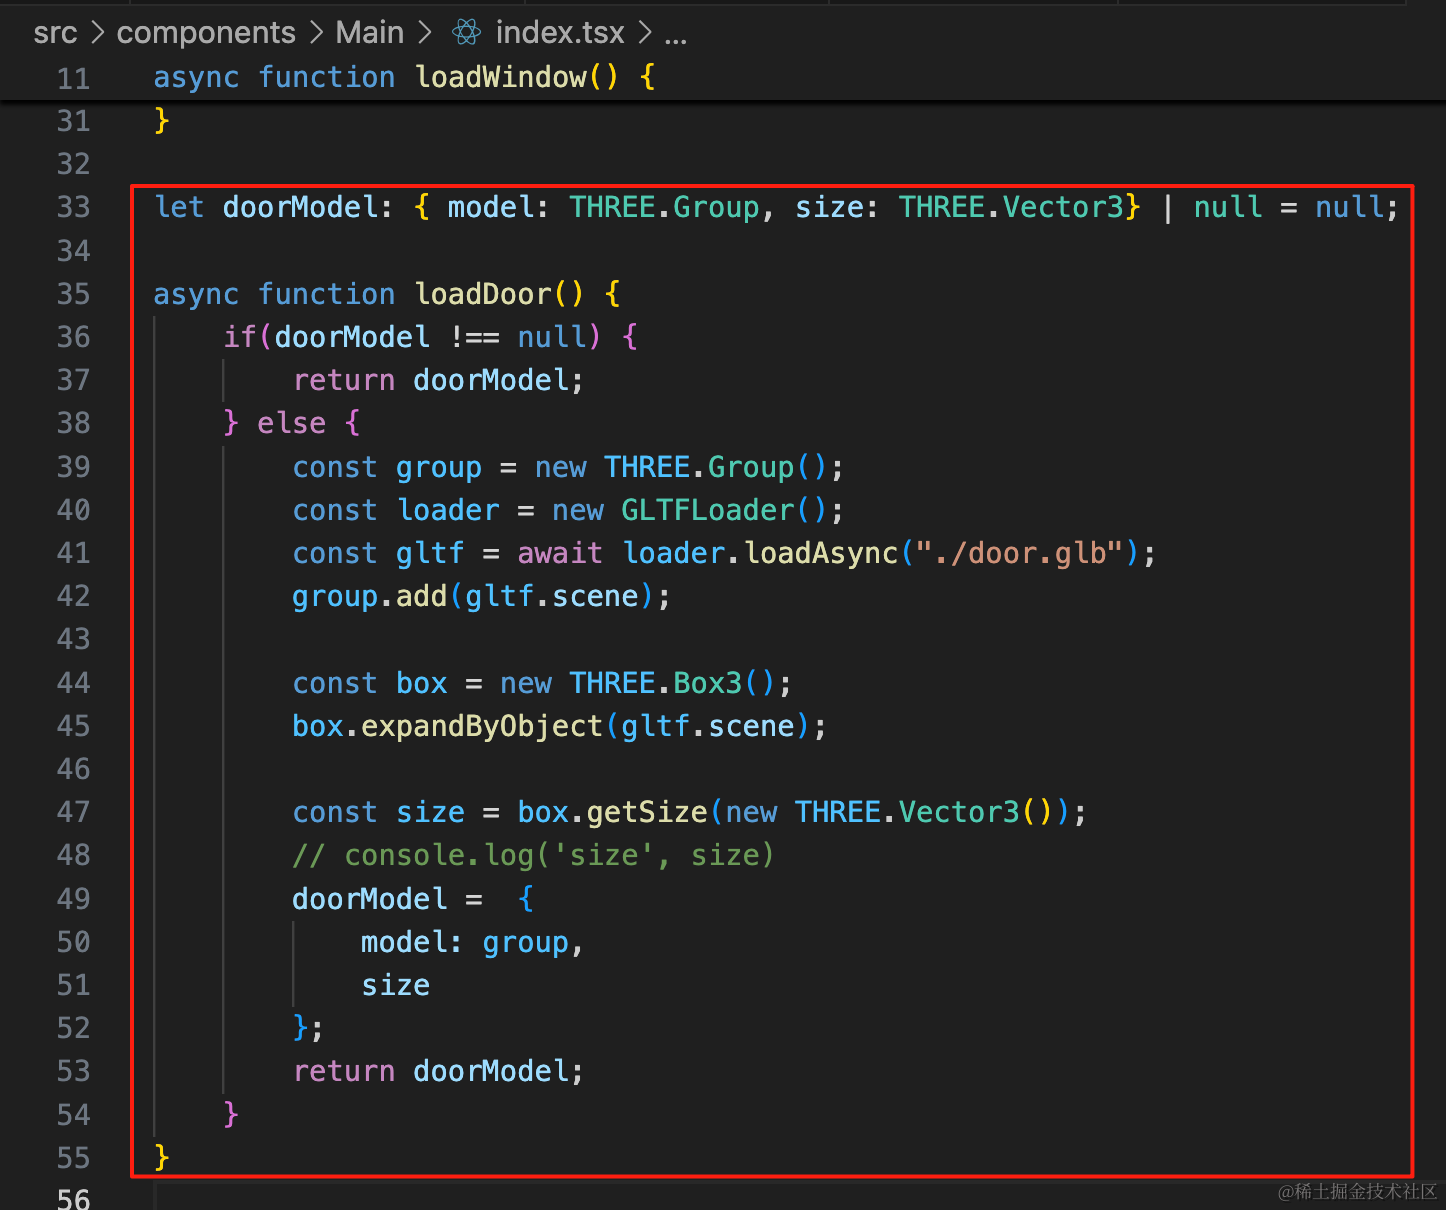
let doorModel: { model: THREE.Group, size: THREE.Vector3} | null = null;

async function loadDoor() {
    if(doorModel !== null) {
        return doorModel;
    } else {
        const group = new THREE.Group();
        const loader = new GLTFLoader();
        const gltf = await loader.loadAsync("./door.glb");
        group.add(gltf.scene);

        const box = new THREE.Box3();
        box.expandByObject(gltf.scene);

        const size = box.getSize(new THREE.Vector3());
        // console.log('size', size)
        doorModel =  {
            model: group,
            size
        };
        return doorModel;
    }
}
渲染出来看一下:
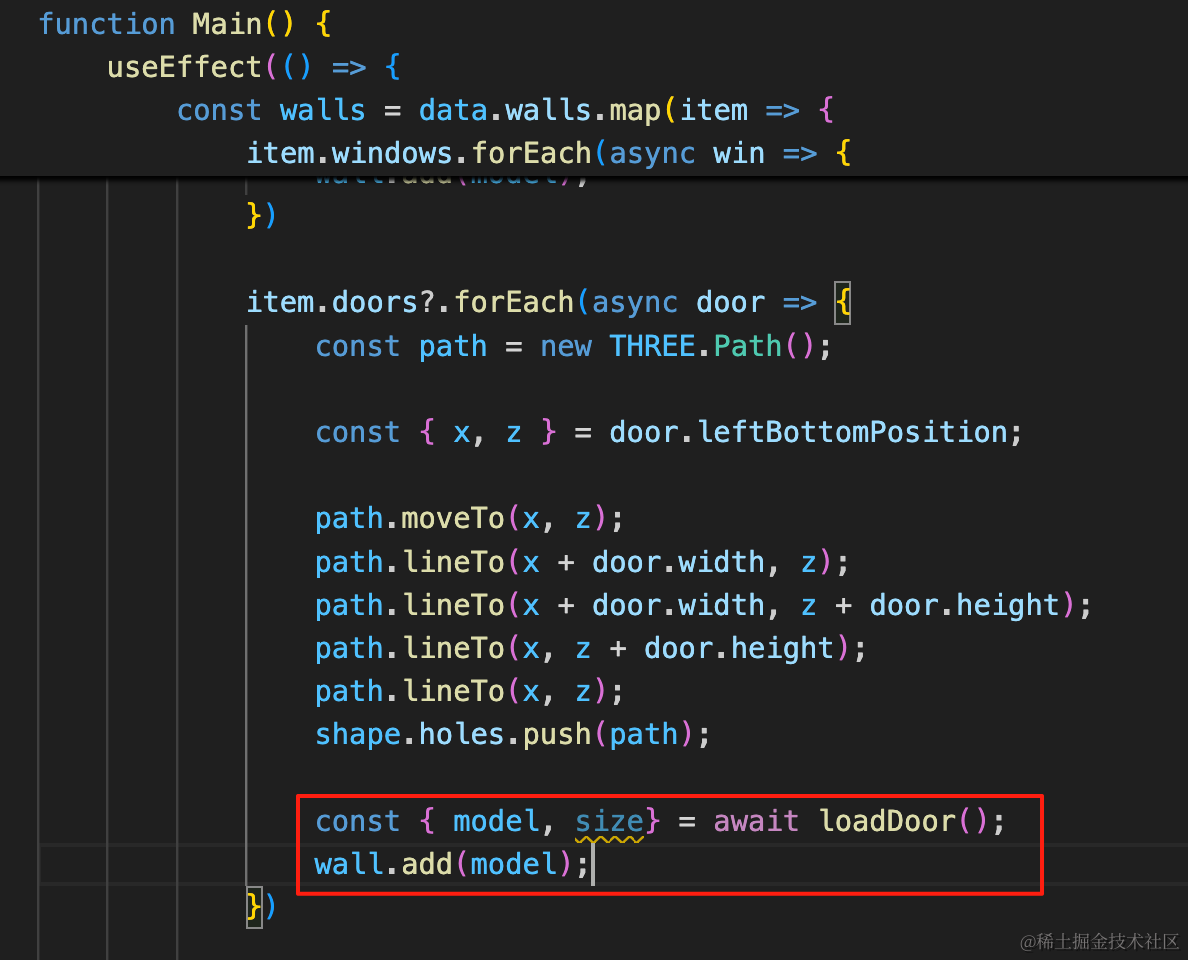
const { model, size} = await loadDoor();
wall.add(model);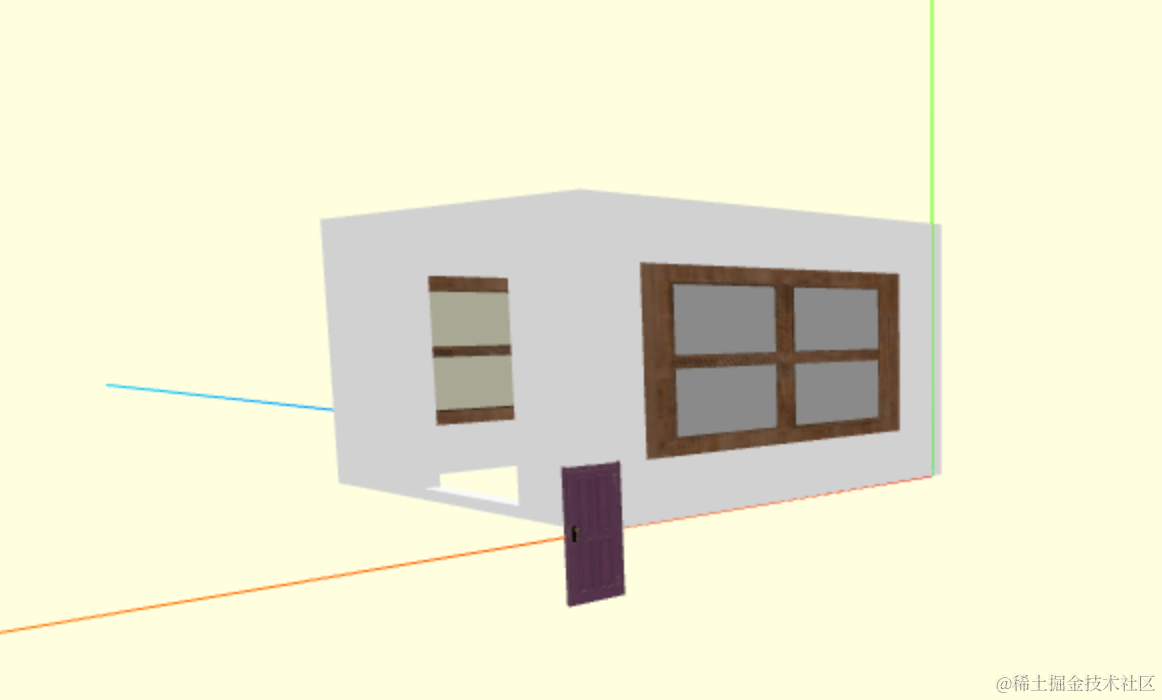
调整下大小:
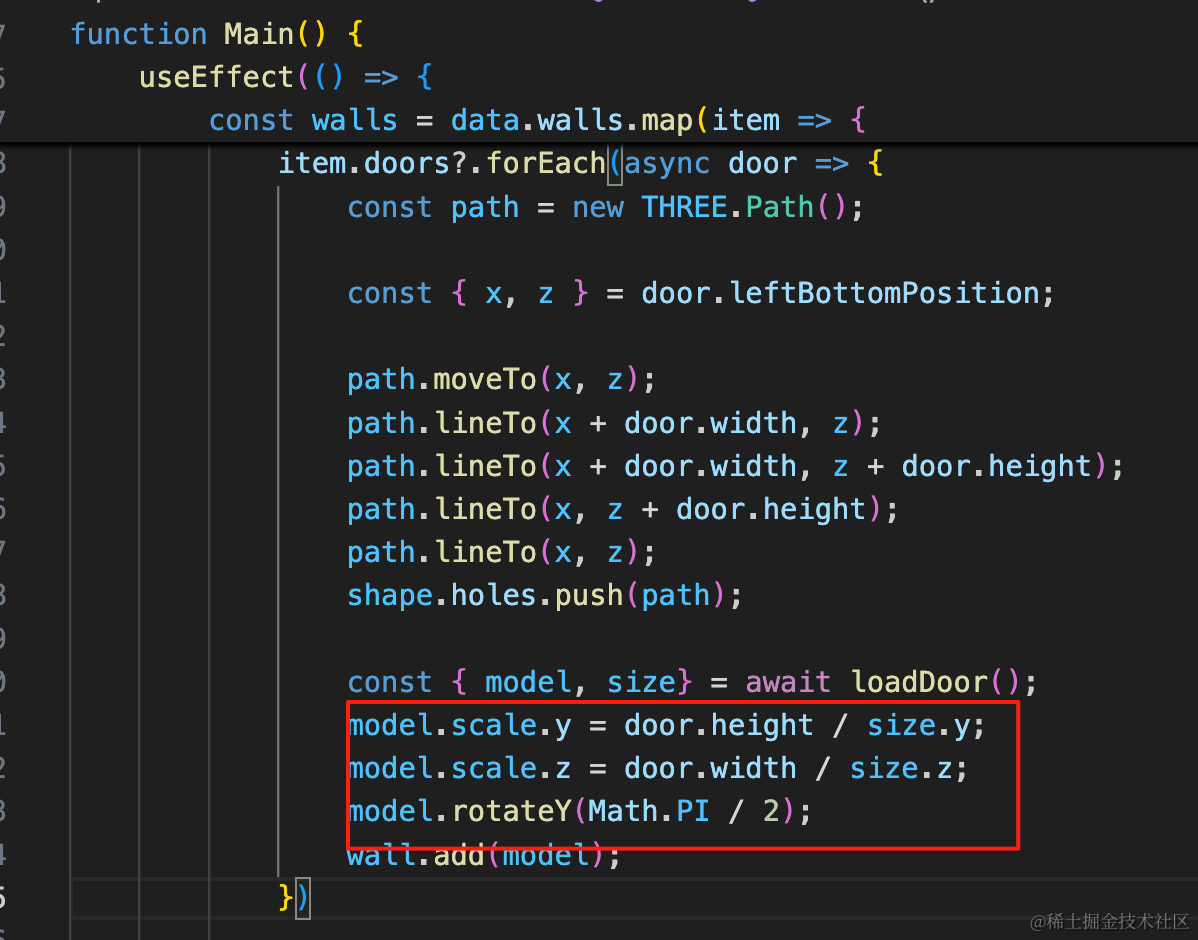
门的方向和之前不一样,这次调整 y、z 的 scale,然后绕 y 轴旋转 90 度
model.scale.y = door.height / size.y;
model.scale.z = door.width / size.z;
model.rotateY(Math.PI / 2);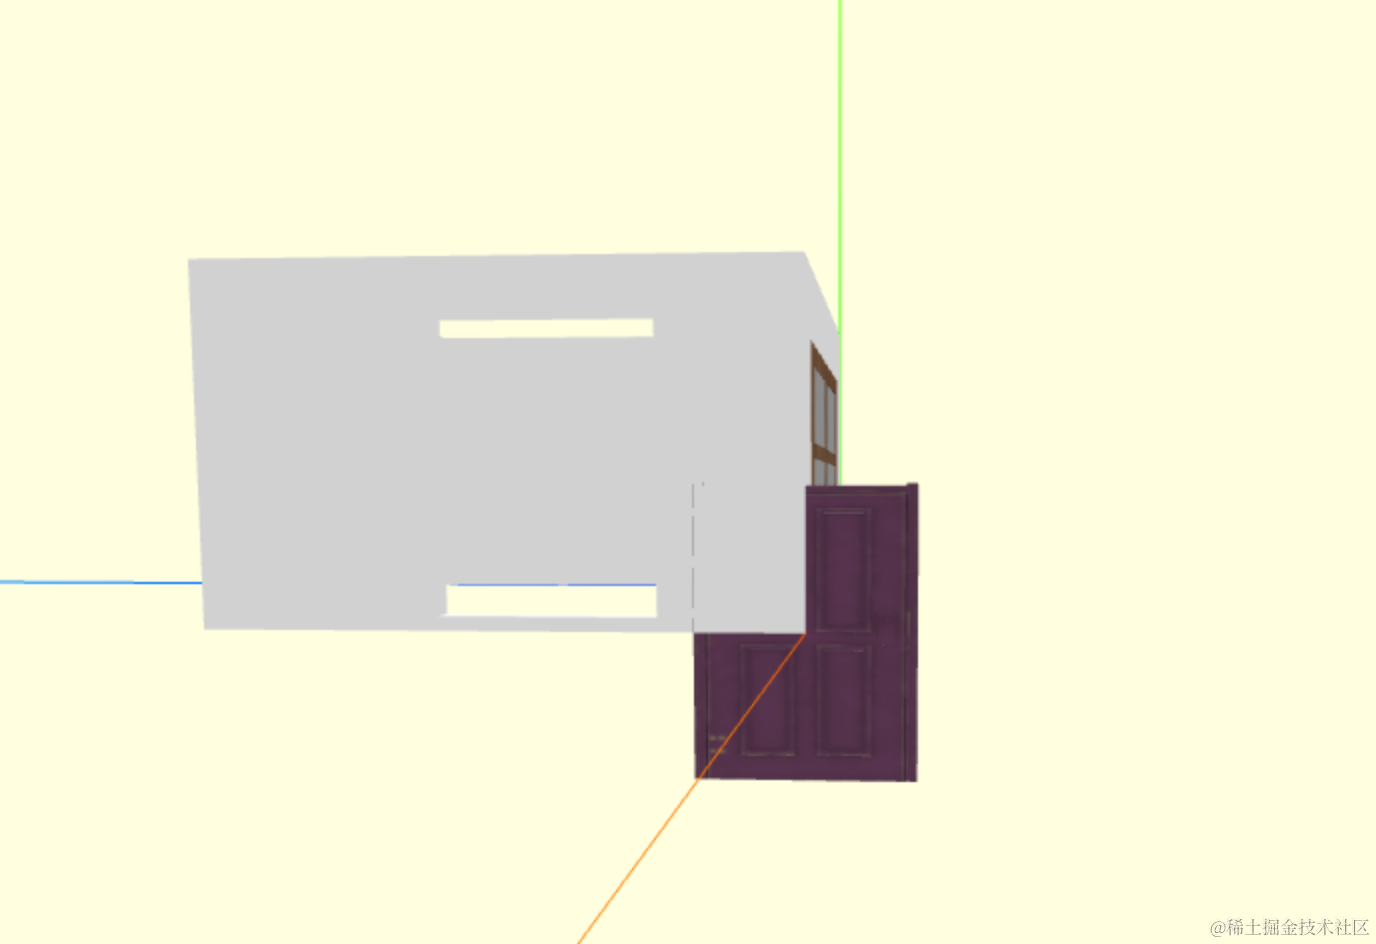
现在的大小和角度就都对了。
然后移动下位置:
怎么计算门的位置呢?
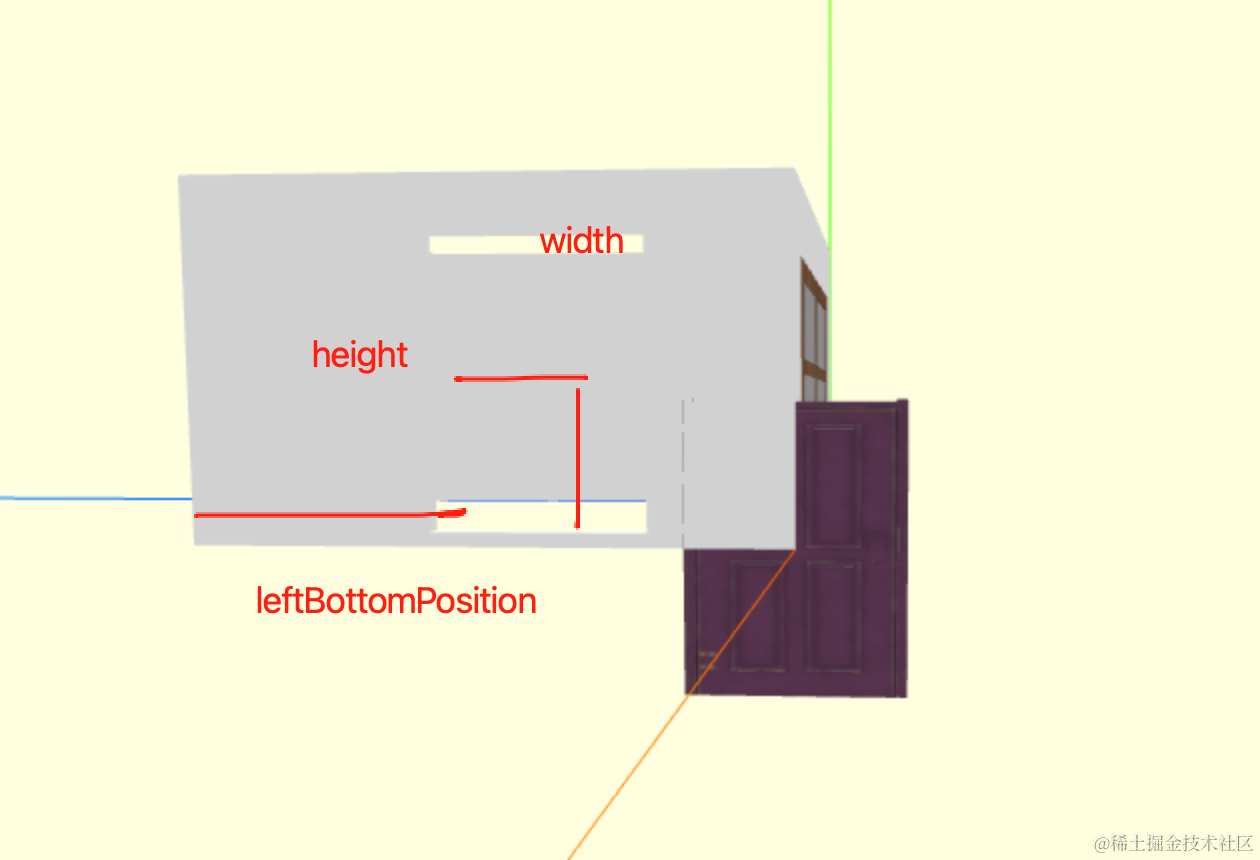
leftBottomPosition 加上 width 的一半、height 的一半就可以得到。
试一下:
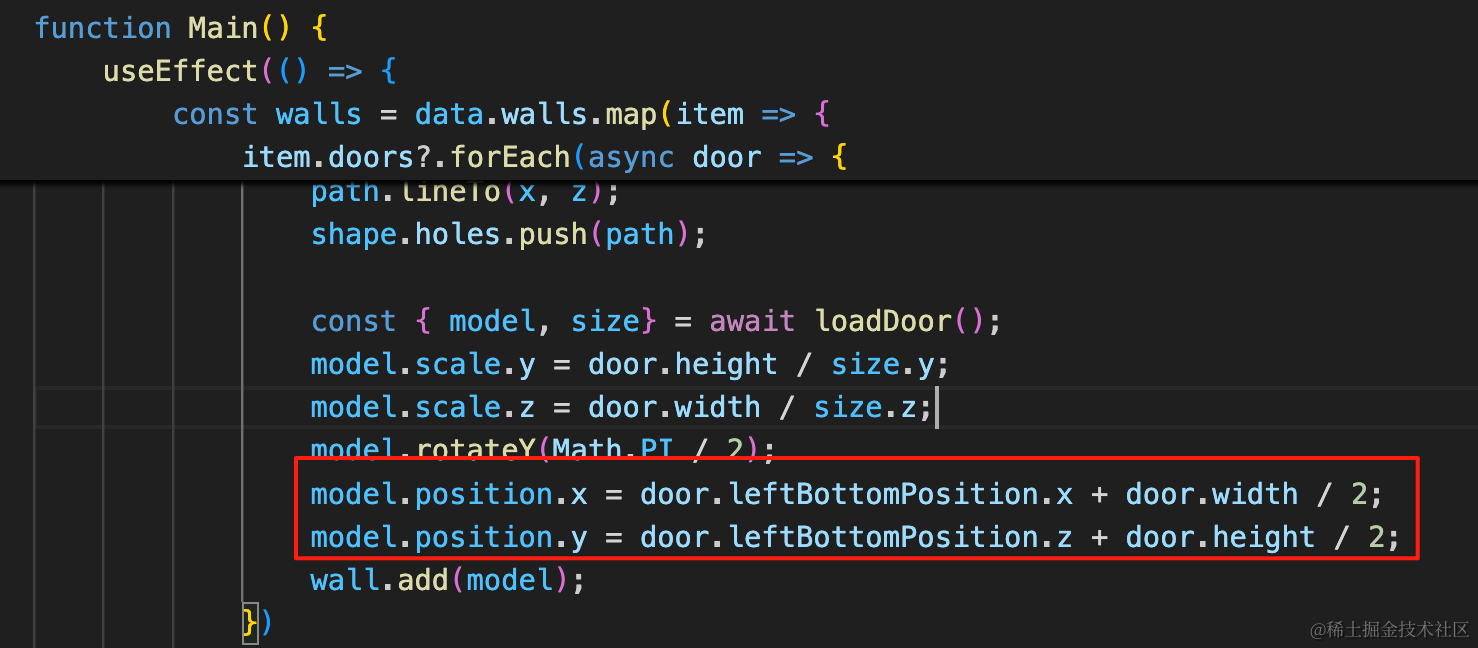
model.position.x = door.leftBottomPosition.x + door.width / 2;
model.position.y = door.leftBottomPosition.z + door.height / 2;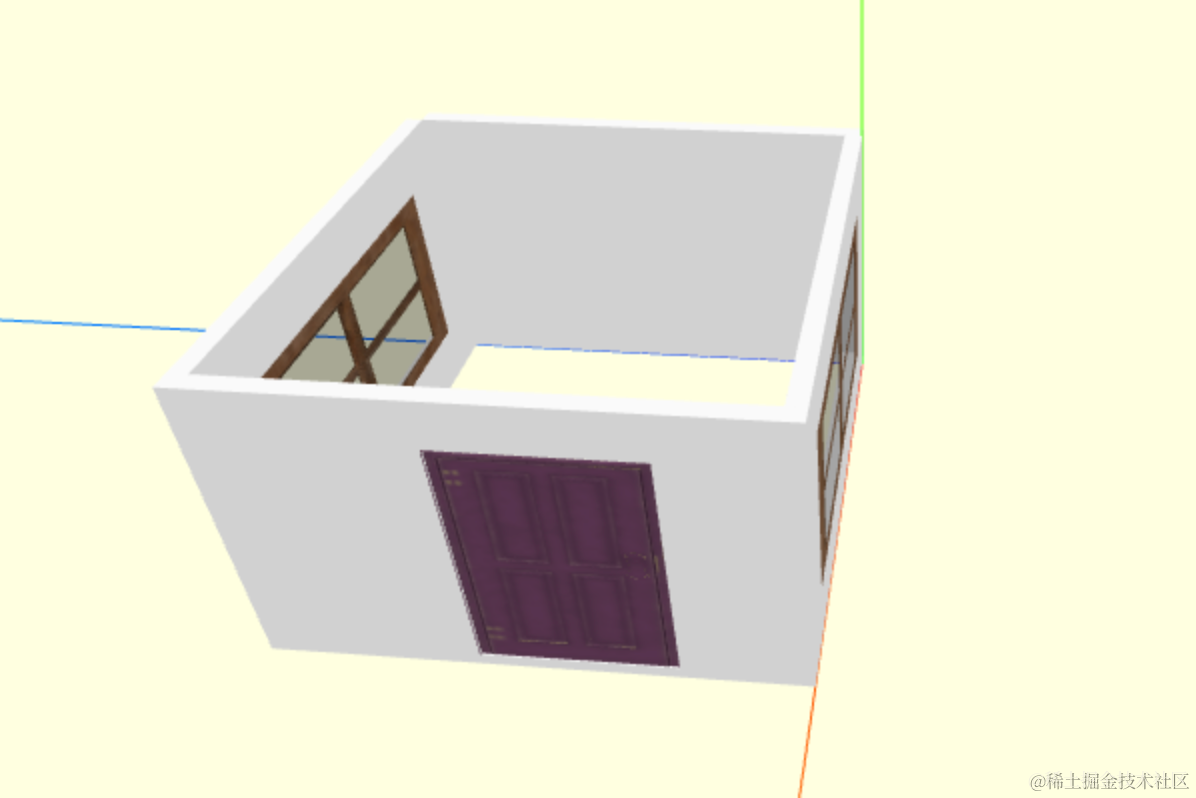
可以看到,计算出来的位置是对的。
此外,之前窗户的位置计算有点问题:
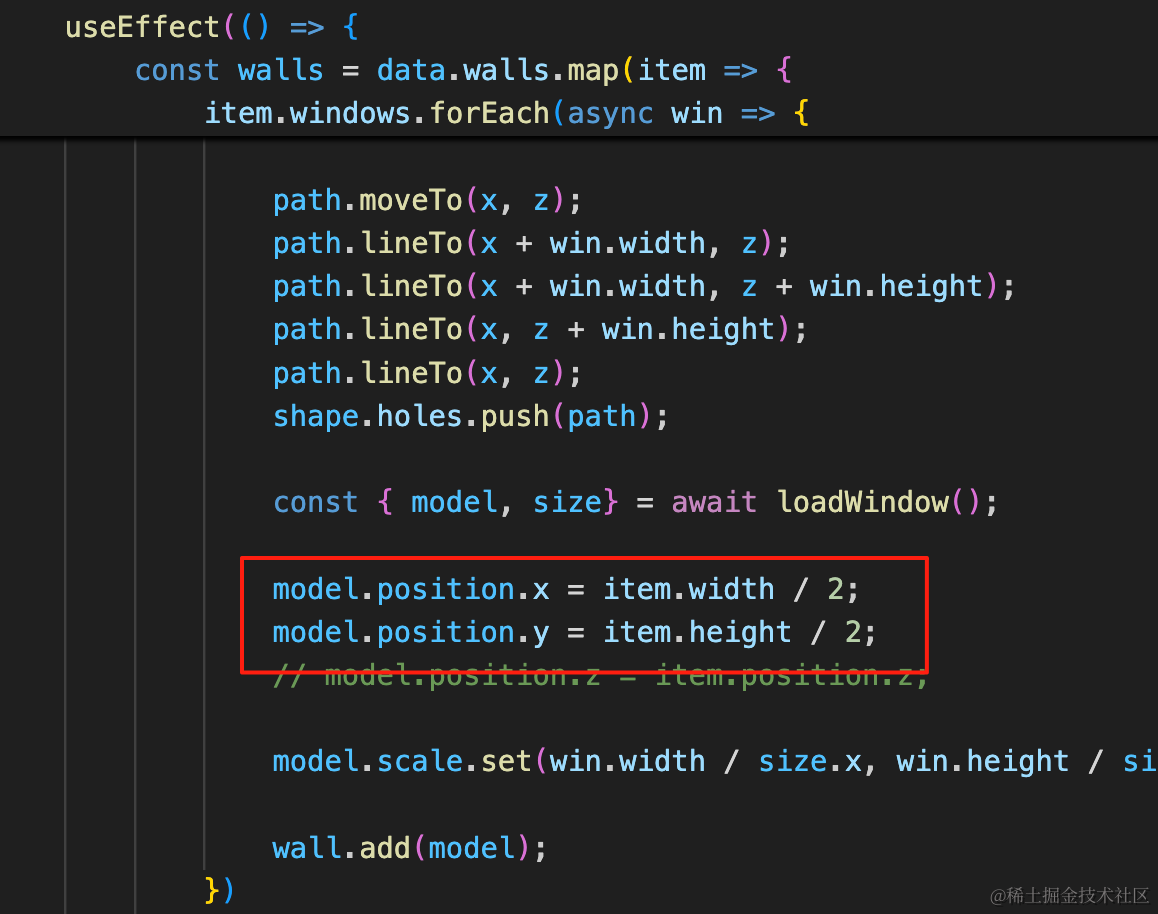
之前是窗户正好在中间,所以 x、y 设置墙宽高的一半就行。
实际上也应该是上面的计算方式,改一下:
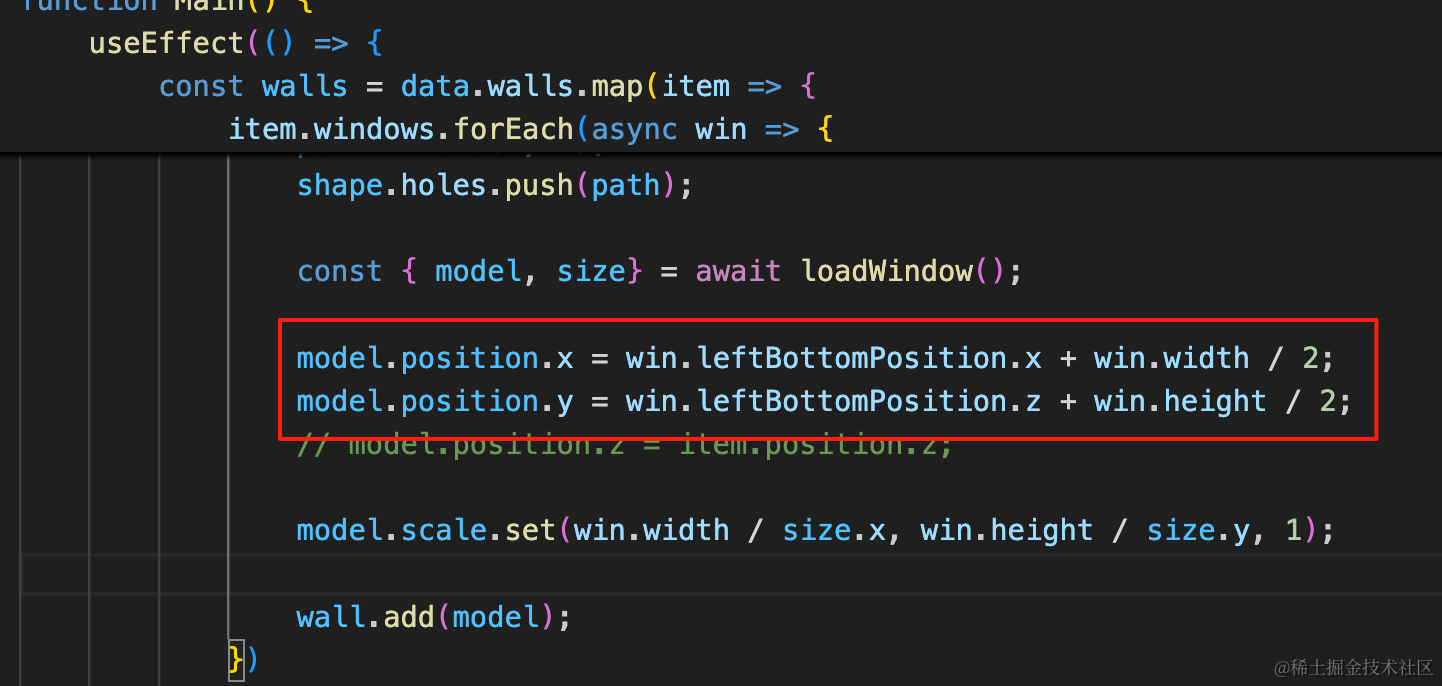
model.position.x = win.leftBottomPosition.x + win.width / 2;
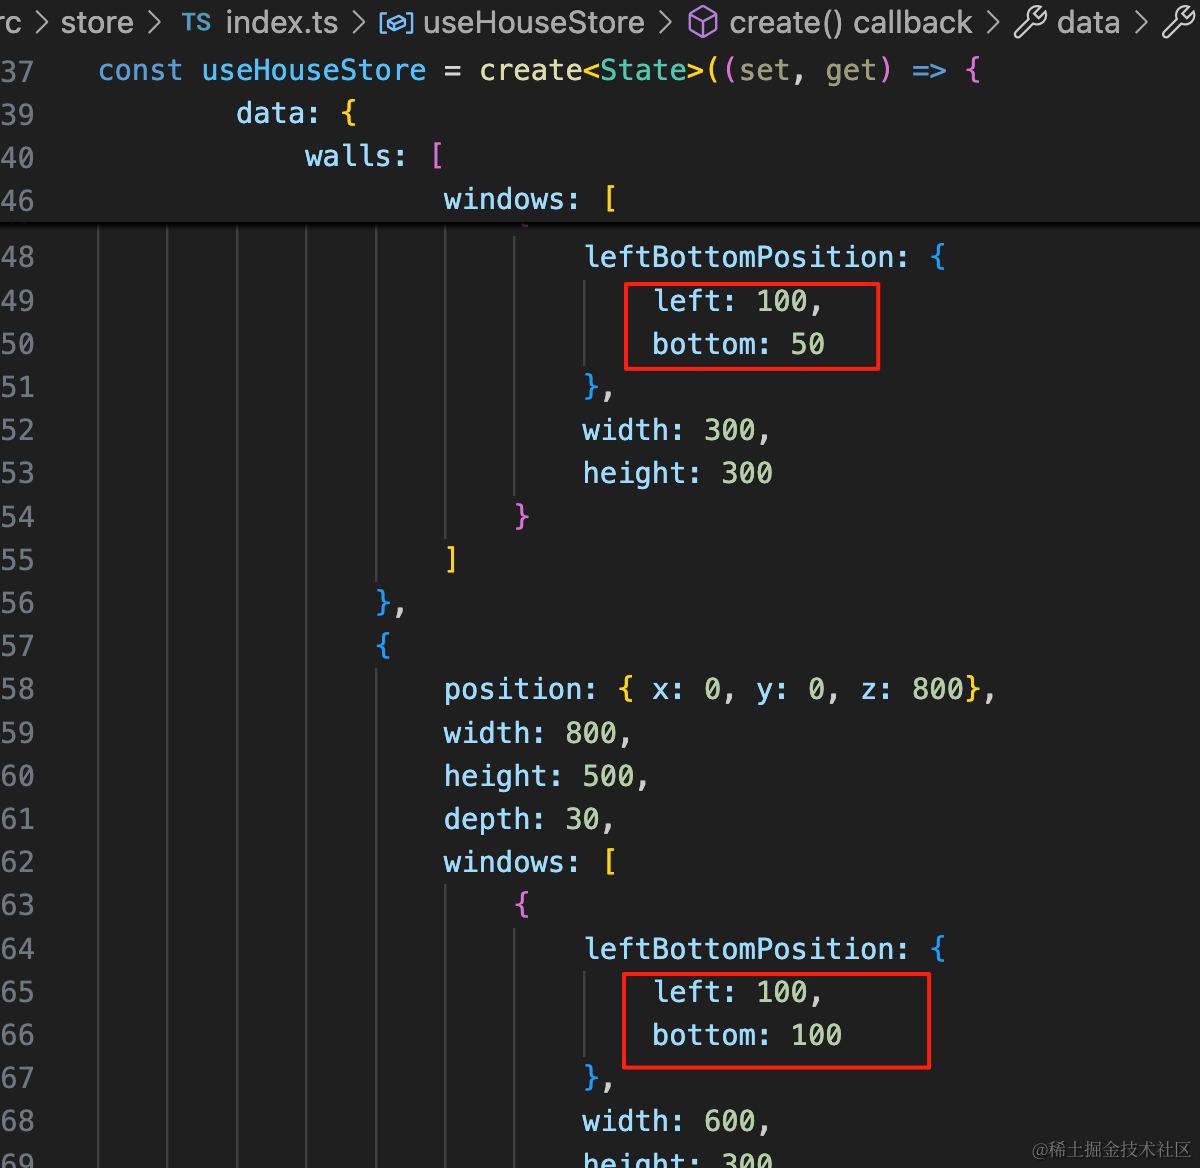
model.position.y = win.leftBottomPosition.z + win.height / 2;然后改下数据,让窗户不在正中间:
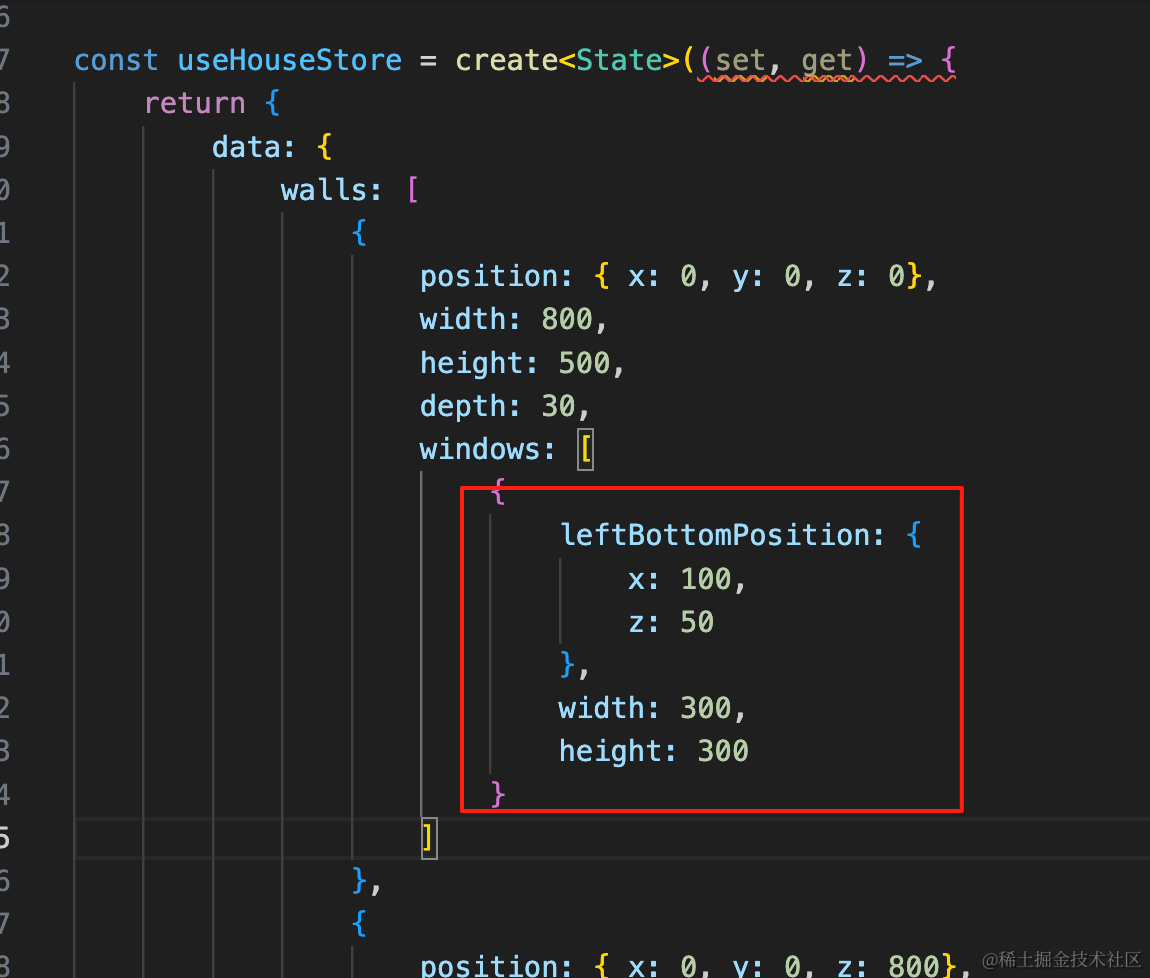
{
    leftBottomPosition: {
        x: 100,
        z: 50
    },
    width: 300,
    height: 300
}
窗户的位置依然计算正确。
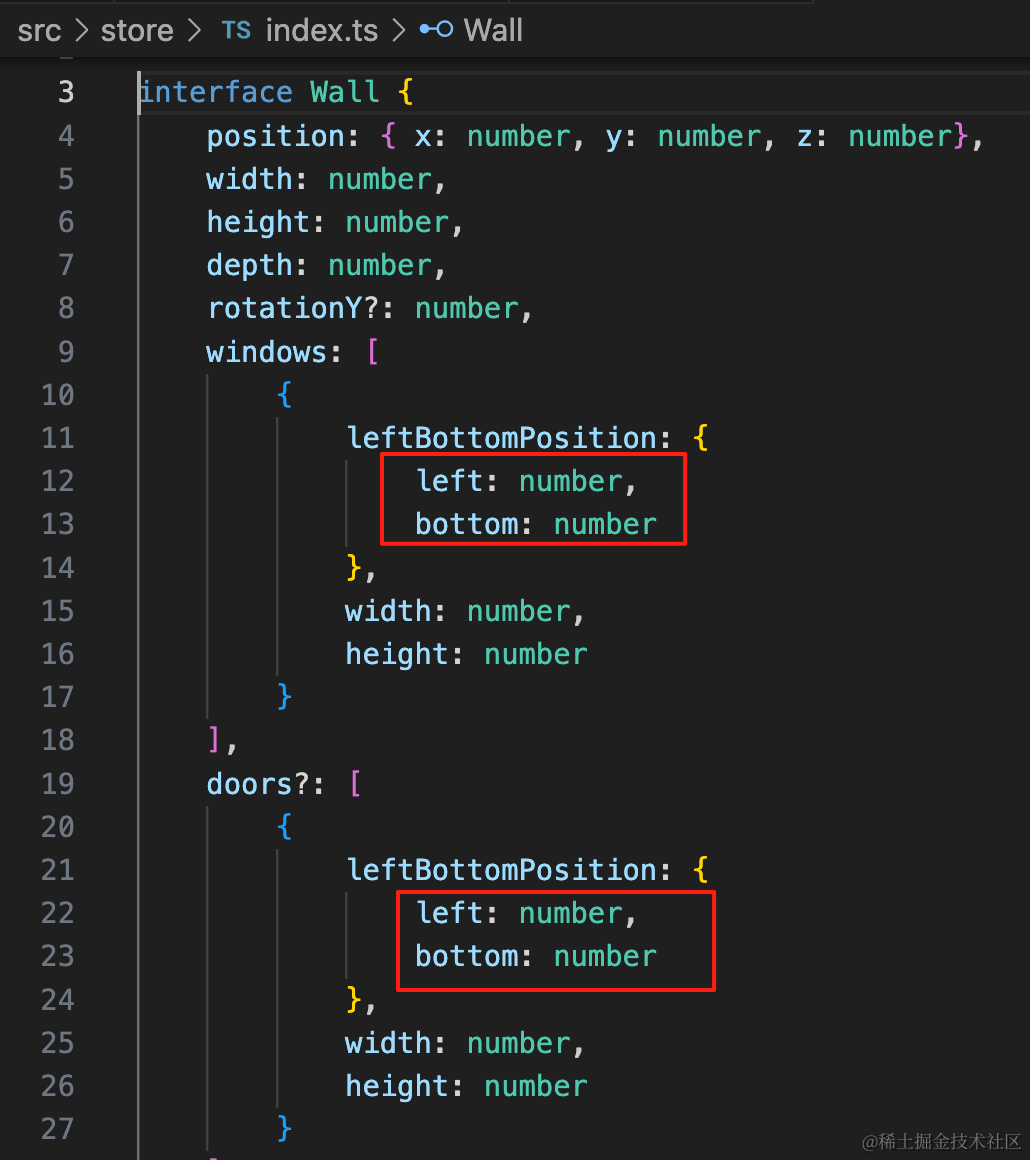
现在还有一个问题,leftBottomPosition 的 x、z 不好理解,其实它的含义是洞的位置与墙的 left、bottom 的距离。
所以我们统一优化下,改成 left、bottom:
在 Main/index.tsx 里统一替换 leftBottomPosition.x 为 leftBottomPosition.left
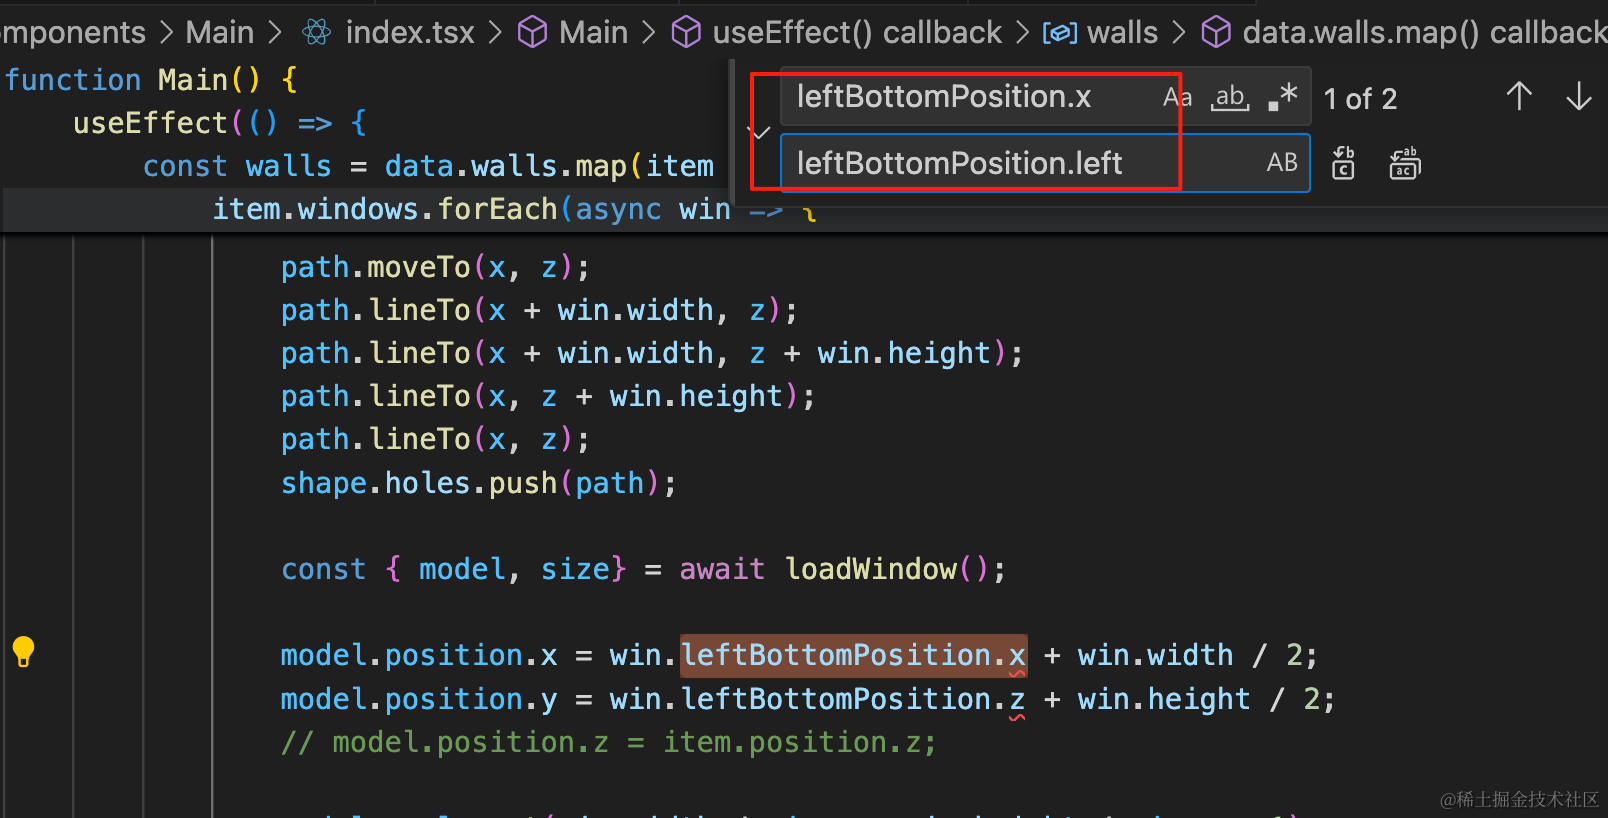
统一替换 leftBottomPosition.x 为 leftBottomPosition.bottom

然后还要改这两个位置:
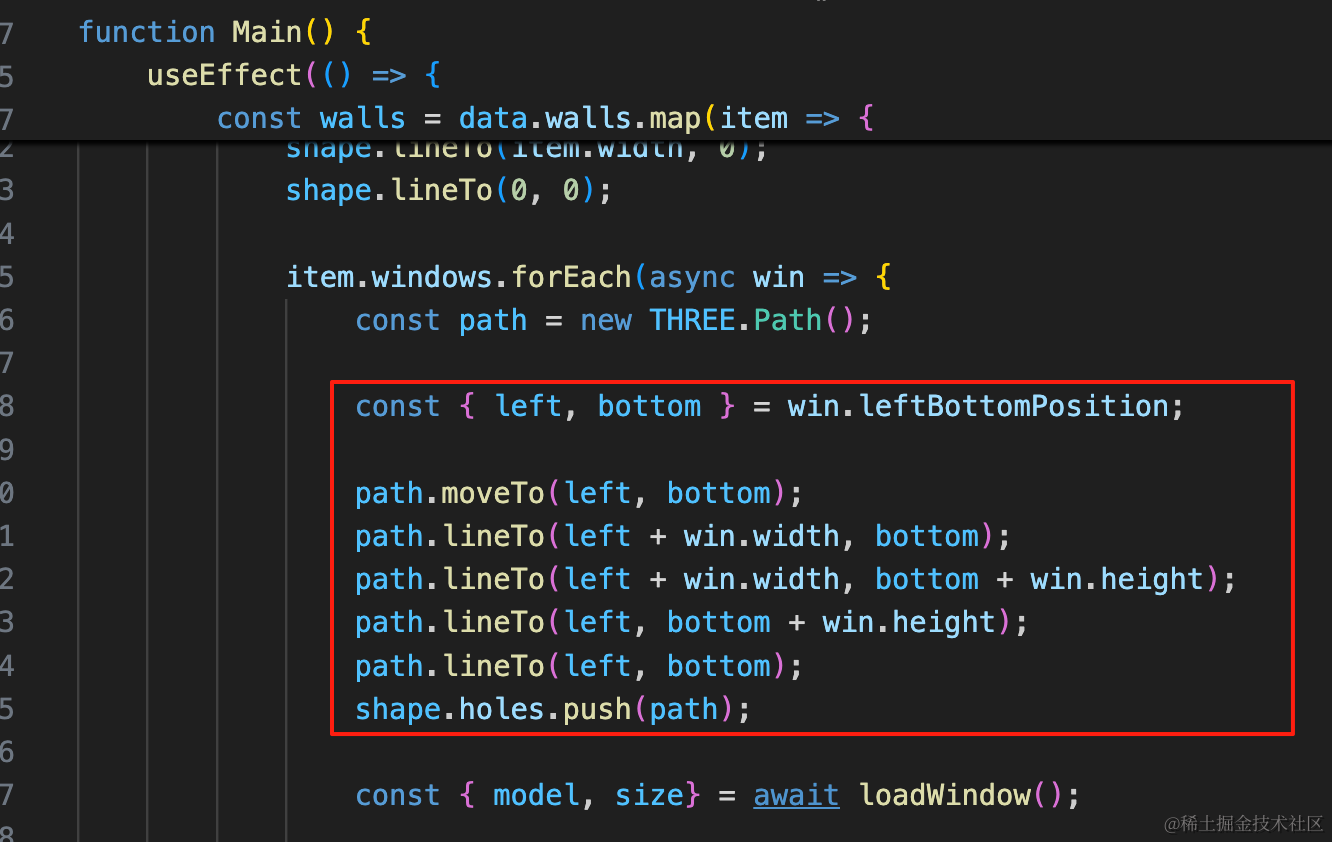
const { left, bottom } = win.leftBottomPosition;
path.moveTo(left, bottom);
path.lineTo(left + win.width, bottom);
path.lineTo(left + win.width, bottom + win.height);
path.lineTo(left, bottom + win.height);
path.lineTo(left, bottom);
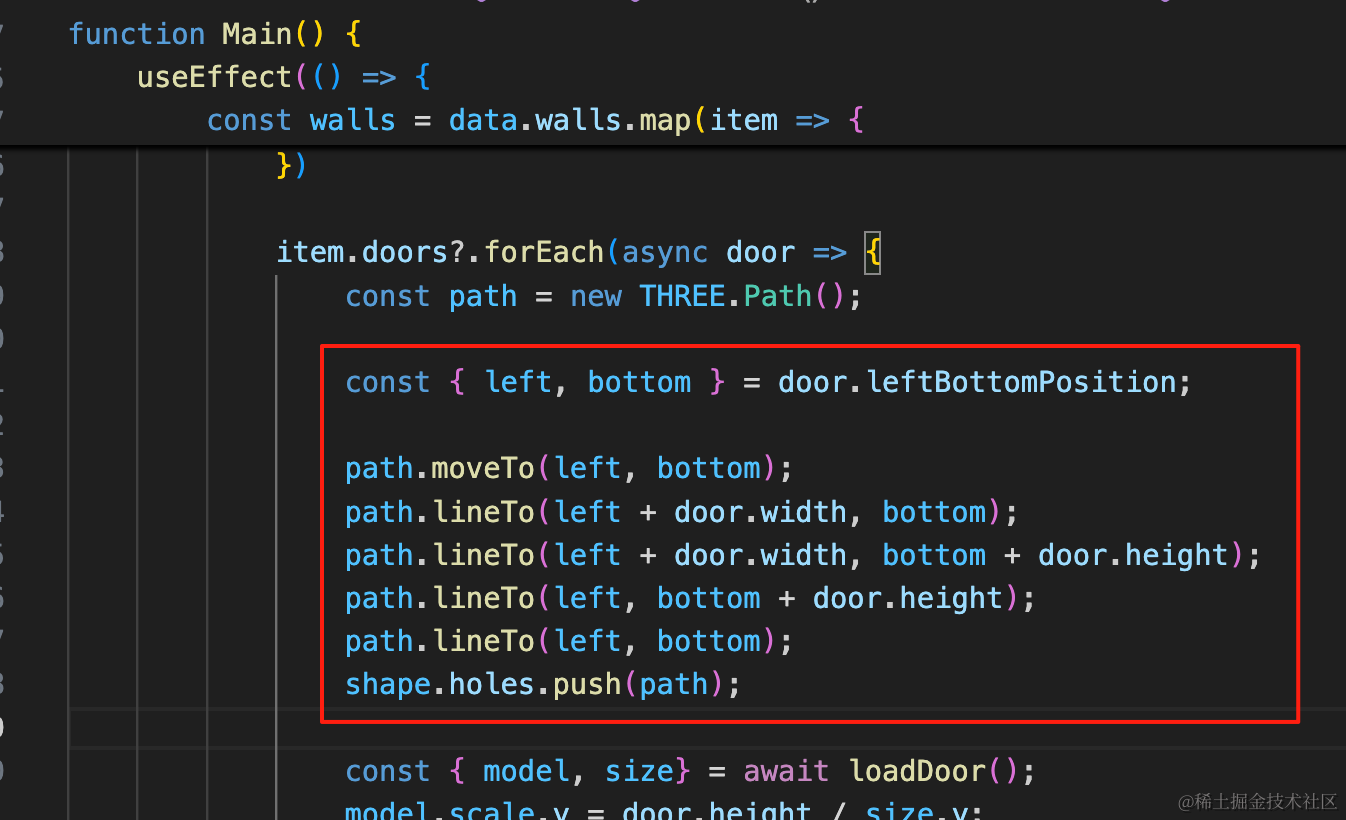
shape.holes.push(path);const { left, bottom } = door.leftBottomPosition;
path.moveTo(left, bottom);
path.lineTo(left + door.width, bottom);
path.lineTo(left + door.width, bottom + door.height);
path.lineTo(left, bottom + door.height);
path.lineTo(left, bottom);
shape.holes.push(path);运行效果不变:
但代码可读性提升了,这次重构就算是有意义的。
最后,之前的数组的 ts 类型写的有点问题:
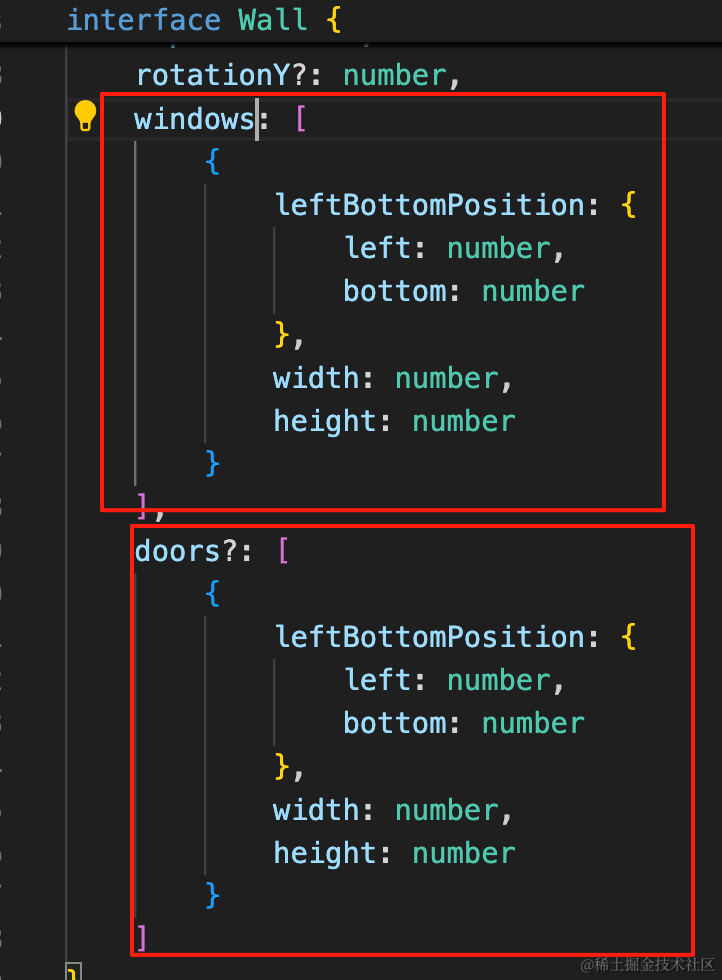
这样写表示数组只有一个元素。
应该这么写:
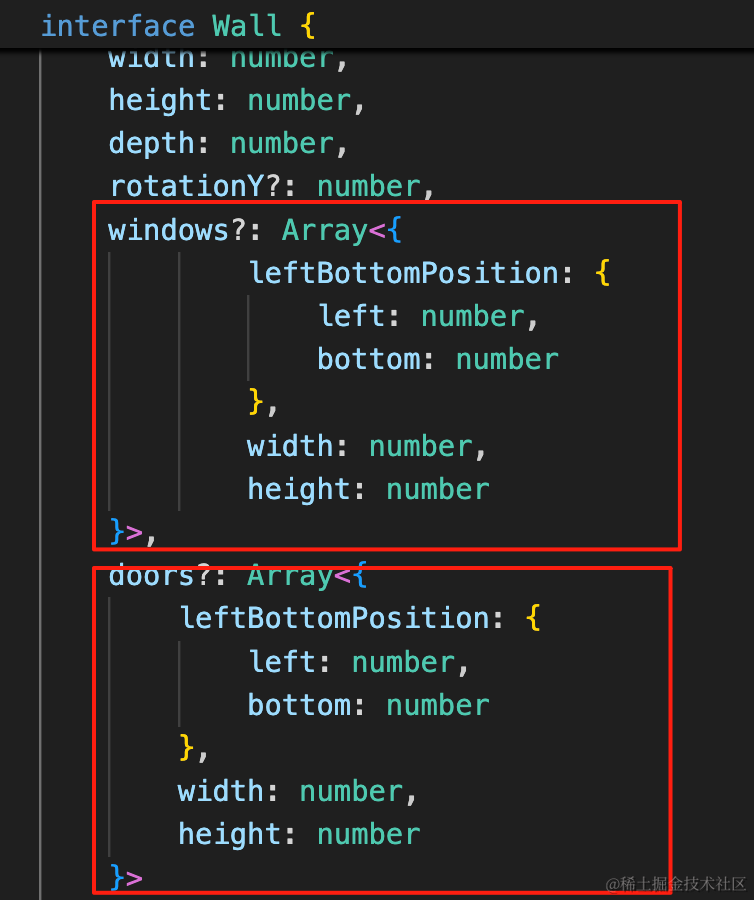
windows: Array<{
    leftBottomPosition: {
        left: number,
        bottom: number
    },
    width: number,
    height: number
}>,
doors?: Array<{
    leftBottomPosition: {
        left: number,
        bottom: number
    },
    width: number,
    height: number
}>
并且 windows 加上可选标记 ?
用的时候也做下空值的处理:

案例代码上传了小册仓库
总结
这节我们加上了门的数据结构以及绘制逻辑,并且重构了下代码。
门的数据结构和窗户的一样,都是记录洞的位置,然后绘制的时候把它用 Shape 画出来,加到 holes 数组里,之后加载一个门的模型放在那个位置。
只不过因为旋转角度不同,scale 需要设置不同方向的值。
门窗绘制好了,下节来绘制地板、天花板。