上节修复了 2D 视图绘制的一些问题:
这节我们继续来绘制 2D 视图的门窗。
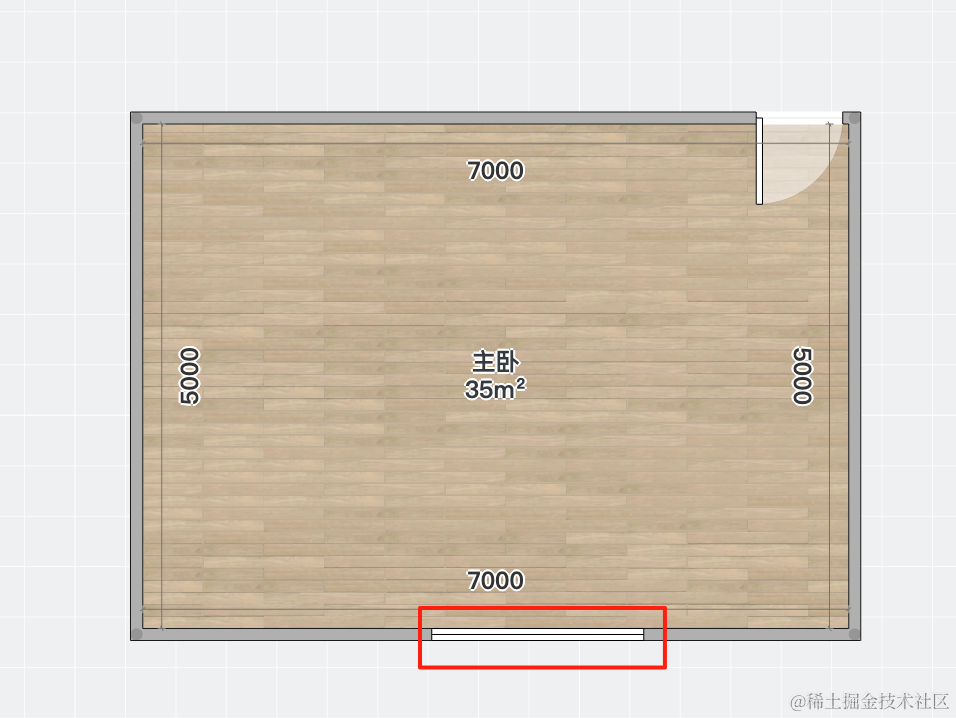
在酷家乐里面,门和床的标志如下:
我们也这样来画。
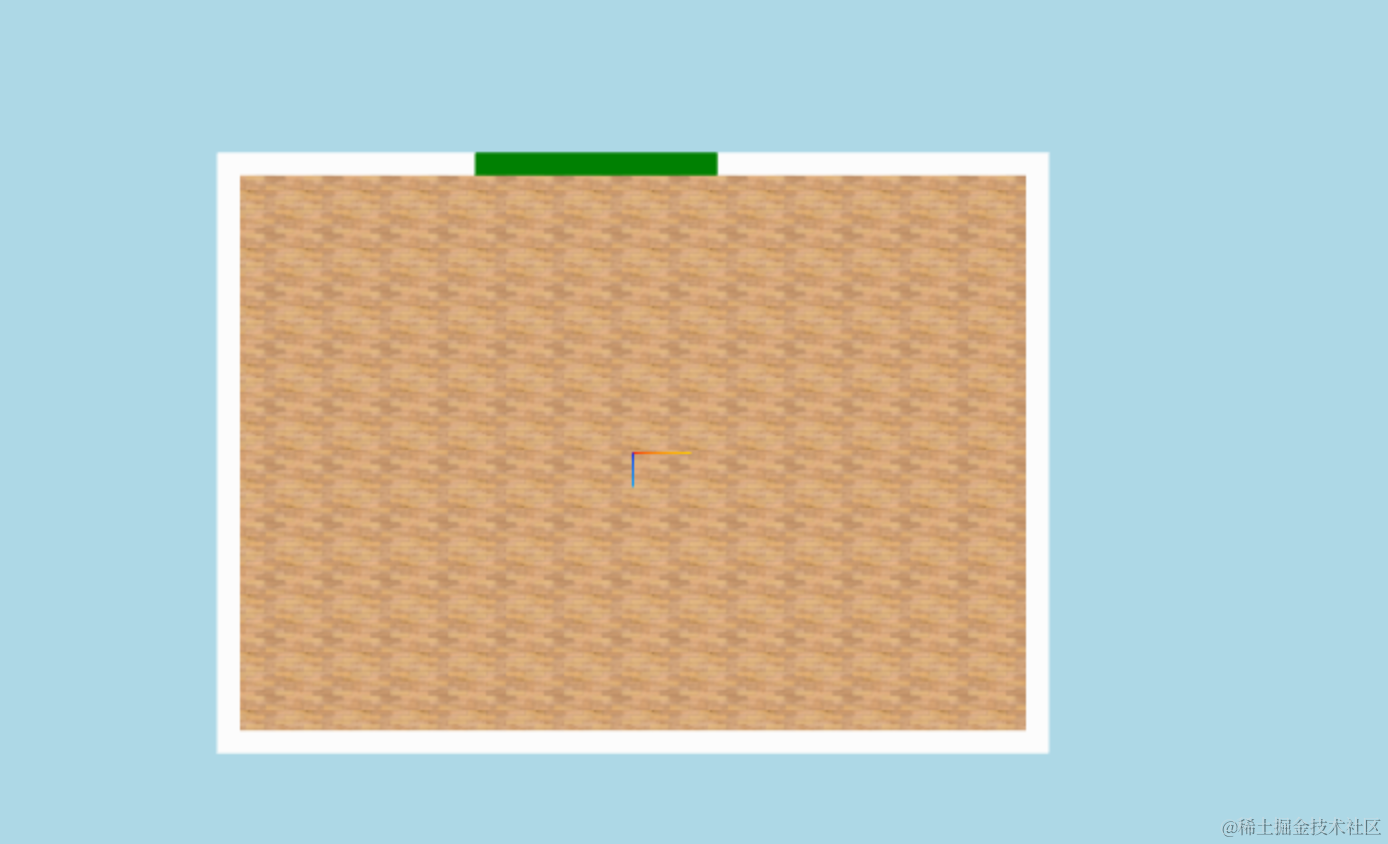
首先,需要把缺口留出来:
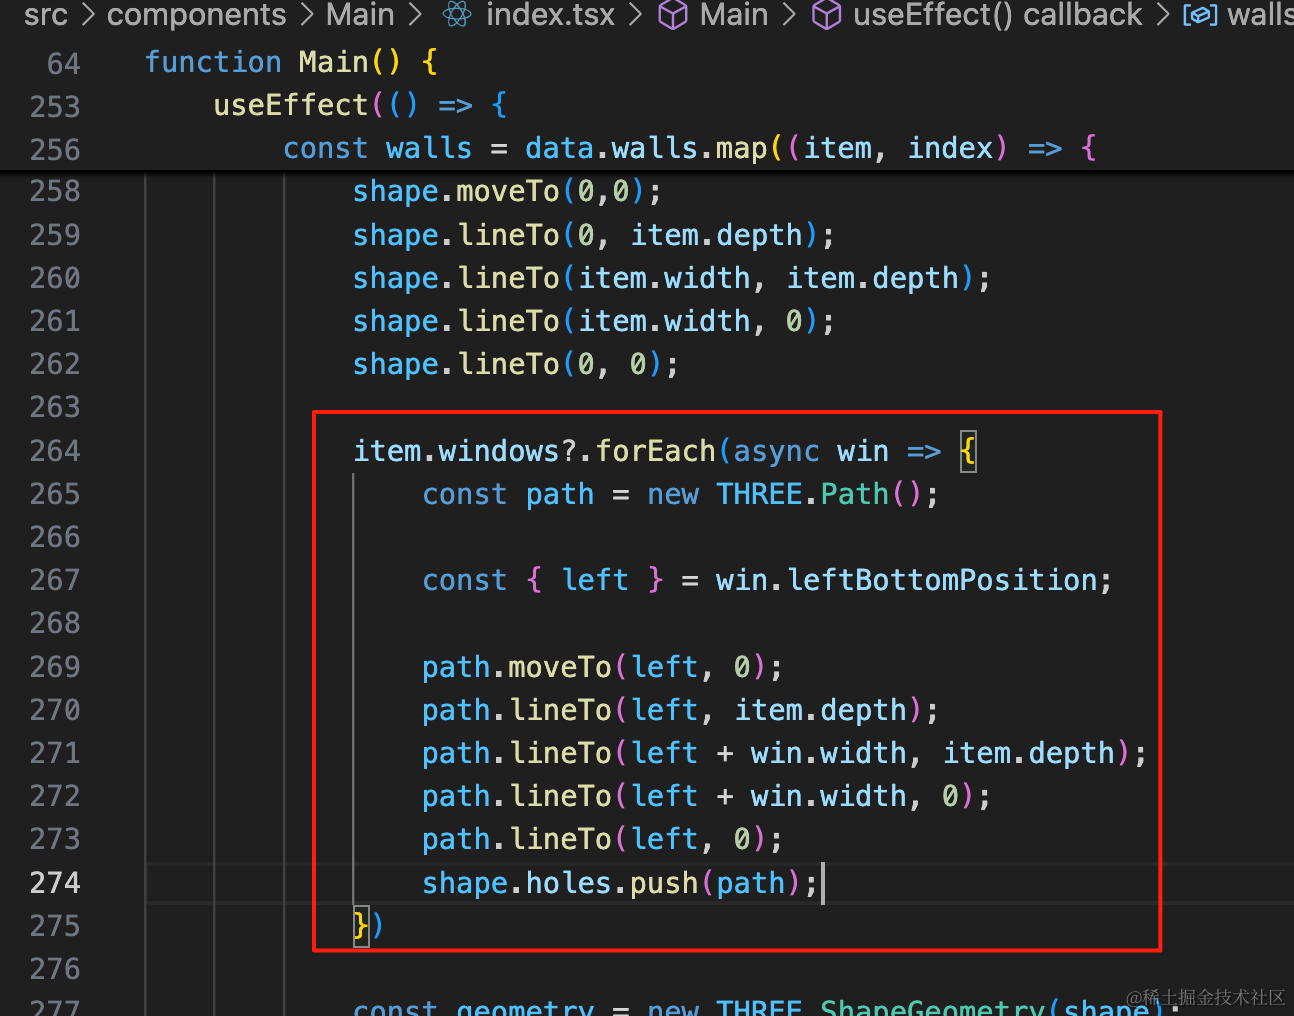
这里和 3D 视图还不一样,我们是从 left 到 left + win.width 来挖洞,直接挖穿:
item.windows?.forEach(async win => {
const path = new THREE.Path();
const { left } = win.leftBottomPosition;
path.moveTo(left, 0);
path.lineTo(left, item.depth);
path.lineTo(left + win.width, item.depth);
path.lineTo(left + win.width, 0);
path.lineTo(left, 0);
shape.holes.push(path);
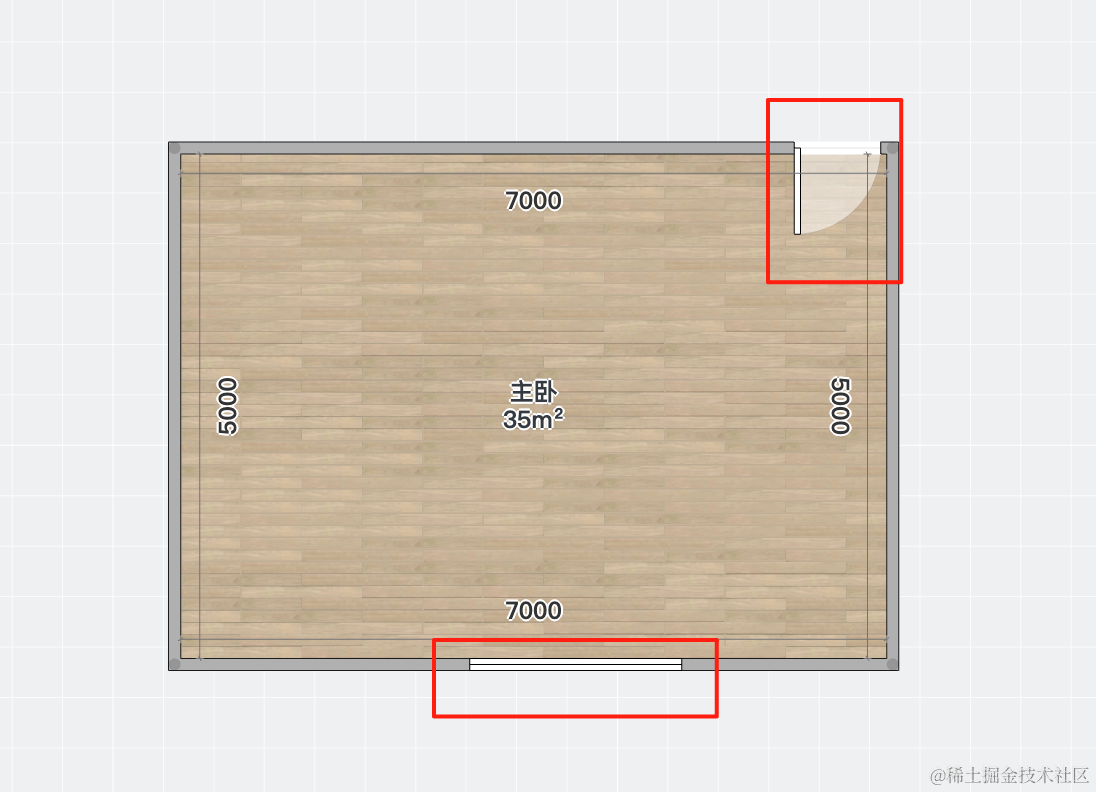
})看下效果:
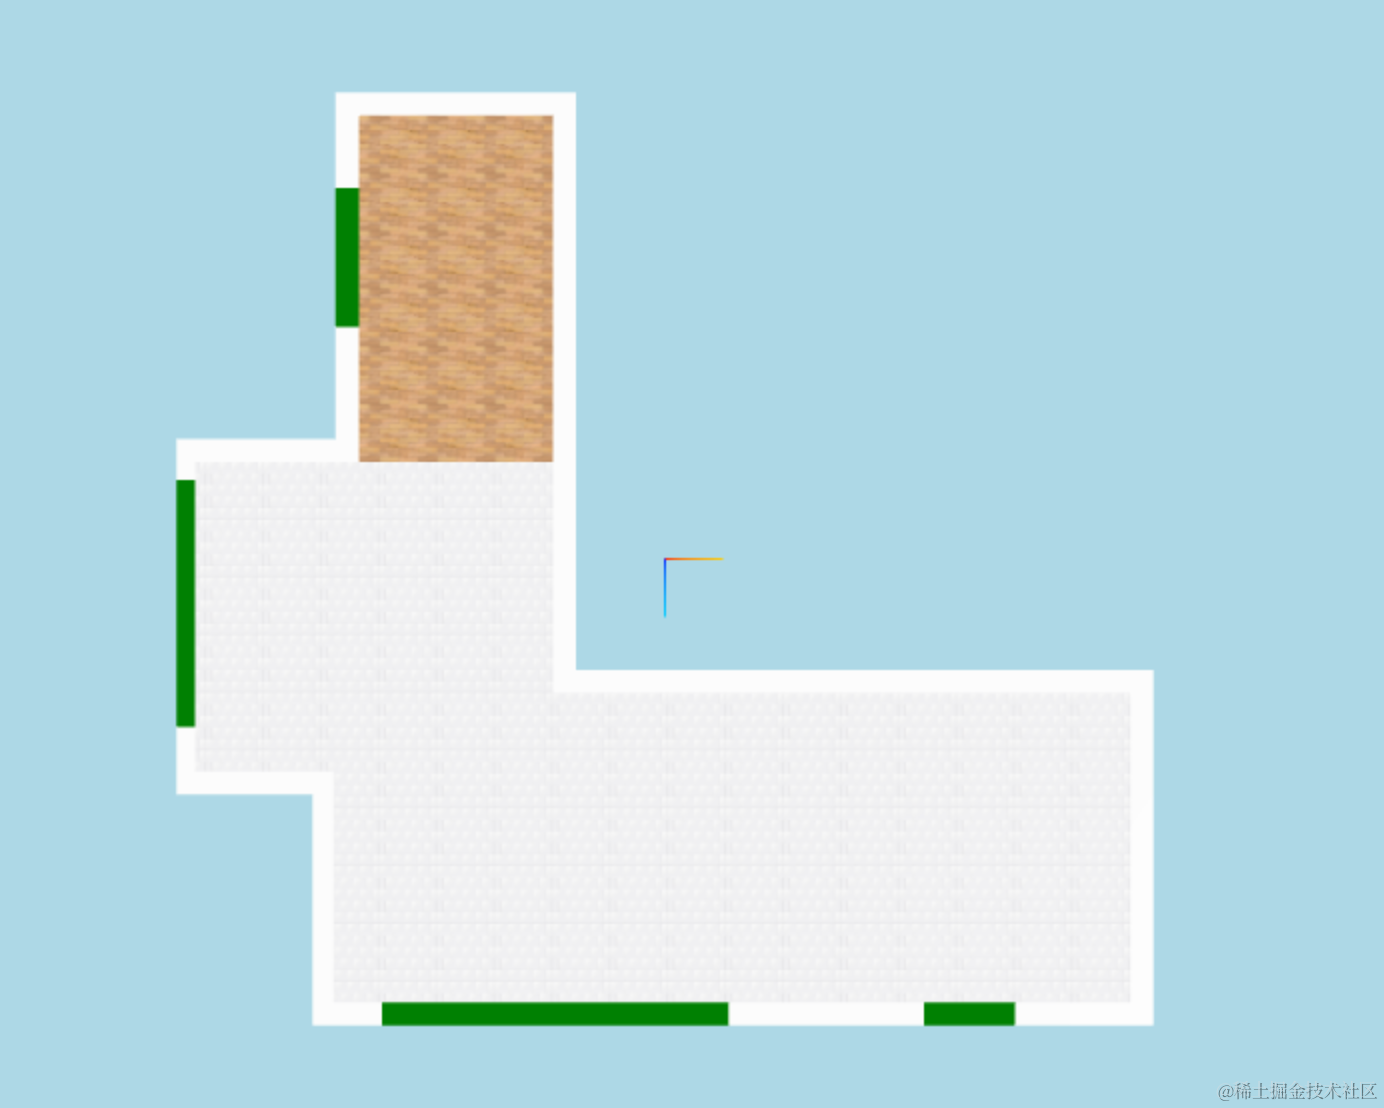
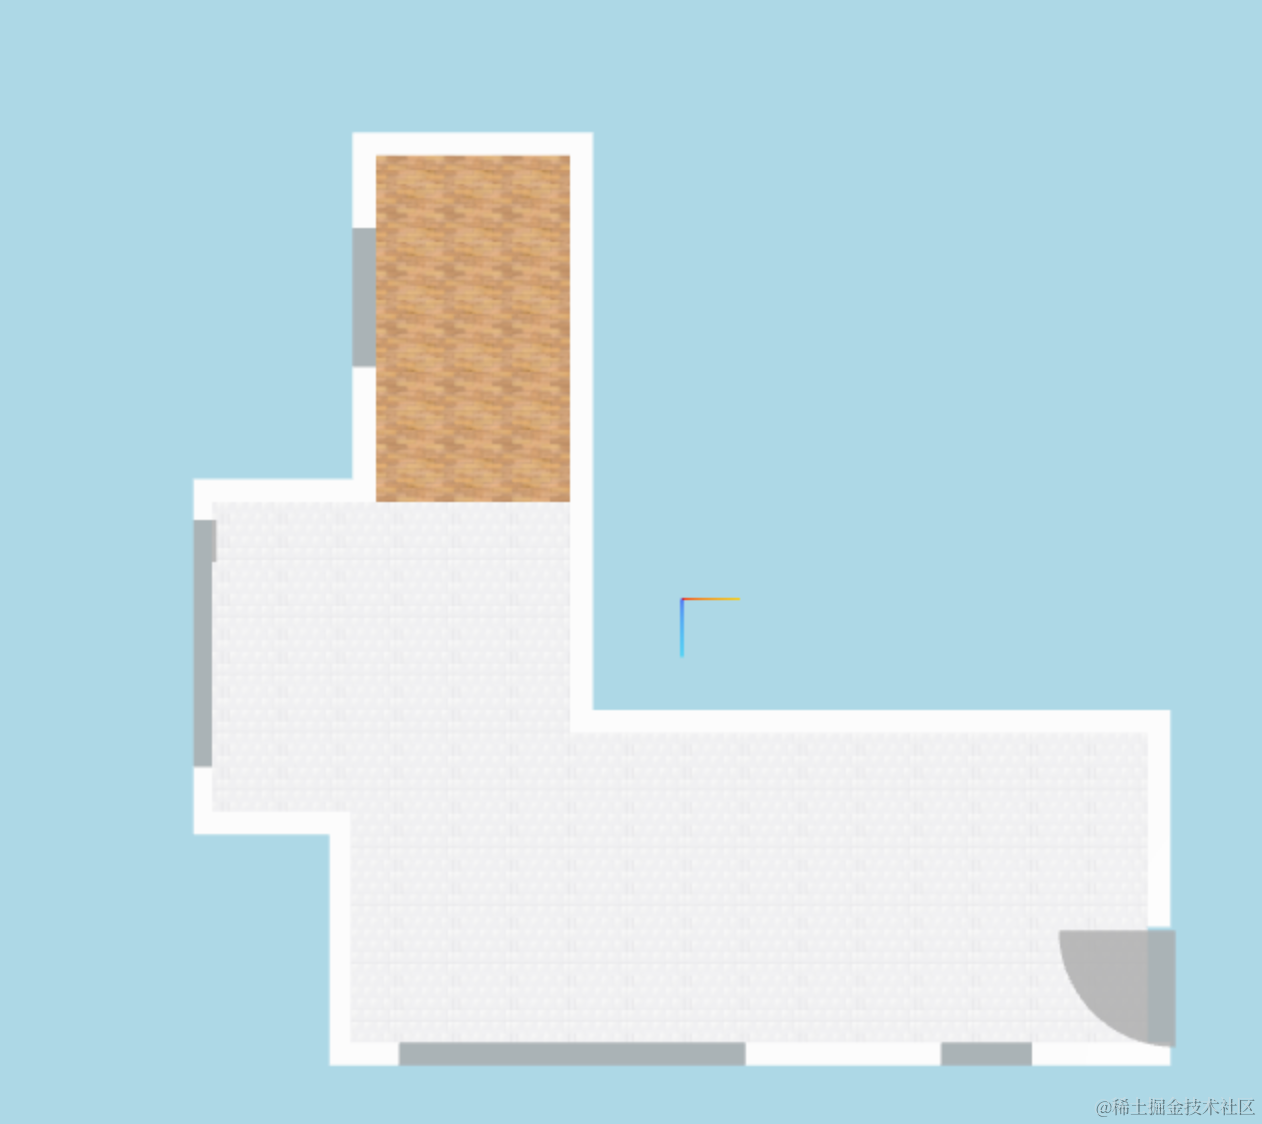
再看下另一个户型:
也没啥问题。
然后我们在洞的位置画一个窗户标志就可以了。
我们用 PlaneGeometry 来画:

item.windows?.forEach(win => {
    const geometry = new THREE.PlaneGeometry(win.width, item.depth);
    const material = new THREE.MeshBasicMaterial({
        color: 'green',
        side: THREE.DoubleSide
    });
    const winLogo = new THREE.Mesh(geometry, material);
    wall.add(winLogo);
})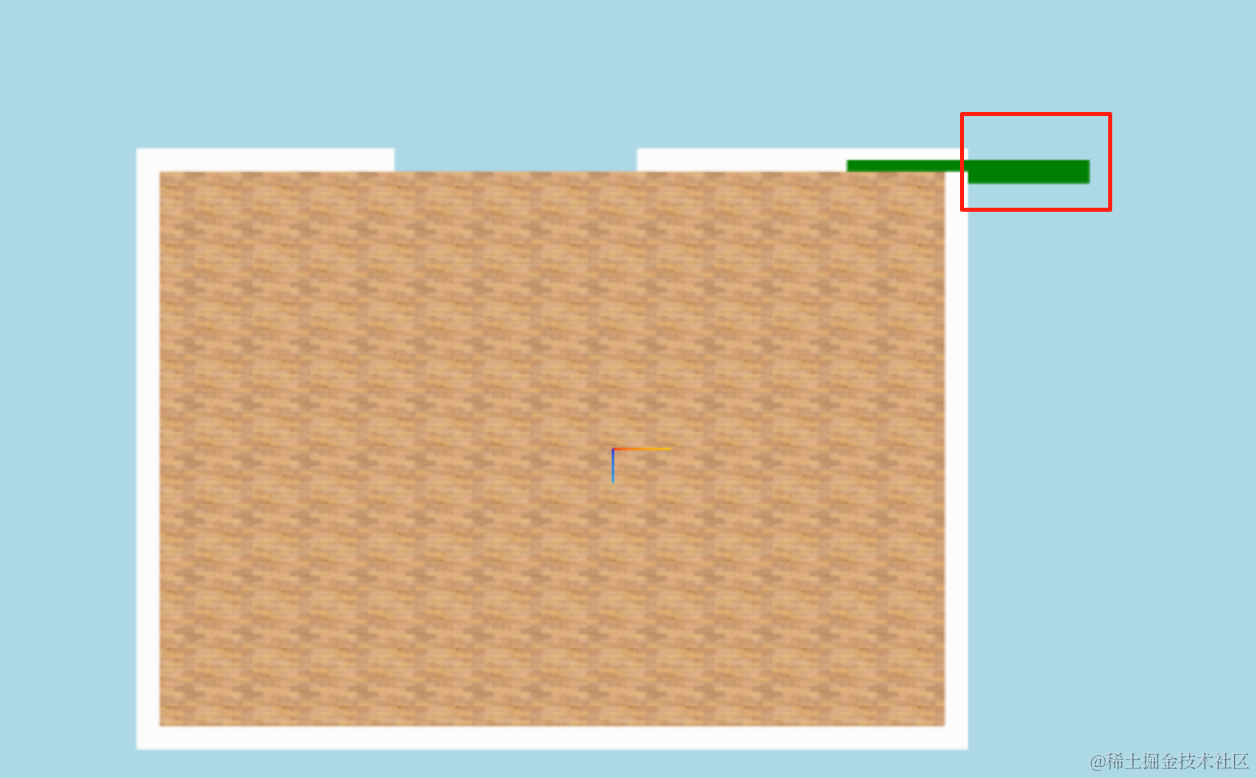
它的中心点在最左边,所以应该移动 left + win.width / 2,这样刚好把中心点移动洞的中间。
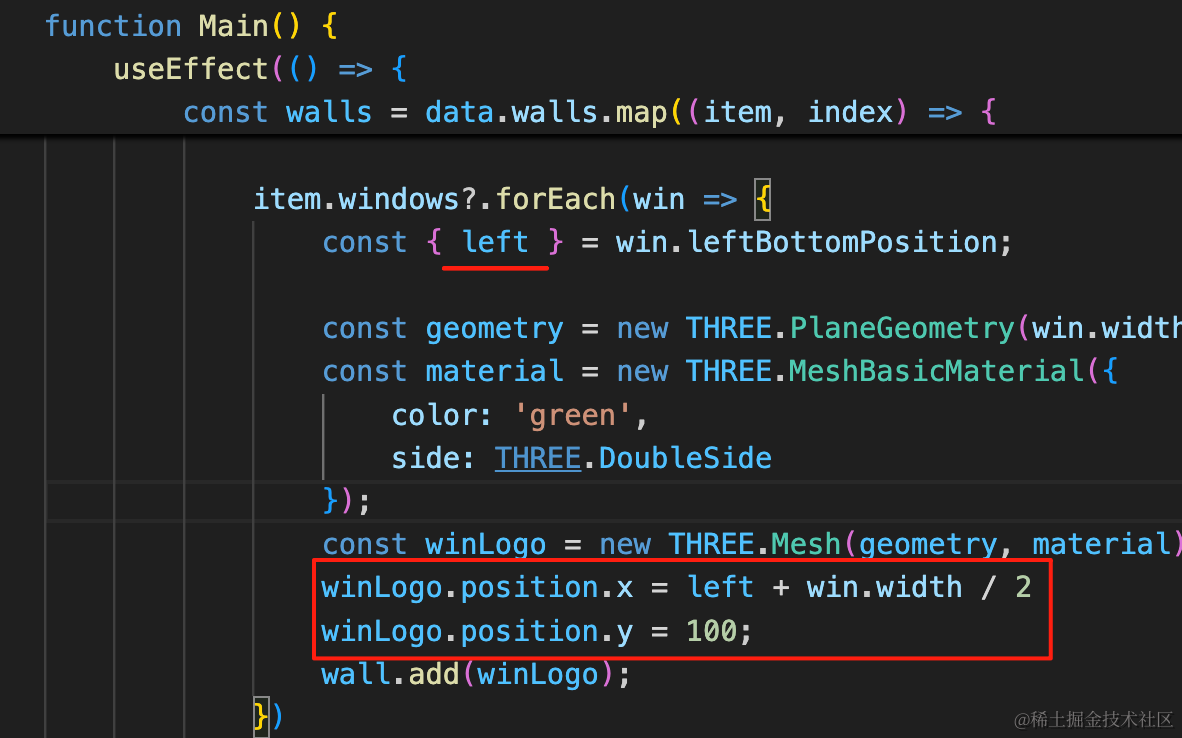
const { left } = win.leftBottomPosition;winLogo.position.x = left + win.width / 2
winLogo.position.y = 100;看下效果:
切换到另一个户型看下:
都没问题。
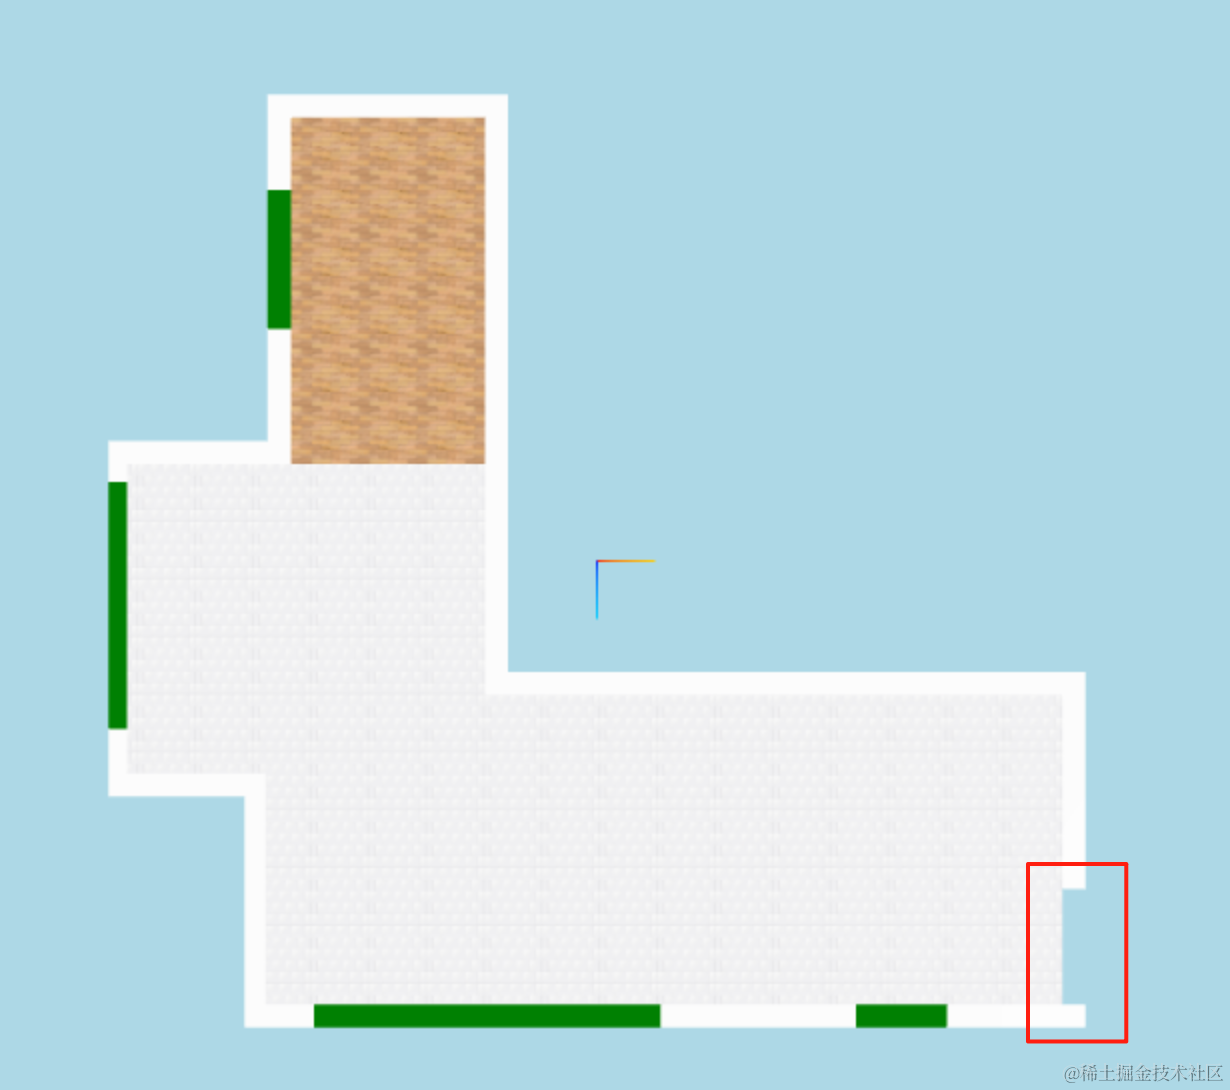
我们再用同样的方式把门的洞画出来:
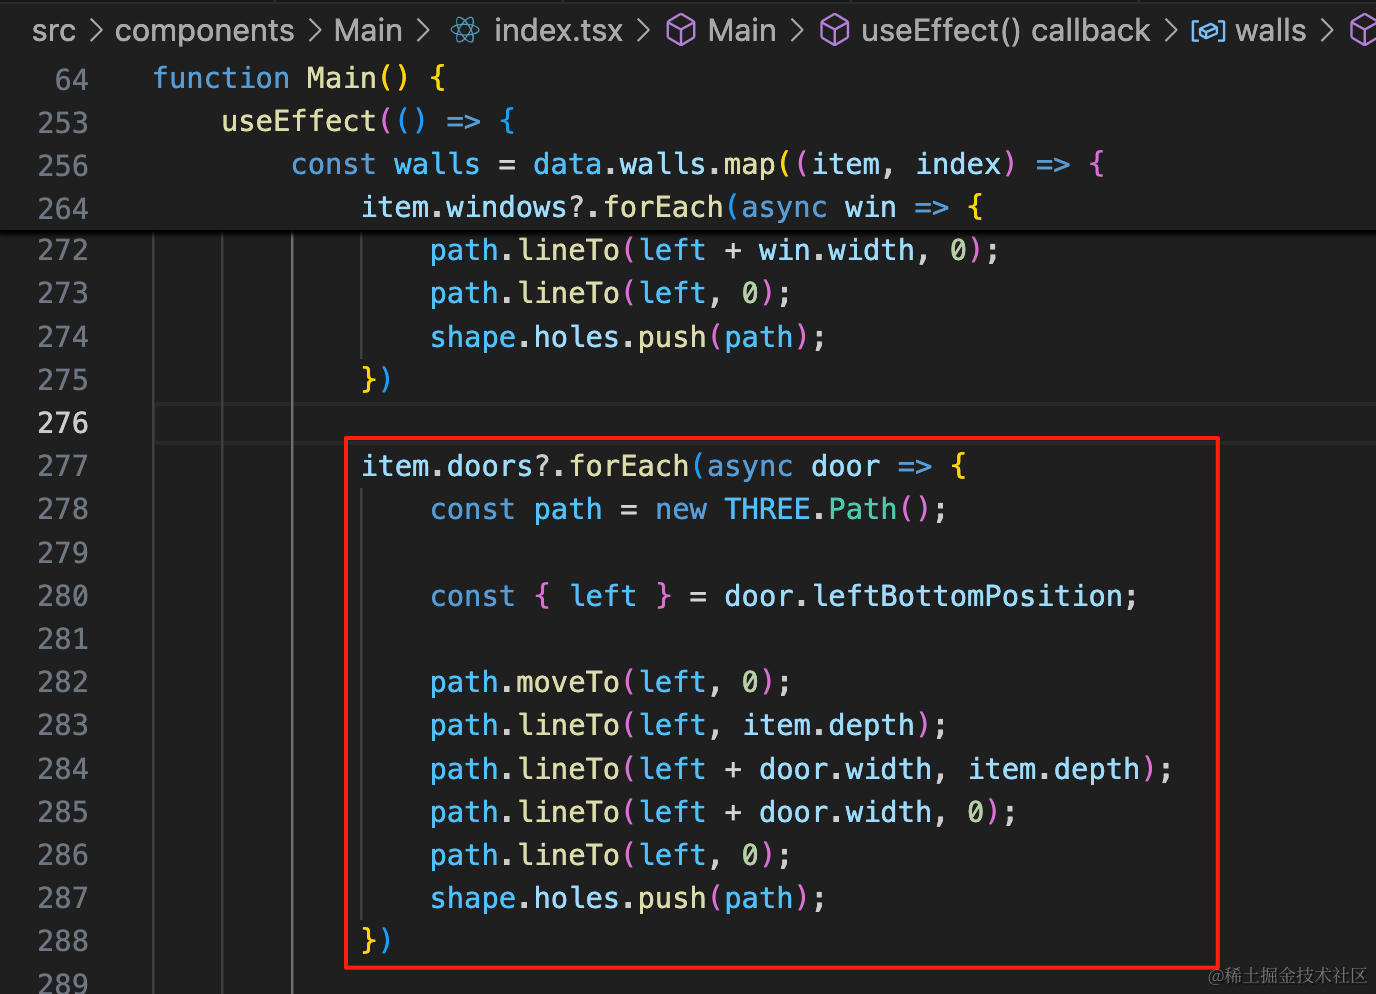
item.doors?.forEach(async door => {
    const path = new THREE.Path();

    const { left } = door.leftBottomPosition;

    path.moveTo(left, 0);
    path.lineTo(left, item.depth);
    path.lineTo(left + door.width, item.depth);
    path.lineTo(left + door.width, 0);
    path.lineTo(left, 0);
    shape.holes.push(path);
})
然后加上蓝色的矩形:
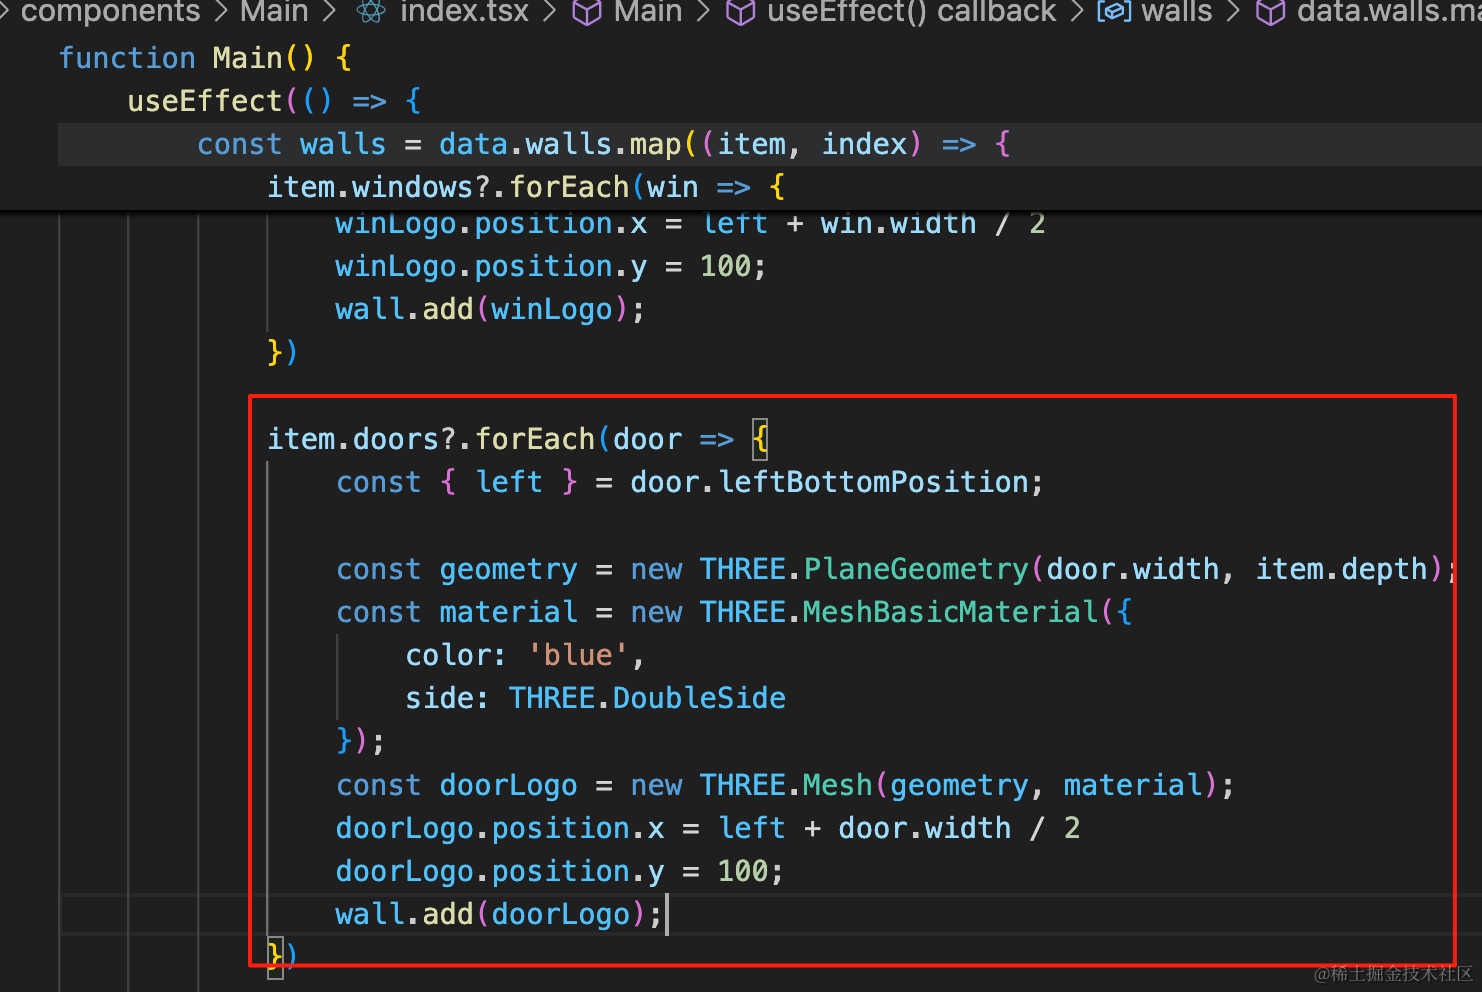
item.doors?.forEach(door => {
    const { left } = door.leftBottomPosition;

    const geometry = new THREE.PlaneGeometry(door.width, item.depth);
    const material = new THREE.MeshBasicMaterial({
        color: 'blue',
        side: THREE.DoubleSide
    });
    const doorLogo = new THREE.Mesh(geometry, material);
    doorLogo.position.x = left + door.width / 2
    doorLogo.position.y = 100;
    wall.add(doorLogo);
})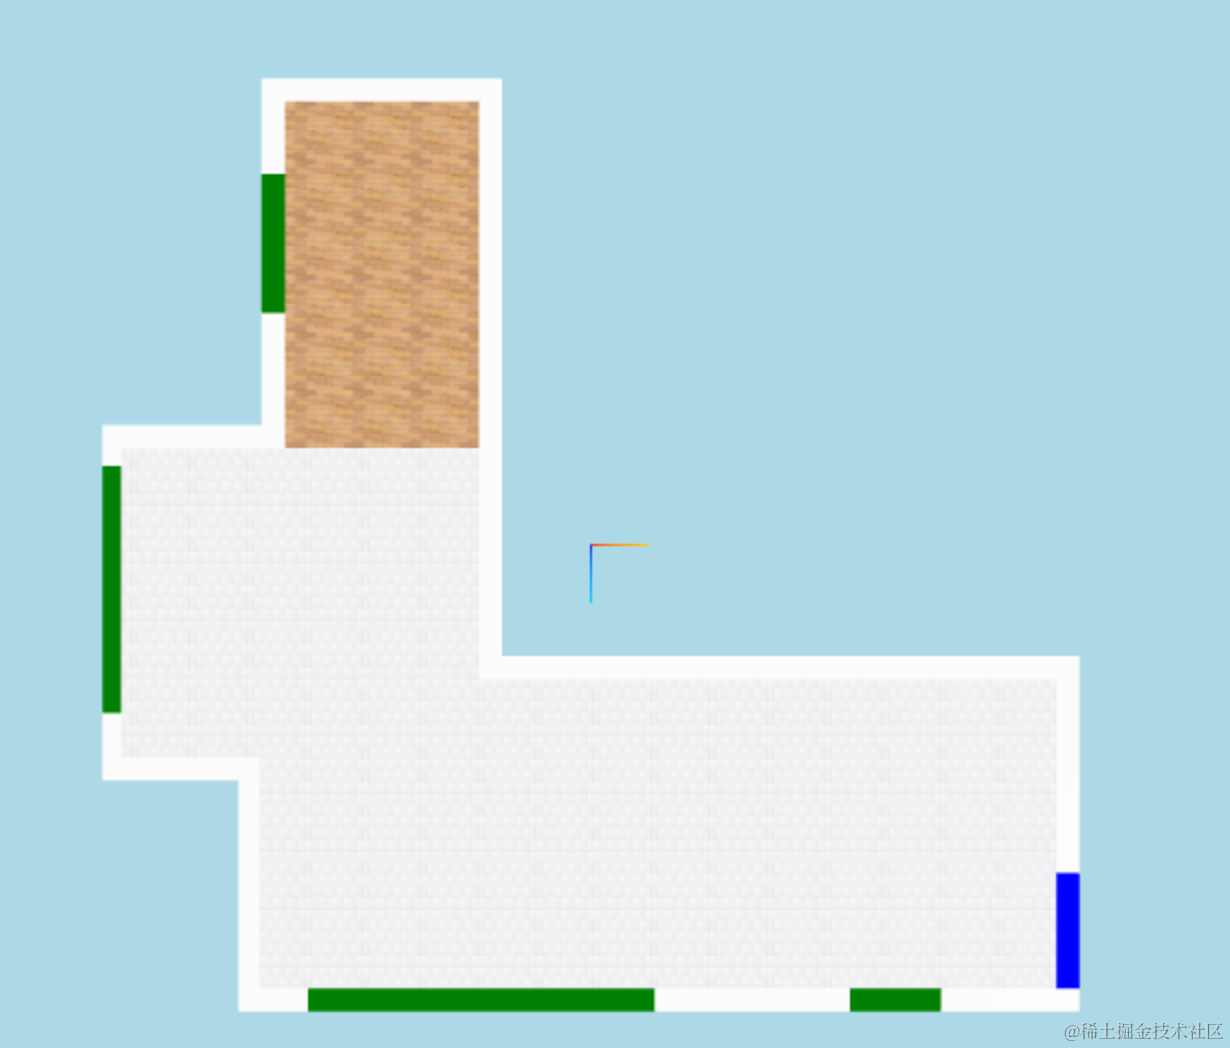

当然,门窗都用矩形不好区分,我们也画一个弧形:
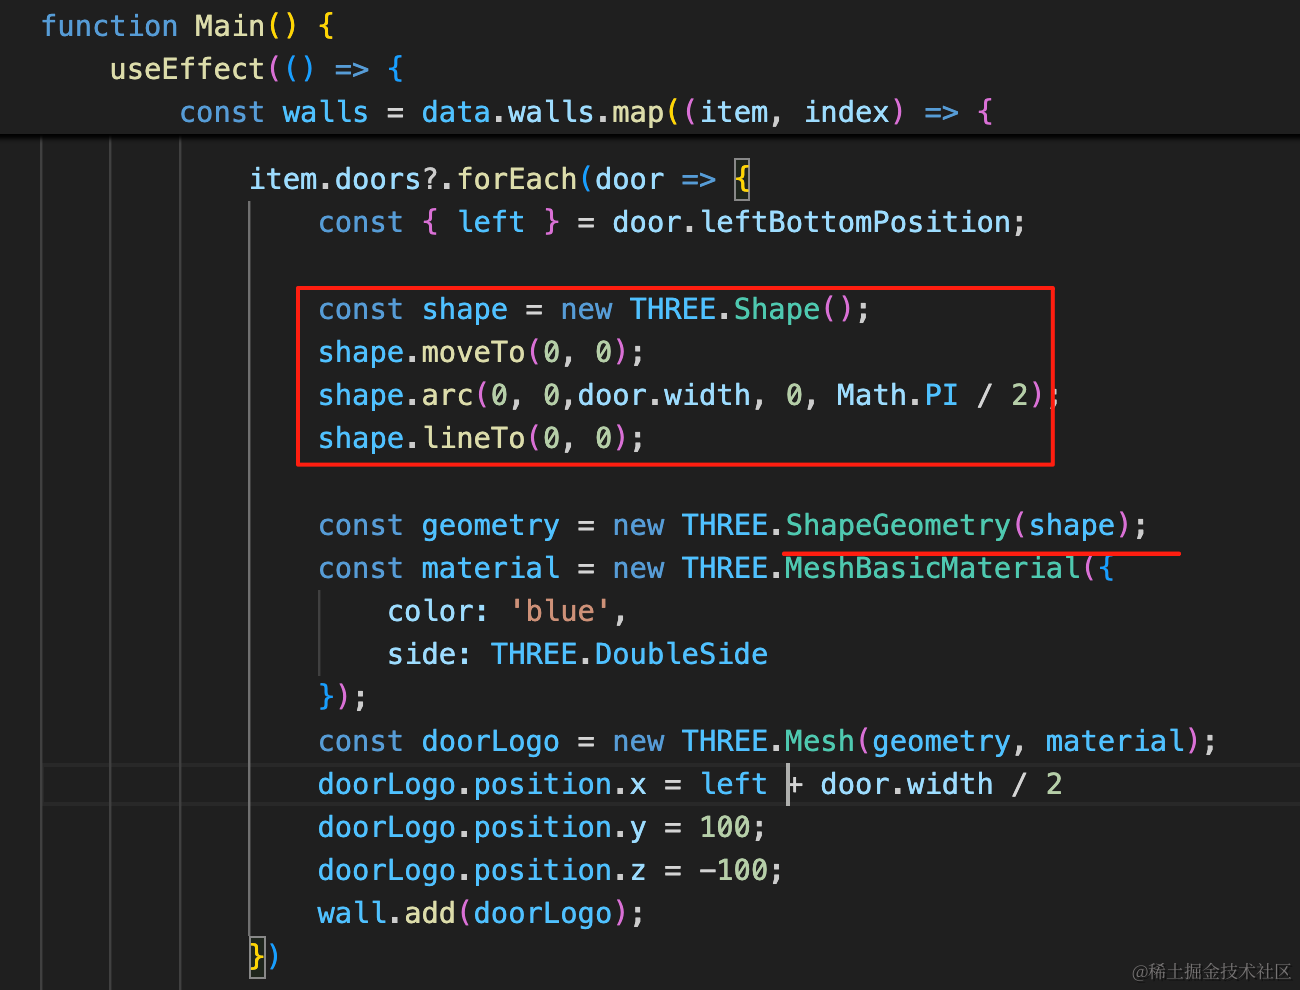
const shape = new THREE.Shape();
shape.moveTo(0, 0);
shape.arc(0, 0,door.width, 0, Math.PI / 2);
shape.lineTo(0, 0);

const geometry = new THREE.ShapeGeometry(shape);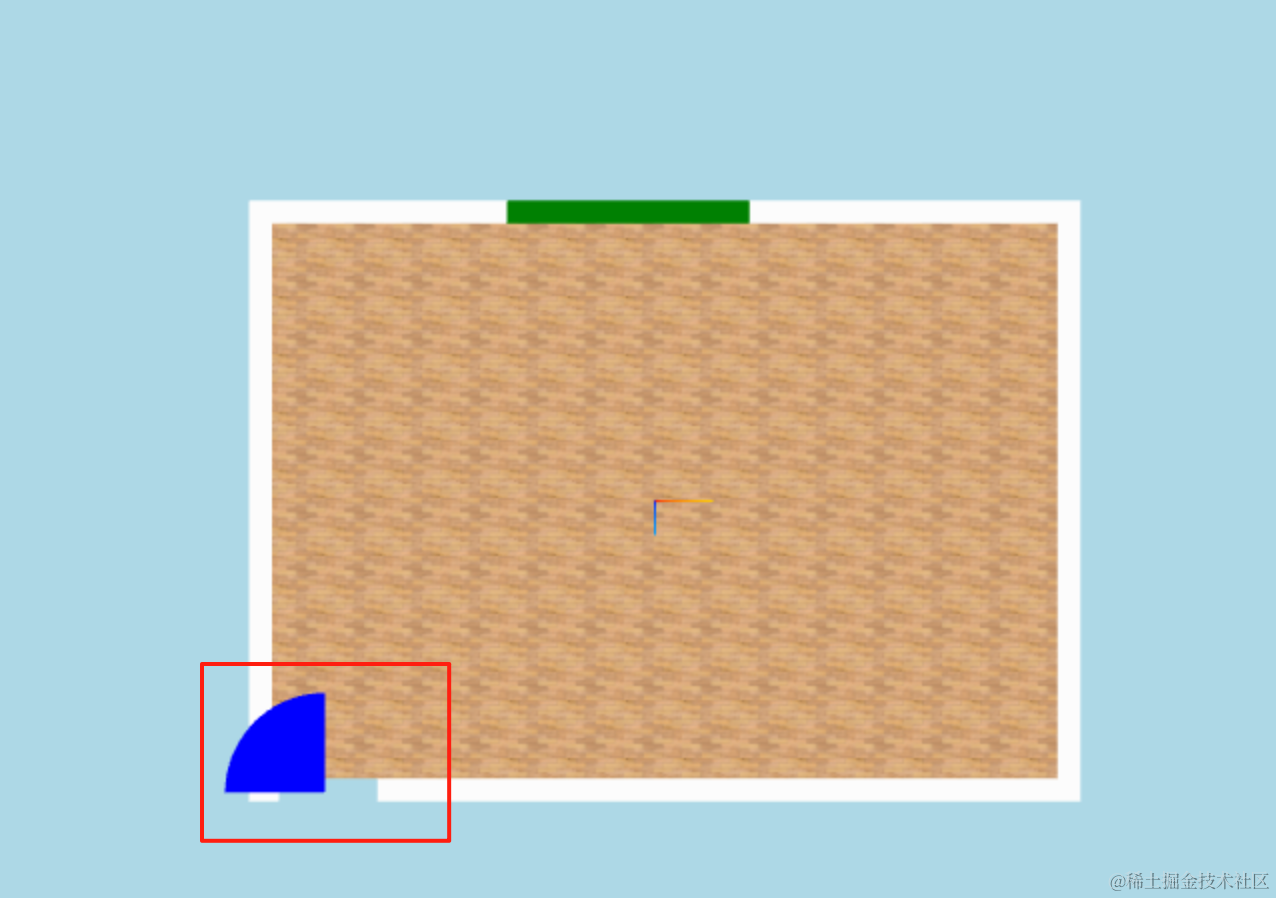
形状没啥问题,但中心点在左下角,所以位置改一下:
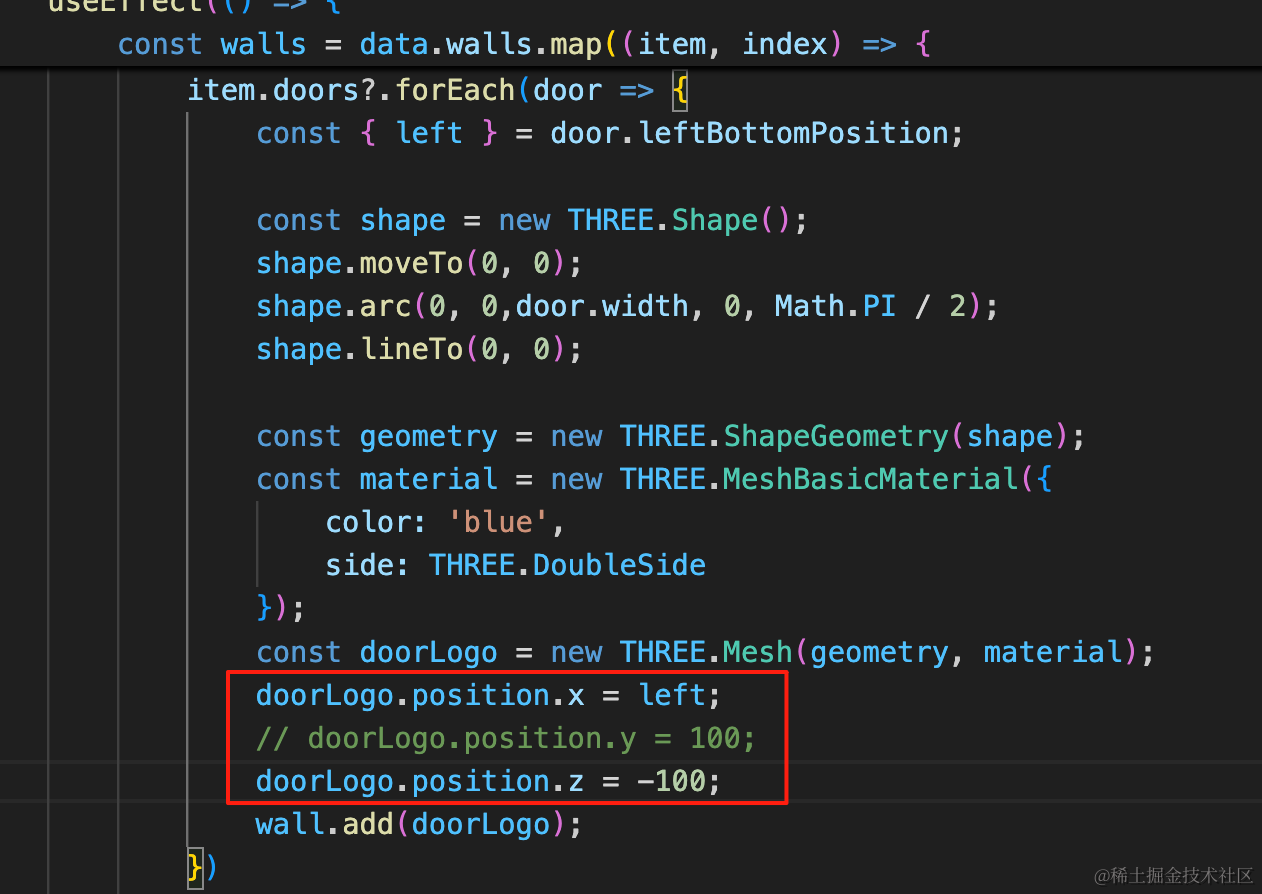
doorLogo.position.x = left;
doorLogo.position.z = -100;
不需要再移动门宽度的一半了,并且往上移动一些距离,避免和地板重合,出现闪烁现象。
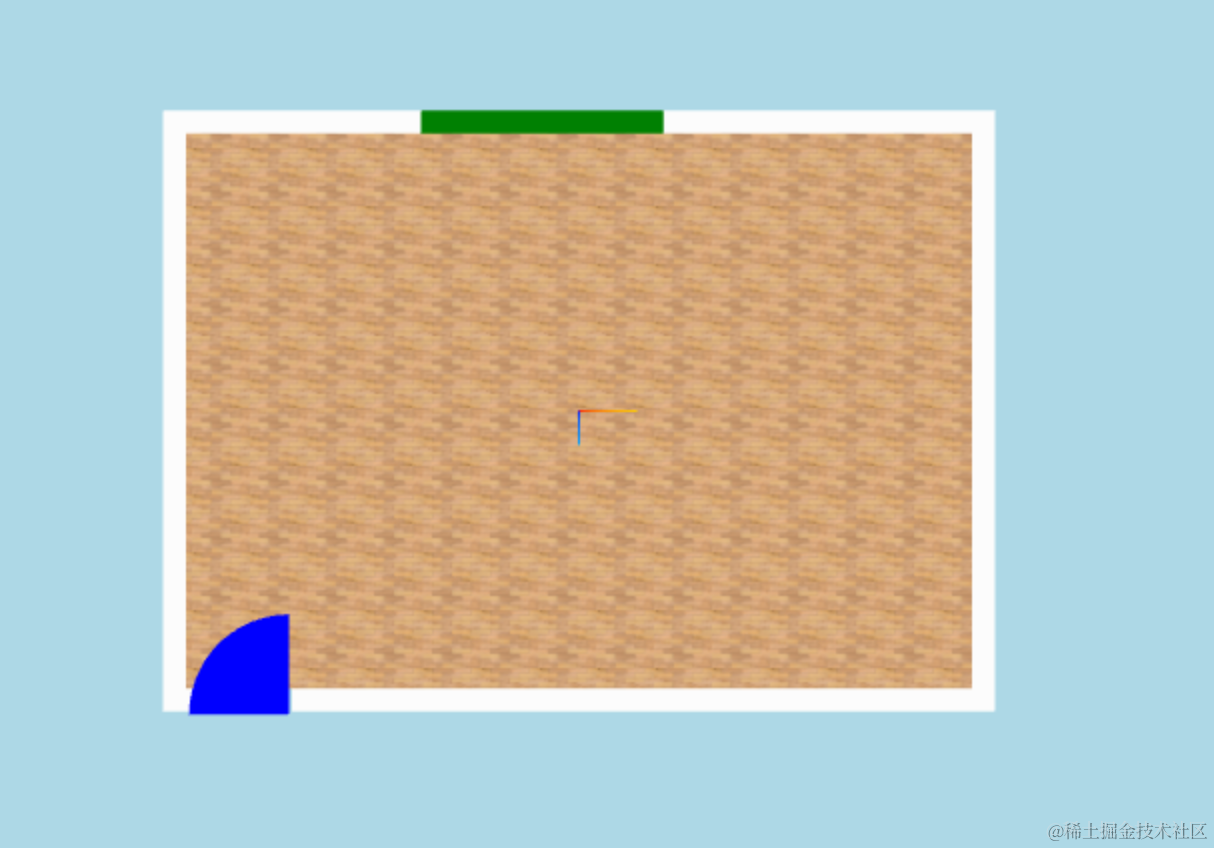
这样,门就画好了。
改下颜色、透明度:
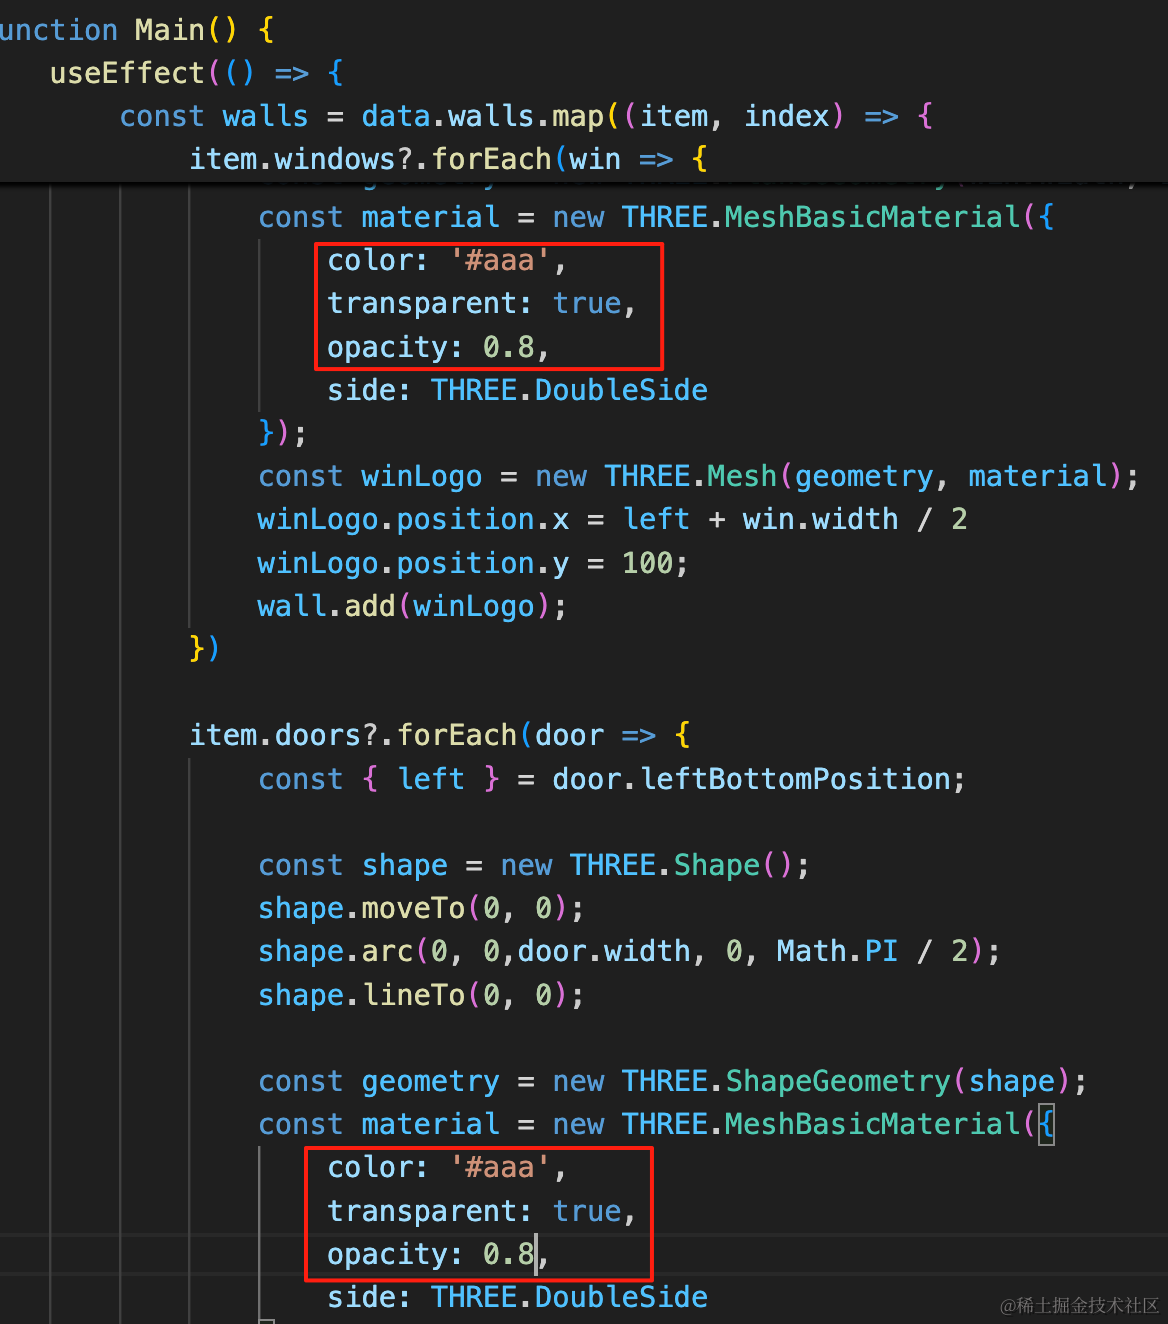
color: '#aaa',
transparent: true,
opacity: 0.8,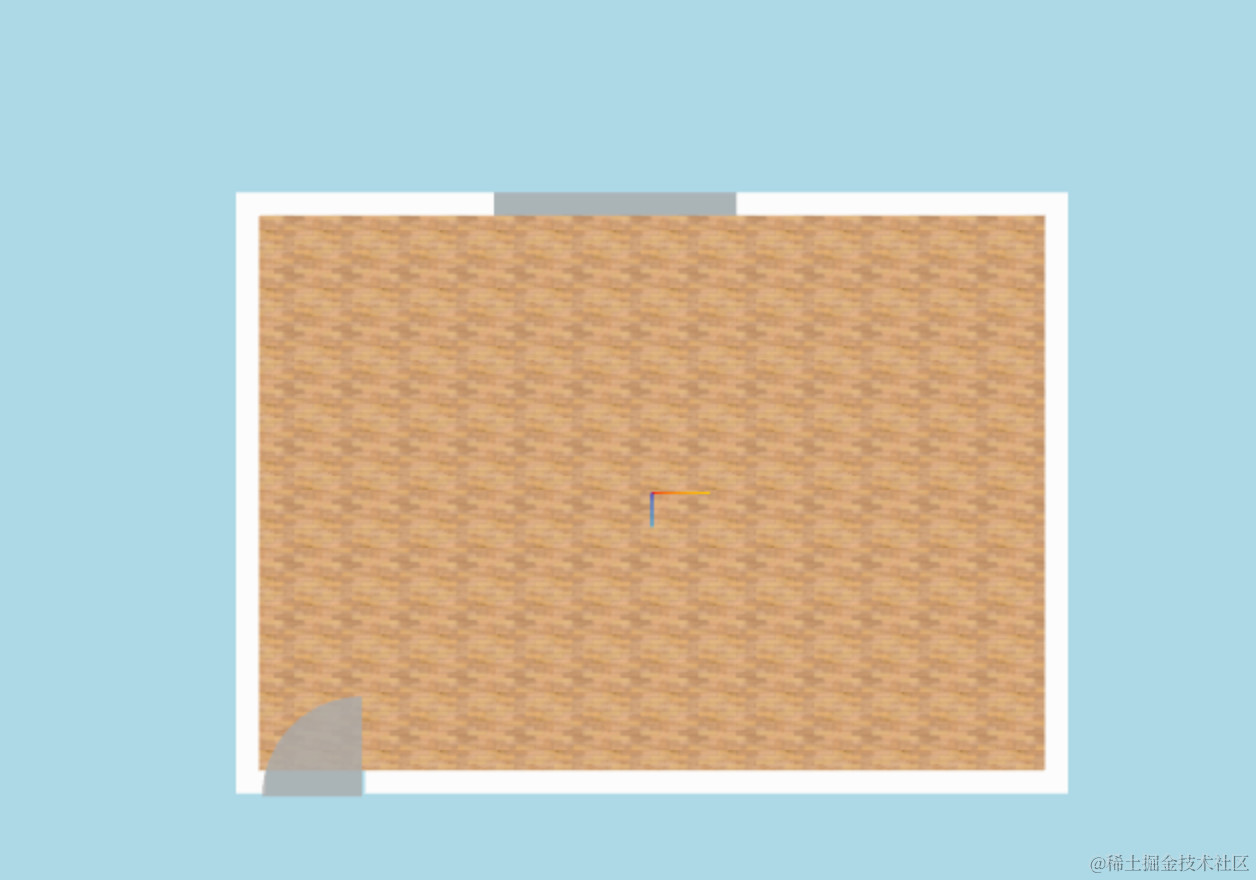
没啥问题。
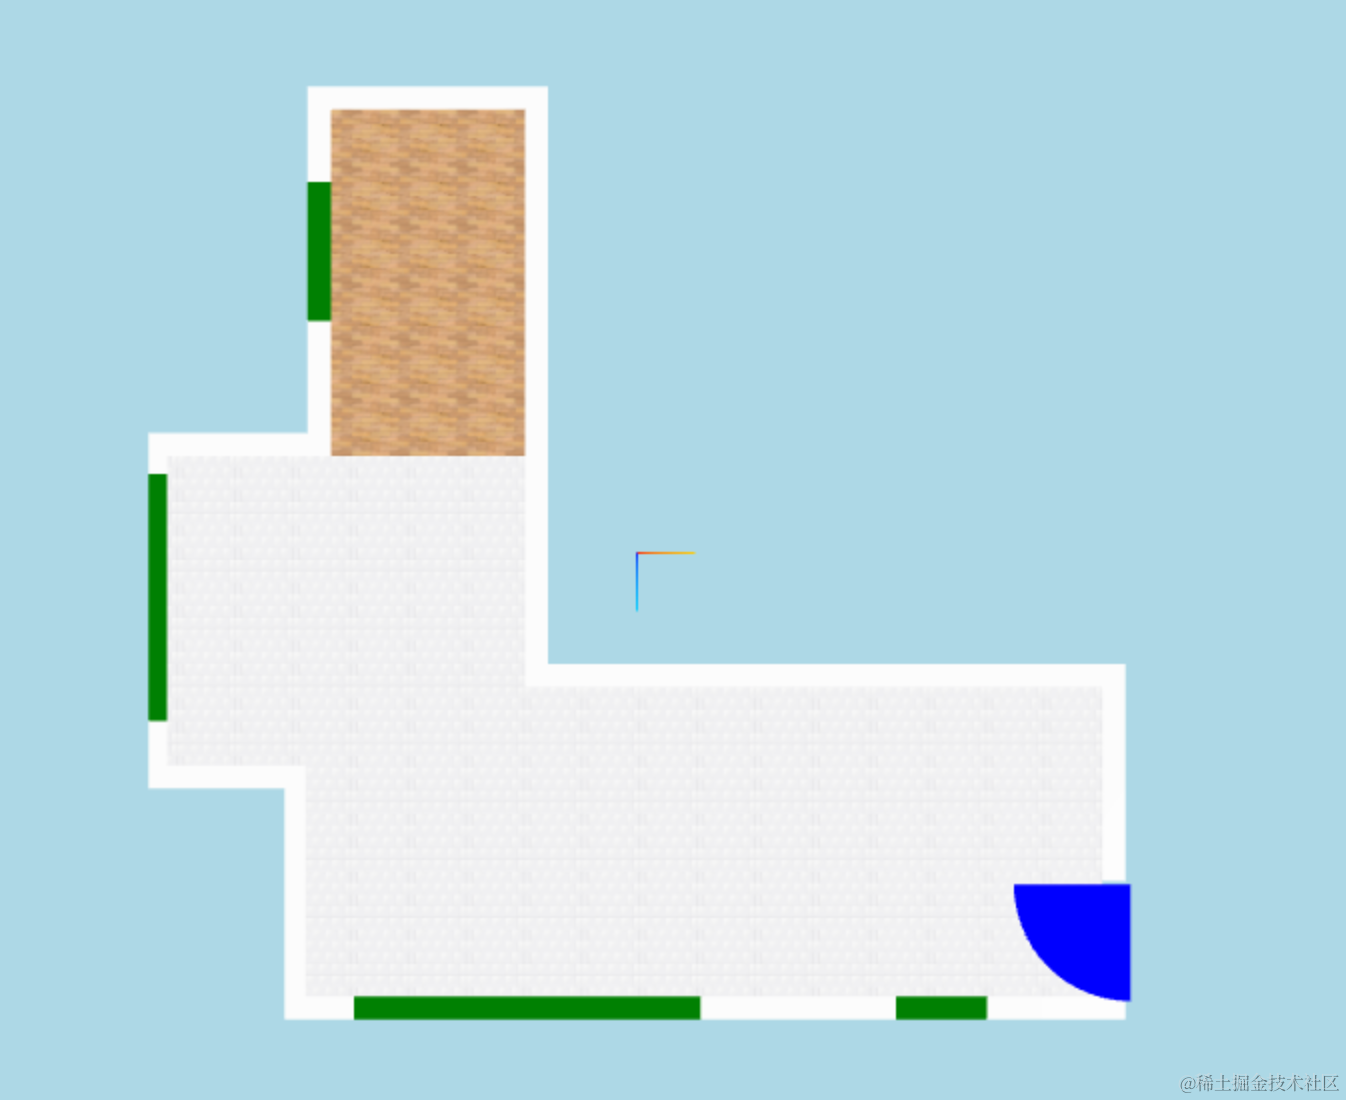
看下整体效果:

和 3D 视图一一对应的平面图就画好了。
这里没开启墙隐藏,不是很习惯那种功能:
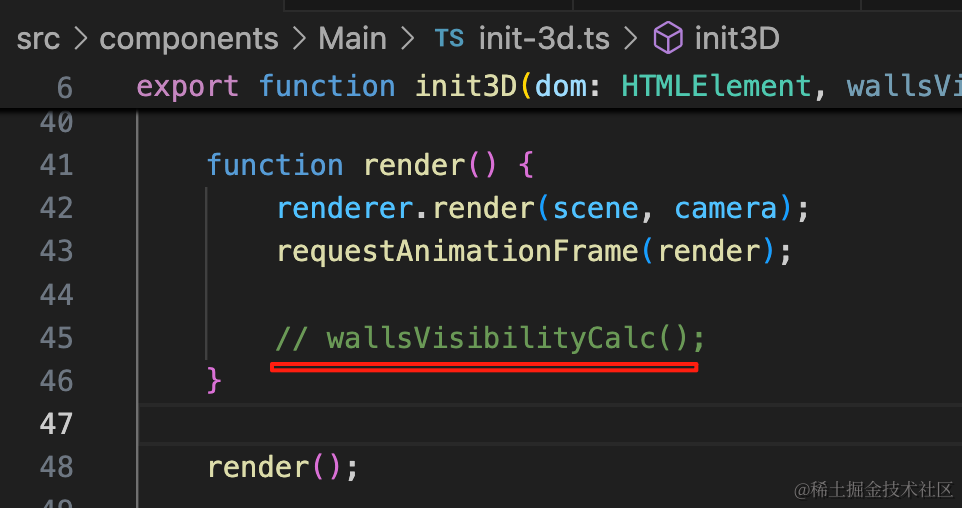
后面再开。
案例代码上传了小册仓库
总结
这节我们加上了 2D 视图门窗的绘制。
首先在门窗的位置挖洞,这个洞只需要计算 left 和 win.width 就行,整个挖通。
然后在洞的位置加一个矩形 PlaneGeometry 或者 ShapeGeometry。
门窗画好后,下节我们来做尺寸标注。