前面讲过,几何体是由顶点构成的,。
给 BufferGeometry 设置一堆顶点(attributes.position)就可以画出各种几何体。
但直接给一堆顶点坐标的方式太原始,也不方便。
所以我们一般是按照某种规律来生成几何体。
比如有了一条曲线,旋转一圈,是不是就形成了一个几何体?
比如有了一个形状,按某个路径拉伸一下,是不是就是一个几何体?
这节我们就来学下按照这些规律来生成几何体。
创建项目:
mkdir generate-geometry
cd generate-geometry
npm init -y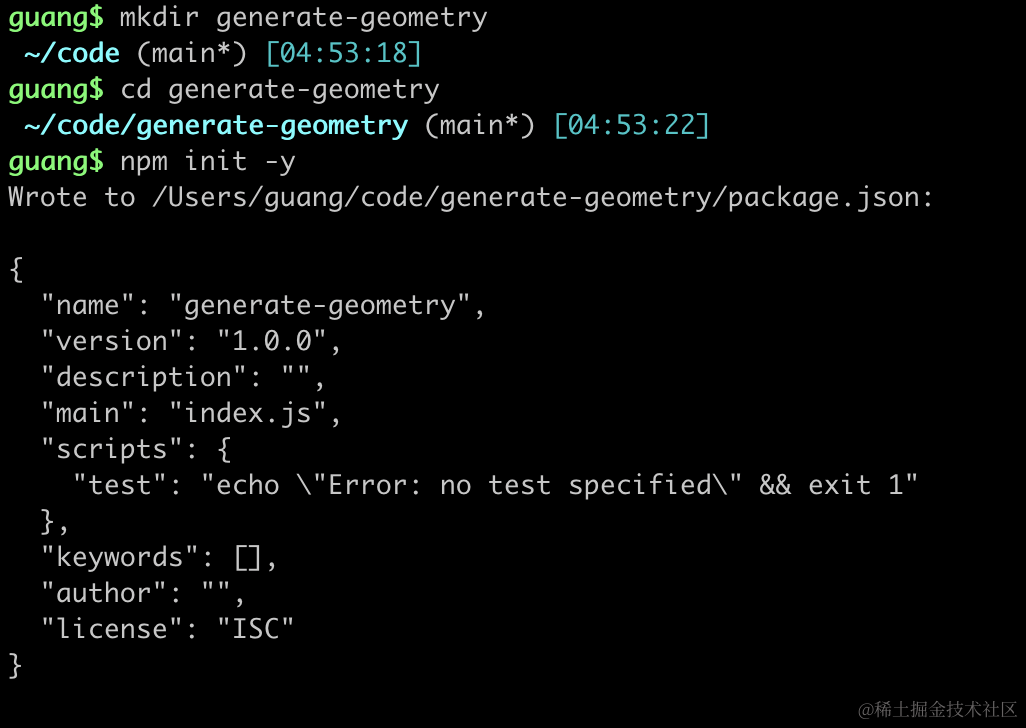
进入项目,安装 ts 类型:
npm install --save-dev @types/three然后创建 index.html 和 index.js
<!DOCTYPE html>
<html lang="en">
<head>
<meta charset="UTF-8">
<meta name="viewport" content="width=device-width, initial-scale=1.0">
<title>Document</title>
<style>
body {
margin: 0;
}
</style>
</head>
<body>
<script type="importmap">
{
"imports": {
"three": "https://esm.sh/three@0.174.0/build/three.module.js",
"three/addons/": "https://esm.sh/three@0.174.0/examples/jsm/"
}
}
</script>
<script type="module" src="./index.js"></script>
</body>
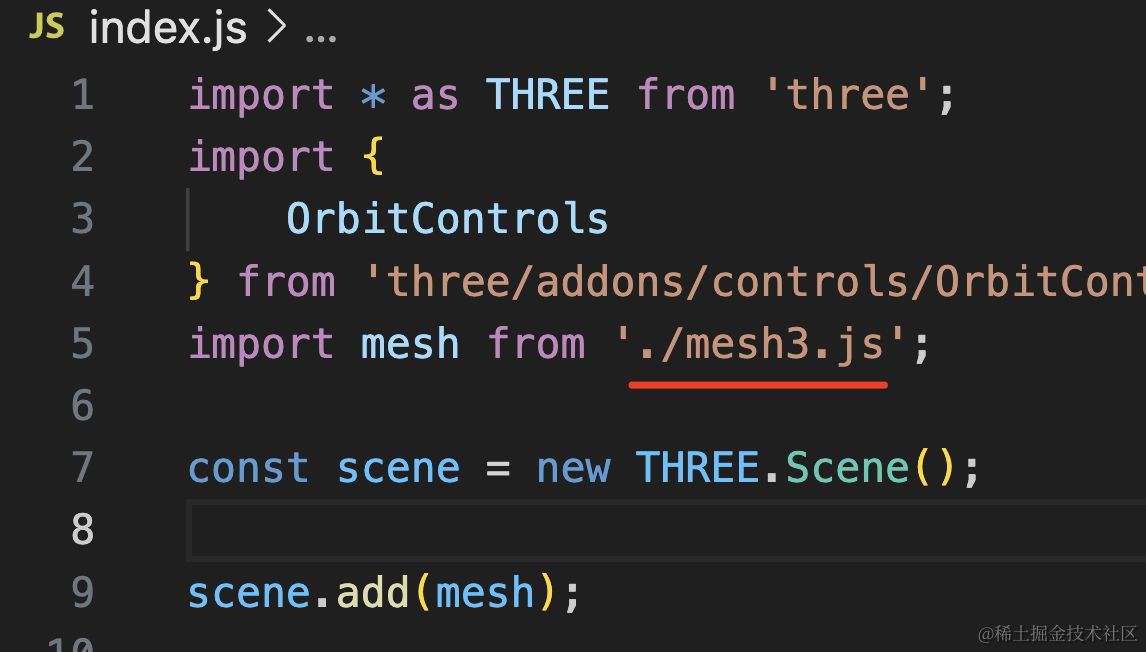
</html>创建 index.js
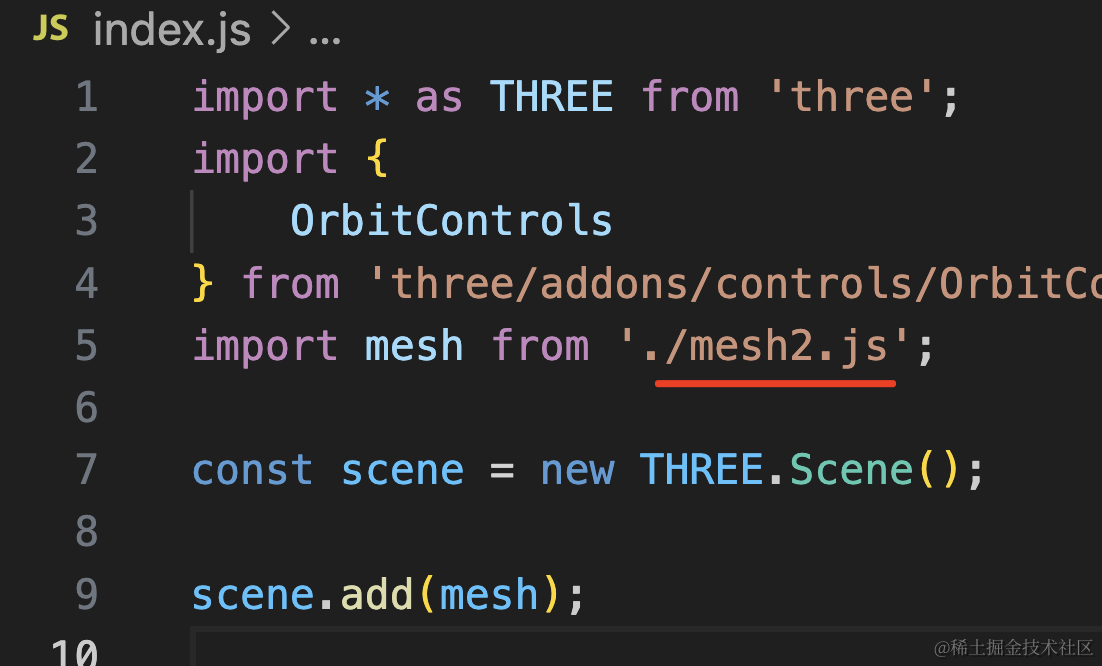
import * as THREE from 'three';
import {
    OrbitControls
} from 'three/addons/controls/OrbitControls.js';
import mesh from './mesh.js';

const scene = new THREE.Scene();

scene.add(mesh);

const directionLight = new THREE.DirectionalLight(0xffffff);
directionLight.position.set(100, 100, 100);
scene.add(directionLight);

const axesHelper = new THREE.AxesHelper(200);
scene.add(axesHelper);

const width = window.innerWidth;
const height = window.innerHeight;

const camera = new THREE.PerspectiveCamera(60, width / height, 1, 10000);
camera.position.set(200, 200, 200);
camera.lookAt(0, 0, 0);

const renderer = new THREE.WebGLRenderer();
renderer.setSize(width, height)

function render() {
    renderer.render(scene, camera);
    requestAnimationFrame(render);
}

render();

document.body.append(renderer.domElement);

const controls = new OrbitControls(camera, renderer.domElement);
引入 Three.js,创建 Scene、Camera、Renderer,添加一个平行光源。
LatheGeometry
然后来写下 mesh.js
import * as THREE from 'three';

const pointsArr = [
    new THREE.Vector2(0, 0),
    new THREE.Vector2(50, 50),
    new THREE.Vector2(20, 80),
    new THREE.Vector2(0, 150)
];

const geometry = new THREE.LatheGeometry(pointsArr);

const materail = new THREE.MeshLambertMaterial({
    color: new THREE.Color('pink'),
    side: THREE.DoubleSide
});

const mesh = new THREE.Mesh(geometry, materail);

const geometry2 = new THREE.BufferGeometry();
geometry2.setFromPoints(pointsArr);
const material2 = new THREE.PointsMaterial({
    color: new THREE.Color('blue'),
    size: 10
});
const points2 = new THREE.Points(geometry2, material2);
const line2 = new THREE.Line(geometry2, new THREE.LineBasicMaterial());
mesh.add(points2, line2);

export default mesh;
这里用到 LatheGeometry 这个几何体,你可以叫它旋转成型。
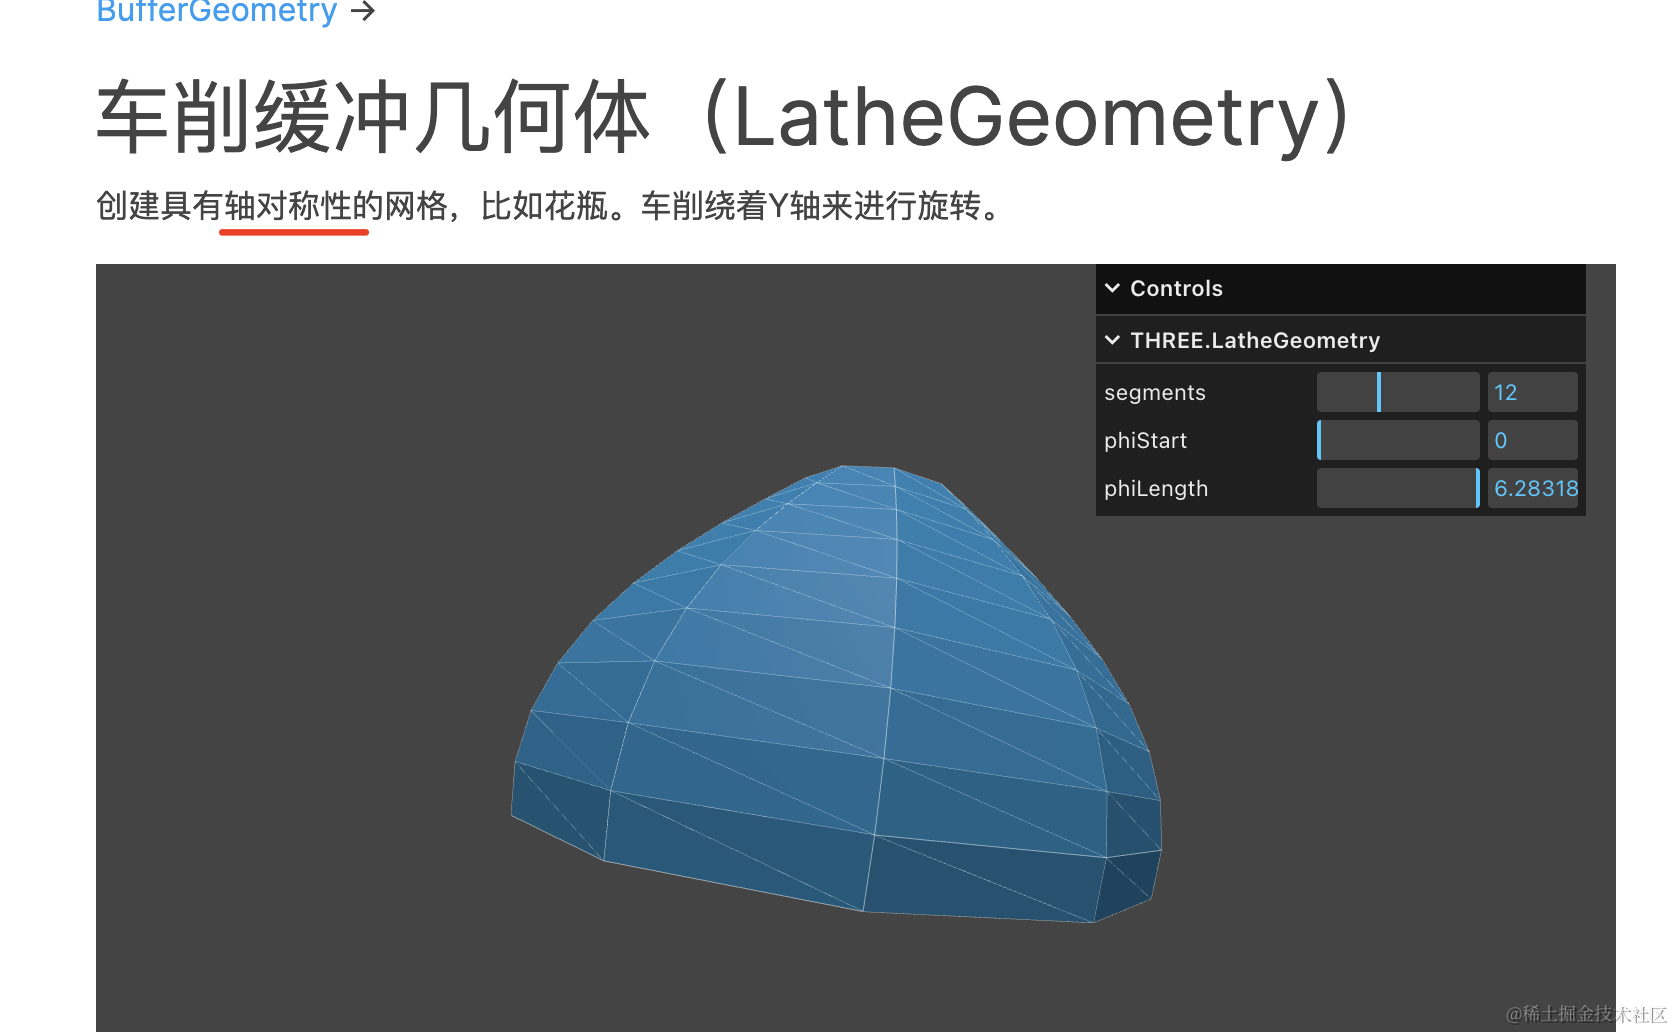
我们创建了 4 个点,让它用这条曲线绕 y 轴旋转一周,形成一个几何体。
然后用点模型、线模型,把那 4 个点可视化展示出来。
看下效果:
npx live-server
可以看到,确实是由 4 个点练成的线旋转成的。
背面看不到,我们加个环境光:
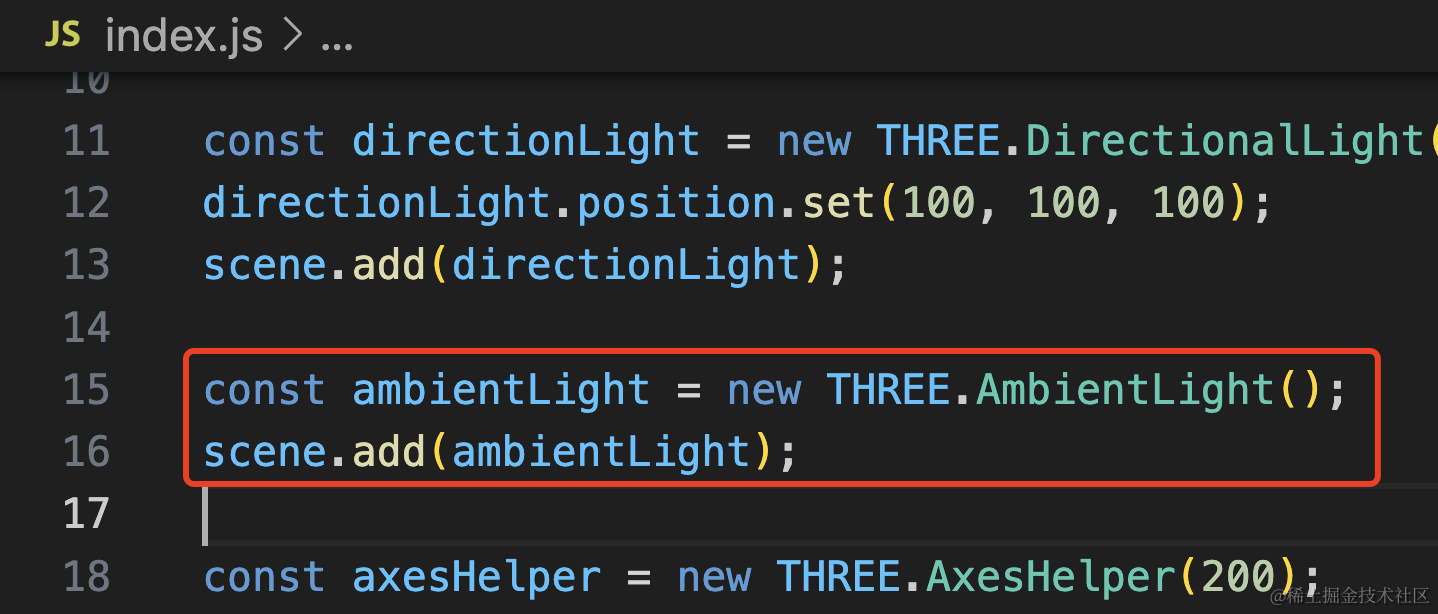
const ambientLight = new THREE.AmbientLight();
scene.add(ambientLight);
第二个参数是分段数,我们改小一点:
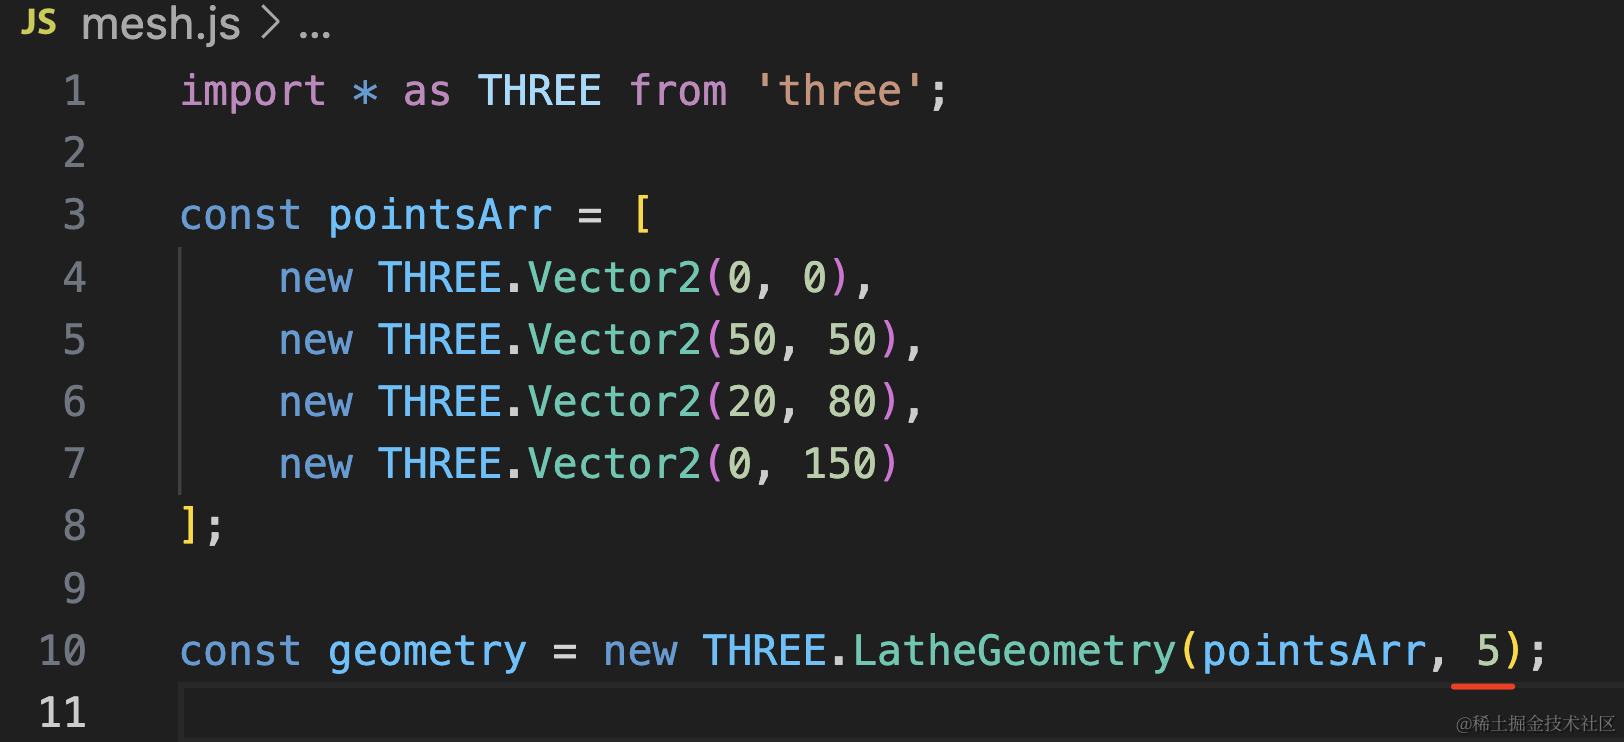

这样就不是很圆了。
TubeGeometry
除了绕 y 轴旋转成型外,这条曲线还可以直接生成一个管道。
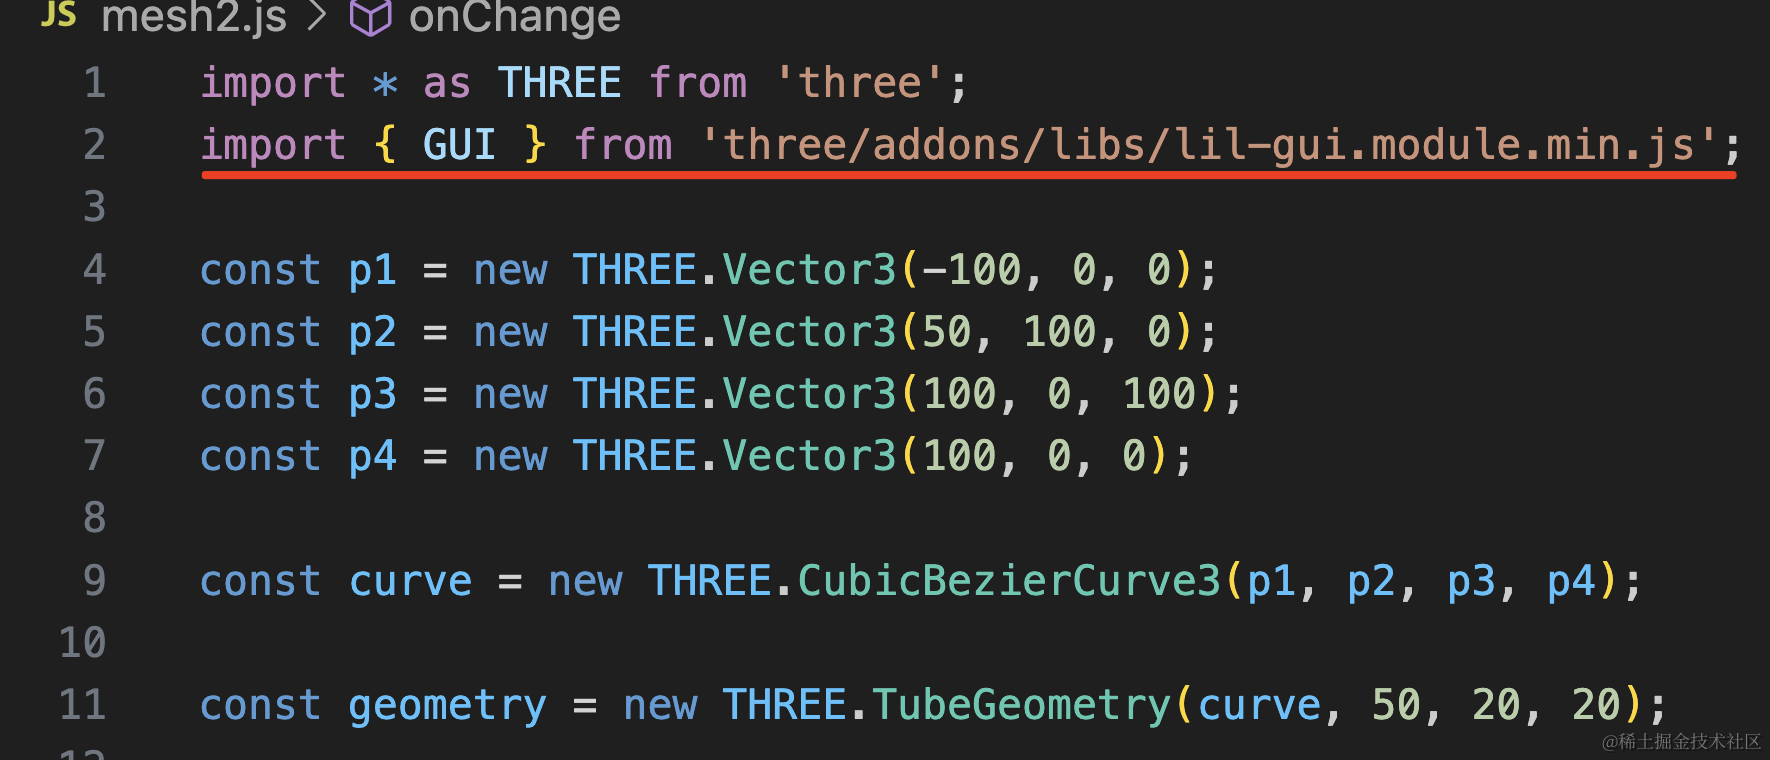
创建 mesh2.js
import * as THREE from 'three';

const p1 = new THREE.Vector3(-100, 0, 0);
const p2 = new THREE.Vector3(50, 100, 0);
const p3 = new THREE.Vector3(100, 0, 100);
const p4 = new THREE.Vector3(100, 0, 0);

const curve = new THREE.CubicBezierCurve3(p1, p2, p3, p4);

const geometry = new THREE.TubeGeometry(curve, 50, 20, 20);

const materail = new THREE.MeshLambertMaterial({
    color: new THREE.Color('orange'),
    side: THREE.DoubleSide,
    wireframe: true
});

const mesh = new THREE.Mesh(geometry, materail);

const geometry2 = new THREE.BufferGeometry();
geometry2.setFromPoints([p1,p2,p3,p4]);
const material2 = new THREE.PointsMaterial({
    color: new THREE.Color('blue'),
    size: 10
});
const points2 = new THREE.Points(geometry2, material2);
const line2 = new THREE.Line(geometry2, new THREE.LineBasicMaterial());
mesh.add(points2, line2);

export default mesh;
这里用的是上节那个三次贝塞尔曲线,用 TubeGeometry 生成管道,传入曲线路径即可。
设置 wireframe 为 true,展示线框。
看下效果:
TubeGeometry 的后面几个参数分别是组成管道的分段数、半径、圆的分段数
我们引入 dat.gui 调试下:
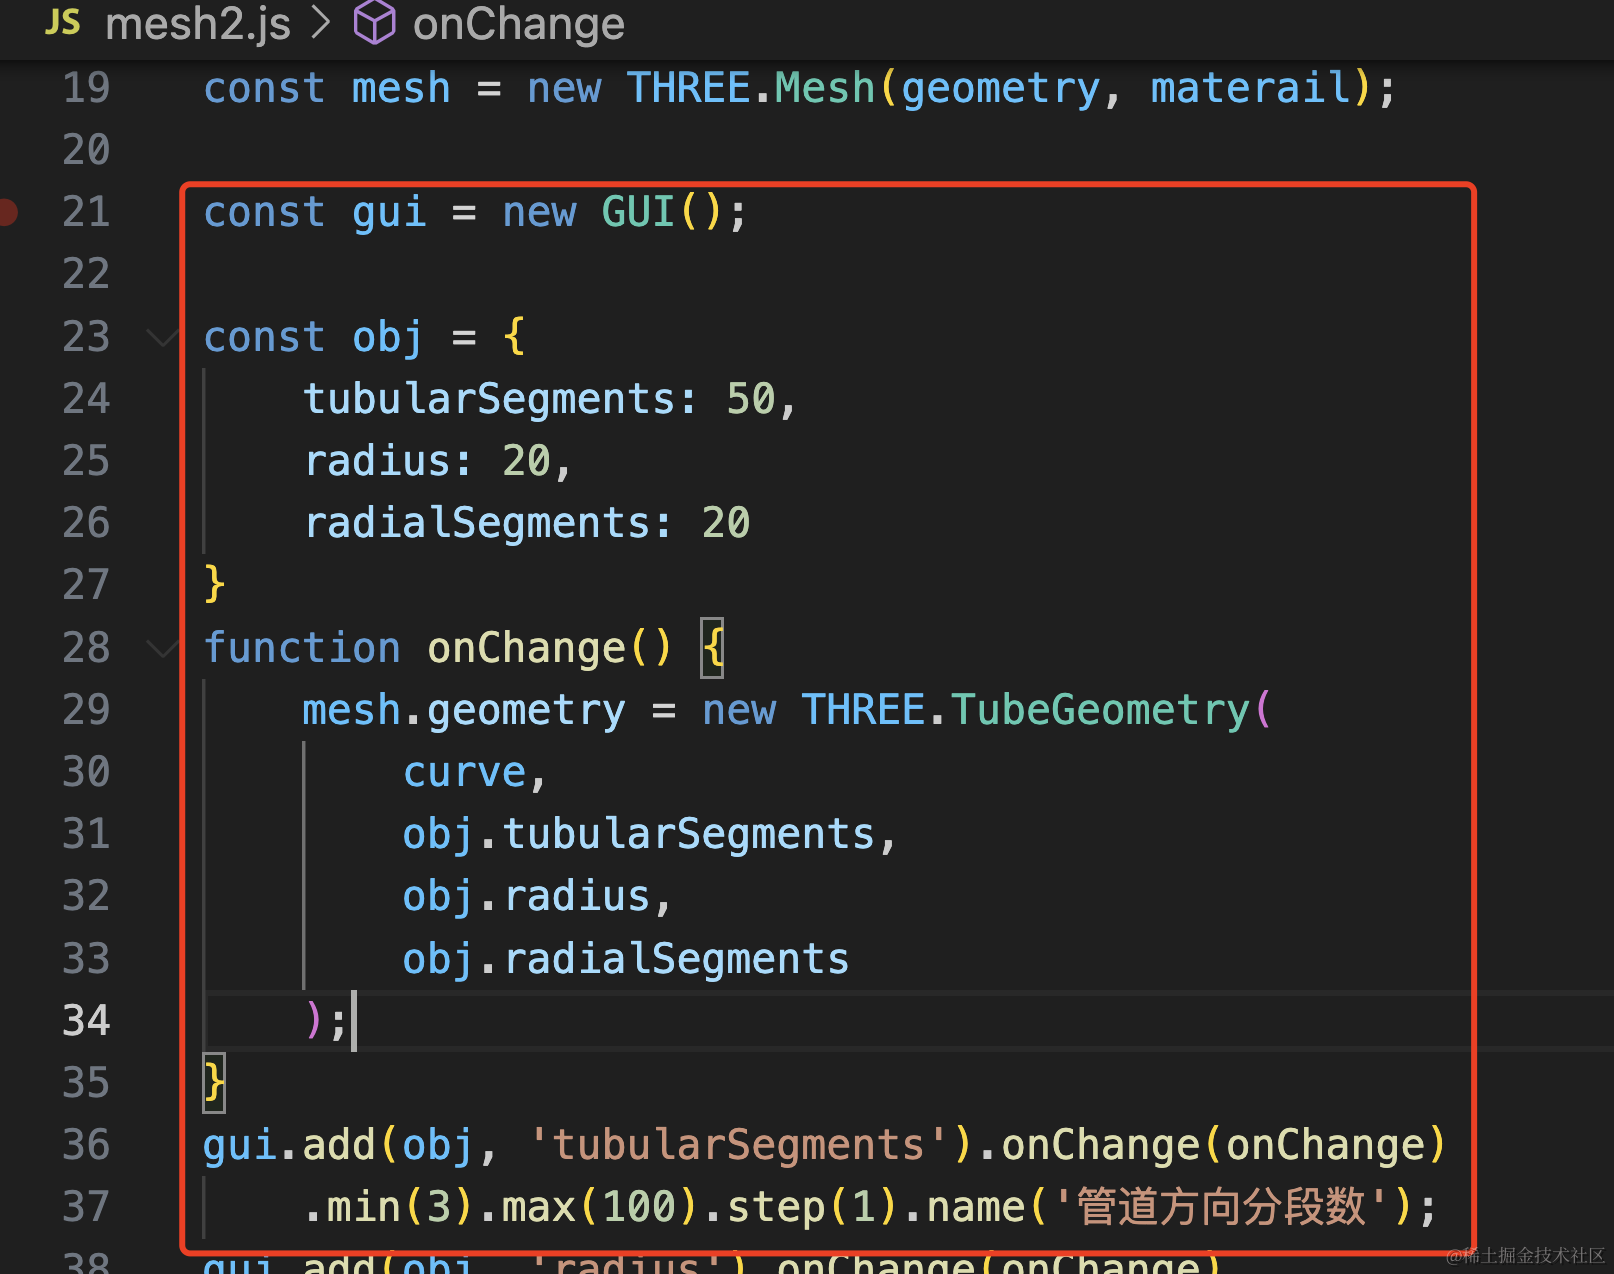
import { GUI } from 'three/addons/libs/lil-gui.module.min.js';const gui = new GUI();
const obj = {
tubularSegments: 50,
radius: 20,
radialSegments: 20
}
function onChange() {
mesh.geometry = new THREE.TubeGeometry(
curve,
obj.tubularSegments,
obj.radius,
obj.radialSegments
);
}
gui.add(obj, 'tubularSegments').onChange(onChange)
.min(3).max(100).step(1).name('管道方向分段数');
gui.add(obj, 'radius').onChange(onChange)
.min(10).max(100).step(0.1).name('半径');
gui.add(obj, 'radialSegments').onChange(onChange)
.min(3).max(100).step(1).name('横截面分段数');通过 min、max 指定范围,这样就有拖动条了。整数的 step 设置为 1
试一下:

可视化的调试,一目了然。
Shape + ShapeGeometry
Three.js 里可以通过 Shape 定义多边形:
创建 mesh3.js
import * as THREE from 'three';

const pointsArr = [
    new THREE.Vector2(100, 0),
    new THREE.Vector2(50, 20),
    new THREE.Vector2(0, 0),
    new THREE.Vector2(0, 50),
    new THREE.Vector2(50, 100)
];

const shape = new THREE.Shape(pointsArr);

const geometry = new THREE.ShapeGeometry(shape);
const material = new THREE.MeshLambertMaterial({
    color: new THREE.Color('lightgreen')
});

const mesh = new THREE.Mesh(geometry, material);

export default mesh;
5 个点连成了一个形状 Shape,然后用 ShapeGeometry 画出来。
看下效果:
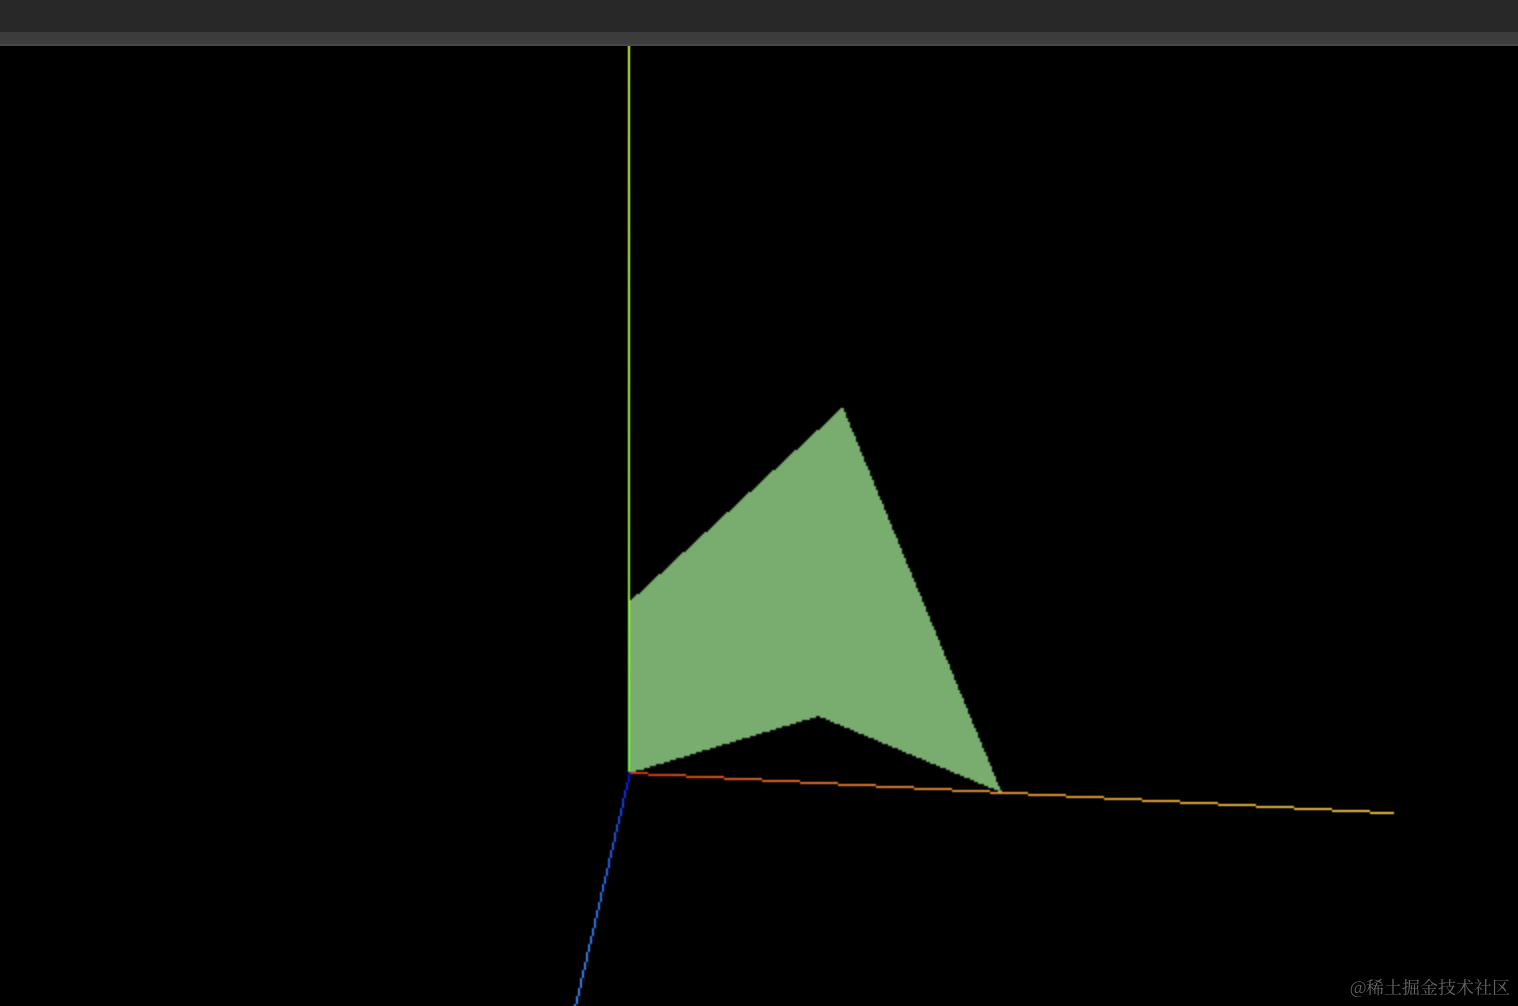
这就是一个自定义多边形。
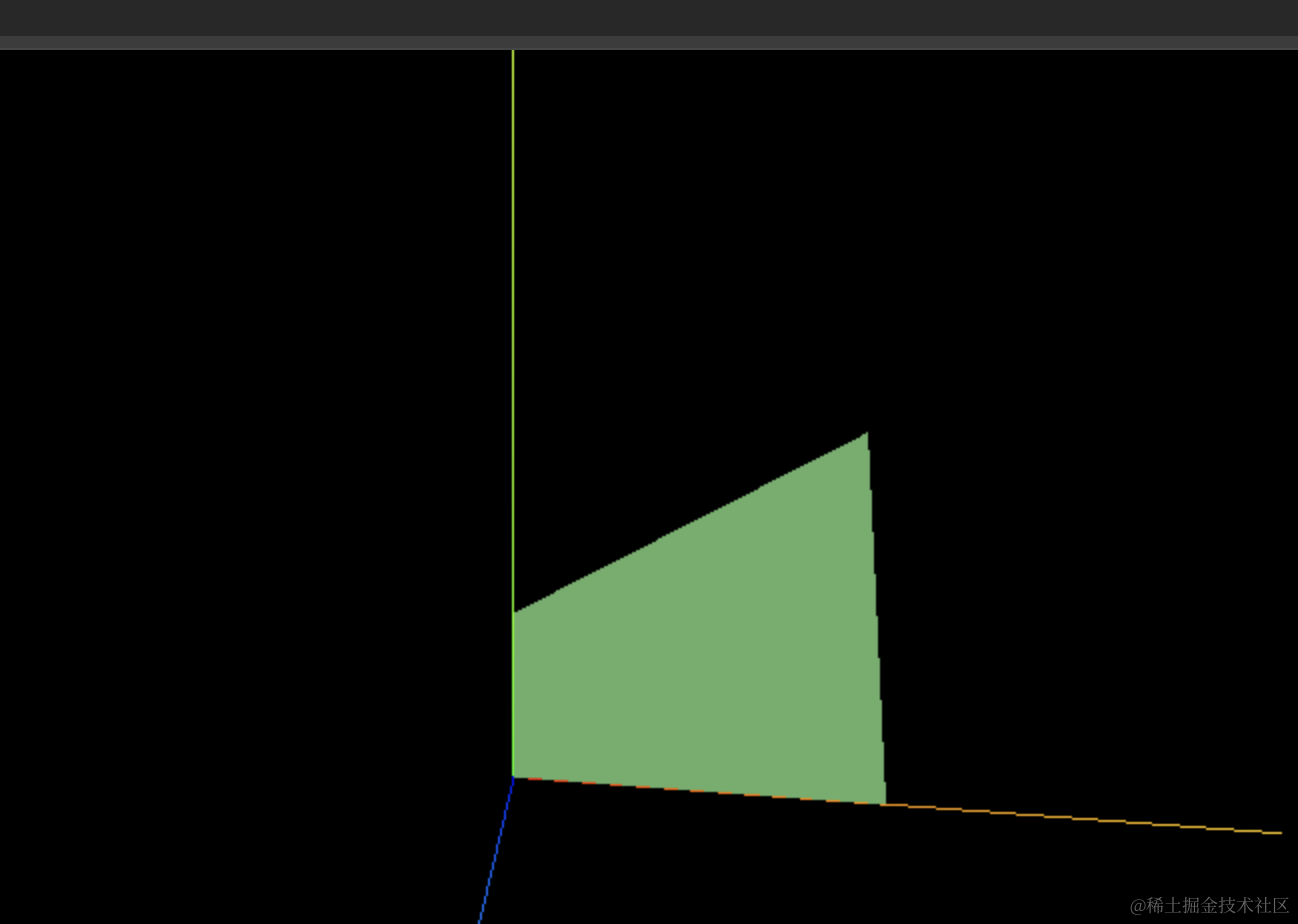
除了传入点之外,还有第二种定义方式:
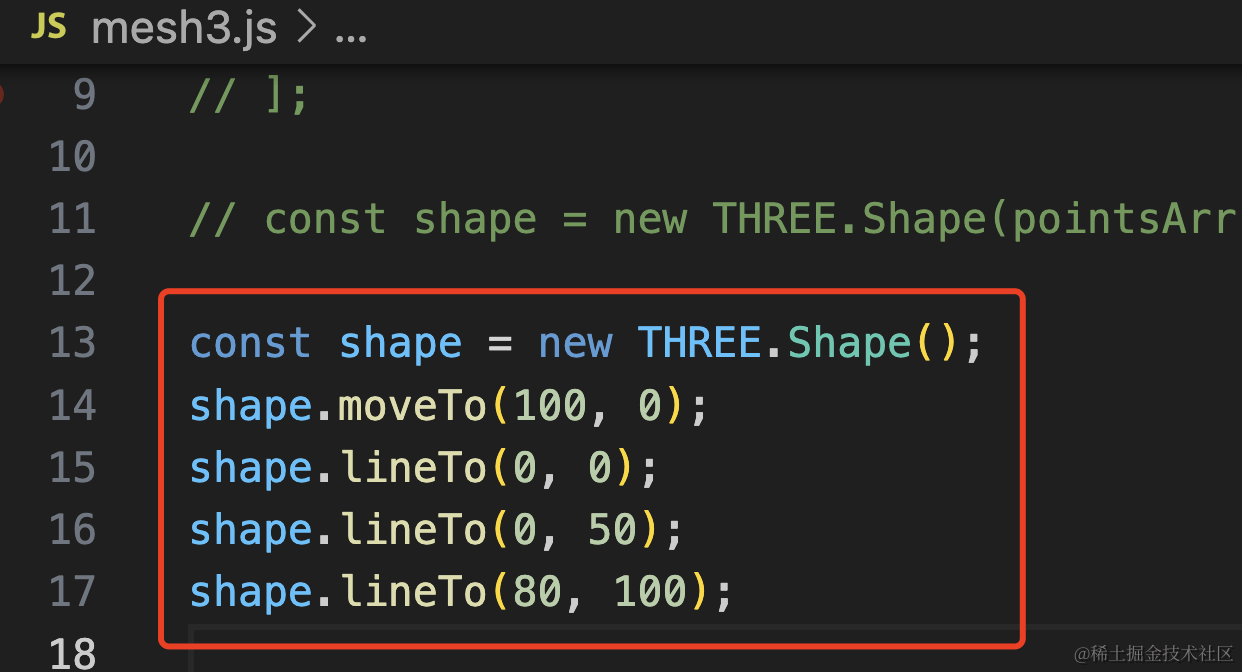
const shape = new THREE.Shape();
shape.moveTo(100, 0);
shape.lineTo(0, 0);
shape.lineTo(0, 50);
shape.lineTo(80, 100);
这样也可以:
这个 shape 还可以挖孔:
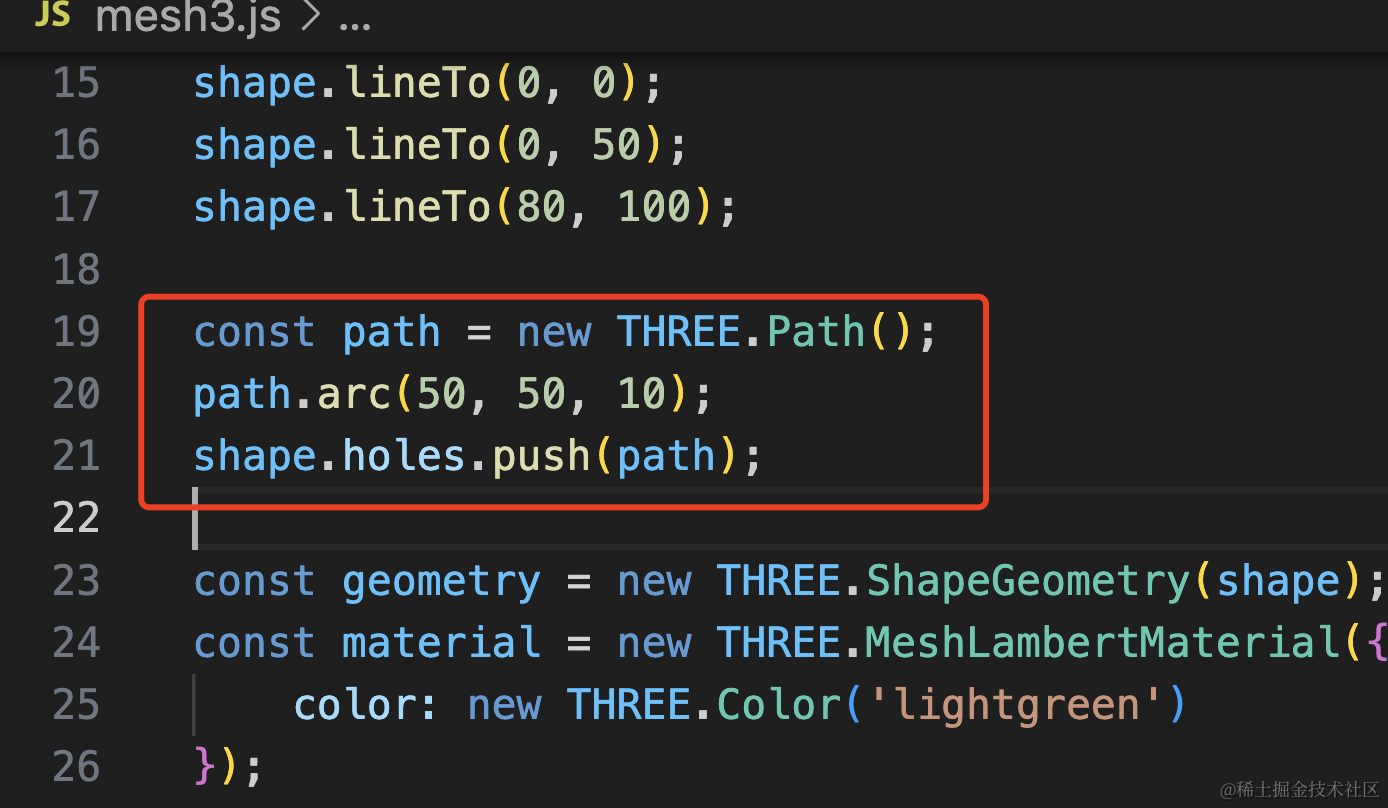
const path = new THREE.Path();
path.arc(50, 50, 10);
shape.holes.push(path);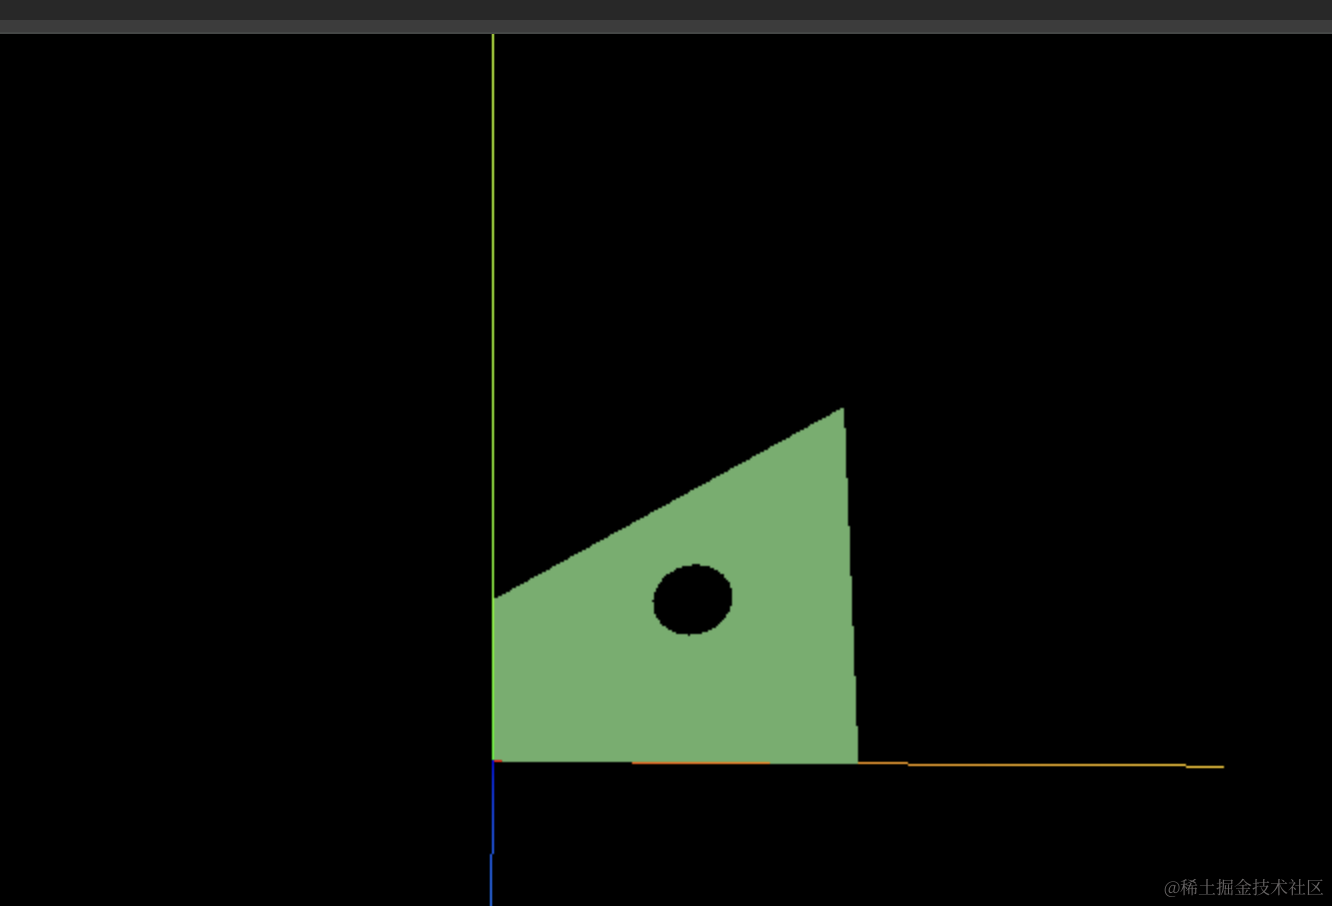
Shape + ExtrudeGeometry
有了多边形之后,那是不是沿着某个方向拉伸一下,就是一个新的几何体呢?
把 ShapeGeometry 换成拉伸的几何体 ExtrudeGeometry:

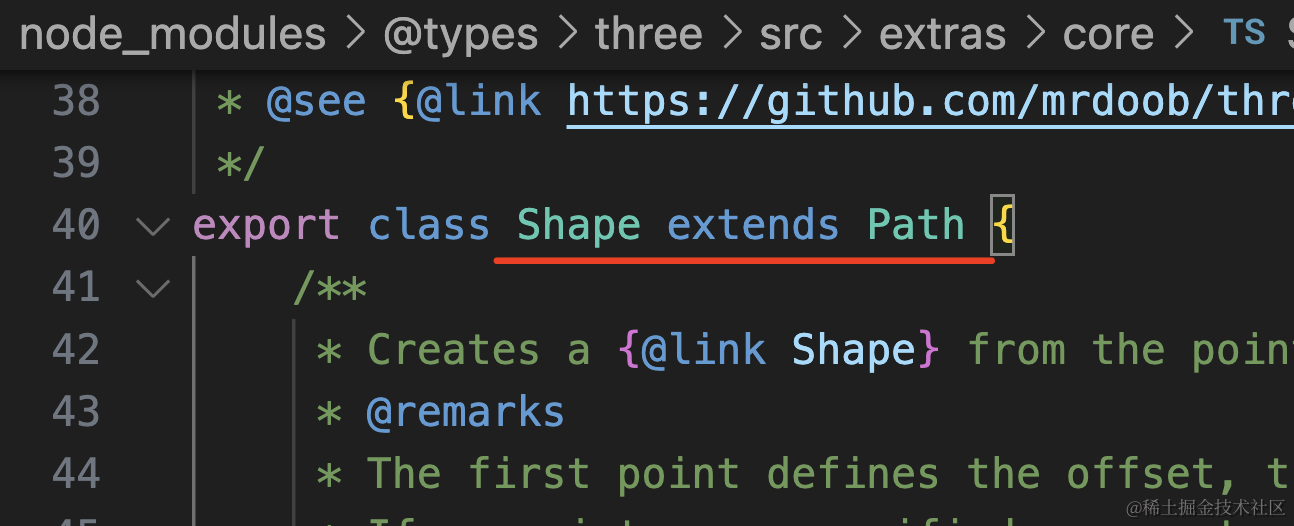
const geometry = new THREE.ExtrudeGeometry(shape, {
    depth: 100
});
这里传入 shape 或者 path 对象都行,因为 Shape 是 Path 的子类:
看下效果:
这样就拉伸成了立体的几何体。
案例代码上传了小册仓库。
总结
几何体是由一堆顶点构成的三角形构成的,但直接写顶点数据太麻烦,Three.js 提供了一些 API 可以按照一些规律来生成几何体。
LatheGeometry 可以由曲线绕 y 轴旋转生成几何体
TubeGeometry 可以由曲线生成一定半径的空心管道
ShapeGeometry 可以通过 Shape 来生成多边形,Shape 可以传入一堆点构成,也可以通过 lineTo、moveTo 等 api 来画。shape.holes 可以定义内孔。
ExtrudeGeometry 可以通过 Shape 拉伸形成几何体。
按照这些规律,可以生成很多有用的几何体。