其实学了物理引擎 cannon 之后,我们能做一些带物理效果的游戏了,比如打保龄球:
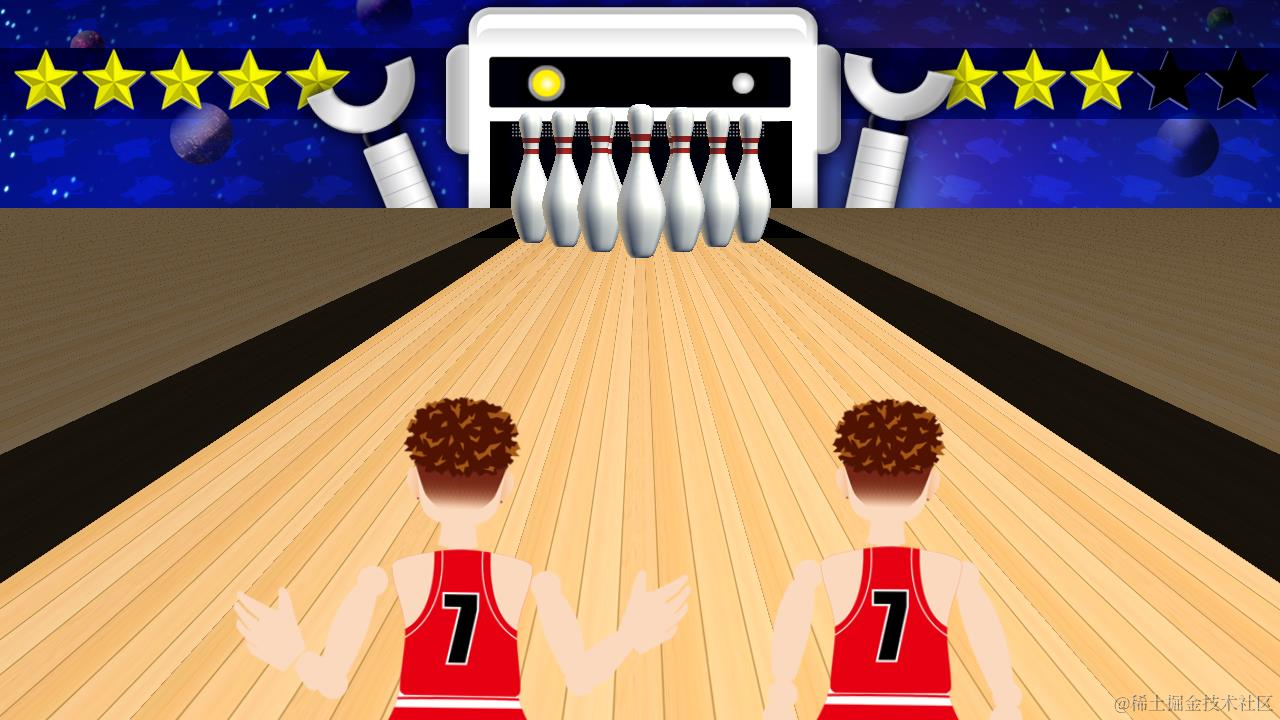
给球一个推力,让他沿着鼠标拖动的方向前进。
碰到保龄球瓶的时候,会把它们撞倒,根据撞倒的保龄球瓶数量来记分。
如何给球一个推力,如何指定推力方向,如何设置物体碰撞效果,我们都学过了,那自然可以实现这样的效果。
我们来写一下:
npx create-vite bowling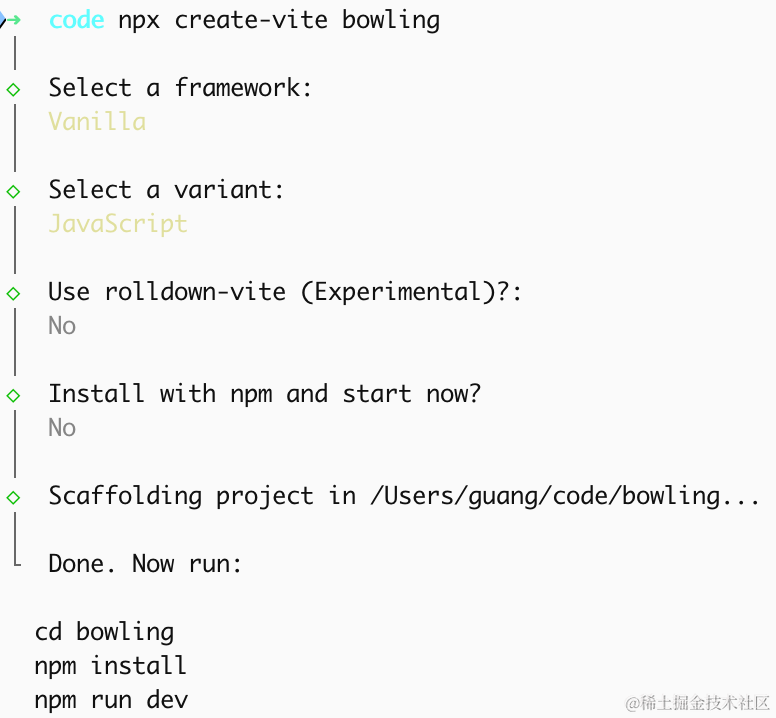
进入项目,安装依赖:
pnpm install
pnpm install --save three
pnpm install --save-dev @types/three
改下 src/main.js
import './style.css';
import * as THREE from 'three';
import {
    OrbitControls
} from 'three/addons/controls/OrbitControls.js';
import mesh from './mesh.js';

const scene = new THREE.Scene();

scene.add(mesh);

const directionLight = new THREE.DirectionalLight(0xffffff);
directionLight.position.set(500, 600, 800);
scene.add(directionLight);

const ambientLight = new THREE.AmbientLight();
scene.add(ambientLight);

const helper = new THREE.AxesHelper(1000);
scene.add(helper);

const width = window.innerWidth;
const height = window.innerHeight;

const camera = new THREE.PerspectiveCamera(60, width / height, 0.1, 10000);
camera.position.set(500, 600, 800);
camera.lookAt(0, 0, 0);

const renderer = new THREE.WebGLRenderer({
  antialias: true,
});
renderer.setSize(width, height)

function render() {
    renderer.render(scene, camera);
    requestAnimationFrame(render);
}

render();

document.body.append(renderer.domElement);

const controls = new OrbitControls(camera, renderer.domElement);
创建 Scene、Light、Camera、Renderer。
改下 style.css
body {
  margin: 0;
}
写一下 mesh.js
import * as THREE from 'three';

const boxGeometry = new THREE.BoxGeometry(200, 200, 200);
const boxMaterial = new THREE.MeshLambertMaterial({
    color: new THREE.Color('orange')
});
const box = new THREE.Mesh(boxGeometry, boxMaterial);

export default box;
看下效果:
npm run dev
然后我们先把球道画一下:
import * as THREE from 'three';

const group = new THREE.Group();

const laneGeometry = new THREE.PlaneGeometry(100, 500);
const laneMaterial = new THREE.MeshLambertMaterial({ color: 'orange' });
const laneMesh = new THREE.Mesh(laneGeometry, laneMaterial);
laneMesh.rotation.x = -Math.PI / 2;
group.add(laneMesh);

export default group;
调一下相机、灯光位置:
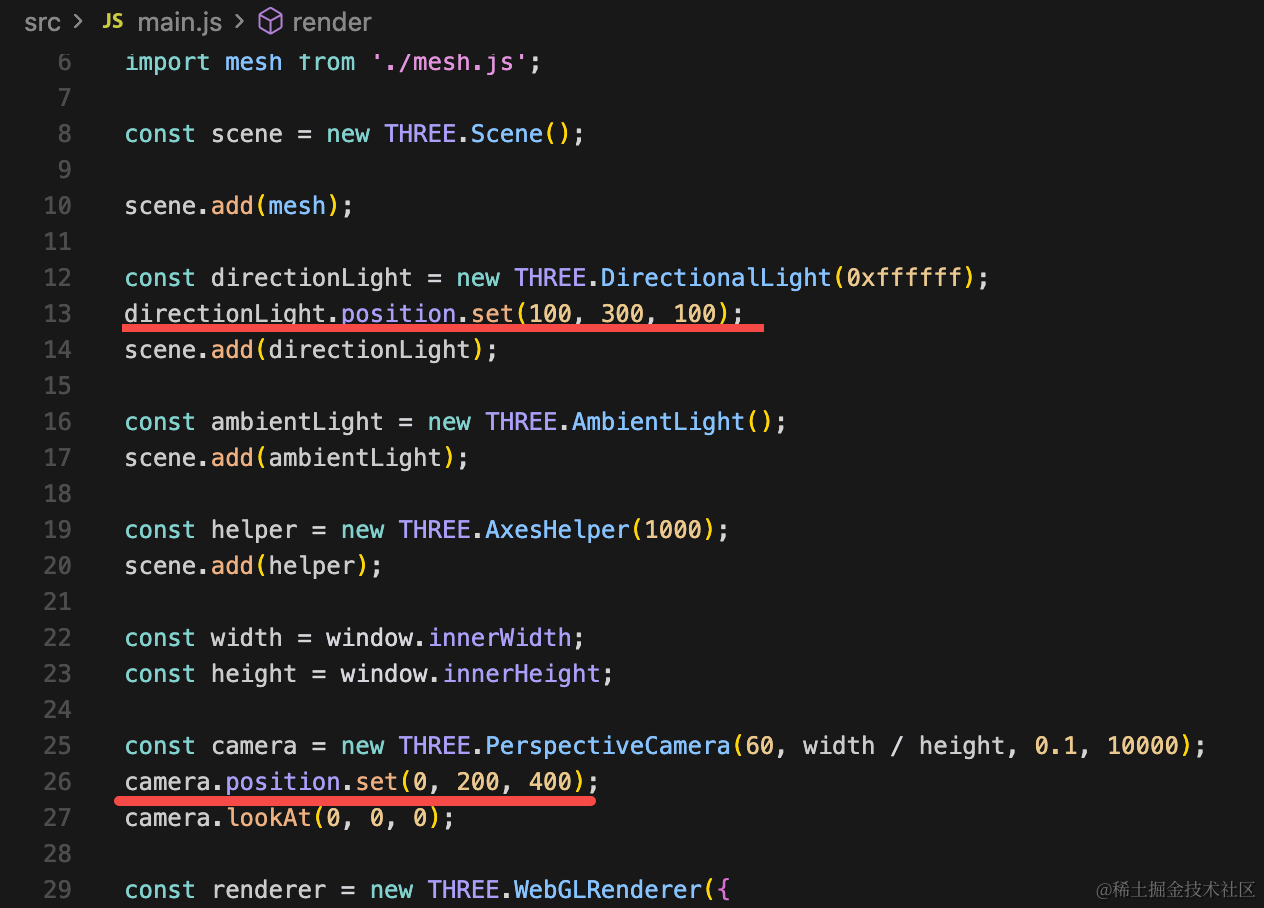
directionLight.position.set(100, 300, 100);camera.position.set(0, 200, 400);
保龄球道一般是这种木质纹理:
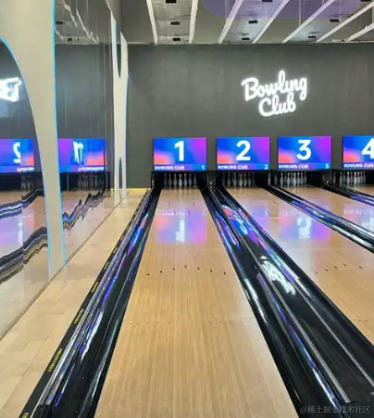
我们找张纹理图片:

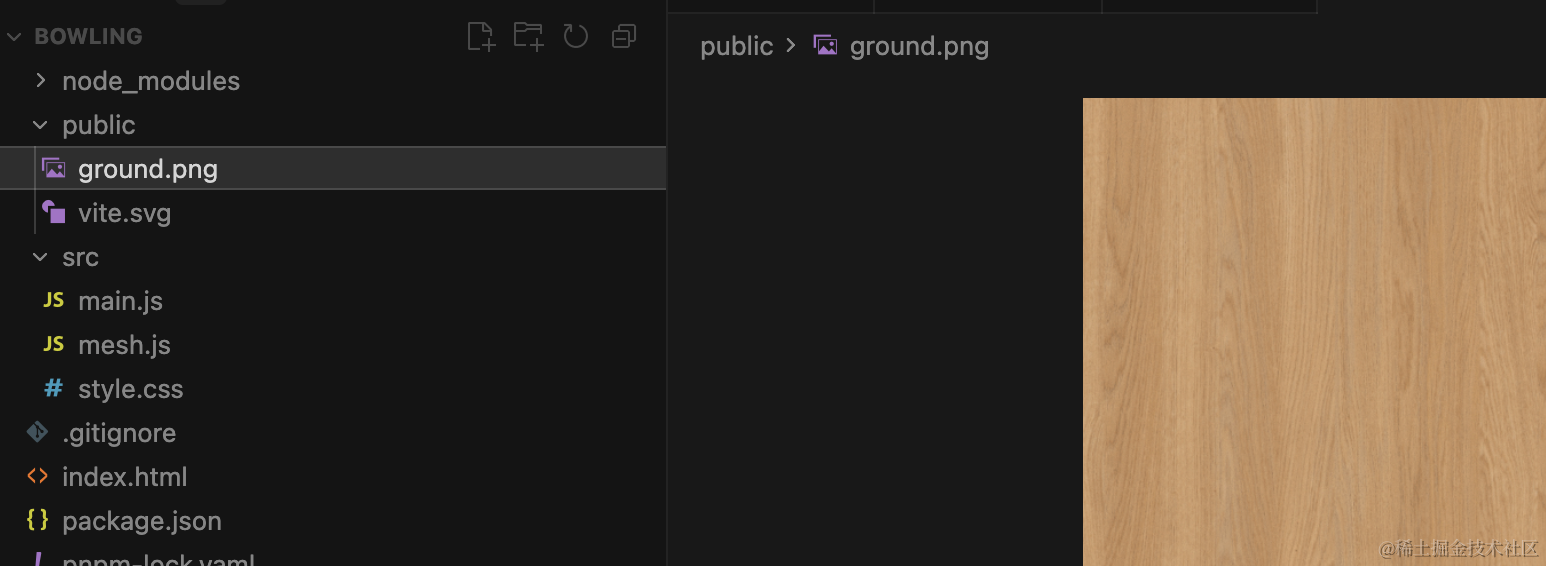
加载下:
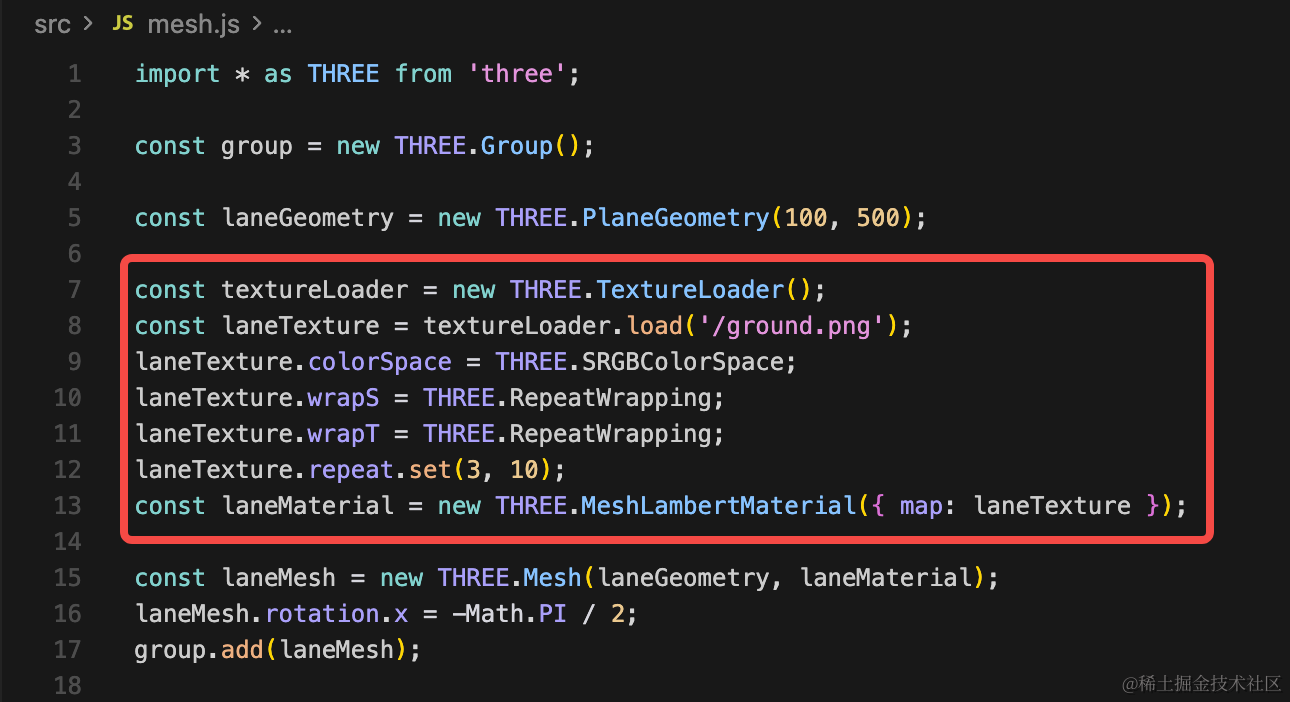
const textureLoader = new THREE.TextureLoader();
const laneTexture = textureLoader.load('/ground.png');
laneTexture.colorSpace = THREE.SRGBColorSpace;
laneTexture.wrapS = THREE.RepeatWrapping;
laneTexture.wrapT = THREE.RepeatWrapping;
laneTexture.repeat.set(3, 10);
const laneMaterial = new THREE.MeshLambertMaterial({ map: laneTexture, side: THREE.DoubleSide });
然后画一下两边的挡板:
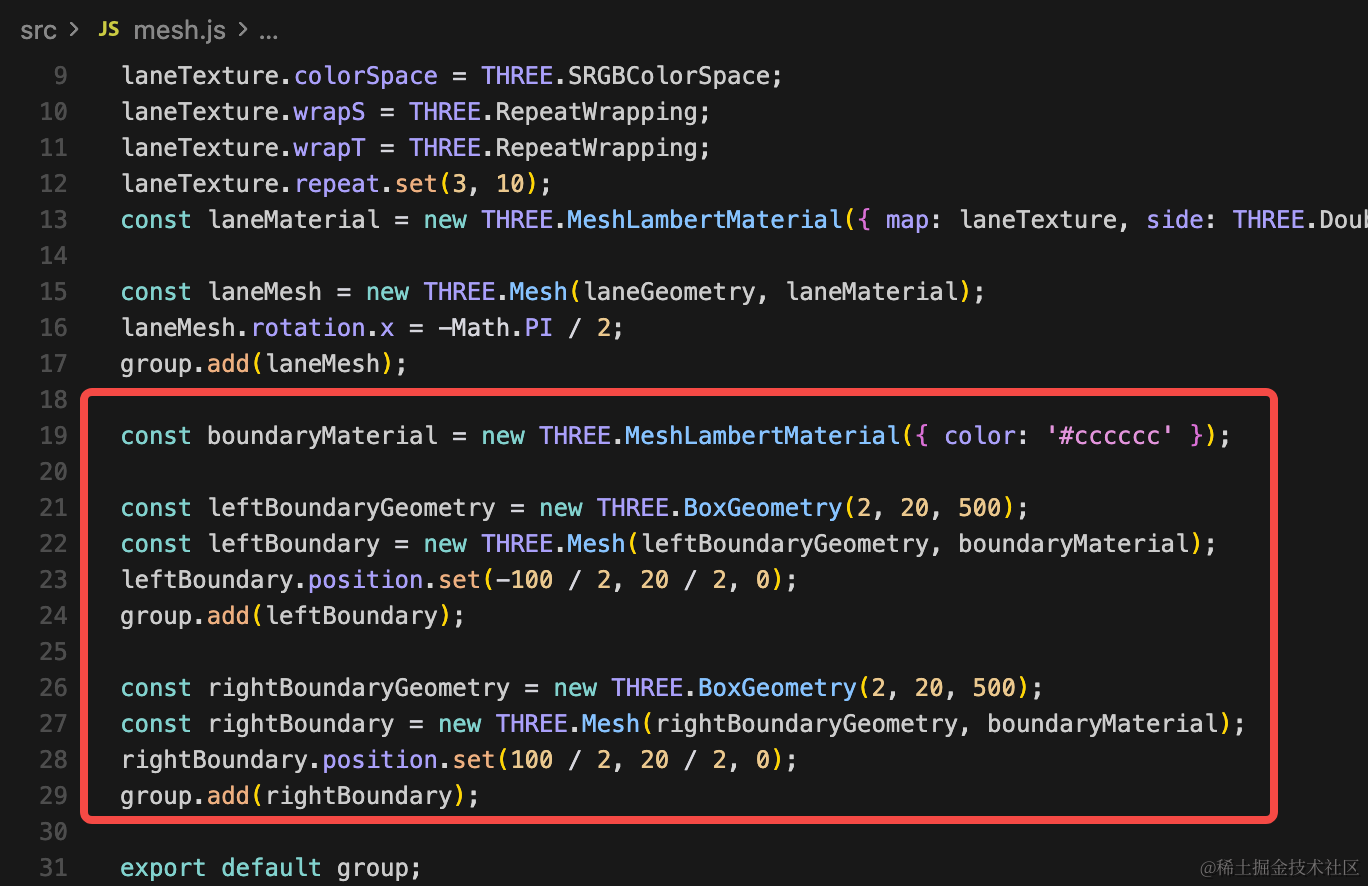
const boundaryMaterial = new THREE.MeshLambertMaterial({ color: '#cccccc' });

const leftBoundaryGeometry = new THREE.BoxGeometry(2, 20, 500);
const leftBoundary = new THREE.Mesh(leftBoundaryGeometry, boundaryMaterial);
leftBoundary.position.set(-100 / 2, 20 / 2, 0);
group.add(leftBoundary);

const rightBoundaryGeometry = new THREE.BoxGeometry(2, 20, 500);
const rightBoundary = new THREE.Mesh(rightBoundaryGeometry, boundaryMaterial);
rightBoundary.position.set(100 / 2, 20 / 2, 0);
group.add(rightBoundary);
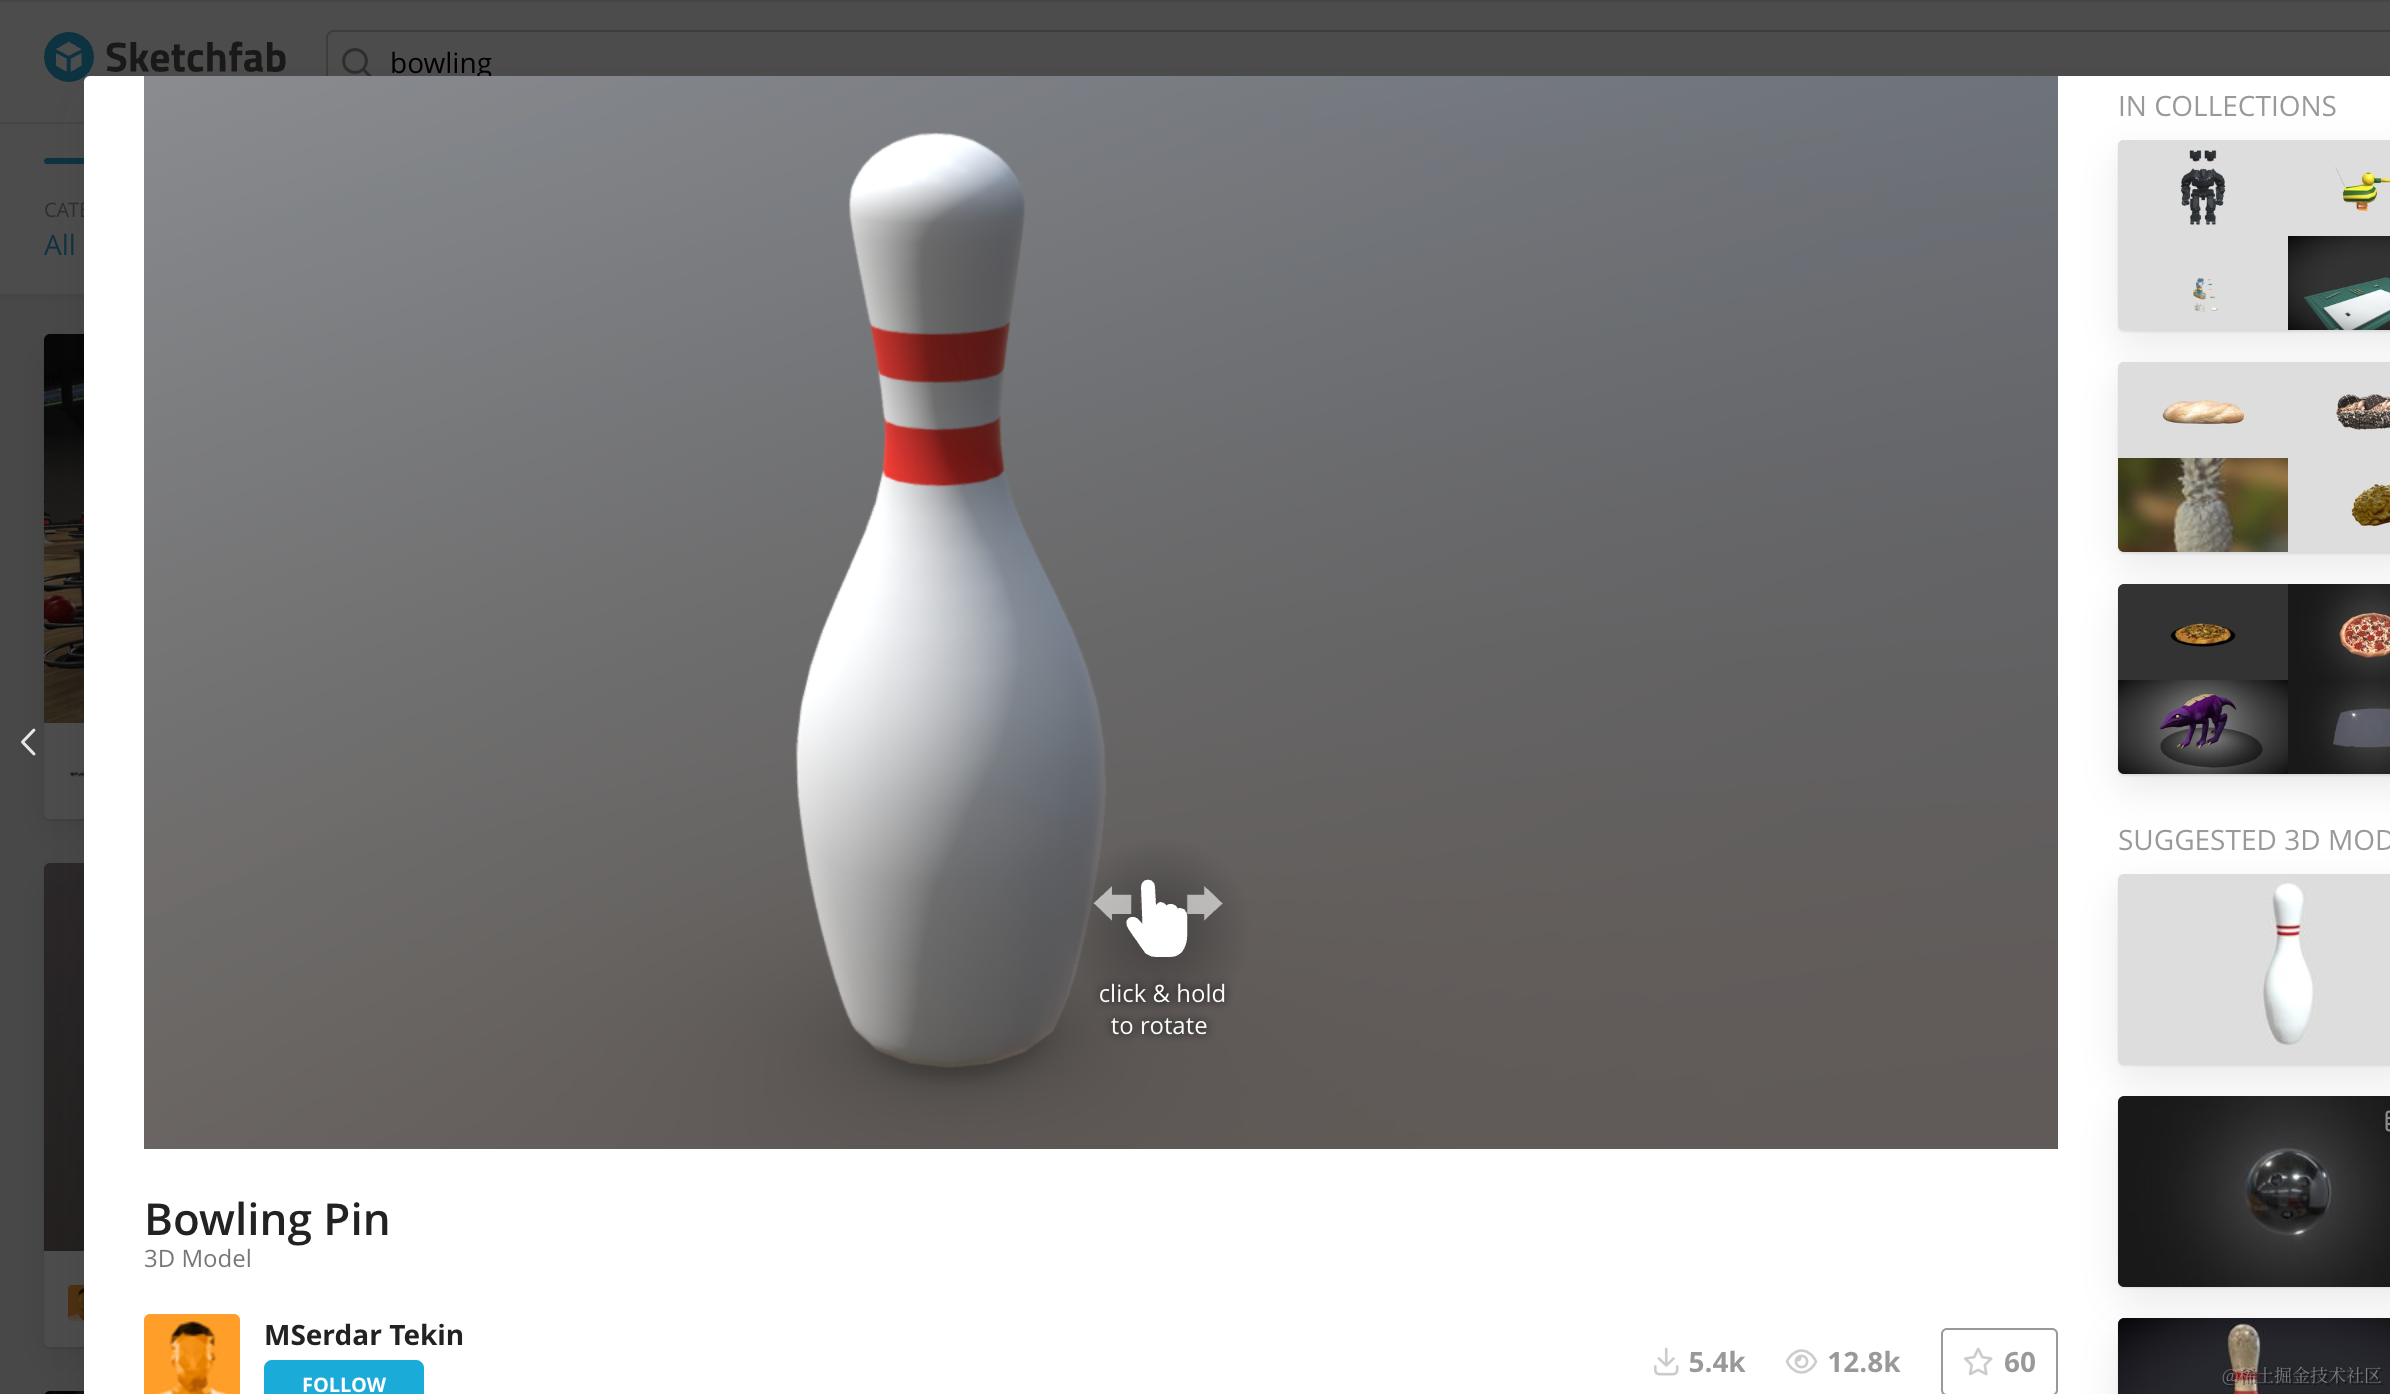
接下来找个保龄球、保龄球瓶的模型就好了:
https://sketchfab.com/3d-models/bowling-ball-fc8f1162901a4e38b506fe1ab229f296

https://sketchfab.com/3d-models/bowling-pin-028ccb945012460aa9056ffda5b53e20
下载下来,放到 public 目录:
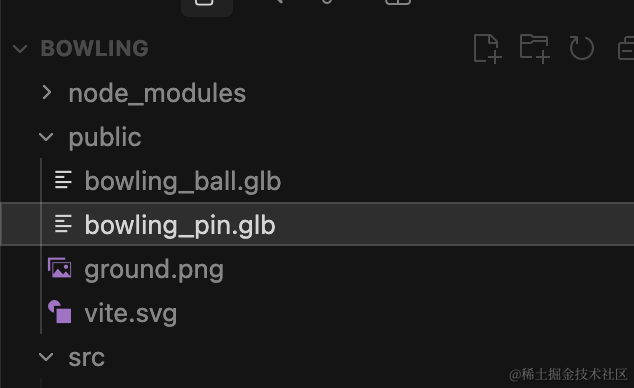
引入下:

const loader = new GLTFLoader();

loader.load("./bowling_ball.glb", function (gltf) {
    gltf.scene.scale.setScalar(50);
    group.add(gltf.scene);

    const box = new THREE.Box3();
    box.expandByObject(gltf.scene);

    const size = box.getSize(new THREE.Vector3());
    console.log(size);

    gltf.scene.position.y = size.y / 2;
    gltf.scene.position.z = 200;
});
用包围盒拿到保龄球的大小,然后调整下位置,让球在球道上。
同样的方式,加一下保龄球瓶:
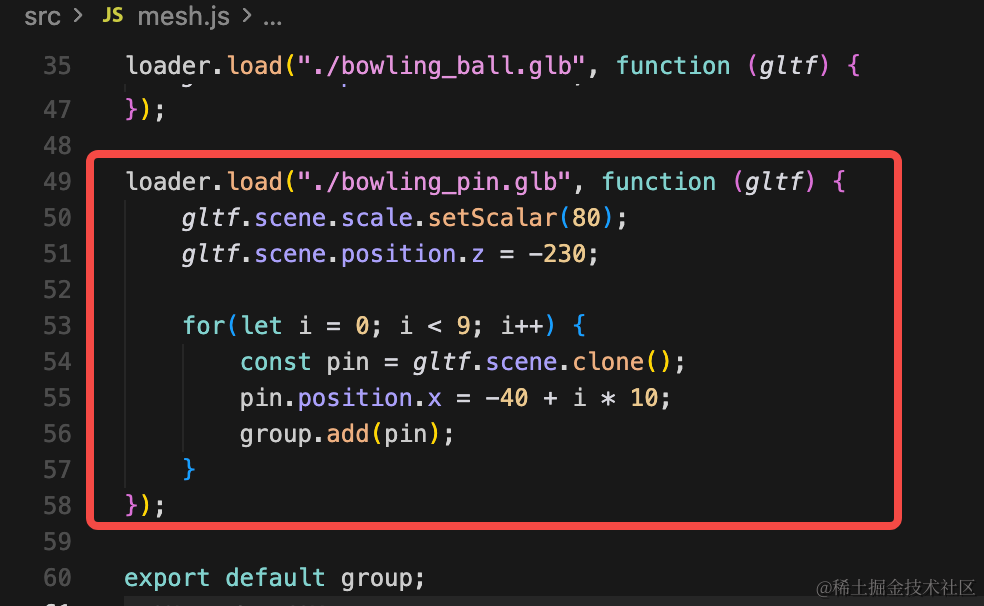
loader.load("./bowling_pin.glb", function (gltf) {
    gltf.scene.scale.setScalar(80);
    gltf.scene.position.z = -230;

    for(let i = 0; i < 9; i++) {
        const pin = gltf.scene.clone();
        pin.position.x = -40 + i * 10;
        group.add(pin);
    }
});
复制一些保龄球瓶。
去掉坐标轴,看下效果:
这样,基础场景就搭建完了。
案例代码上传了小册仓库
总结
这节我们搭建了保龄球的场景。
画了球道、挡板、保龄球、保龄球瓶。
当然,现在只是视觉上画出来了,下节我们在物理世界里添加这些物体。