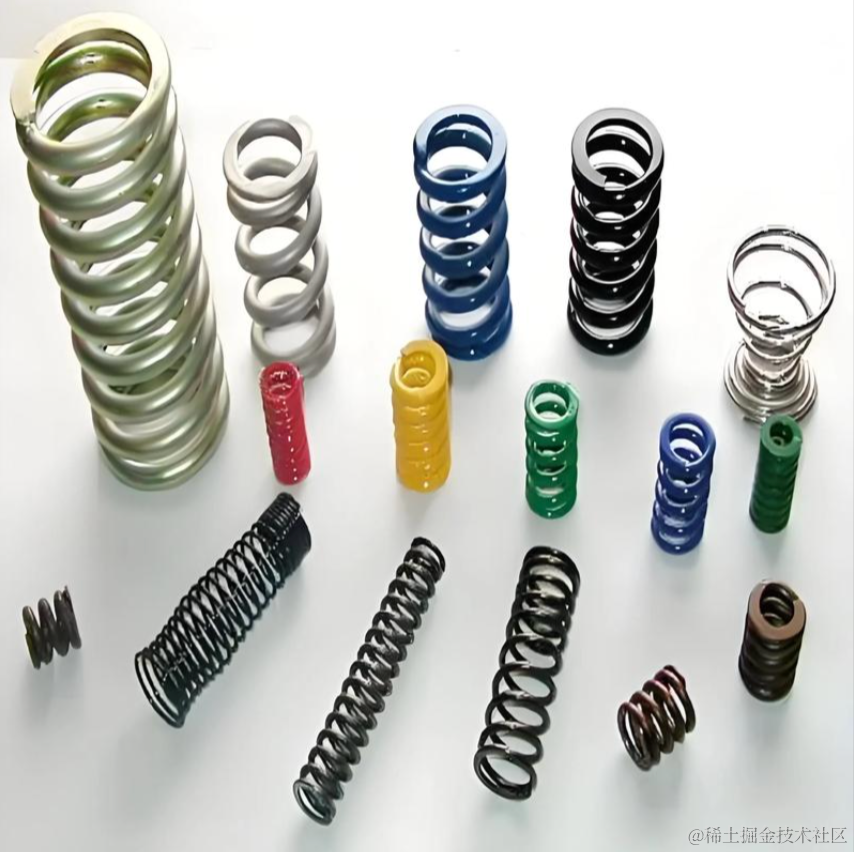
生活中经常可以看到各种弹簧的效果。
比如这个沙袋:
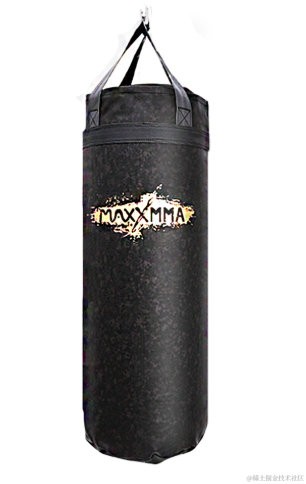
上面有三根绳子固定,可以随着击打来摆动。
当然这个绳子不是弹簧,我是说类似这种效果,或者上面绳子有一些弹力的时候,都可以用弹簧的 api 来做。
这节我们先学会用这个 api:
npx create-vite cannon-spring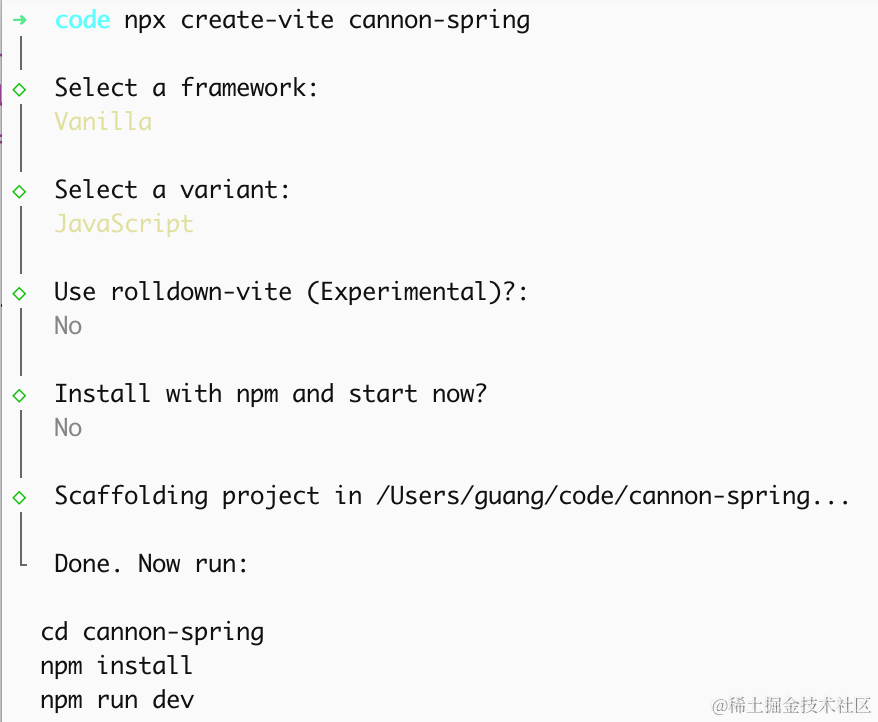
进入项目,安装依赖:
pnpm install
pnpm install --save three
pnpm install --save-dev @types/three
pnpm install --save cannon-es
改下 src/main.js
import './style.css';
import * as THREE from 'three';
import {
    OrbitControls
} from 'three/addons/controls/OrbitControls.js';
import mesh from './mesh.js';

const scene = new THREE.Scene();
scene.background = new THREE.Color(0x87ceeb);

scene.add(mesh);

scene.add(new THREE.AmbientLight(0xffffff, 0.6));
const dir = new THREE.DirectionalLight(0xffffff, 0.8);
dir.position.set(10, 12, 6);
scene.add(dir);

const helper = new THREE.AxesHelper(1000);
// scene.add(helper);

const width = window.innerWidth;
const height = window.innerHeight;

const camera = new THREE.PerspectiveCamera(60, width / height, 0.1, 1000);
camera.position.set(6, 6, 12);
camera.lookAt(0, 0, 0);

const renderer = new THREE.WebGLRenderer({
  antialias: true,
});
renderer.setSize(width, height)

function render() {
    renderer.render(scene, camera);
    requestAnimationFrame(render);
}

render();

document.body.append(renderer.domElement);

const controls = new OrbitControls(camera, renderer.domElement);
创建 Scene、Light、Camera、Renderer。
改下 style.css
body {
  margin: 0;
}
写一下 mesh.js
import * as THREE from 'three';

const group = new THREE.Group();

const geo = new THREE.PlaneGeometry(20, 20);
const mat = new THREE.MeshLambertMaterial({ color: 0x8b4513, side: THREE.DoubleSide });
const ground  = new THREE.Mesh(geo, mat);
ground.rotation.x = -Math.PI / 2;
ground.receiveShadow = true;

group.add(ground);

export default group;
先画下地面。
看下效果:
npm run dev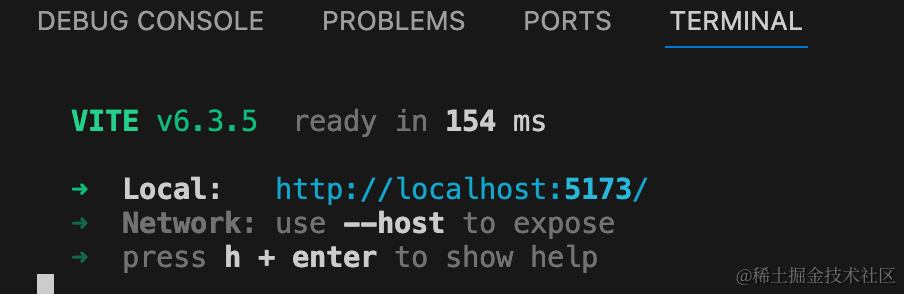
然后先把弹簧和悬挂的物体画出来:
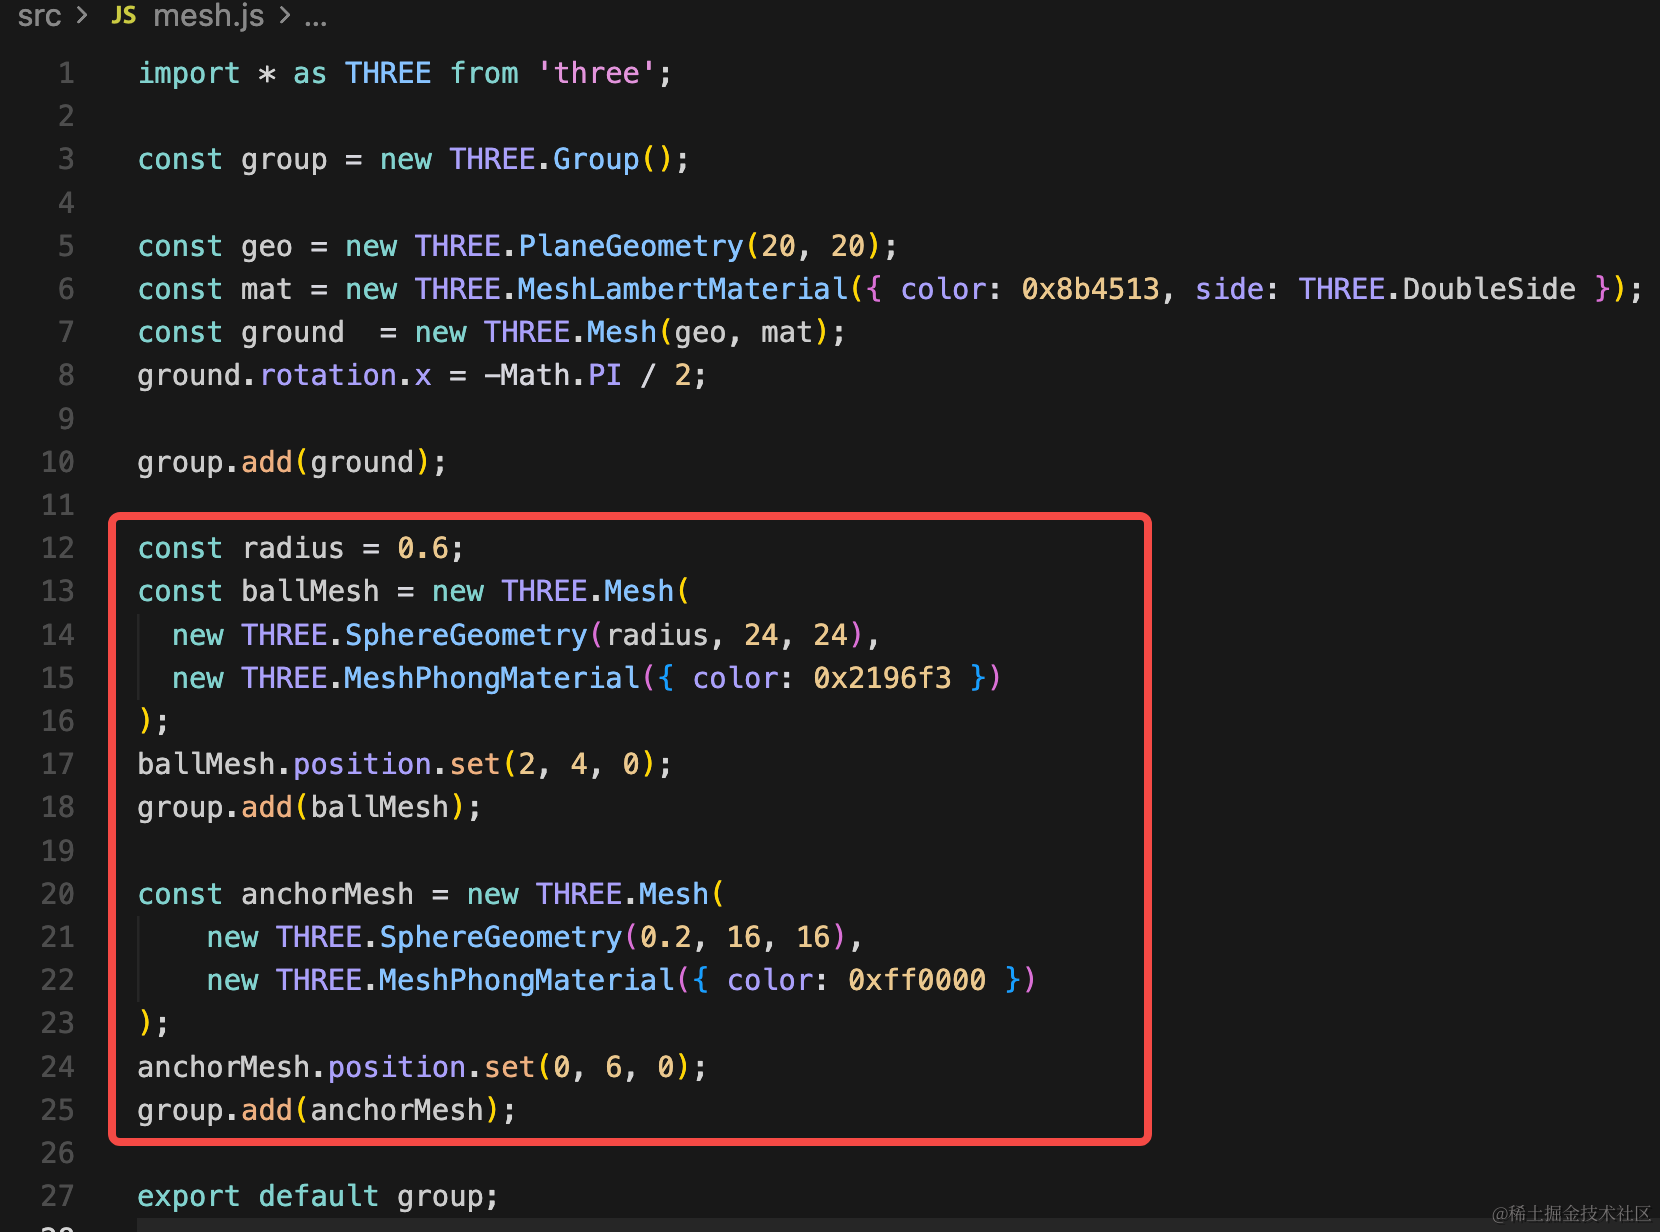
const radius = 0.6;
const ballMesh = new THREE.Mesh(
  new THREE.SphereGeometry(radius, 24, 24),
  new THREE.MeshPhongMaterial({ color: 0x2196f3 })
);
ballMesh.position.set(2, 4, 0);
group.add(ballMesh);

const anchorMesh = new THREE.Mesh(
    new THREE.SphereGeometry(0.2, 16, 16),
    new THREE.MeshPhongMaterial({ color: 0xff0000 })
);
anchorMesh.position.set(0, 6, 0);
group.add(anchorMesh);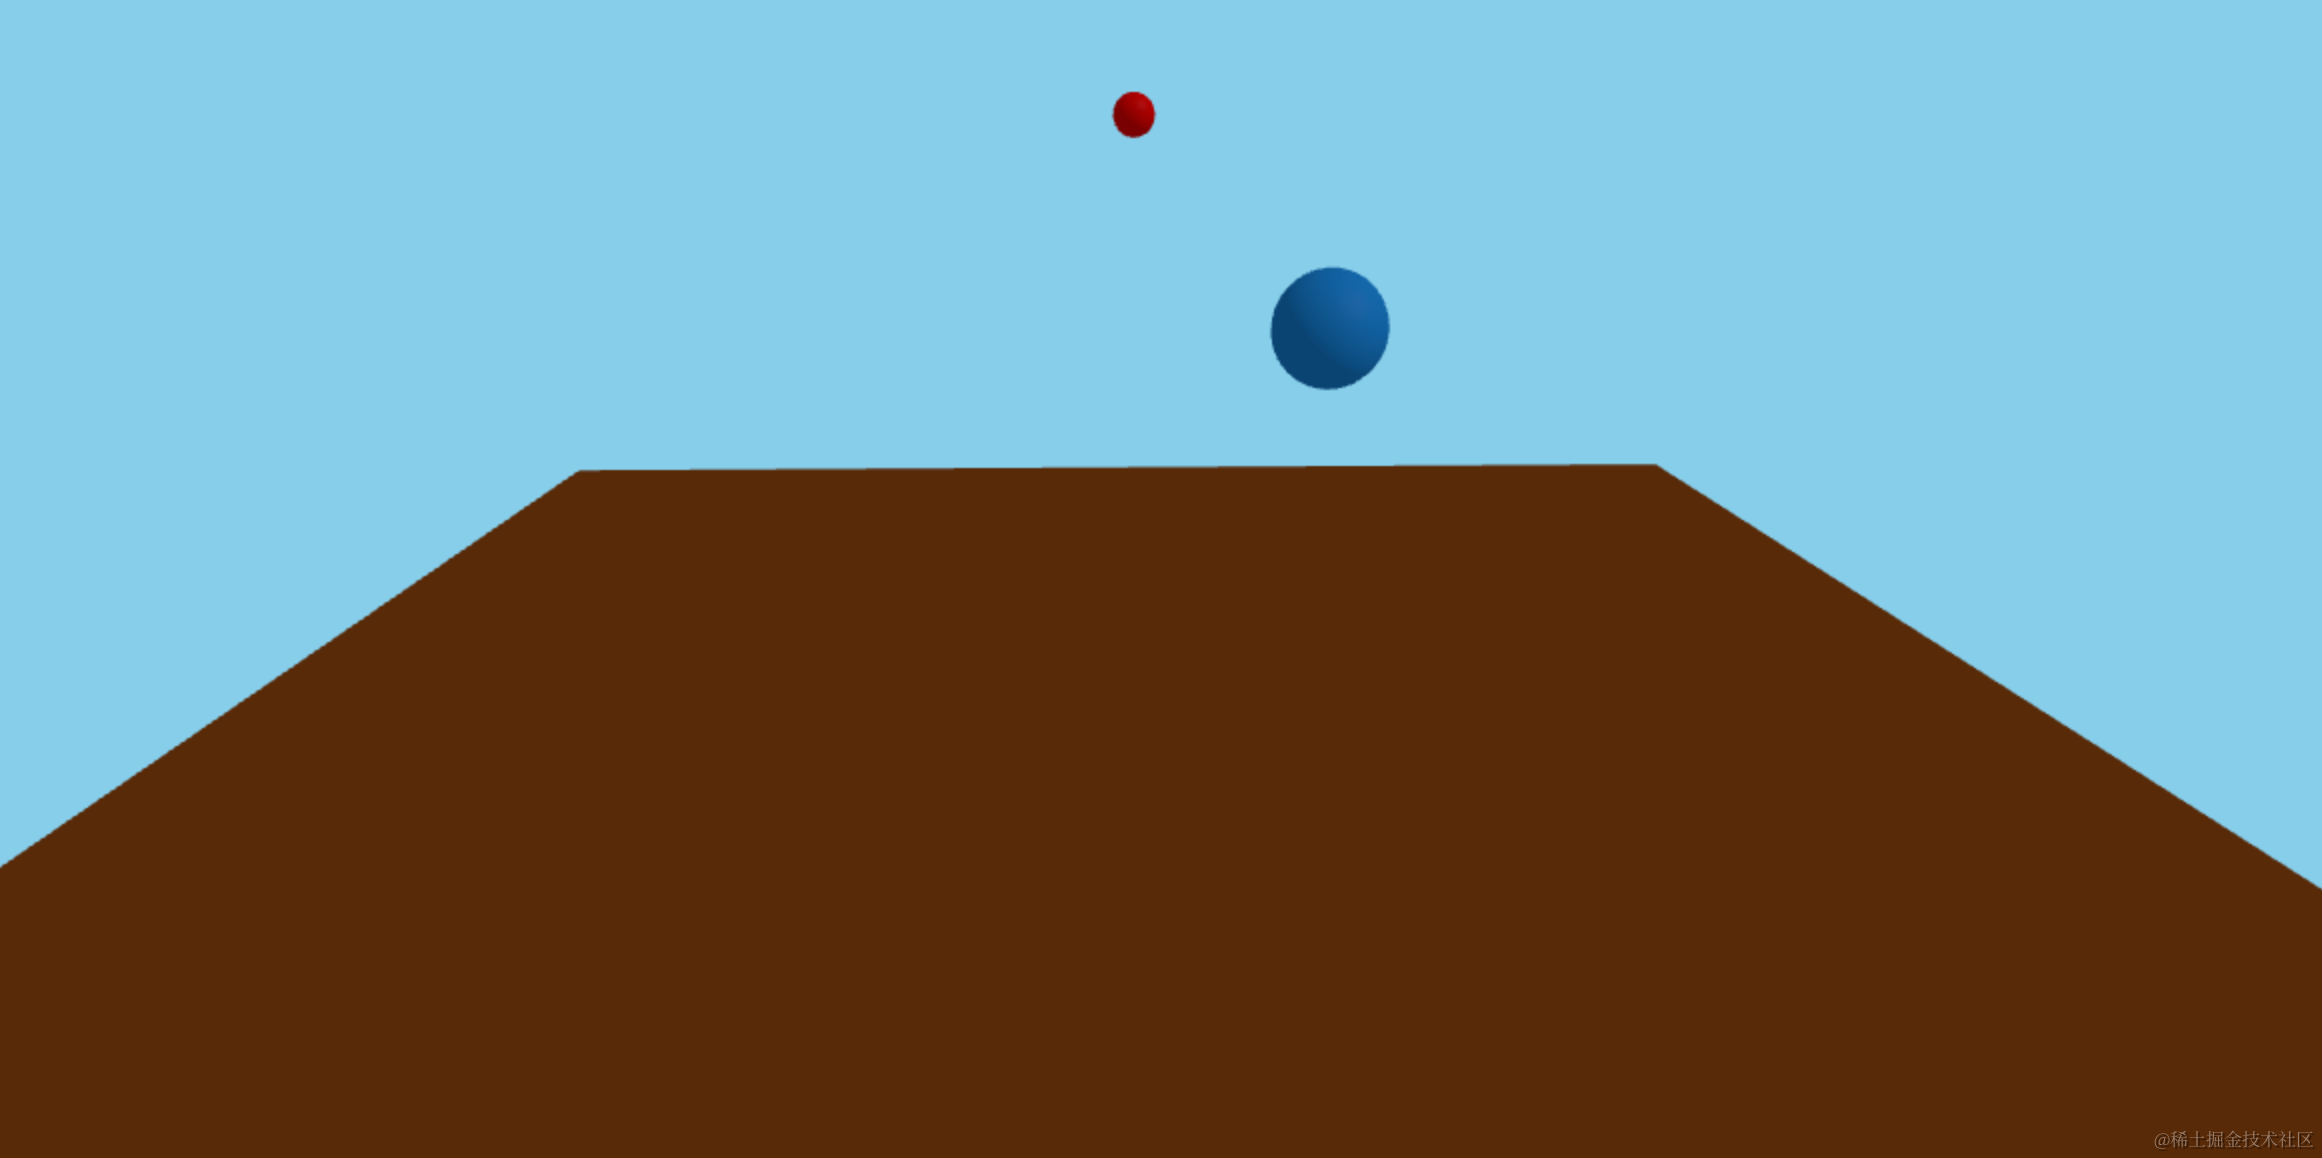
中间用弹簧连起来:
那这种弹簧怎么画呢?
很明显是 TubeGeometry 管道管道几何体。
我们要把对应的曲线画出来,然后用管道几何体画出来就好了:

const springMesh = createSpringMesh();
group.add(springMesh);

function createSpringMesh() {
    const curve = new THREE.CatmullRomCurve3([
        new THREE.Vector3(0, 0, 0),
        new THREE.Vector3(0, 1, 0)
    ]);

    const tubeGeometry = new THREE.TubeGeometry(curve, 20, 0.05, 8, false);
    const tubeMaterial = new THREE.MeshPhongMaterial({
        color: 0xffff00,
        side: THREE.DoubleSide
    });
    return new THREE.Mesh(tubeGeometry, tubeMaterial);
}

function updateSpringVisualization() {
    const start = anchorMesh.position;
    const end = ballMesh.position;
    const direction = new THREE.Vector3().subVectors(end, start);
    const length = direction.length();

    const points = [];
    const coils = 10;
    const radius = 0.2;

    for (let i = 0; i <= 50; i++) {
      const t = i / 50;
      const angle = t * coils * Math.PI * 2;
      const x = Math.cos(angle) * radius;
      const z = Math.sin(angle) * radius;
      const y = t * length;
      points.push(new THREE.Vector3(x, y, z));
    }

    const curve = new THREE.CatmullRomCurve3(points);
    springMesh.geometry.dispose();
    springMesh.geometry = new THREE.TubeGeometry(curve, 50, 0.05, 8, false);

    springMesh.position.copy(start);
    springMesh.quaternion.setFromUnitVectors(
      new THREE.Vector3(0, 1, 0),
      direction.normalize()
    );
}

updateSpringVisualization();
先看效果:
首先用三维样条曲线 CatmullRomCurve3 画经过一些点的曲线。
这些点其实就是一个个相同半径的圆上的,只不过竖直方向不同,所以是这样计算位置:
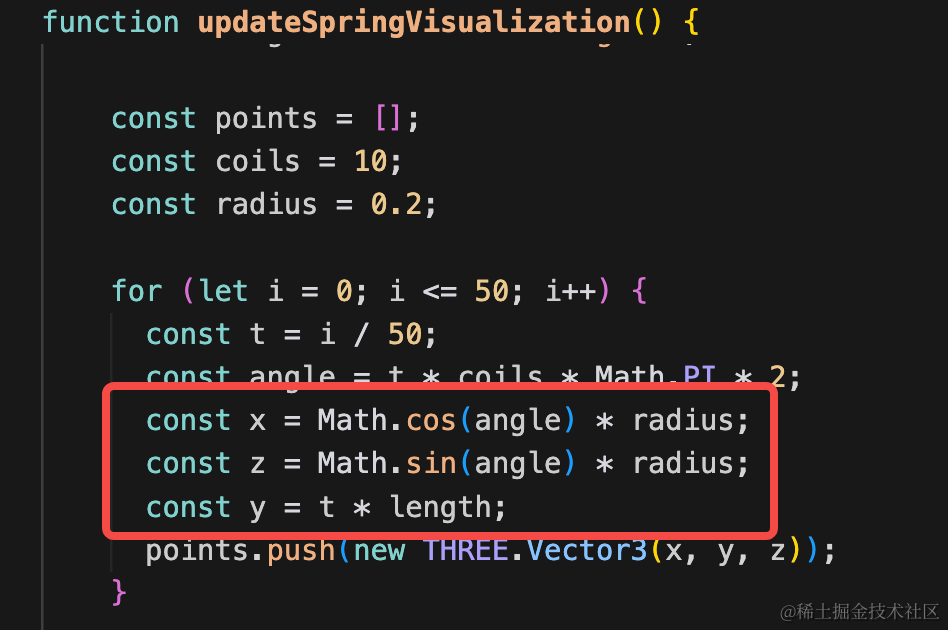
用 CatmullRomCurve 穿过这些点,连接起来。
然后 TubeGeometry 基于这个曲线画管道就可以了。
此外,还要调整方向:
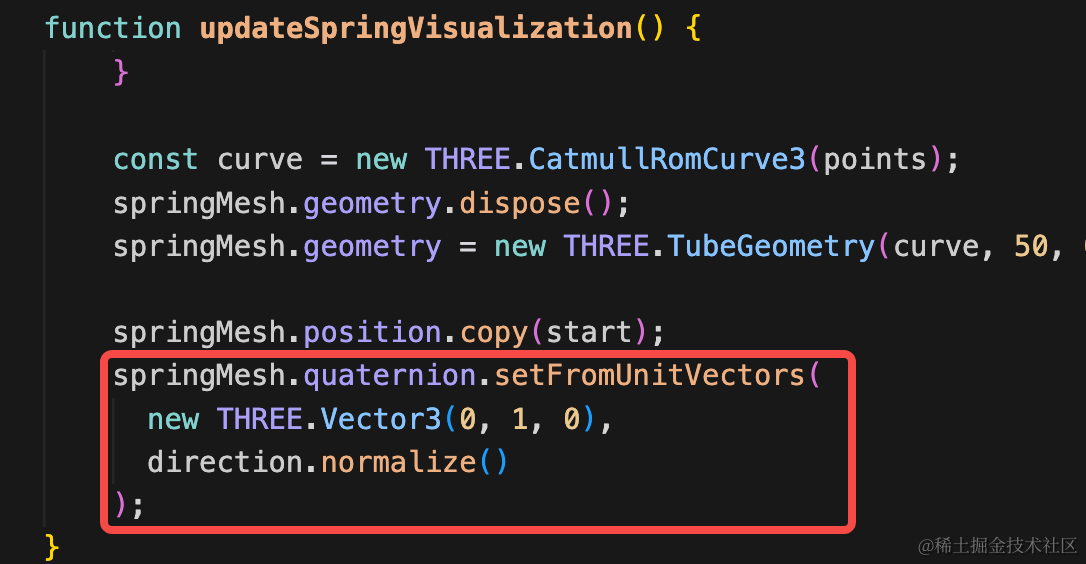
这里用 quaternion.setFromUnitVectors 来指定旋转角度,分别指定起点和终点就可以了。

案例代码上传了小册仓库
总结
这节我们把弹簧小球的 ui 画了一下。
难点主要是 CatmullRomCurve3 + TubeGeometry 画弹簧。
下节加上 cannon 的物理效果。