入门了粒子库 three.quarks 之后,我们来做一个练习:
奇魔猪的这个爱心发射的表情包。
爱心波这个就是粒子效果。
创建项目:
npx create-vite pig-heart-emmiter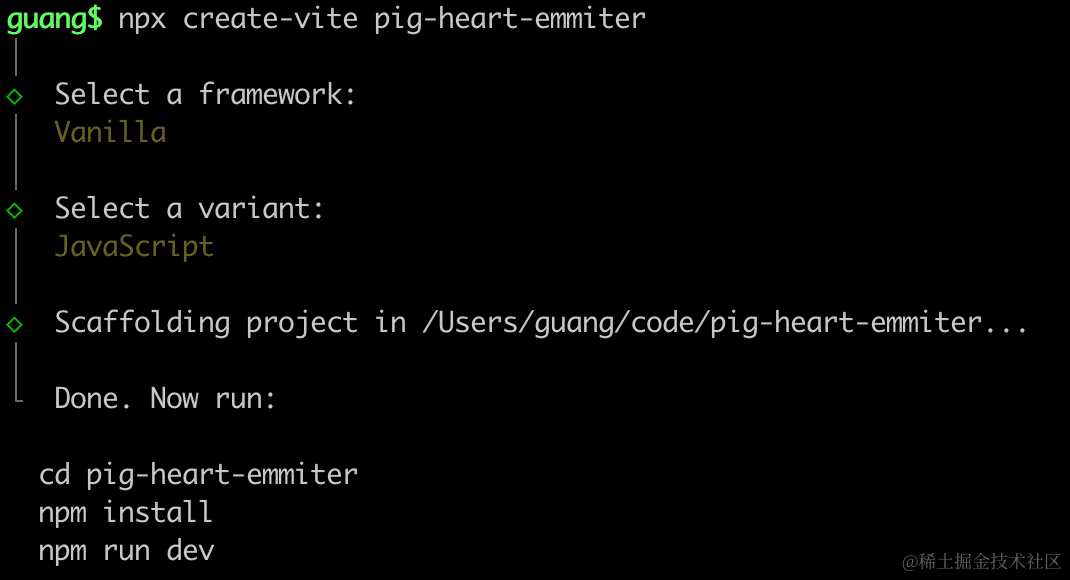
进入项目,安装依赖:
npm install
npm install --save three
npm install --save-dev @types/three
改下 src/main.js
import './style.css';
import * as THREE from 'three';
import {
    OrbitControls
} from 'three/addons/controls/OrbitControls.js';
import mesh from './mesh.js';

const scene = new THREE.Scene();

scene.add(mesh);

const directionLight = new THREE.DirectionalLight(0xffffff);
directionLight.position.set(500, 600, 800);
scene.add(directionLight);

const ambientLight = new THREE.AmbientLight();
scene.add(ambientLight);

const helper = new THREE.AxesHelper(1000);
scene.add(helper);

const width = window.innerWidth;
const height = window.innerHeight;

const camera = new THREE.PerspectiveCamera(60, width / height, 0.1, 10000);
camera.position.set(500, 600, 800);
camera.lookAt(0, 0, 0);

const renderer = new THREE.WebGLRenderer();
renderer.setSize(width, height)

function render() {
    renderer.render(scene, camera);
    requestAnimationFrame(render);
}

render();

document.body.append(renderer.domElement);

const controls = new OrbitControls(camera, renderer.domElement);
创建 Scene、Light、Camera、Renderer。
改下 style.css
body {
  margin: 0;
}
安装下粒子效果库:
npm install --save three.quarks写下 mesh.js
import * as THREE from 'three';
import { GLTFLoader } from 'three/addons/loaders/GLTFLoader.js';

const loader = new GLTFLoader();

const mesh = new THREE.Group();

loader.load("./pig.glb", function (gltf) {
    console.log(gltf);
    mesh.add(gltf.scene);

    gltf.scene.scale.setScalar(5);
})

export default mesh;
加载模型,放大 10 倍。
模型是从 sketchfab 搜的:
https://sketchfab.com/3d-models/pig-e845401a16ba4ba9b7ac3f2dc6237de9#download
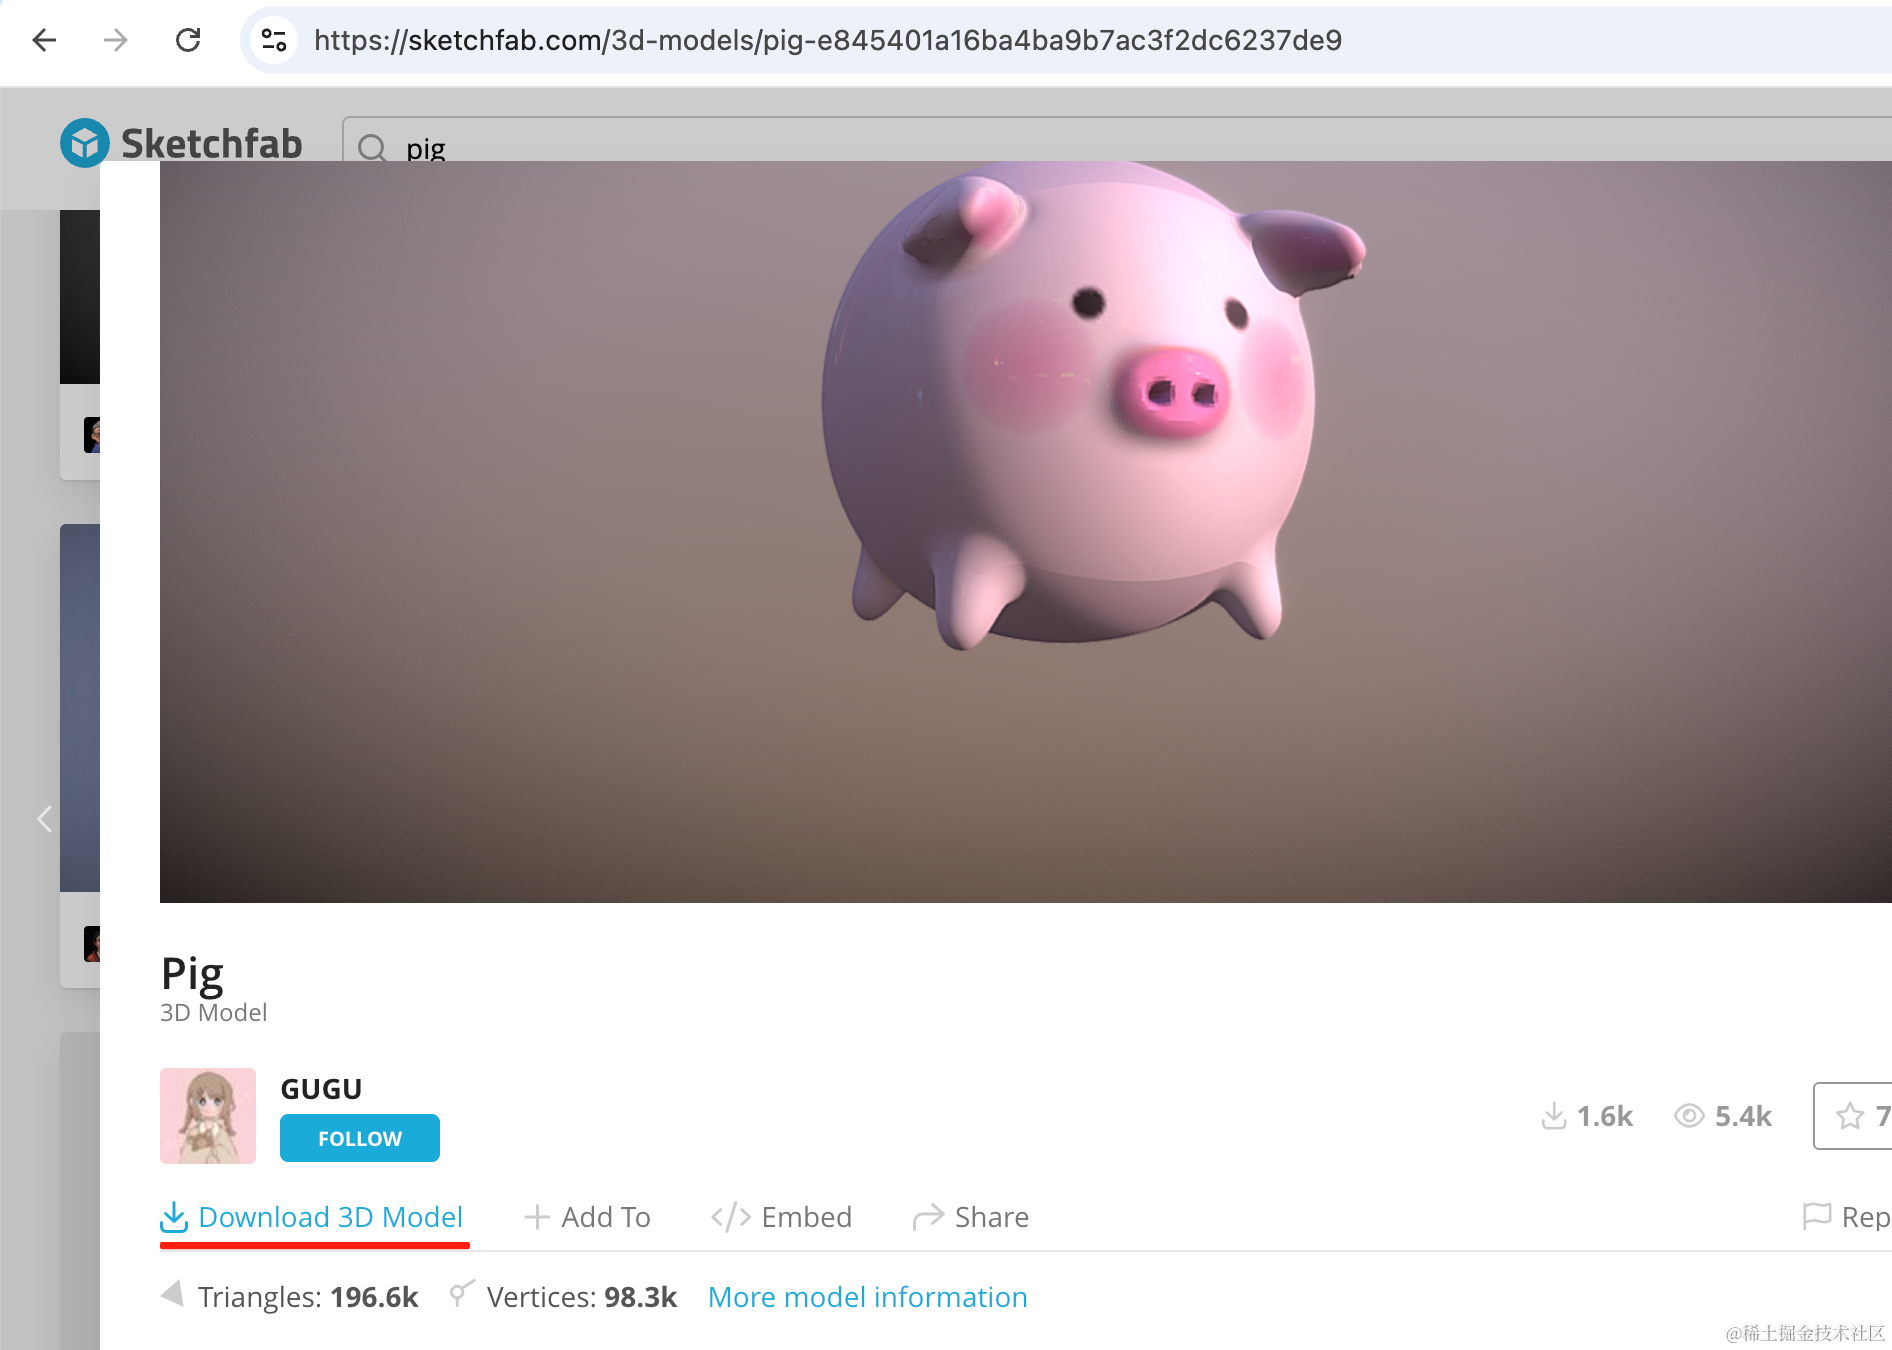
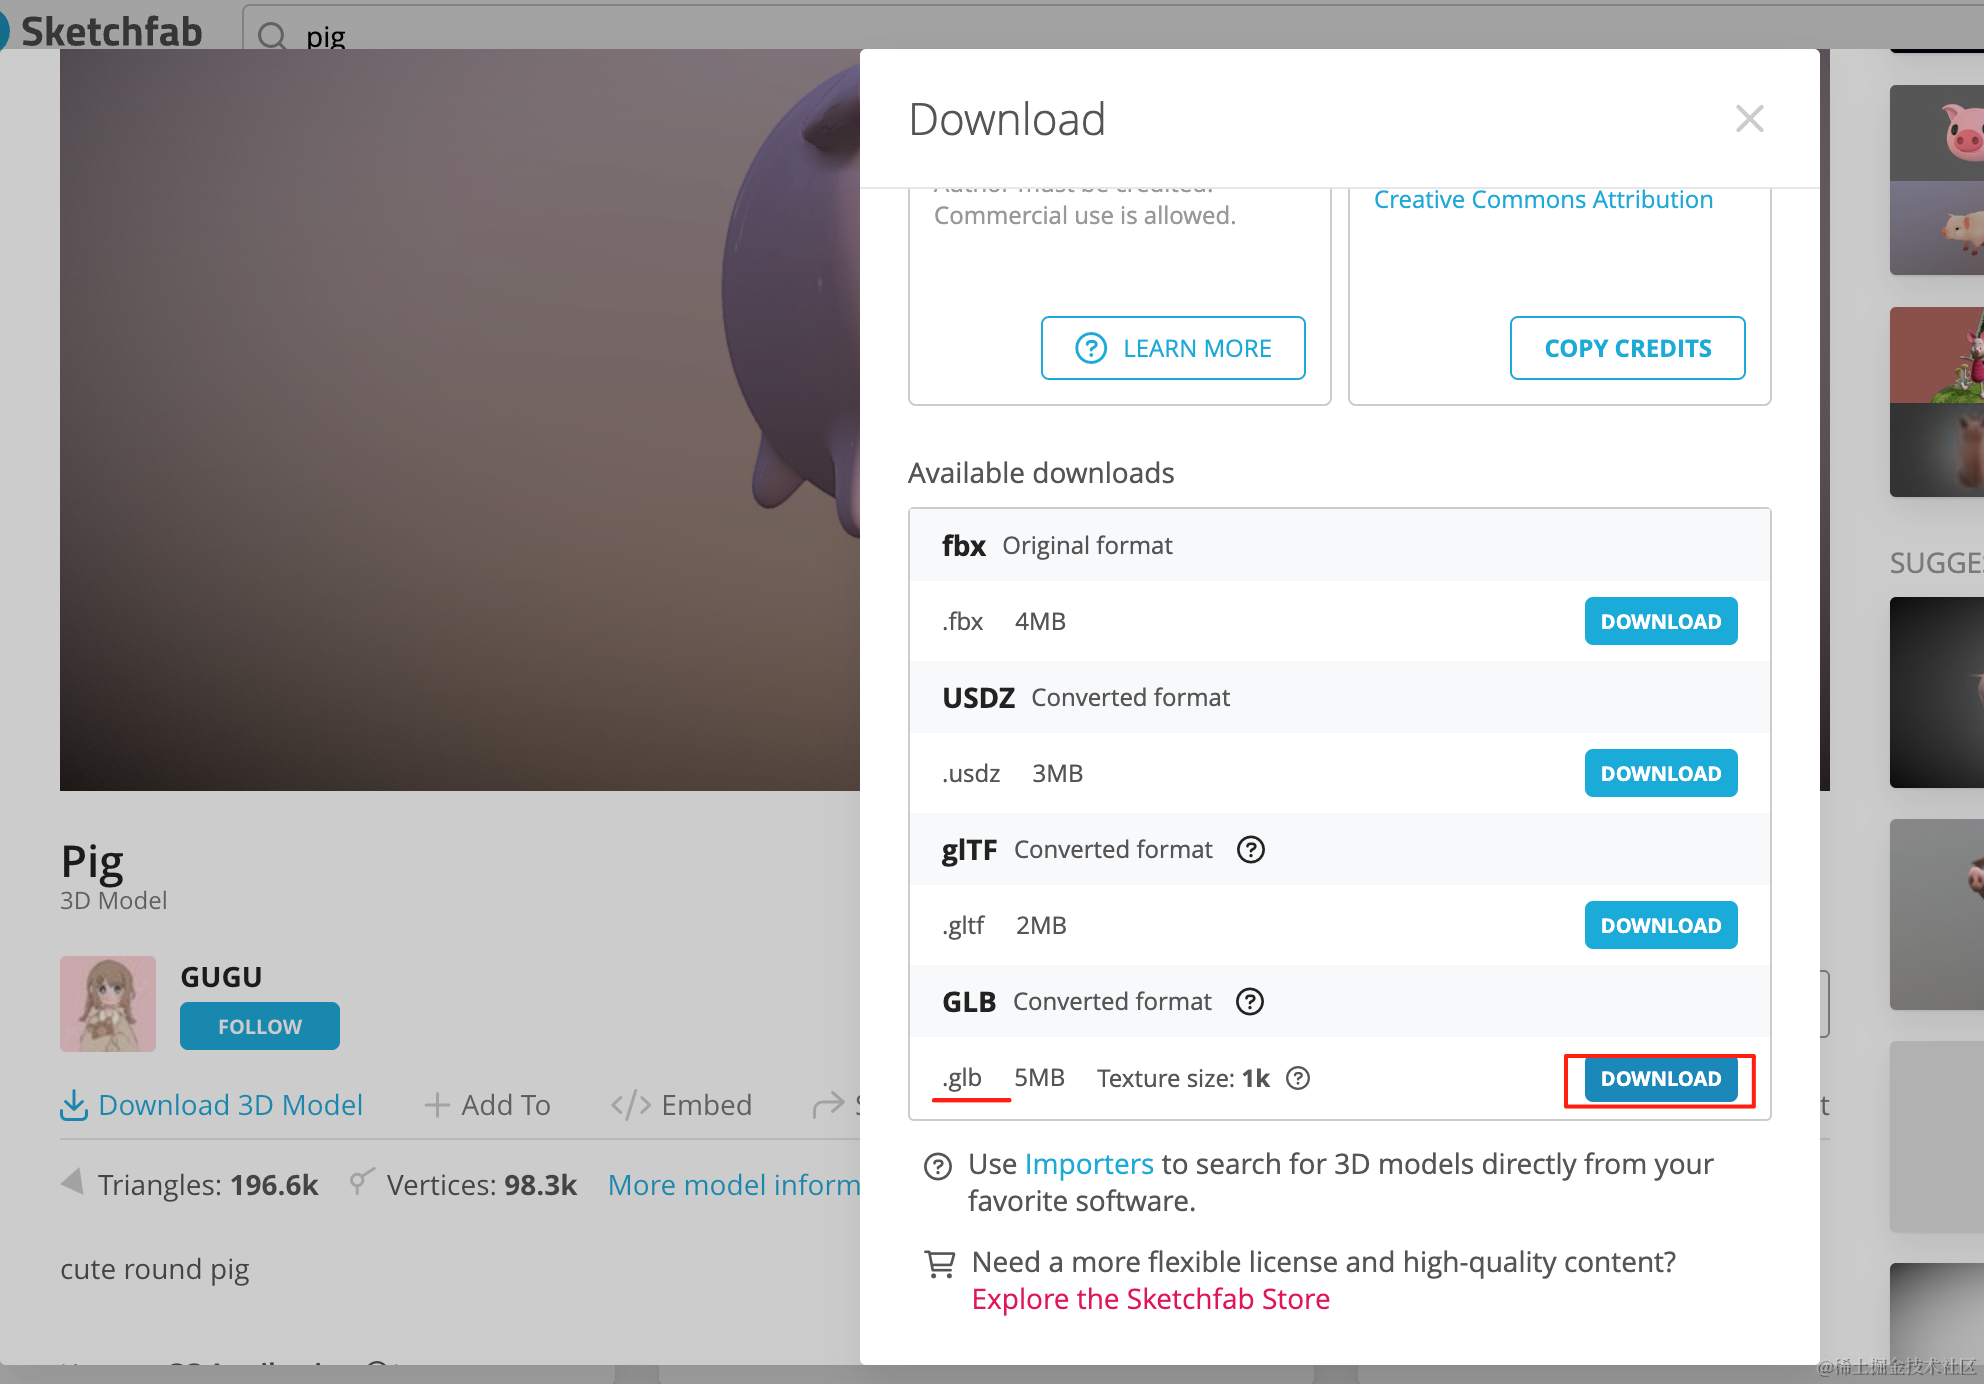
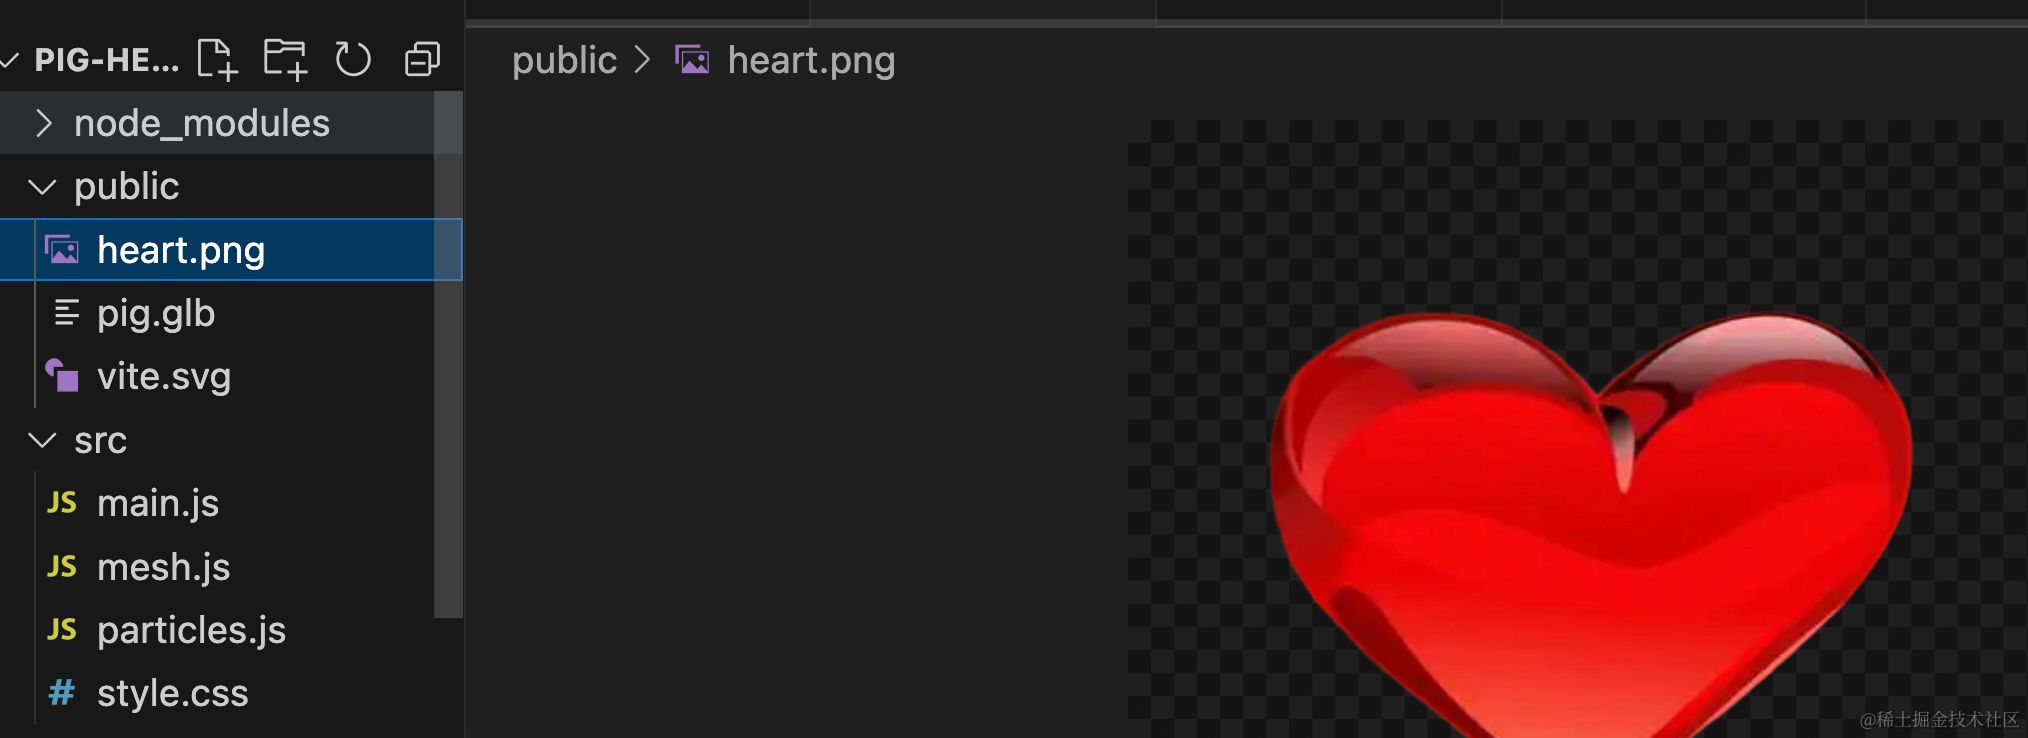
下载下来放到 public 目录下:
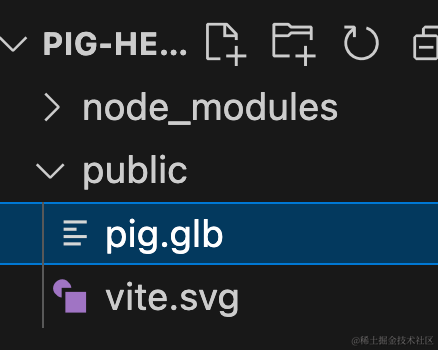
跑一下:
npm run dev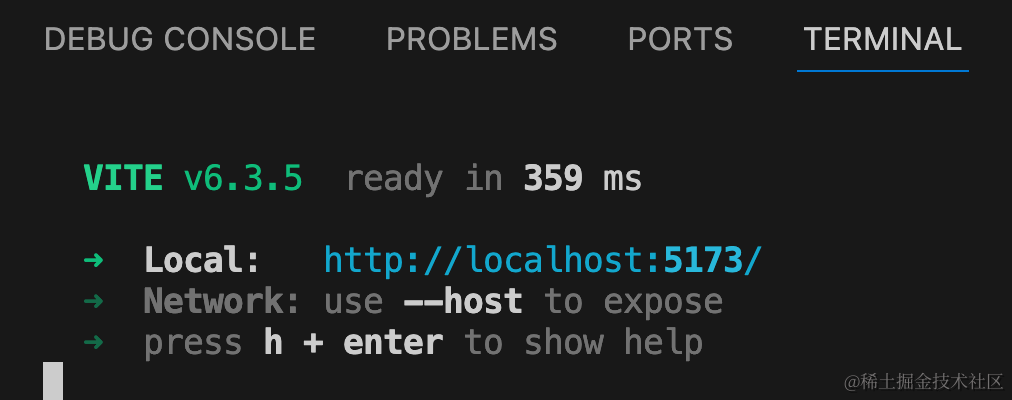
看下效果:
然后来写下粒子效果,和上节差不多。
创建 particles.js
import * as THREE from "three";
import { BatchedParticleRenderer, ConeEmitter, ConstantValue, IntervalValue, ParticleSystem,PointEmitter,RandomColor, RenderMode, SphereEmitter } from "three.quarks";

const group = new THREE.Group();

const batchRenderer = new BatchedParticleRenderer();
group.add(batchRenderer);

const loader = new THREE.TextureLoader();
const texture = loader.load('./heart.png');

const particles = new ParticleSystem({
    duration: 20,
    looping: true,
    startLife: new IntervalValue(0, 10),
    startSpeed: new IntervalValue(0, 1000),
    startSize: new IntervalValue(0, 100),
    startColor: new RandomColor(
        new THREE.Vector4(1, 0, 0, 1),
        new THREE.Vector4(0, 1, 0, 1)
    ),
    emissionOverTime: new ConstantValue(1000),
    shape: new ConeEmitter({
        radius: 10,
        thickness: 10,
        arc: Math.PI * 2
    }),
    material: new THREE.MeshBasicMaterial({
        map: texture,
        transparent: true,
        blending: THREE.AdditiveBlending,
        side: THREE.DoubleSide
    })
});

group.add(particles.emitter);

batchRenderer.addSystem(particles);

export {
    batchRenderer
}

export default group;
和上节一样,创建 BatchedParticleRenderer 渲染器,然后创建粒子系统 ParticleSystem
这里的形状是锥形发射器 ConeEmitter
在 main.js 里引入下:
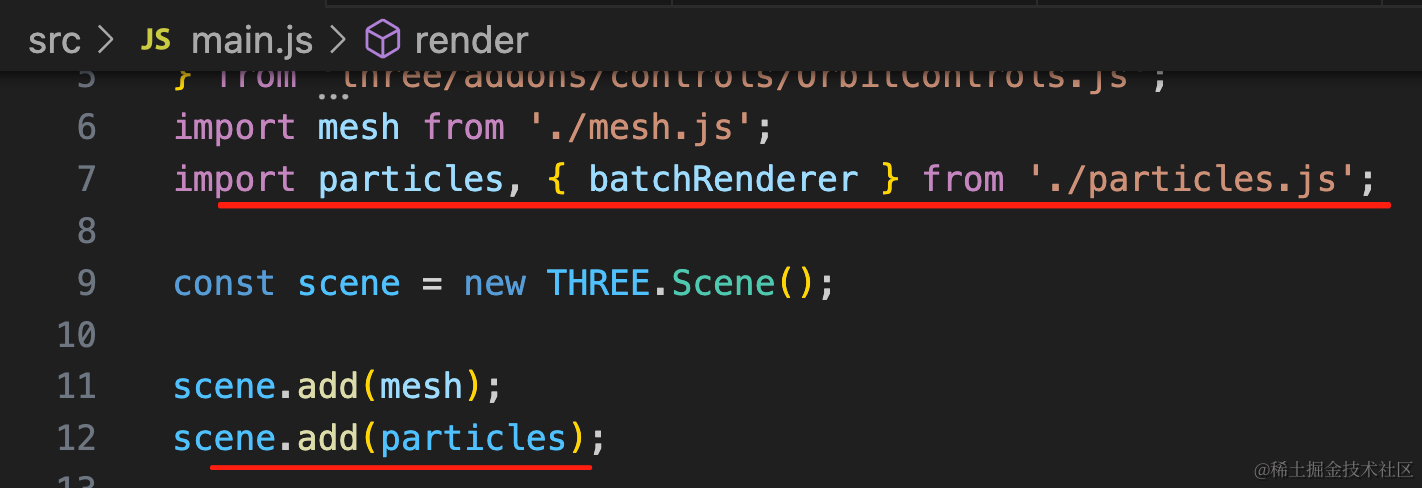
import particles, { batchRenderer } from './particles.js';
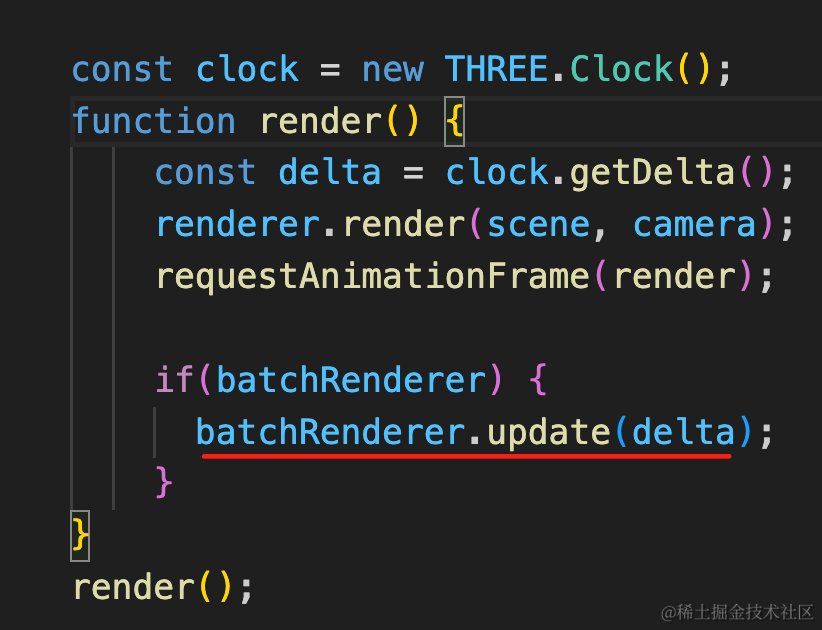
scene.add(particles);const clock = new THREE.Clock();
function render() {
const delta = clock.getDelta();
renderer.render(scene, camera);
requestAnimationFrame(render);
if(batchRenderer) {
batchRenderer.update(delta);
}
}
render();这里的 heart 是上节的:

看下效果:
可以看到,现在发射的粒子就是锥形的。
我们调一下小猪位置,往下移动小猪的身高的一半
如何知道小猪的高度呢?
用包围盒 Box3
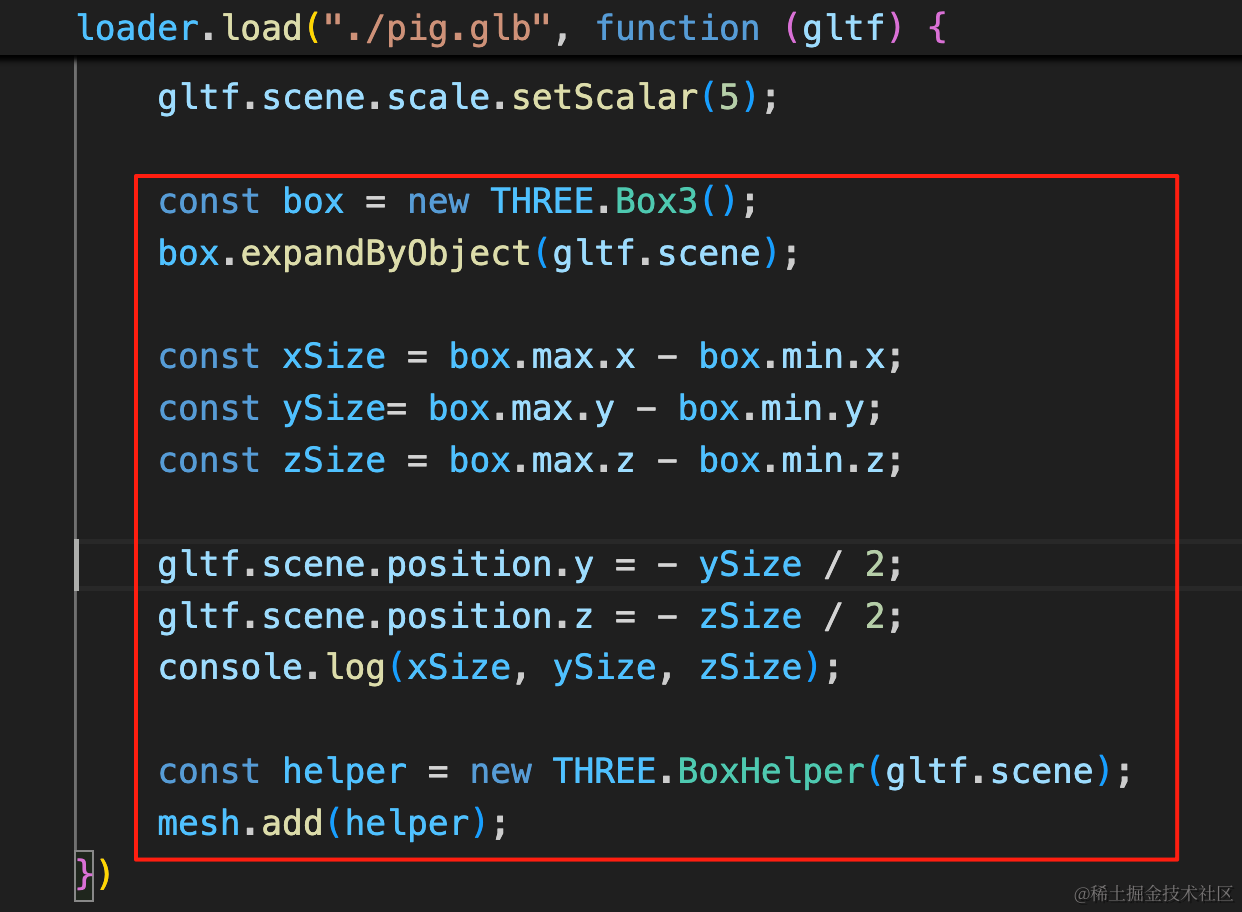
const box = new THREE.Box3();
box.expandByObject(gltf.scene);

const xSize = box.max.x - box.min.x;
const ySize= box.max.y - box.min.y;
const zSize = box.max.z - box.min.z;

gltf.scene.position.y = - ySize / 2;
gltf.scene.position.z = - zSize / 2;
console.log(xSize, ySize, zSize);

const helper = new THREE.BoxHelper(gltf.scene);
mesh.add(helper);
用 Box3 包裹模型,然后计算 x、y、z 方向的大小,调整下小猪位置。
再微调一下:
gltf.scene.position.y = - ySize / 2 + 20;位置调整好就去掉 helper
我们用后期效果给整体加个发光:
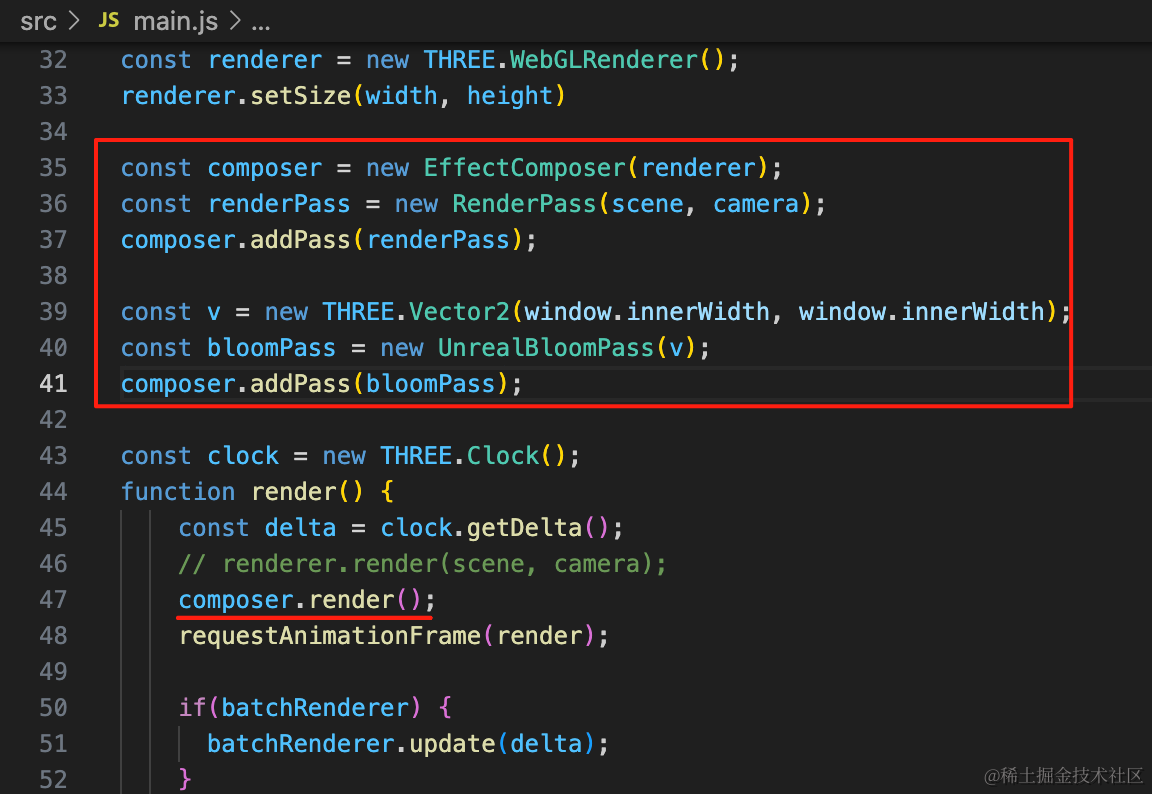
const composer = new EffectComposer(renderer);
const renderPass = new RenderPass(scene, camera);
composer.addPass(renderPass);

const v = new THREE.Vector2(window.innerWidth, window.innerWidth);
const bloomPass = new UnrealBloomPass(v);
composer.addPass(bloomPass);composer.render();
好多了。
然后我们点击猪猪的时候再发射爱心。
加一下点击的处理:
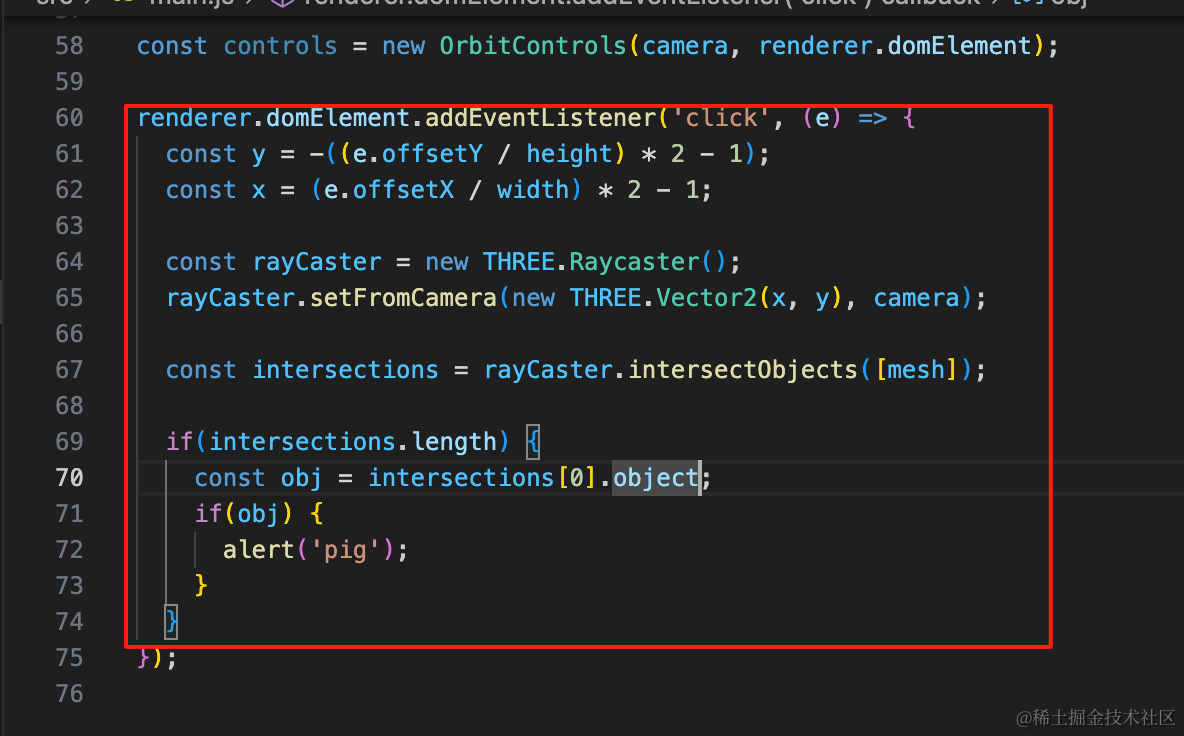
renderer.domElement.addEventListener('click', (e) => {
  const y = -((e.offsetY / height) * 2 - 1);
  const x = (e.offsetX / width) * 2 - 1;

  const rayCaster = new THREE.Raycaster();
  rayCaster.setFromCamera(new THREE.Vector2(x, y), camera);

  const intersections = rayCaster.intersectObjects([mesh]);

  if(intersections.length) {
    const obj = intersections[0].object;
    if(obj) {
      alert('pig');
    }
  }
});
现在粒子动画是一直循环的。
我们把循环去掉:
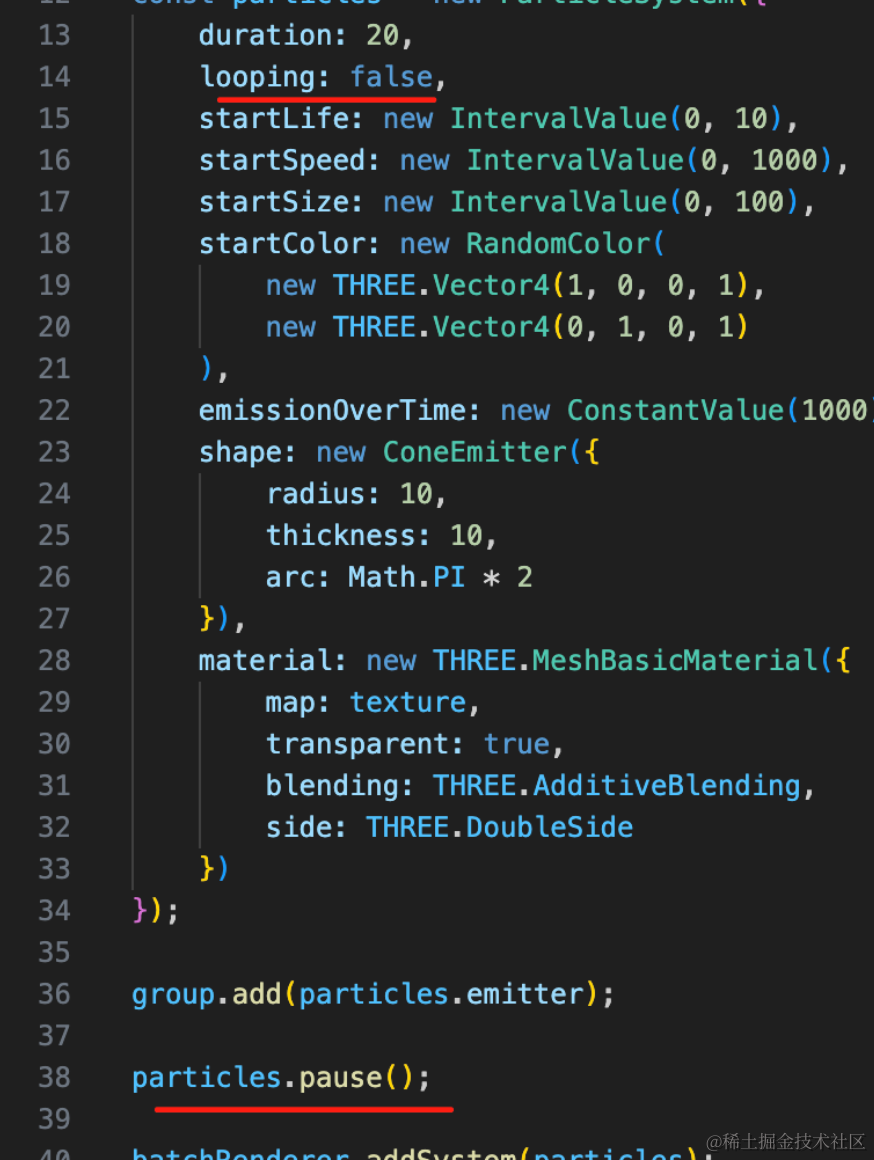
particles.pause();初始的时候暂停。
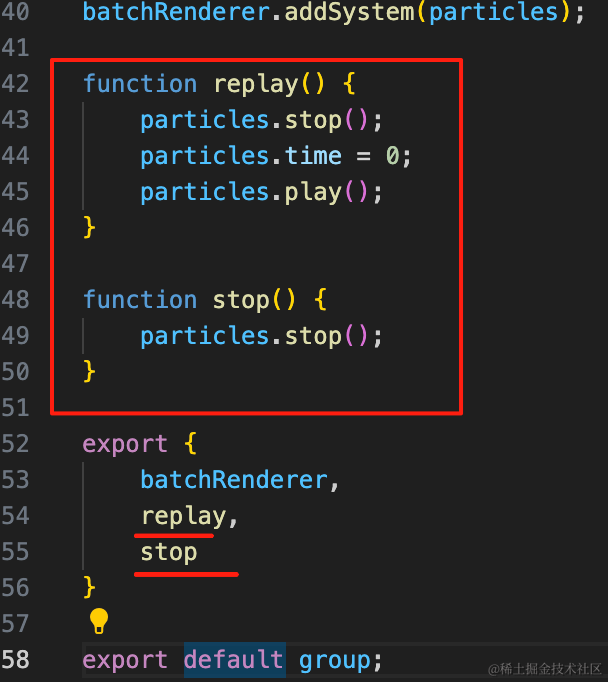
function replay() {
    particles.stop();
    particles.time = 0;
    particles.play();
}

function stop() {
    particles.stop();
}

export {
    batchRenderer,
    replay,
    stop
}
导出重新播放和停止的方法。
点击小猪的时候调用下:
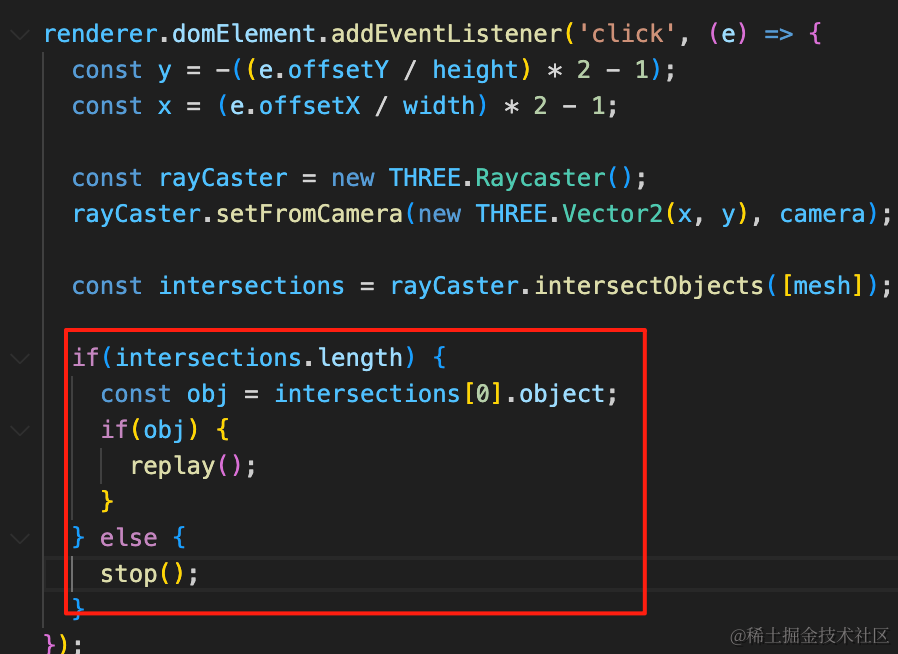
if(intersections.length) {
    const obj = intersections[0].object;
    if(obj) {
      replay();
    }
  } else {
    stop();
  }
案例代码上传了小册仓库
总结
这节我们练习了下粒子效果,实现了一个小猪爱心喷射器。
小猪模型是从 sketchfab 找的。
我们使用了锥形的粒子发射器,然后加了后期效果来实现发光。
最开始暂停粒子动画,点击小猪的时候,time 置为 0,开始播放。
锥形的粒子效果用的还是比较多的,比如火箭发射的火焰 🚀。
下节我们继续来学习其他粒子效果。