这节我们来做一个粒子动画的实战,小鱼吐泡泡:
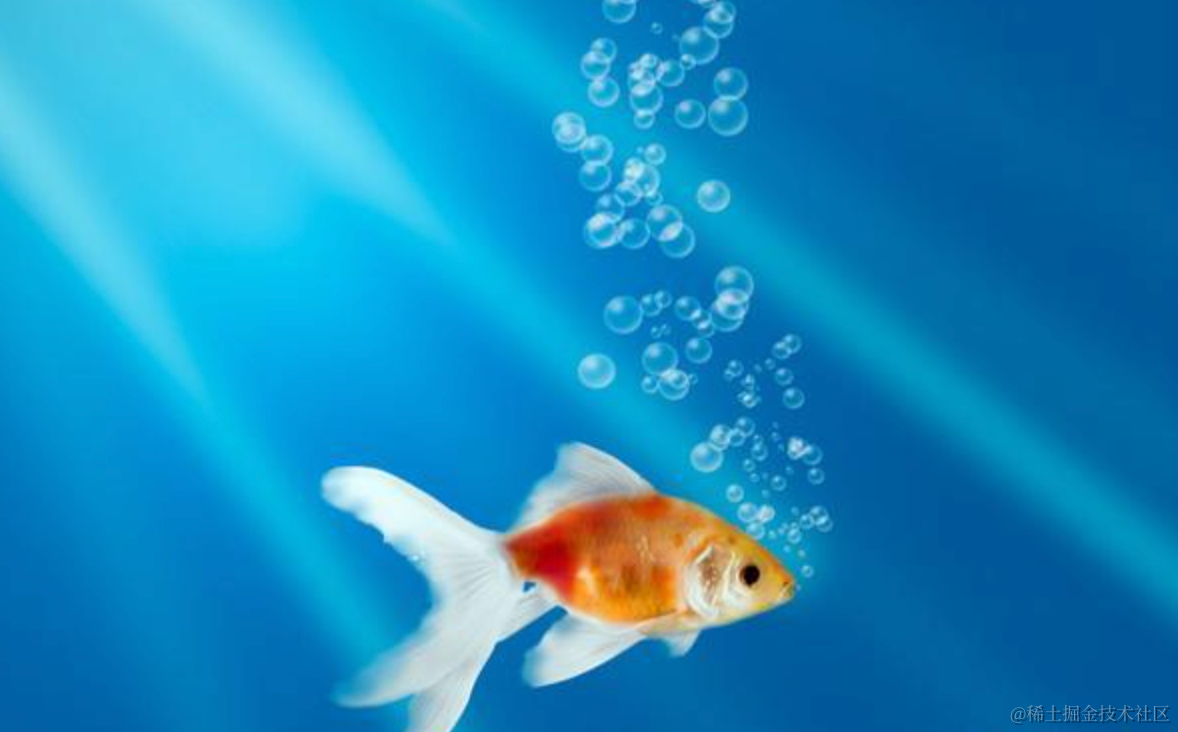
这种泡泡明显是一种粒子效果。
可以通过网格 GridEmitter 或者锥形 ConeEmitter 向上发射粒子。
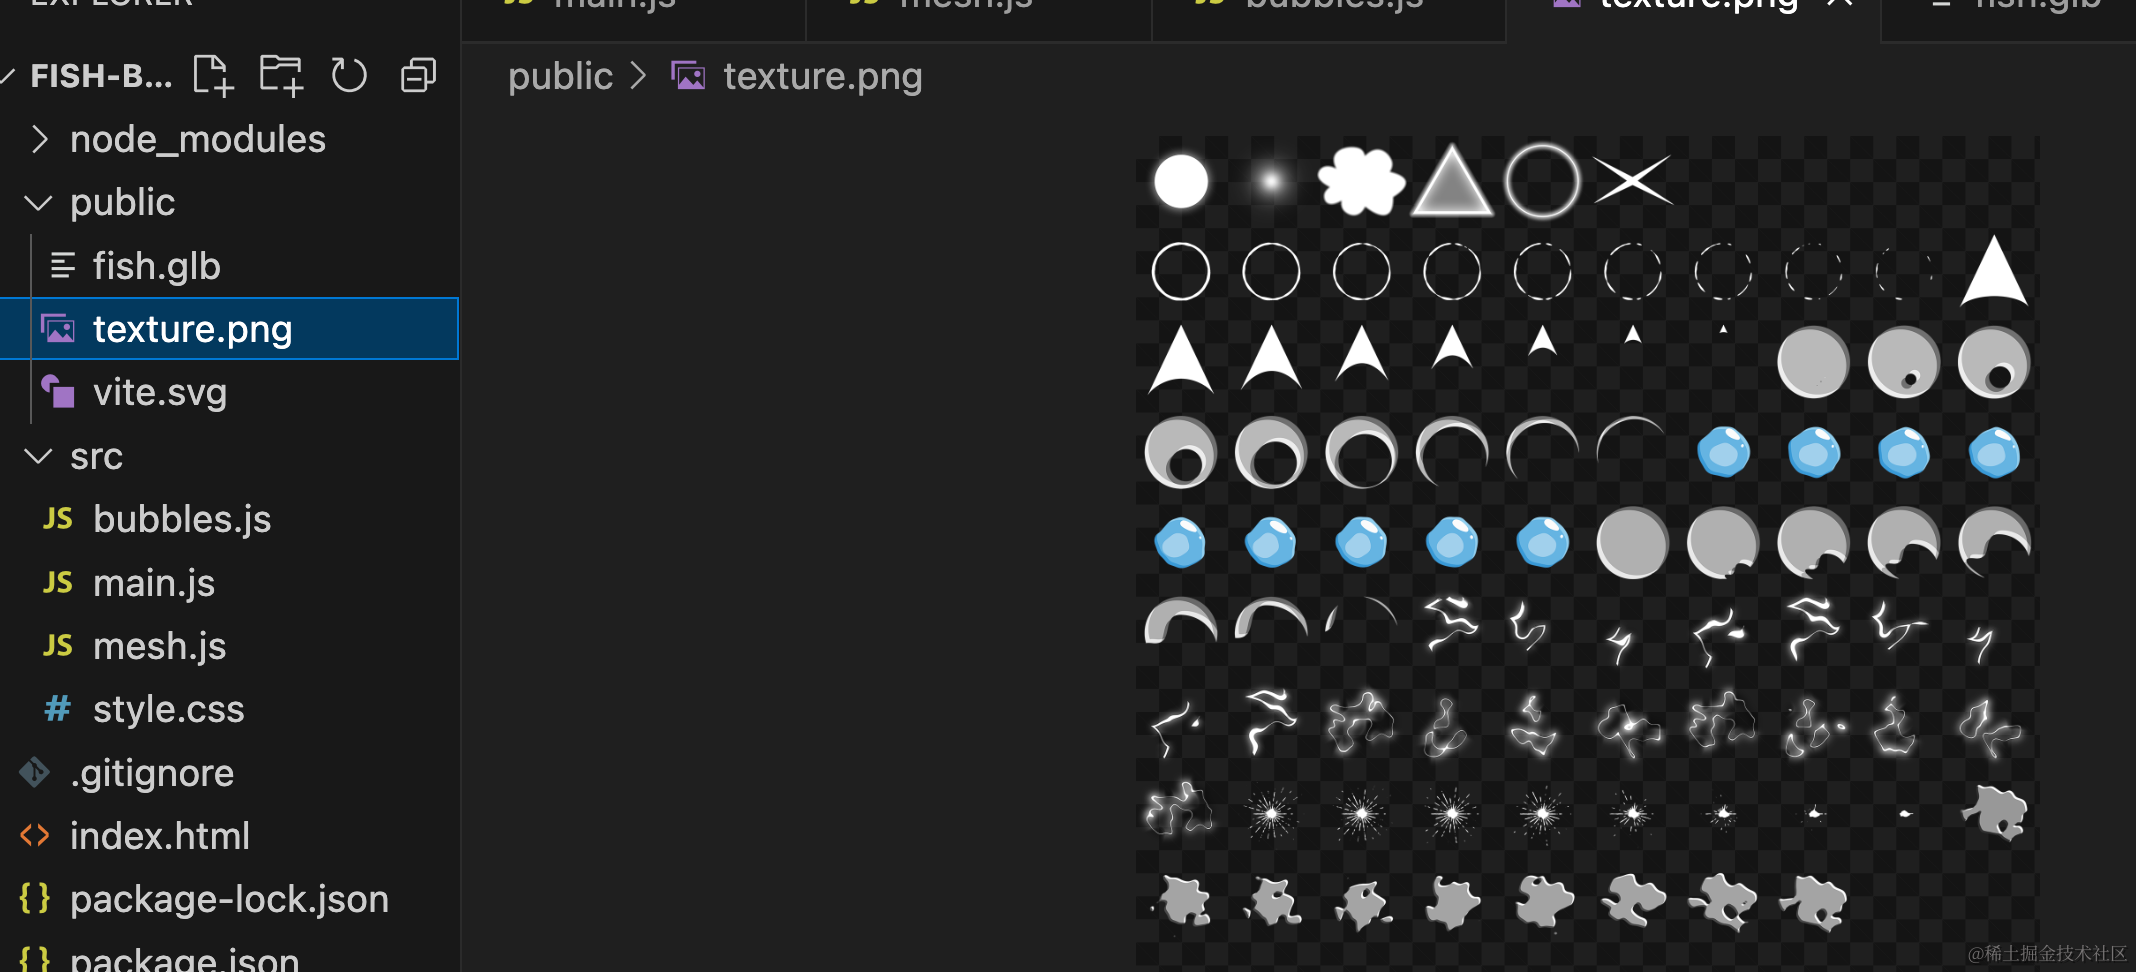
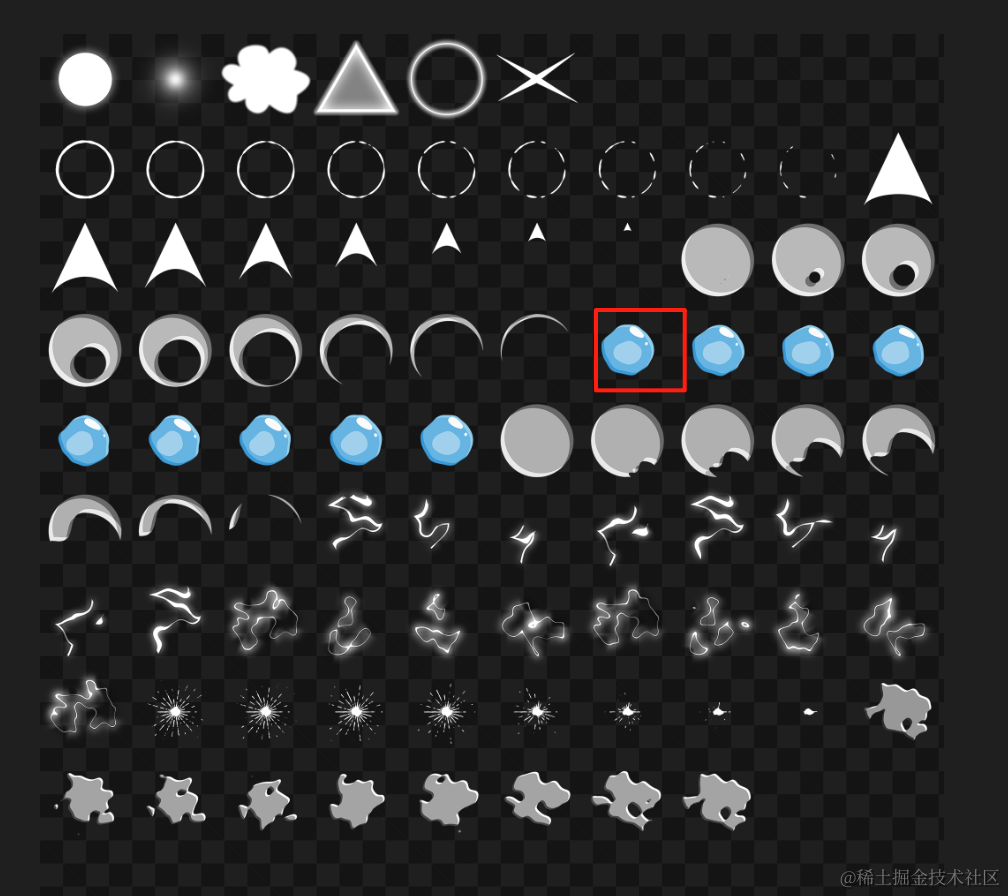
粒子用上节素材里的这部分:
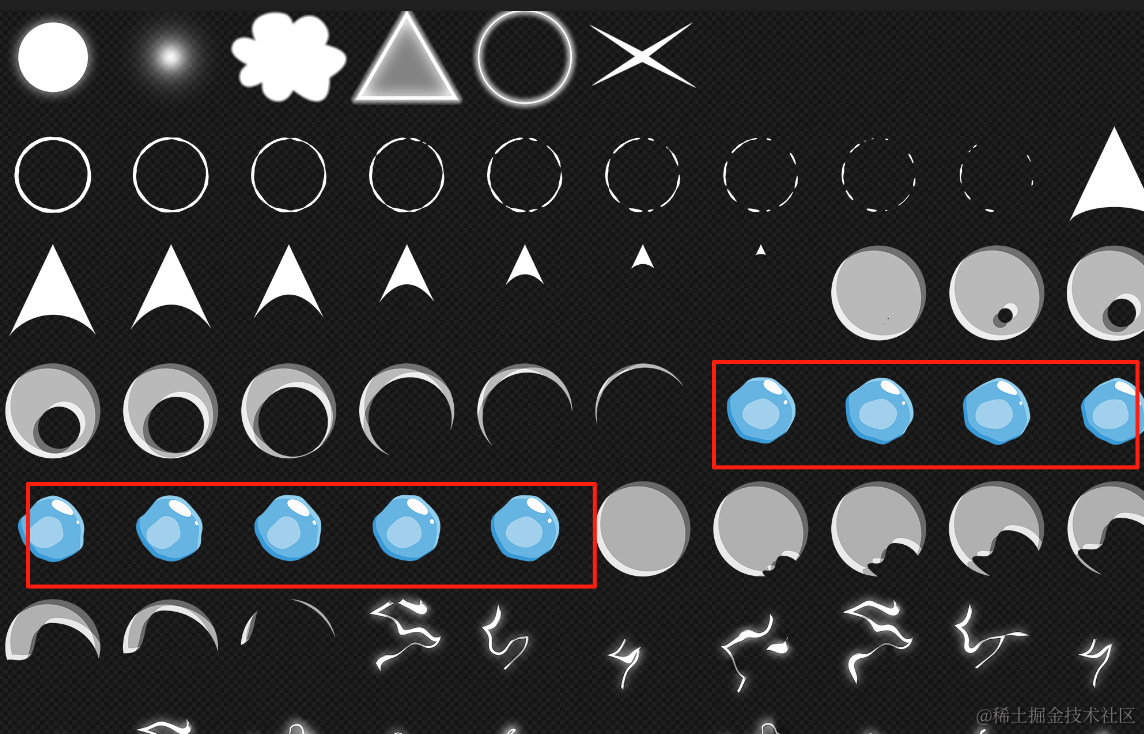
用帧动画来显示泡泡粒子,泡泡运动过程中会有一些变化,更真实。
泡泡从下到上应该是逐渐变大的过程,因为上面水压小,下面水压大。所以要做行为控制,用 SizeOfLife 调整粒子大小。
而鱼的模型从 sketchfab 来找:
https://sketchfab.com/3d-models/fish-5a2b7976ef5c44658de22e98bf381277
这个模型自带了骨骼动画。
大概就是这个思路,我们来写一下:
npx create-vite fish-bubbles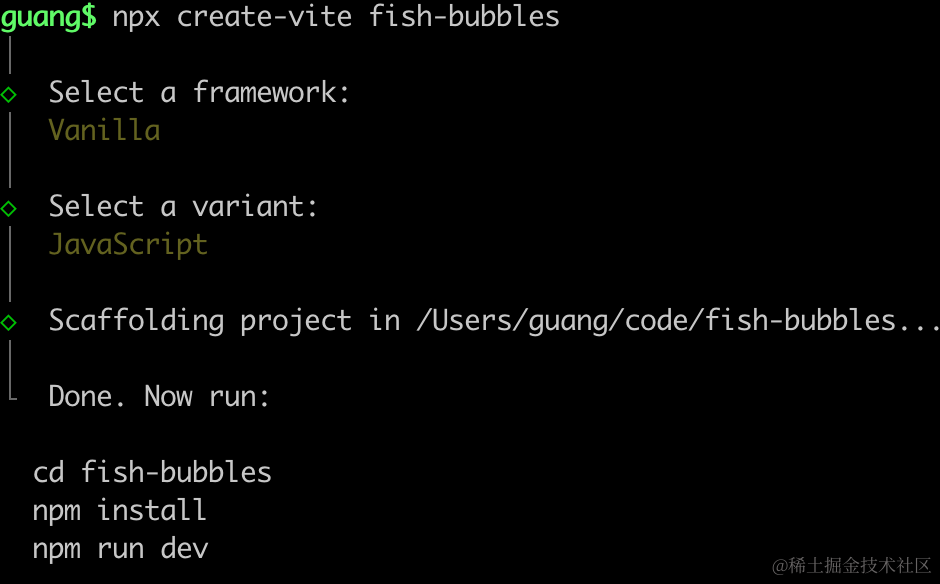
进入项目,安装依赖:
npm install
npm install --save three
npm install --save-dev @types/three
改下 src/main.js
import './style.css';
import * as THREE from 'three';
import {
    OrbitControls
} from 'three/addons/controls/OrbitControls.js';
import mesh from './mesh.js';

const scene = new THREE.Scene();

scene.add(mesh);

const directionLight = new THREE.DirectionalLight(0xffffff);
directionLight.position.set(500, 600, 800);
scene.add(directionLight);

const ambientLight = new THREE.AmbientLight();
scene.add(ambientLight);

const helper = new THREE.AxesHelper(1000);
scene.add(helper);

const width = window.innerWidth;
const height = window.innerHeight;

const camera = new THREE.PerspectiveCamera(60, width / height, 0.1, 10000);
camera.position.set(500, 600, 800);
camera.lookAt(0, 0, 0);

const renderer = new THREE.WebGLRenderer();
renderer.setSize(width, height)

function render() {
    renderer.render(scene, camera);
    requestAnimationFrame(render);
}

render();

document.body.append(renderer.domElement);

const controls = new OrbitControls(camera, renderer.domElement);
创建 Scene、Light、Camera、Renderer。
改下 style.css
body {
  margin: 0;
}
安装下粒子动画库:
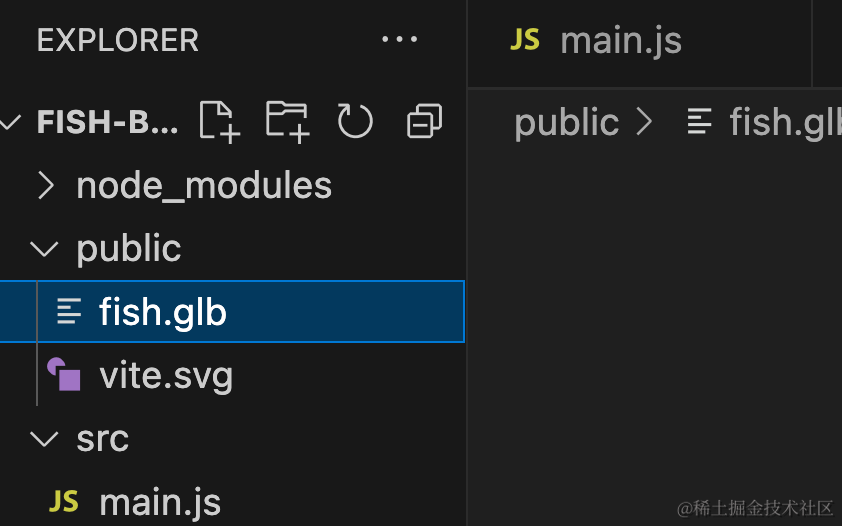
npm install --save three.quarks把鱼的模型下载下载,放到 public 目录下:
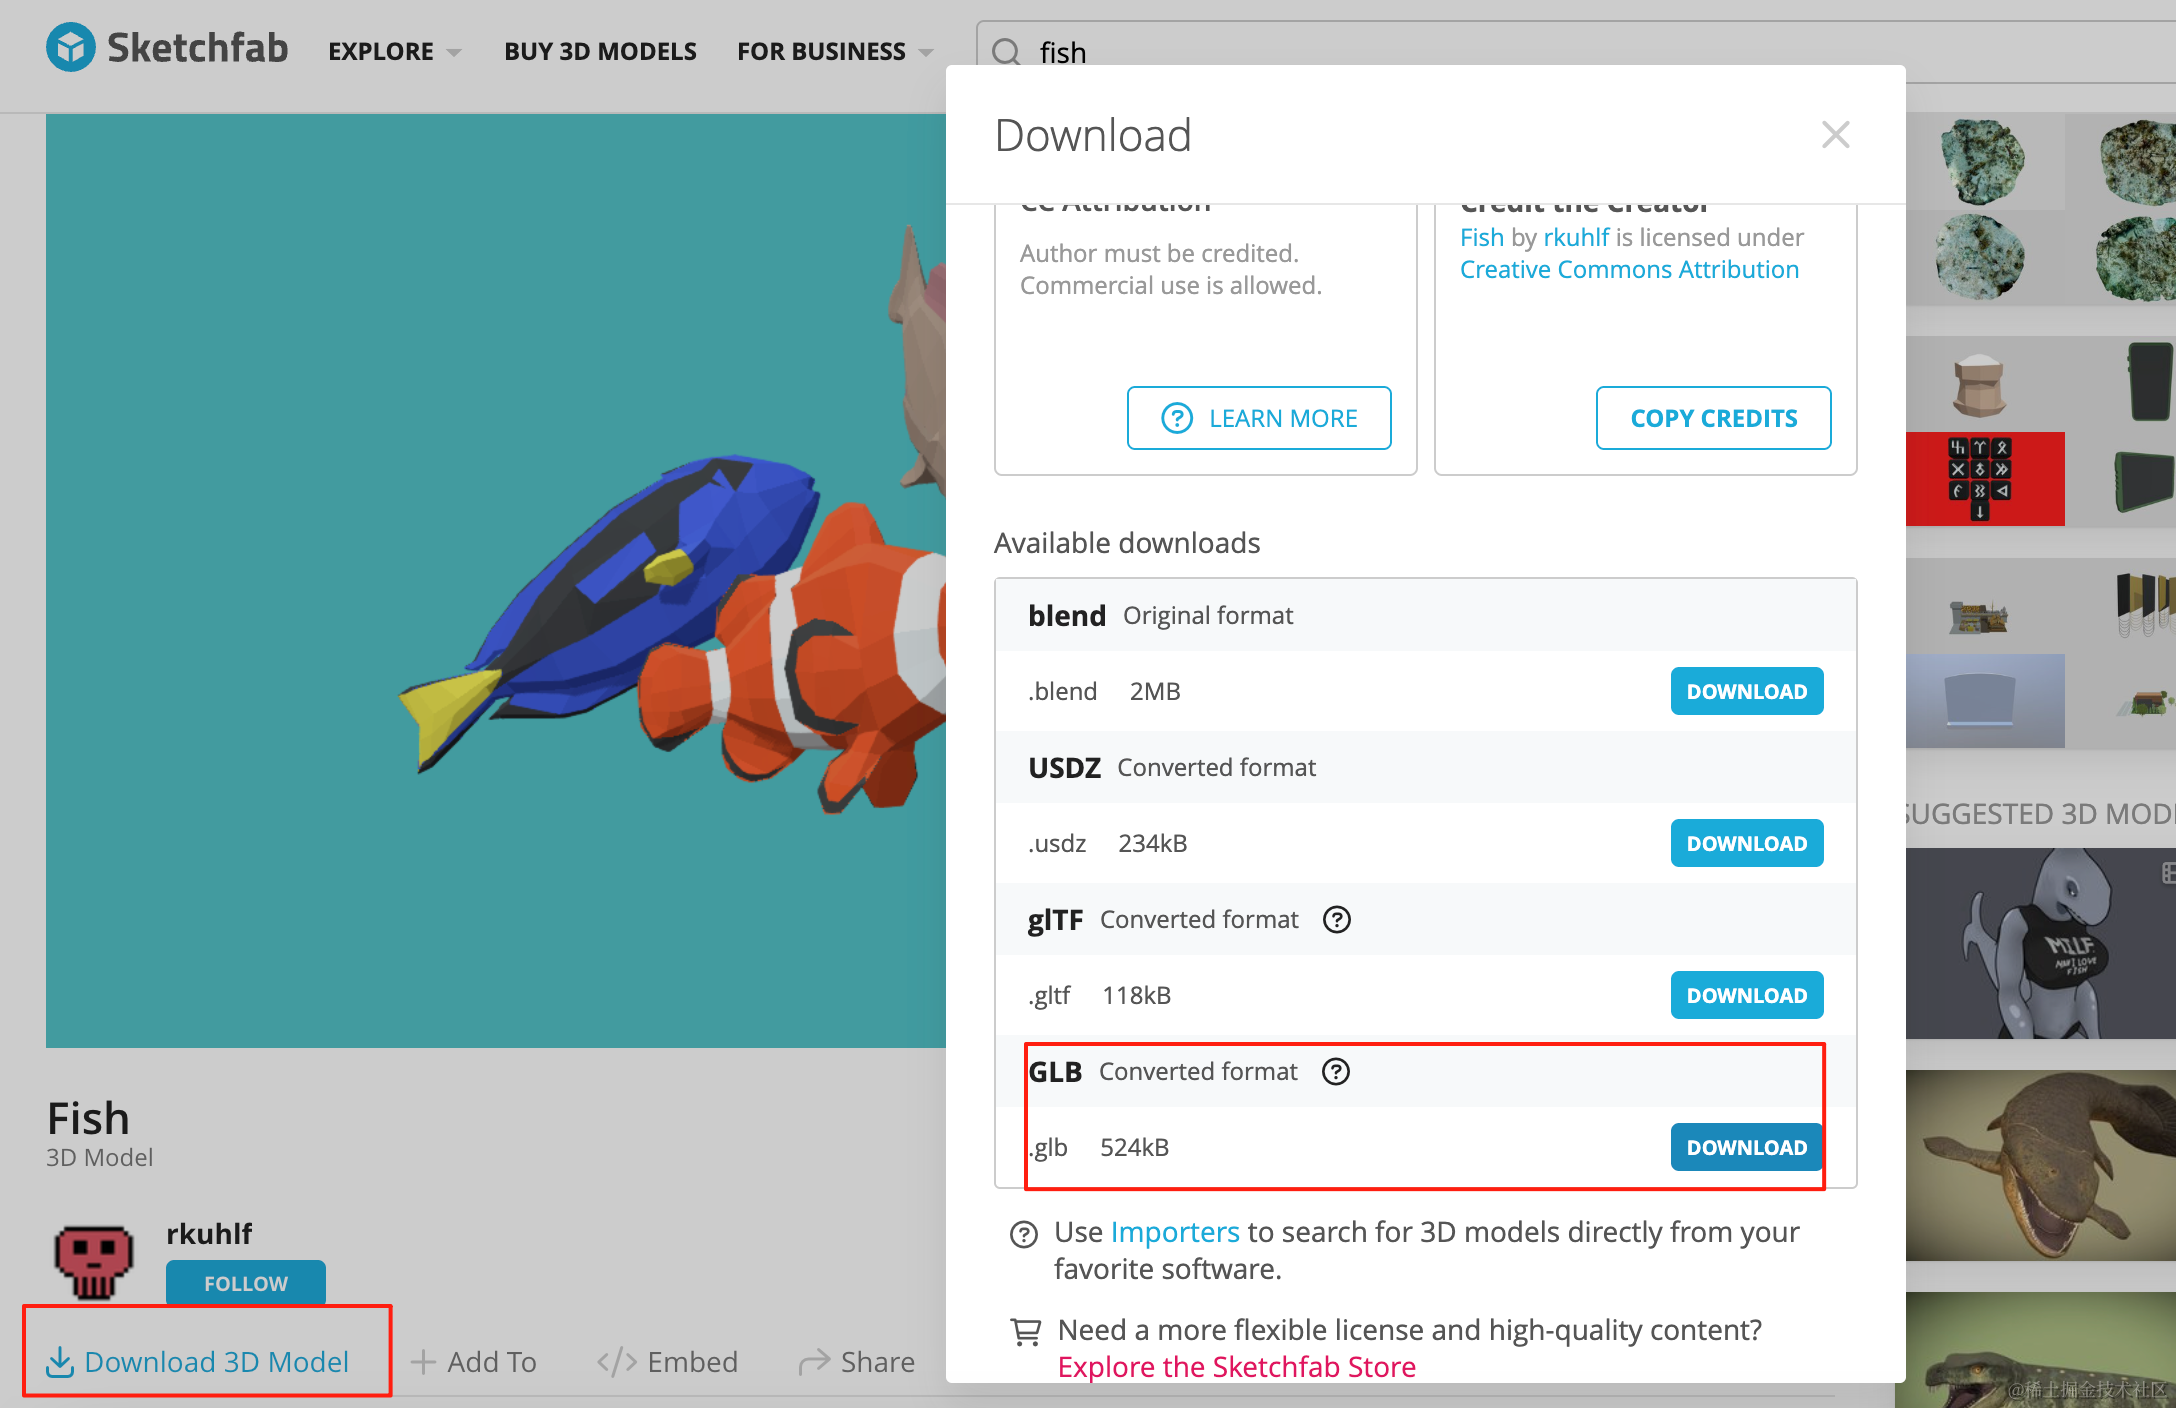
https://sketchfab.com/3d-models/fish-5a2b7976ef5c44658de22e98bf381277#download
在代码里加载下:
创建 mesh.js
import * as THREE from 'three';
import { GLTFLoader } from 'three/addons/loaders/GLTFLoader.js';

const loader = new GLTFLoader();

const mesh = new THREE.Group();

loader.load("./fish.glb", function (gltf) {
    console.log(gltf);
    mesh.add(gltf.scene);

    gltf.scene.scale.setScalar(100);
})

export default mesh;
跑起来看下效果:
npm run dev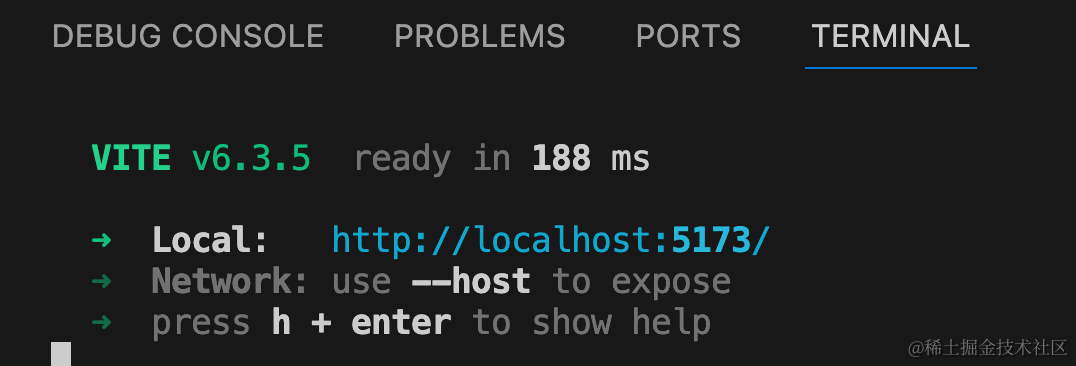
鱼加载出来了。
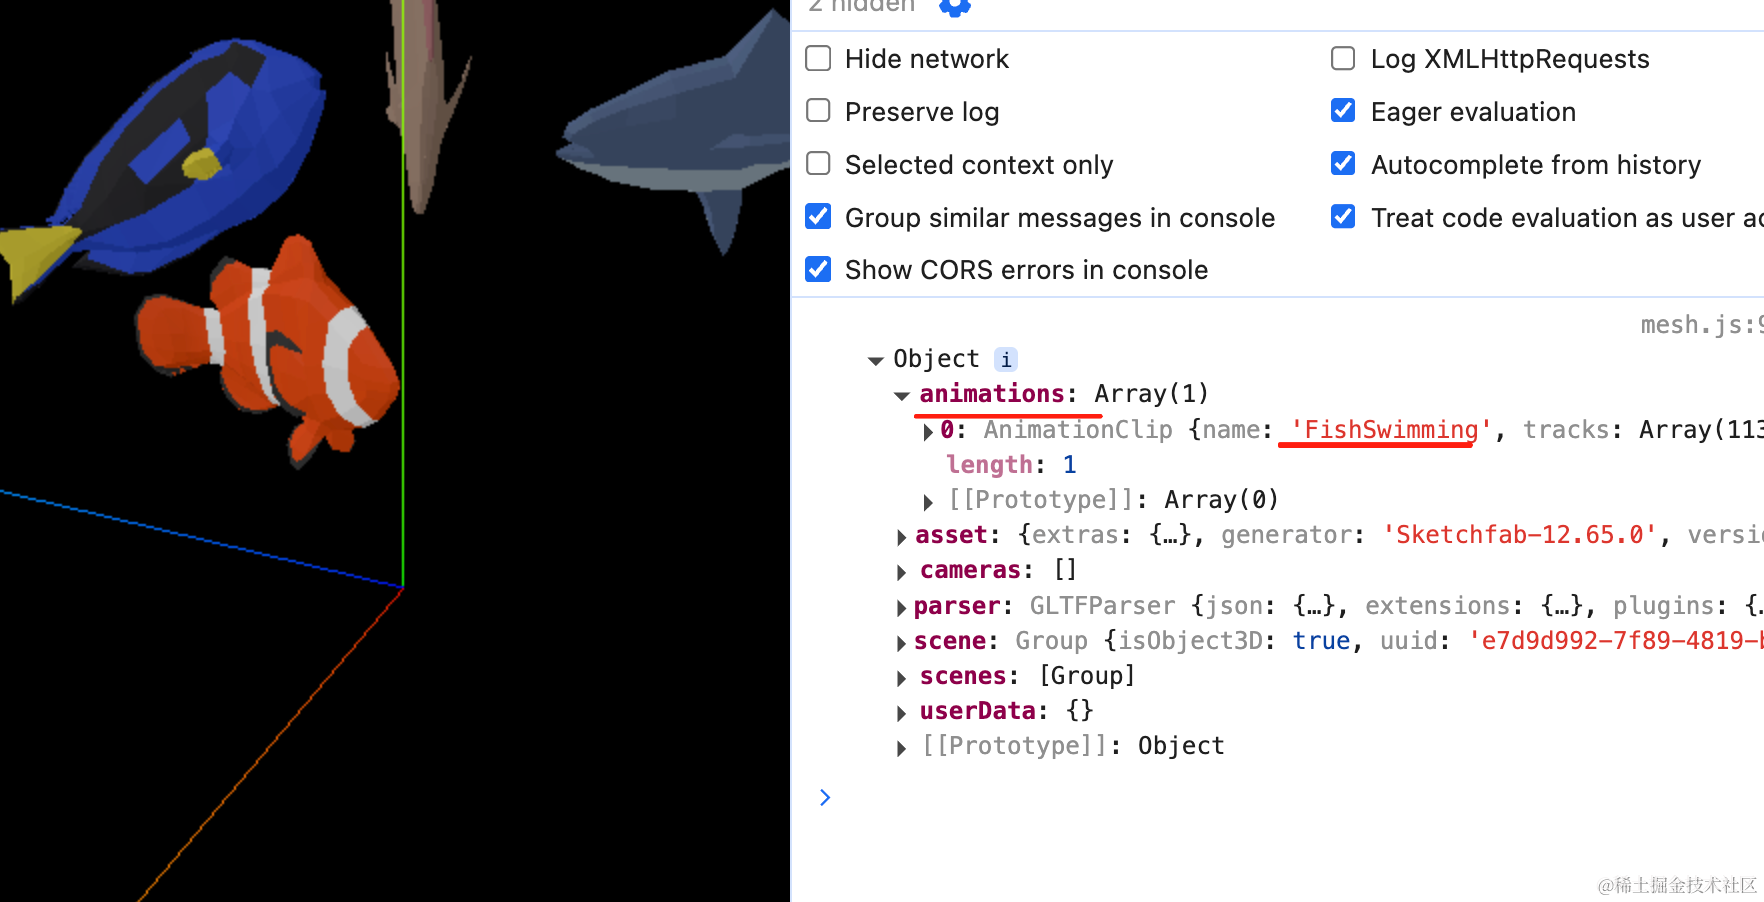
可以看到,模型自带了一个鱼游泳的骨骼动画。
我们播放一下:
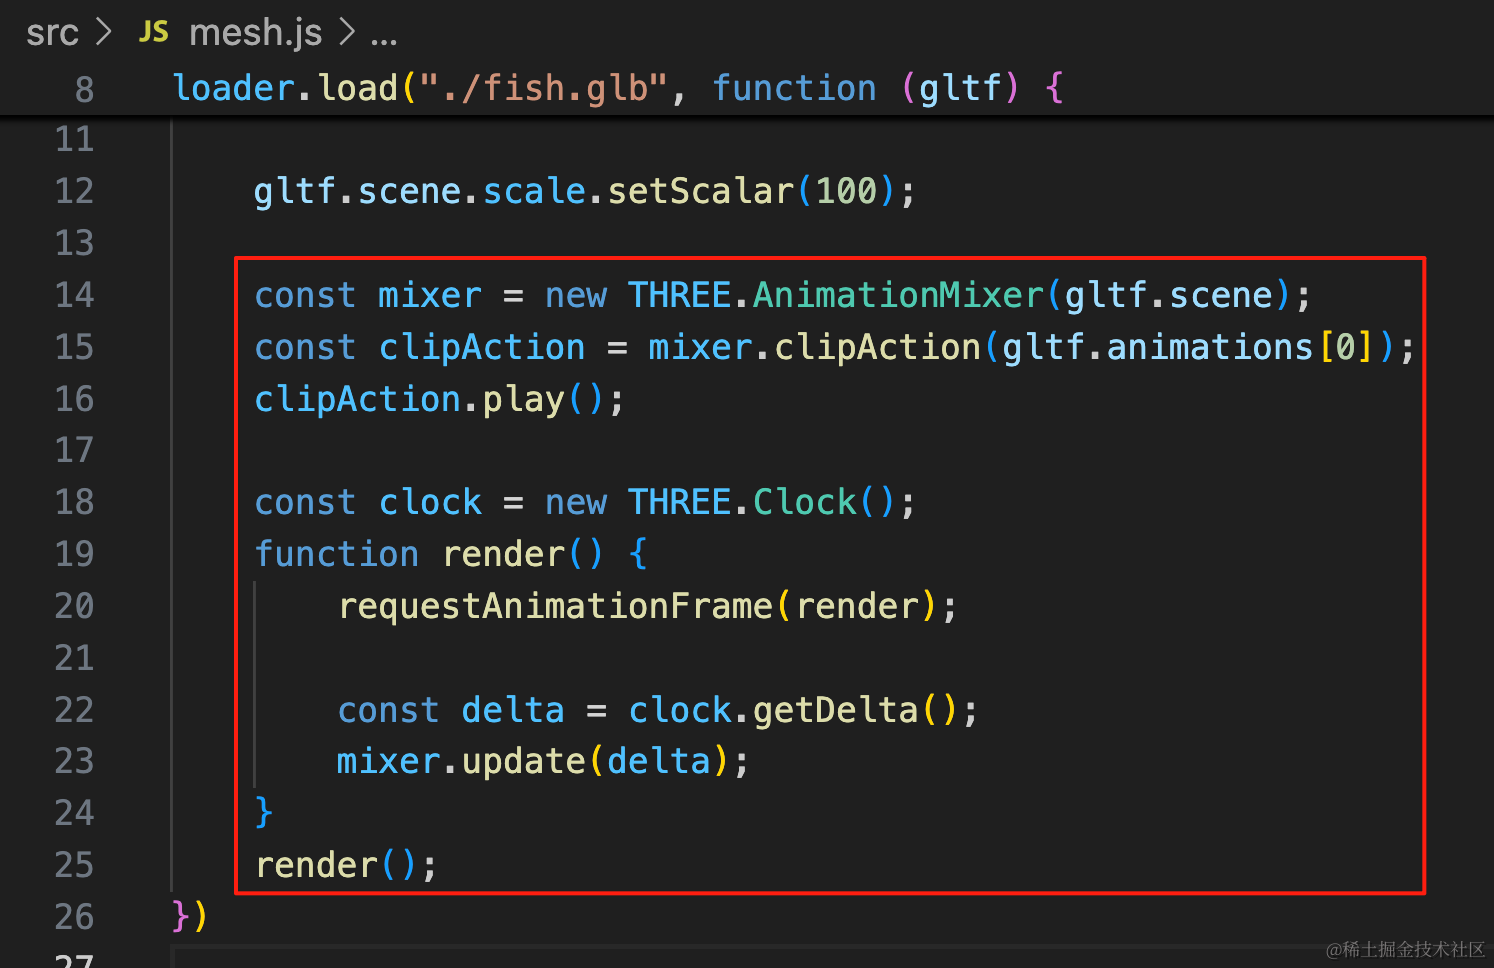
const mixer = new THREE.AnimationMixer(gltf.scene);
const clipAction = mixer.clipAction(gltf.animations[0]);
clipAction.play();

const clock = new THREE.Clock();
function render() {
    requestAnimationFrame(render);

    const delta = clock.getDelta();
    mixer.update(delta);
}
render();
现在鱼就游起来了。
我们分别在模型里找到这 4 条鱼的 name:
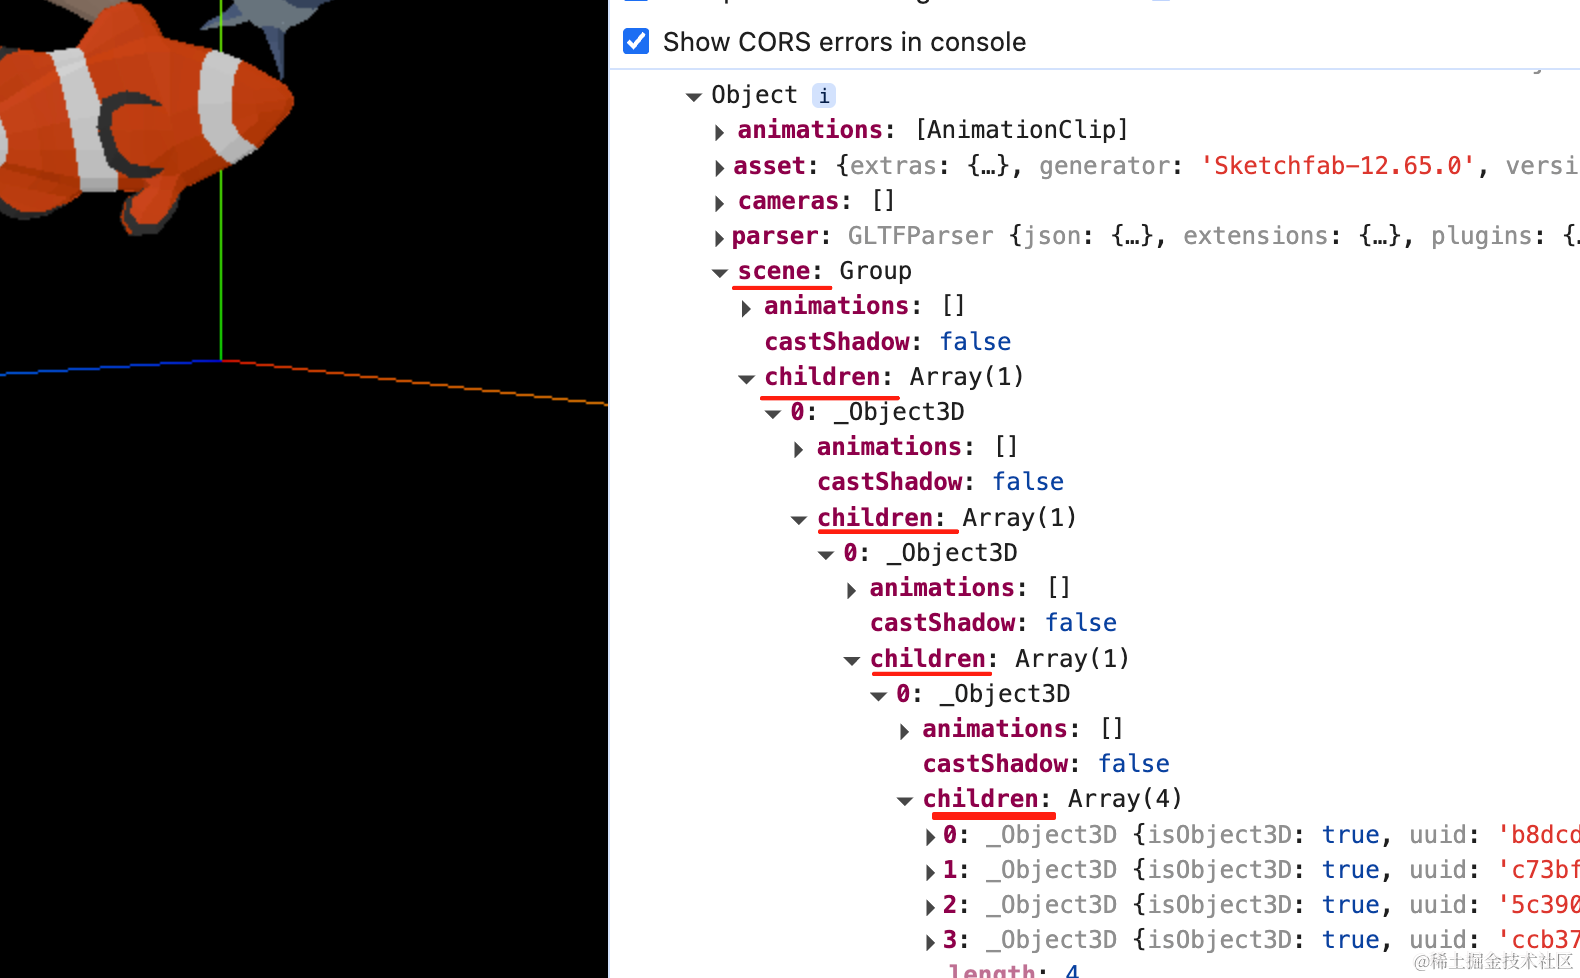
scene 一层层展开 children,这个 4 个子对象的,明显就是 4 条鱼了。
分别记录下 name:
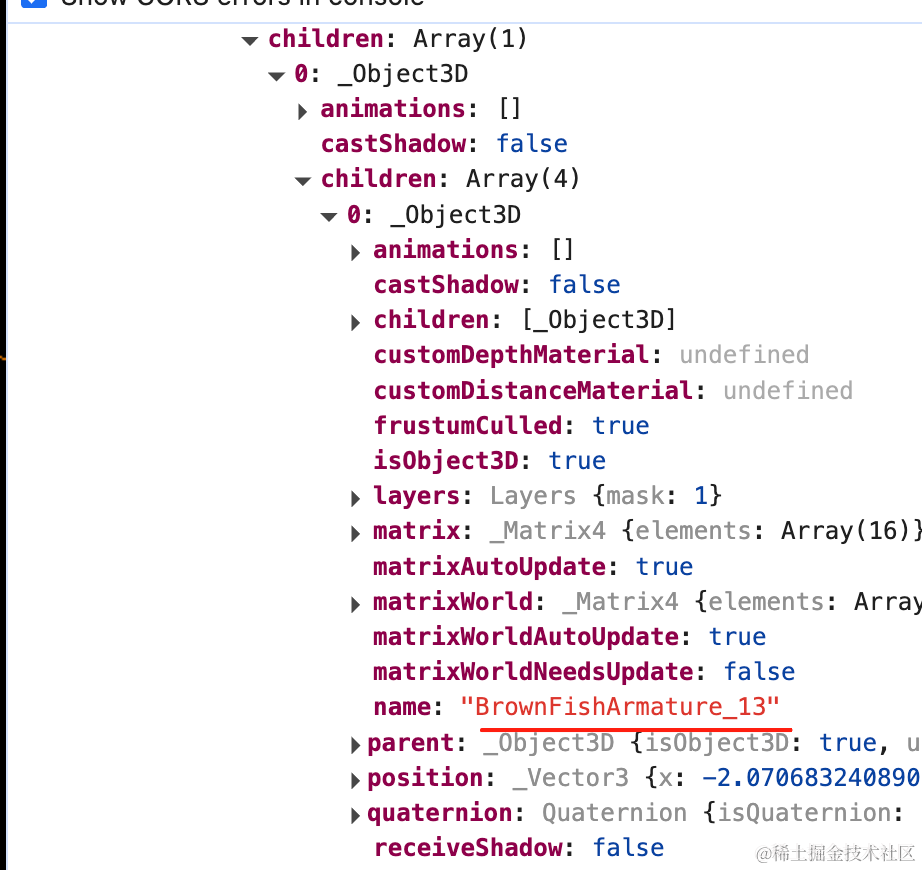
删掉三条,只留下一条鱼:
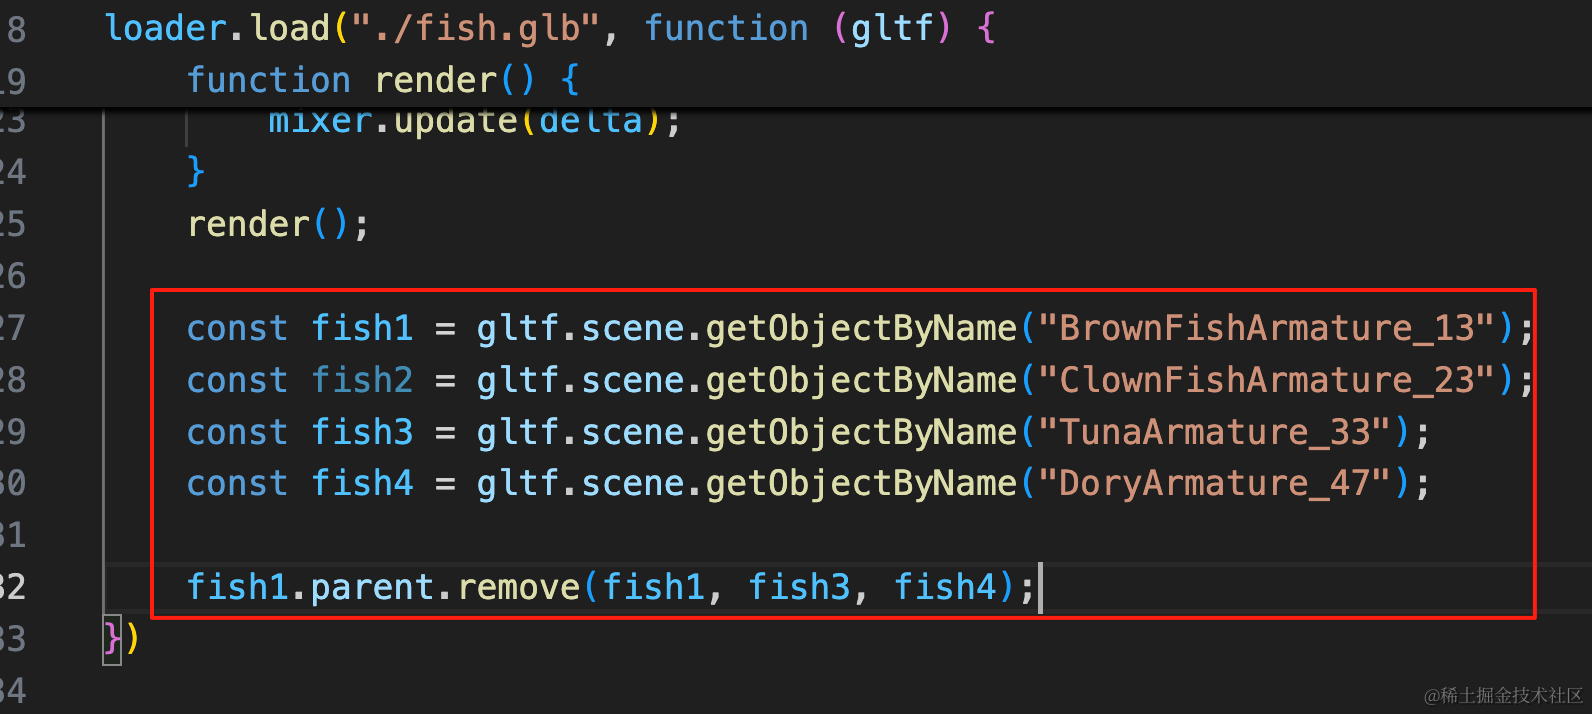
const fish1 = gltf.scene.getObjectByName("BrownFishArmature_13");
const fish2 = gltf.scene.getObjectByName("ClownFishArmature_23");
const fish3 = gltf.scene.getObjectByName("TunaArmature_33");
const fish4 = gltf.scene.getObjectByName("DoryArmature_47");

fish1.parent.remove(fish1, fish3, fish4);
然后让它来吐泡泡。
初始化下 three.quarks
创建 bubbles.js
import * as THREE from "three";
import { BatchedParticleRenderer,ConstantValue, GridEmitter, IntervalValue, ParticleSystem, RandomColor } from "three.quarks";
const group = new THREE.Group();
const batchRenderer = new BatchedParticleRenderer();
group.add(batchRenderer);
const loader = new THREE.TextureLoader();
const texture = loader.load('./texture.png');
const particles = new ParticleSystem({
duration: 5,
looping: true,
startLife: new ConstantValue(3, 5),
startSpeed: new IntervalValue(200, 300),
startSize: new IntervalValue(50, 100),
startColor: new RandomColor(
new THREE.Vector4(1, 1, 1, 1),
new THREE.Vector4(1, 1, 1, 0.1)
),
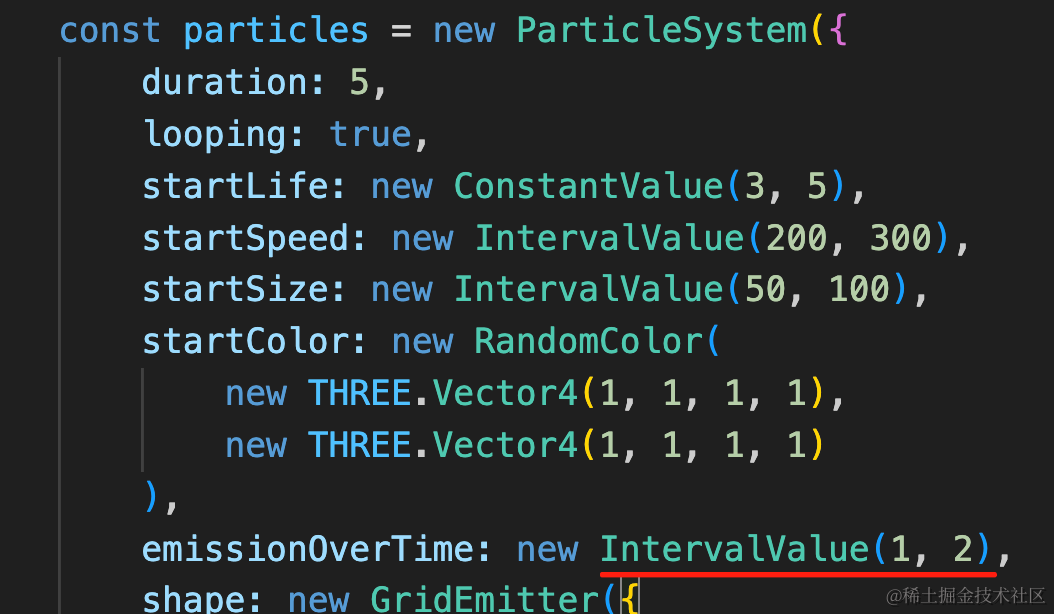
emissionOverTime: new IntervalValue(1, 3),
shape: new GridEmitter({
row: 1,
column: 1,
}),
material: new THREE.MeshBasicMaterial({
map: texture,
transparent: true,
side: THREE.DoubleSide
}),
uTileCount: 10,
vTileCount: 10,
startTileIndex: new ConstantValue(36)
});
group.add(particles.emitter);
batchRenderer.addSystem(particles);
export {
batchRenderer
}
export default group;把这张图片拿过来放在 public 目录下:
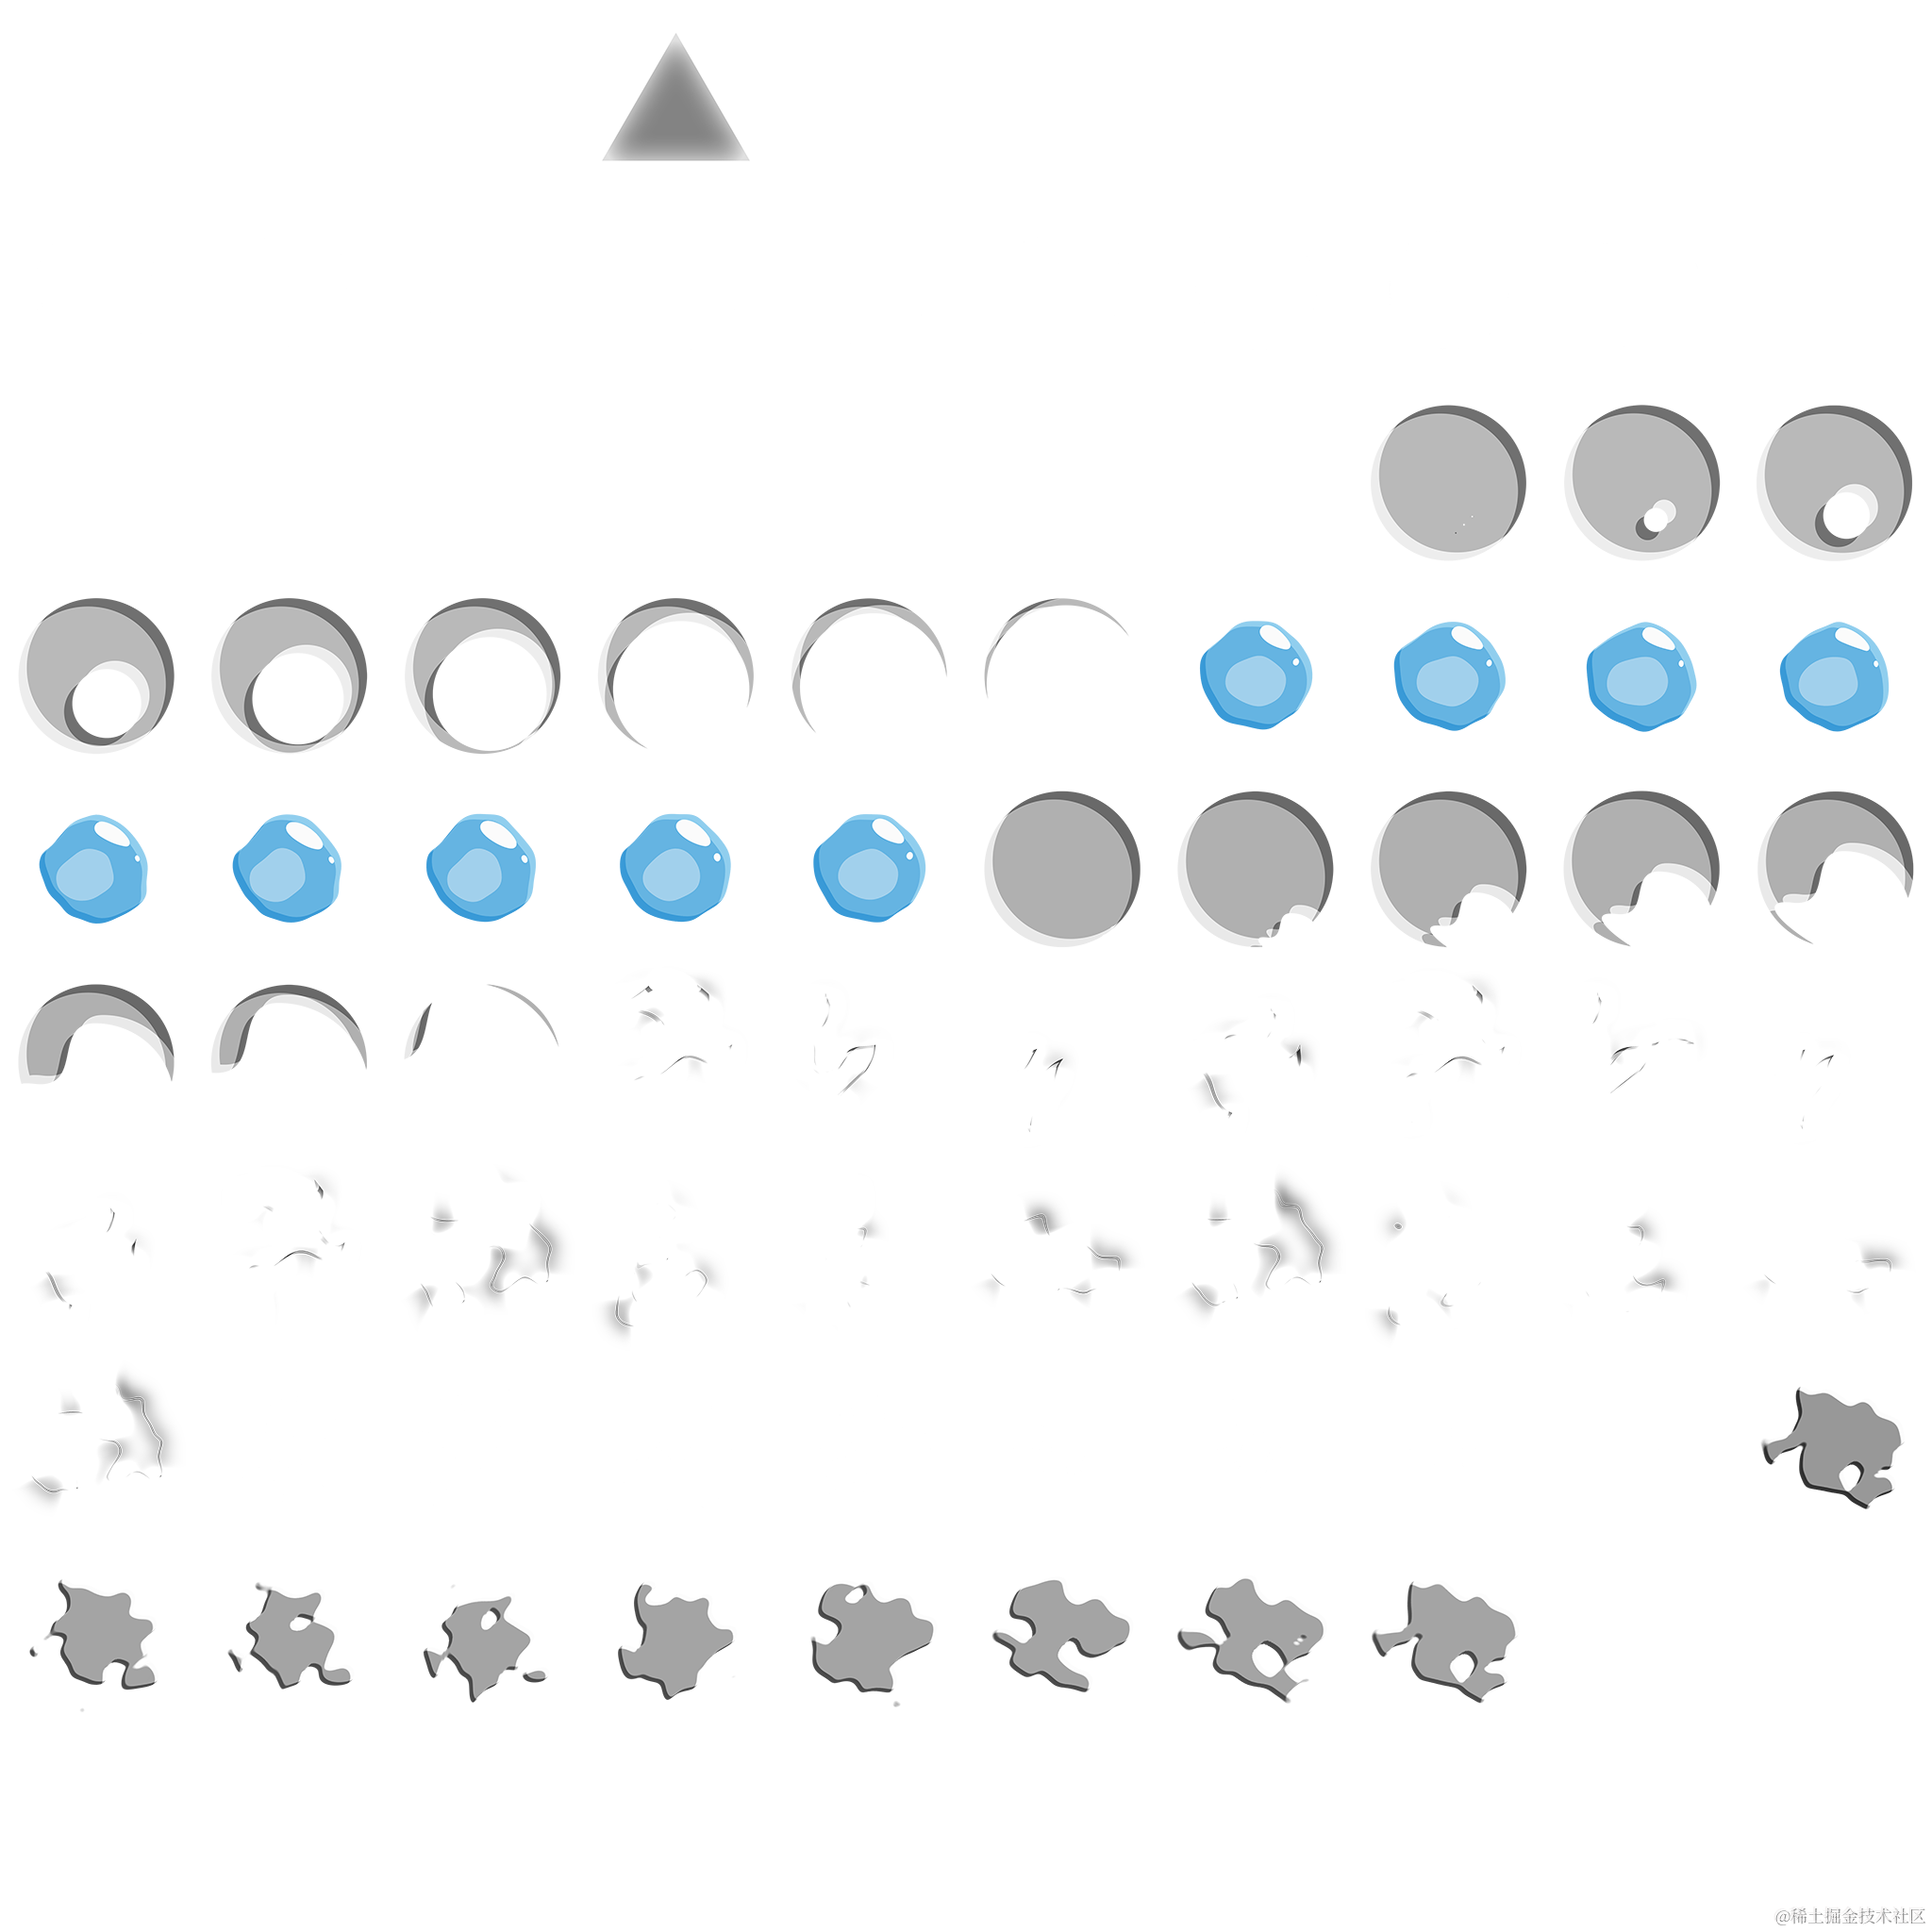
初始是第三行第六列,也就是 36
这里有几点和之前不同:
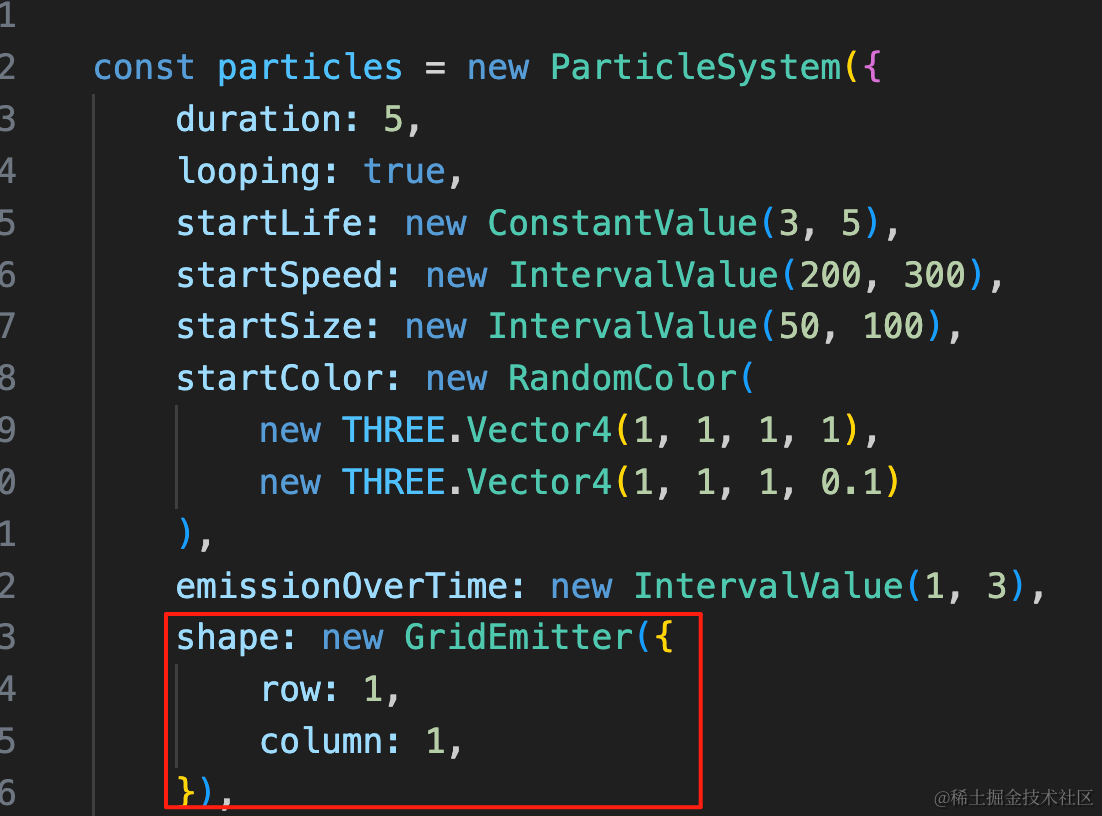
首先,我们用的 GridEmitter,一行一列。
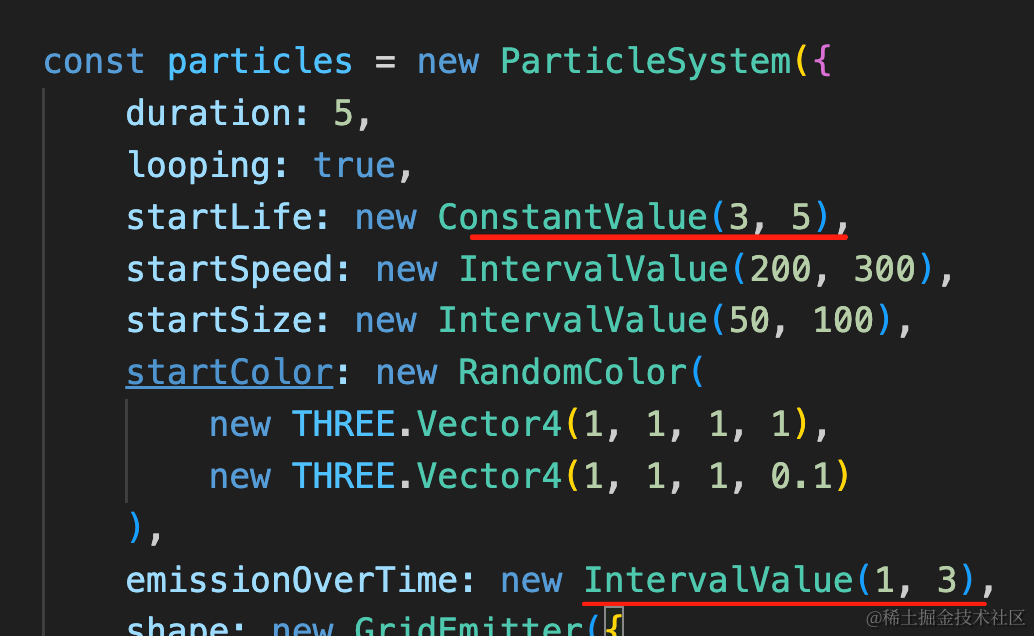
气泡存活时间是 3 到 5s。
每次发射 1 个到 3 个气泡。
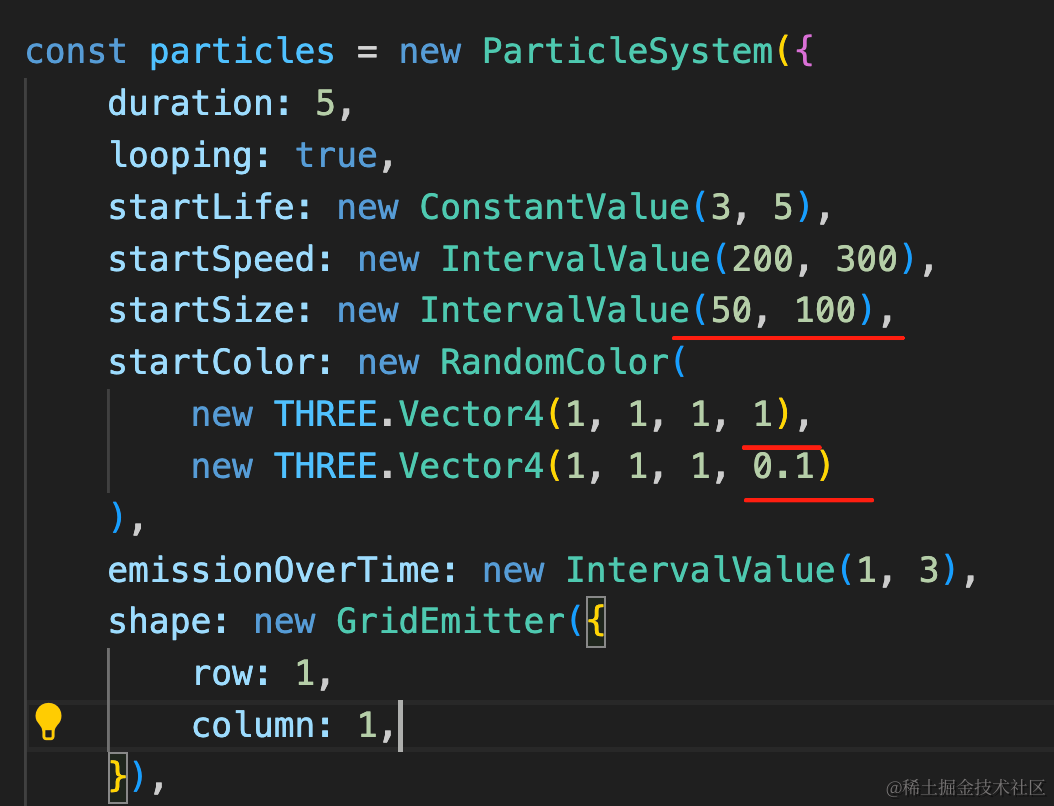
气泡大小是 50 到 100,然后颜色是白色,但透明度是 0.1 到 1 的随机。
我们在 main.js 里引入下:
import bubbles from './bubbles';
import { batchRenderer } from './mesh.js';

scene.add(bubbles);
const clock = new THREE.Clock();
function render() {
const delta = clock.getDelta();
renderer.render(scene, camera);
requestAnimationFrame(render);
if(batchRenderer) {
batchRenderer.update(delta);
}
}
render();看下效果:
气泡有点多,每次产生 1 到 2 个就行:
然后改一下 emitter 的位置:
首先绕 x 轴旋转 90 度:

particles.emitter.rotateX(-Math.PI / 2);
然后调一下位置:
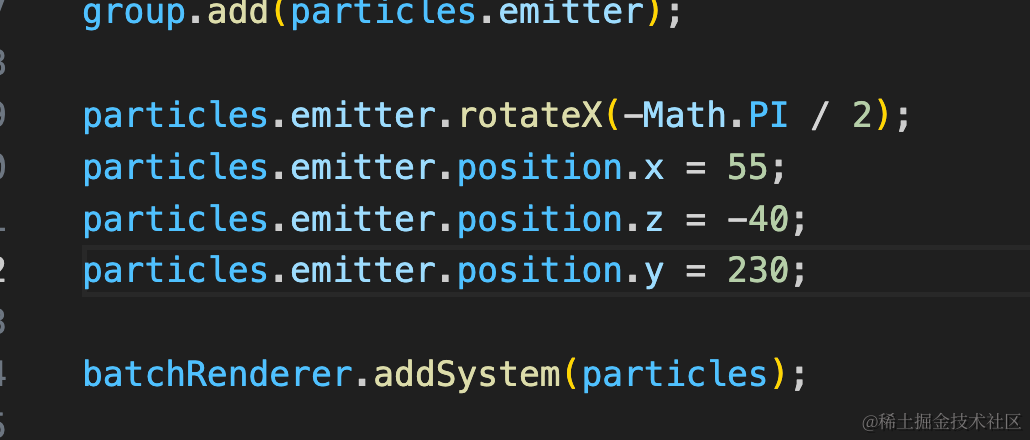
particles.emitter.position.x = 55;
particles.emitter.position.z = -40;
particles.emitter.position.y = 230;
边调边看效果就行。
调好后是这样的:

气泡位置对了,但是大小不对。
应该是逐渐从小变大的效果。
我们加一下行为控制:
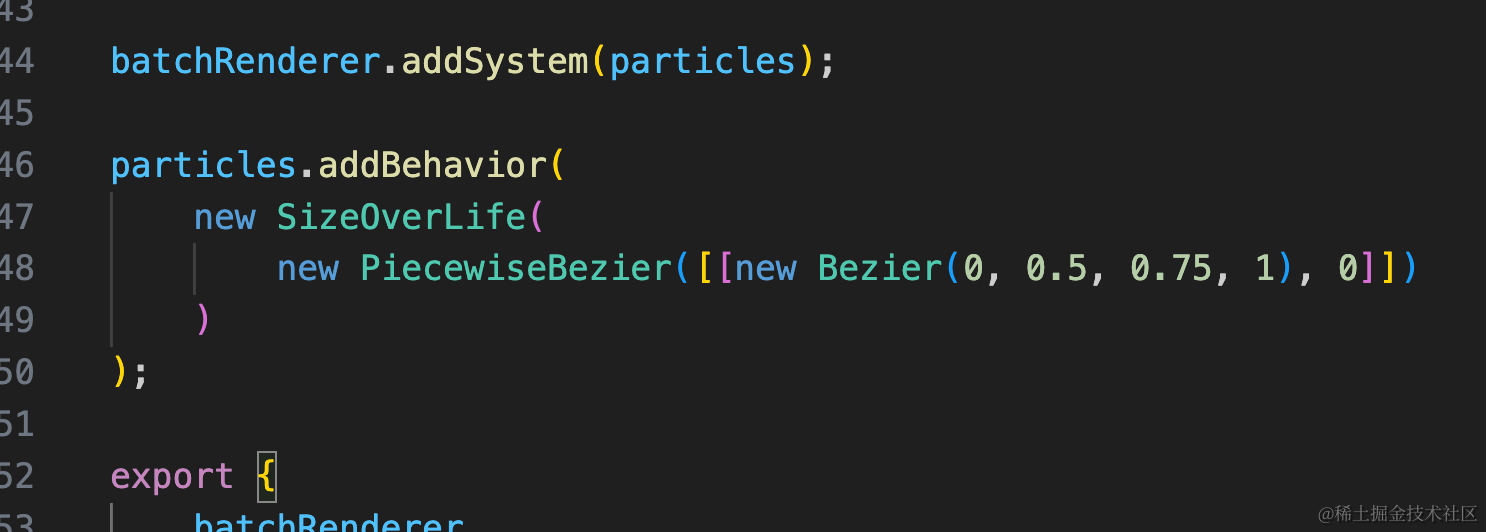
particles.addBehavior(
    new SizeOverLife(
        new PiecewiseBezier([[new Bezier(0, 0.5, 0.75, 1), 0]])
    )
);
好多了。
案例代码上传了小册仓库
总结
这节我们实现了小鱼吐泡泡的效果。
鱼是从 sketchfab 下载的模型,自带了游动的骨骼动画。
气泡用 three.quarks 的 GridEimtter 来发射,控制粒子从小变大,然后移动下位置。
小鱼吐泡泡实现后,下节我们实现来回游动的效果。