不知道大家有没有见到过这种粒子效果:

https://ak.hypergryph.com/#world
由一堆粒子构成某种图案,然后再打碎重组成另一种图案。
这种粒子效果也是比较常见的。
那用 three.quarks 能不能实现这种粒子效果呢?
支持,three.quarks 支持在不同粒子序列之间变换。
需要用 TextureSequencer 的 api 来指定粒子序列。
我们来试一下:
npx create-vite three-quarks-texture-sequencer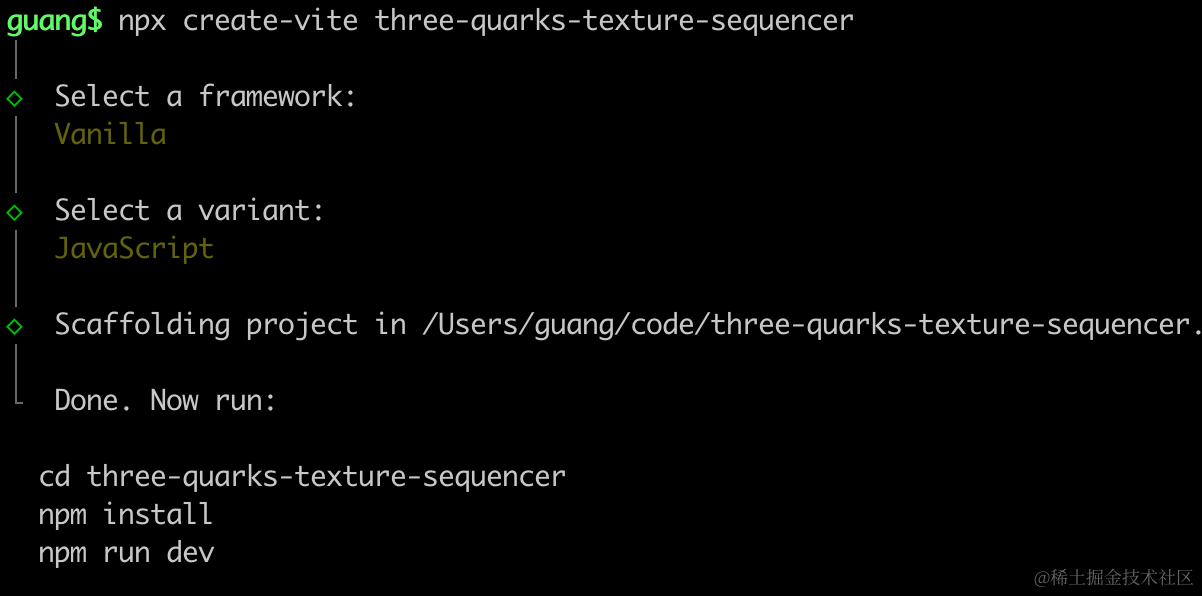
进入项目,安装依赖:
npm install
npm install --save three
npm install --save-dev @types/three
改下 src/main.js
import './style.css';
import * as THREE from 'three';
import {
    OrbitControls
} from 'three/addons/controls/OrbitControls.js';
import mesh from './mesh.js';

const scene = new THREE.Scene();

scene.add(mesh);

const helper = new THREE.AxesHelper(1000);
// scene.add(helper);

const width = window.innerWidth;
const height = window.innerHeight;

const camera = new THREE.PerspectiveCamera(60, width / height, 0.1, 10000);
camera.position.set(0, 0, 20);
camera.lookAt(0, 0, 0);

const renderer = new THREE.WebGLRenderer();
renderer.setSize(width, height)

const clock = new THREE.Clock();
function render() {
    const delta = clock.getDelta();
    renderer.render(scene, camera);
    requestAnimationFrame(render);
}
render();

document.body.append(renderer.domElement);

const controls = new OrbitControls(camera, renderer.domElement);
创建 Scene、Camera、Renderer。
相机在 0,0,20 的位置,正对 XY 平面。
改下 style.css
body {
  margin: 0;
}
安装下粒子效果库:
npm install --save three.quarks在 mesh.js 初始化下 three.quarks
import * as THREE from "three";
import { ApplySequences, BatchedParticleRenderer,ConeEmitter, ConstantValue, DonutEmitter, GridEmitter, IntervalValue, ParticleSystem, RandomColor, RectangleEmitter, TextureSequencer, Vector3, Vector4 } from "three.quarks";

const group = new THREE.Group();

const batchRenderer = new BatchedParticleRenderer();
group.add(batchRenderer);

const loader = new THREE.TextureLoader();
const texture = loader.load('./point.png');

const particles = new ParticleSystem({
    duration: 10,
    looping: true,
    startLife: new ConstantValue(9),
    startSpeed: new ConstantValue(0),
    startSize: new IntervalValue(0.1, 0.2),
    startColor: new RandomColor(
        new Vector4(1, 1, 1, 1),
        new Vector4(1, 0.7, 0, 1)
    ),
    emissionOverTime: new ConstantValue(0),
    emissionBursts: [
        {
            time: 0,
            count: new ConstantValue(2000),
            probability: 1,
        },
    ],
    shape: new GridEmitter({
        width: 20,
        height: 20,
        column: 50,
        row: 50
    }),
    material: new THREE.MeshBasicMaterial({
        map: texture,
        transparent: true
    })
});

group.add(particles.emitter);

batchRenderer.addSystem(particles);

export {
    batchRenderer
}

export default group;
这次用网格粒子发射器 GridEmitter。
粒子速度为 0 也就是静止不动。
动画总时长是 10 秒,粒子在固定的 9 秒后消失。
重点是这里:
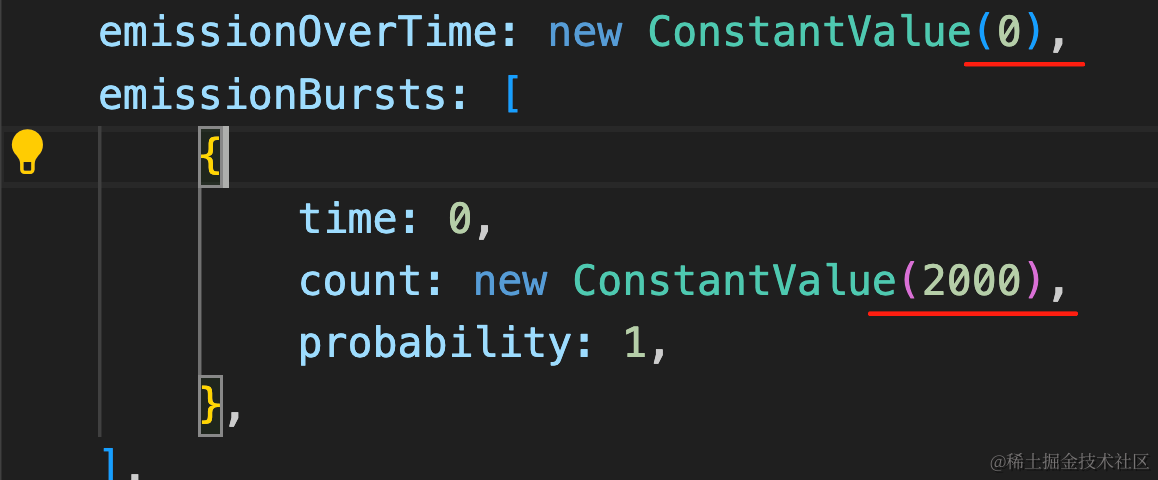
每次发射为 0,但初始就有 2000 个粒子。
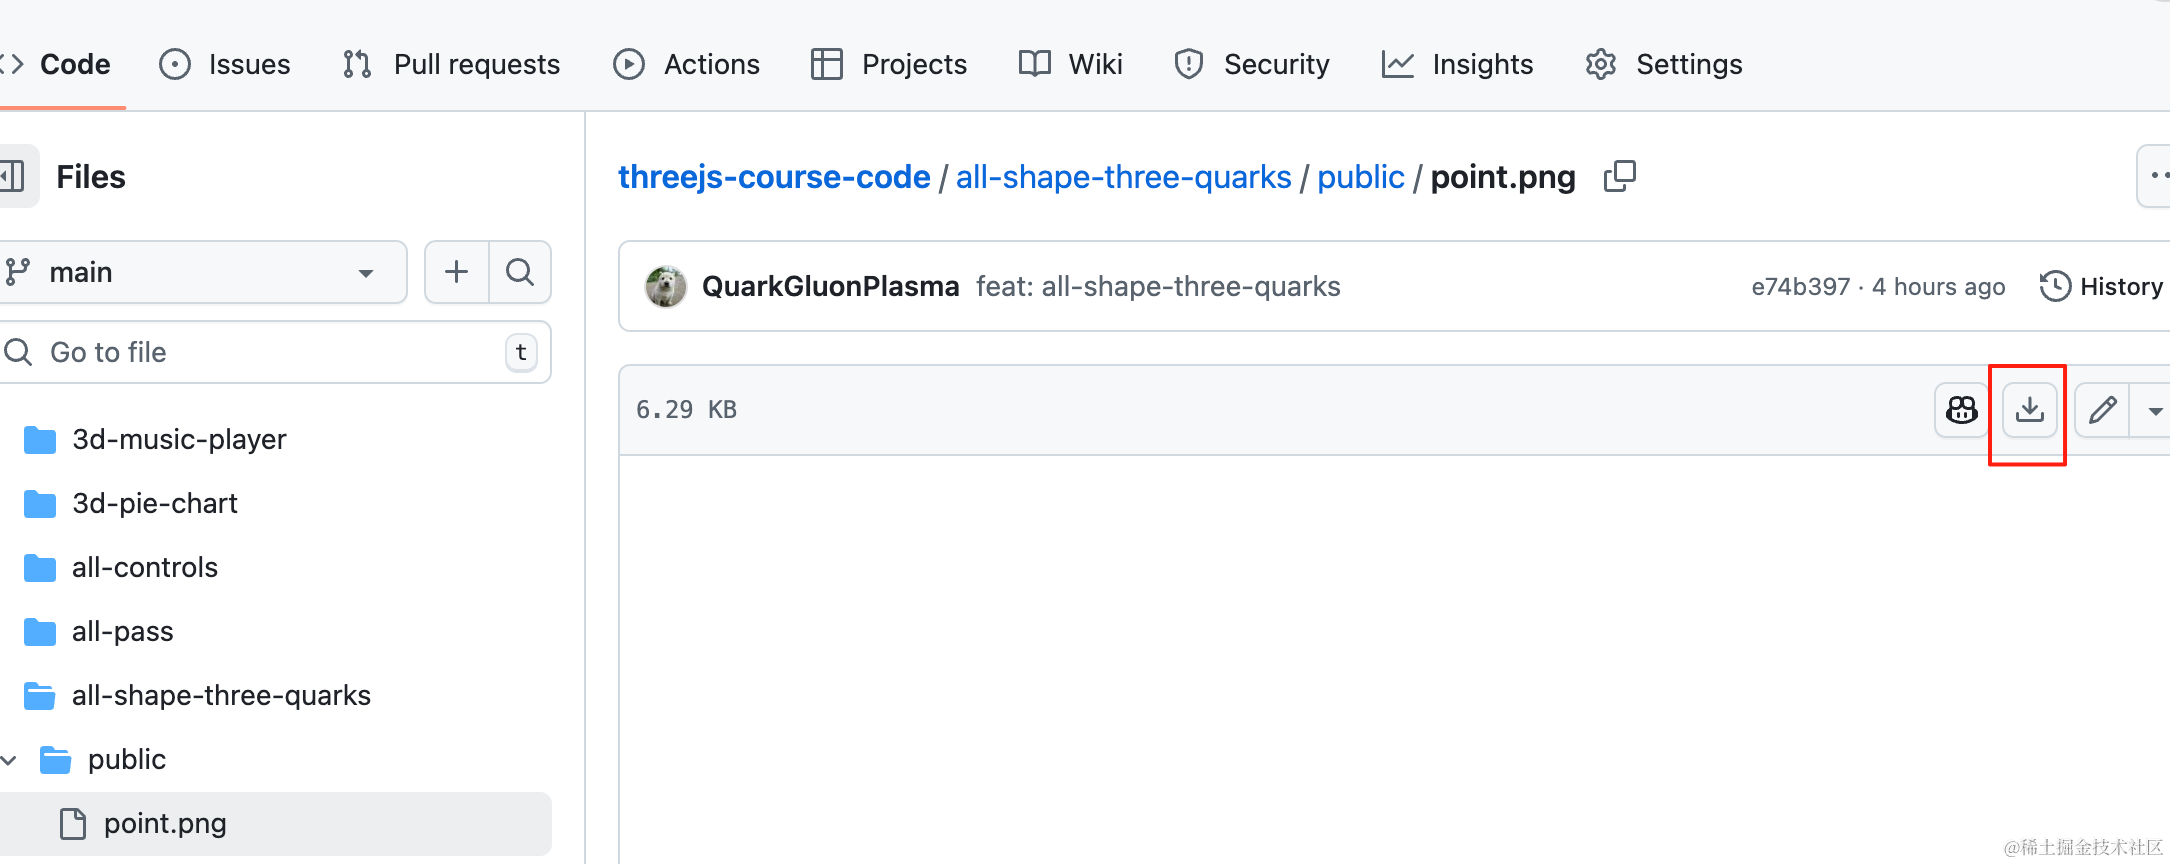
point.png 从这里下载:
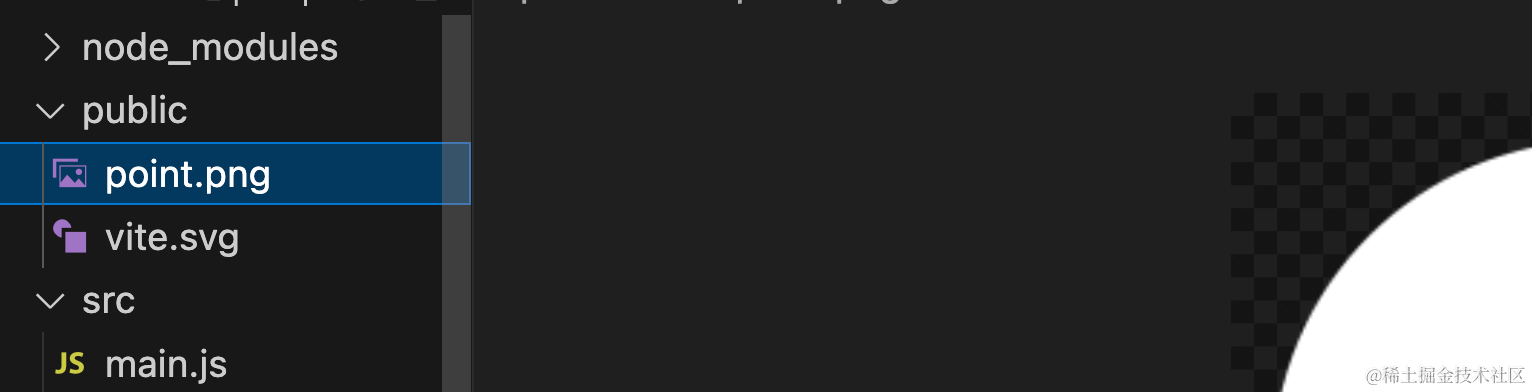
在 main.js 引入:
import { batchRenderer } from './mesh.js';const clock = new THREE.Clock();
function render() {
const delta = clock.getDelta();
renderer.render(scene, camera);
requestAnimationFrame(render);
if(batchRenderer) {
batchRenderer.update(delta);
}
}
render();跑一下,看下效果:
npm run dev
现在初始就是 50 行、50 列的静止不动的粒子。
然后让粒子按照某个序列动起来:
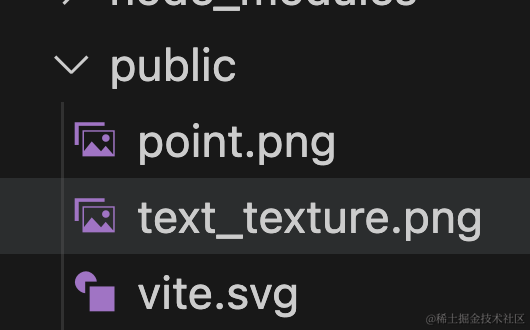
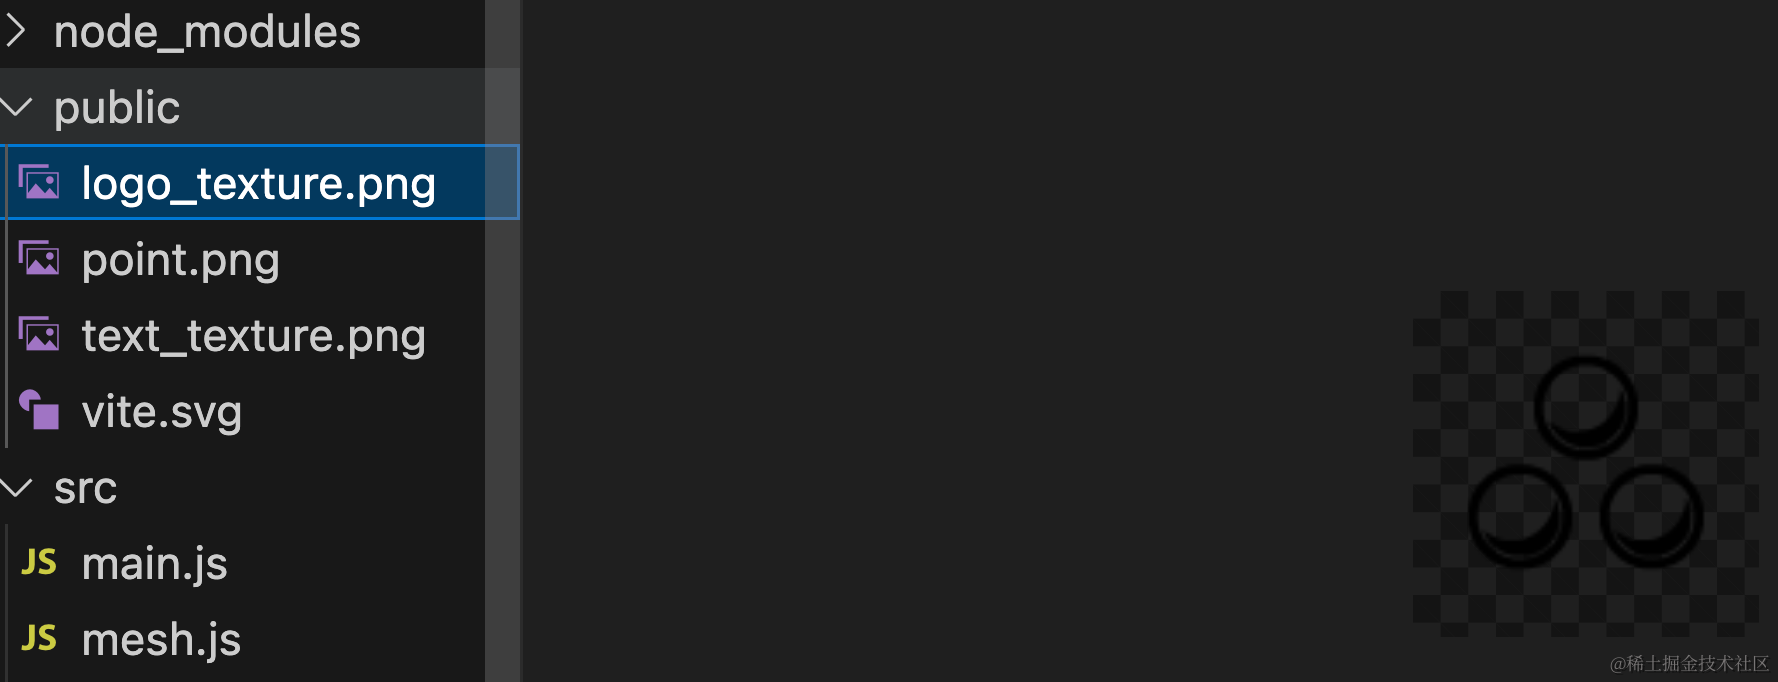
下载官方仓库这个 png,放到 public 目录下:

在代码里加载:
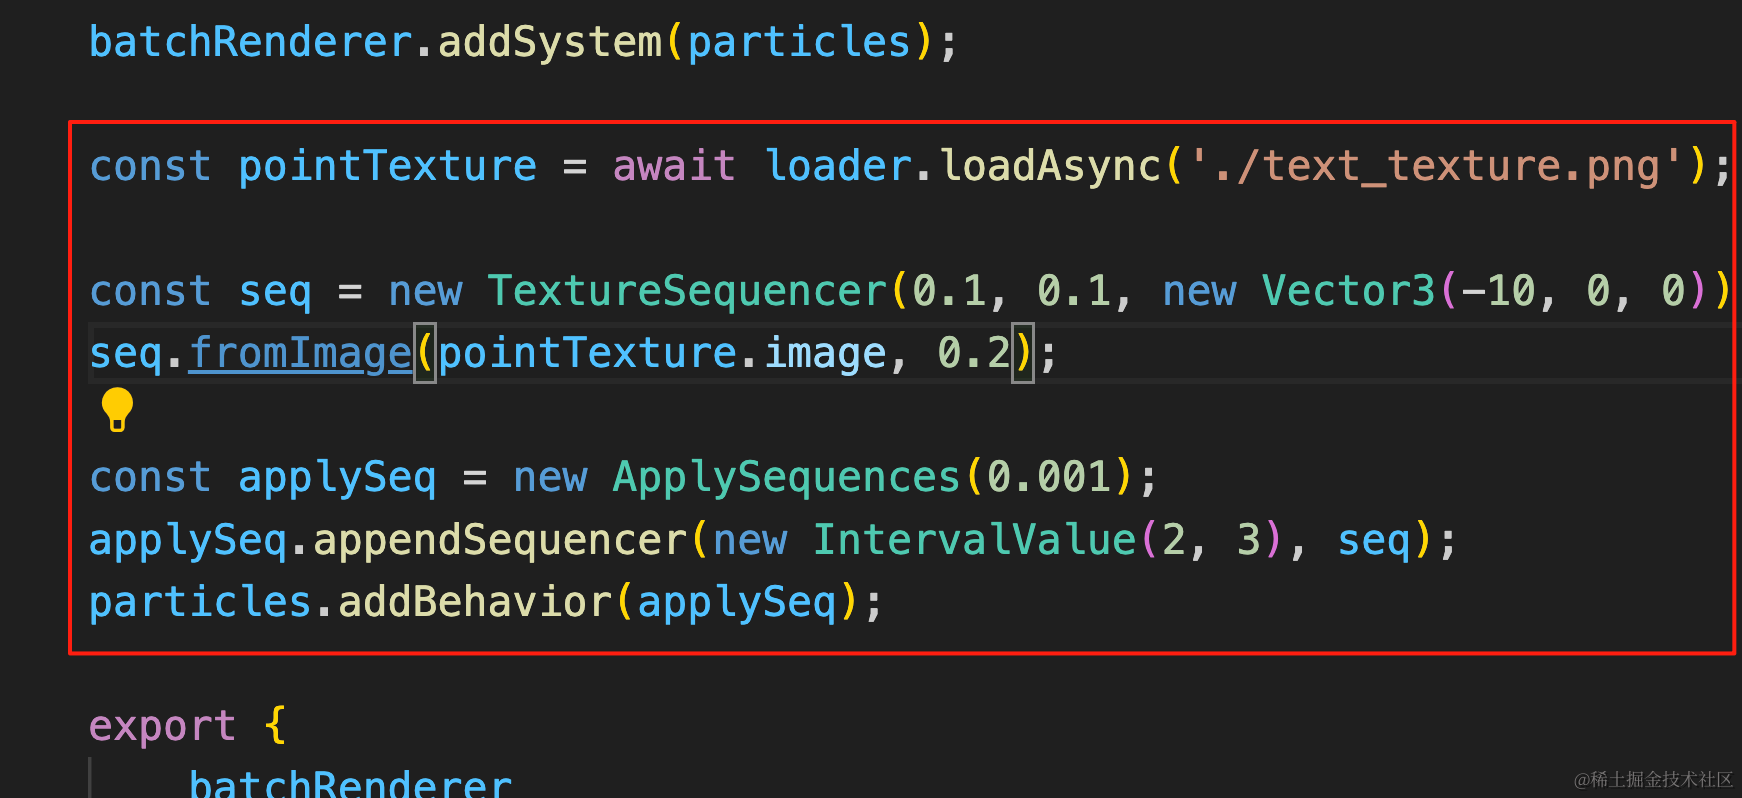
const pointTexture = await loader.loadAsync('./text_texture.png');

const seq = new TextureSequencer(0.1, 0.1, new Vector3(-10, 0, 0));
seq.fromImage(pointTexture.image, 0.2);

const applySeq = new ApplySequences(0.001);
applySeq.appendSequencer(new IntervalValue(2, 3), seq);
particles.addBehavior(applySeq);
加载这张图片。
用这张图片的像素点来创建 TextureSequencer,阈值是透明度 0.2 的像素。
TextureSequencer 的三个参数分别是 scaleX、scaleY 和位置。
然后用这个粒子序列来运动。
ApplySequences 的参数是每个粒子运动的时间间隔,间隔 0.001 秒移动下个粒子。
这个序列在 2 到 3s 内的随机时间生效。
看下效果:

这样,基于序列的粒子运动就完成了。
你也可以设置多个序列。
这里要找一些比较小的 png 图片,我们直接用官方仓库里的现成图片吧:
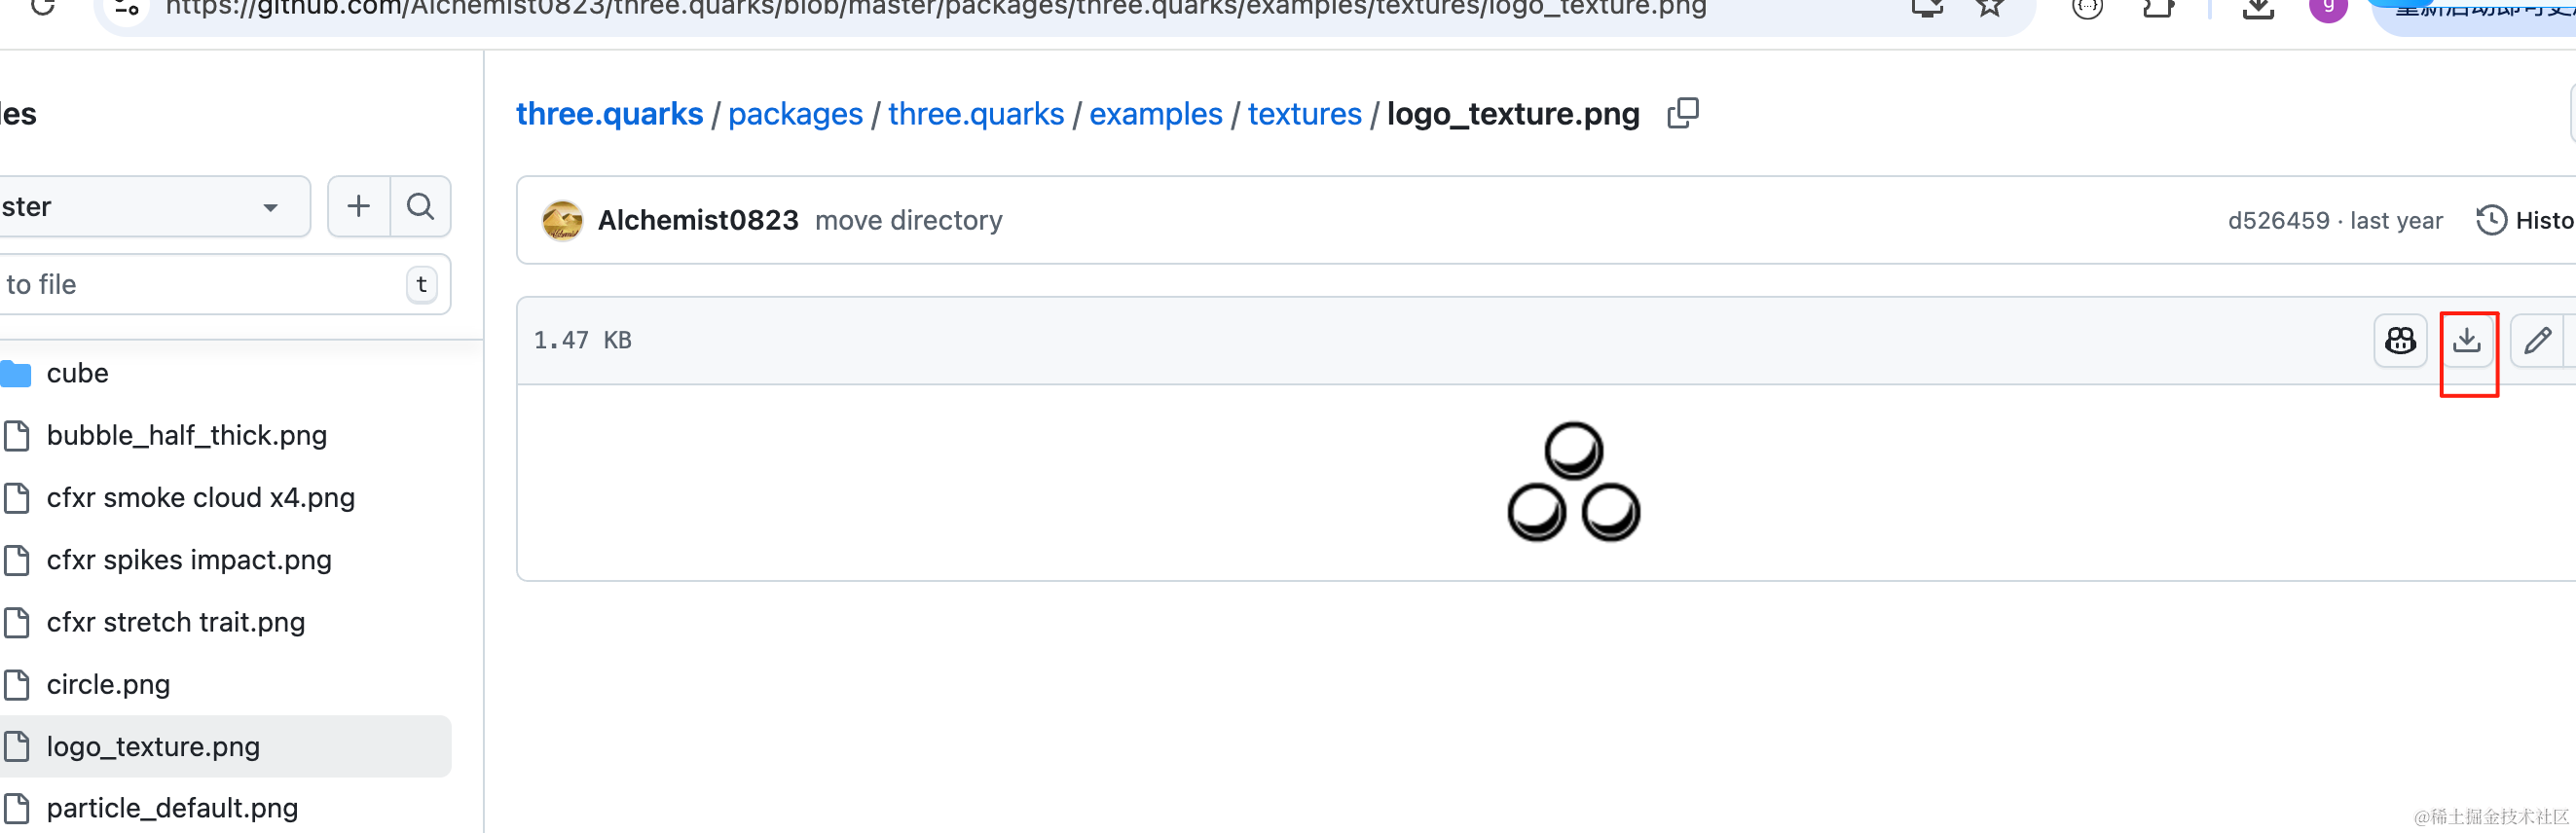
如果你自己来准备图片,也要用这种足够小的背景透明的 png 图片(因为小图片像素少,需要的粒子少)。
加一个新的粒子序列,并且把时间间隔调的更小:
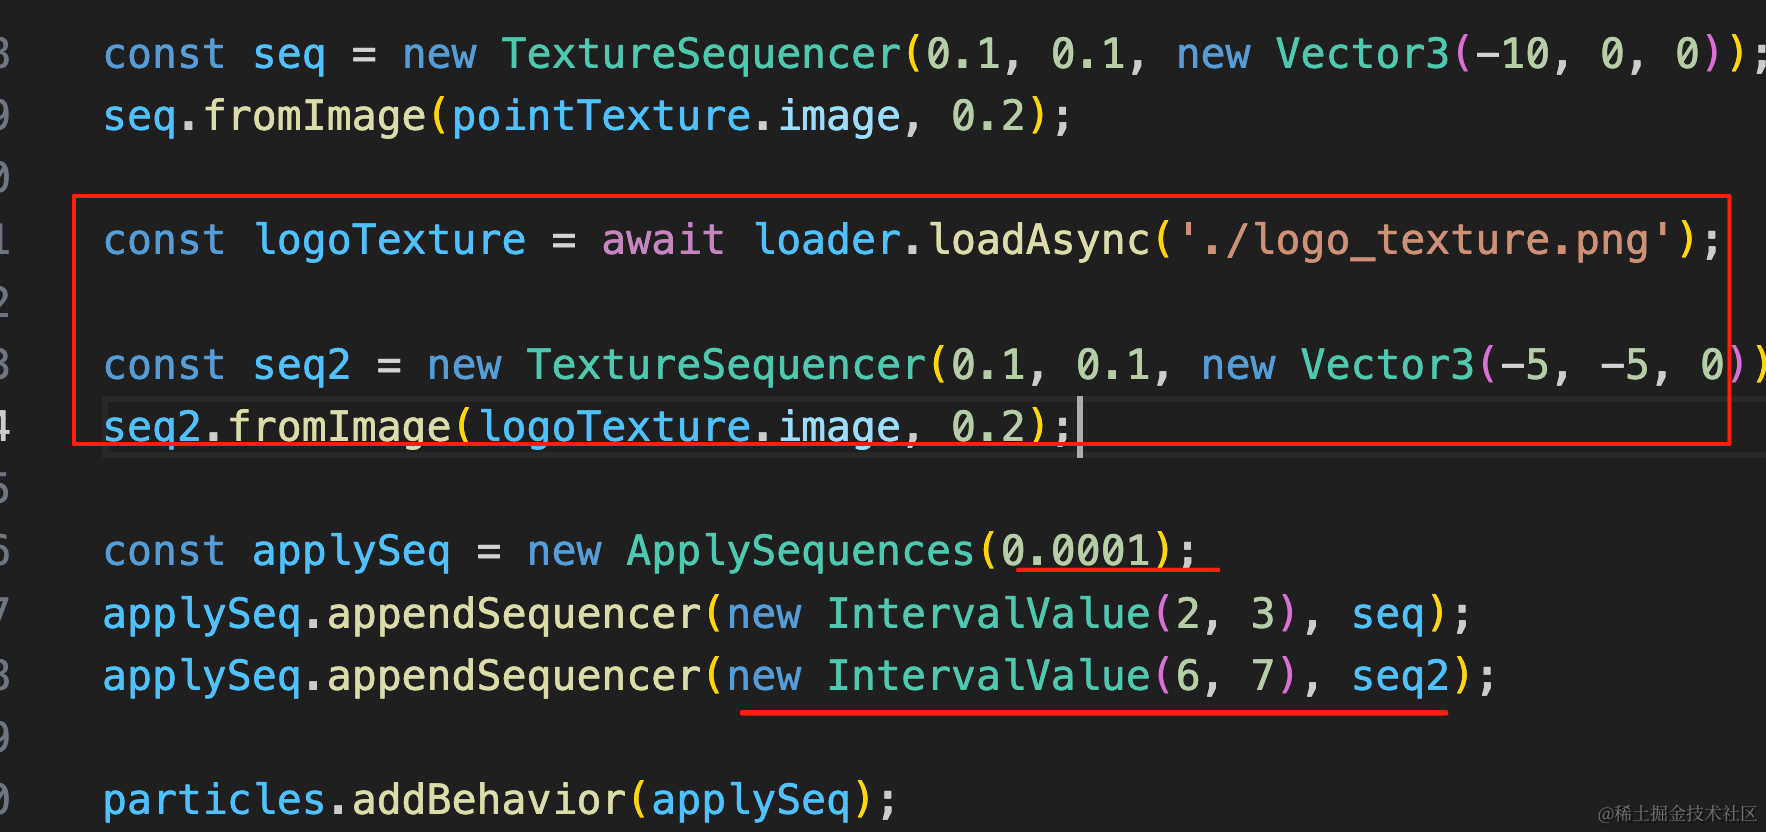
const logoTexture = await loader.loadAsync('./logo_texture.png');

const seq2 = new TextureSequencer(0.1, 0.1, new Vector3(-5, -5, 0));
seq2.fromImage(logoTexture.image, 0.2);

const applySeq = new ApplySequences(0.0001);
applySeq.appendSequencer(new IntervalValue(2, 3), seq);
applySeq.appendSequencer(new IntervalValue(6, 7), seq2);
这样,两个粒子序列就都生效了。
案例代码上传了小册仓库
总结
这节我们实现了打碎重组的粒子效果。
three.quarks 支持粒子序列,可以通过 png 图片的像素来提取序列,然后让粒子在按照顺序运动到目标位置。
我们准备了两张背景透明的像素足够小的图片,用它们来做粒子序列,让粒子运动到这俩图片的像素的位置。
这种粒子效果还是比较常见的,用 three.quarks 可以轻易实现。