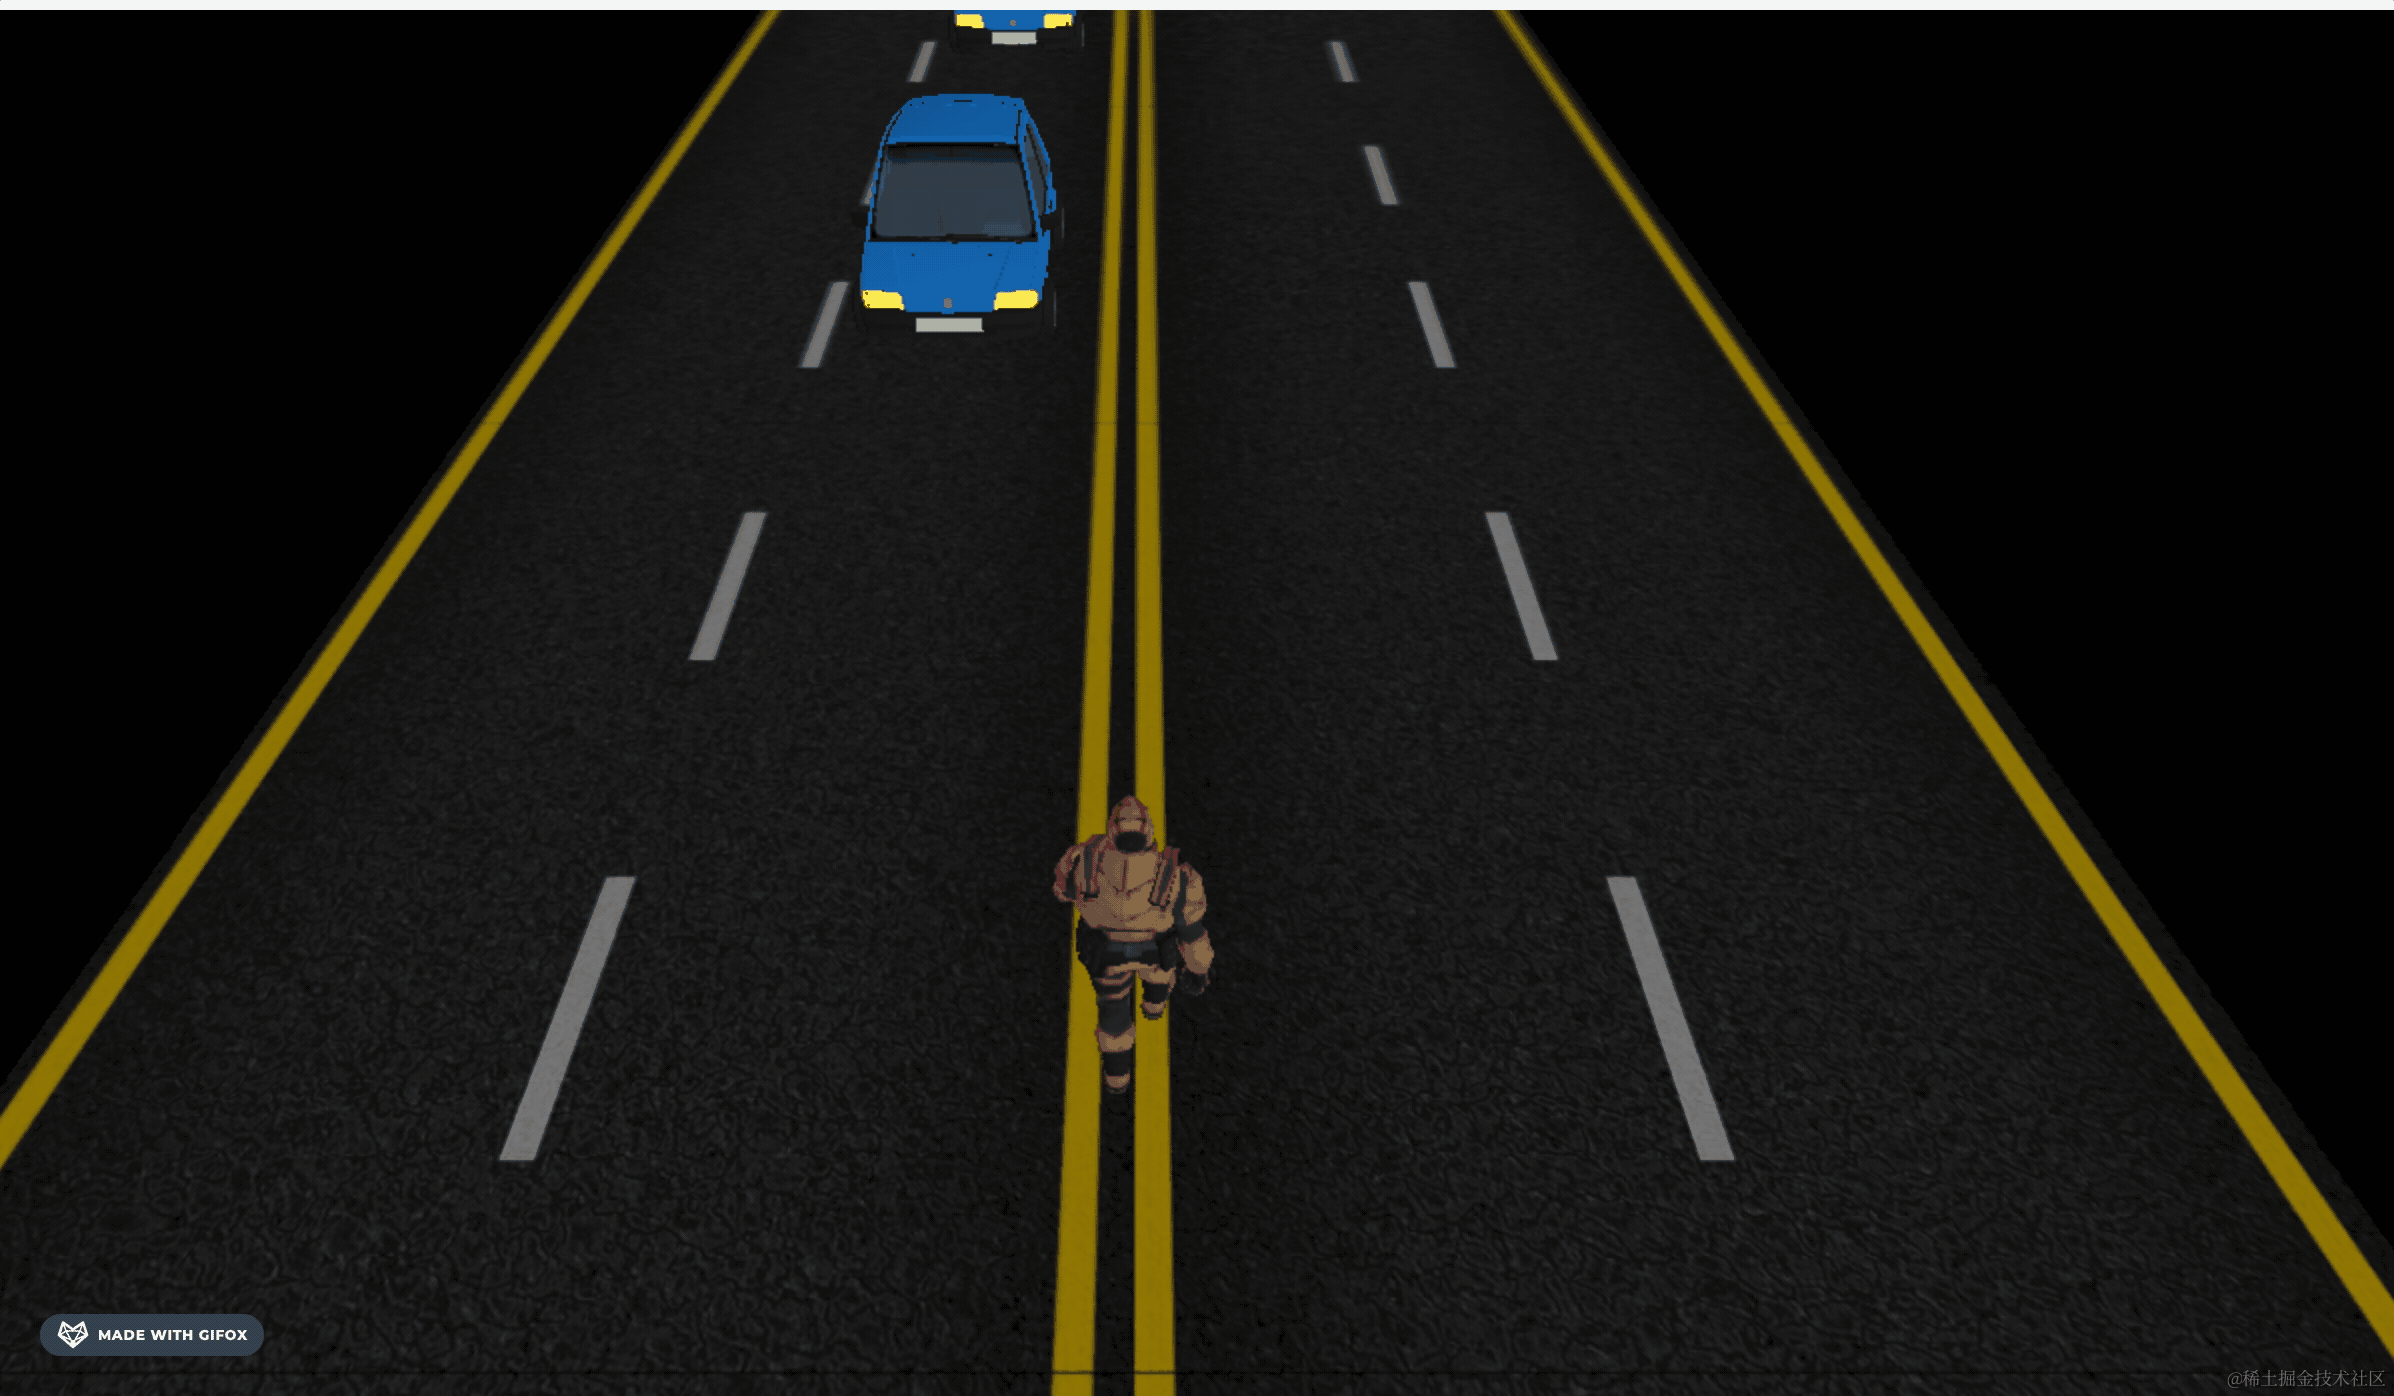
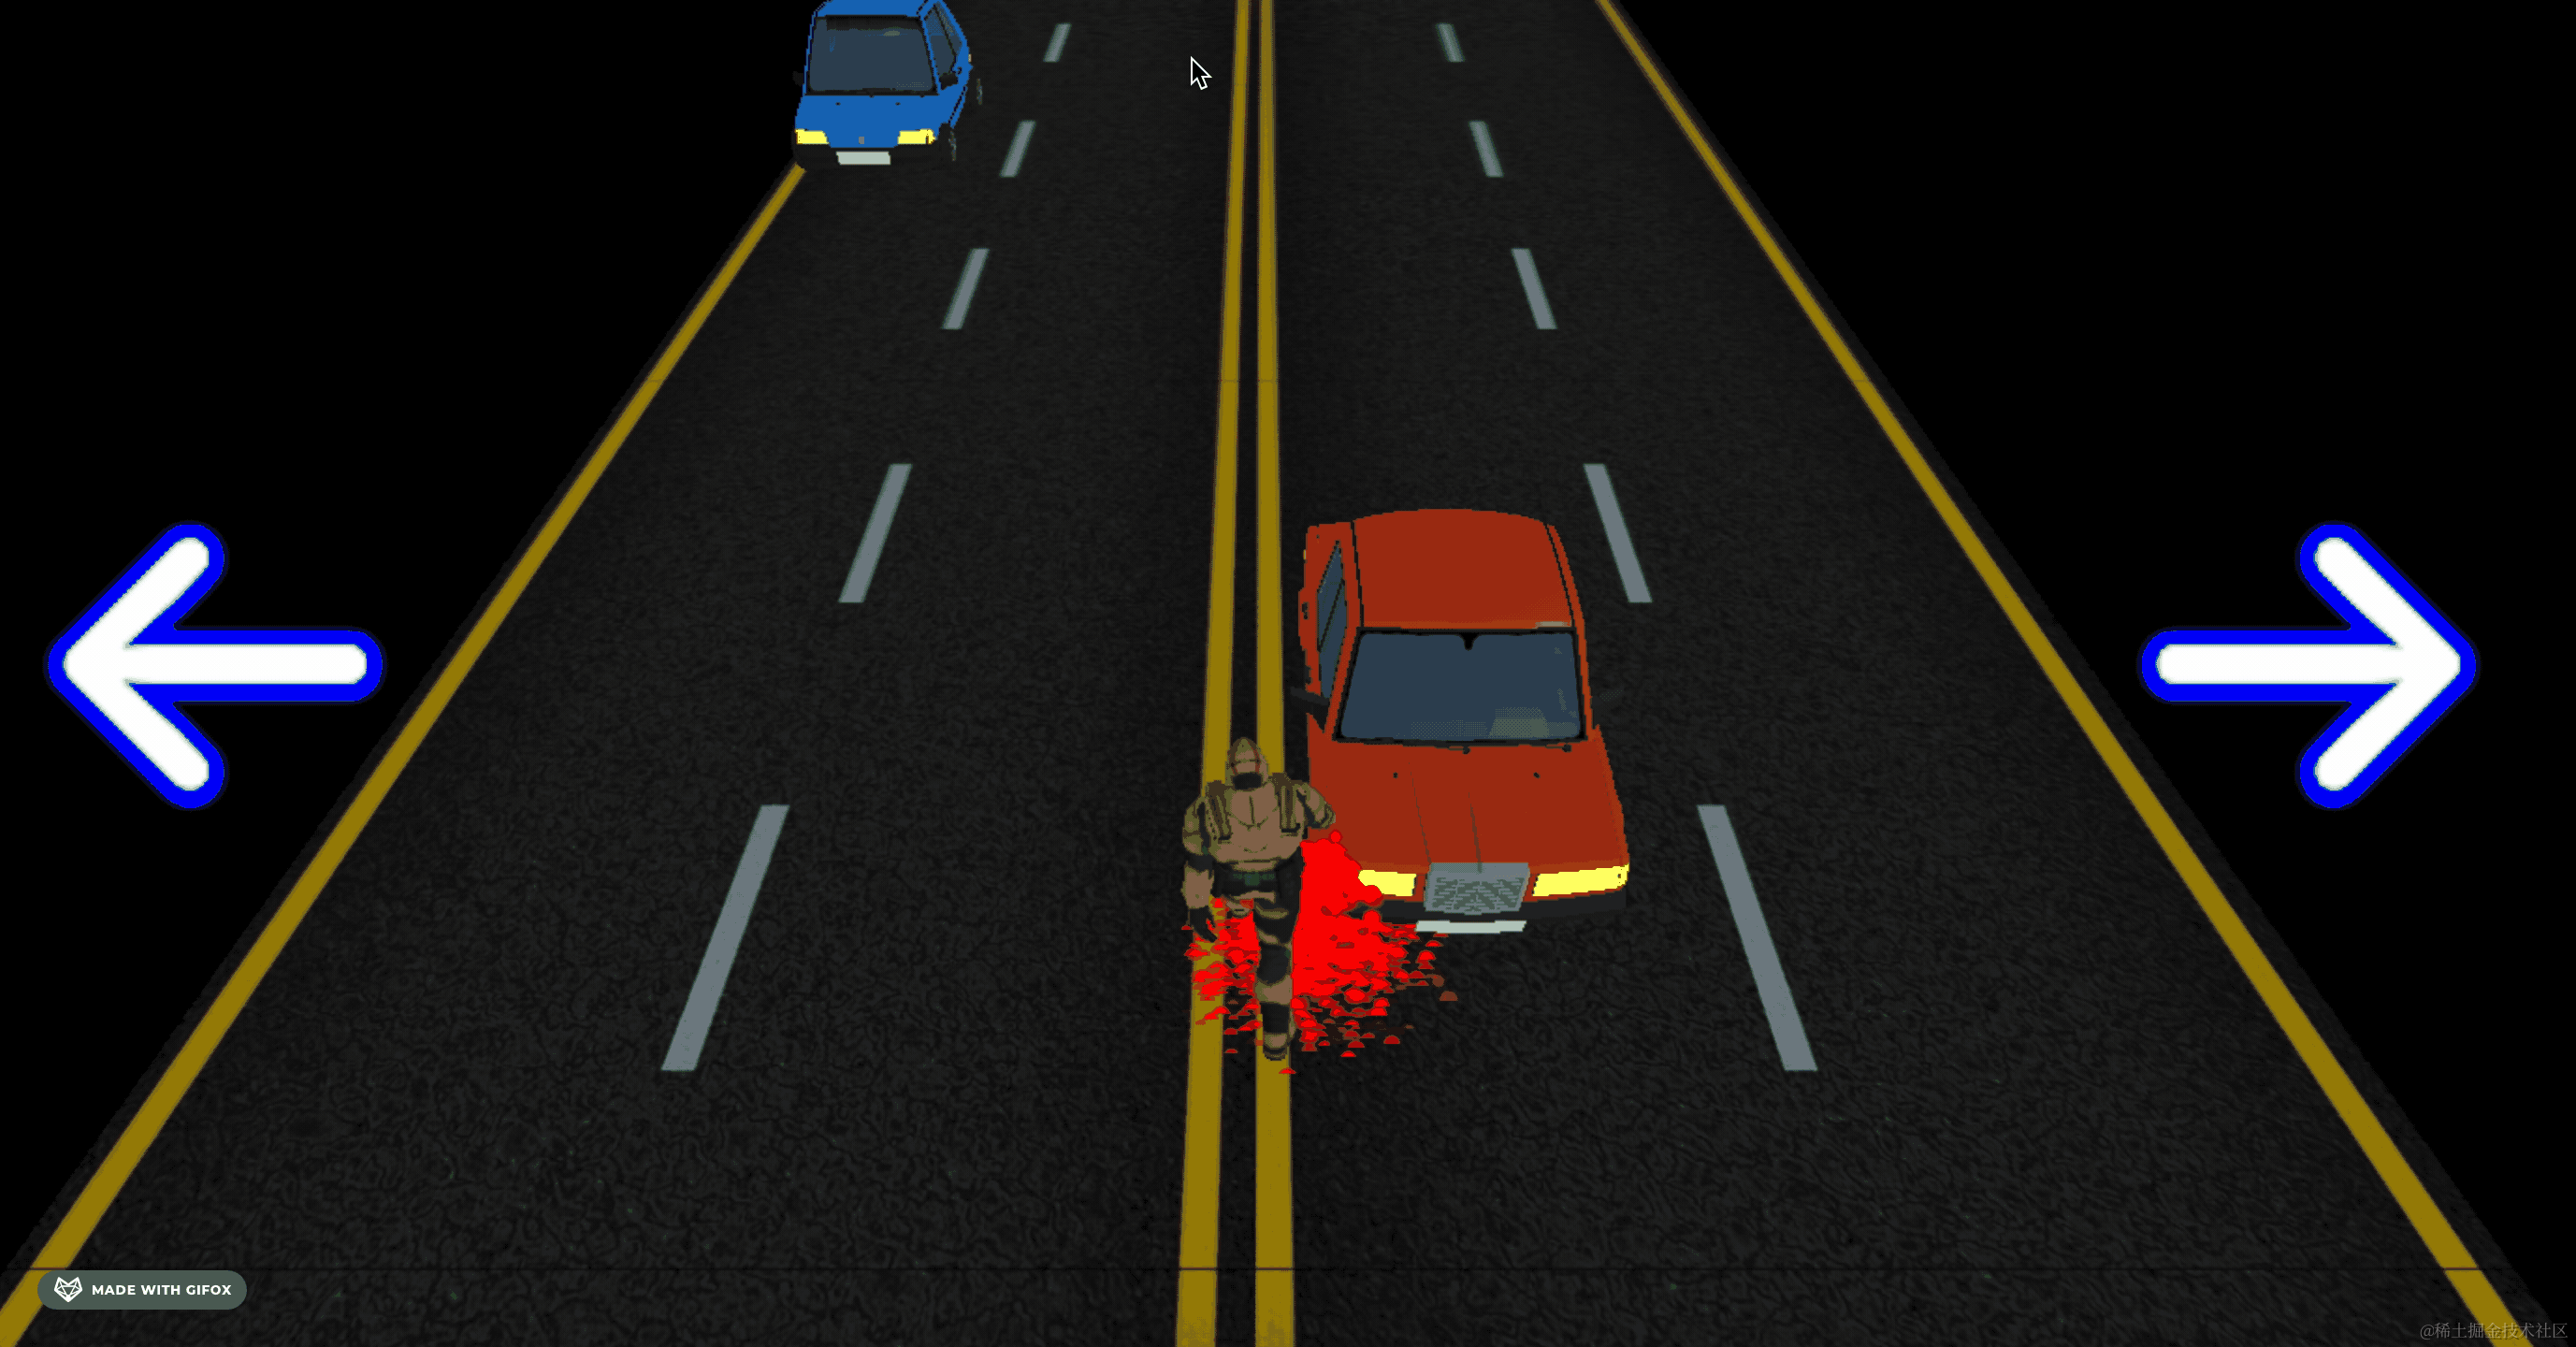
上节实现了碰撞的流血效果:
这节我们加一些文字,比如开始的 Ready Go,结束时的 Game Over,以及左右箭头。
这个用 SpriteText 来做。
安装下:
npm install --save three-spritetext创建 text.js
import SpriteText from "three-spritetext";

export function createLeftArrow() {
    const arrowLeft = new SpriteText('←', 200);
    arrowLeft.color = 'white';
    arrowLeft.strokeColor = 'blue';
    arrowLeft.strokeWidth = 1;
    arrowLeft.position.x = -500;
    arrowLeft.position.y = 100;
    arrowLeft.position.z = 100;
    return arrowLeft;
}
我们先画一下左箭头。
字体是白色,有蓝色的描边。
在 main.js 里引入:
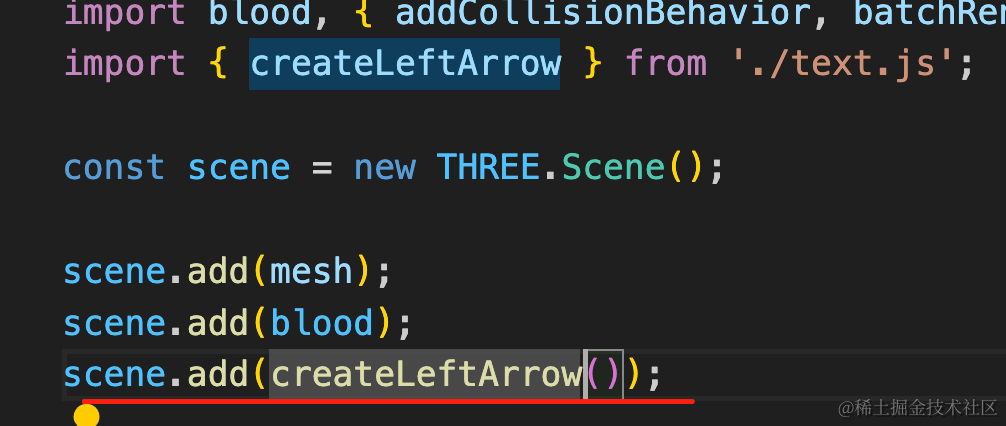
scene.add(createLeftArrow());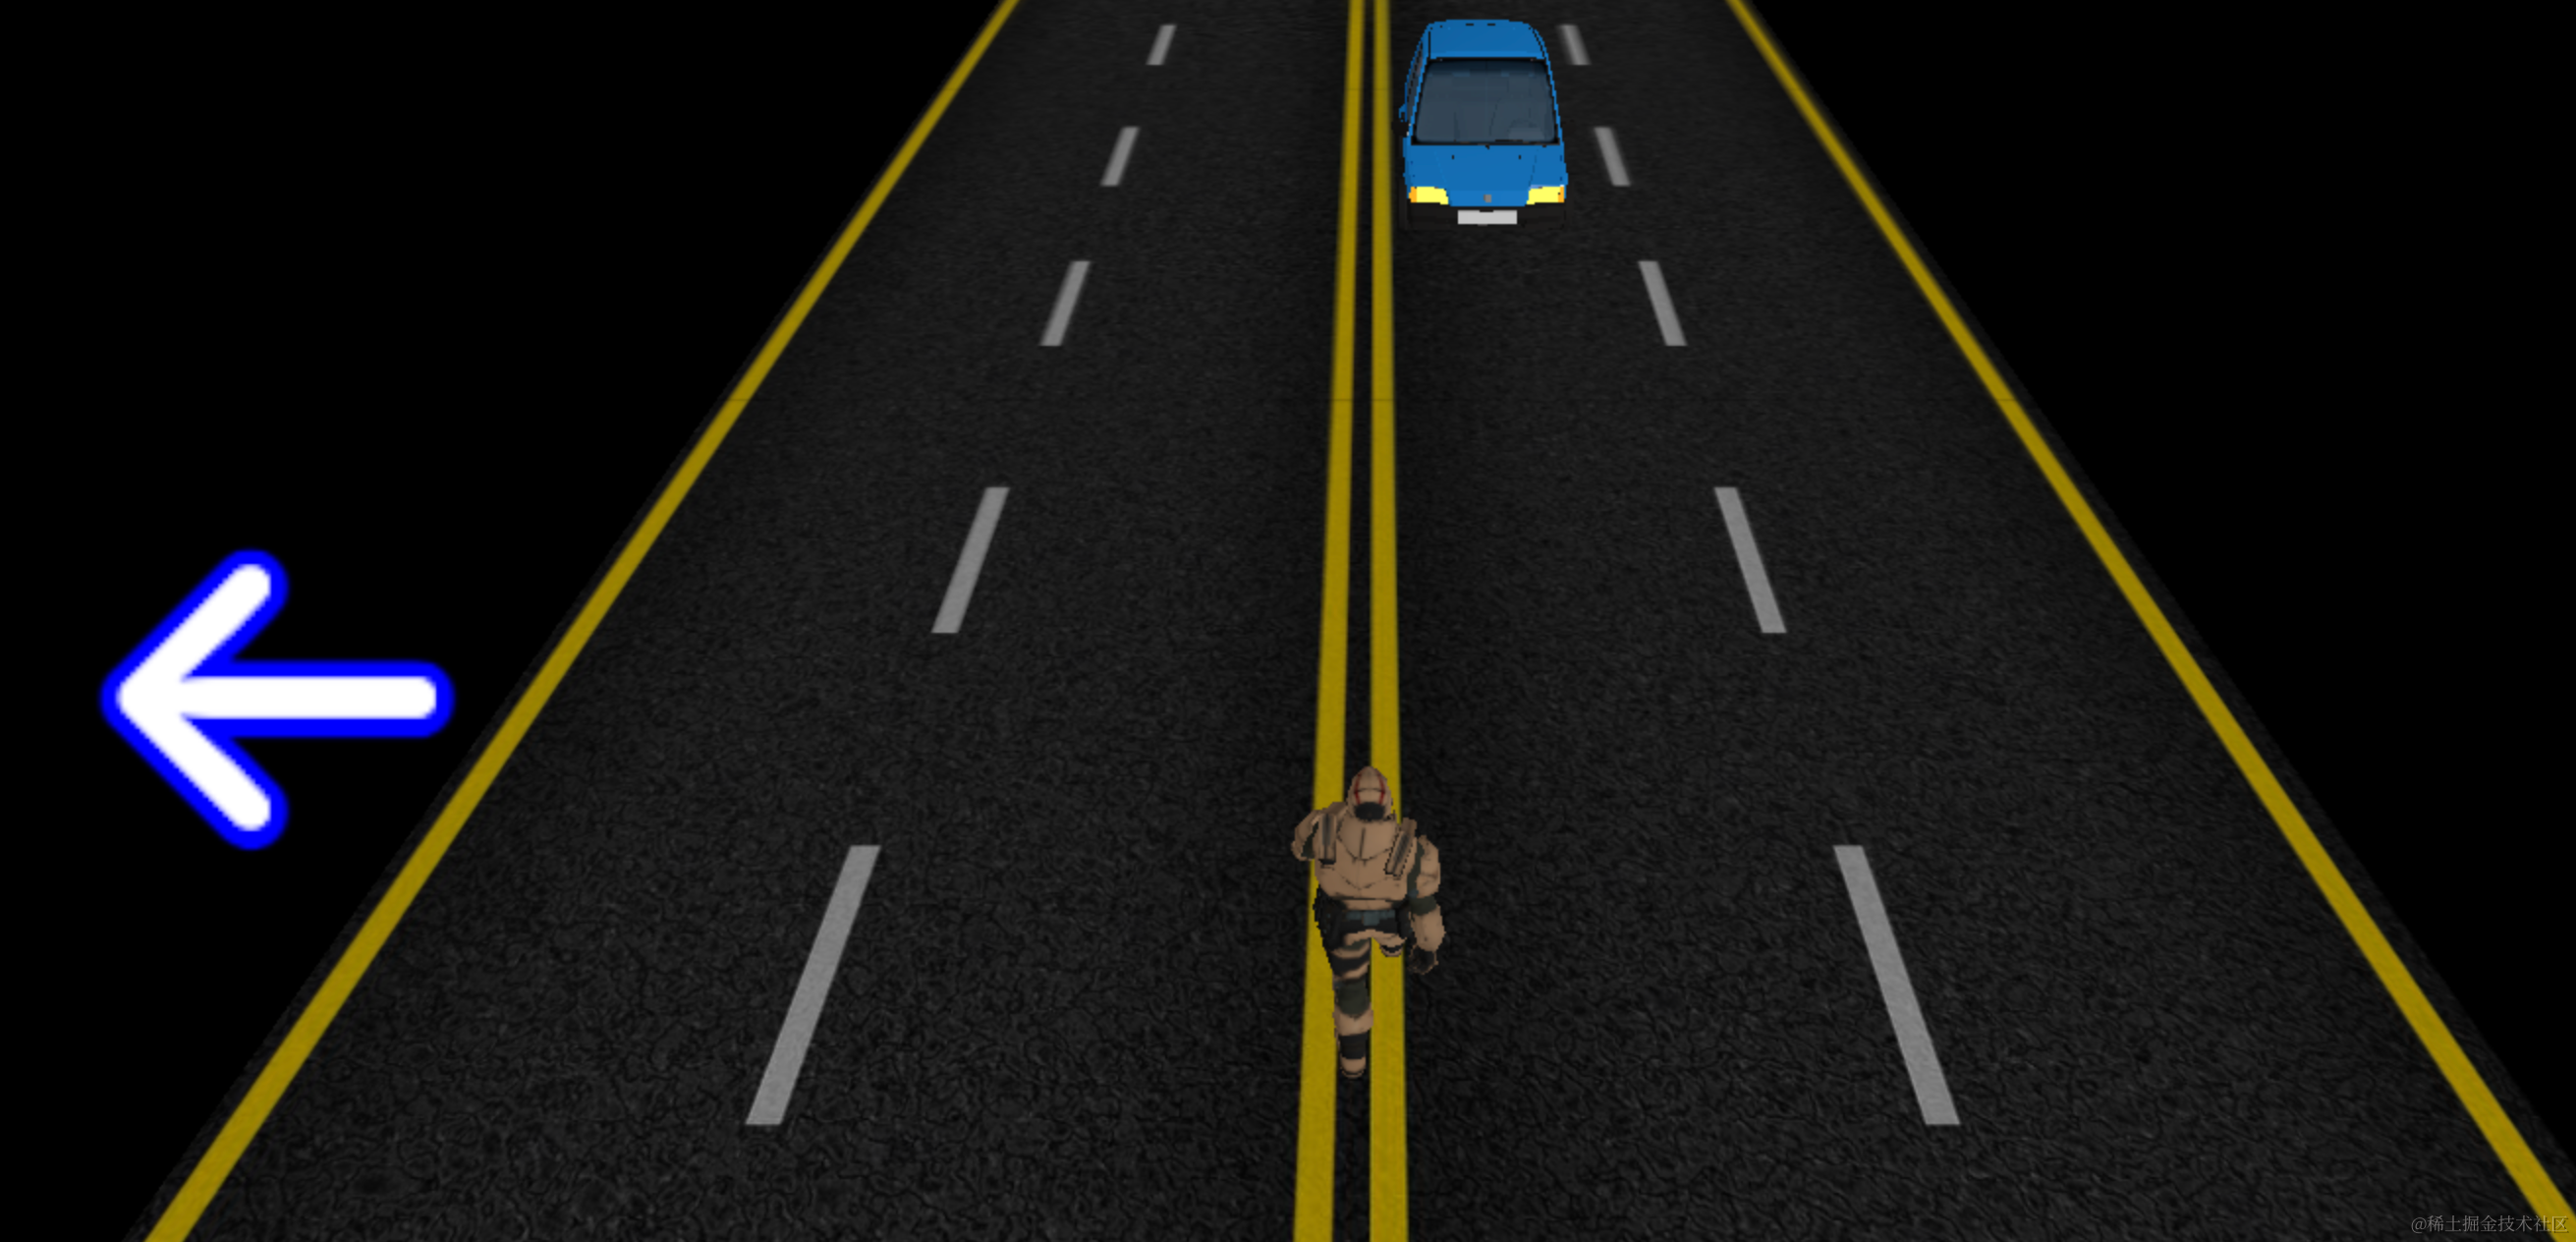
然后添加右箭头:
export function createRightArrow() {
    const arrowLeft = new SpriteText('→', 200);
    arrowLeft.color = 'white';
    arrowLeft.strokeColor = 'blue';
    arrowLeft.strokeWidth = 1;
    arrowLeft.position.x = 500;
    arrowLeft.position.y = 100;
    arrowLeft.position.z = 100;
    return arrowLeft;
}scene.add(createRightArrow());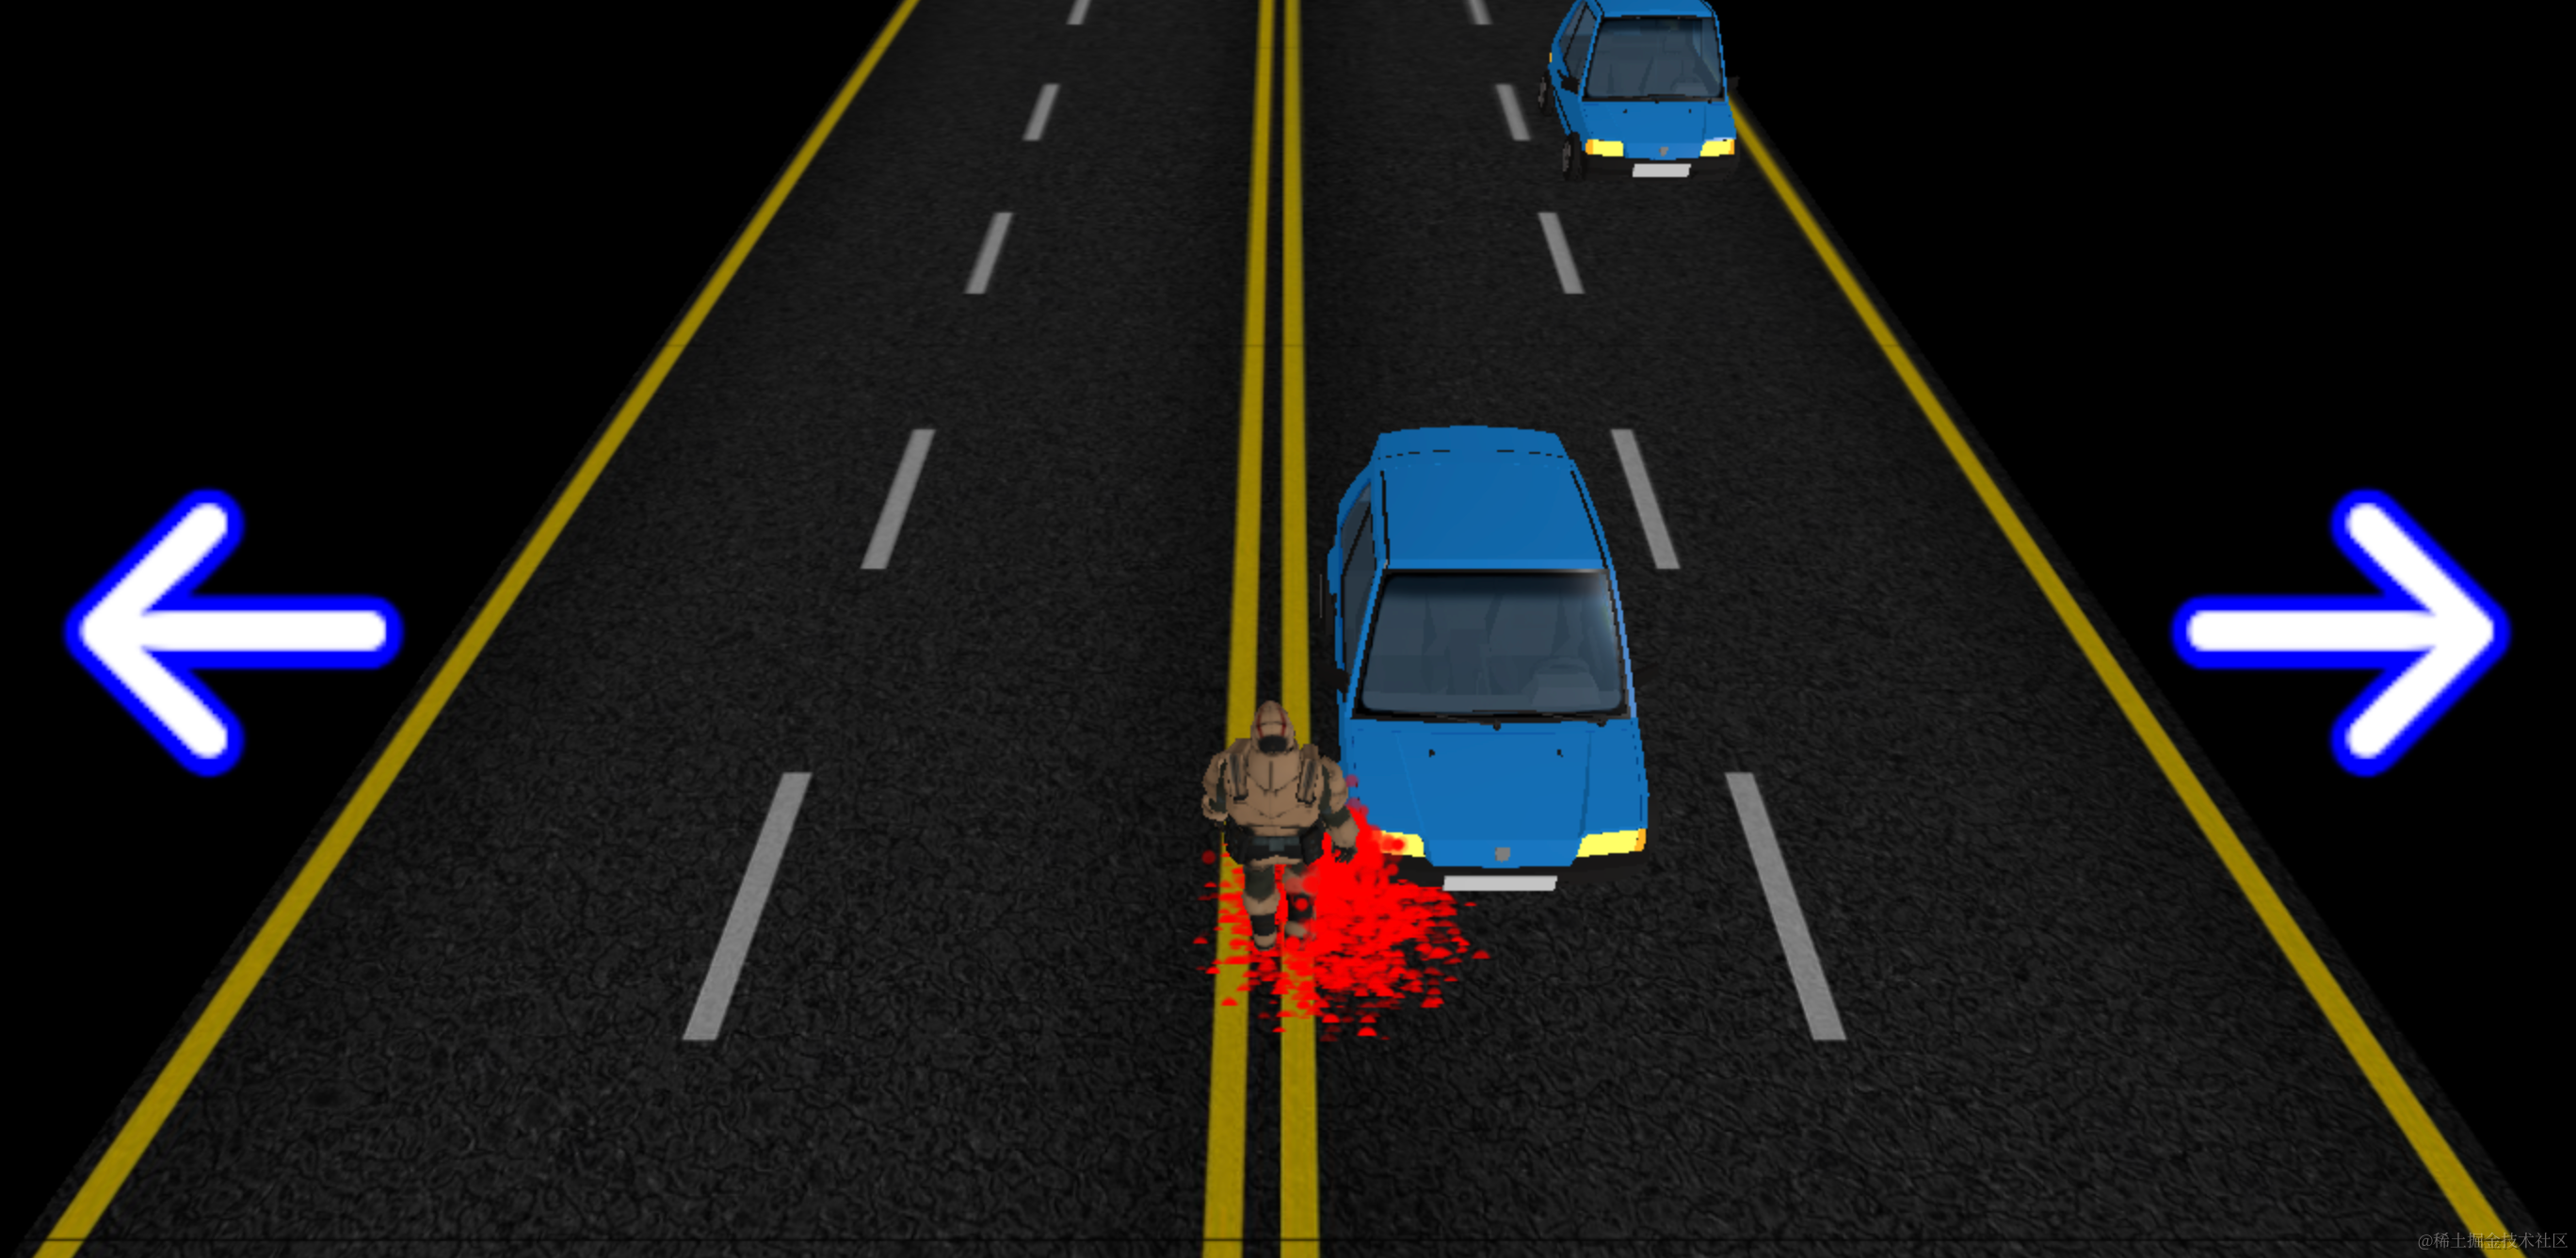
接下来是最开始的 Ready Go
export function createReady() {
    const ready = new SpriteText('Ready', 200);
    ready.color = 'white';
    ready.strokeColor = 'lightgreen';
    ready.strokeWidth = 1;

    ready.position.y = 200;
    ready.position.z = 100;
    return ready;
}scene.add(createReady());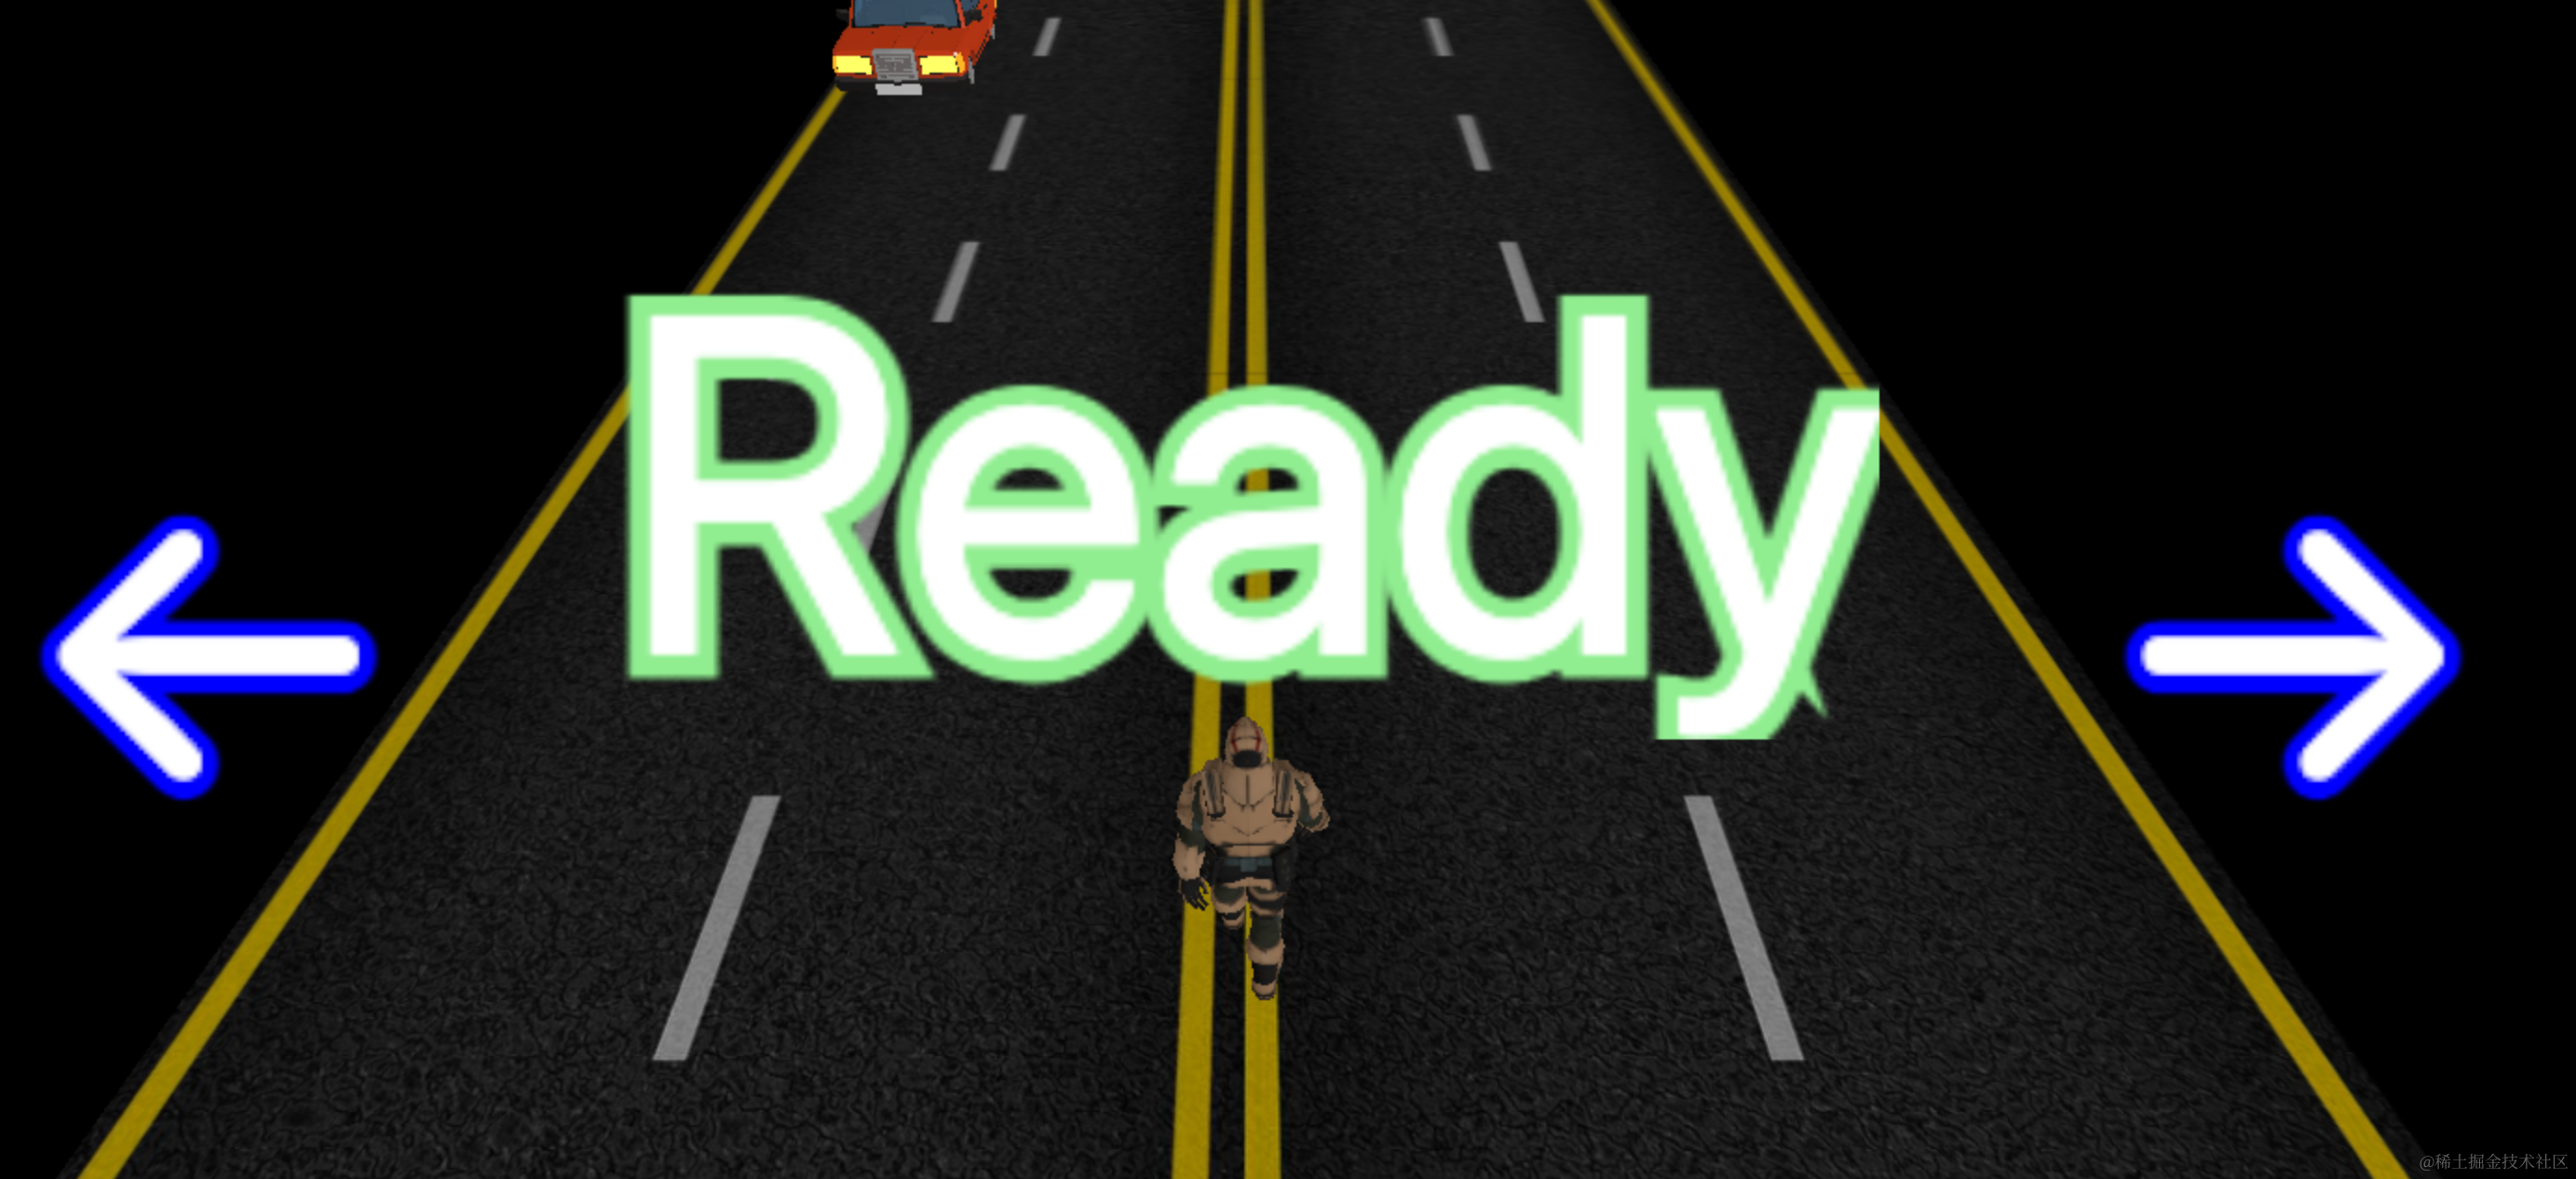
直接出现太突兀了,我们用 gsap 做一下从远到近的补间动画。
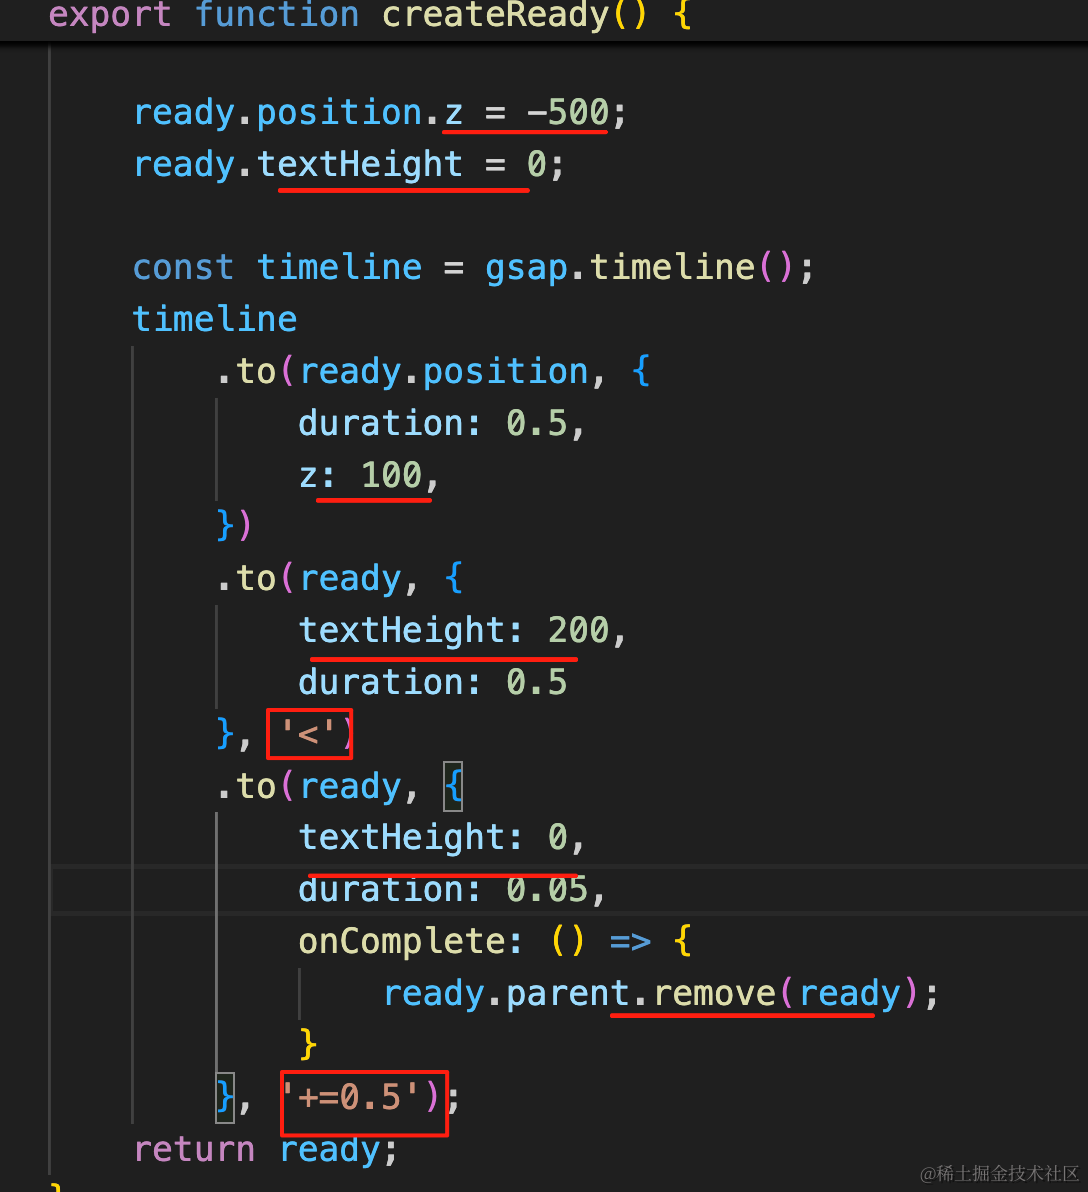
设置 z 和 textHeight 的初始值。
用 timeline 来做并行的 z 和 textHeight 变化的动画。
0.5s 后串行做 textHeight 变小的动画,这个速度要快一点。
export function createReady() {
    const ready = new SpriteText('Ready', 200);
    ready.color = 'white';
    ready.strokeColor = 'green';
    ready.strokeWidth = 1;

    ready.position.y = 200;

    ready.position.z = -500;
    ready.textHeight = 0;

    const timeline = gsap.timeline();
    timeline
        .to(ready.position, {
            duration: 0.5,
            z: 100,
        })
        .to(ready, {
            textHeight: 200,
            duration: 0.5
        }, '<')
        .to(ready, {
            textHeight: 0,
            duration: 0.05,
            onComplete: () => {
                ready.parent.remove(ready);
            }
        }, '+=0.5');
    return ready;
}
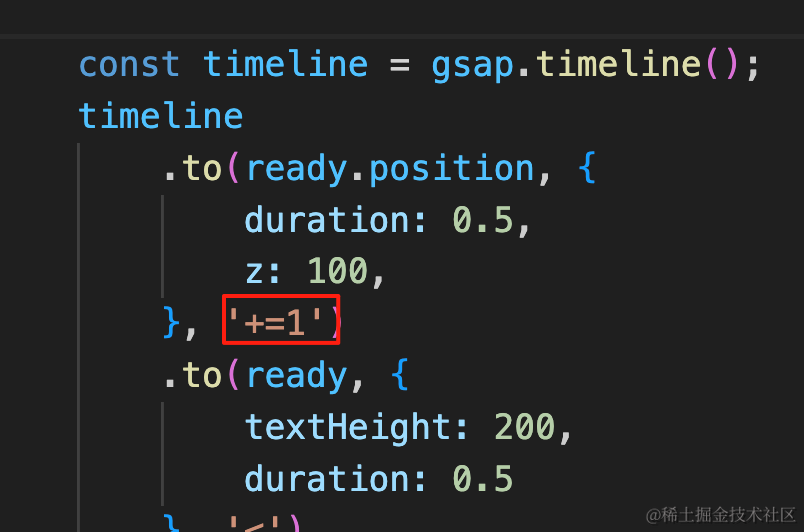
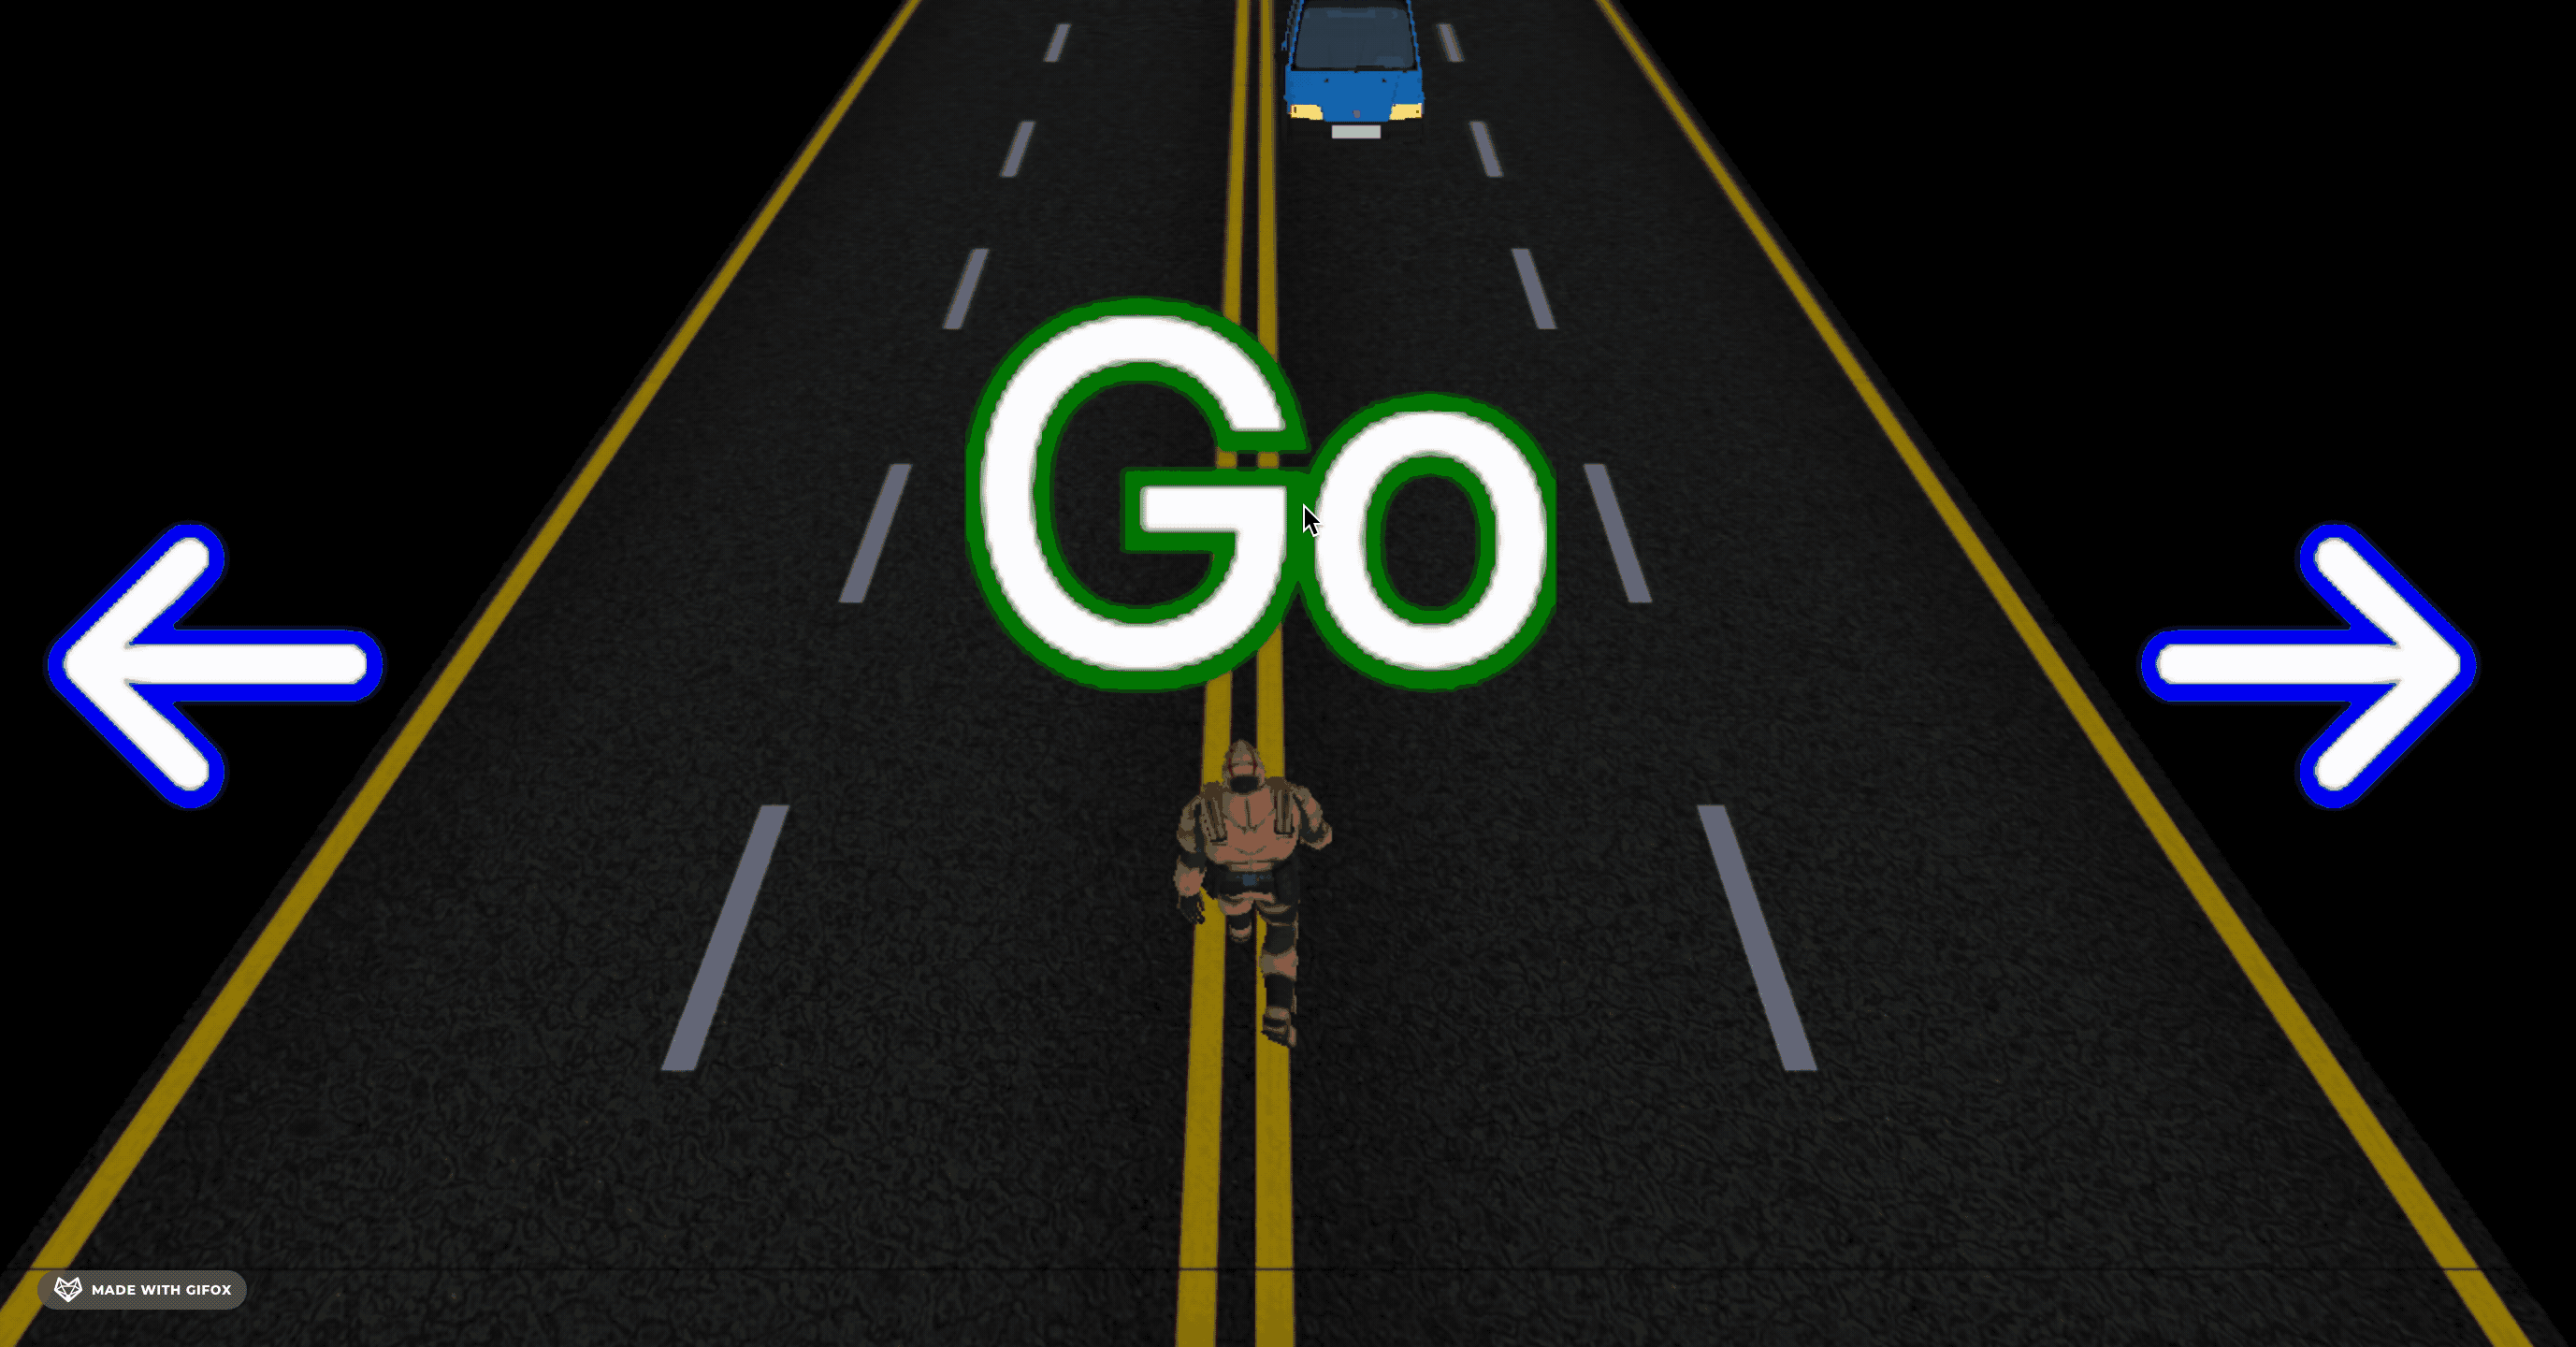
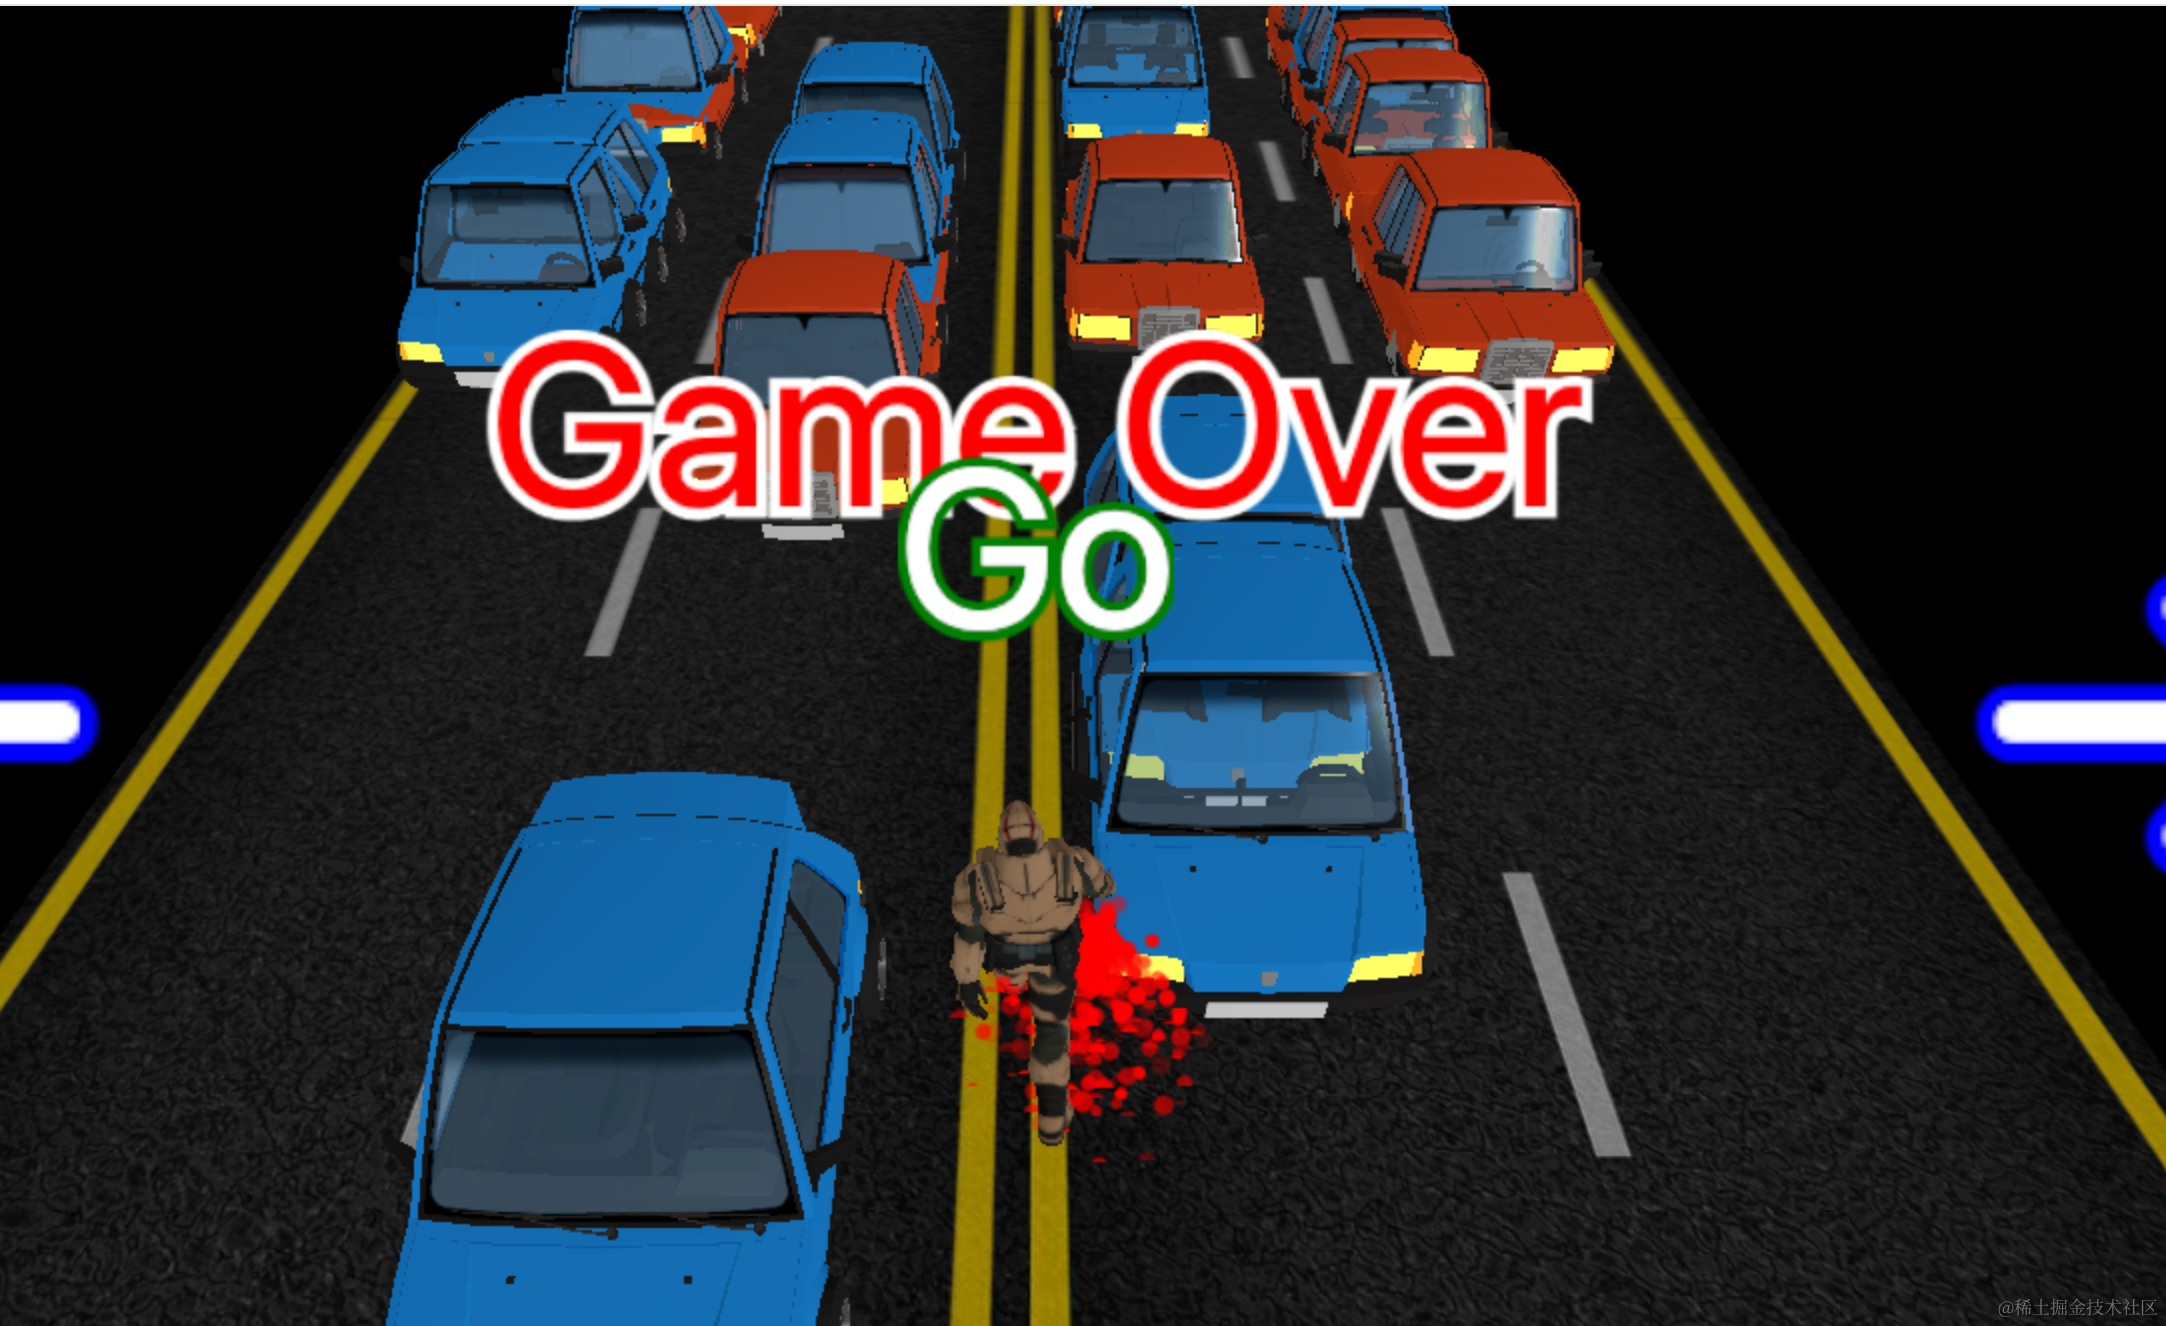
没啥问题,我们再同样的方式写下 Go 的
export function createGo() {
    const ready = new SpriteText('Go', 200);
    ready.color = 'white';
    ready.strokeColor = 'green';
    ready.strokeWidth = 1;

    ready.position.y = 200;

    ready.position.z = -500;
    ready.textHeight = 0;

    const timeline = gsap.timeline();
    timeline
        .to(ready.position, {
            duration: 0.5,
            z: 100,
        }, '+=1')
        .to(ready, {
            textHeight: 200,
            duration: 0.5
        }, '<')
        .to(ready, {
            textHeight: 0,
            duration: 0.05,
            onComplete: () => {
                ready.parent.remove(ready);
            }
        }, '+=0.5');
    return ready;
}scene.add(createGo());唯一的区别是最开始要延迟 1s
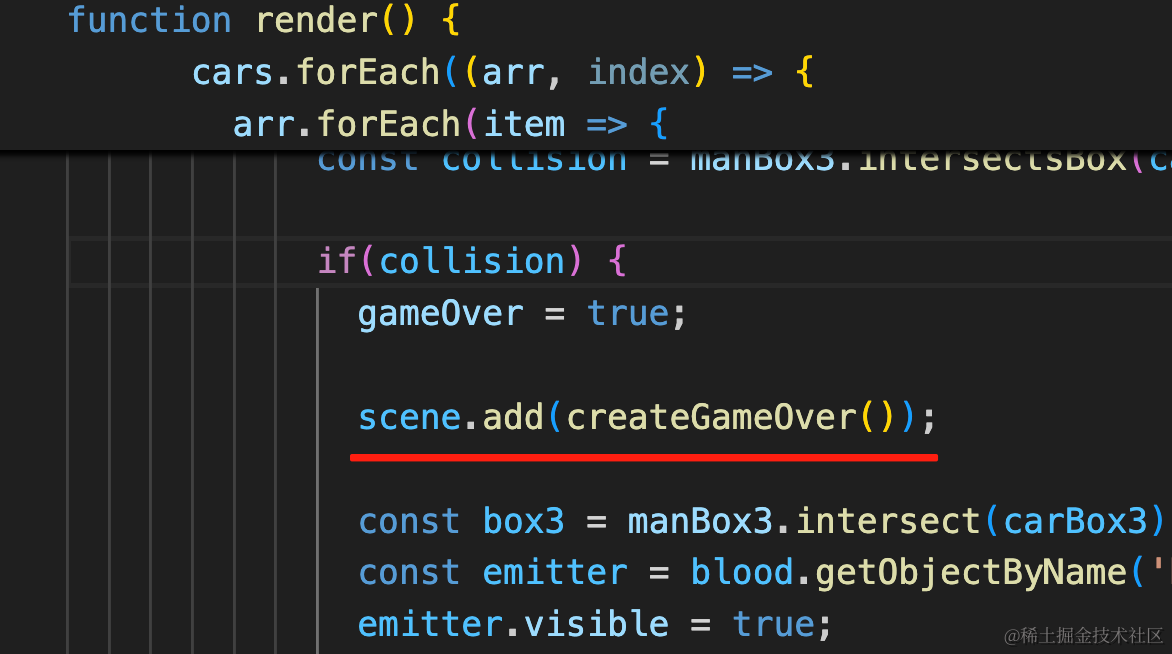
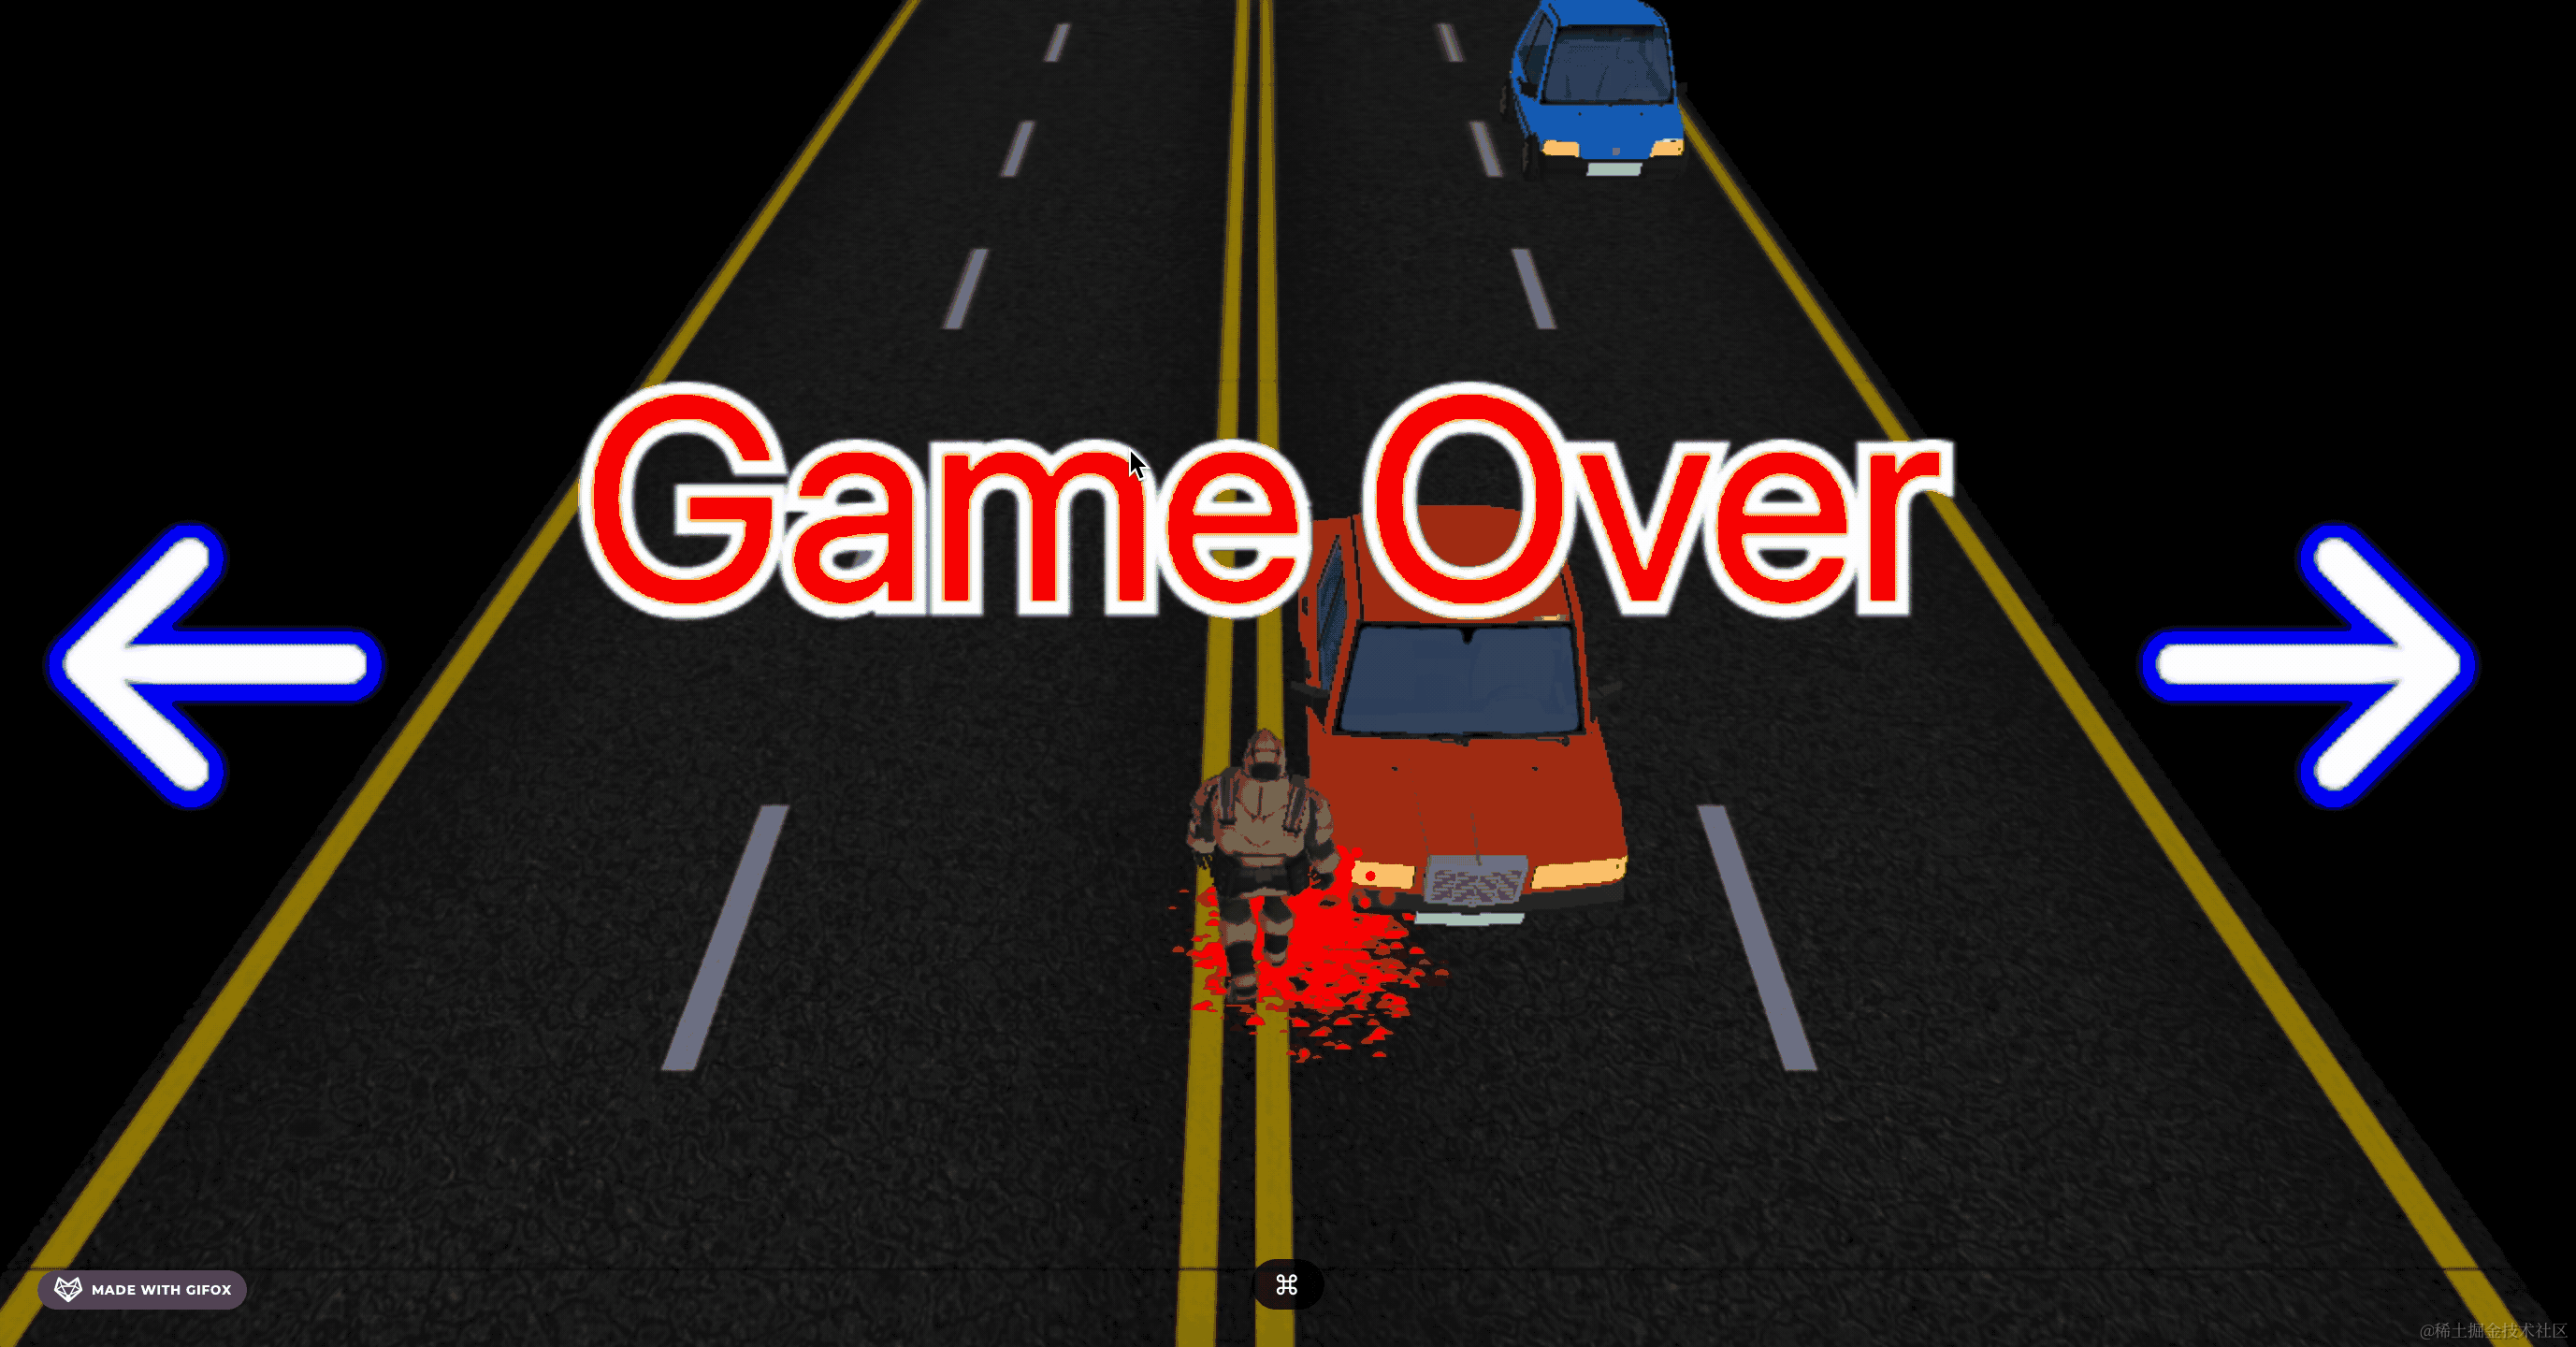
最后,我们加上 GameOver
export function createGameOver() {
    const ready = new SpriteText('Game Over', 200);
    ready.color = 'red';
    ready.strokeColor = 'white';
    ready.strokeWidth = 1;
    ready.padding = 80;

    ready.position.y = 200;

    ready.position.z = -500;
    ready.textHeight = 0;

    const timeline = gsap.timeline();
    timeline
        .to(ready.position, {
            duration: 0.3,
            z: 100,
        })
        .to(ready, {
            textHeight: 120,
            duration: 0.3
        }, '<');
    return ready;
}
在碰撞的时候再展示:
scene.add(createGameOver());看下效果:
没啥问题。
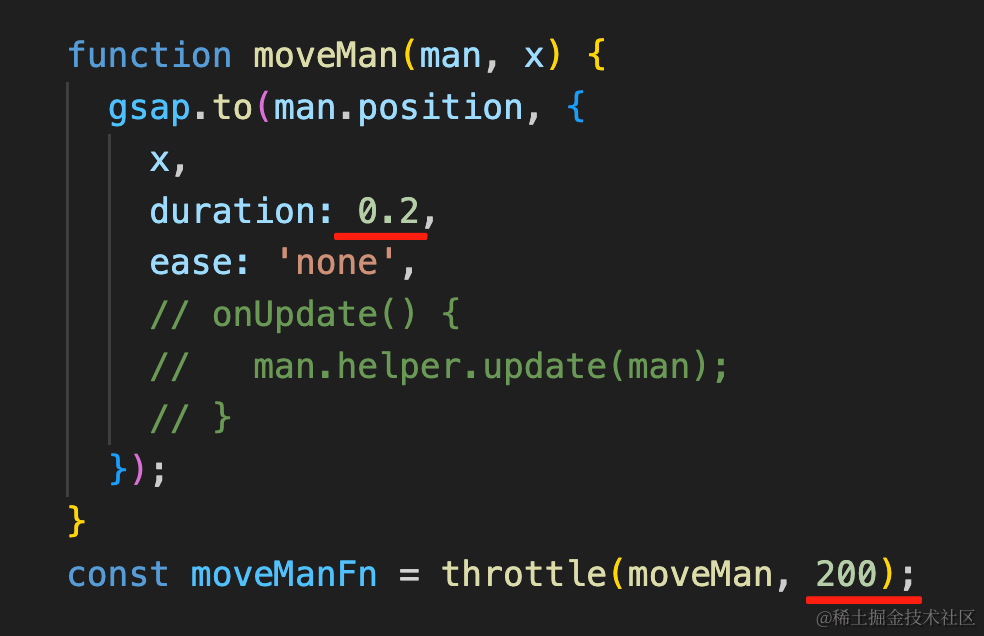
最后我们来优化一下:
现在走路是 300ms 一次,改成 200ms,这样灵敏一些。
去掉 OrbitControls,玩家不需要改变相机位置。

然后最开始,我们做一个从远到近的相机动画:
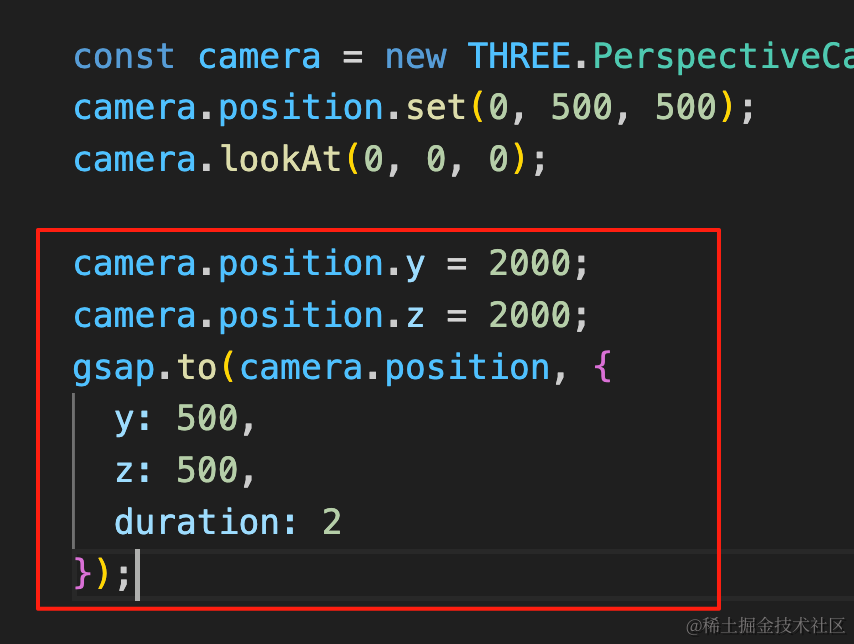
camera.position.y = 2000;
camera.position.z = 2000;
gsap.to(camera.position, {
  y: 500,
  z: 500,
  duration: 2
});
2s 内镜头从远到近。
这样,入场效果更好了。
还有两个小问题要修复:
一个是现在车的速度是是随机的 10 到 15
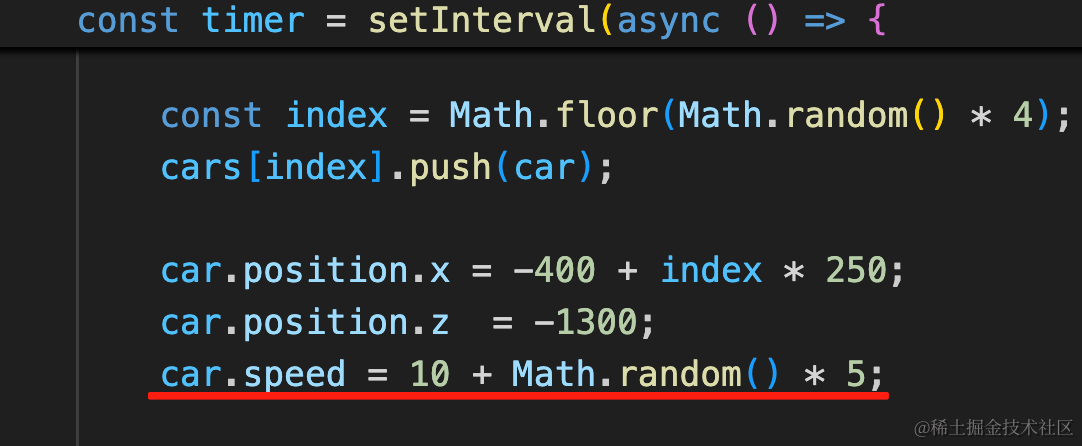
这样同一车道的车是有追尾的可能的。
应该是中间两条车道速度快,两边速度慢,但同一车道的车速度一样。
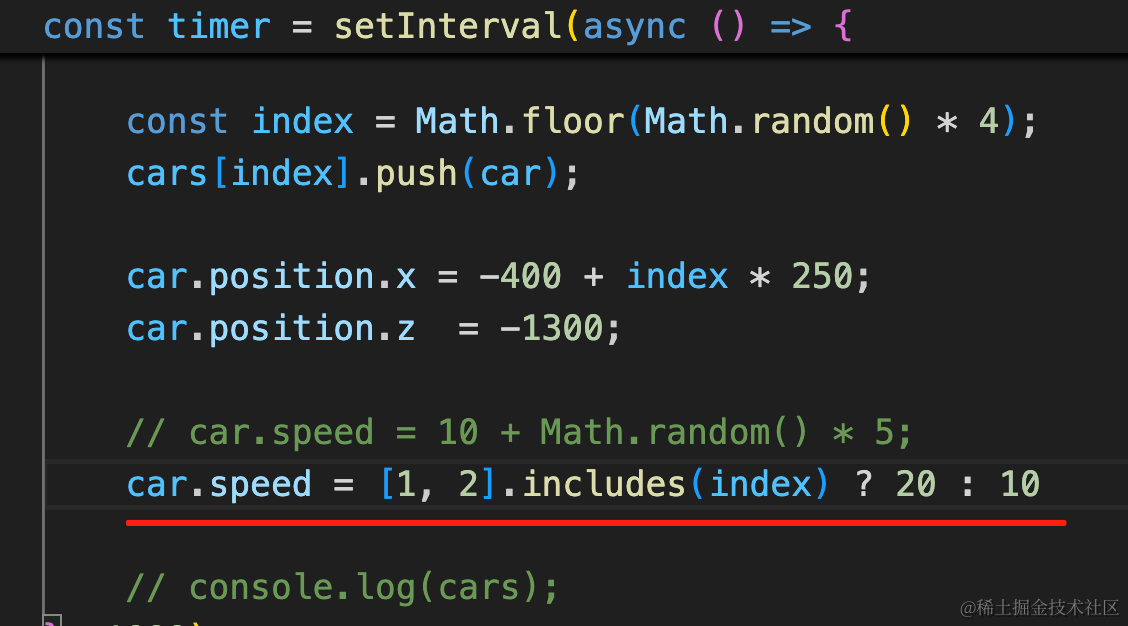
car.speed = [1, 2].includes(index) ? 20 : 10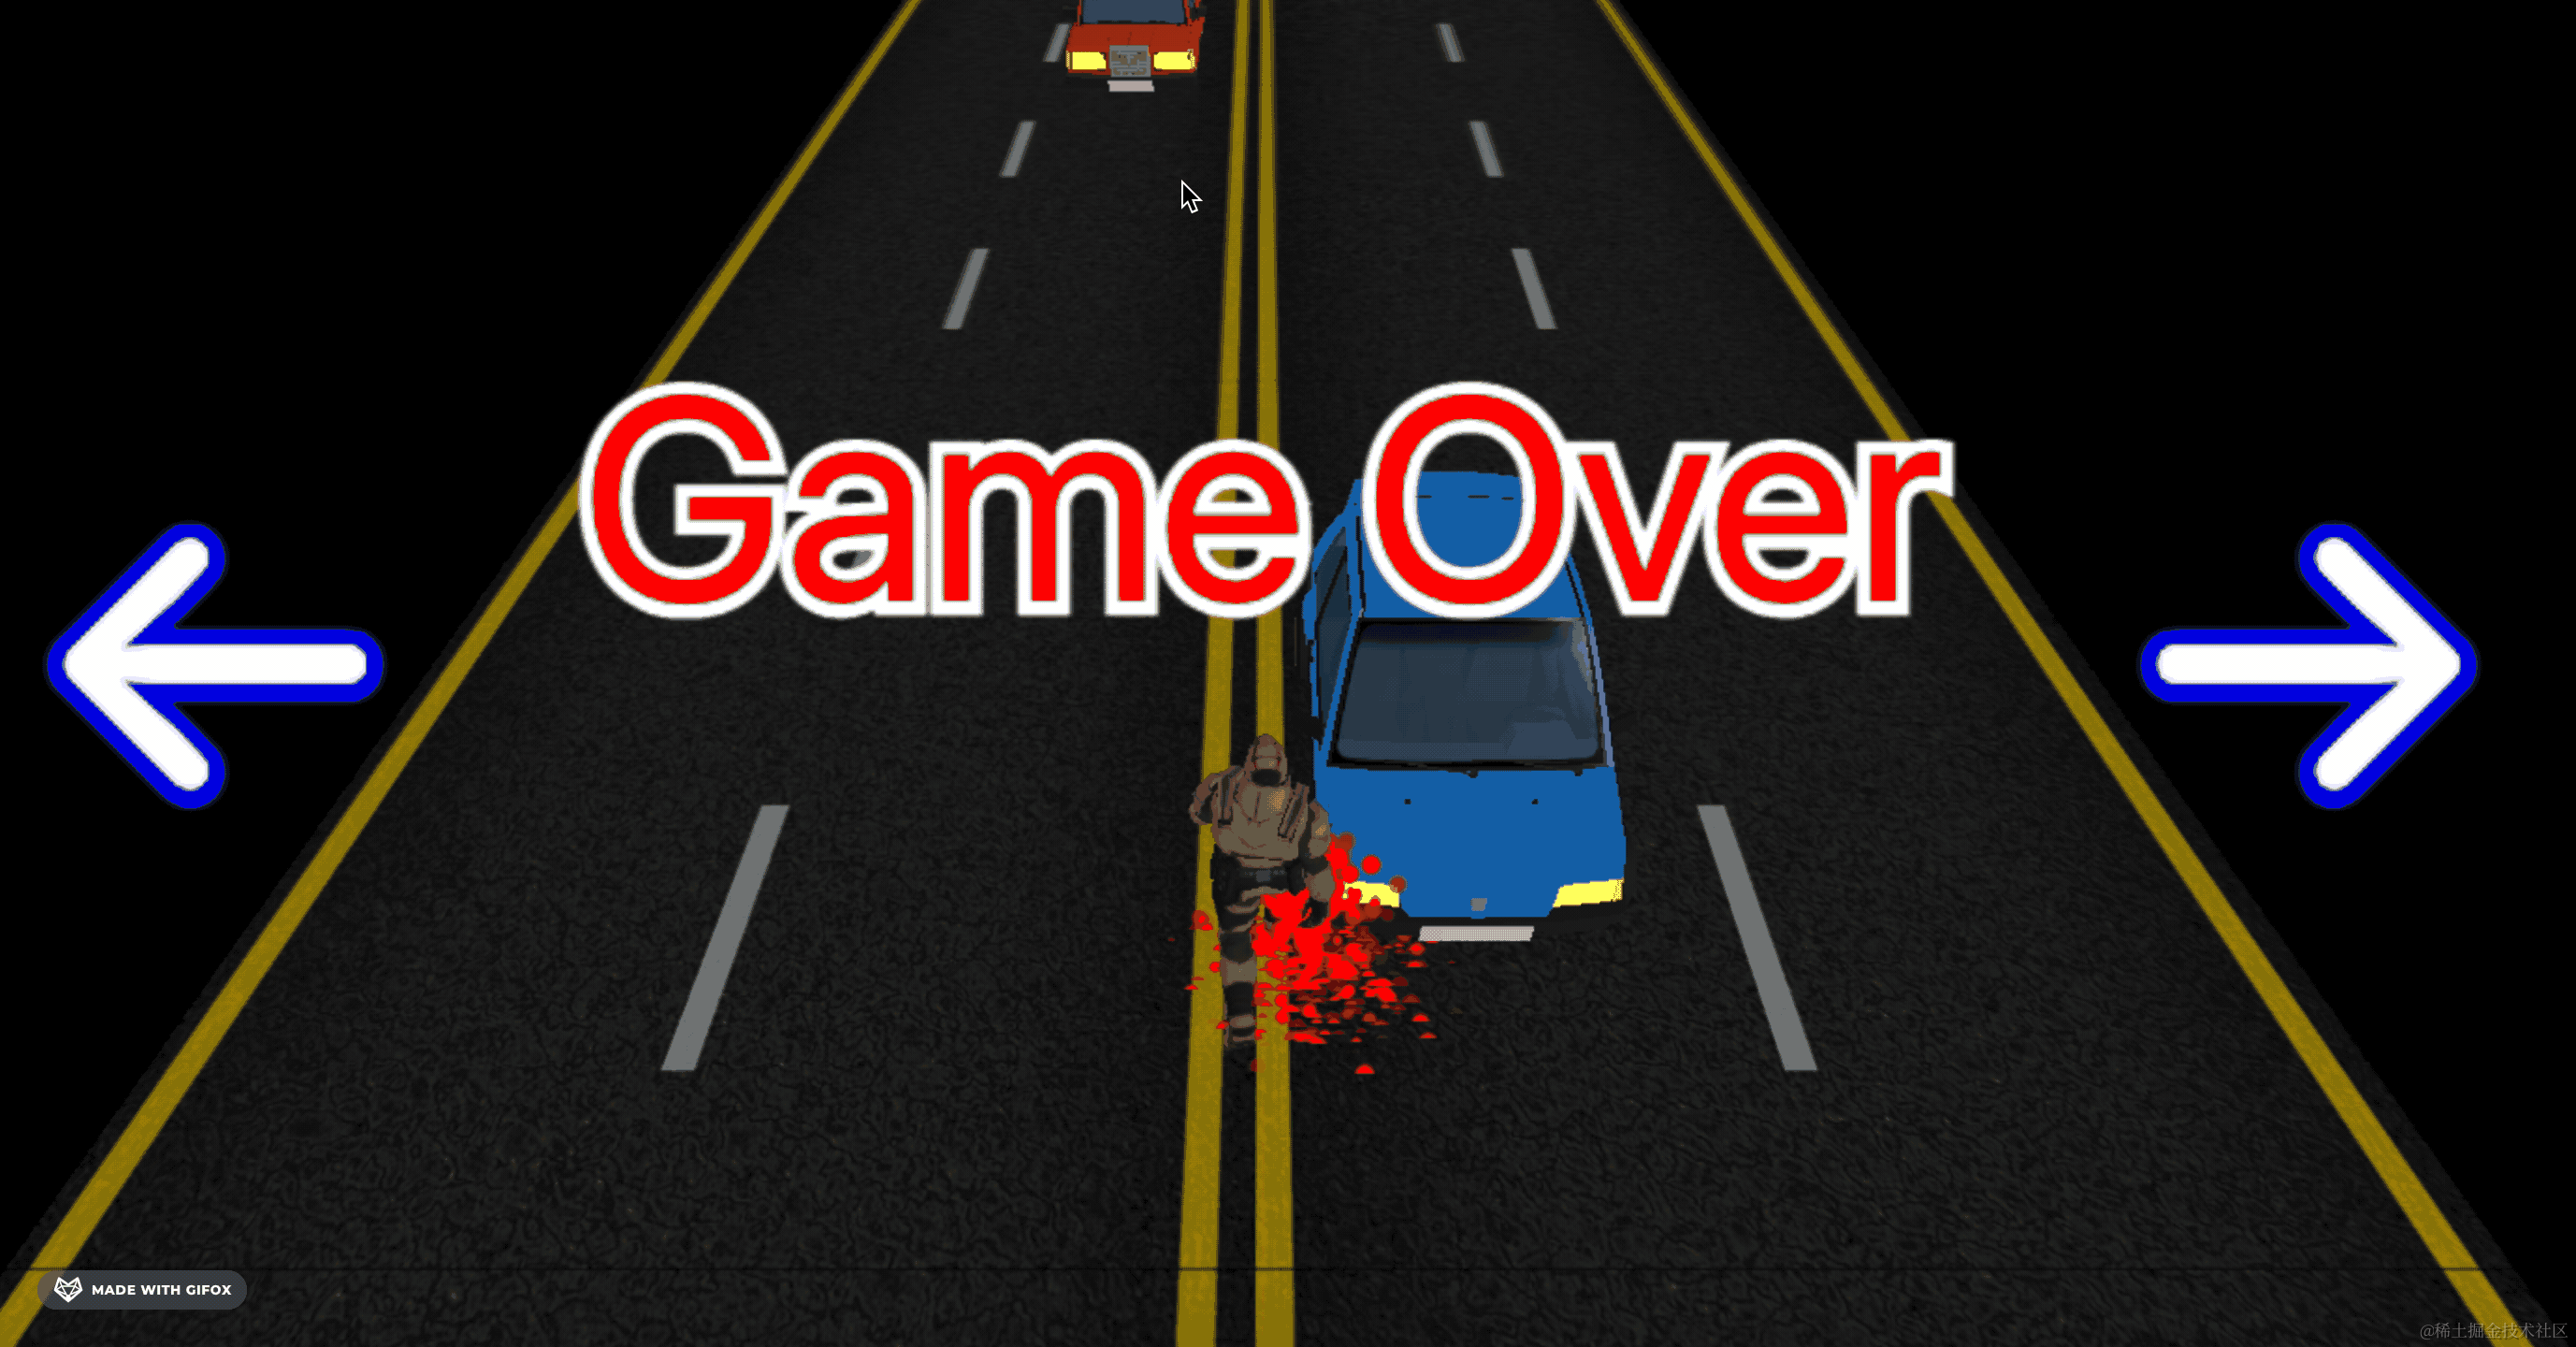
另一个问题是当你切换到其他页面或者其他软件一段时间,再切回来:
会一下子有很多的车。
因为定时器没有暂停。
我们要检测下页面可见性,不可见的时候就暂停创建车子:
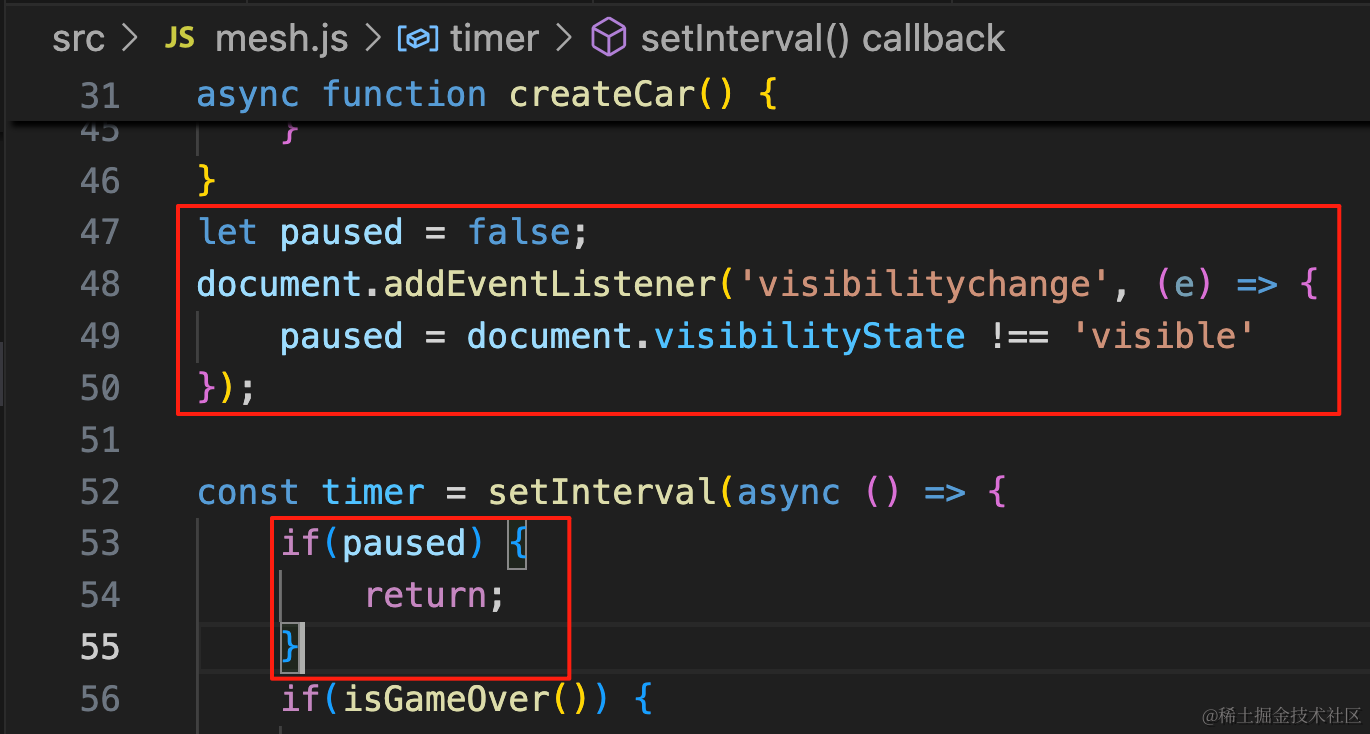
let paused = false;
document.addEventListener('visibilitychange', (e) => {
    paused = document.visibilityState !== 'visible'
});if(paused) {
return;
}这样,游戏体验就没啥问题了。
案例代码上传了小册仓库
总结
这节我们加上了文字,包括左右箭头、Ready、Go、Game Over
用 three-spritetext 实现的,不用自己用 canvas 画。
并且用 gasp 做了文字放大、消失的补间动画。
最后我们还加了一个镜头从远到近的入场相机动画。
至此,我们的躲避汽车游戏就完成了。