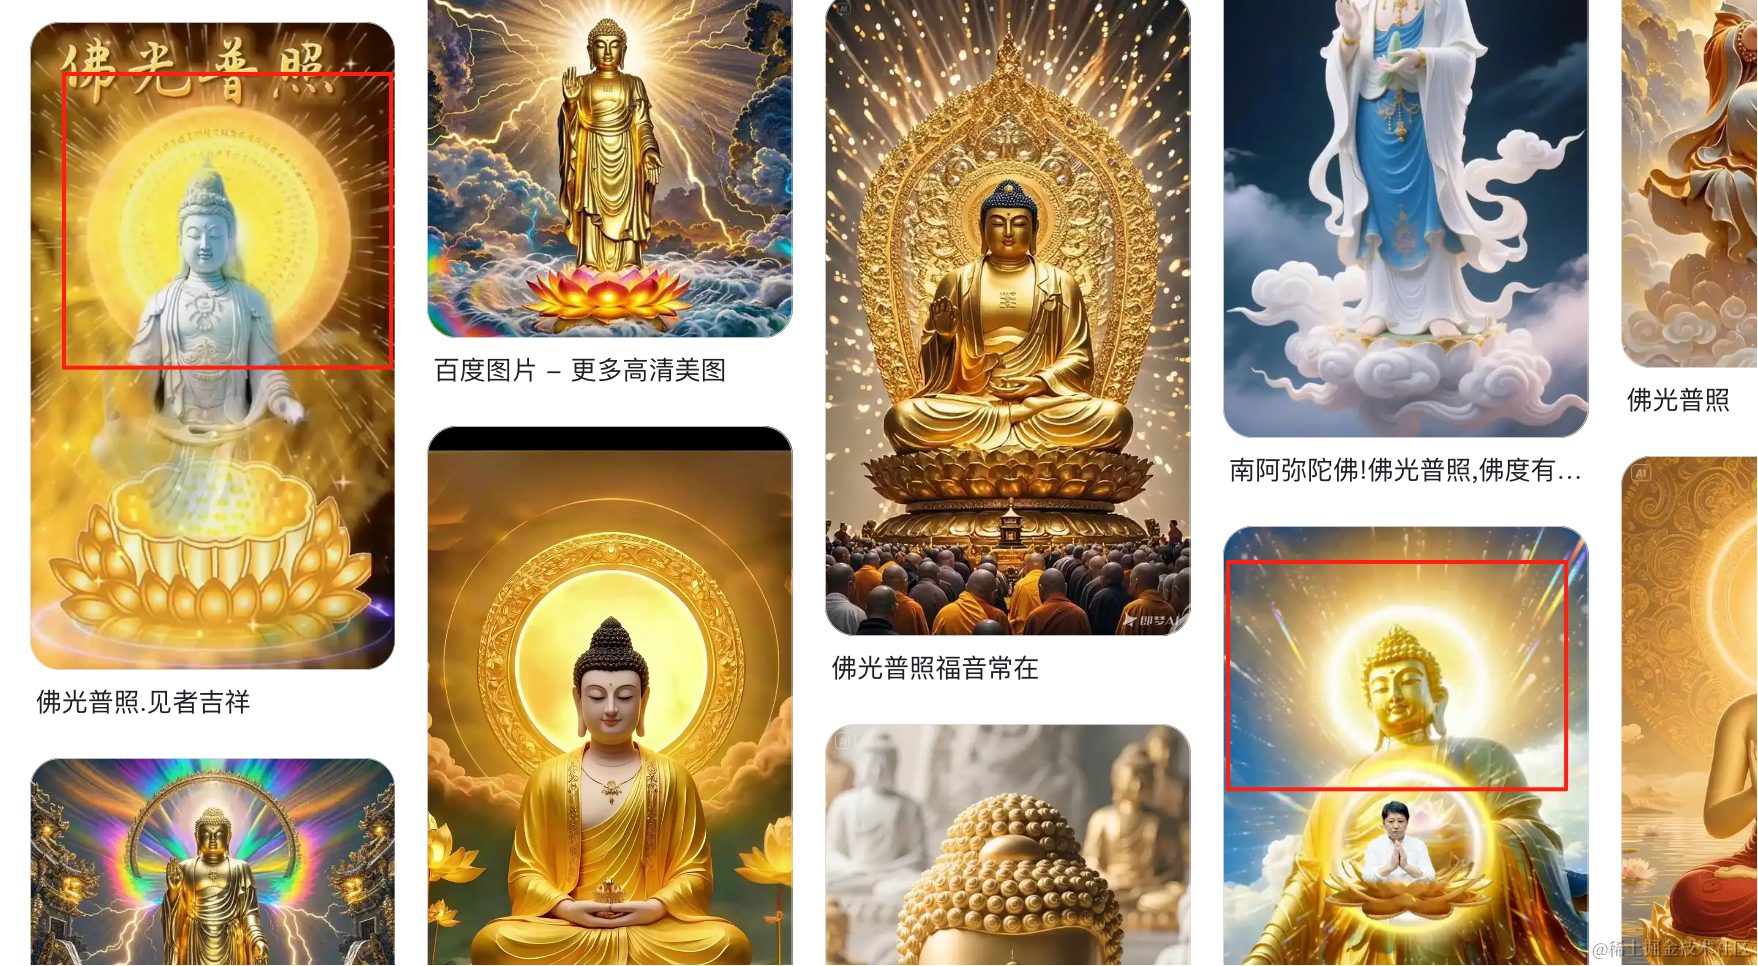
上节调好了佛祖的效果:
这节给它加上佛光:
这种粒子效果前面做过,用 three.quarks 做。
安装下粒子动画库:
pnpm install --save three.quarks创建佛光的文件 buddhist-light.js
import * as THREE from "three";
import { BatchedParticleRenderer,PointEmitter, ConstantValue, IntervalValue, ParticleSystem, RandomColor } from "three.quarks";

const group = new THREE.Group();

const batchRenderer = new BatchedParticleRenderer();
group.add(batchRenderer);

const loader = new THREE.TextureLoader();
const texture = loader.load('./point.png');

const particles = new ParticleSystem({
    duration: 20,
    looping: true,
    startLife: new IntervalValue(0, 10),
    startSpeed: new IntervalValue(0, 1000),
    startSize: new IntervalValue(0, 10),
    startColor: new RandomColor(
        new THREE.Vector4(1, 0.7, 0, 1),
        new THREE.Vector4(1, 1, 1, 1)
    ),
    emissionOverTime: new ConstantValue(1000),
    shape: new PointEmitter(),
    material: new THREE.MeshBasicMaterial({
        map: texture,
        transparent: true,
        side: THREE.DoubleSide
    })
});

group.add(particles.emitter);

batchRenderer.addSystem(particles);

export {
    batchRenderer
}

export default group;
用的 ConeEmitter 点状粒子发射器。
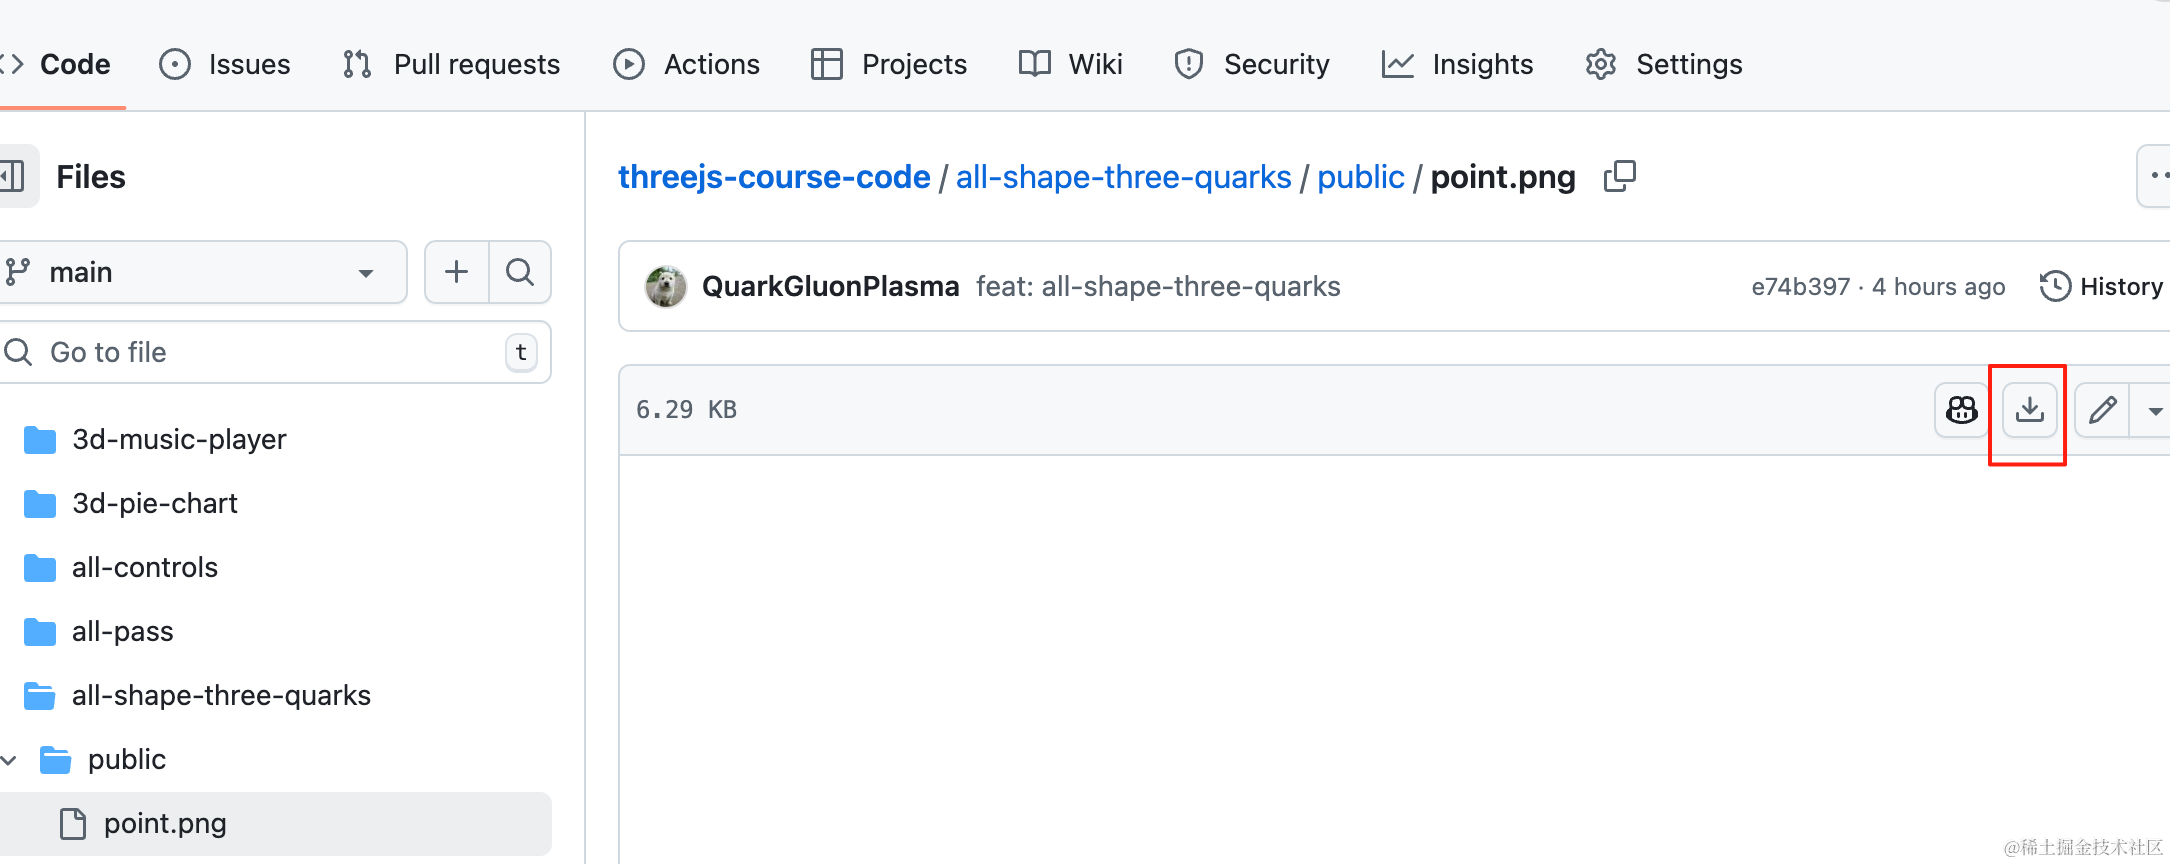
point.png 从这里下载:
在 main.js 引入:
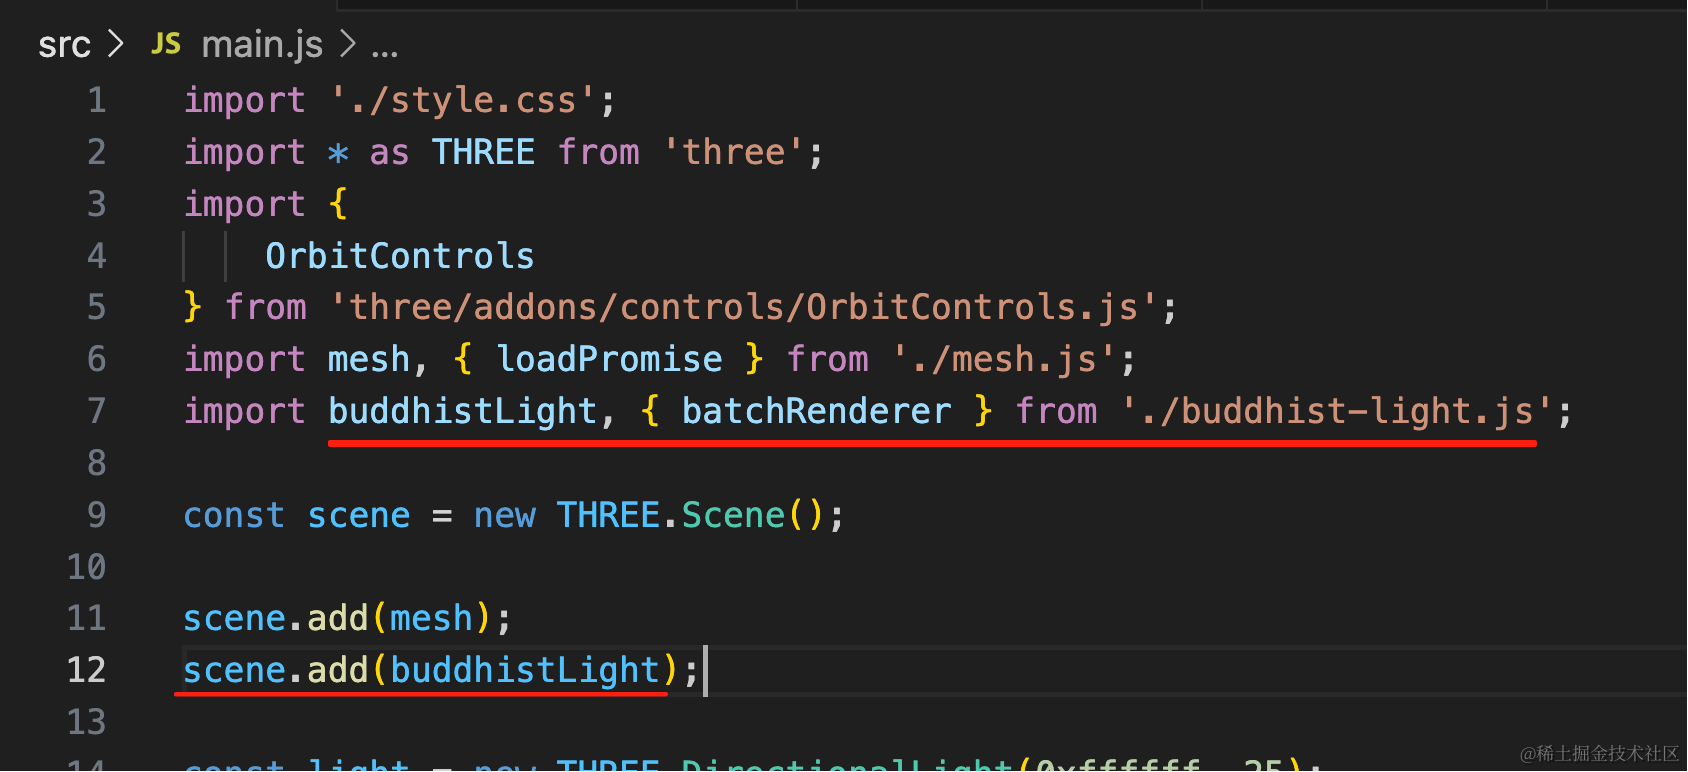
import buddhistLight, { batchRenderer } from './buddhist-light.js';scene.add(buddhistLight);const clock = new THREE.Clock();
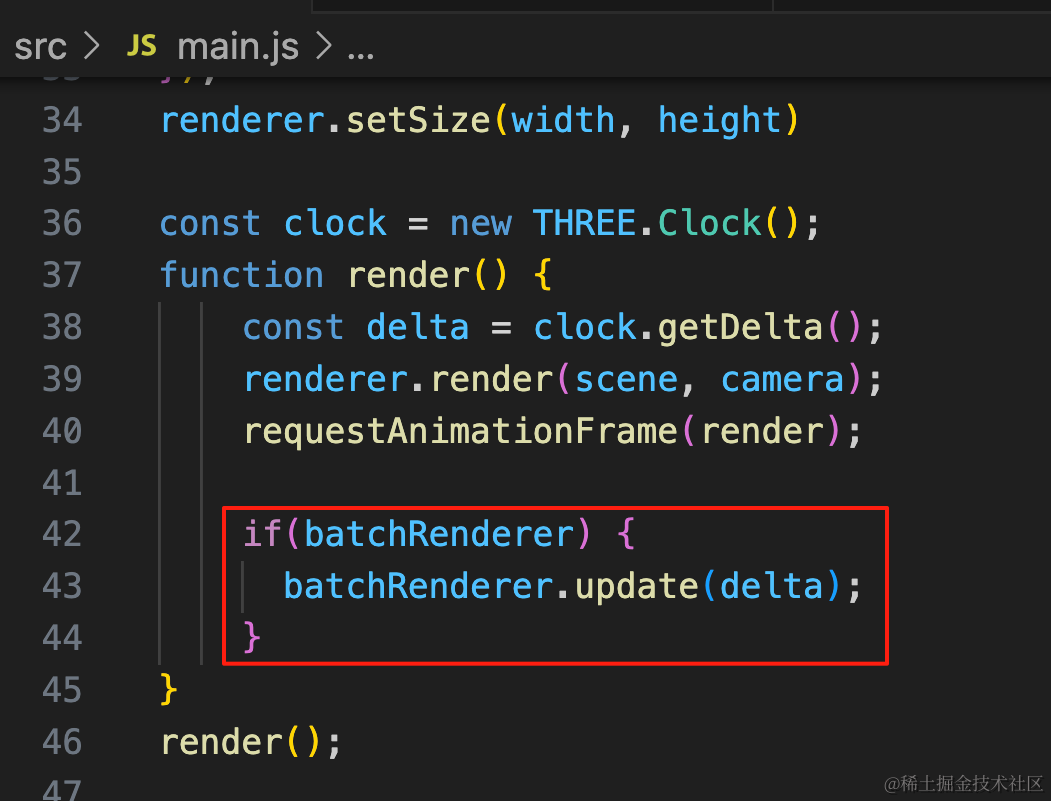
function render() {
const delta = clock.getDelta();
renderer.render(scene, camera);
requestAnimationFrame(render);
if(batchRenderer) {
batchRenderer.update(delta);
}
}
render();渲染循环里更新粒子效果。
看下效果:
调一下粒子发射器的位置:
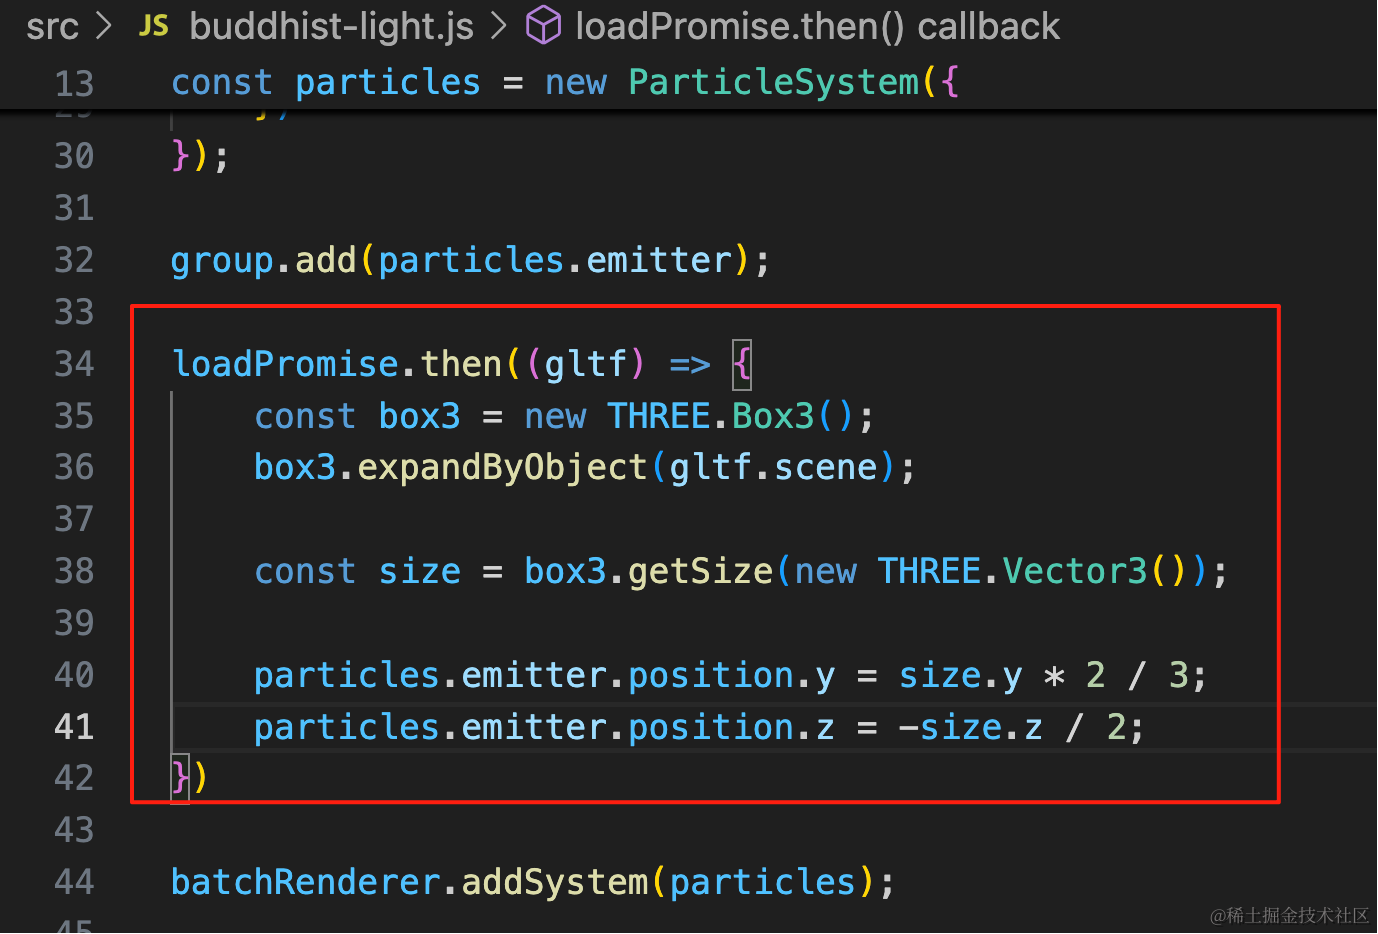
模型加载完后,把发射器调到 y 是佛祖高度三分之二,z 是佛祖身后的位置。
loadPromise.then((gltf) => {
    const box3 = new THREE.Box3();
    box3.expandByObject(gltf.scene);

    const size = box3.getSize(new THREE.Vector3());

    particles.emitter.position.y = size.y * 2 / 3;
    particles.emitter.position.z = -size.z / 2;
})
其实中间应该留空一块,用球状的比较好:
改成球状的,数量加大:

emissionOverTime: new ConstantValue(5000),
shape: new SphereEmitter({
    radius: 150,
    thickness: 0,
    arc: Math.PI * 2
}),
现在就可以明显看到中间有个球了。
改成渲染 5s 内的轨迹数据:
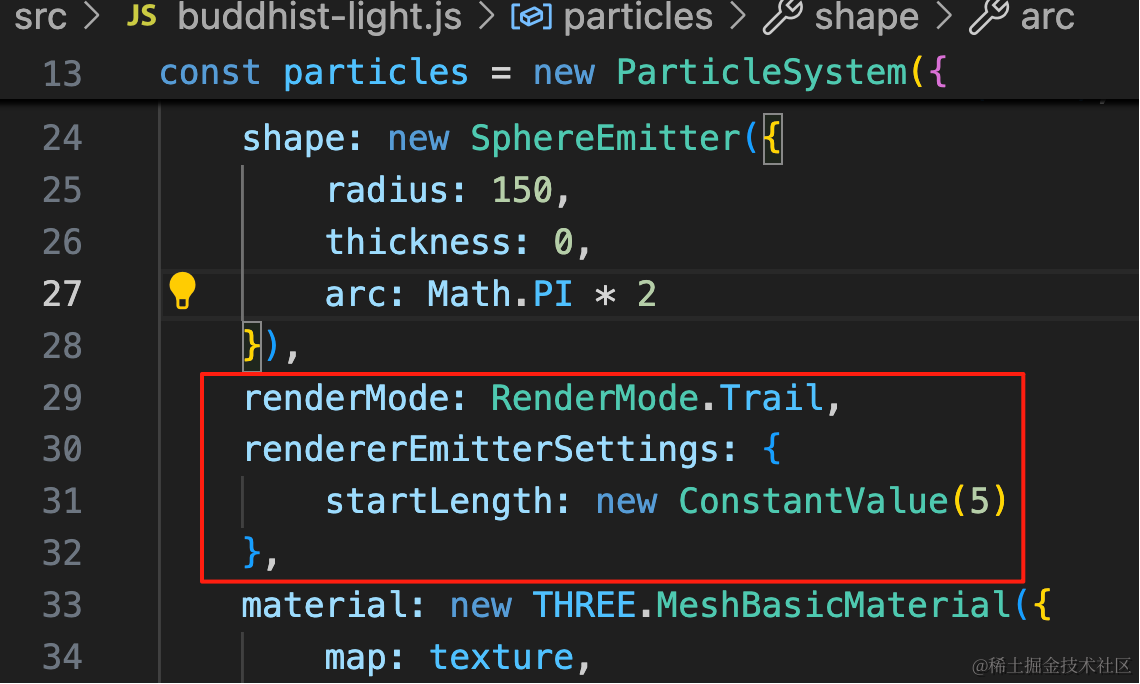
我们整体调一下参数:
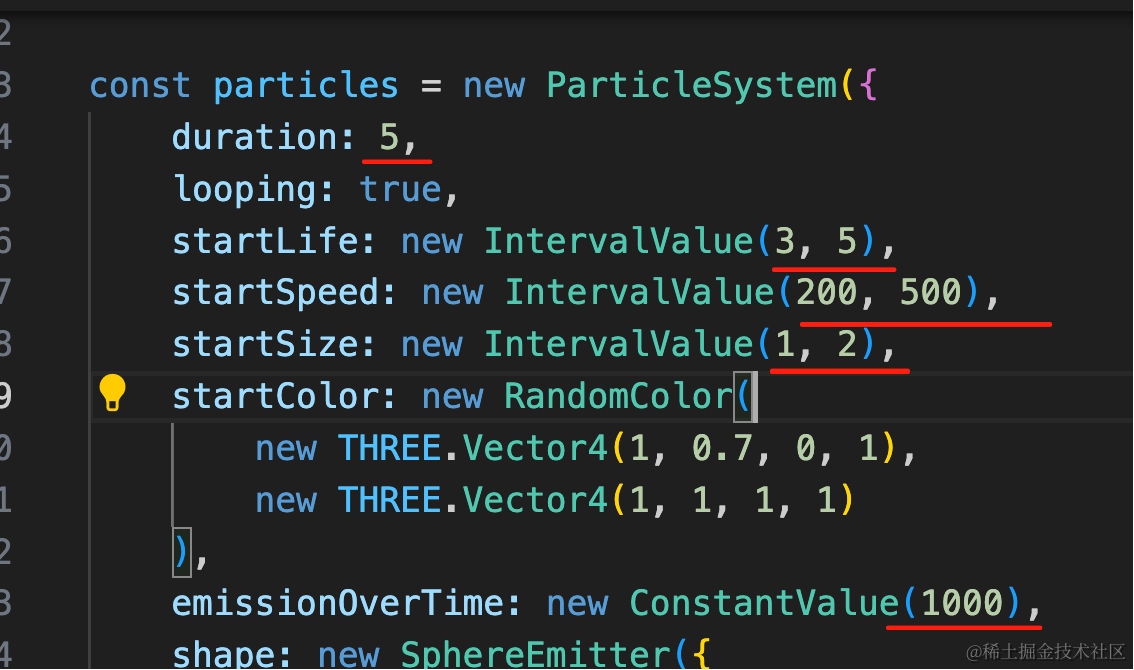
duration 动画时长是 5s
每个粒子的生存周期在 3-5s 后消失
size、speed 也调一个比较小的范围
每次发射 1000 个粒子。
看下效果:
球状的发射器是向四面八方发射,我们换成圆形发射器好了:
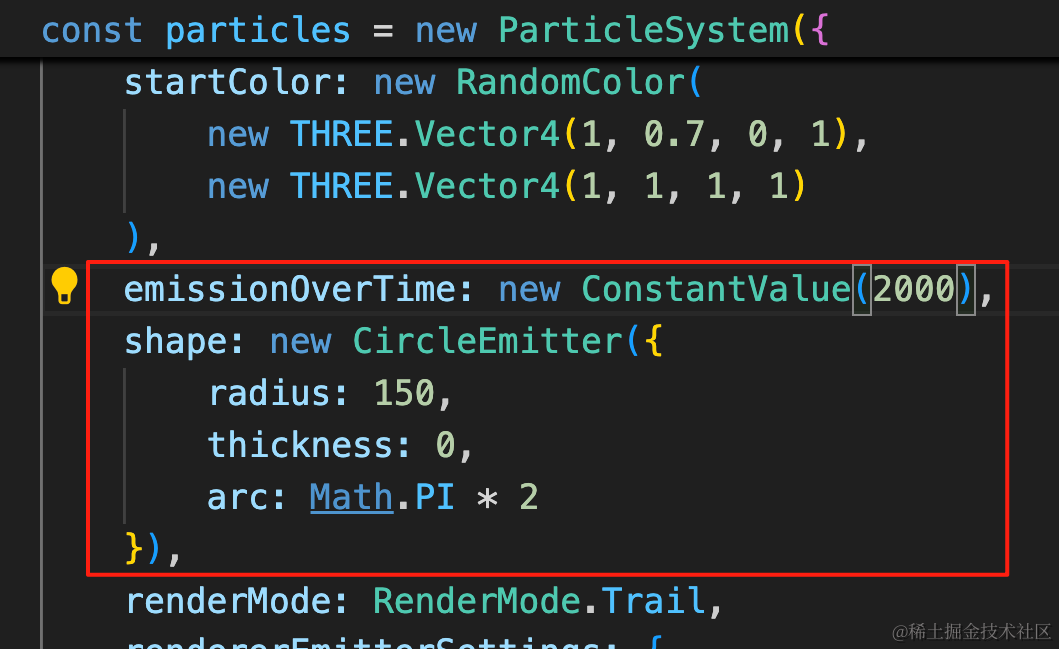
emissionOverTime: new ConstantValue(2000),
shape: new CircleEmitter({
    radius: 150,
    thickness: 0,
    arc: Math.PI * 2
}),
明显可以看到现在是从一个圆向四周发射的。
案例代码上传了小册仓库
总结
这节我们加上了佛光的粒子效果。
用了圆形发射器向四周发射,用包围盒拿到模型大小,把发射器位置设置到佛祖三分之二高度的位置。
中间留了一个圆圈,下节我们来画光环。