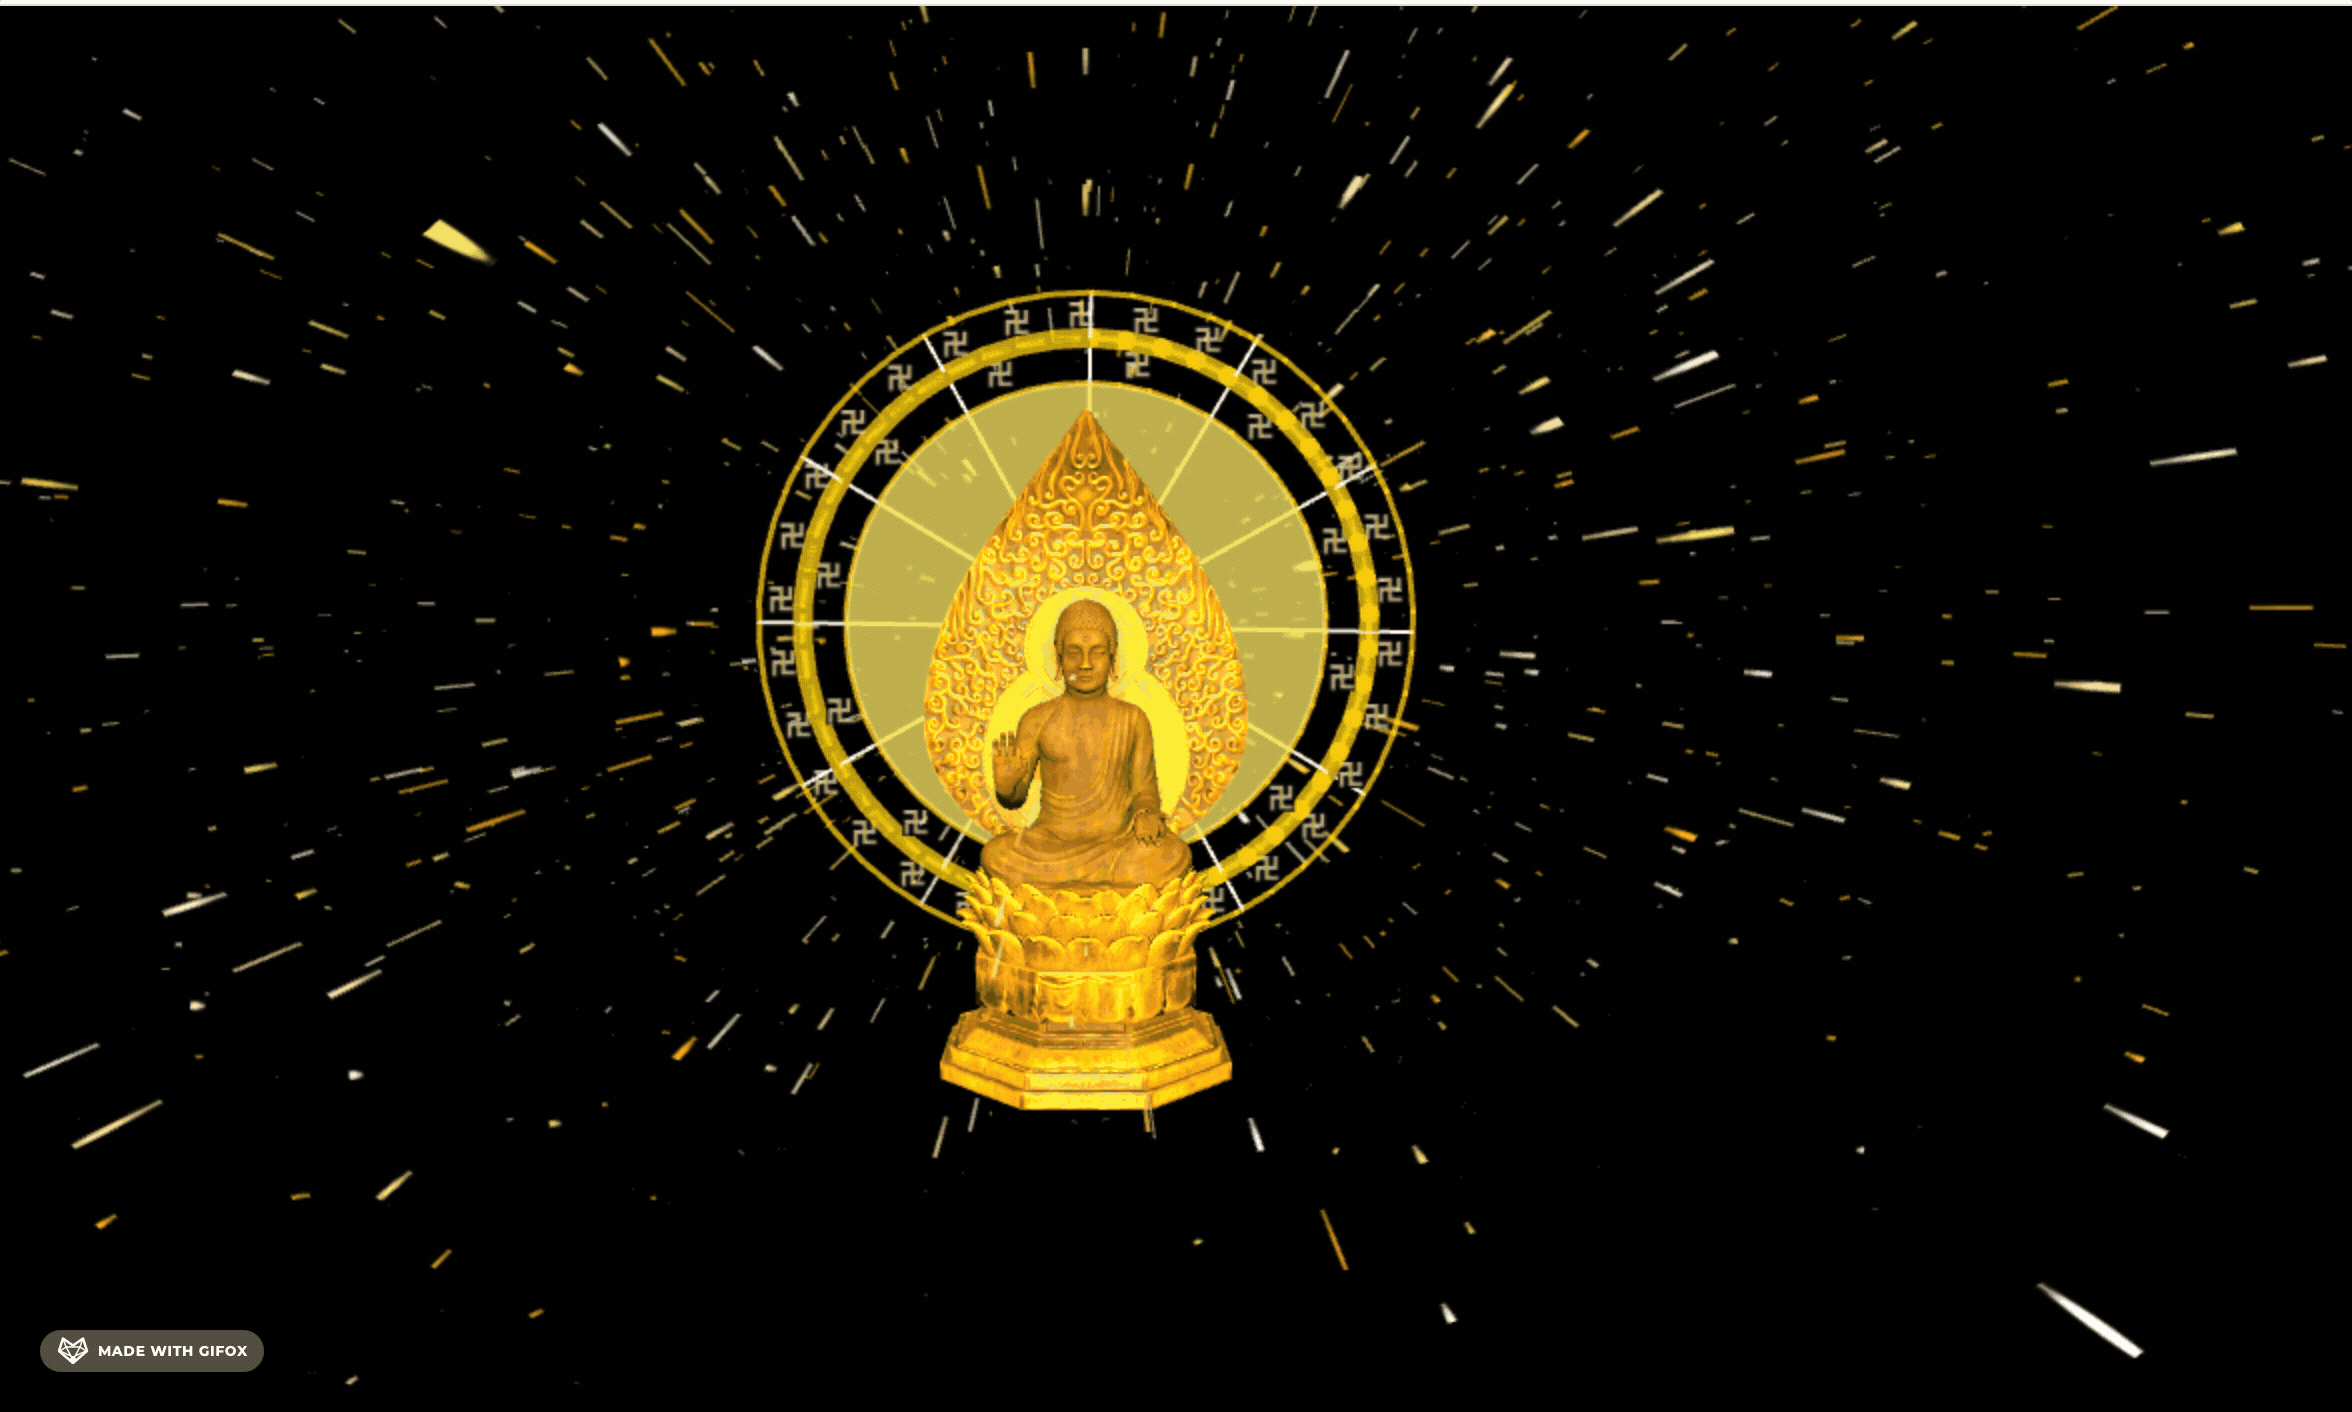
上节画了光环的部分:
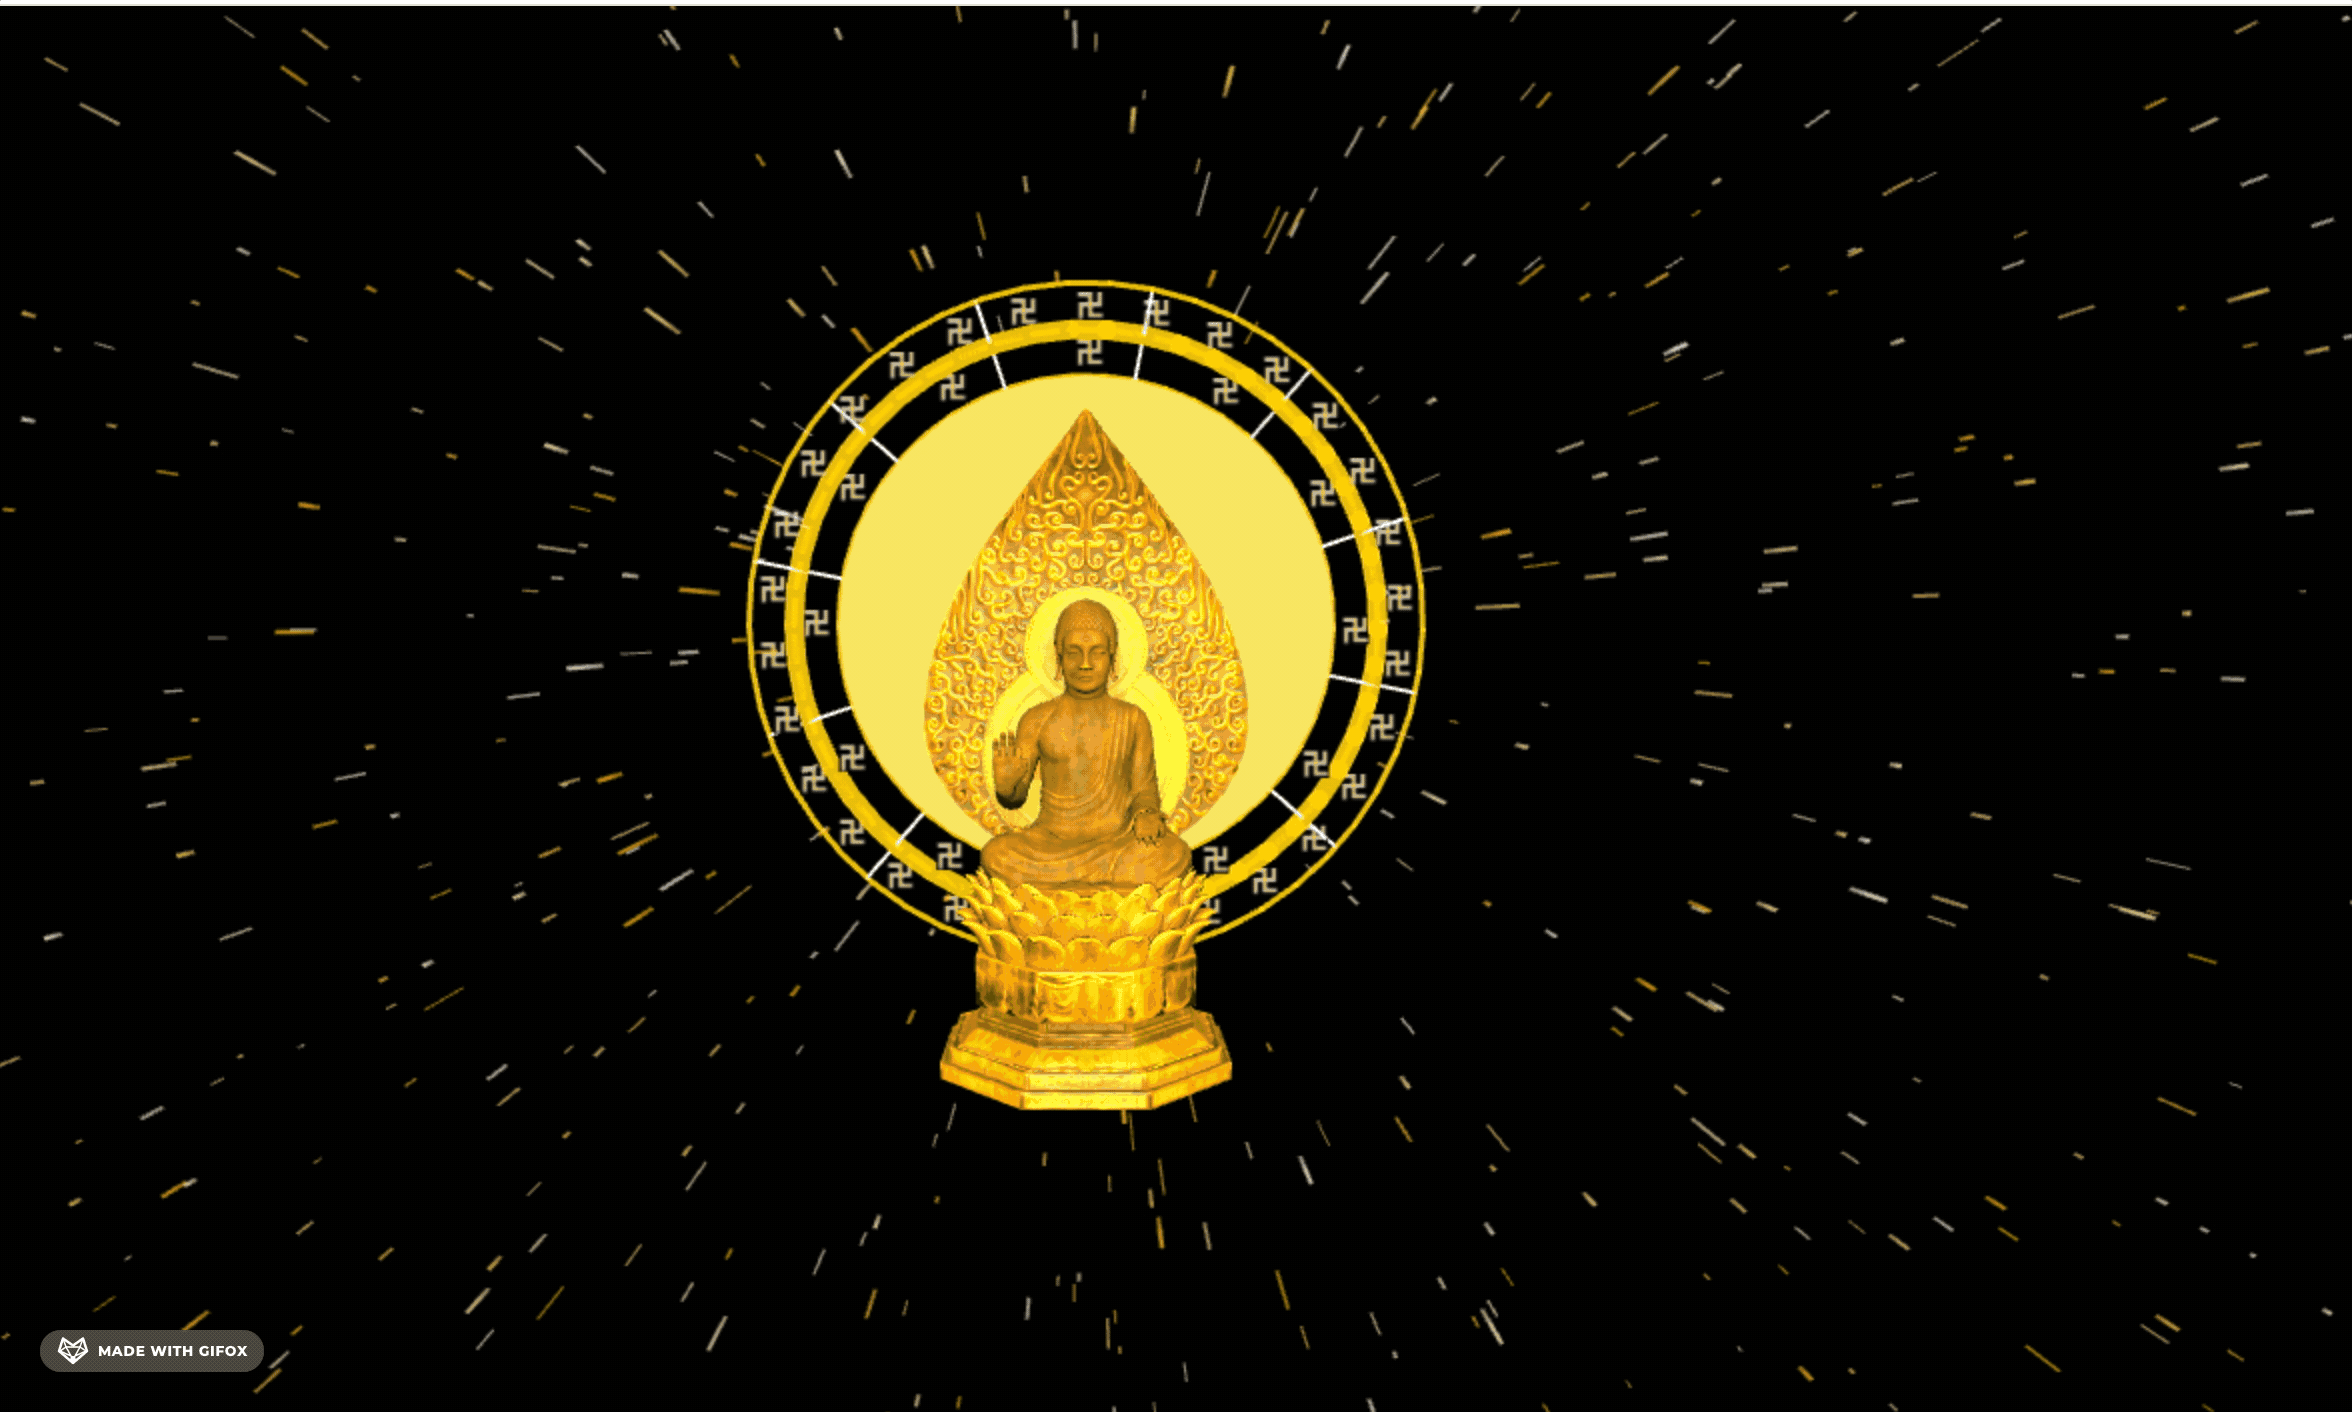
这节加上底座。
其实底座和之前的云雷纹差不多:
但花纹会更复杂。
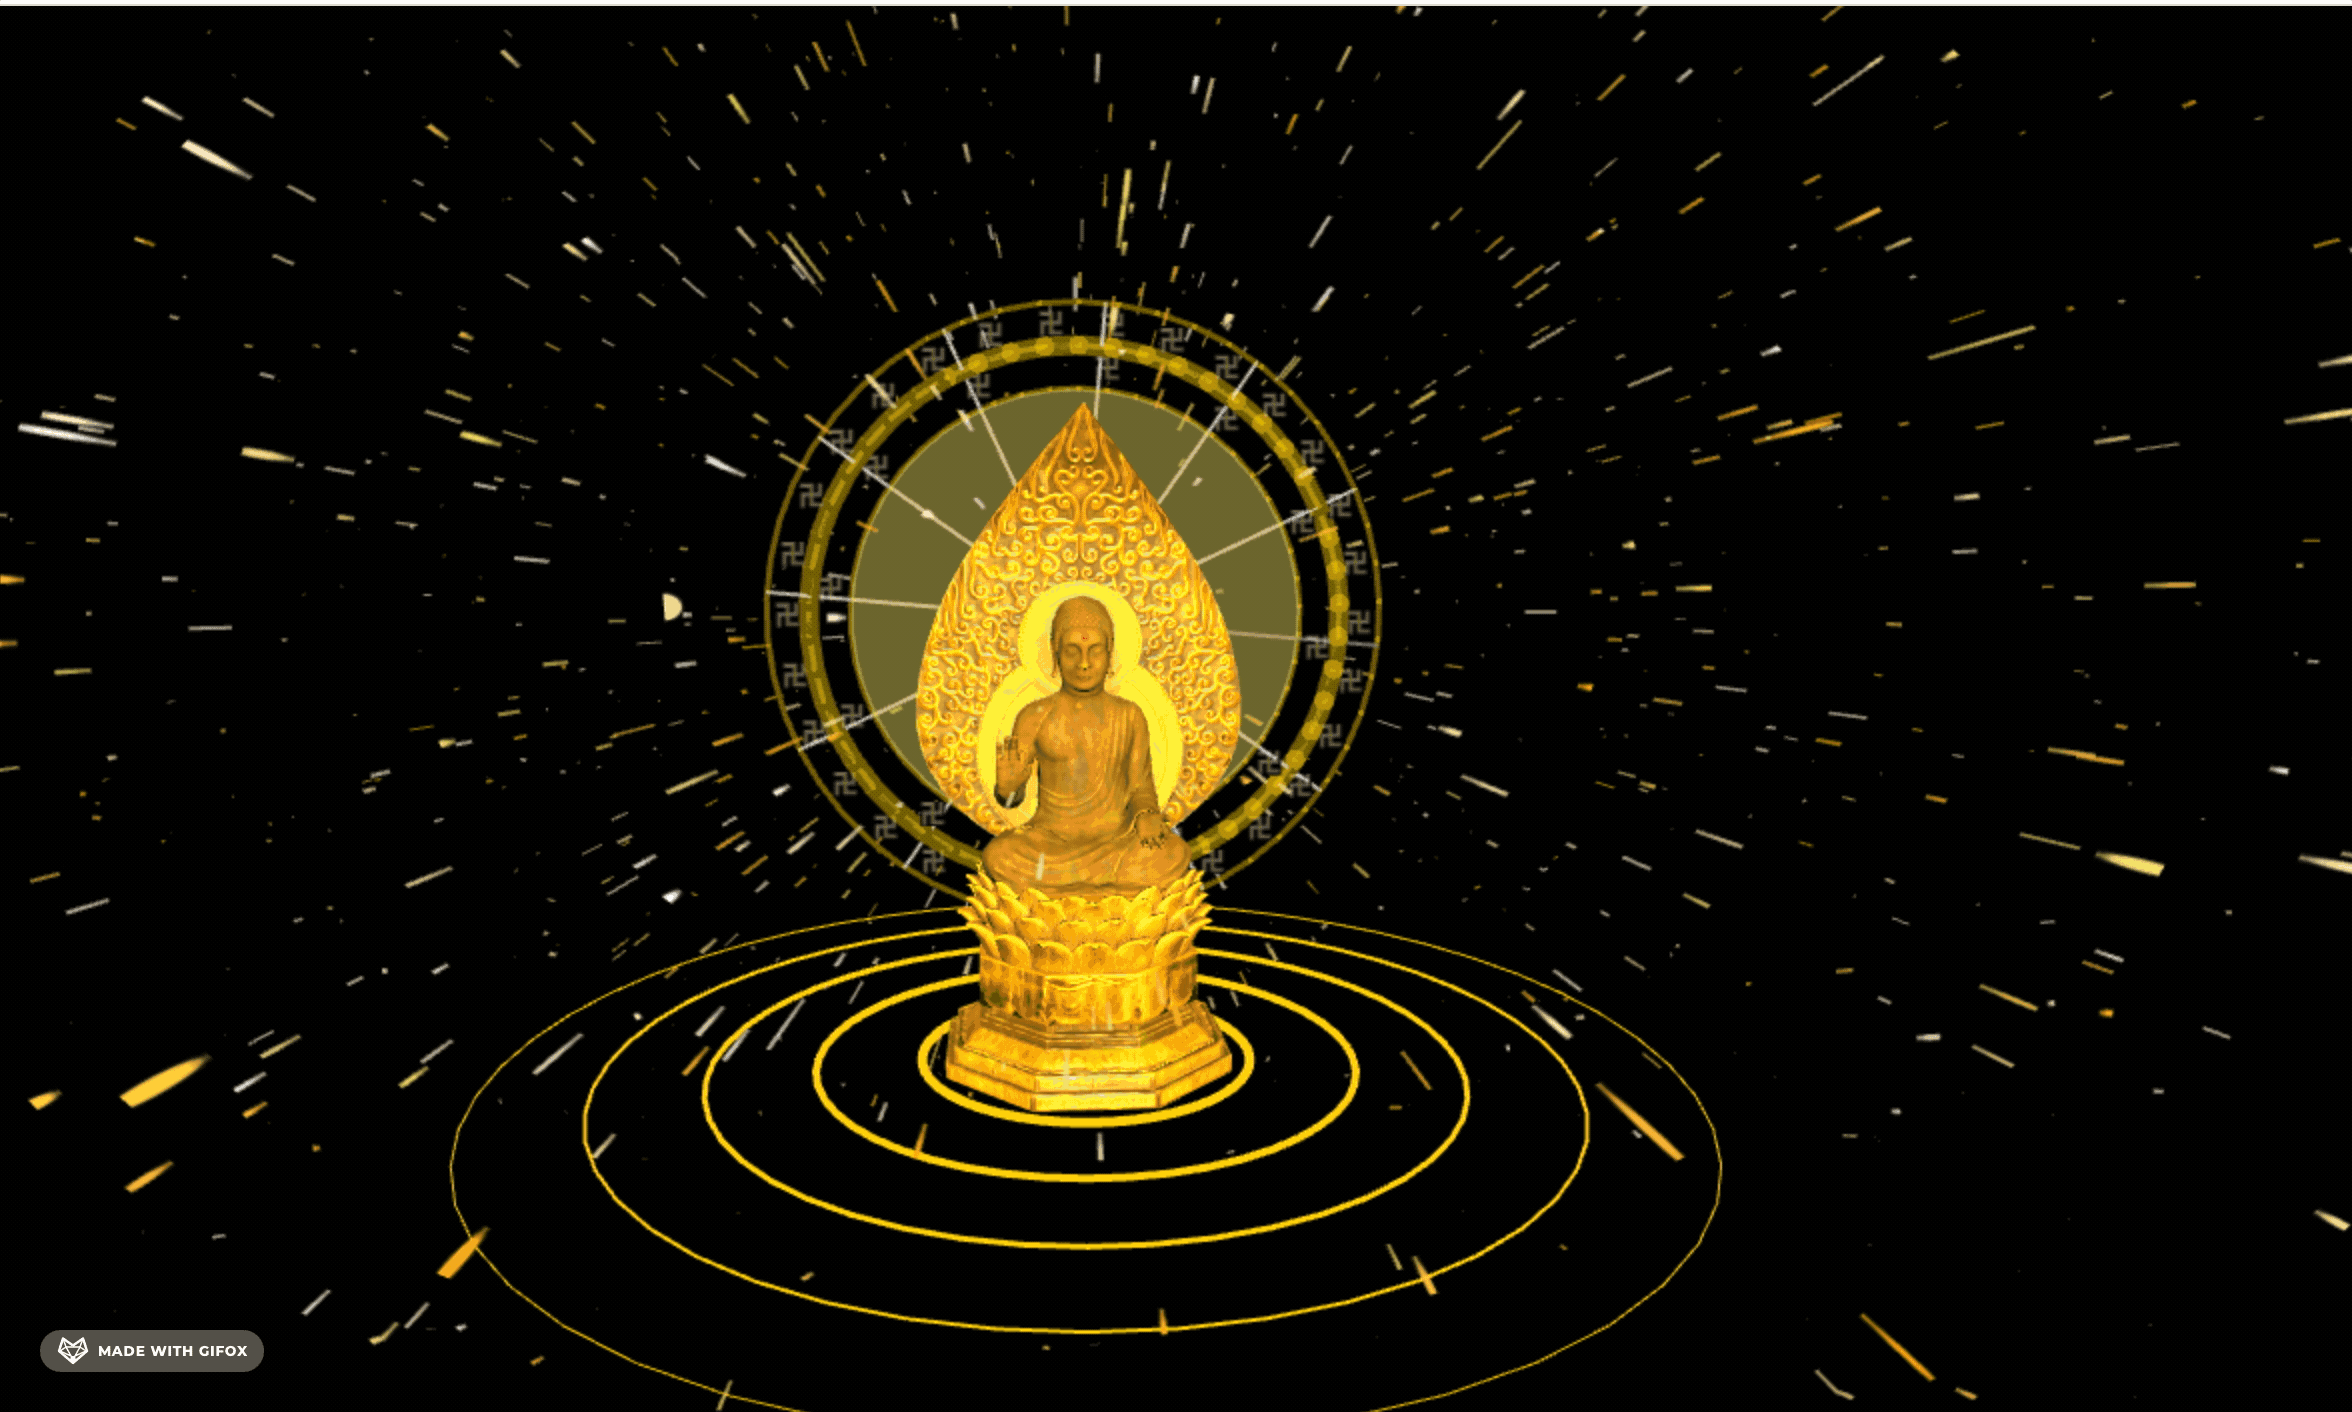
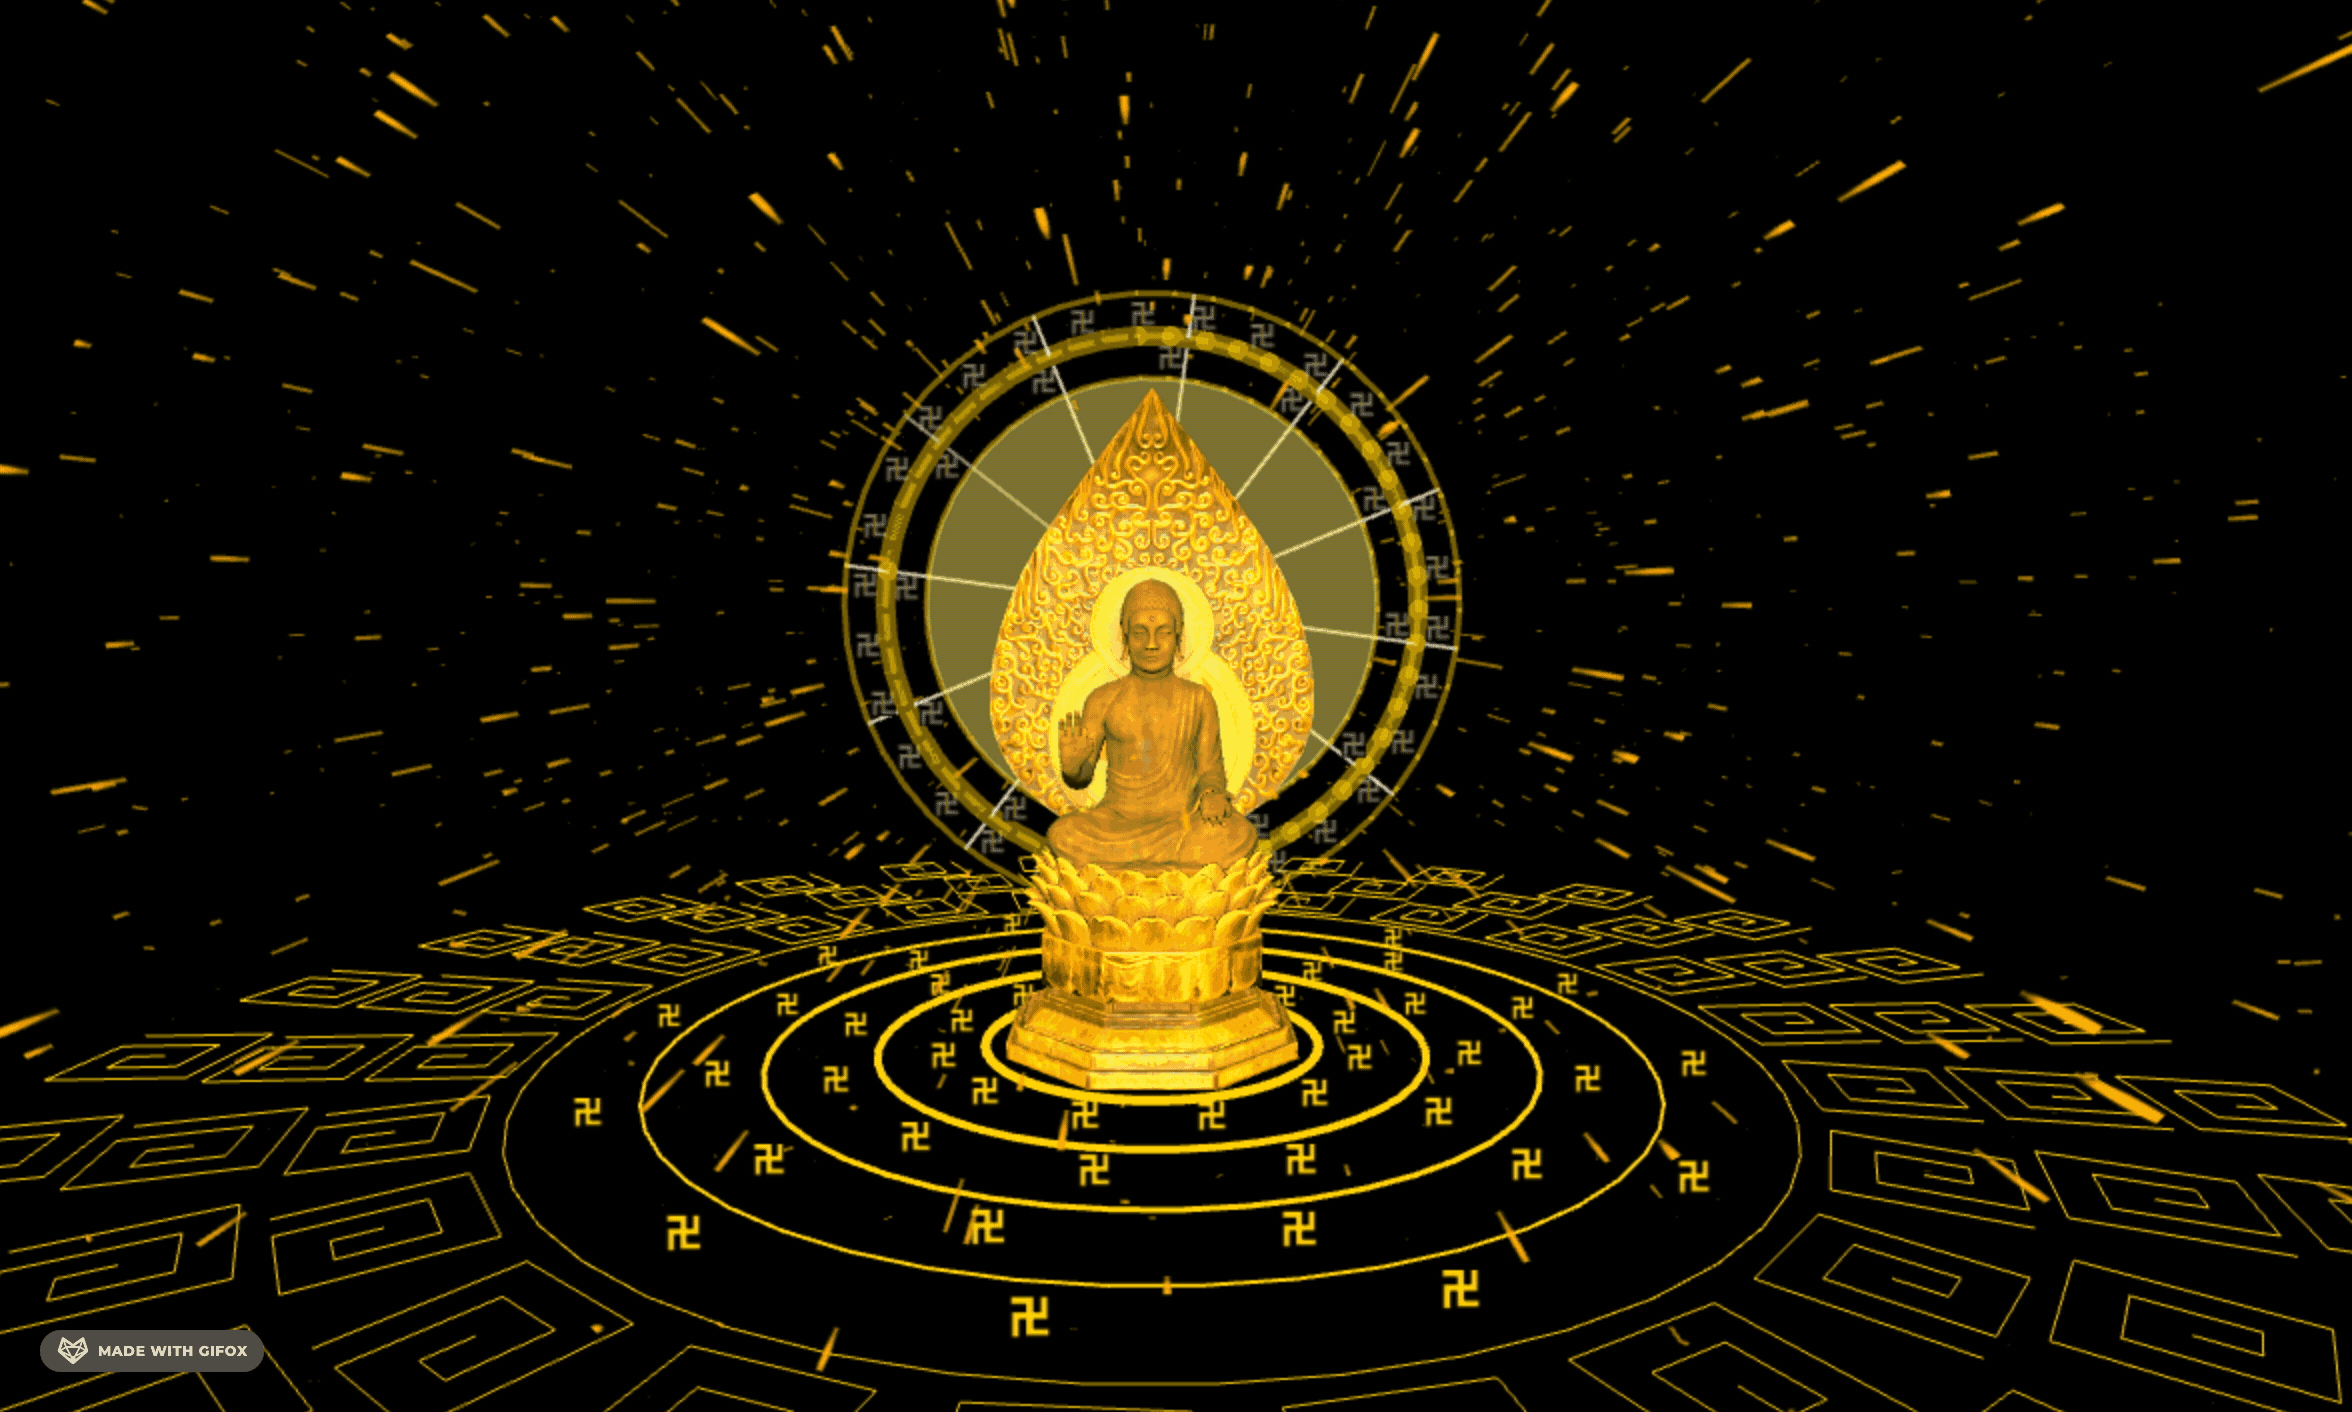
首先,现在没有地面的感觉:
其实是有地面的,我们加一个碰撞检测:
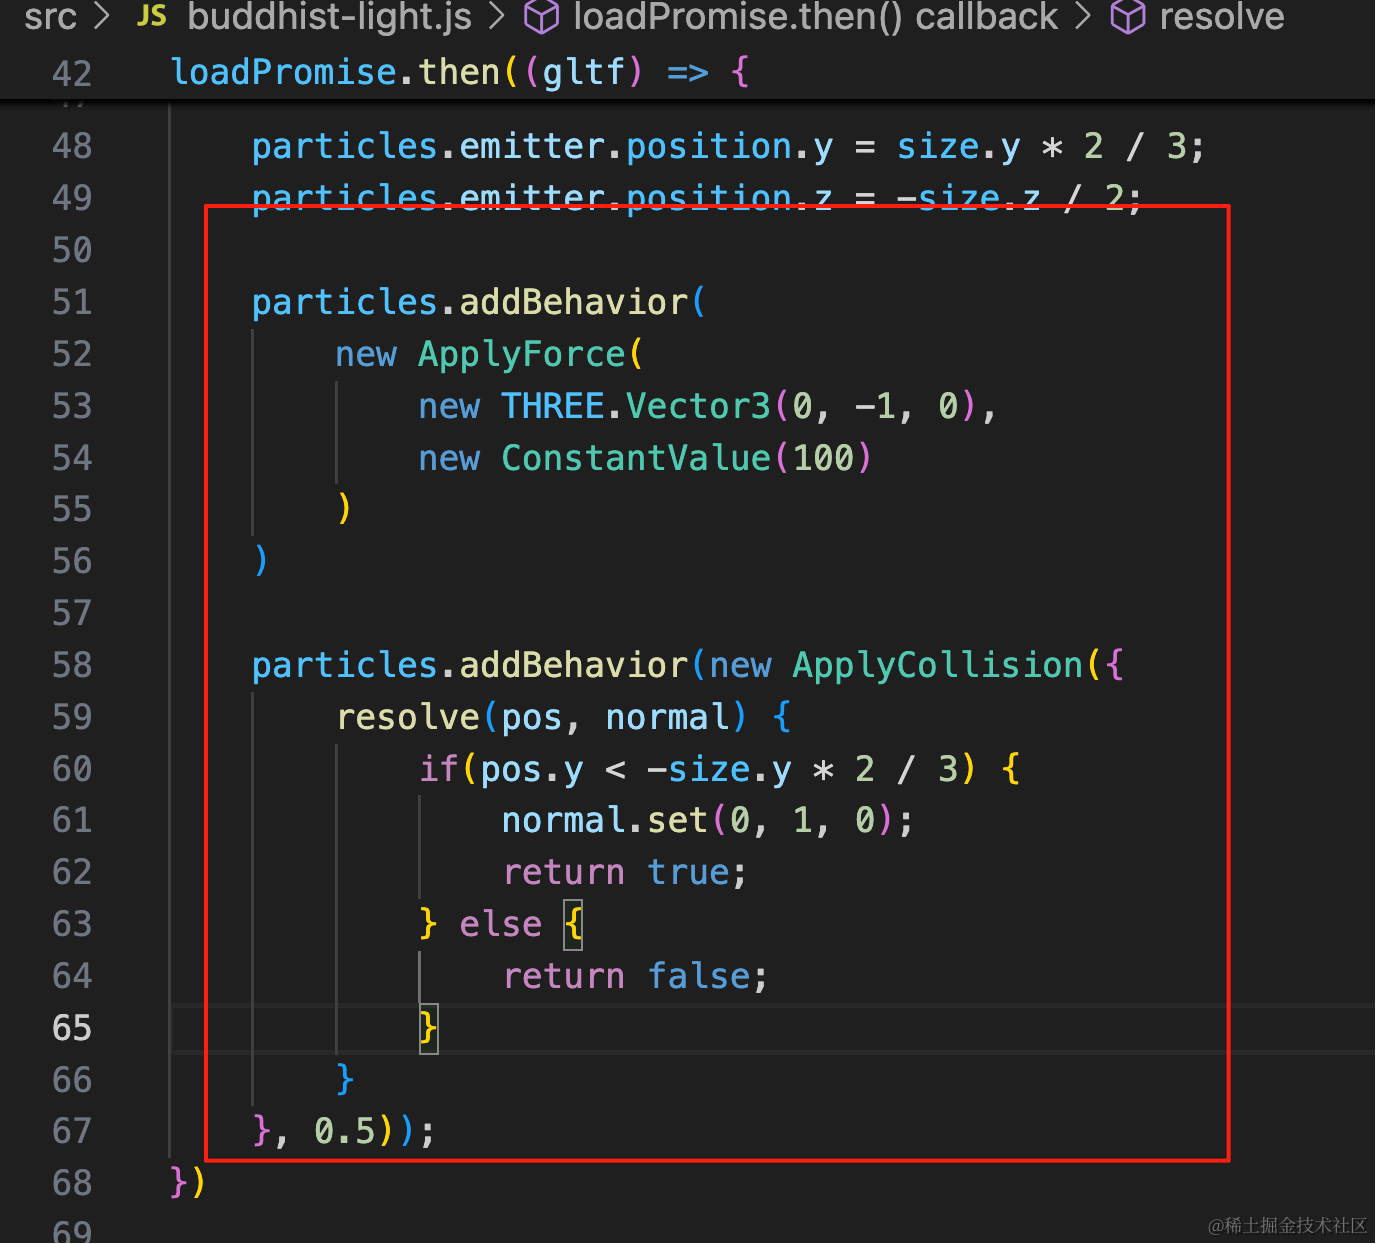
particles.addBehavior(
    new ApplyForce(
        new THREE.Vector3(0, -1, 0),
        new ConstantValue(100)
    )
)

particles.addBehavior(new ApplyCollision({
    resolve(pos, normal) {
        if(pos.y < -size.y * 2 / 3) {
            normal.set(0, 1, 0);
            return true;
        } else {
            return false;
        }
    }
}, 0.5));
加一下重力和碰撞检测。
这里地面是模型底部,我们上移了三分之二的模型高度,所以地面是 -size * 2 /3
particles.addBehavior(
    new ApplyForce(
        new THREE.Vector3(0, -1, 0),
        new ConstantValue(100)
    )
)

particles.addBehavior(new ApplyCollision({
    resolve(pos, normal) {
        if(pos.y < -size.y * 2 / 3) {
            normal.set(0, 1, 0);
            return true;
        } else {
            return false;
        }
    }
}, 0.5));
还是球状发射器比较好,换回去:
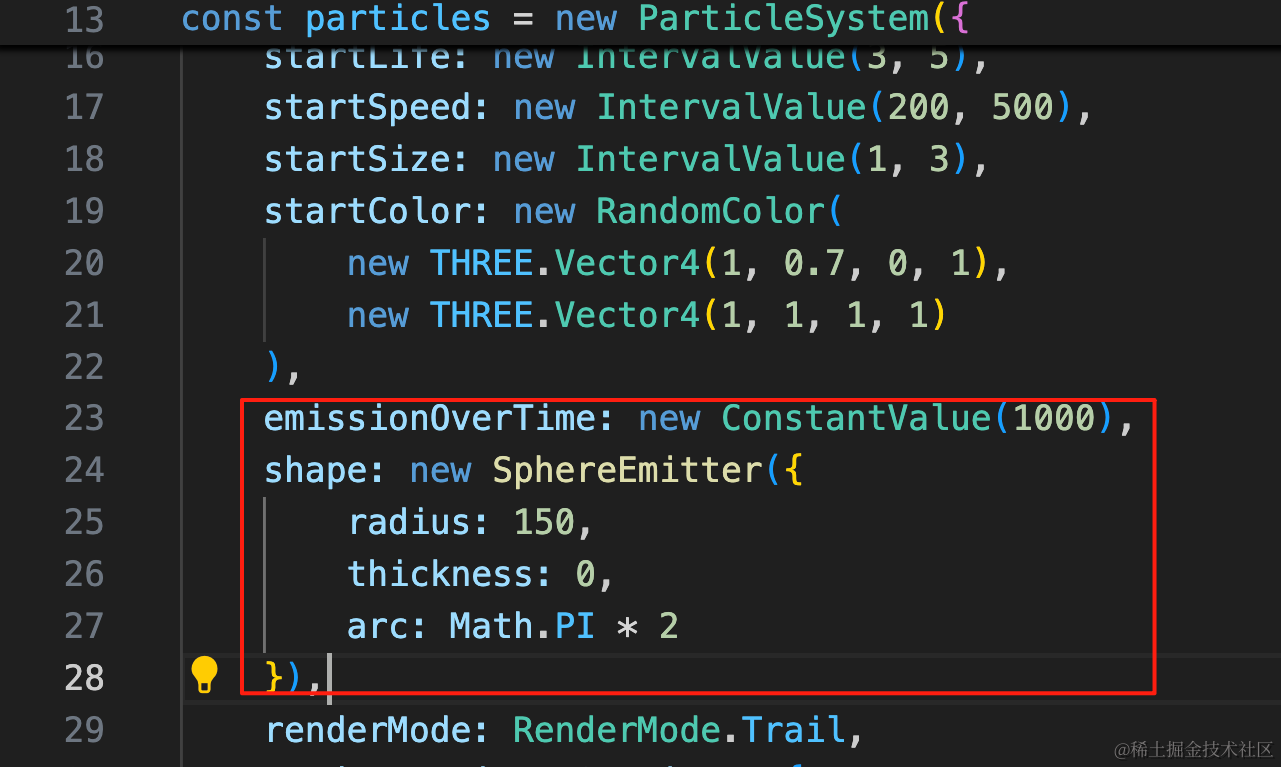
emissionOverTime: new ConstantValue(1000),
shape: new SphereEmitter({
    radius: 150,
    thickness: 0,
    arc: Math.PI * 2
}),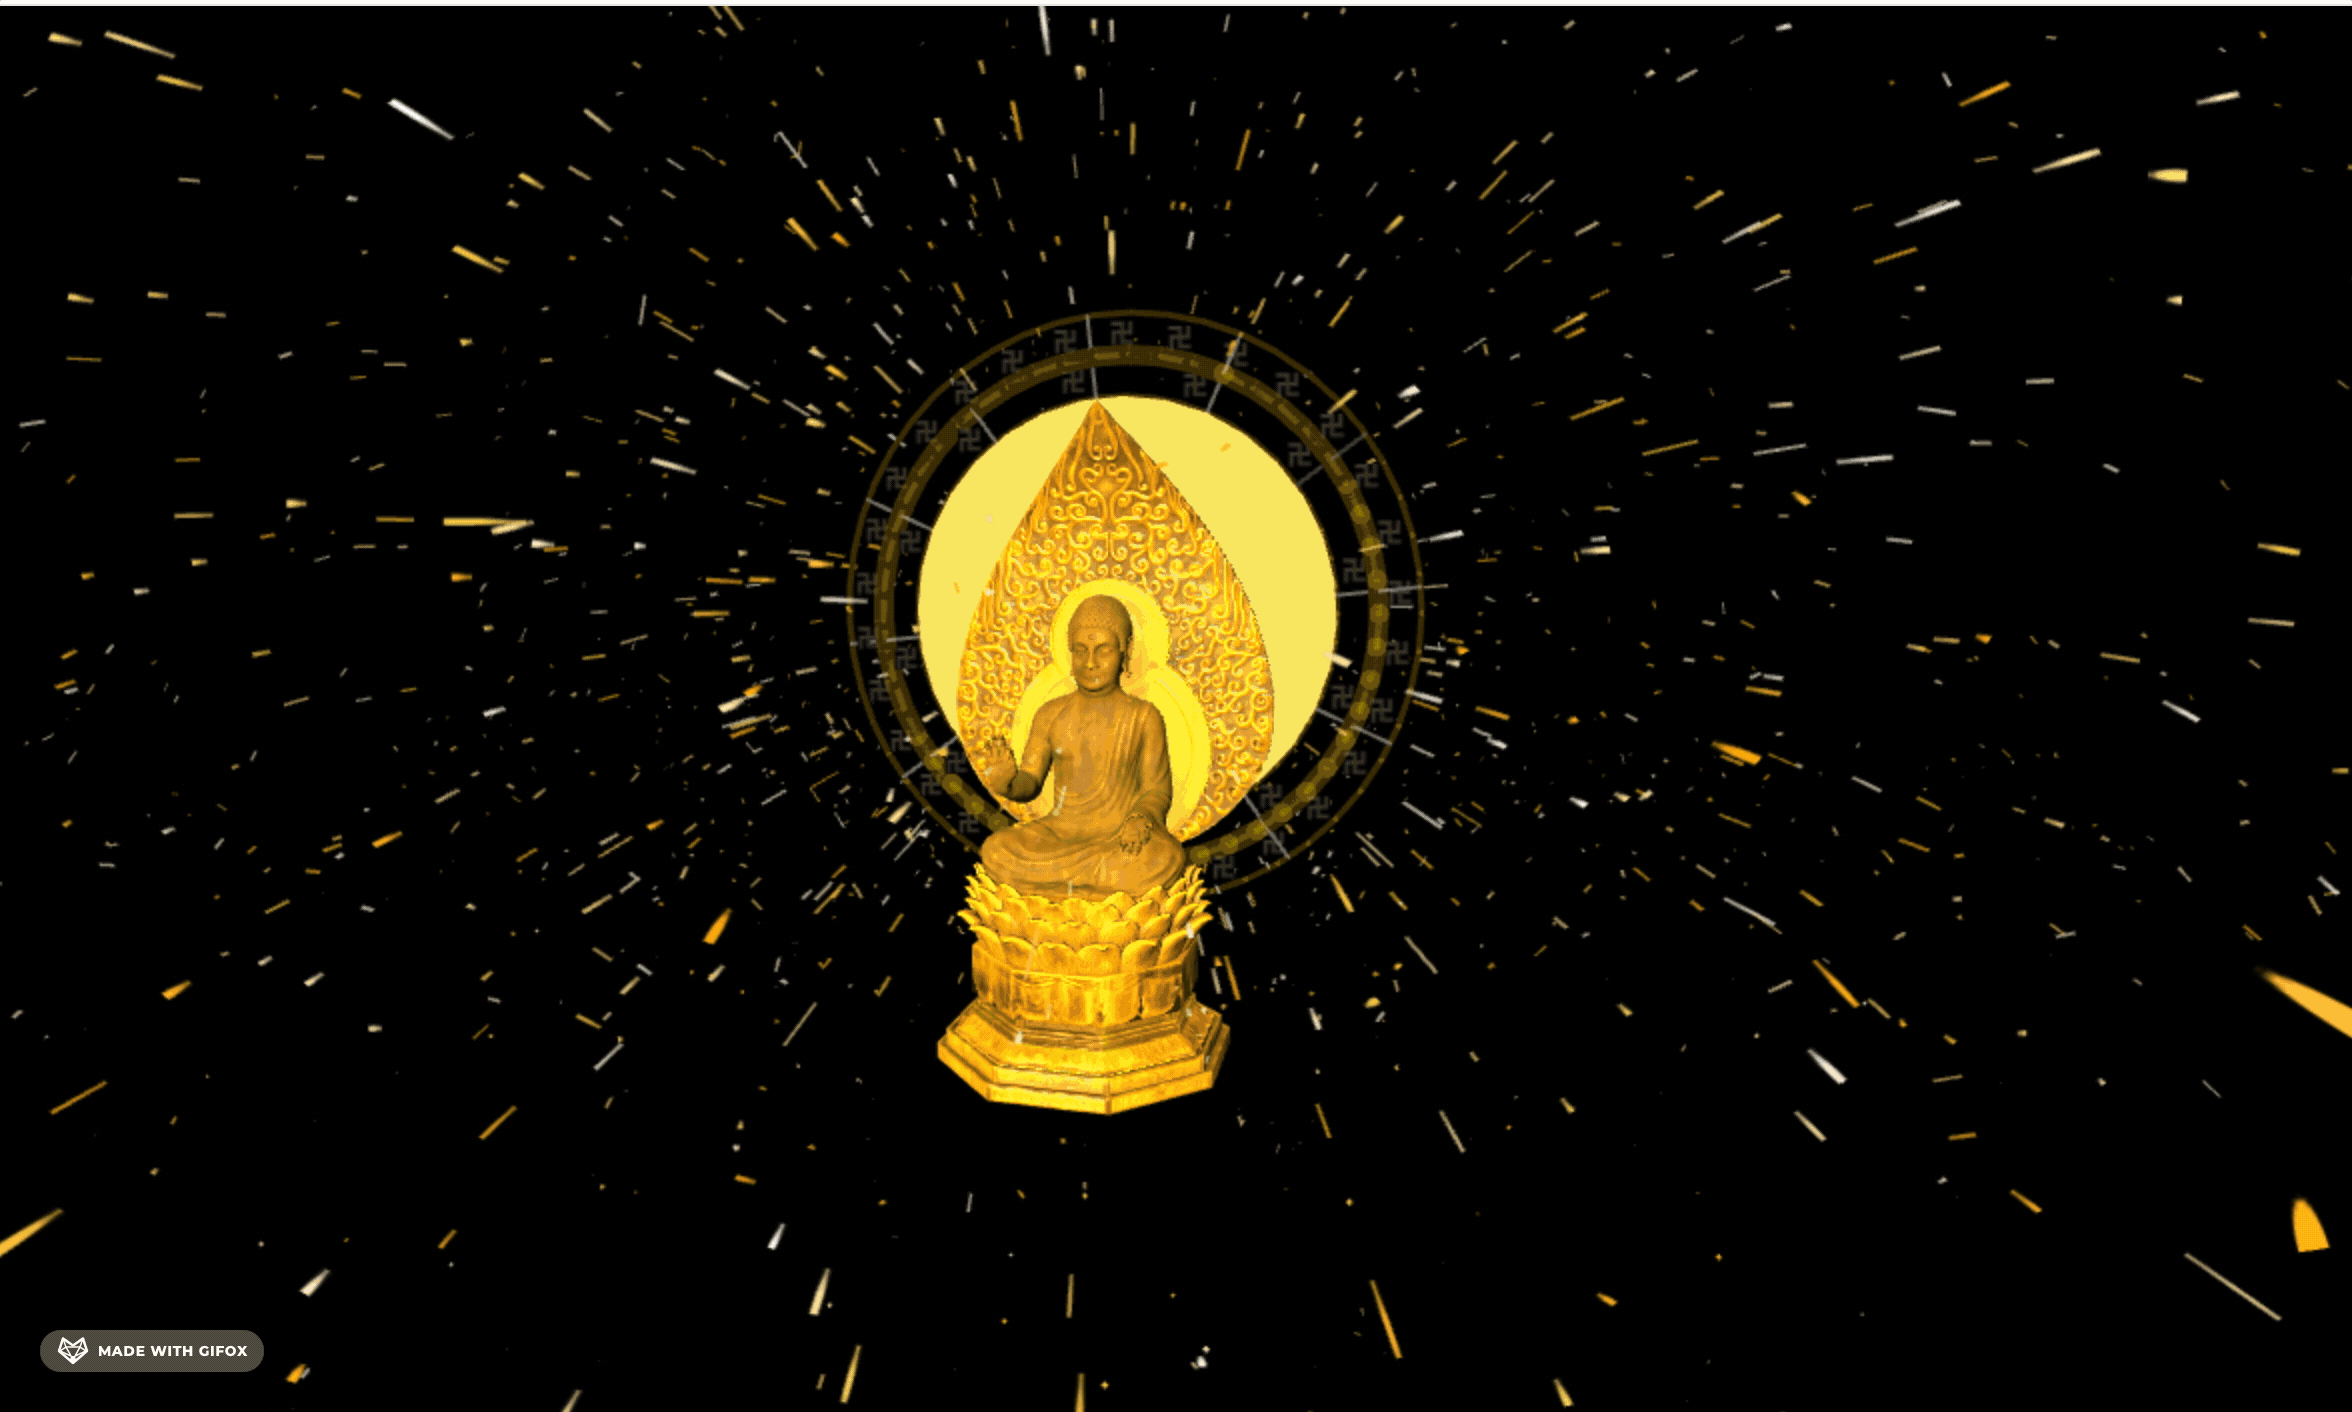
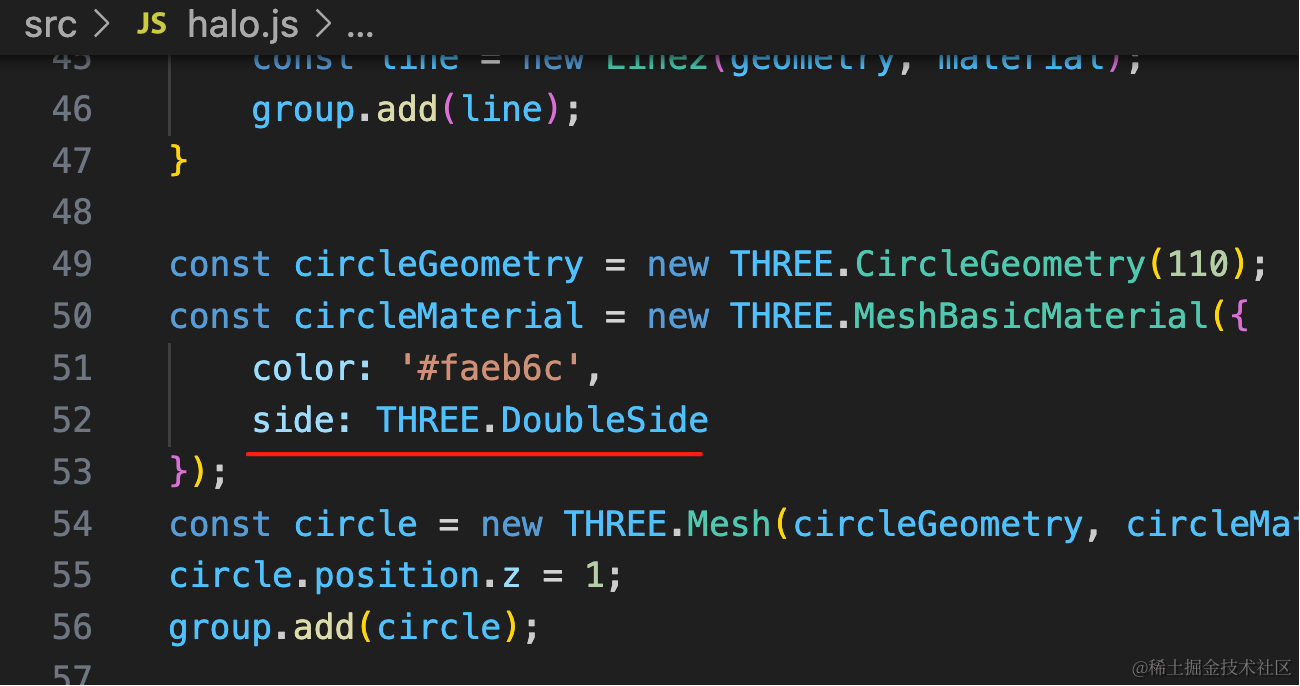
背面看不到圆:
改一下:

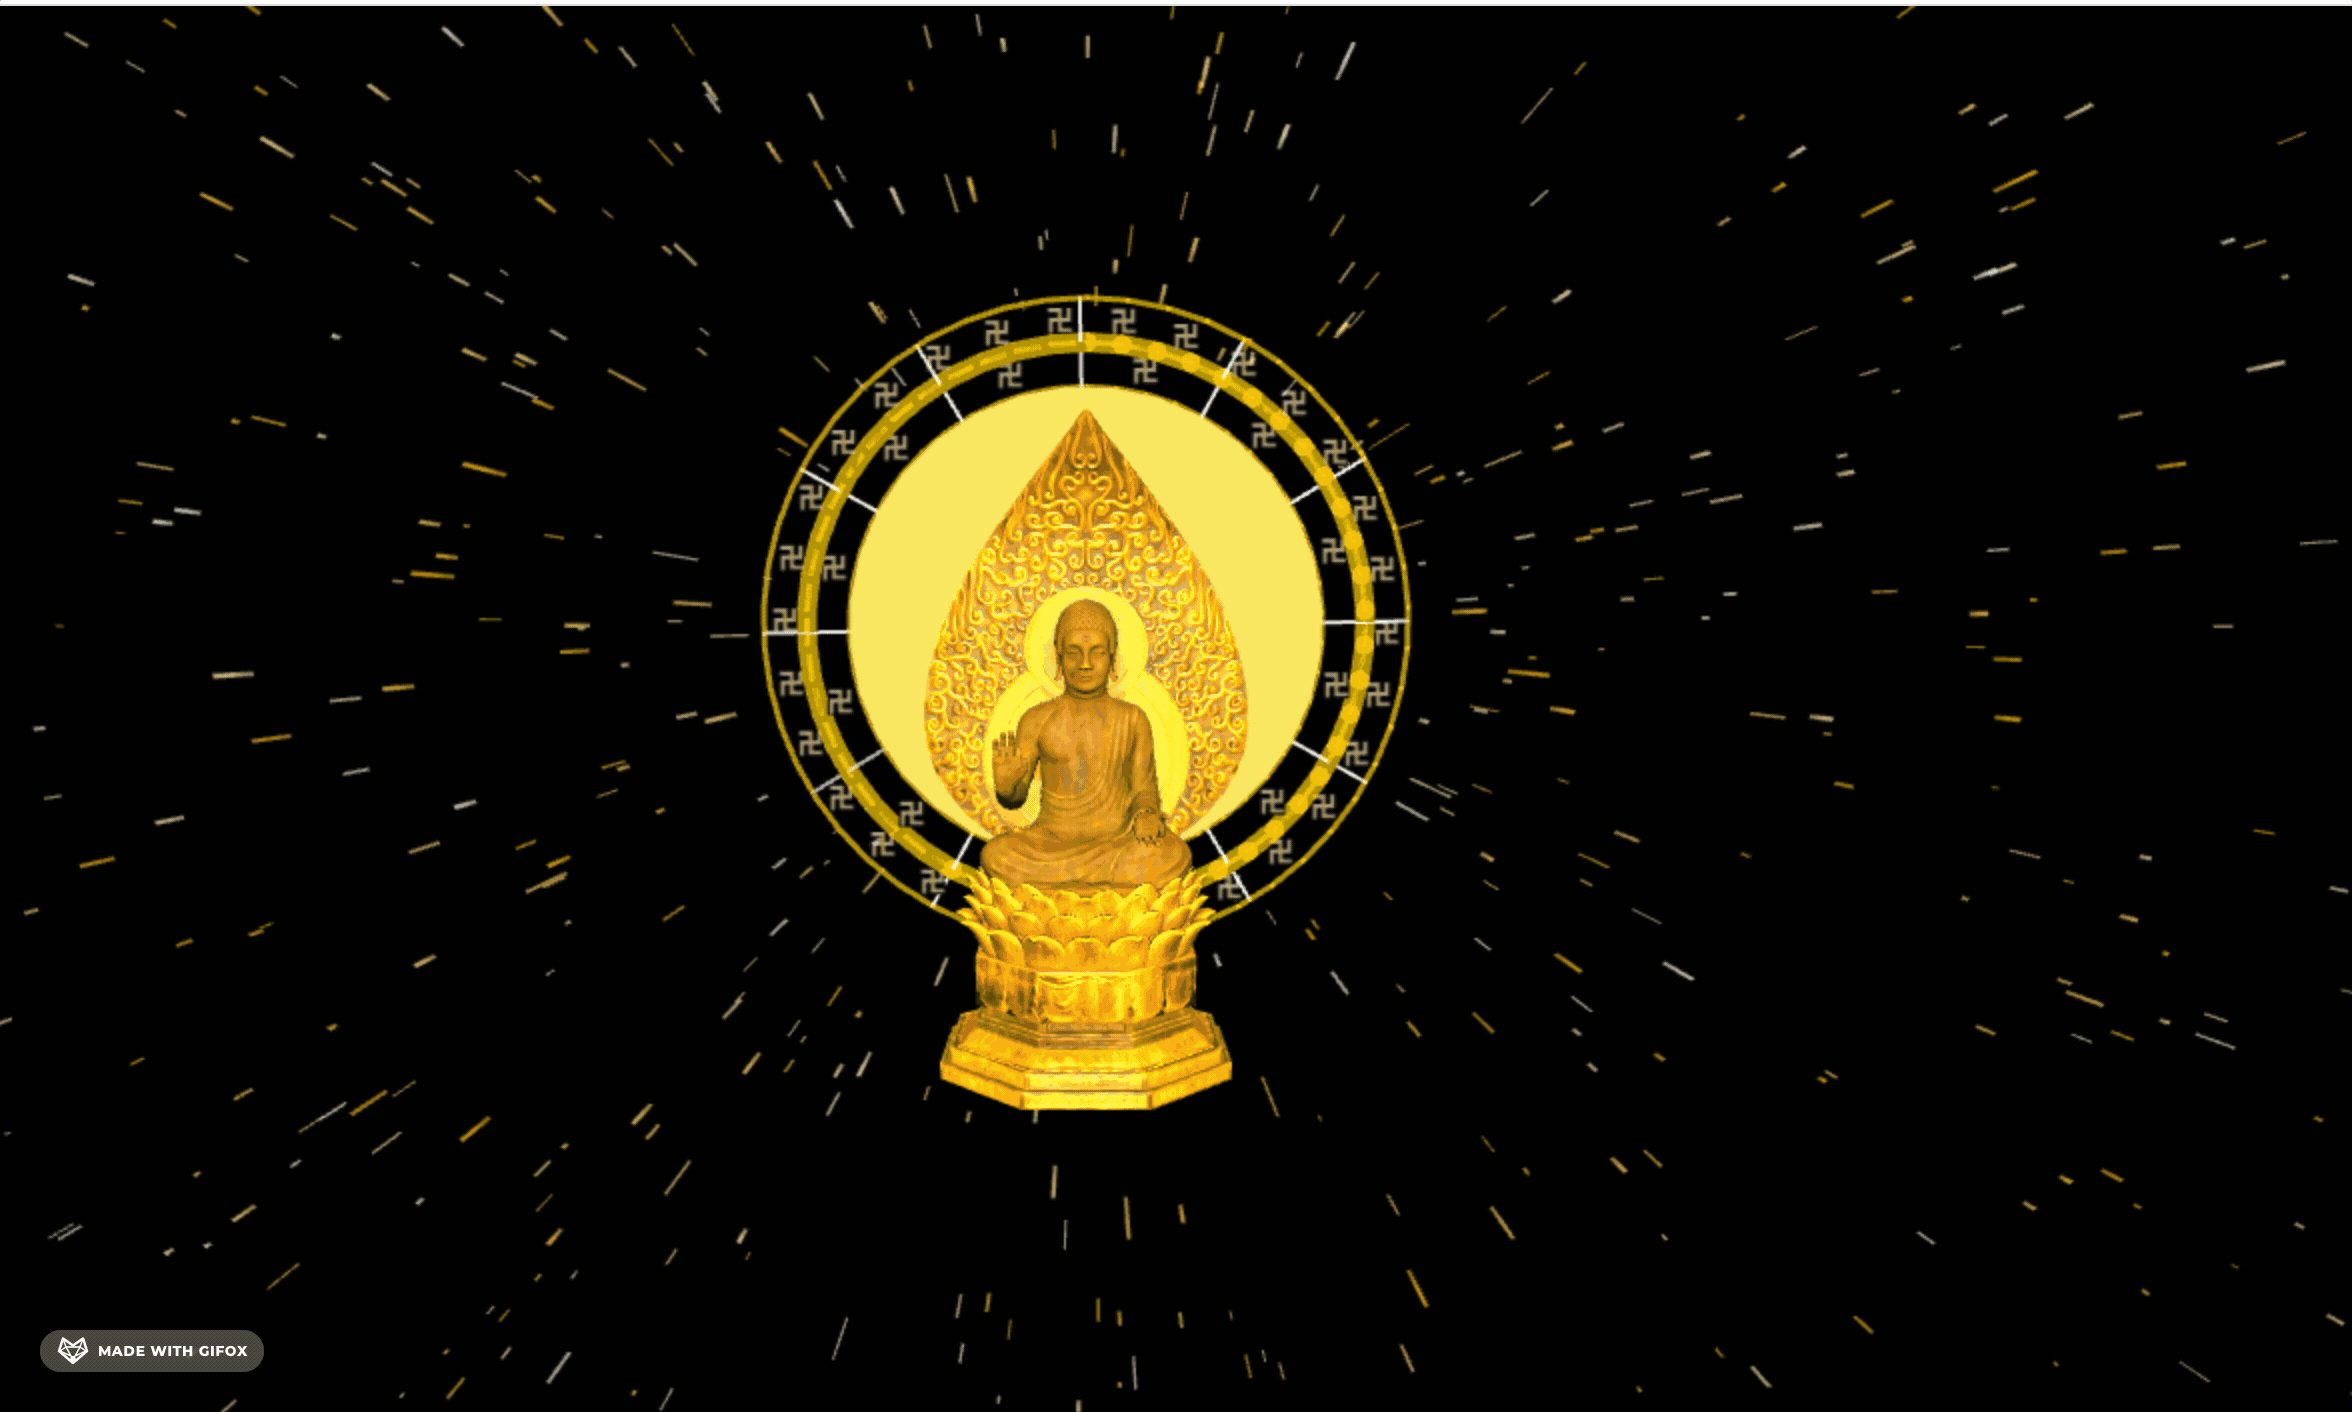
现在能感觉到地面反弹了,但重力还是有点大。
调小点:

重力调小,反弹系数调小。
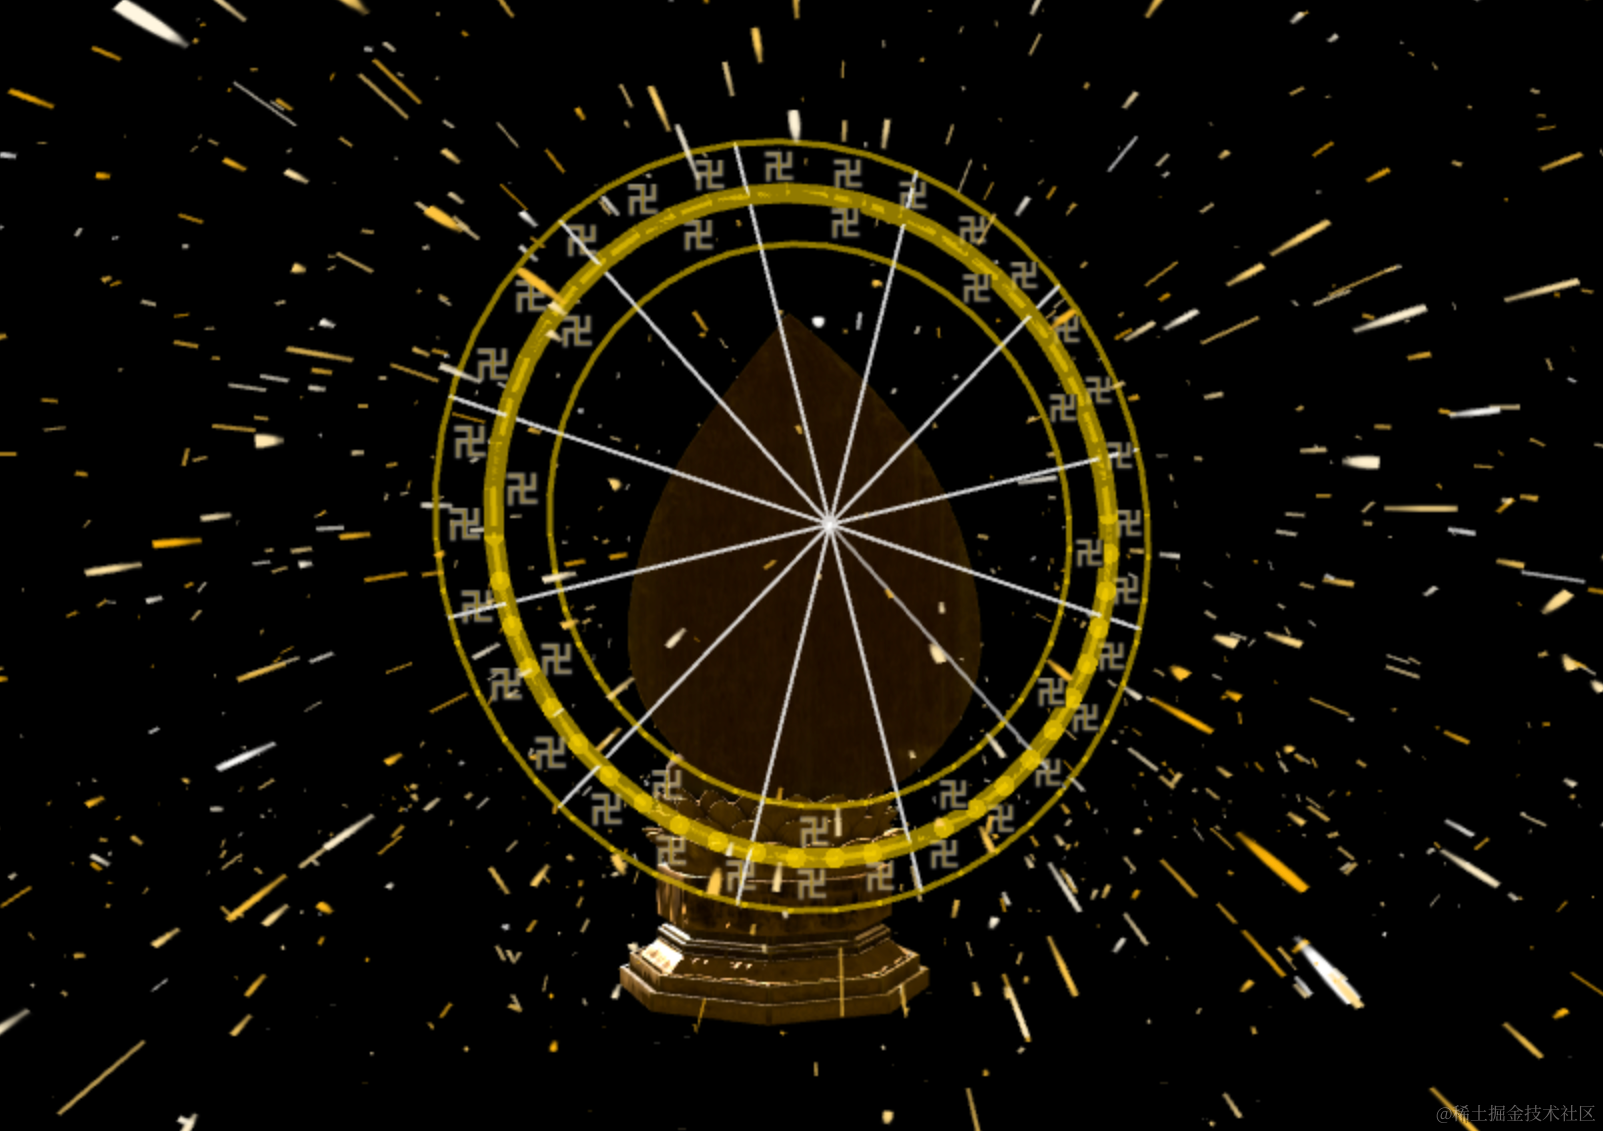
然后把地面画出来。
新建 ground.js
import * as THREE from 'three';
import { Line2, LineGeometry, LineMaterial } from 'three/examples/jsm/Addons.js';
const group = new THREE.Group();
for(let i = 0; i < 5; i++) {
const R = 80 + i * 50 ;
const arc1 = new THREE.EllipseCurve(0, 0, R, R, 0, Math.PI * 2);
const pointsArr1 = arc1.getPoints(50);
const geometry1 = new LineGeometry();
geometry1.setFromPoints(pointsArr1);
const material1 = new LineMaterial({
color: new THREE.Color('gold'),
linewidth: 5 - i
});
const line1 = new Line2(geometry1, material1);
group.add(line1);
}
group.rotateX(-Math.PI / 2);
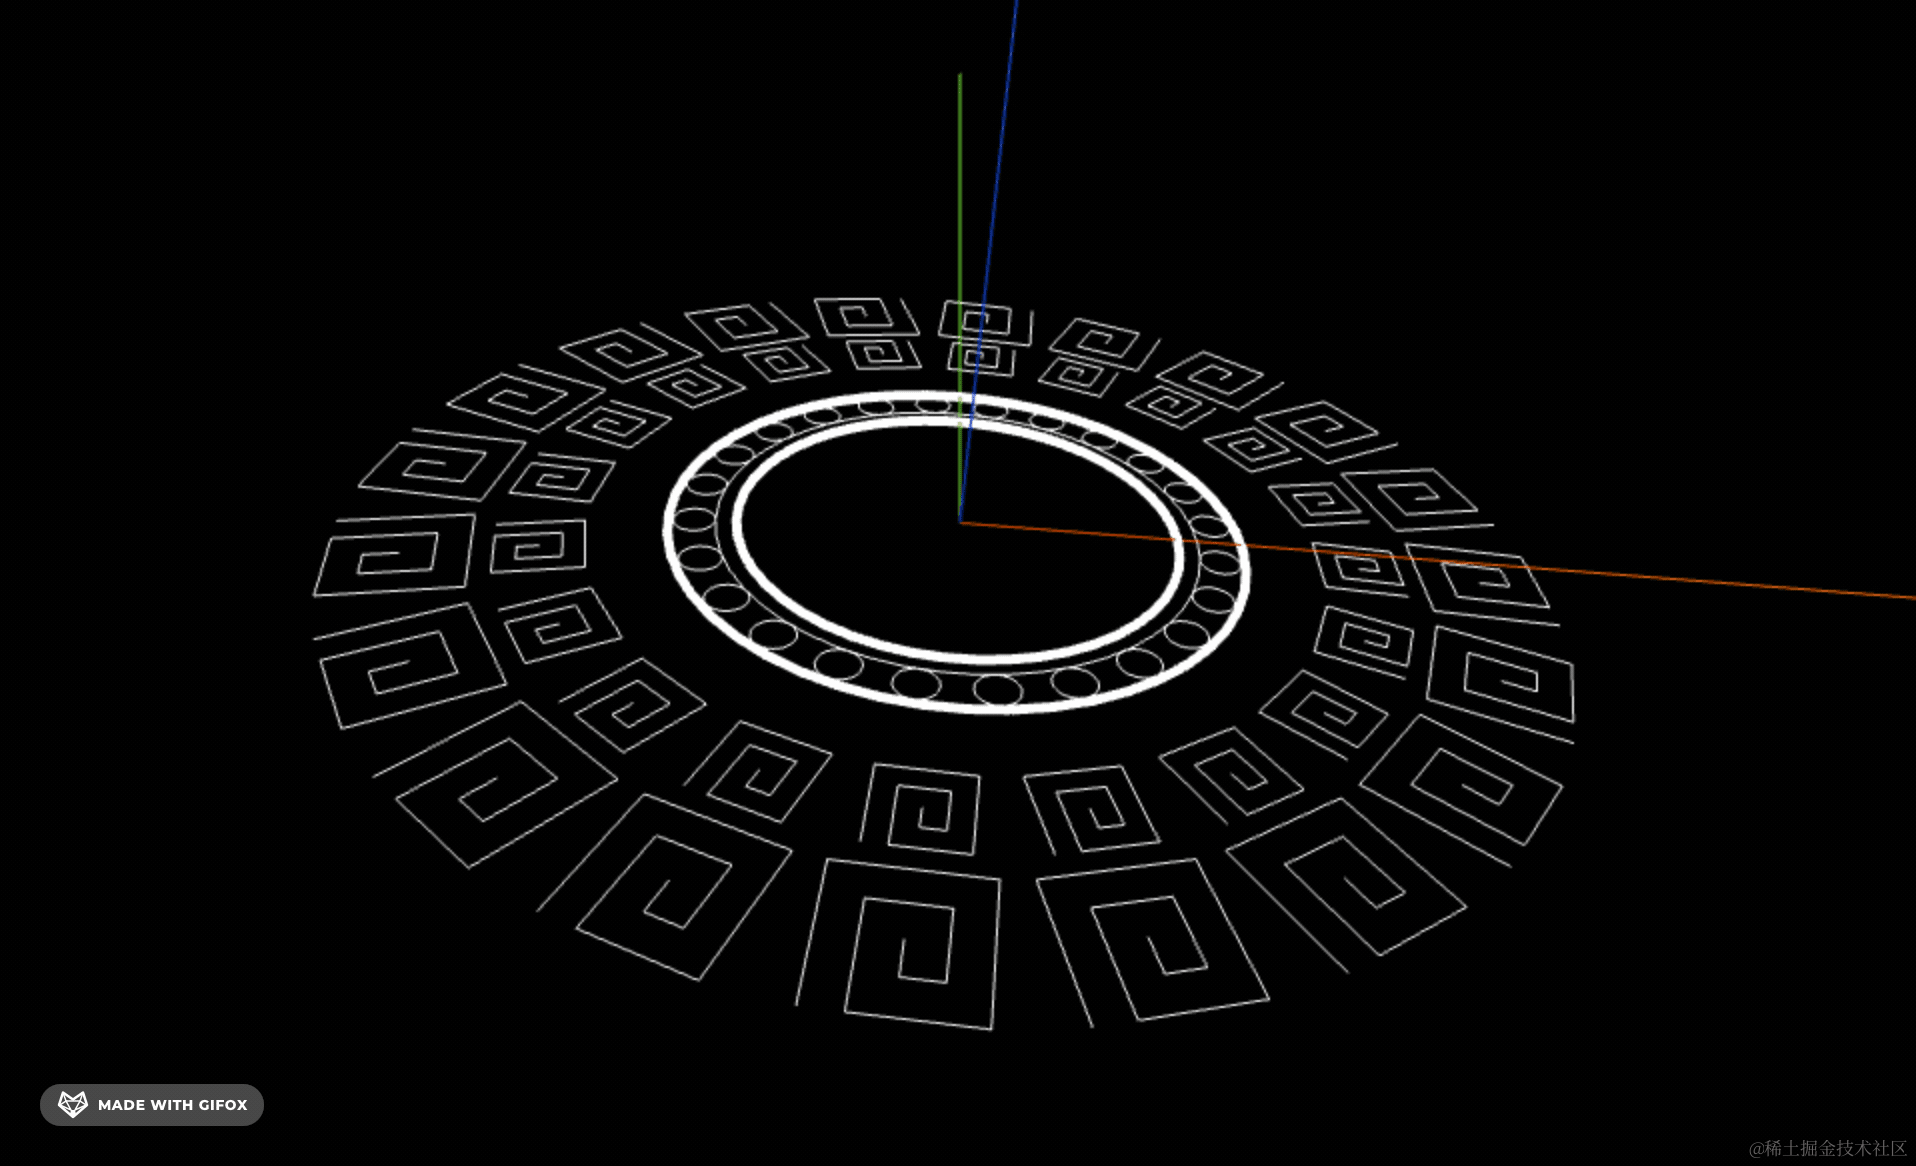
export default group;先画 5 个圆环,从粗到细。
在每一圈圆环内加上 卍
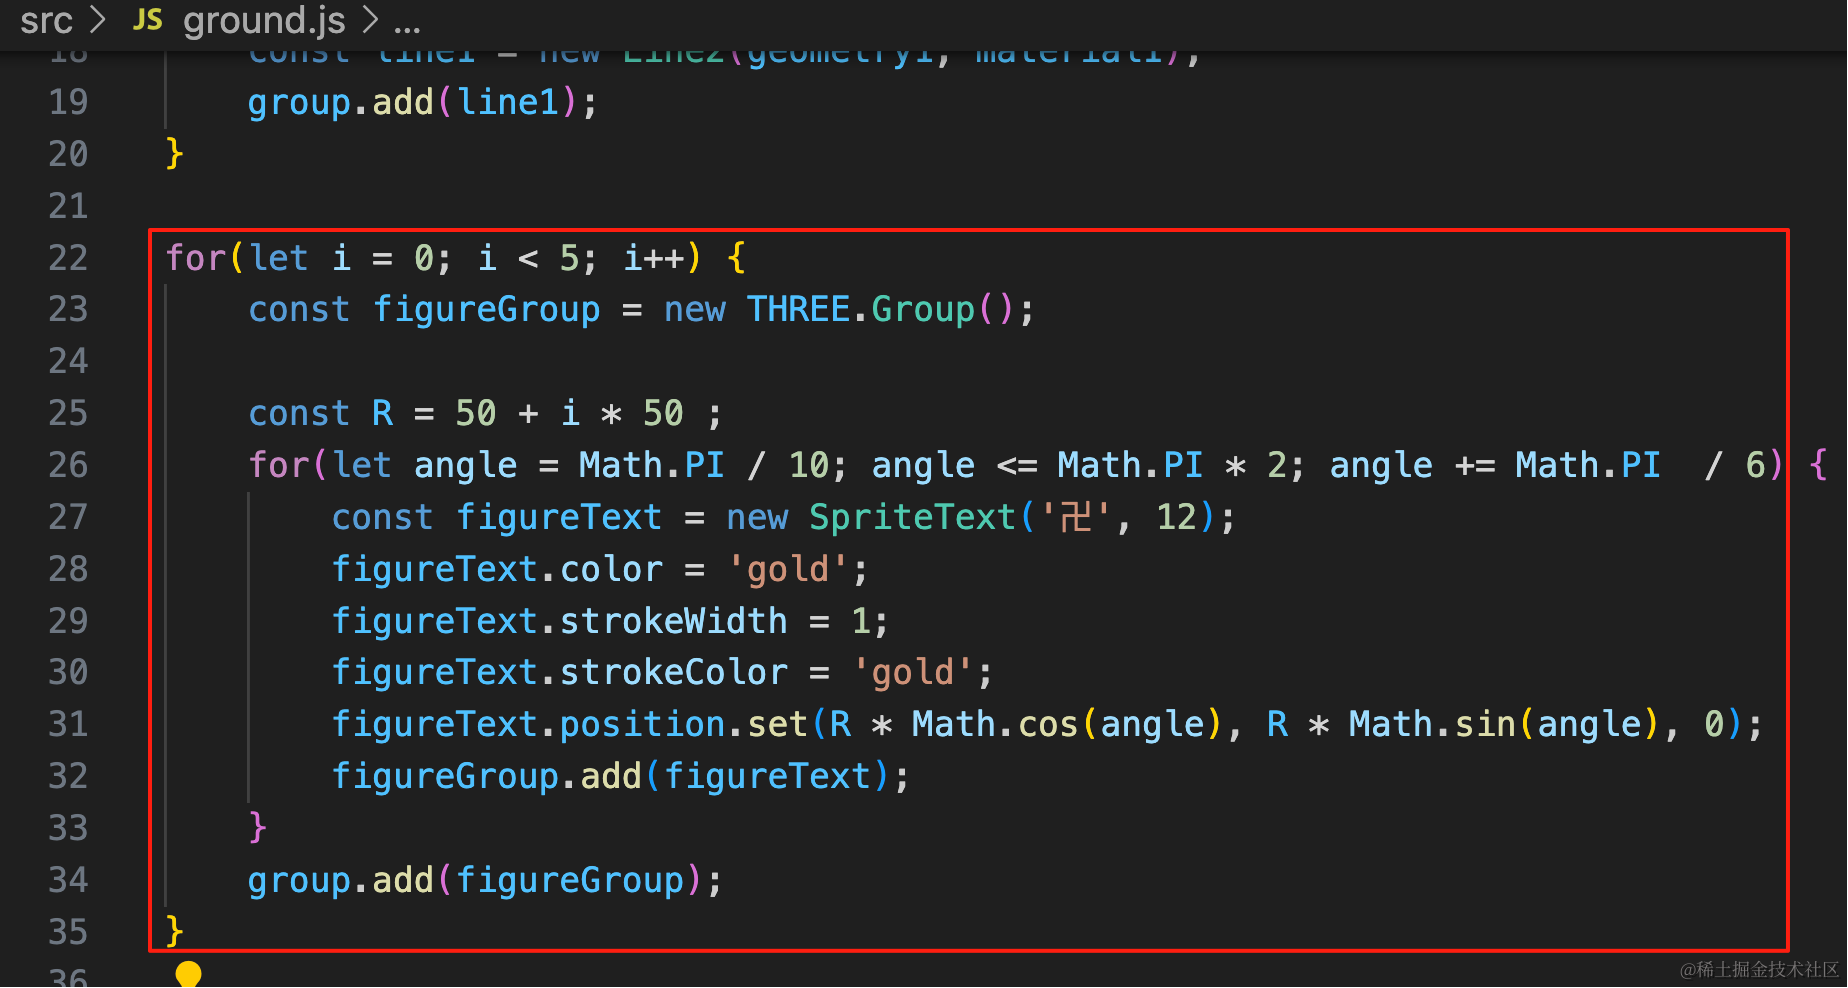
for(let i = 0; i < 5; i++) {
    const figureGroup = new THREE.Group();

    const R = 50 + i * 50 ;
    for(let angle = Math.PI / 10; angle <= Math.PI * 2; angle += Math.PI  / 6) {
        const figureText = new SpriteText('卍', 12);
        figureText.color = 'gold';
        figureText.strokeWidth = 1;
        figureText.strokeColor = 'gold';
        figureText.position.set(R * Math.cos(angle), R * Math.sin(angle), 0);
        figureGroup.add(figureText);
    }
    group.add(figureGroup);
}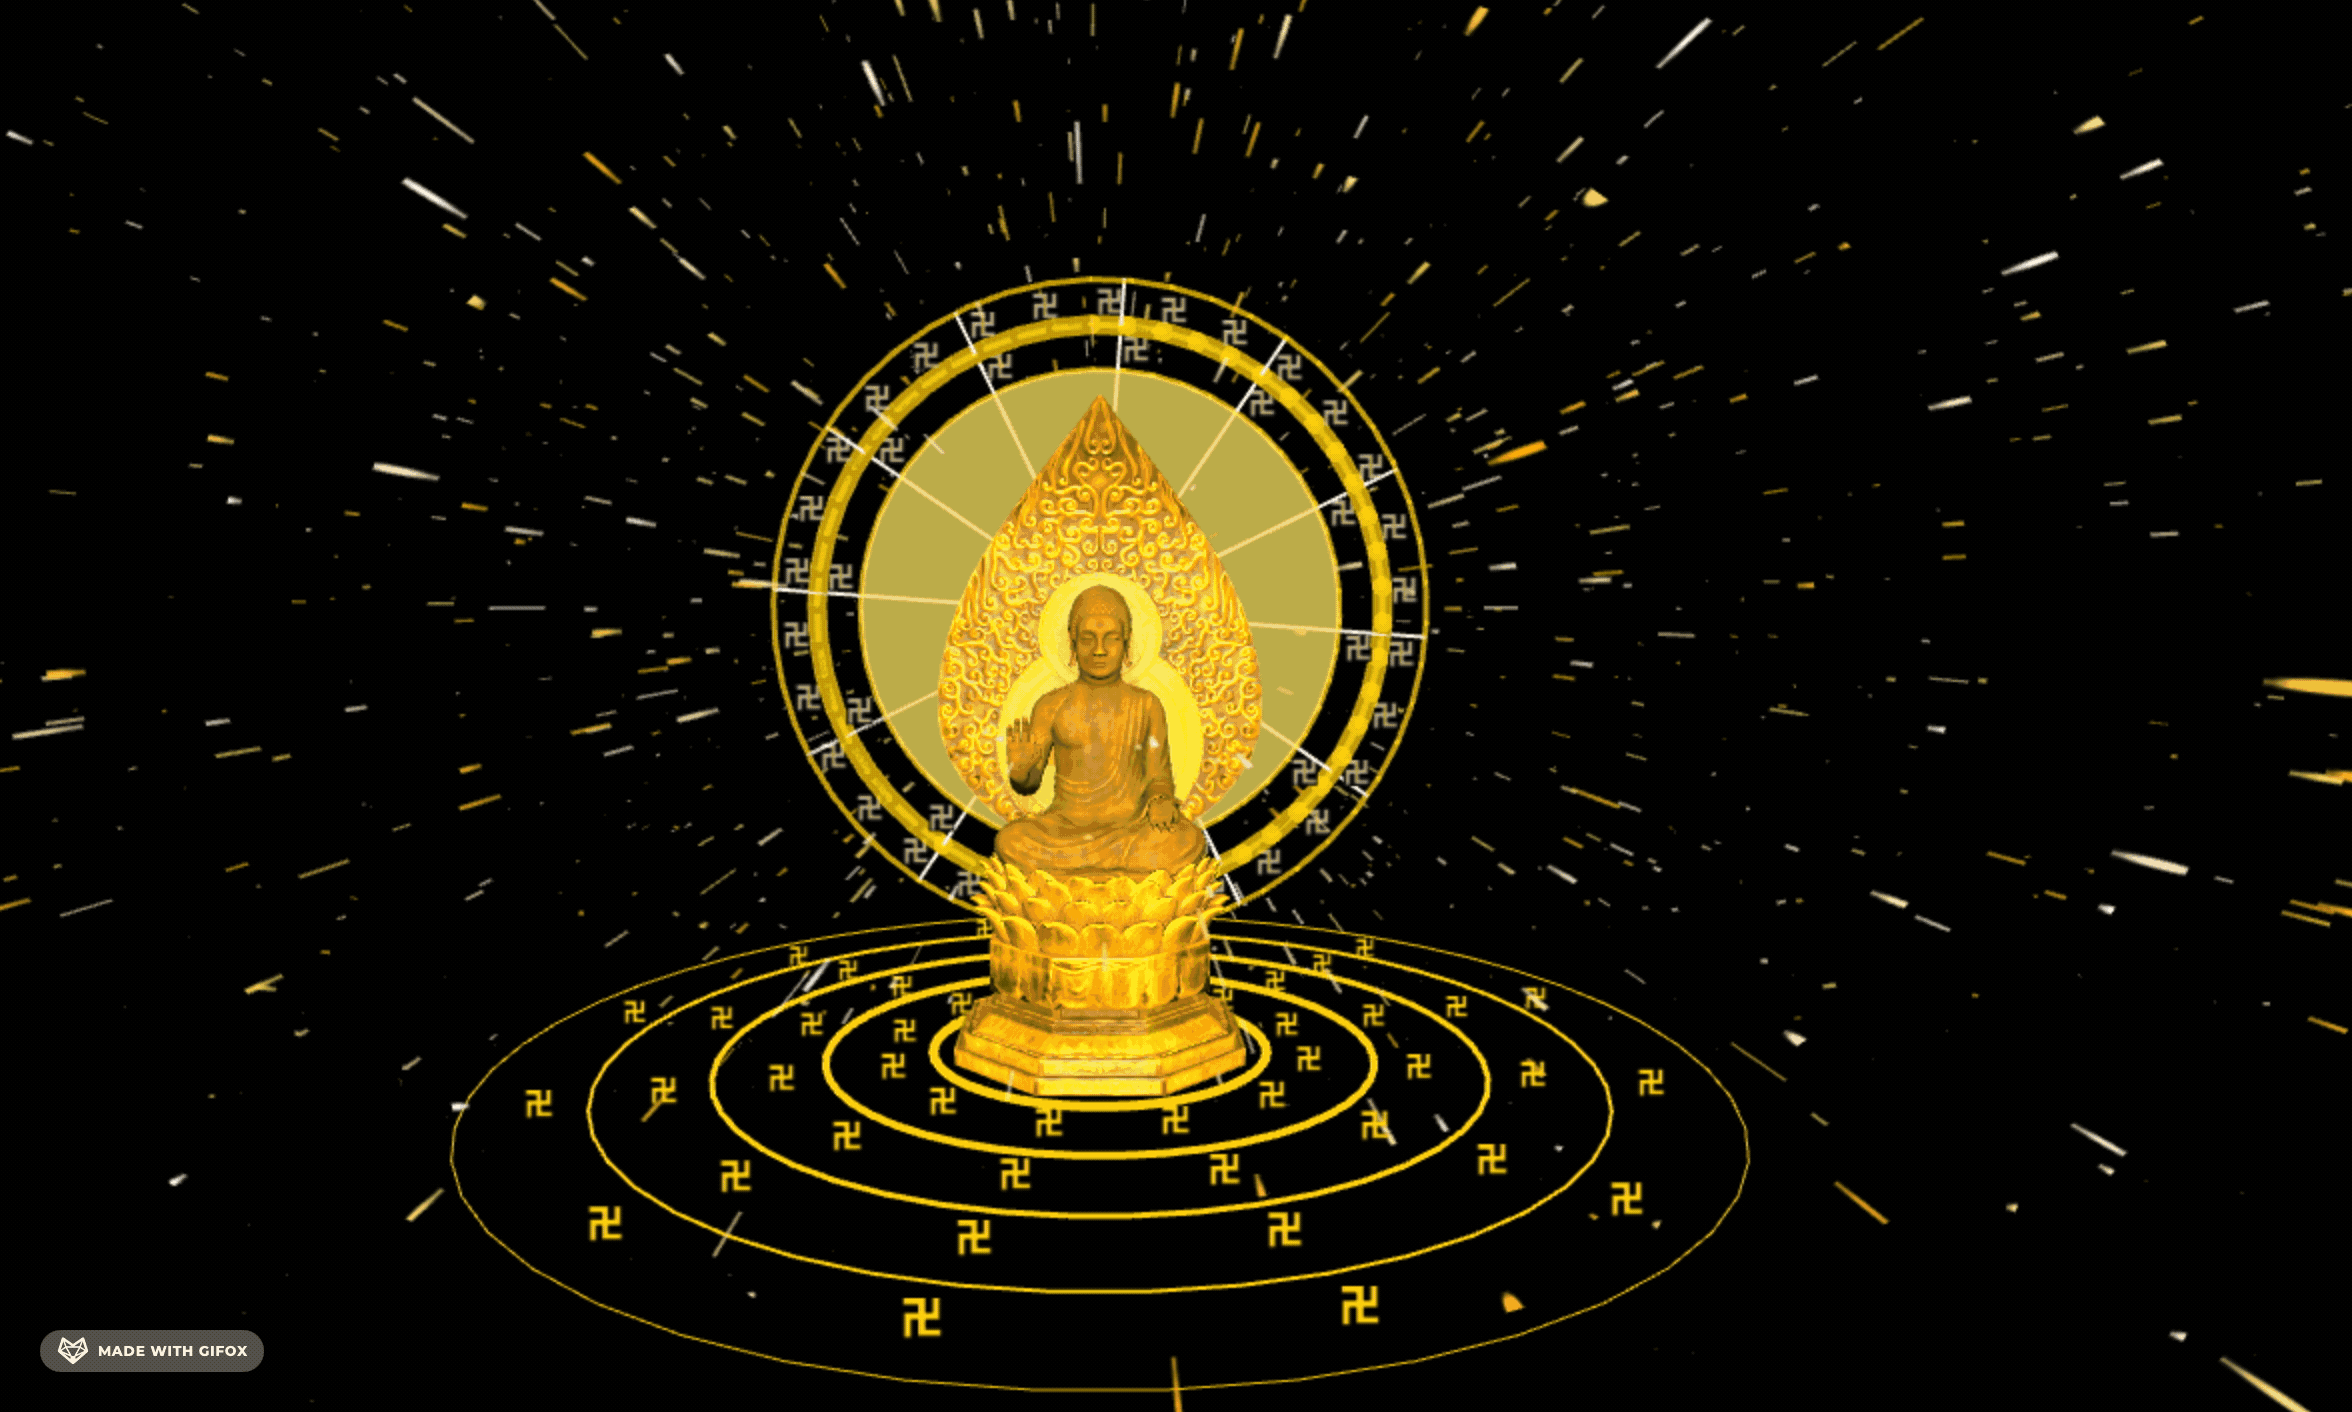
让它转起来:
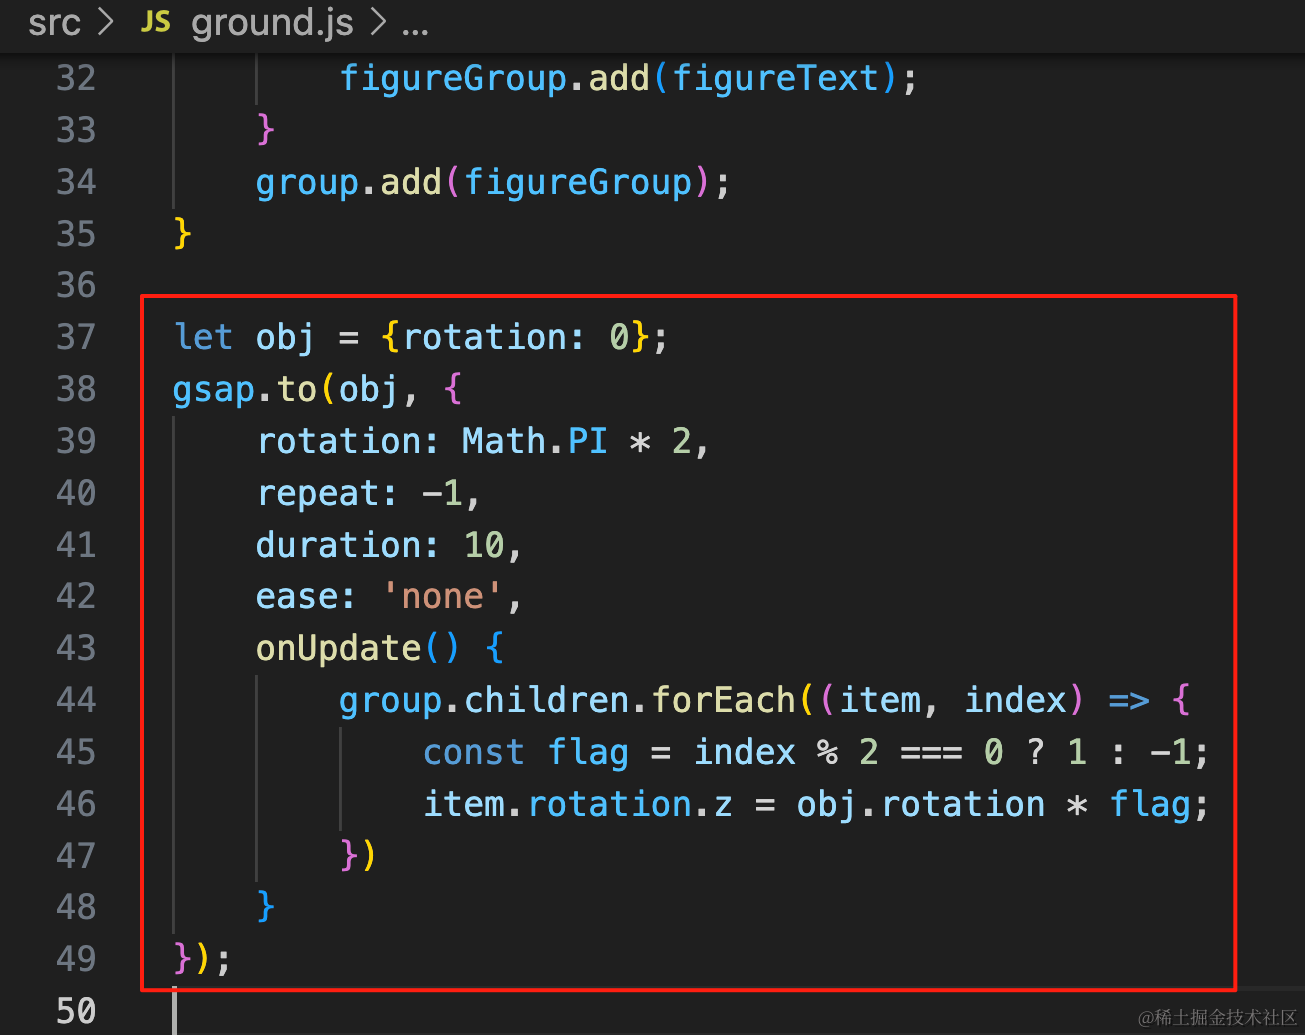
let obj = {rotation: 0};
gsap.to(obj, {
    rotation: Math.PI * 2,
    repeat: -1,
    duration: 10,
    ease: 'none',
    onUpdate() {
        group.children.forEach((item, index) => {
            const flag = index % 2 === 0 ? 1 : -1;
            item.rotation.z = obj.rotation * flag;
        })
    }
});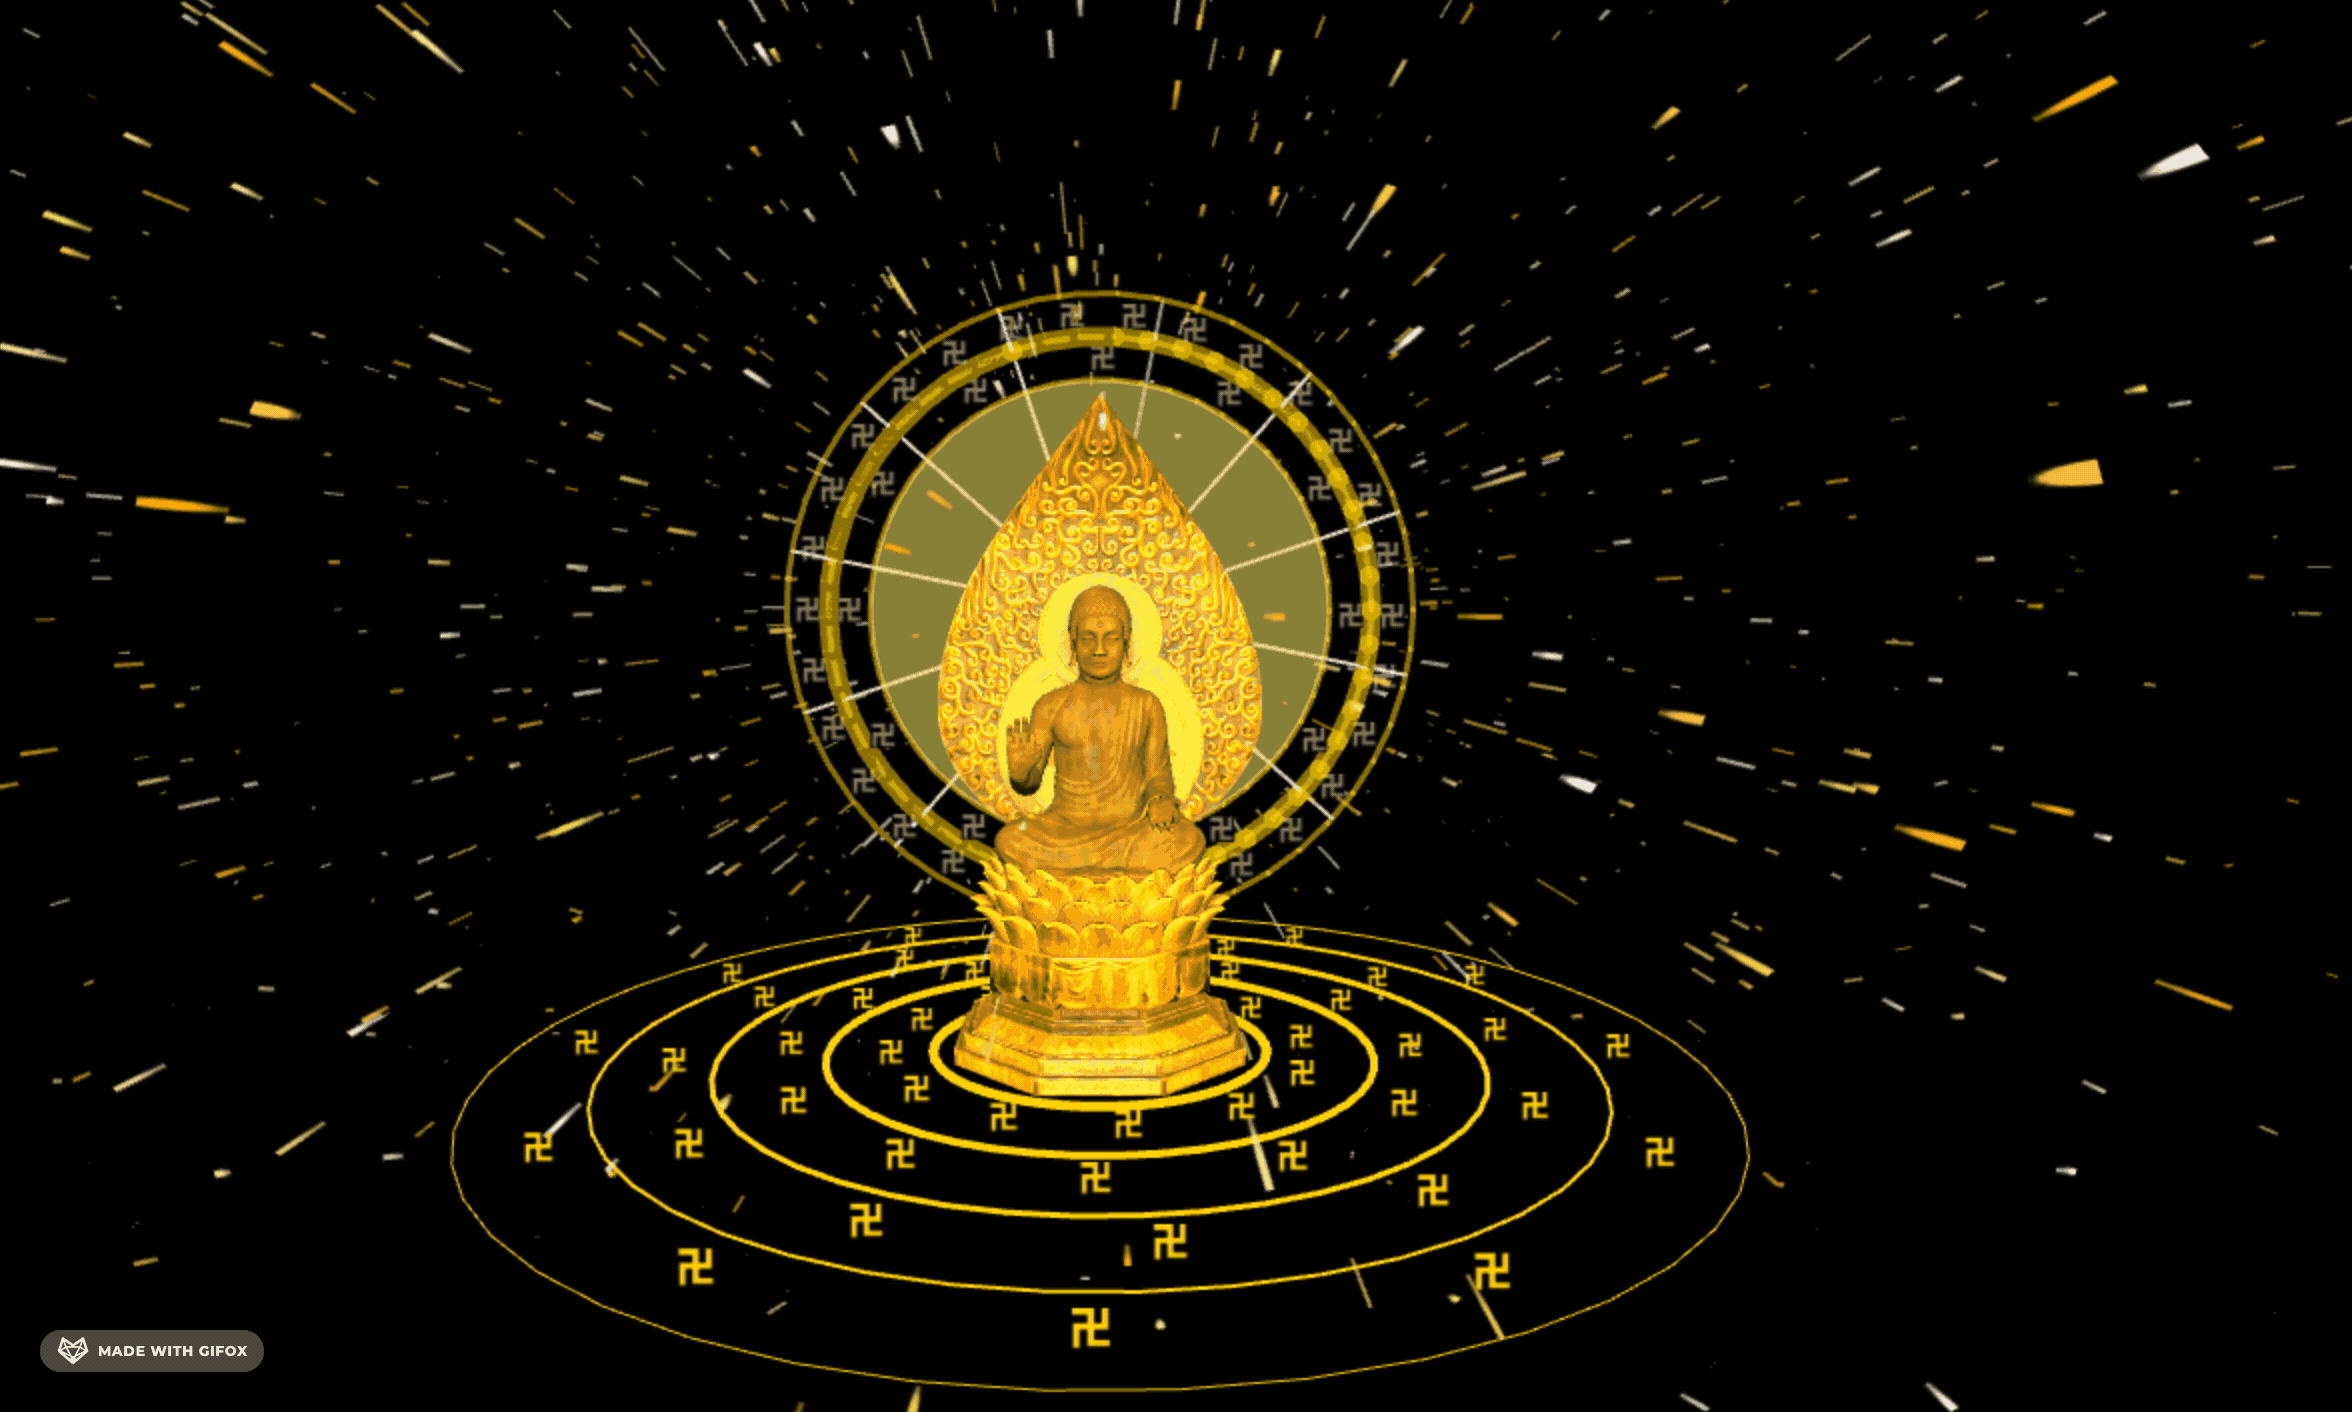
外面再加上一圈云雷纹理的那种花纹:

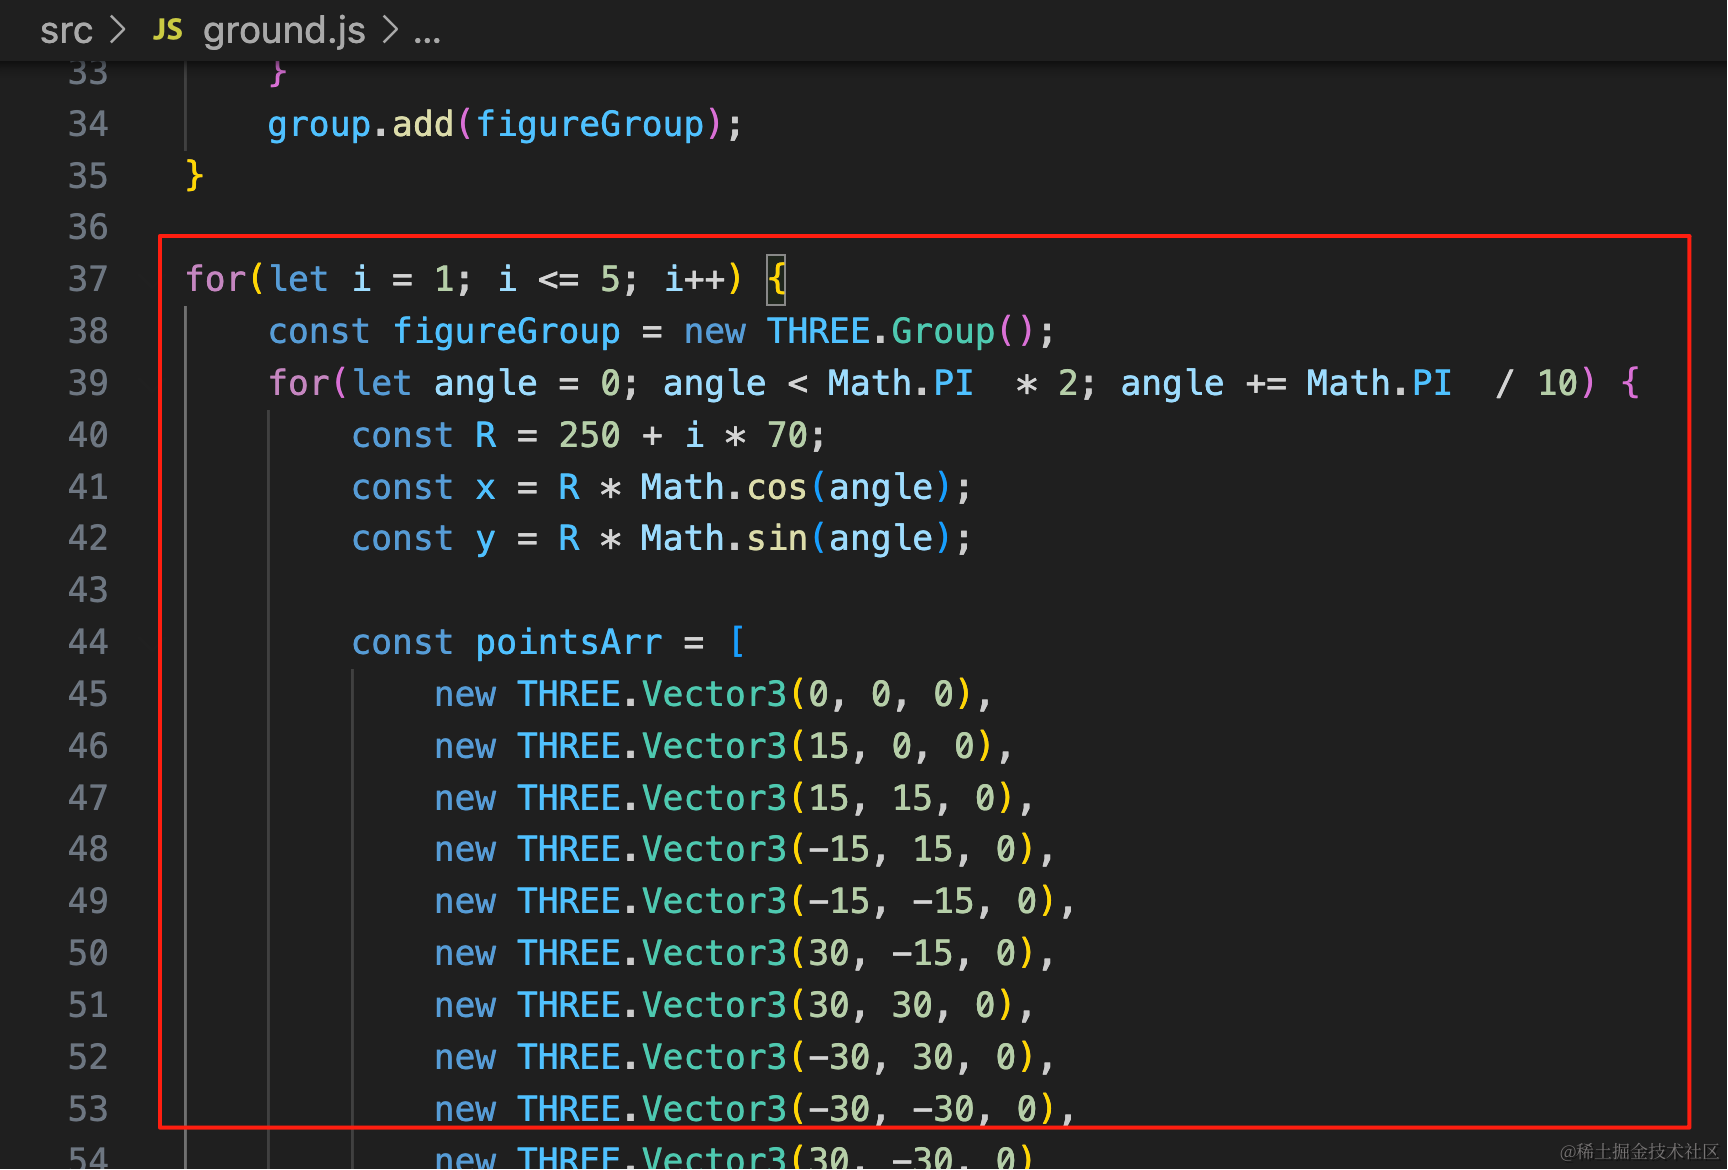
for(let i = 1; i <= 5; i++) {
    const figureGroup = new THREE.Group();
    for(let angle = 0; angle < Math.PI  * 2; angle += Math.PI  / 10) {
        const R = 250 + i * 70;
        const x = R * Math.cos(angle);
        const y = R * Math.sin(angle);

        const pointsArr = [
            new THREE.Vector3(0, 0, 0),
            new THREE.Vector3(15, 0, 0),
            new THREE.Vector3(15, 15, 0),
            new THREE.Vector3(-15, 15, 0),
            new THREE.Vector3(-15, -15, 0),
            new THREE.Vector3(30, -15, 0),
            new THREE.Vector3(30, 30, 0),
            new THREE.Vector3(-30, 30, 0),
            new THREE.Vector3(-30, -30, 0),
            new THREE.Vector3(30, -30, 0)
        ];

        const geometry = new THREE.BufferGeometry();
        geometry.setFromPoints(pointsArr);
        const material = new THREE.LineBasicMaterial({
            color: new THREE.Color('gold')
        });
        const line = new THREE.Line(geometry, material);

        line.position.set(x, y, 0);
        line.rotation.z = angle;

        figureGroup.add(line);
    }
    group.add(figureGroup);
}
五圈,每一圈的半径不同,具体画法就是 11 个点连起来。
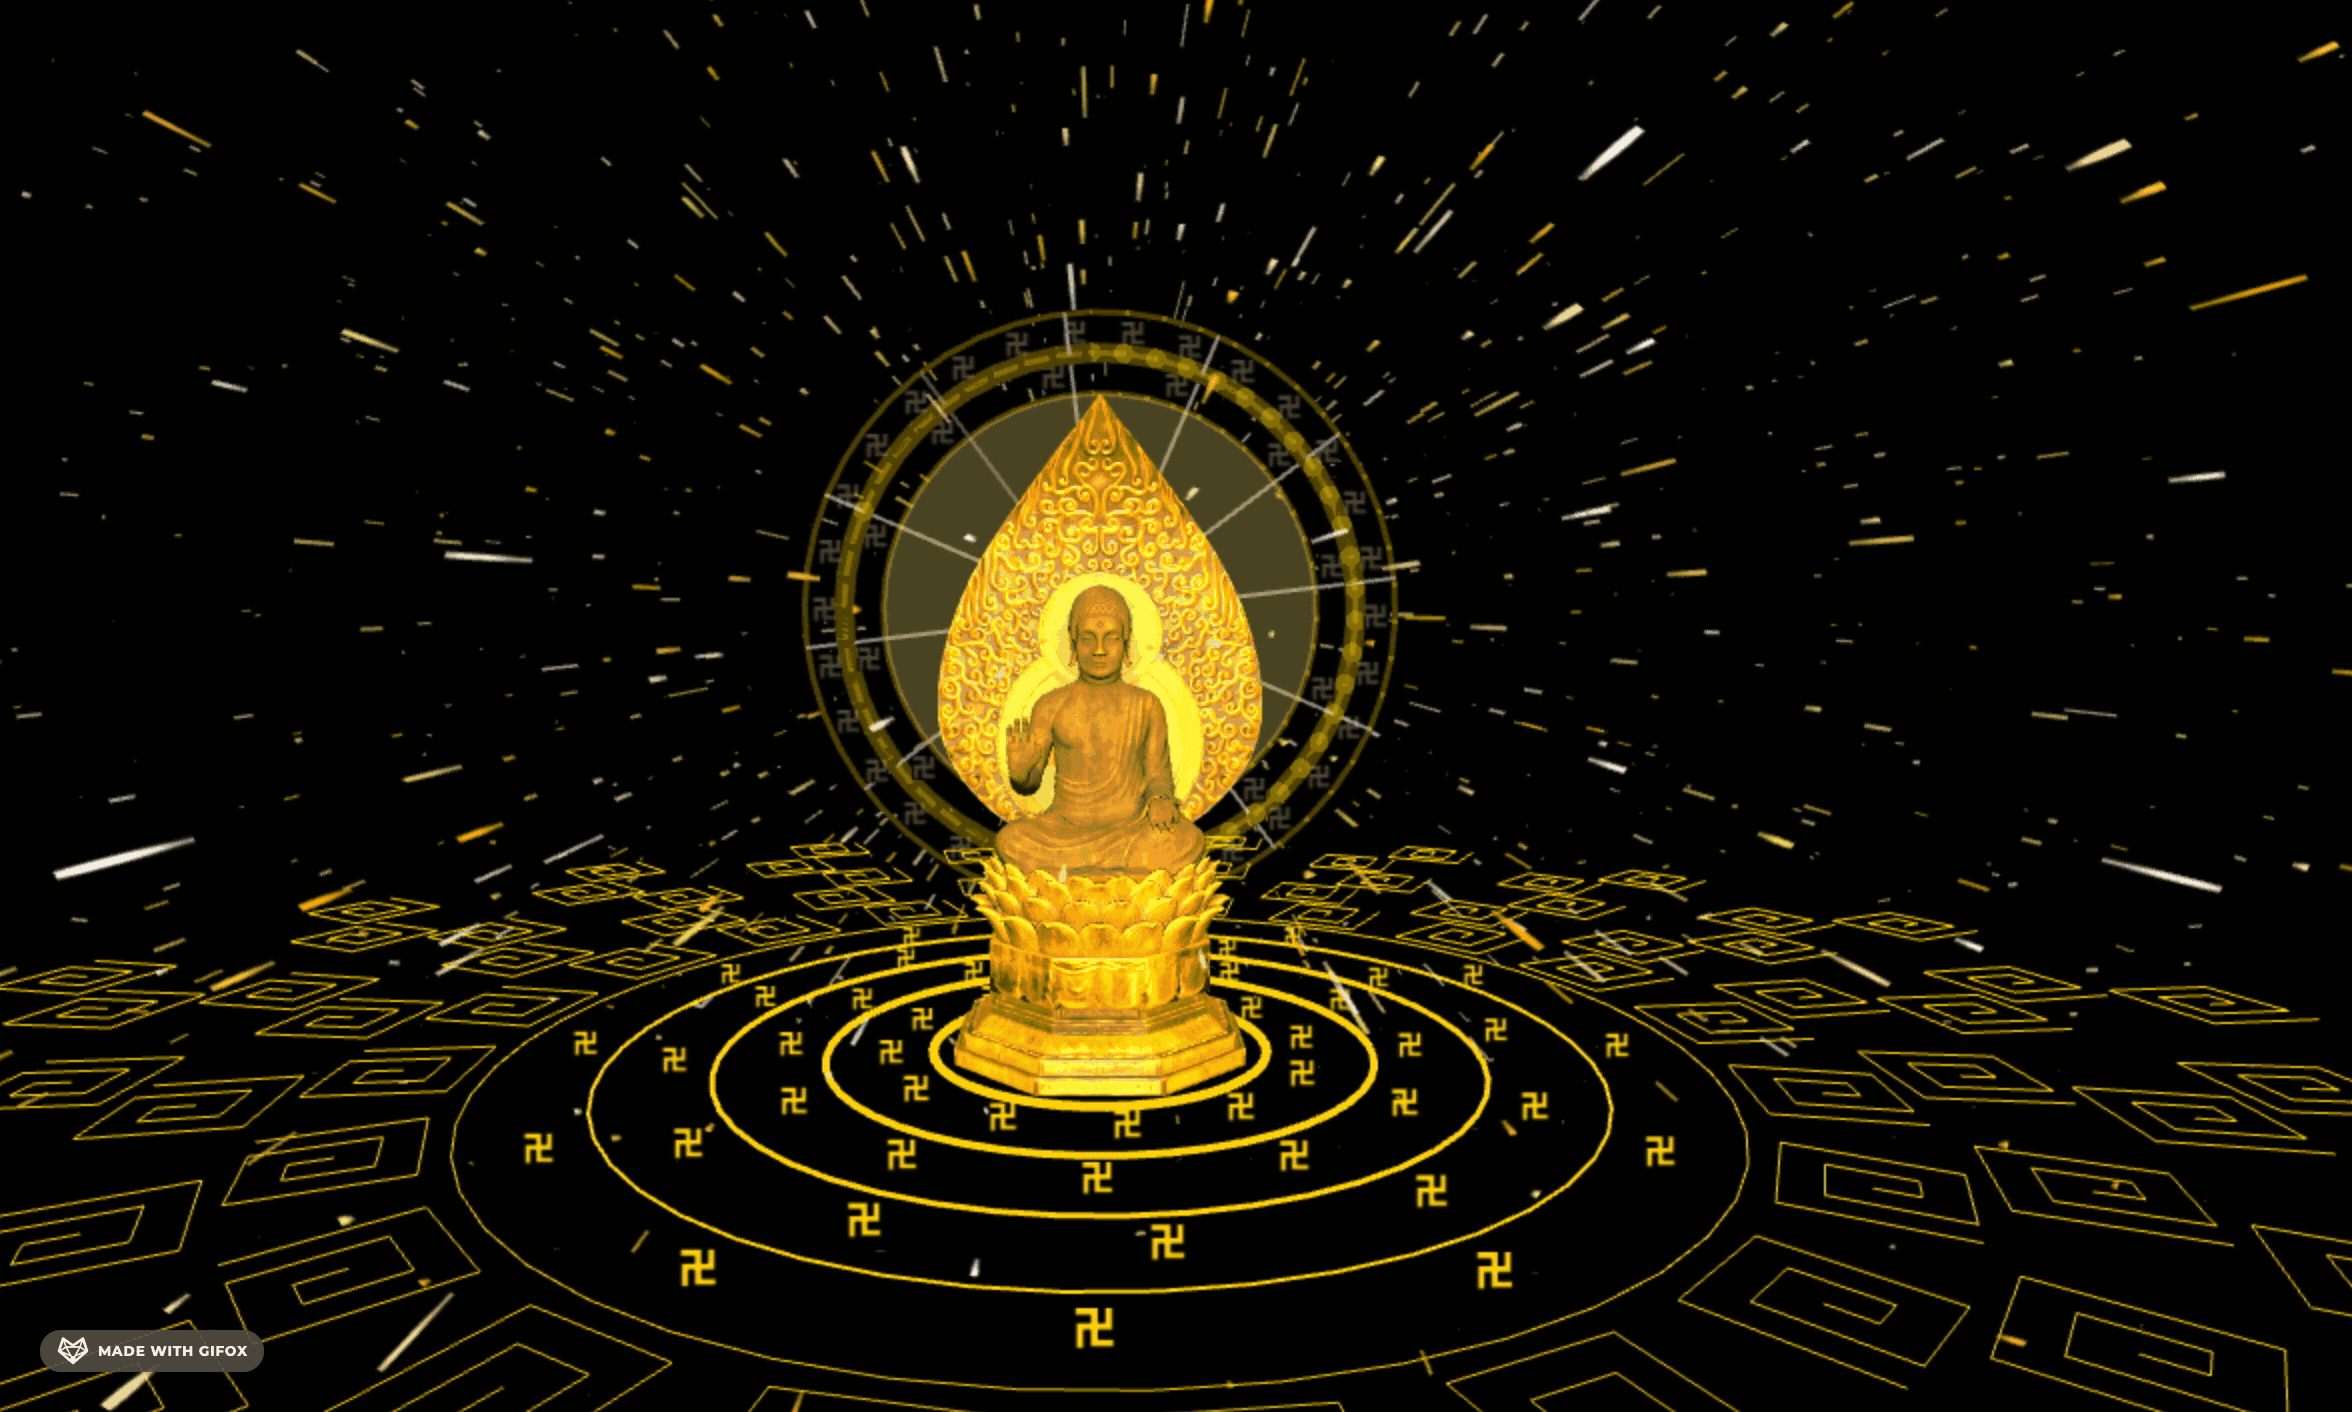
外层应该更密一些:

我们画 3 圈,每一圈画的角度更密一些:
angle += Math.PI / (10 + i)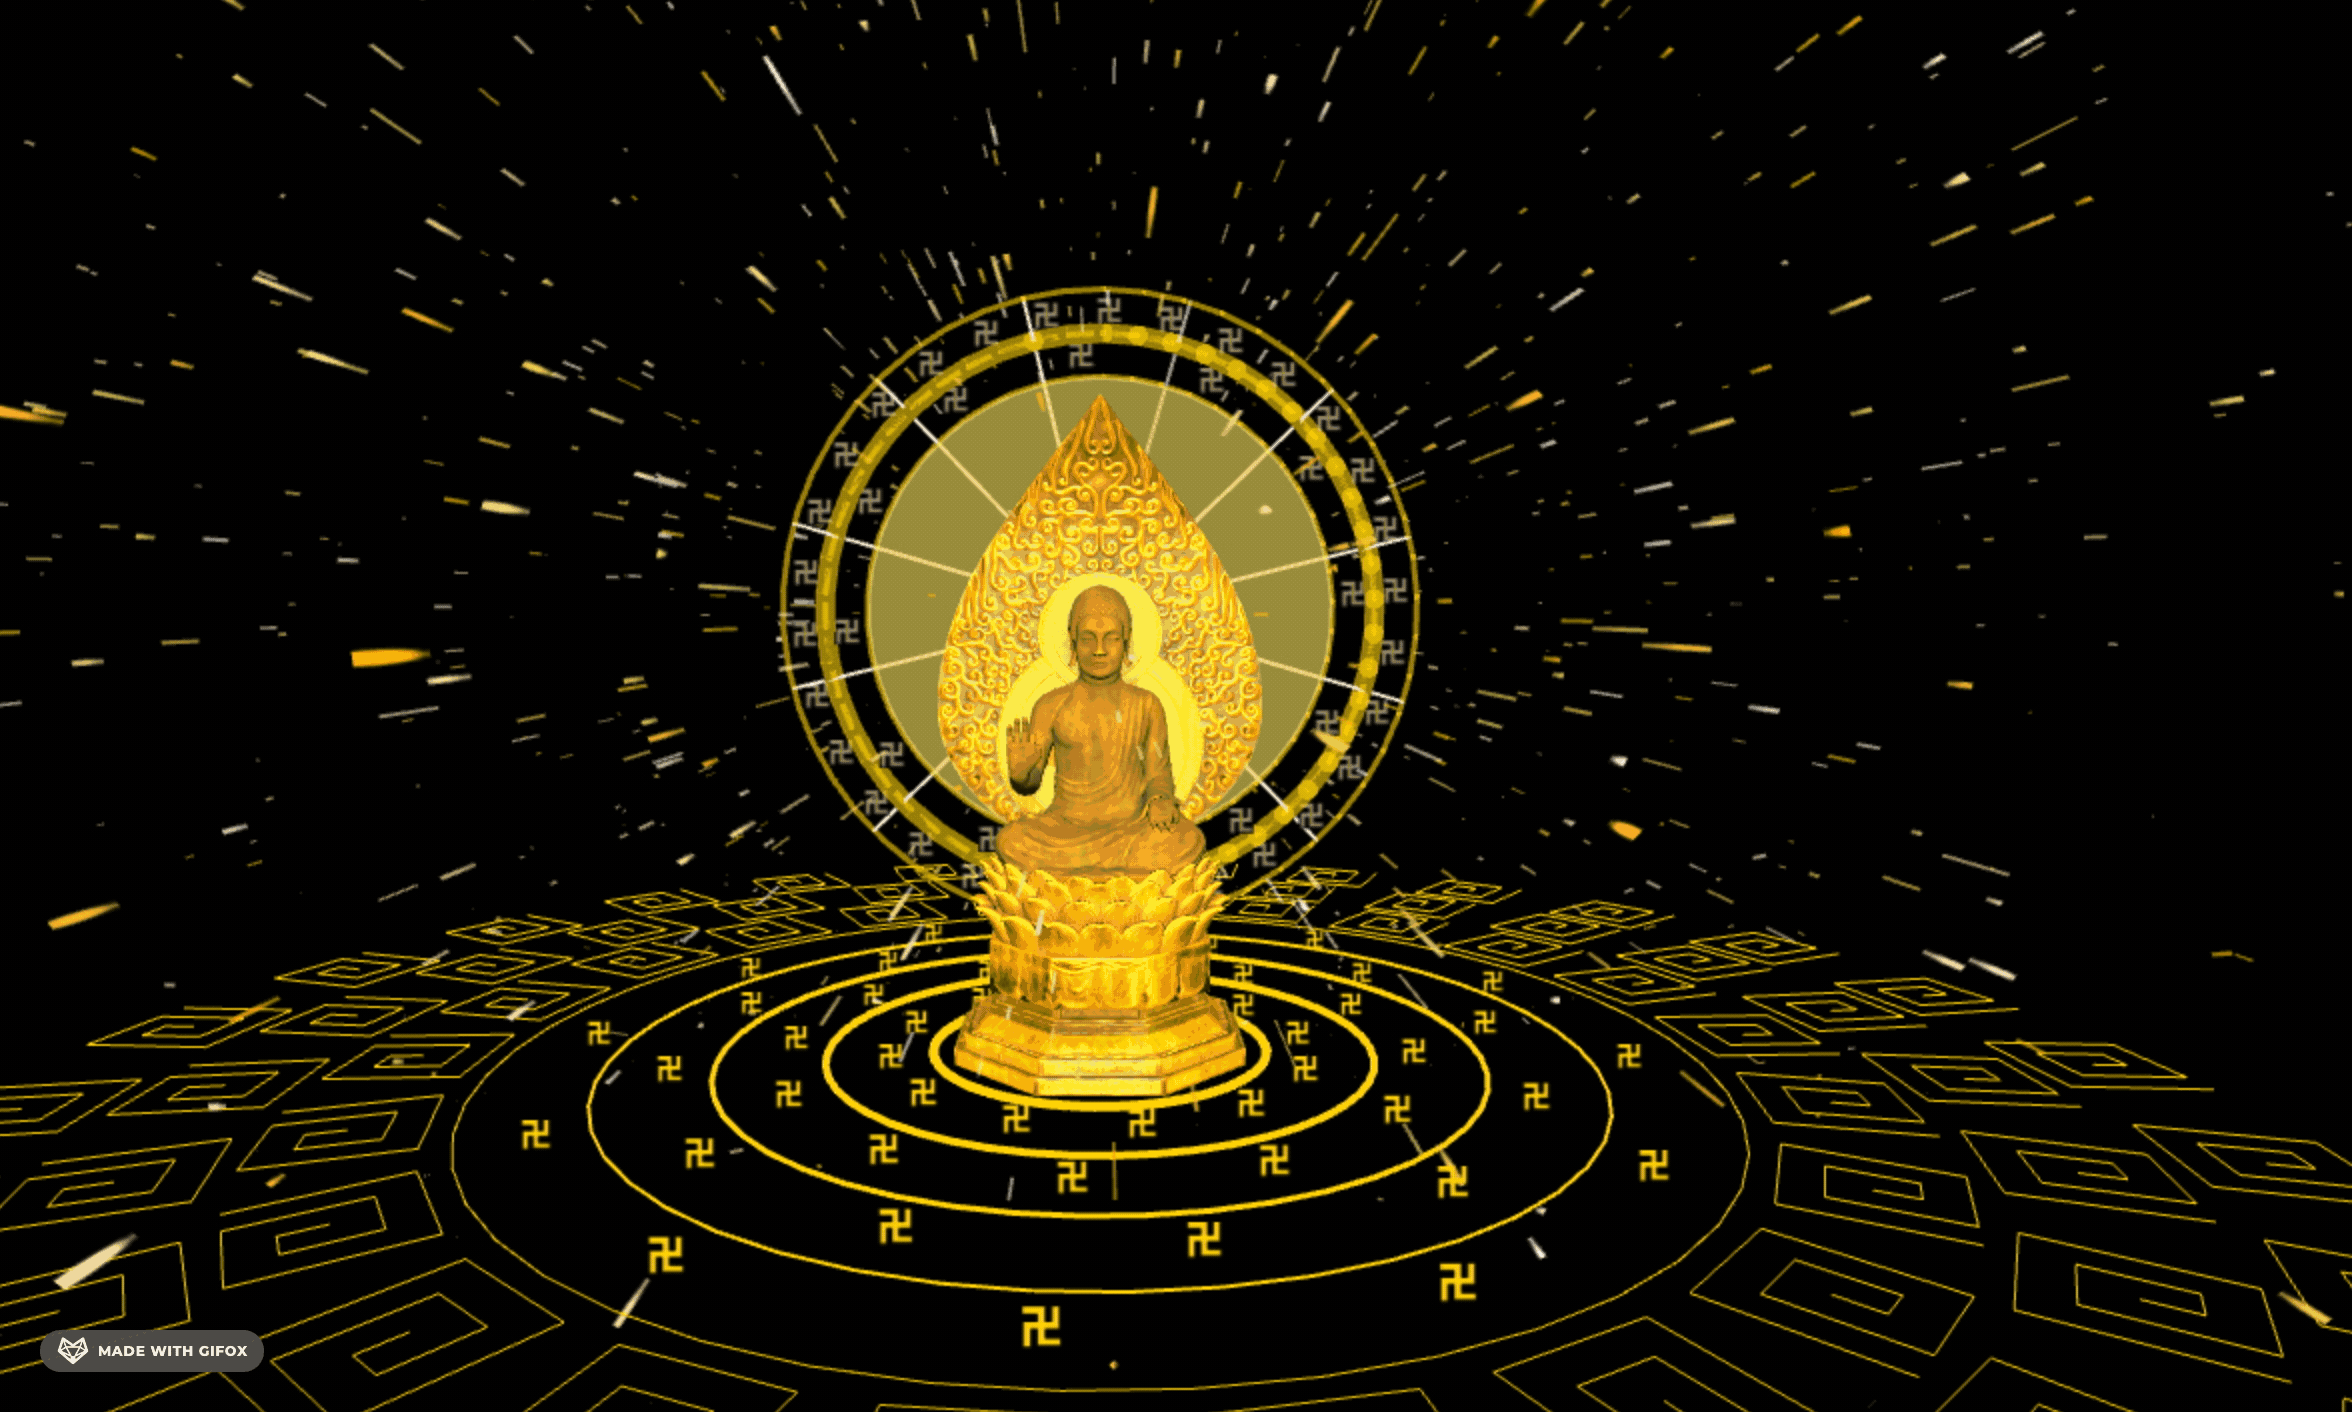
粒子颜色统一都是金色,不用随机了:

startColor: new RandomColor(
    new THREE.Vector4(1, 0.7, 0, 1),
    new THREE.Vector4(1, 0.7, 0, 1)
),
案例代码上传了小册仓库
总结
这节我们画了底座的部分。
同样是用 Line、Curve 来画曲线,然后用 gasp 来做动画。
下节我们加上空中飘舞的经文。