学会了如何控制人物在 3D 场景内漫游,有没有想实现一个元宇宙旅游项目的冲动呢?
其实我们去旅游也是去各处景点看一下,上下左右的看看。
如果我们能拿到景点的高清扫描模型,然后控制玩家在里面漫游,是不是就和亲身漫游体验一样呢?
这节开始,我们就来实现一个元宇宙旅游的项目。
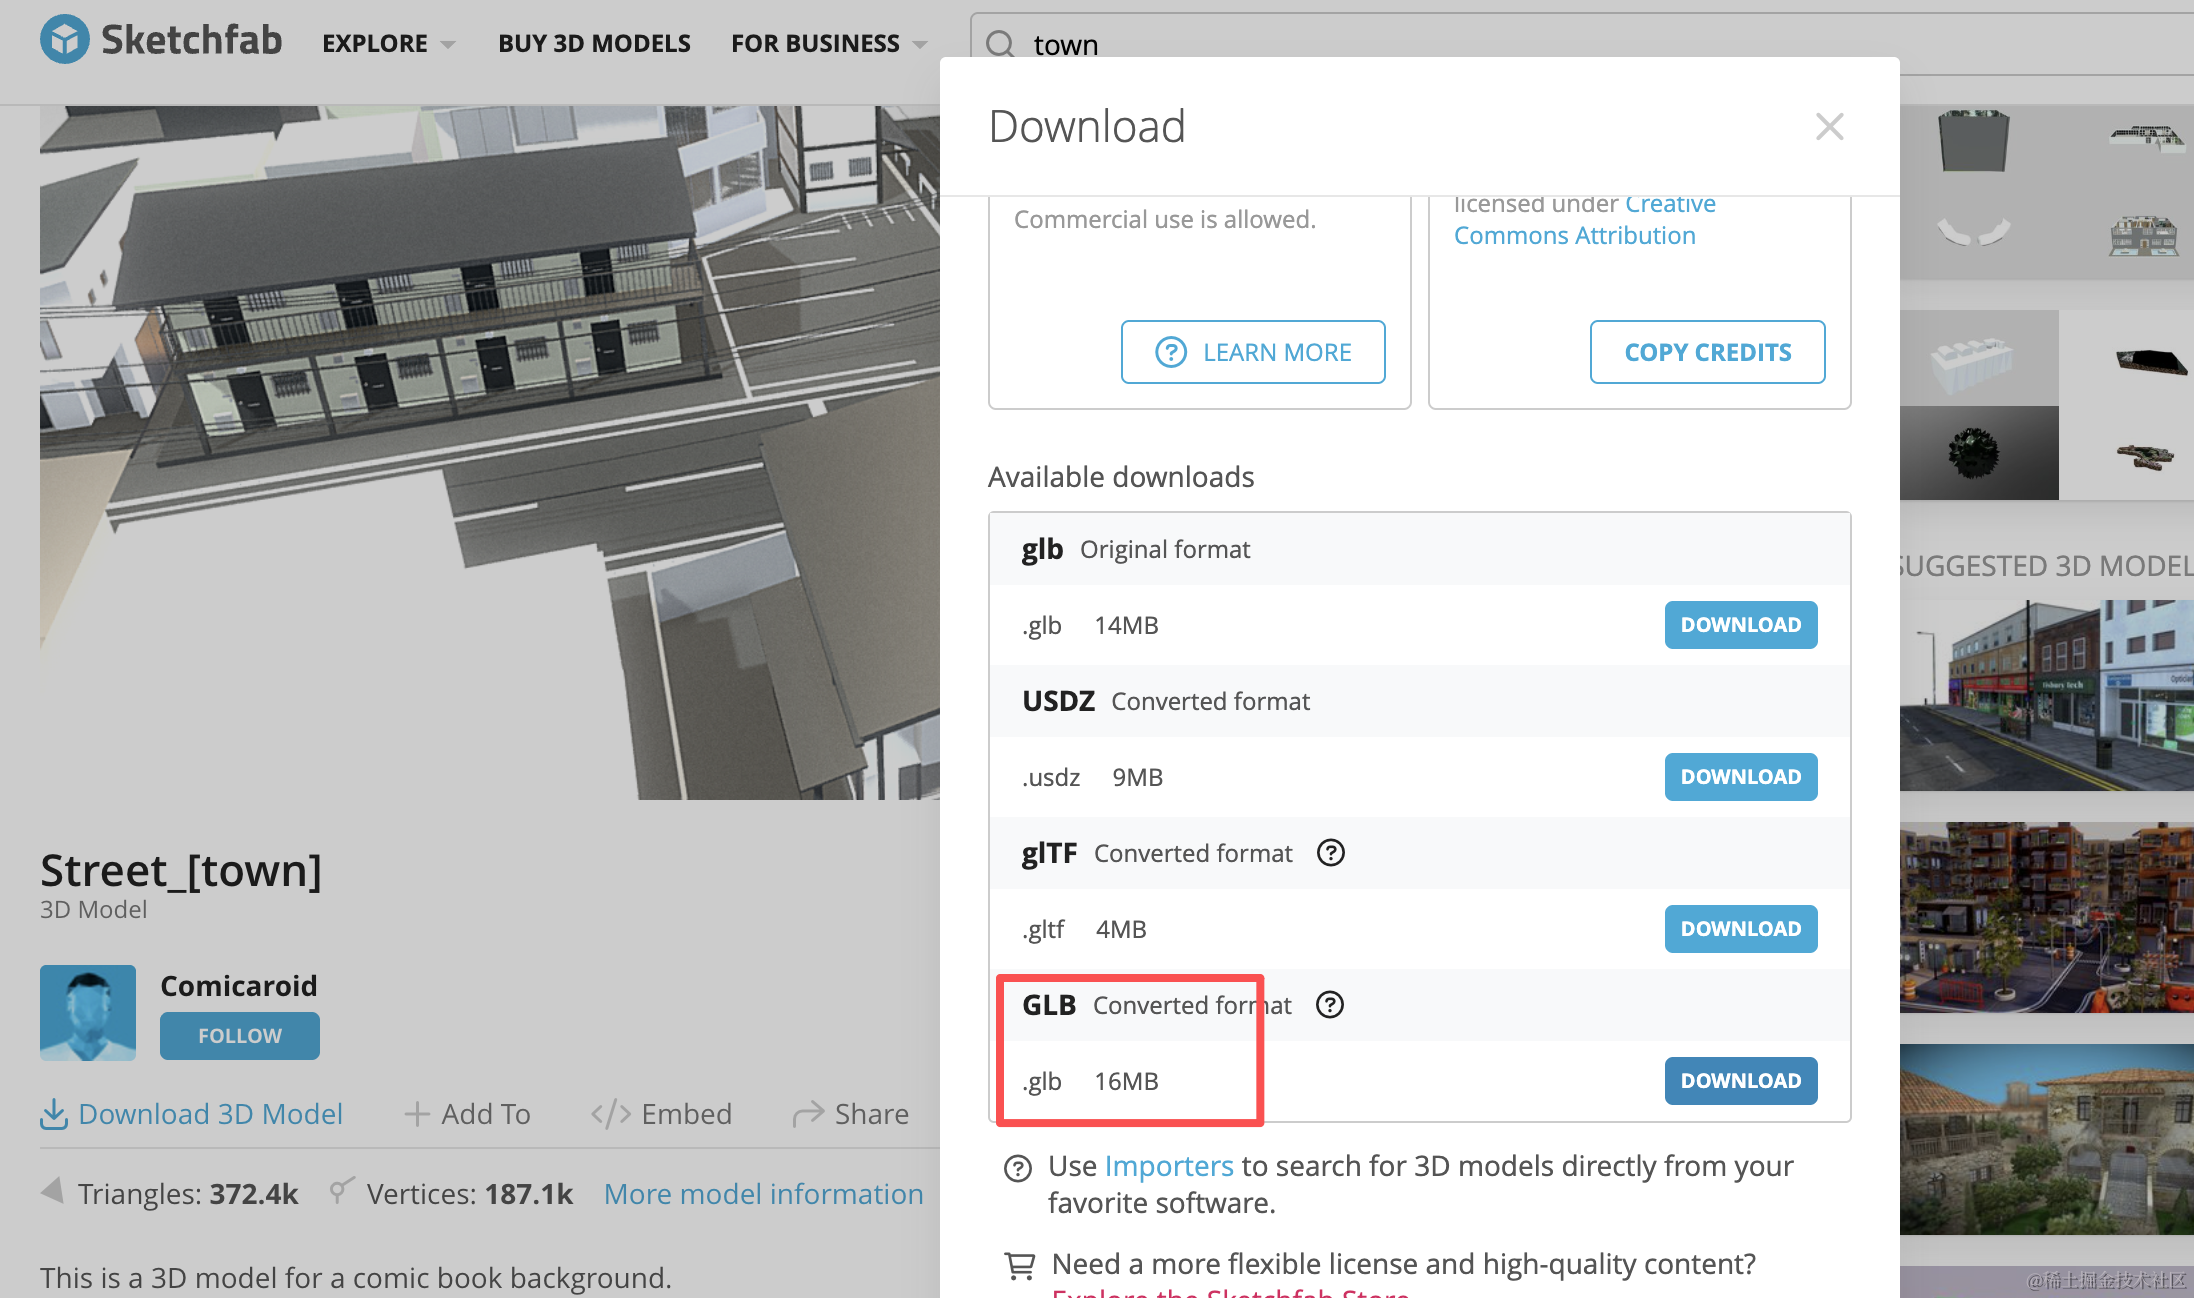
我们还没学建模,这里用 sketchfab.com 的一个小镇模型:
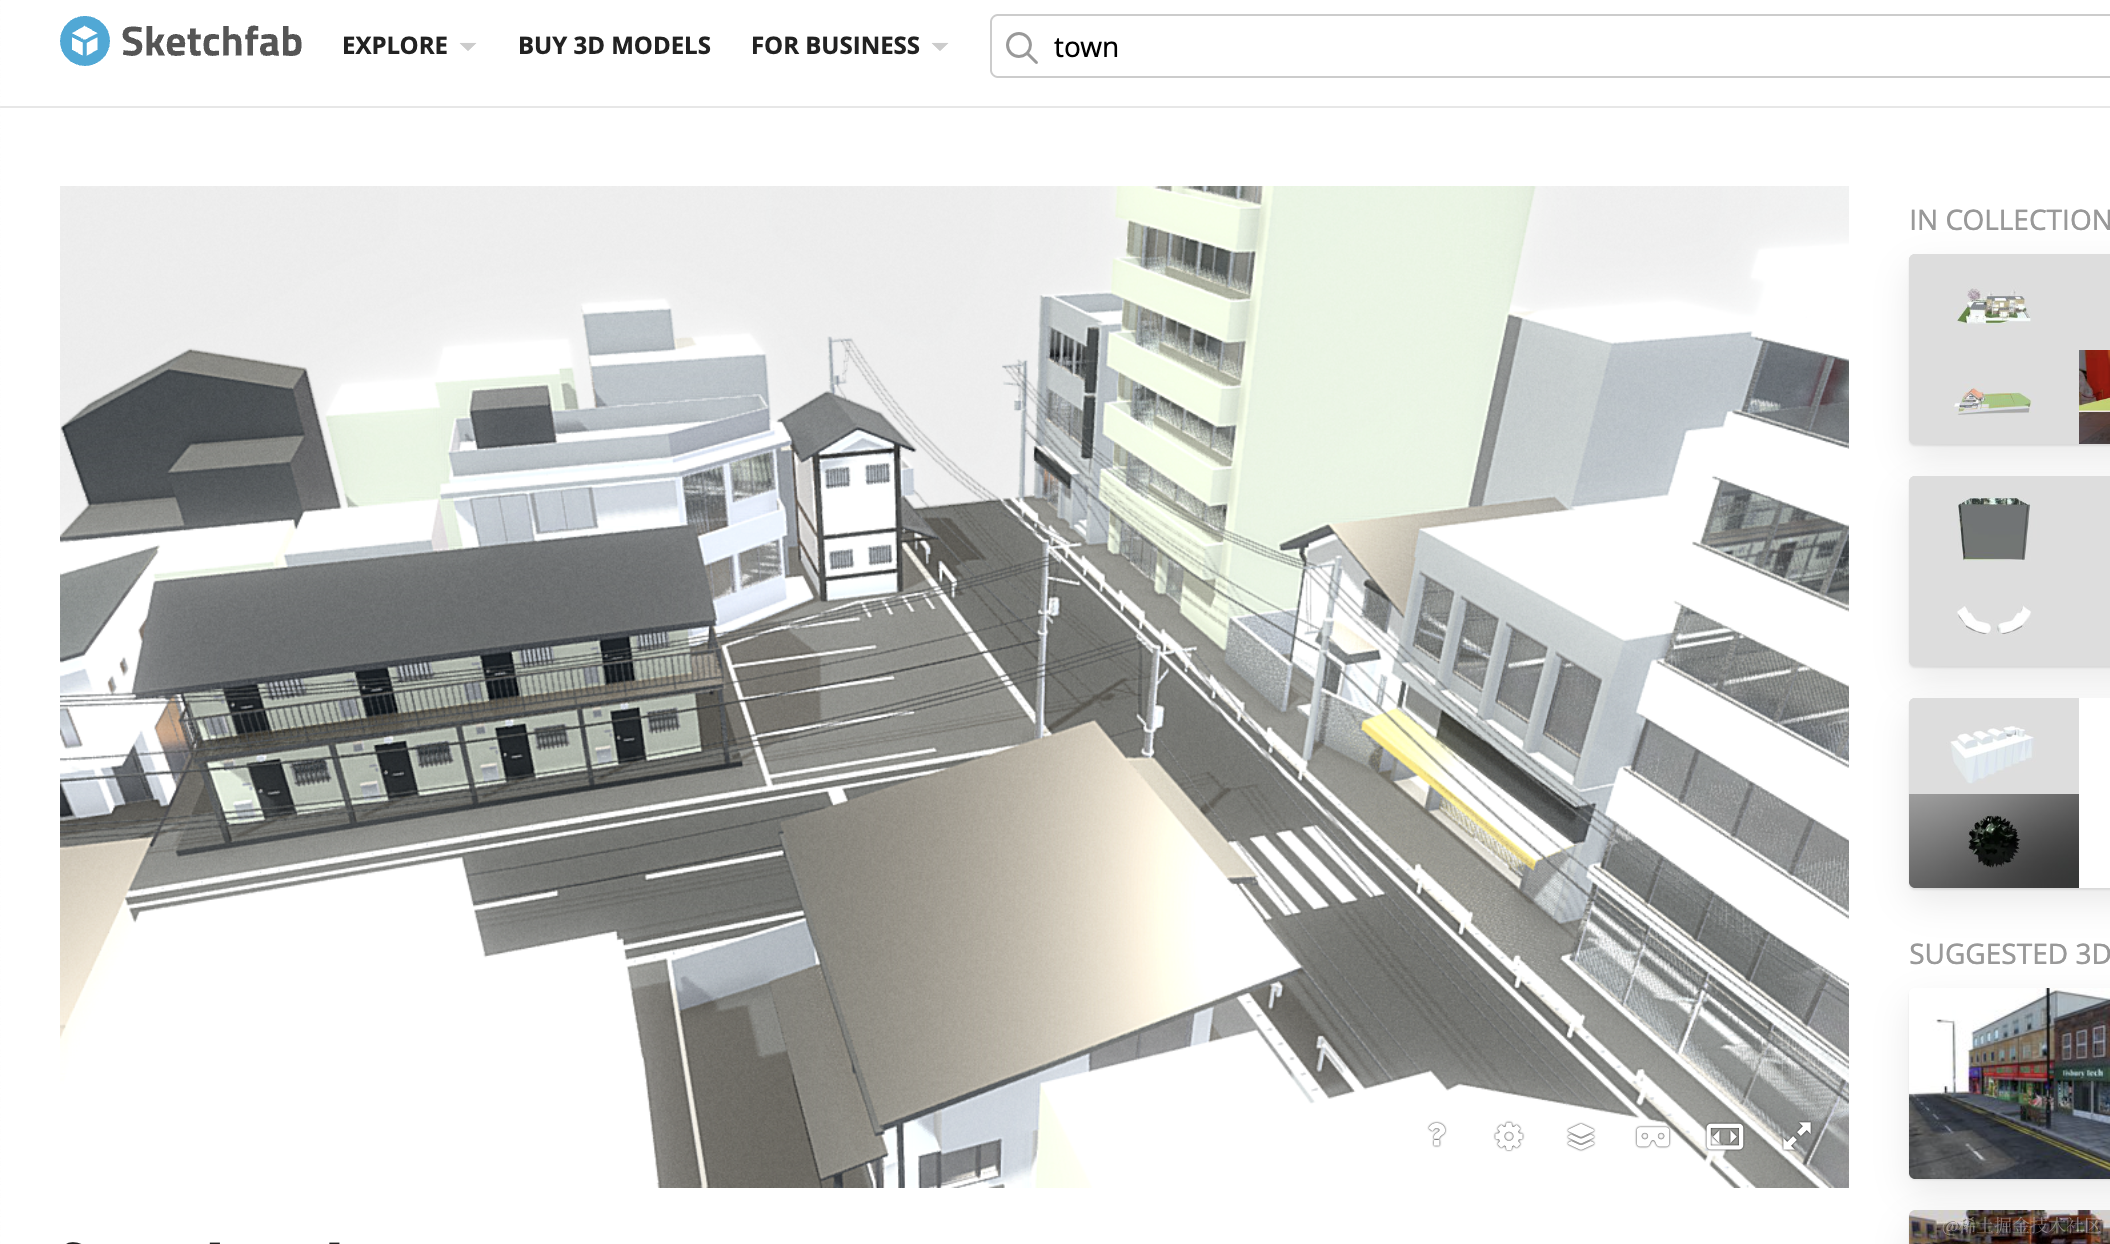
还原度很高。
https://sketchfab.com/3d-models/street-town-f6ffeb1103814fd08f093c21575776e5
我们就基于这个模型来实现元宇宙旅游的功能。
创建项目:
npx create-vite meta-tourism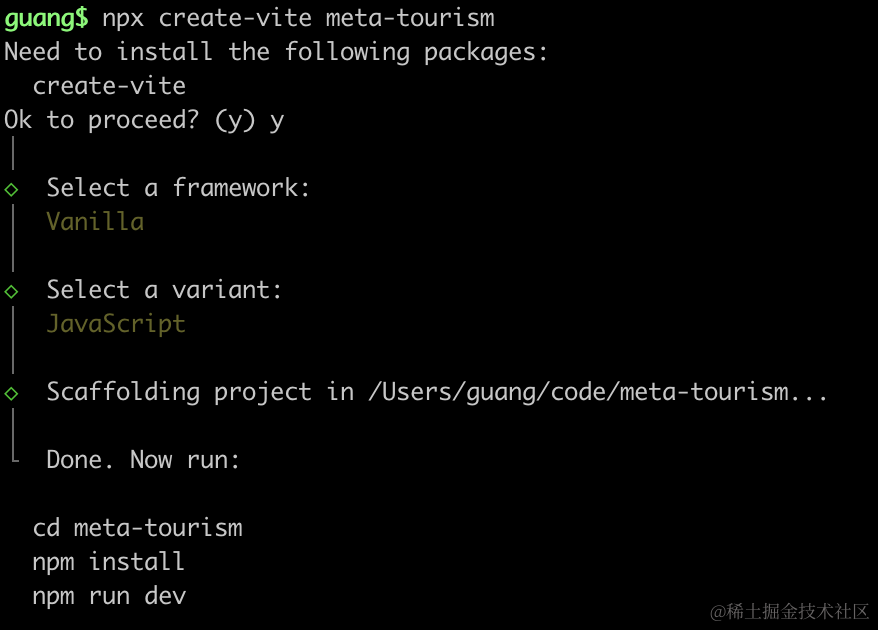
进入项目,安装依赖:
pnpm install
pnpm install --save three
pnpm install --save-dev @types/three
先写下基础代码:
改下 src/main.js
import './style.css';
import * as THREE from 'three';
import {
    OrbitControls
} from 'three/addons/controls/OrbitControls.js';
import mesh from './mesh.js';

const scene = new THREE.Scene();

scene.add(mesh);

const light = new THREE.DirectionalLight(0xffffff);
light.position.set(500, 300, 600);
scene.add(light);

const light2 = new THREE.AmbientLight();
scene.add(light2);

const axesHelper = new THREE.AxesHelper(1000);
scene.add(axesHelper);

const width = window.innerWidth;
const height = window.innerHeight;

const camera = new THREE.PerspectiveCamera(60, width / height, 1, 10000);
camera.position.set(0, 500, 500);
camera.lookAt(0, 0, 0);

const renderer = new THREE.WebGLRenderer({
  antialias: true
});
renderer.setSize(width, height)

function render() {
    renderer.render(scene, camera);
    requestAnimationFrame(render);
}

render();

document.body.append(renderer.domElement);

const controls = new OrbitControls(camera, renderer.domElement);
创建 Scene、Light、Camera、Renderer
改下 style.css
body {
    margin: 0;
}
然后创建 mesh.js
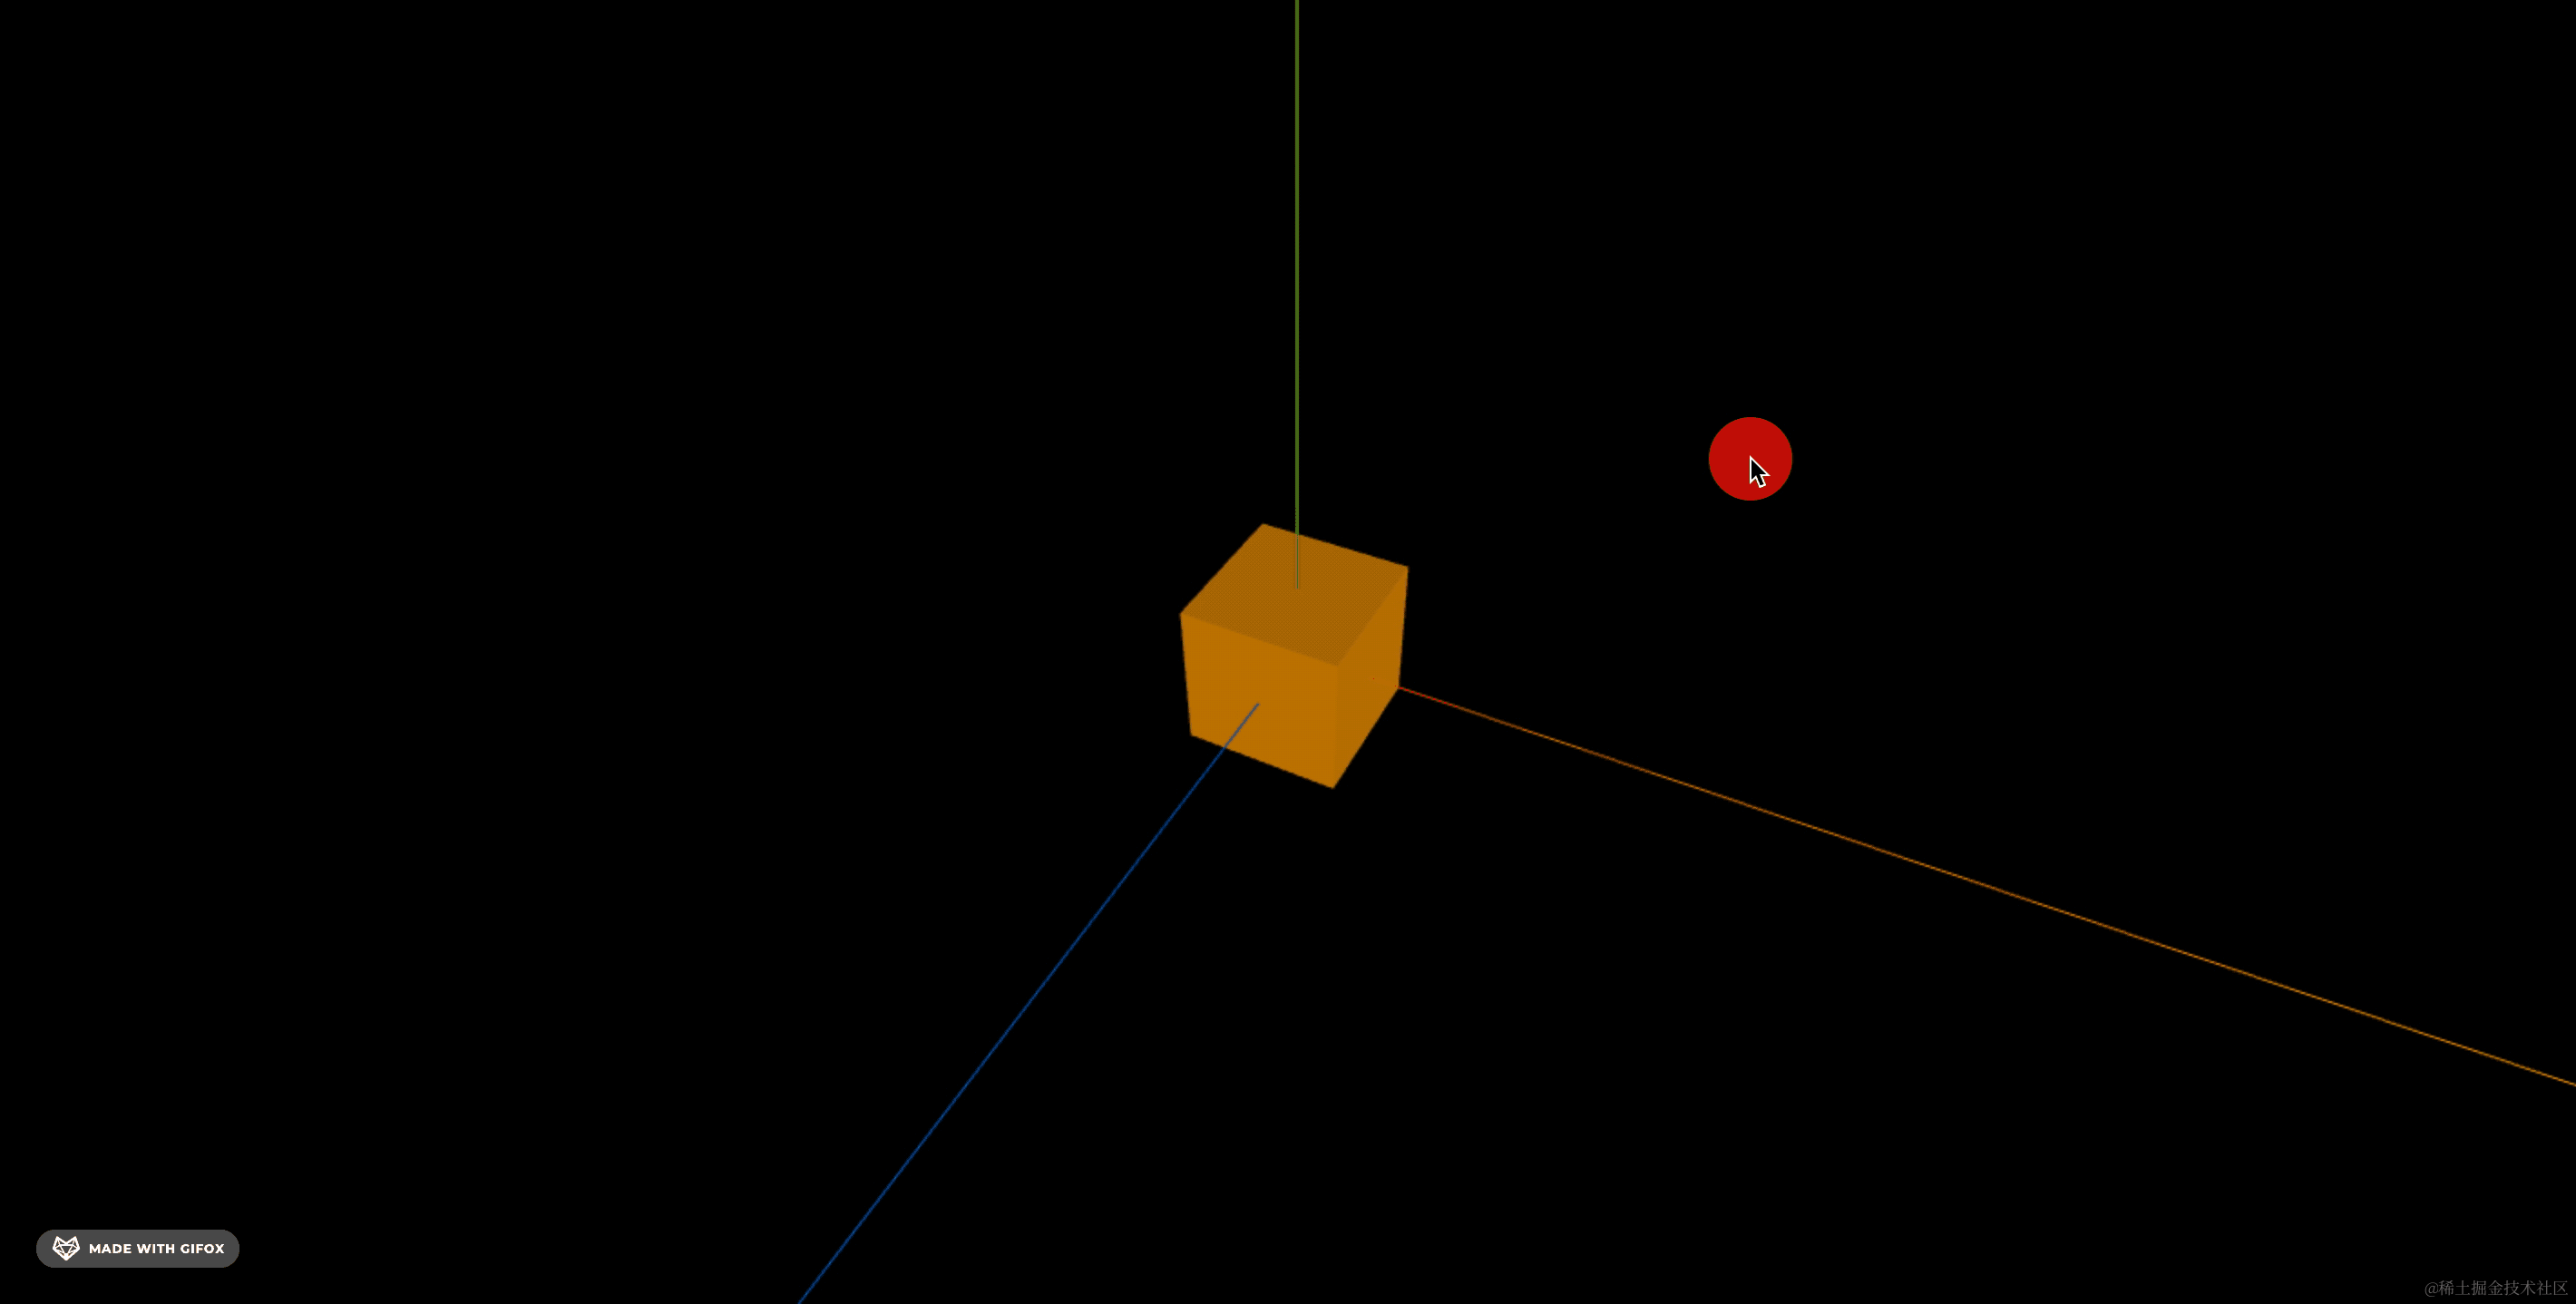
import * as THREE from 'three';

const geometry = new THREE.BoxGeometry(100, 100, 100);
const material = new THREE.MeshPhongMaterial({
    color: 'orange'
})
const mesh = new THREE.Mesh(geometry, material);

export default mesh;
先画个立方体
跑一下:
npm run dev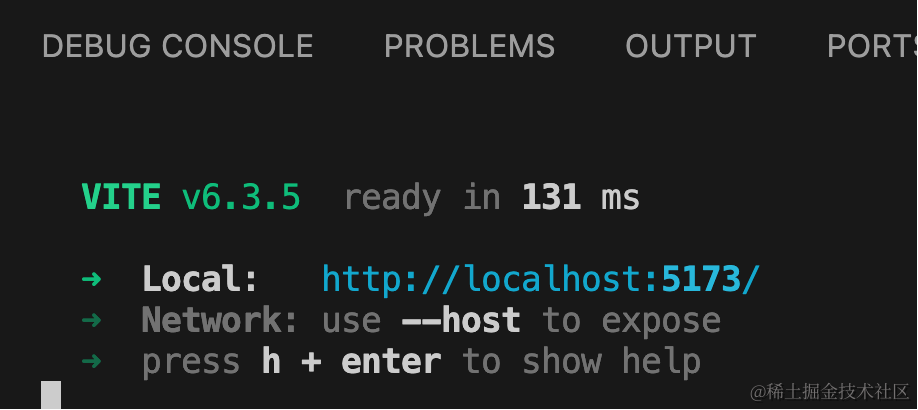
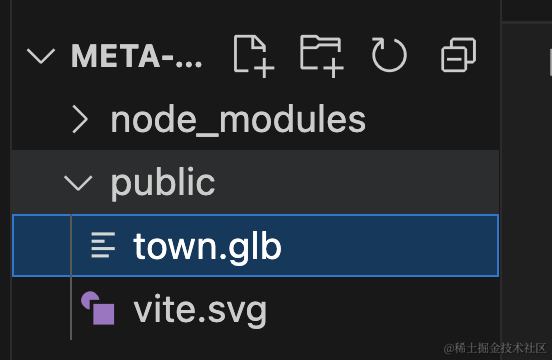
把小镇模型下载下来:
在场景里加载下:
import * as THREE from 'three';
import { GLTFLoader } from 'three/addons/loaders/GLTFLoader.js';

const loader = new GLTFLoader();

const mesh = new THREE.Group();

loader.load("./town.glb", function (gltf) {
    console.log(gltf);
    gltf.scene.scale.setScalar(20);
    mesh.add(gltf.scene);
})

export default mesh;
看下效果:
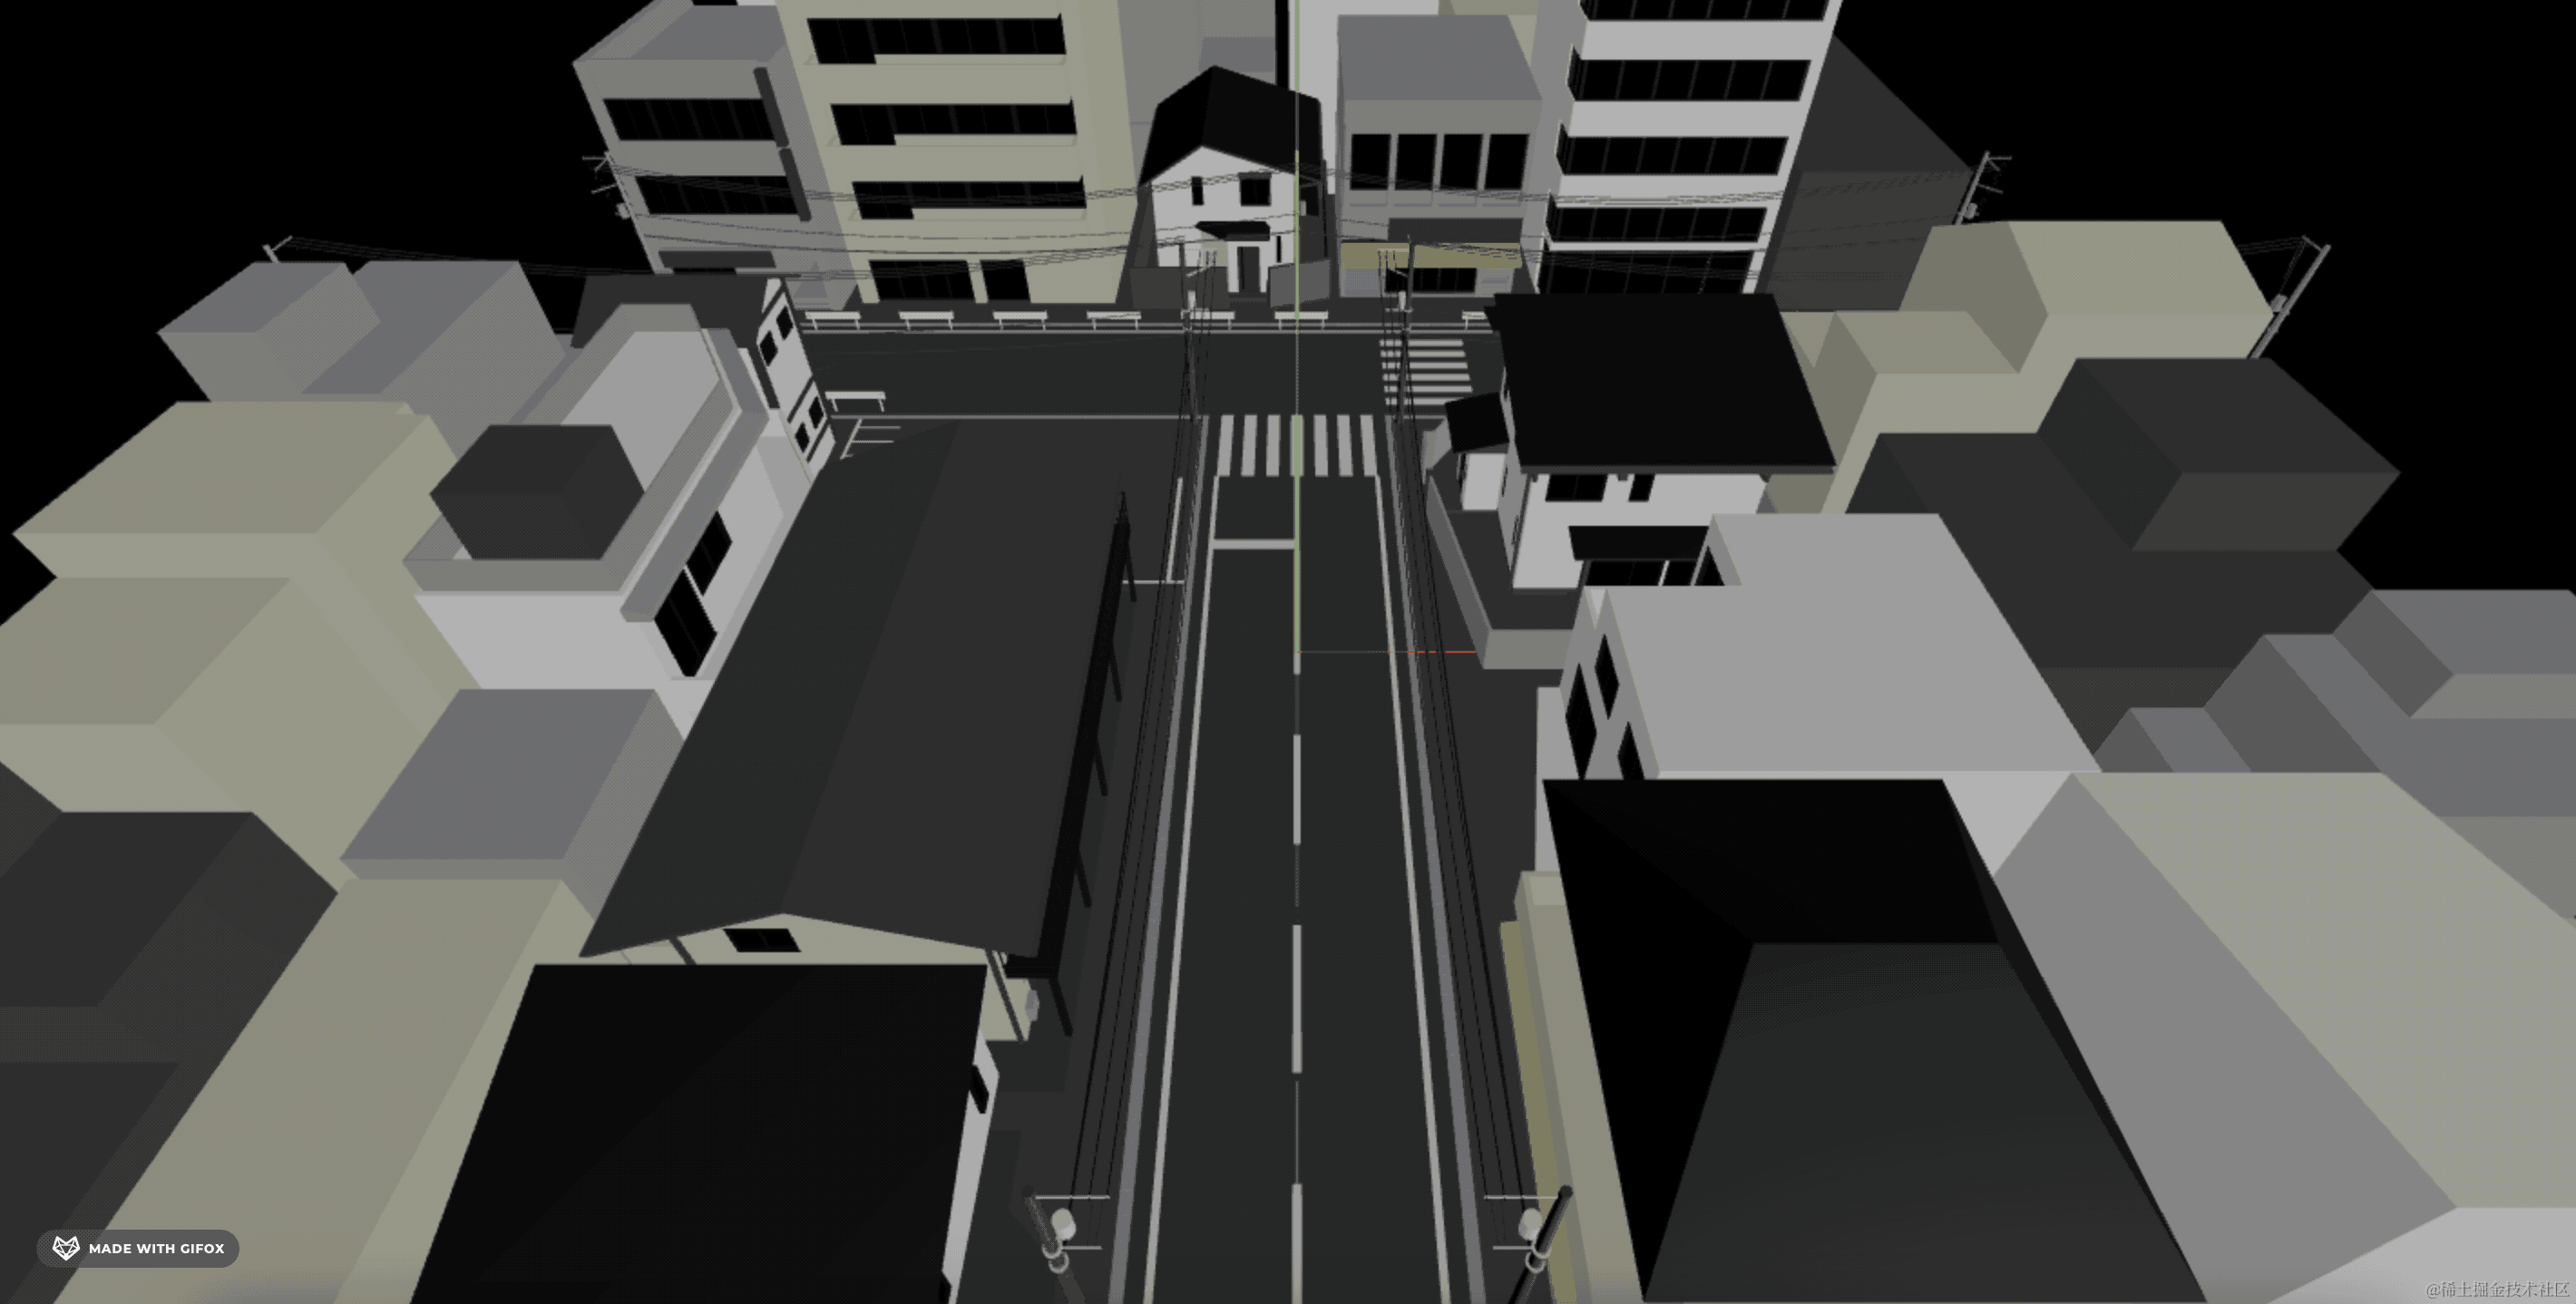
街道有点短,我们可以复制几个拼接起来:
先看下包围盒大小:
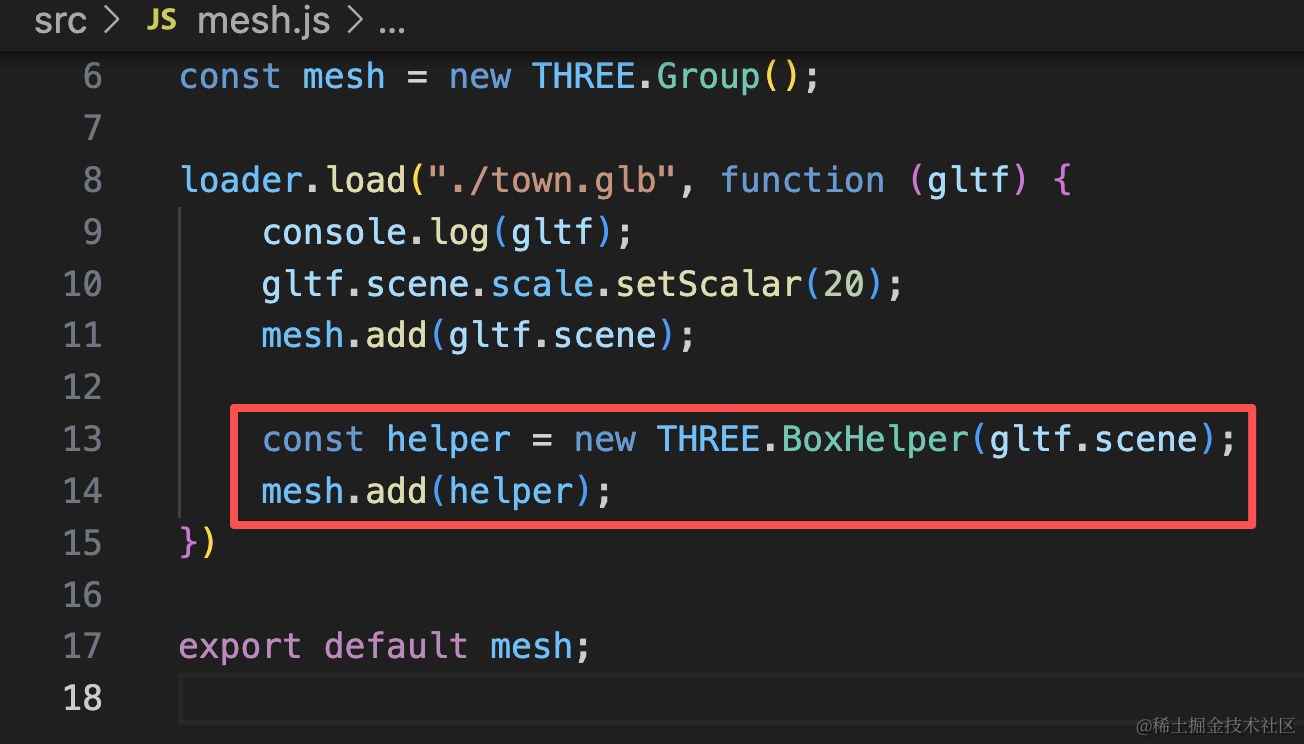
const helper = new THREE.BoxHelper(gltf.scene);
mesh.add(helper);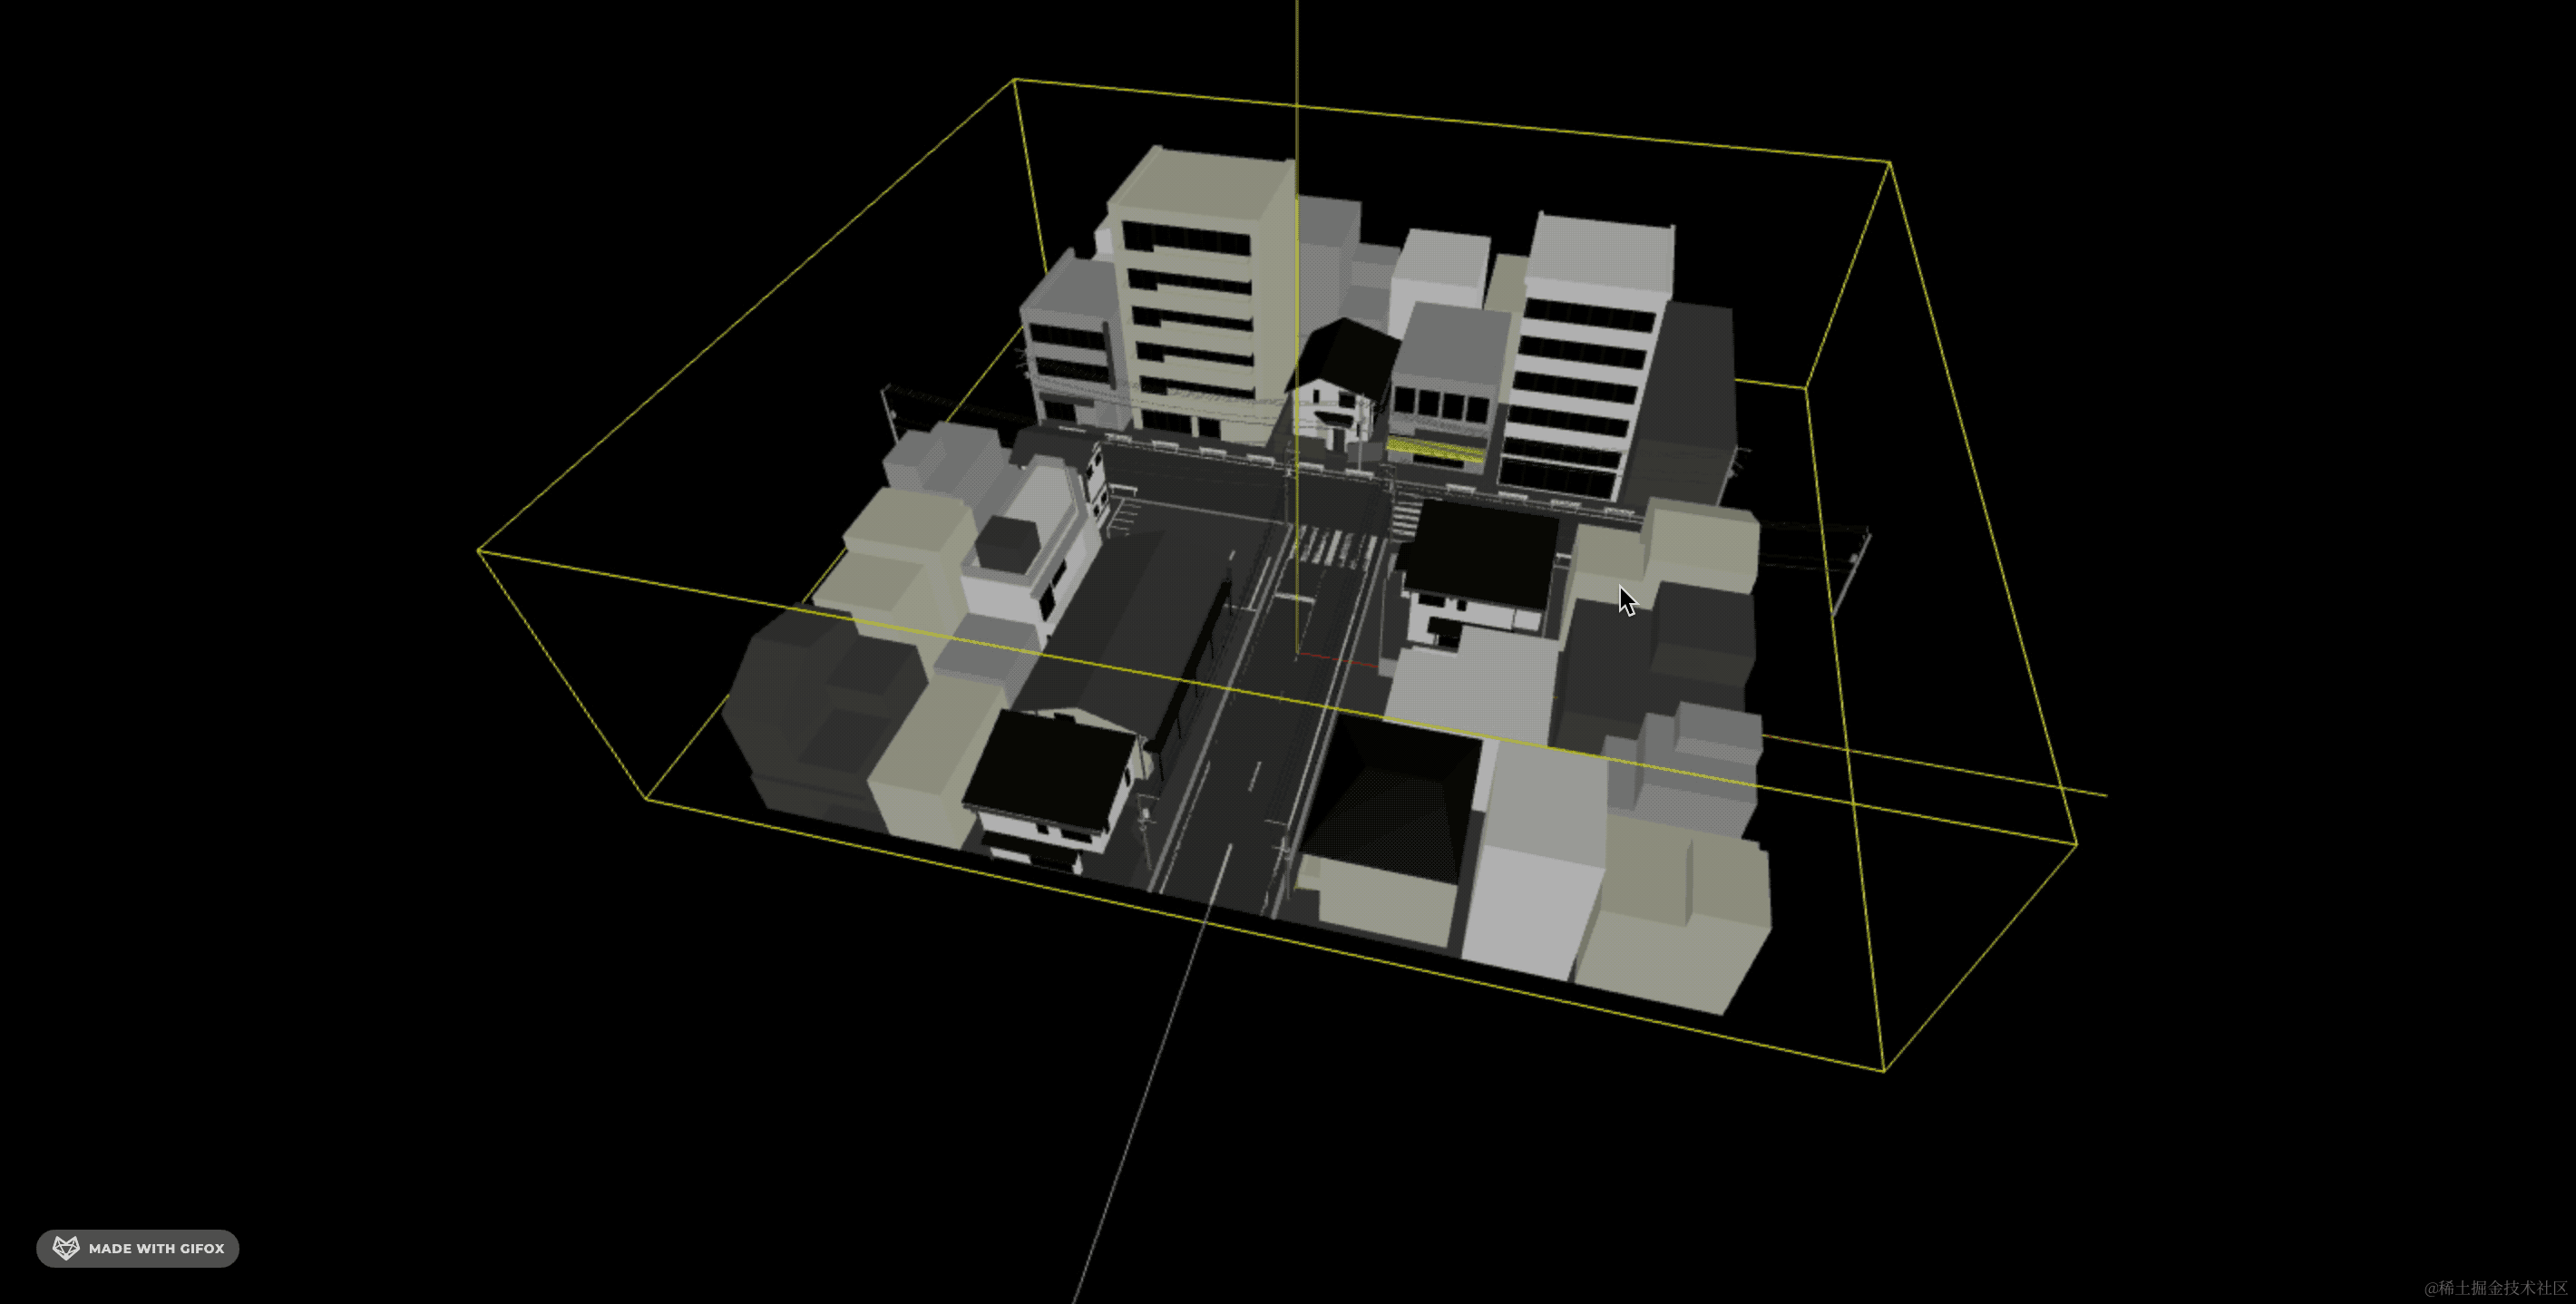
比实际略大一些,我们获取到包围盒大小之后,需要减掉一些。
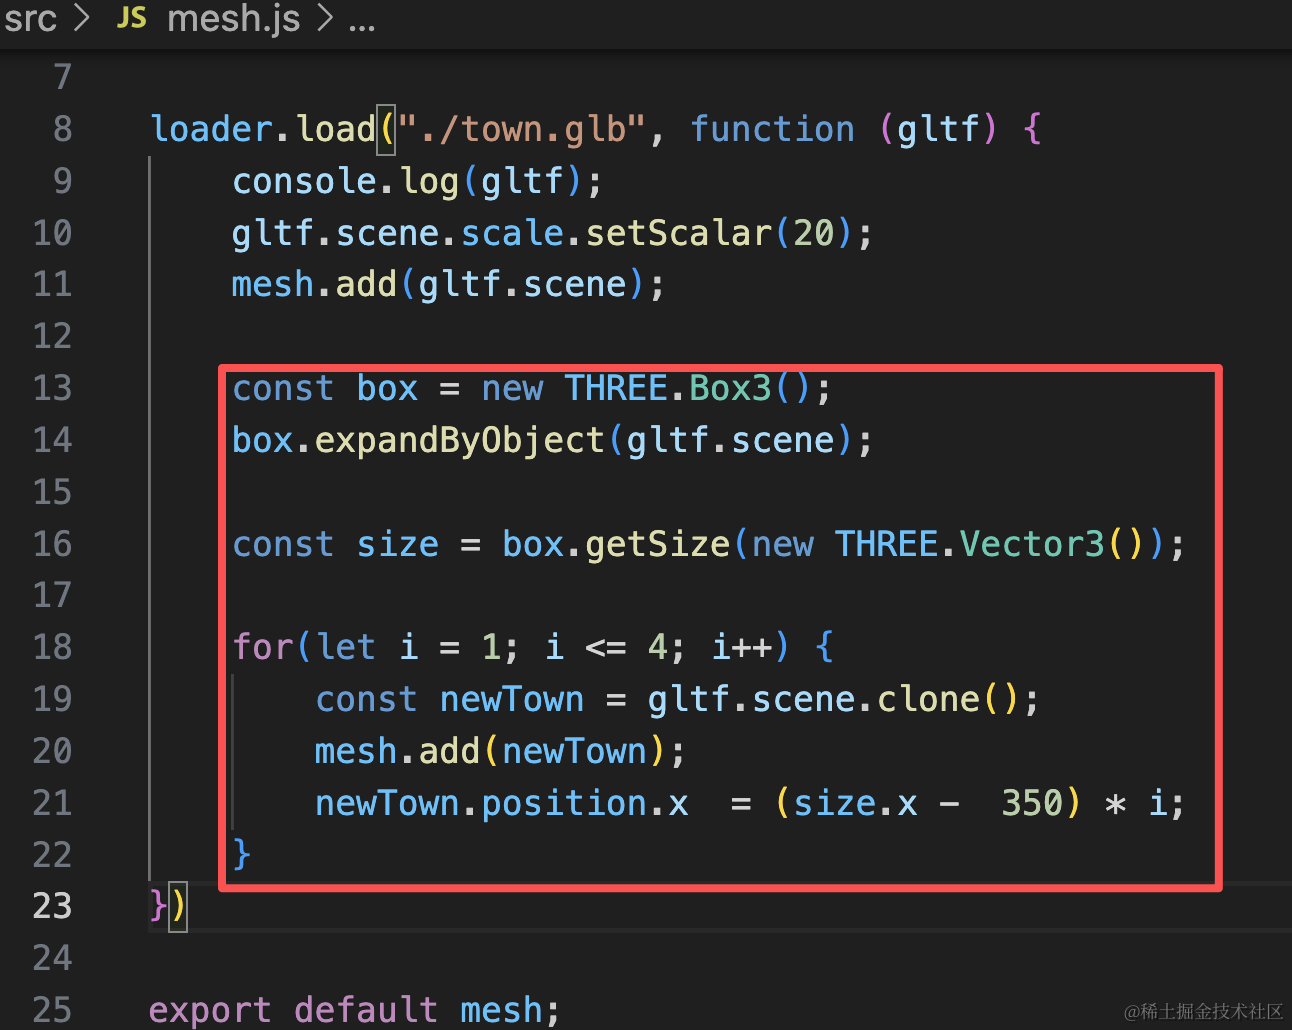
const box = new THREE.Box3();
box.expandByObject(gltf.scene);

const size = box.getSize(new THREE.Vector3());

for(let i = 1; i <= 4; i++) {
    const newTown = gltf.scene.clone();
    mesh.add(newTown);
    newTown.position.x  = (size.x -  350) * i;
}
看下效果:
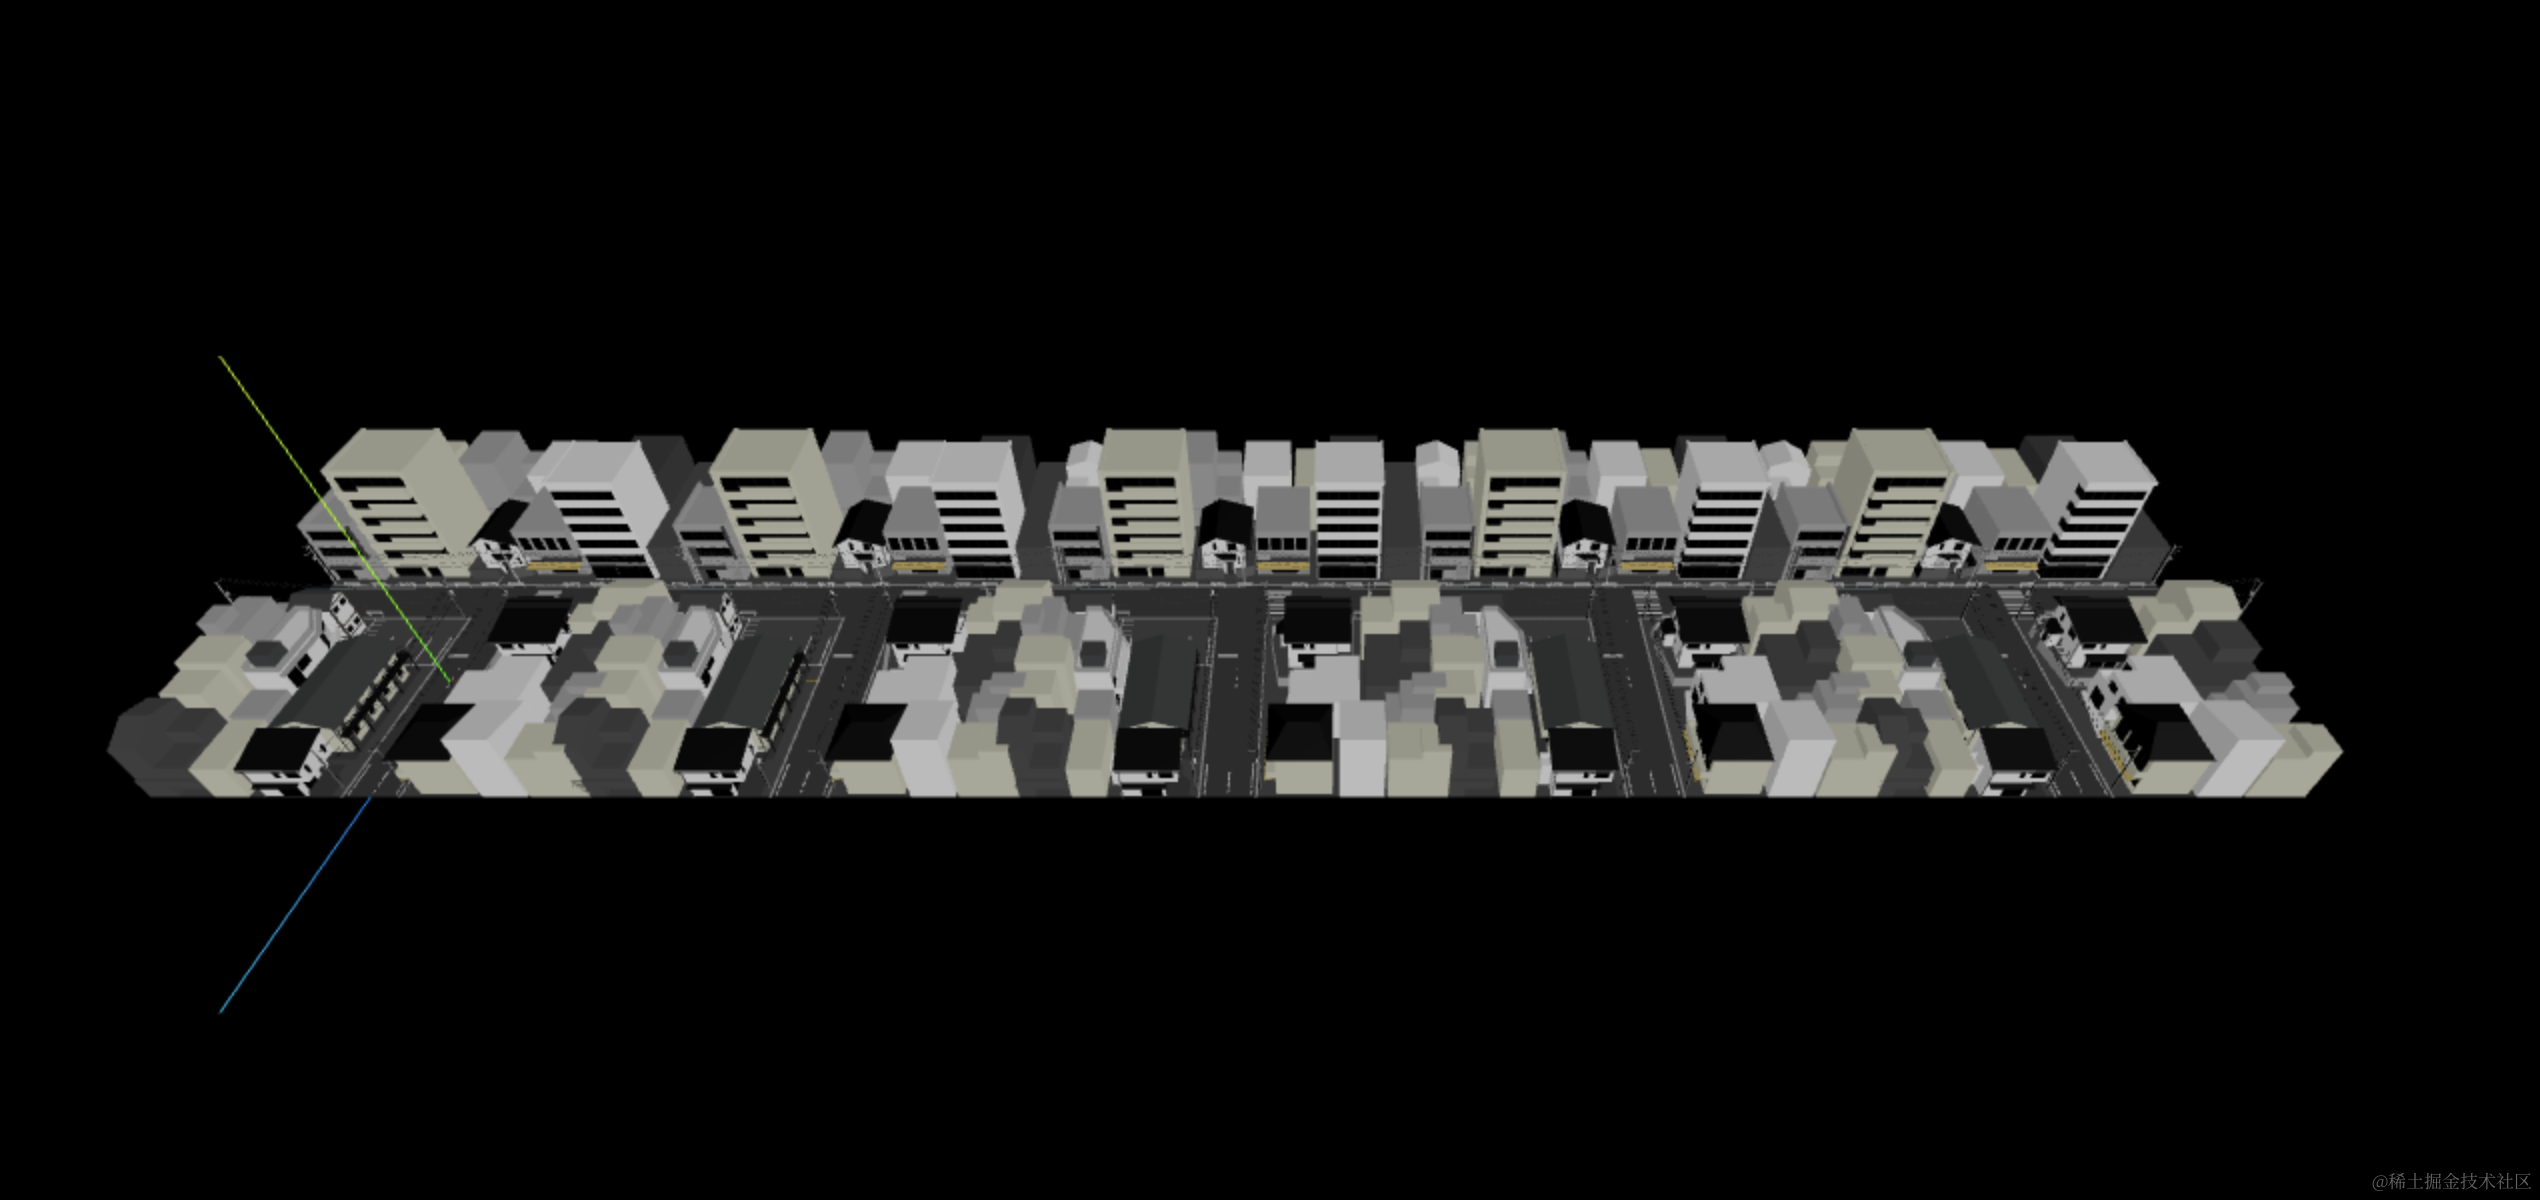
另一侧再连上 5 个:
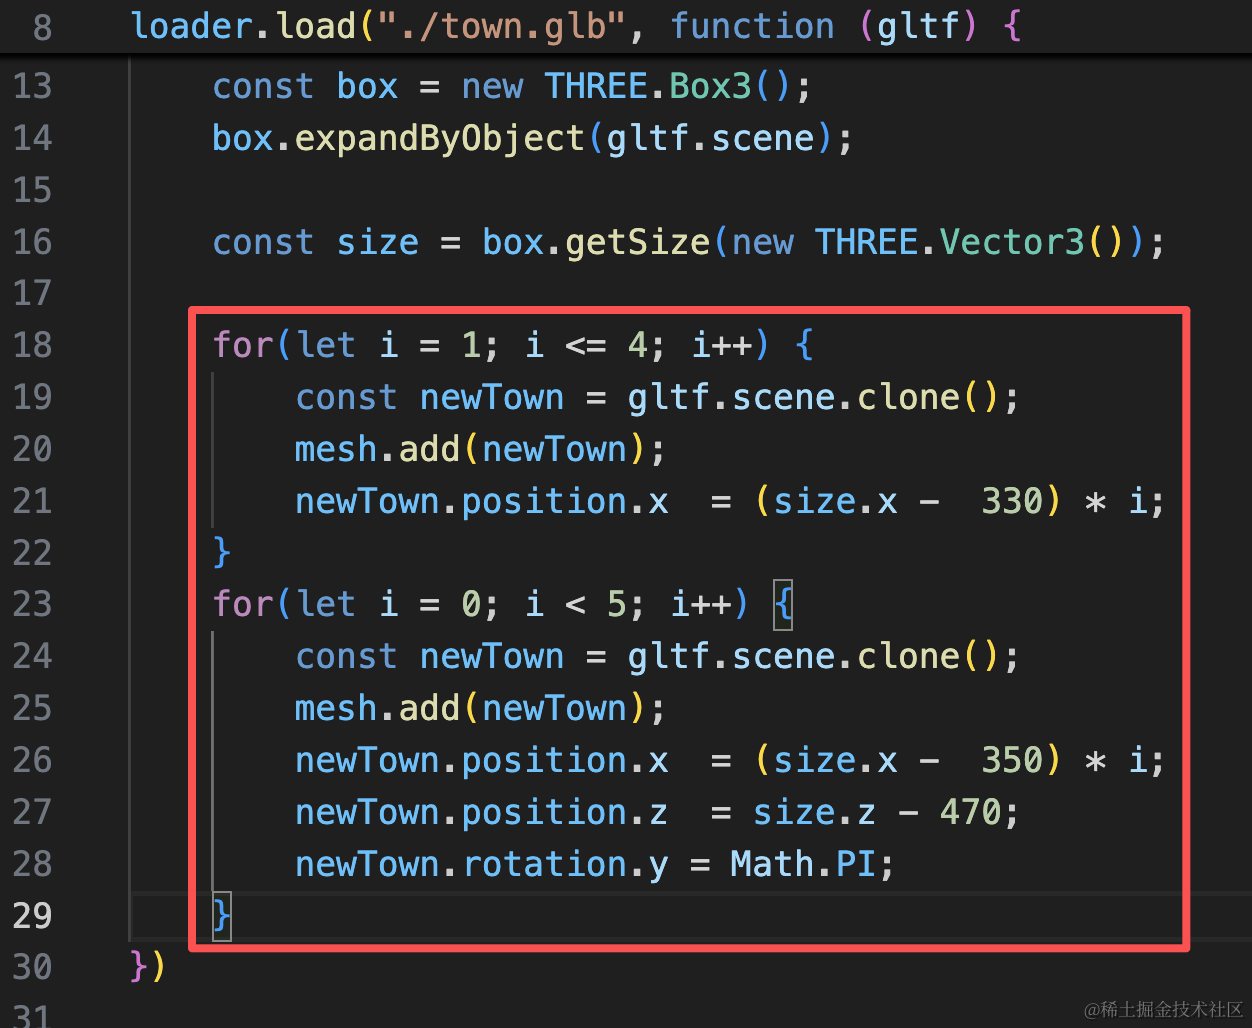
for(let i = 1; i <= 4; i++) {
    const newTown = gltf.scene.clone();
    mesh.add(newTown);
    newTown.position.x  = (size.x -  330) * i;
}
for(let i = 0; i < 5; i++) {
    const newTown = gltf.scene.clone();
    mesh.add(newTown);
    newTown.position.x  = (size.x -  350) * i;
    newTown.position.z  = size.z - 470;
    newTown.rotation.y = Math.PI;
}
这里旋转、位置,慢慢调一下就行。
看下效果:

这样,小镇就初具规模了。
案例代码上传了小册仓库
总结
这节我们开始做元宇宙旅游的项目。
我们先搭了一个小镇出来。
通过一个小镇模块复制了几次连接起来。
下节加入玩家。