我们经常会见到一些比较炫酷的 3D 网站。
比如这样:
https://iphone15pro.webflow.io/
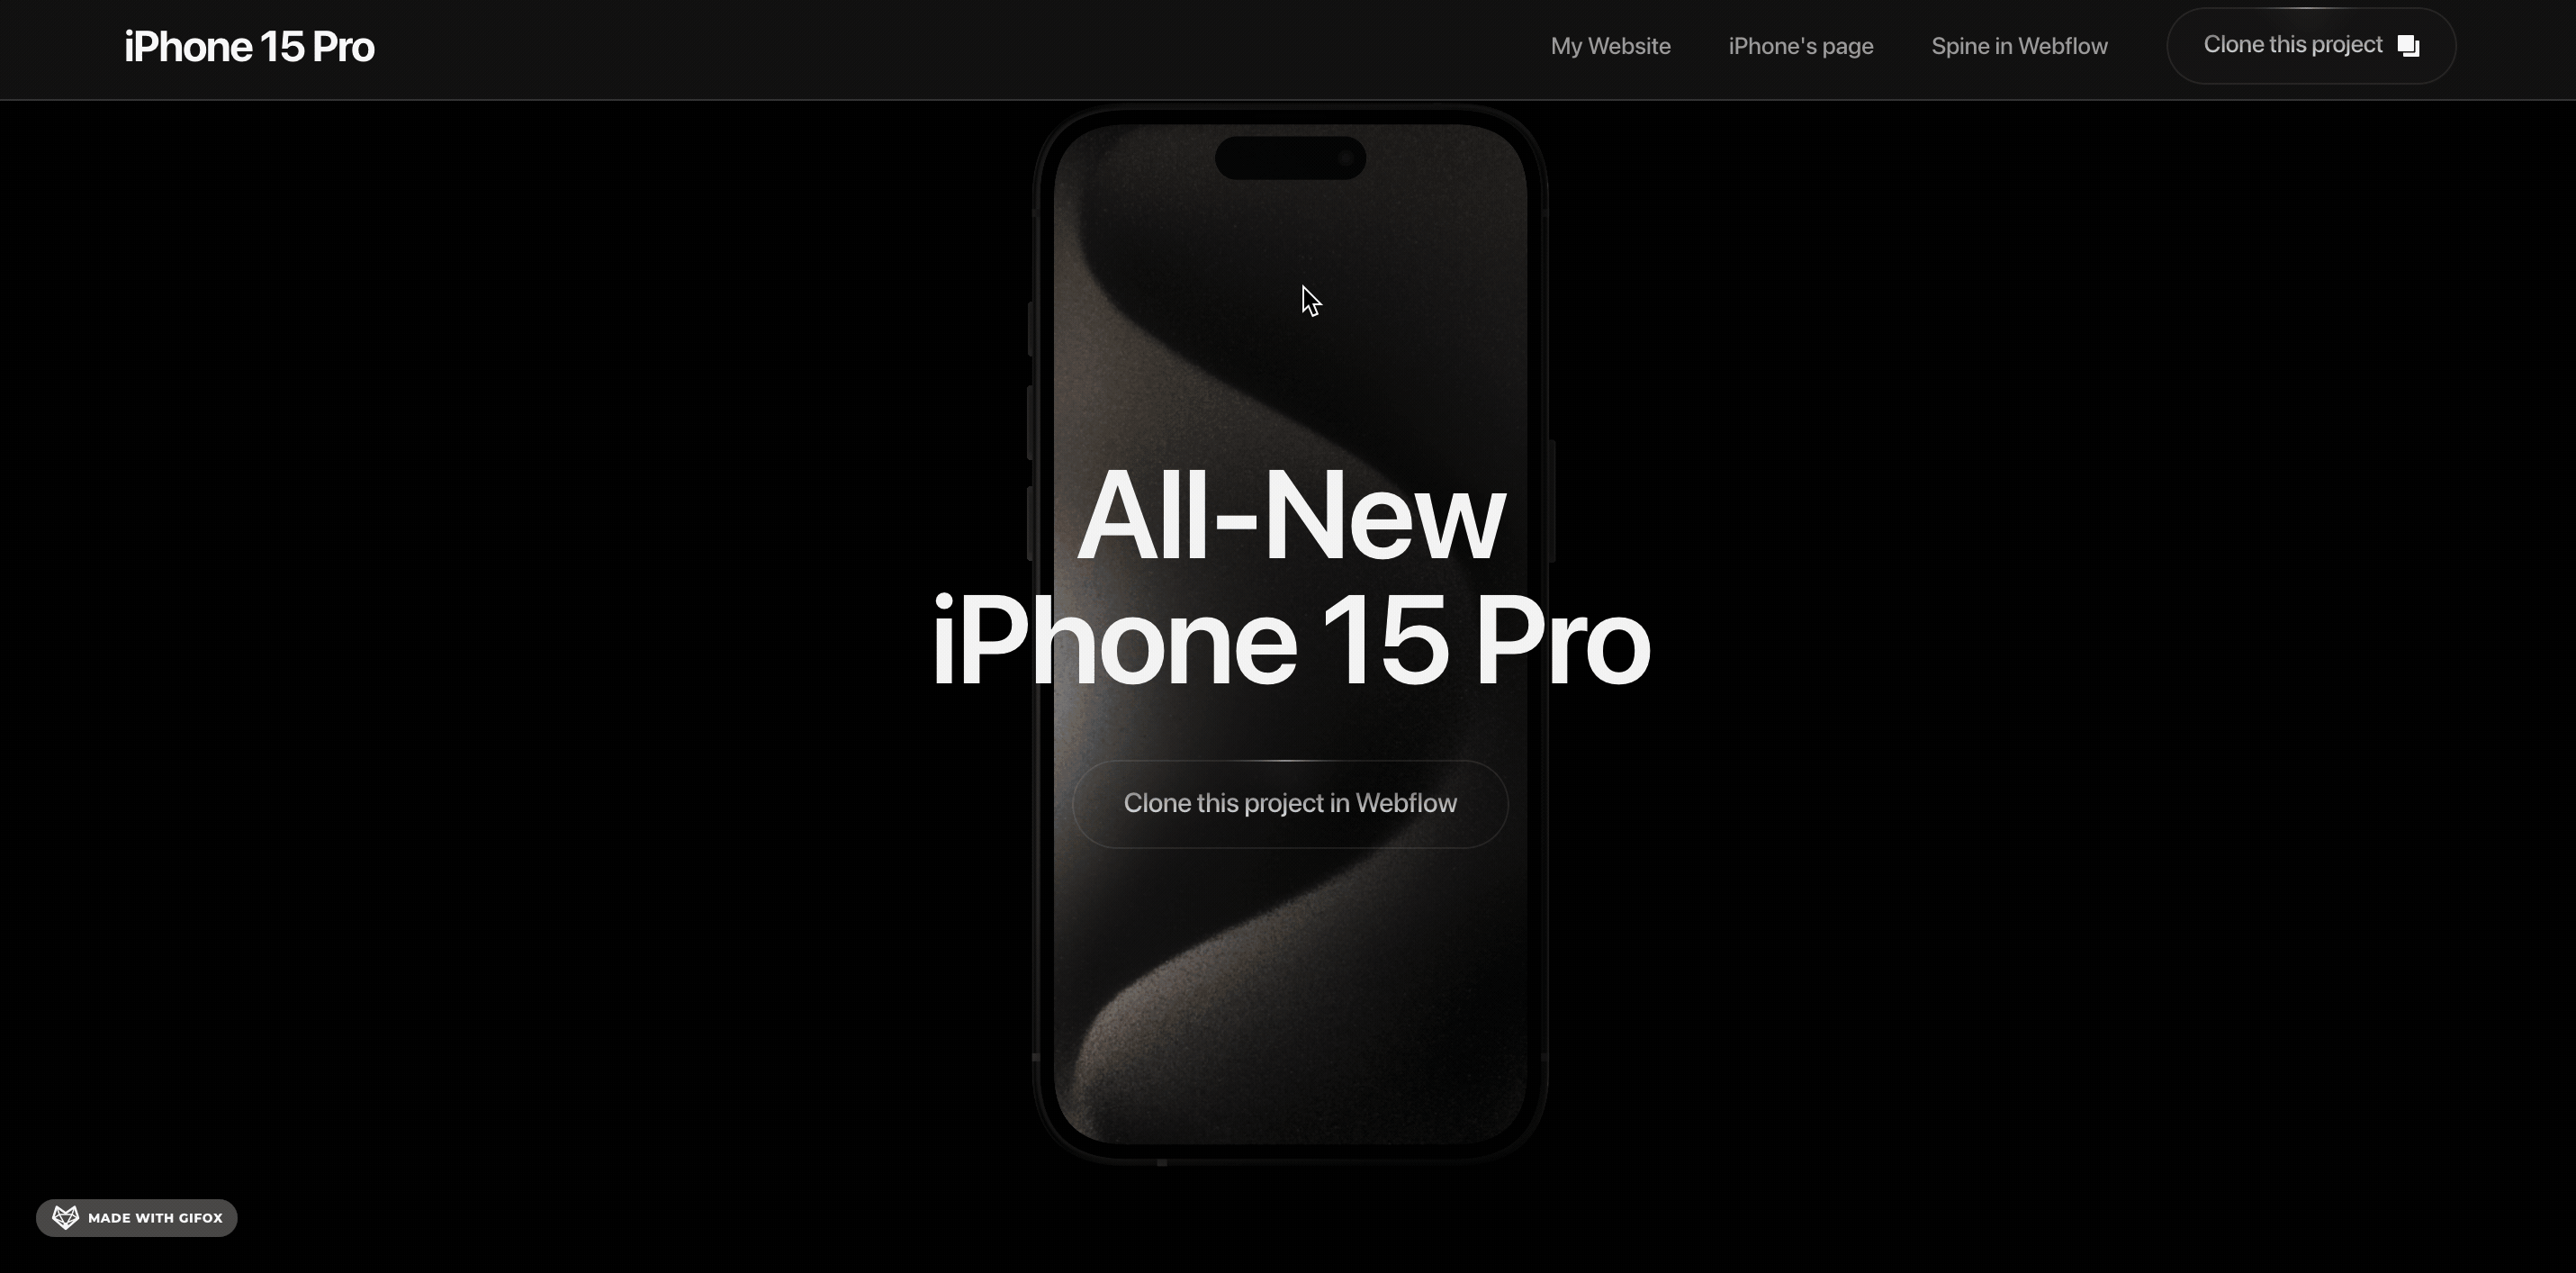
国外这种官网会比较多。
现在我们 3D 已经学到一定的程度了,大家对这种网页有思路么?
其实也比较简单:
我们知道,网页可能是好几屏的大小,通过滚动,可以让页面不同部分展示在视口内。
而 3D 场景也可以纵向放很多物体,然后改变相机位置来从上到下、从下到上的浏览这些物体。
如果我们把摄像机位置的改变,通过滚动来控制呢?
那是不是就实现了滚动的时候,改变了看到的 3D 场景的物体。
这就是这类 3D 网页的实现思路。
我们来写一下:
npx create-vite 3d-webpage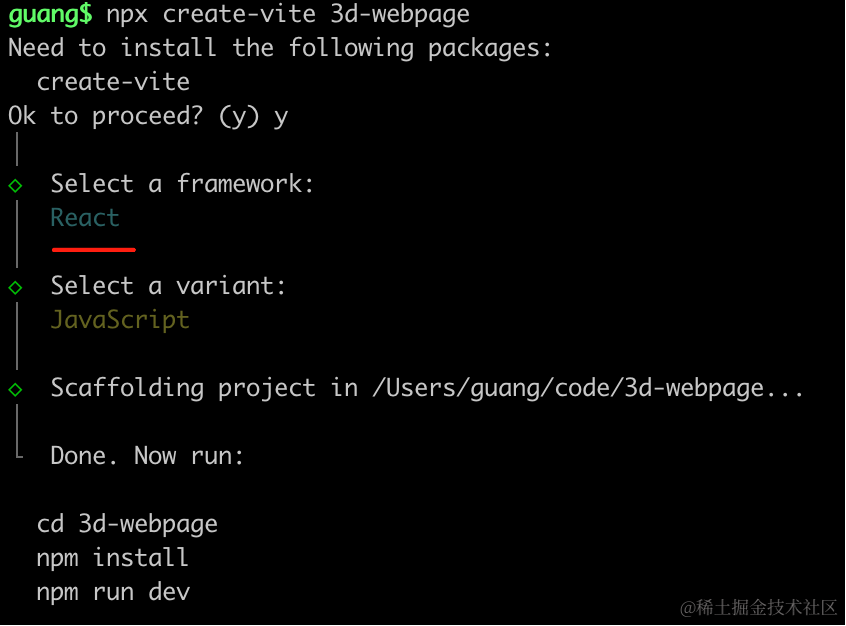
用 react + three.js 来写,因为要写 div + css 部分。
进入项目,安装依赖:
pnpm install
pnpm install --save three
pnpm install --save-dev @types/three
去掉 StrictMode 和 index.css
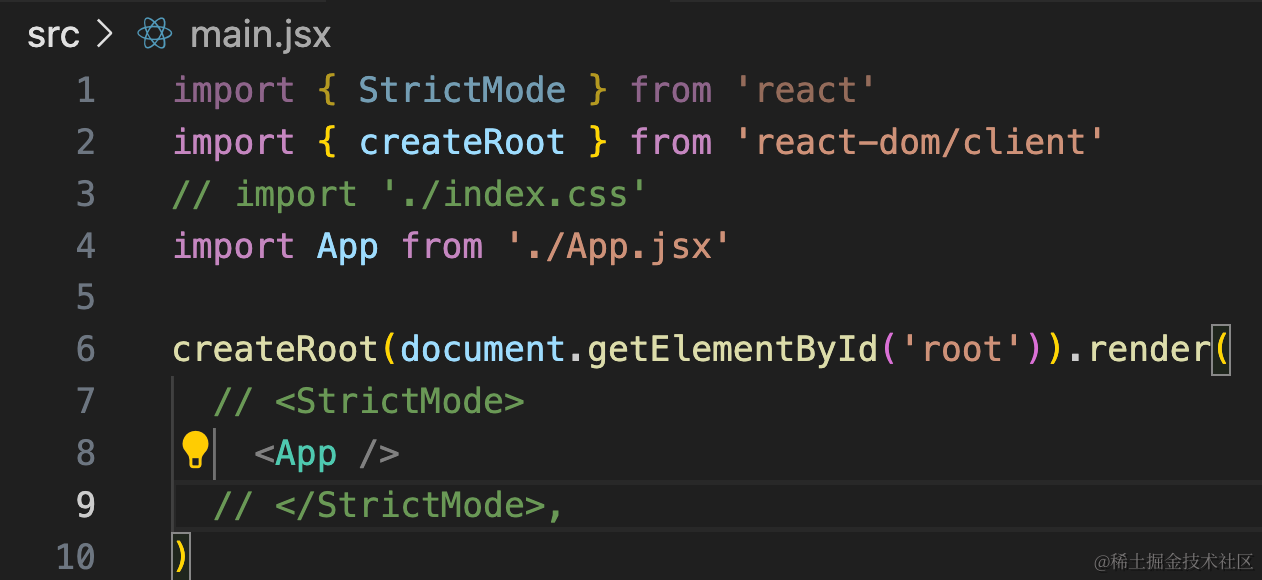
然后改一下 App.jsx
import { useEffect, useRef, useState } from 'react';
import { init } from './3d-init'
import './App.css'

function App() {

  useEffect(() => {
    const dom = document.getElementById('content');
    const { scene } = init(dom);

    return () => {
      dom.innerHTML = '';
    }
  }, []);

  return <div>
    <div id="main">
      <div id="content">
      </div>
    </div>
  </div>
}

export default App
在 App.css 写下样式:
body {
  margin: 0;
}
然后来初始化 3d 场景:
创建 3d-init.js
import * as THREE from 'three';
import {
OrbitControls
} from 'three/addons/controls/OrbitControls.js';
import mesh from './mesh';
export function init(dom) {
const scene = new THREE.Scene();
scene.add(mesh);
const axesHelper = new THREE.AxesHelper(500);
scene.add(axesHelper);
const directionalLight = new THREE.DirectionalLight(0xffffff);
directionalLight.position.set(500, 400, 300);
scene.add(directionalLight);
const ambientLight = new THREE.AmbientLight(0xffffff);
scene.add(ambientLight);
const width = window.innerWidth;
const height = window.innerHeight;
const camera = new THREE.PerspectiveCamera(60, width / height, 1, 10000);
camera.position.set(0, 500, 500);
camera.lookAt(0, 0, 0);
const renderer = new THREE.WebGLRenderer({
antialias: true
});
renderer.setSize(width, height);
function render(time) {
renderer.render(scene, camera);
requestAnimationFrame(render);
}
render();
dom.append(renderer.domElement);
window.onresize = function () {
const width = window.innerWidth;
const height = window.innerHeight;
renderer.setSize(width,height);
camera.aspect = width / height;
camera.updateProjectionMatrix();
};
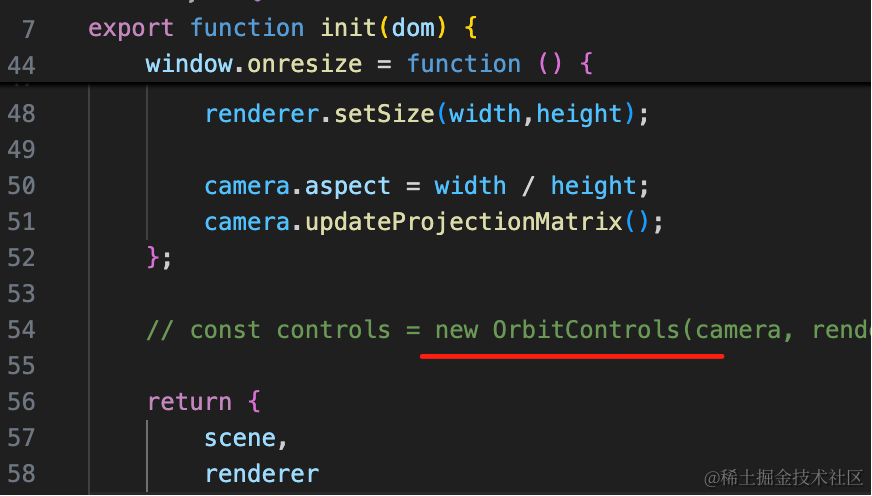
const controls = new OrbitControls(camera, renderer.domElement);
return {
scene,
renderer,
controls
}
}创建 mesh.js
import * as THREE from 'three';

const group = new THREE.Group();

const geometry = new THREE.BoxGeometry(100, 100, 100);
const material = new THREE.MeshLambertMaterial({
    color: 'orange'
});
const mesh = new THREE.Mesh(geometry, material);

group.add(mesh);

export default group;
我们先跑起来看下:
npm run dev
我们先把前端的部分写一下:
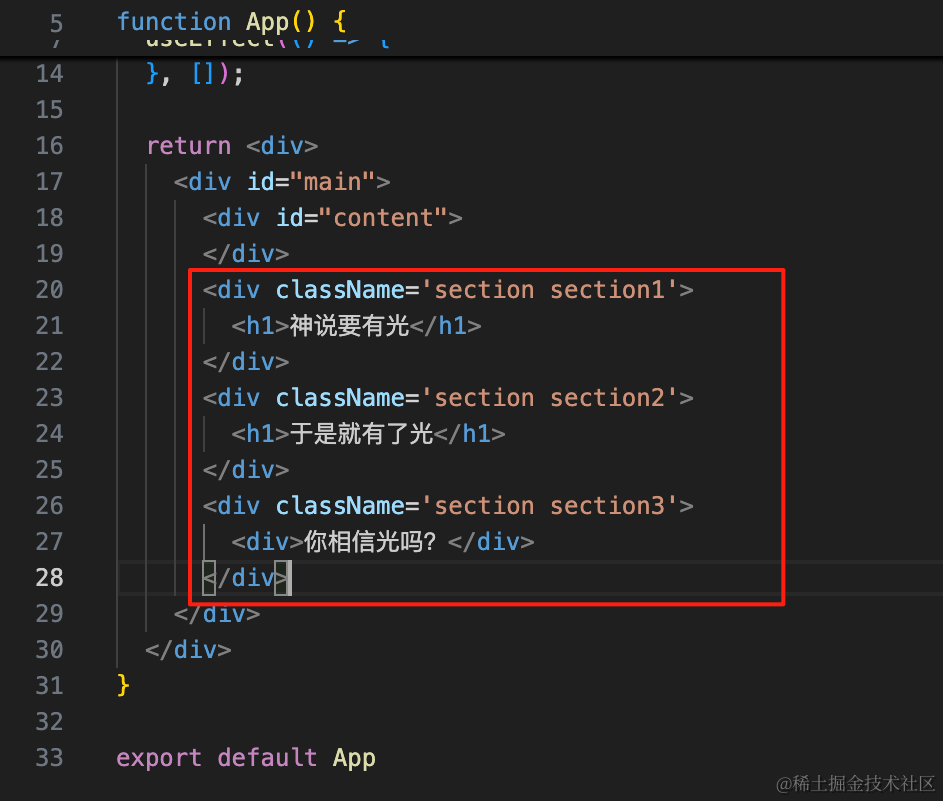
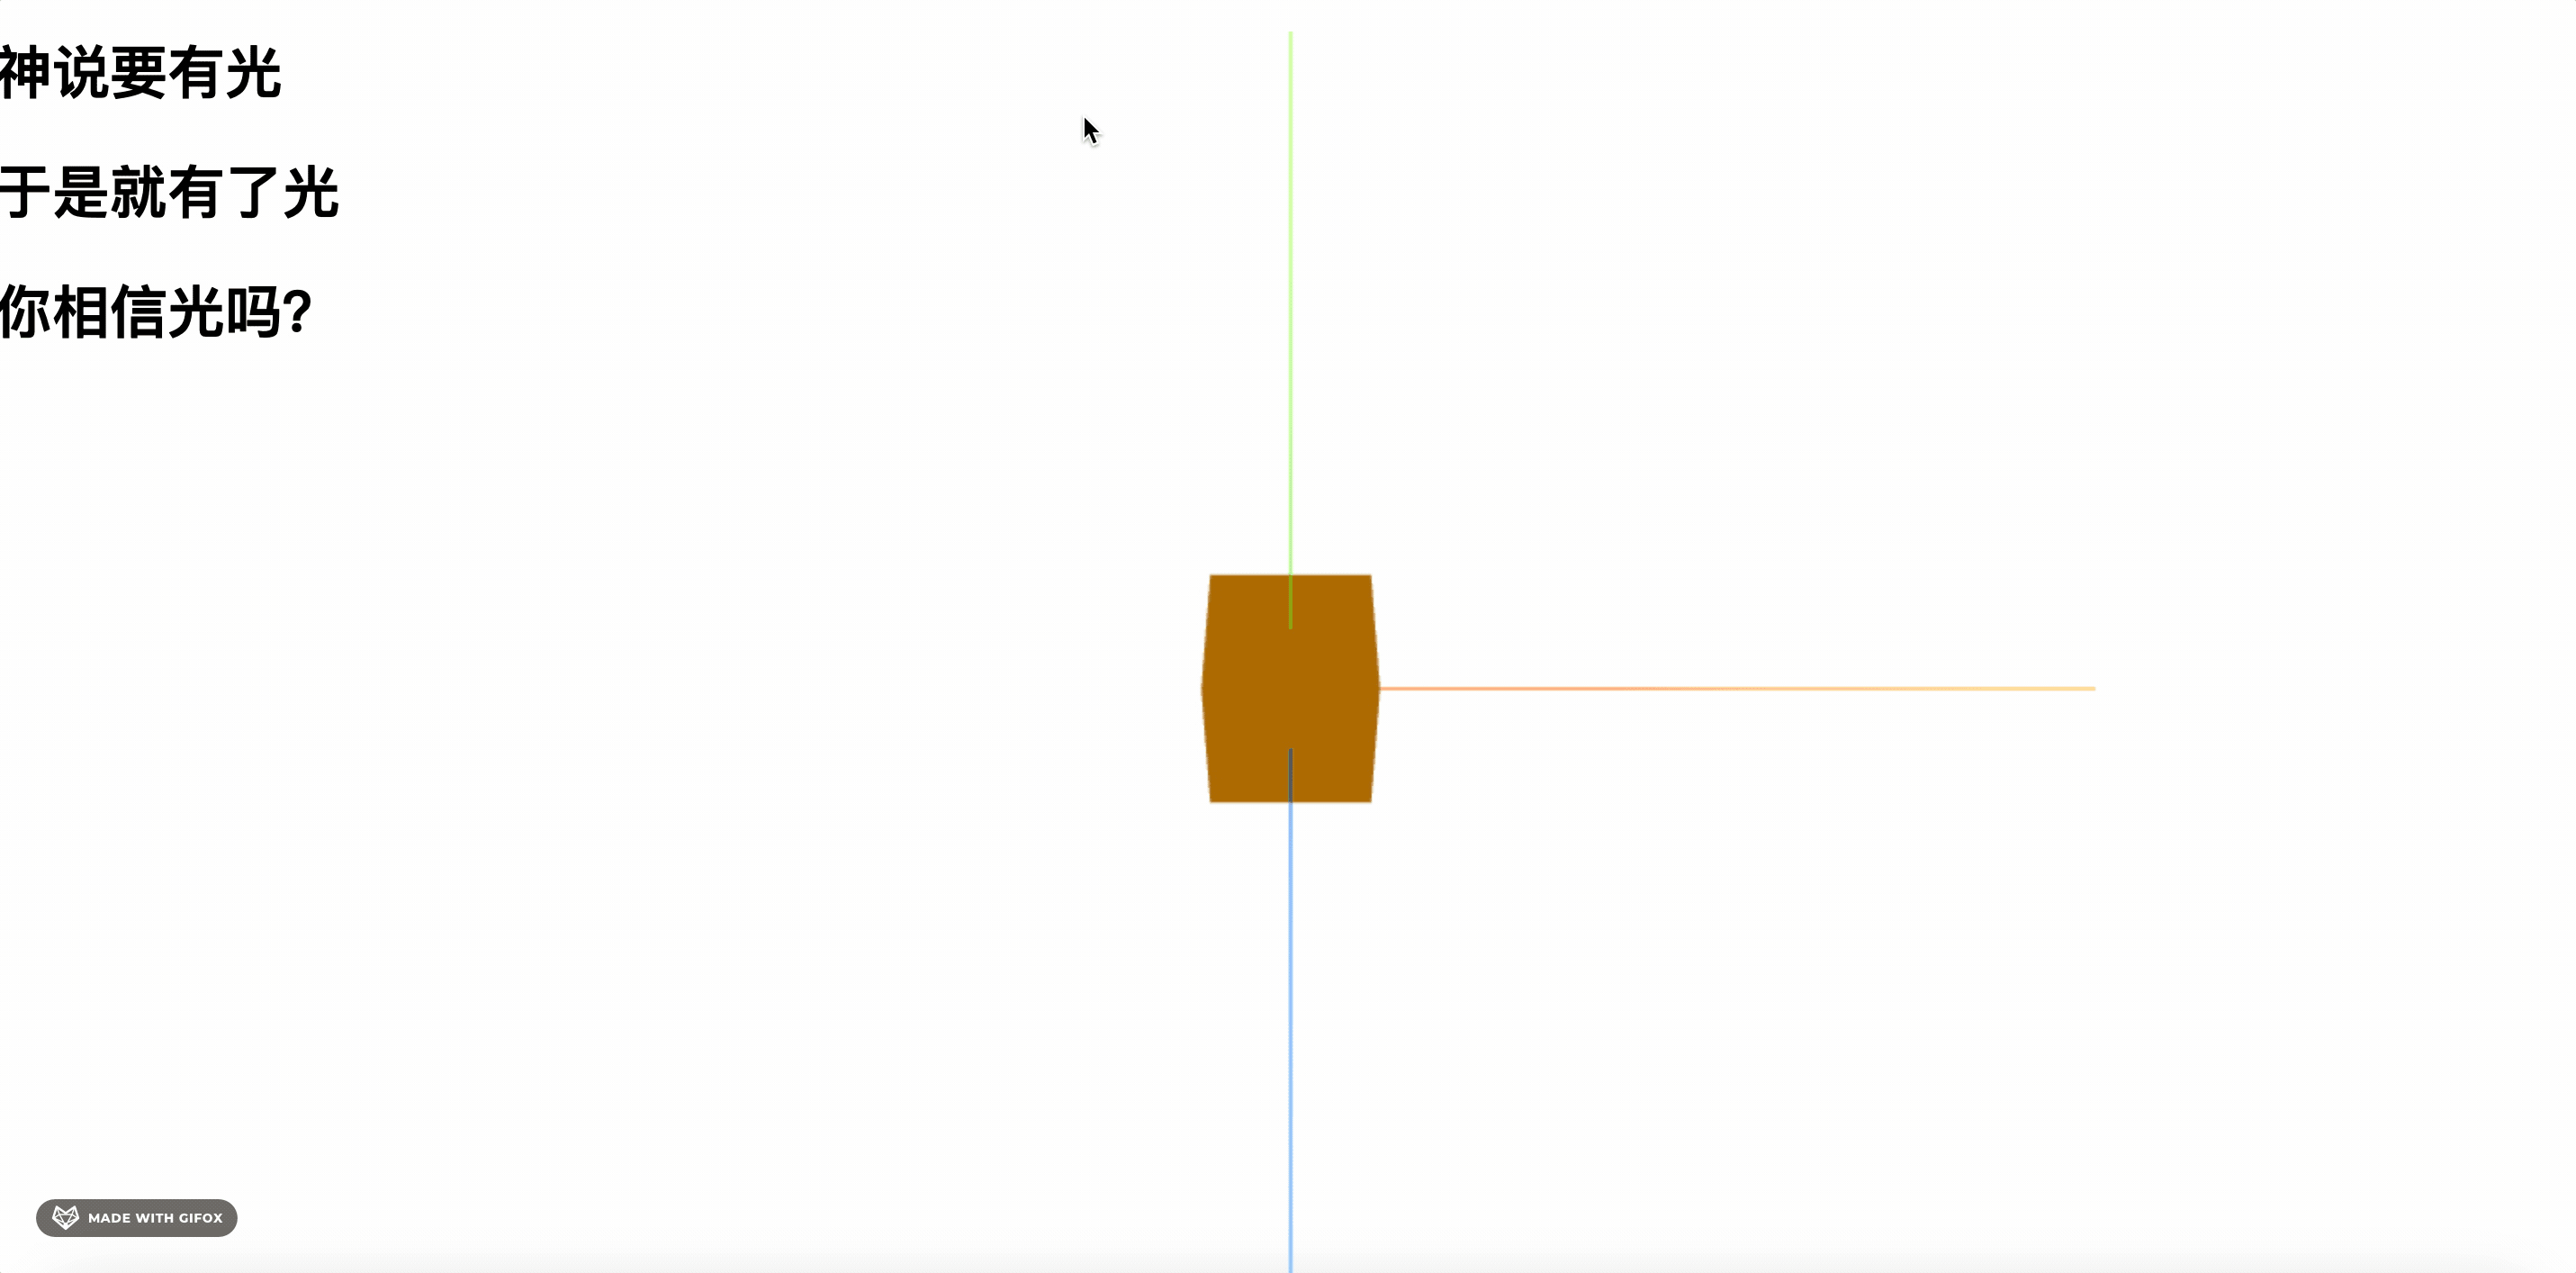
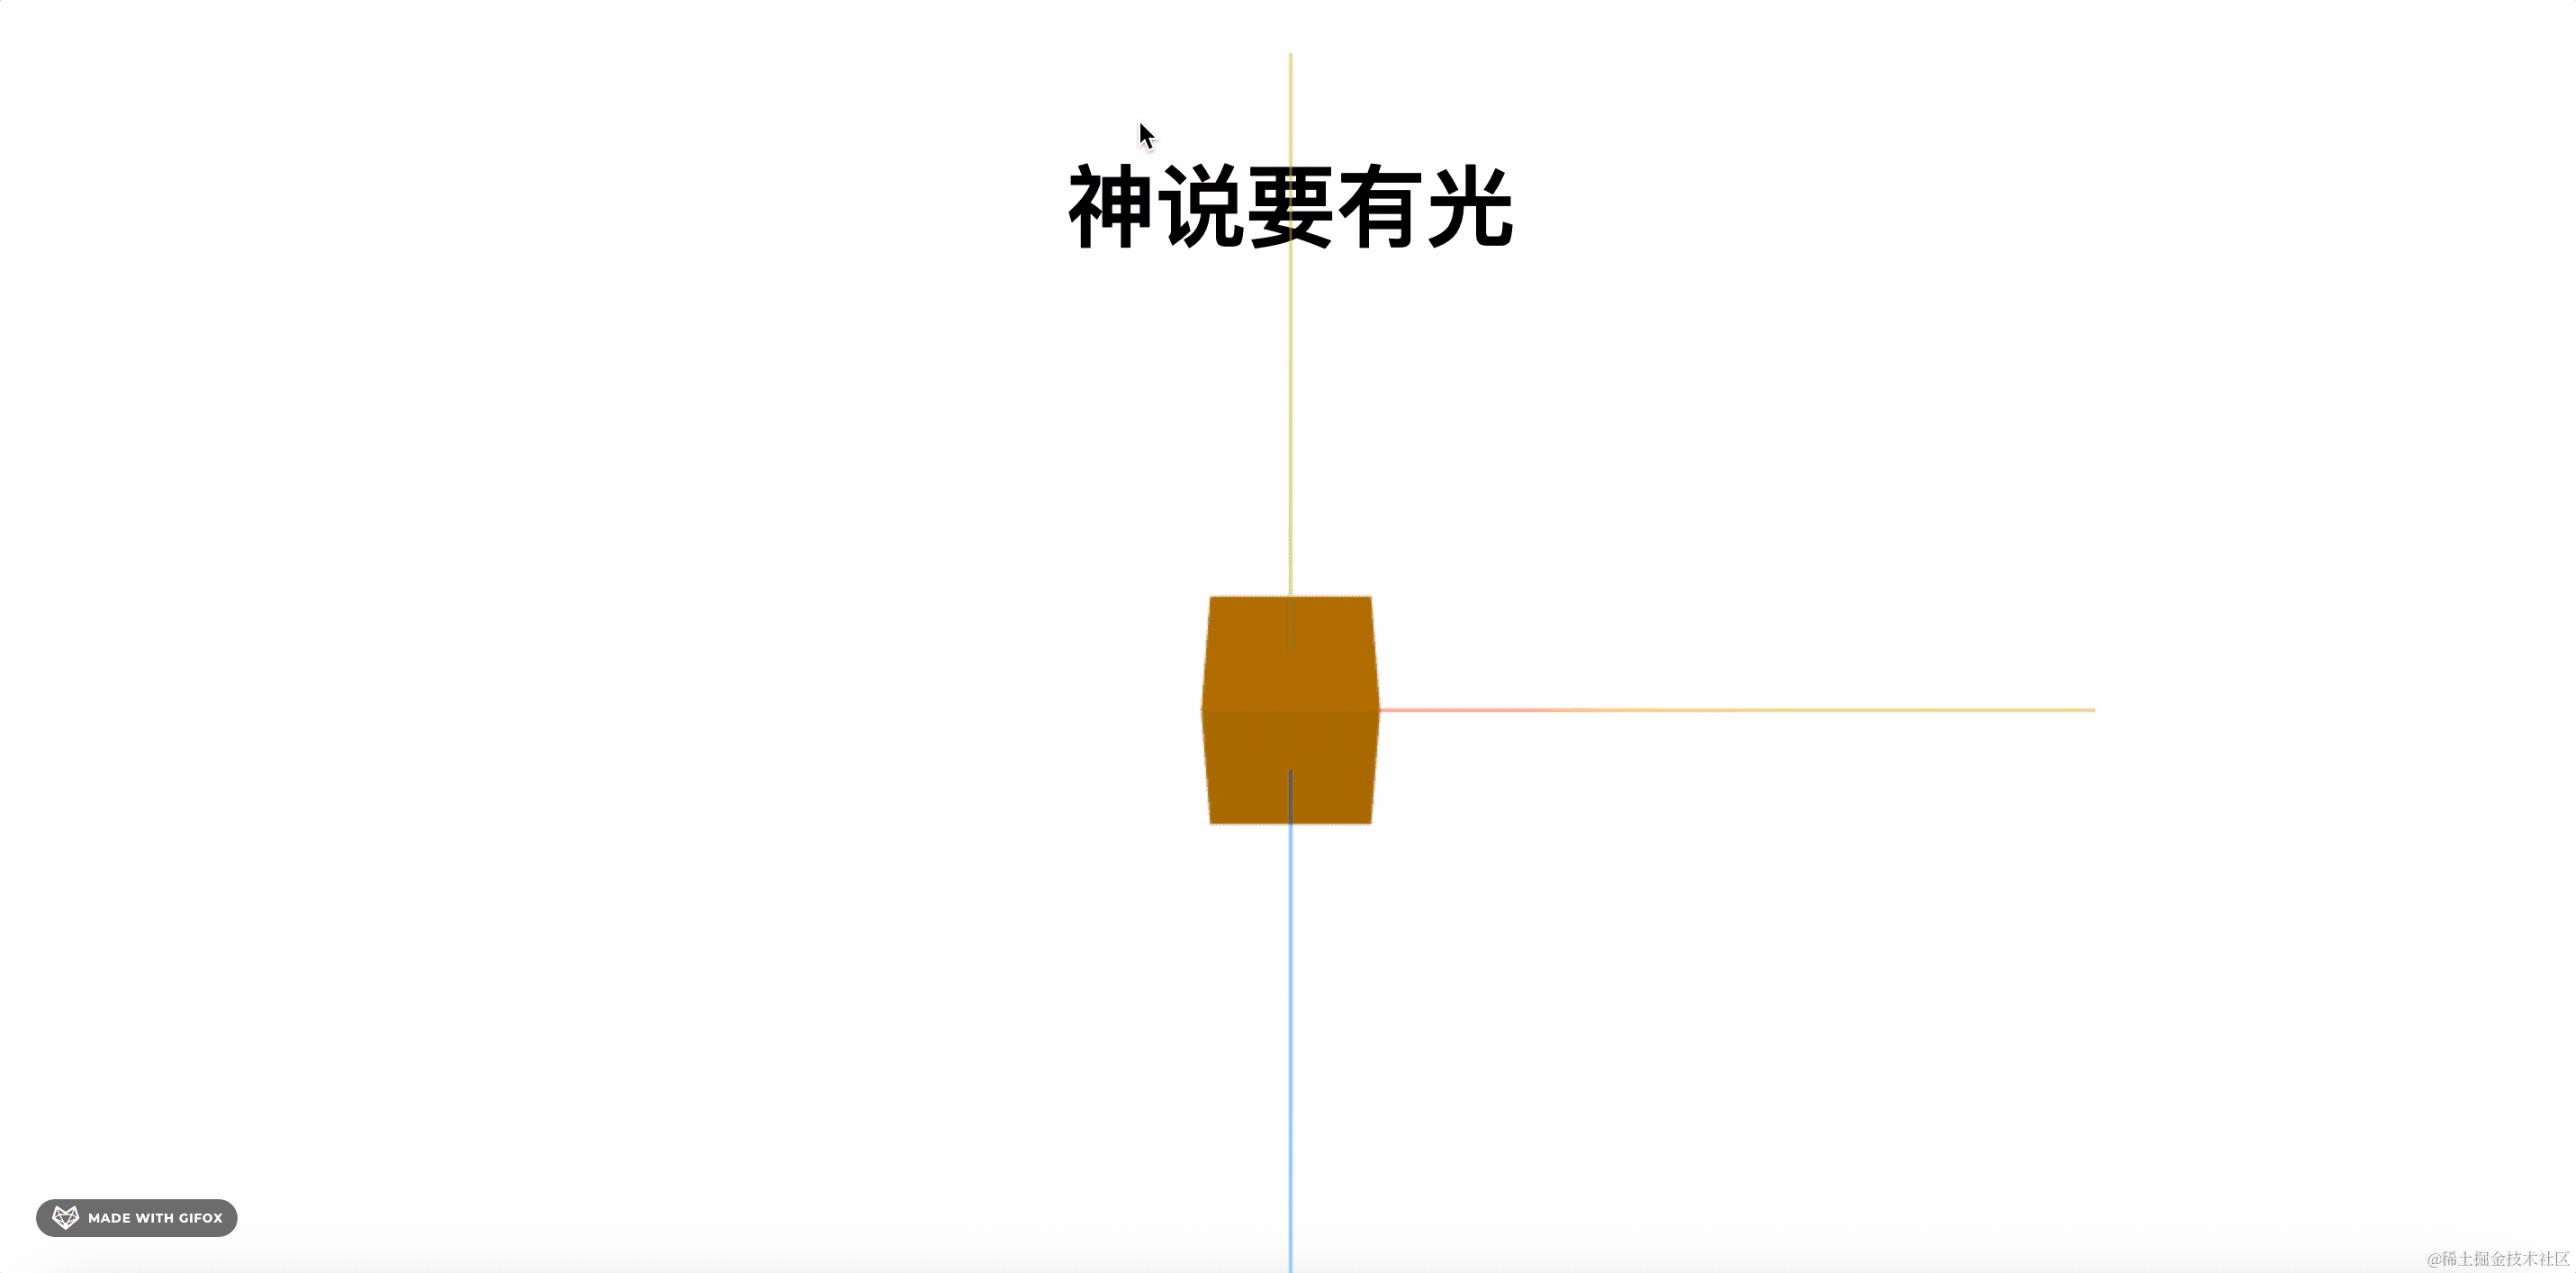
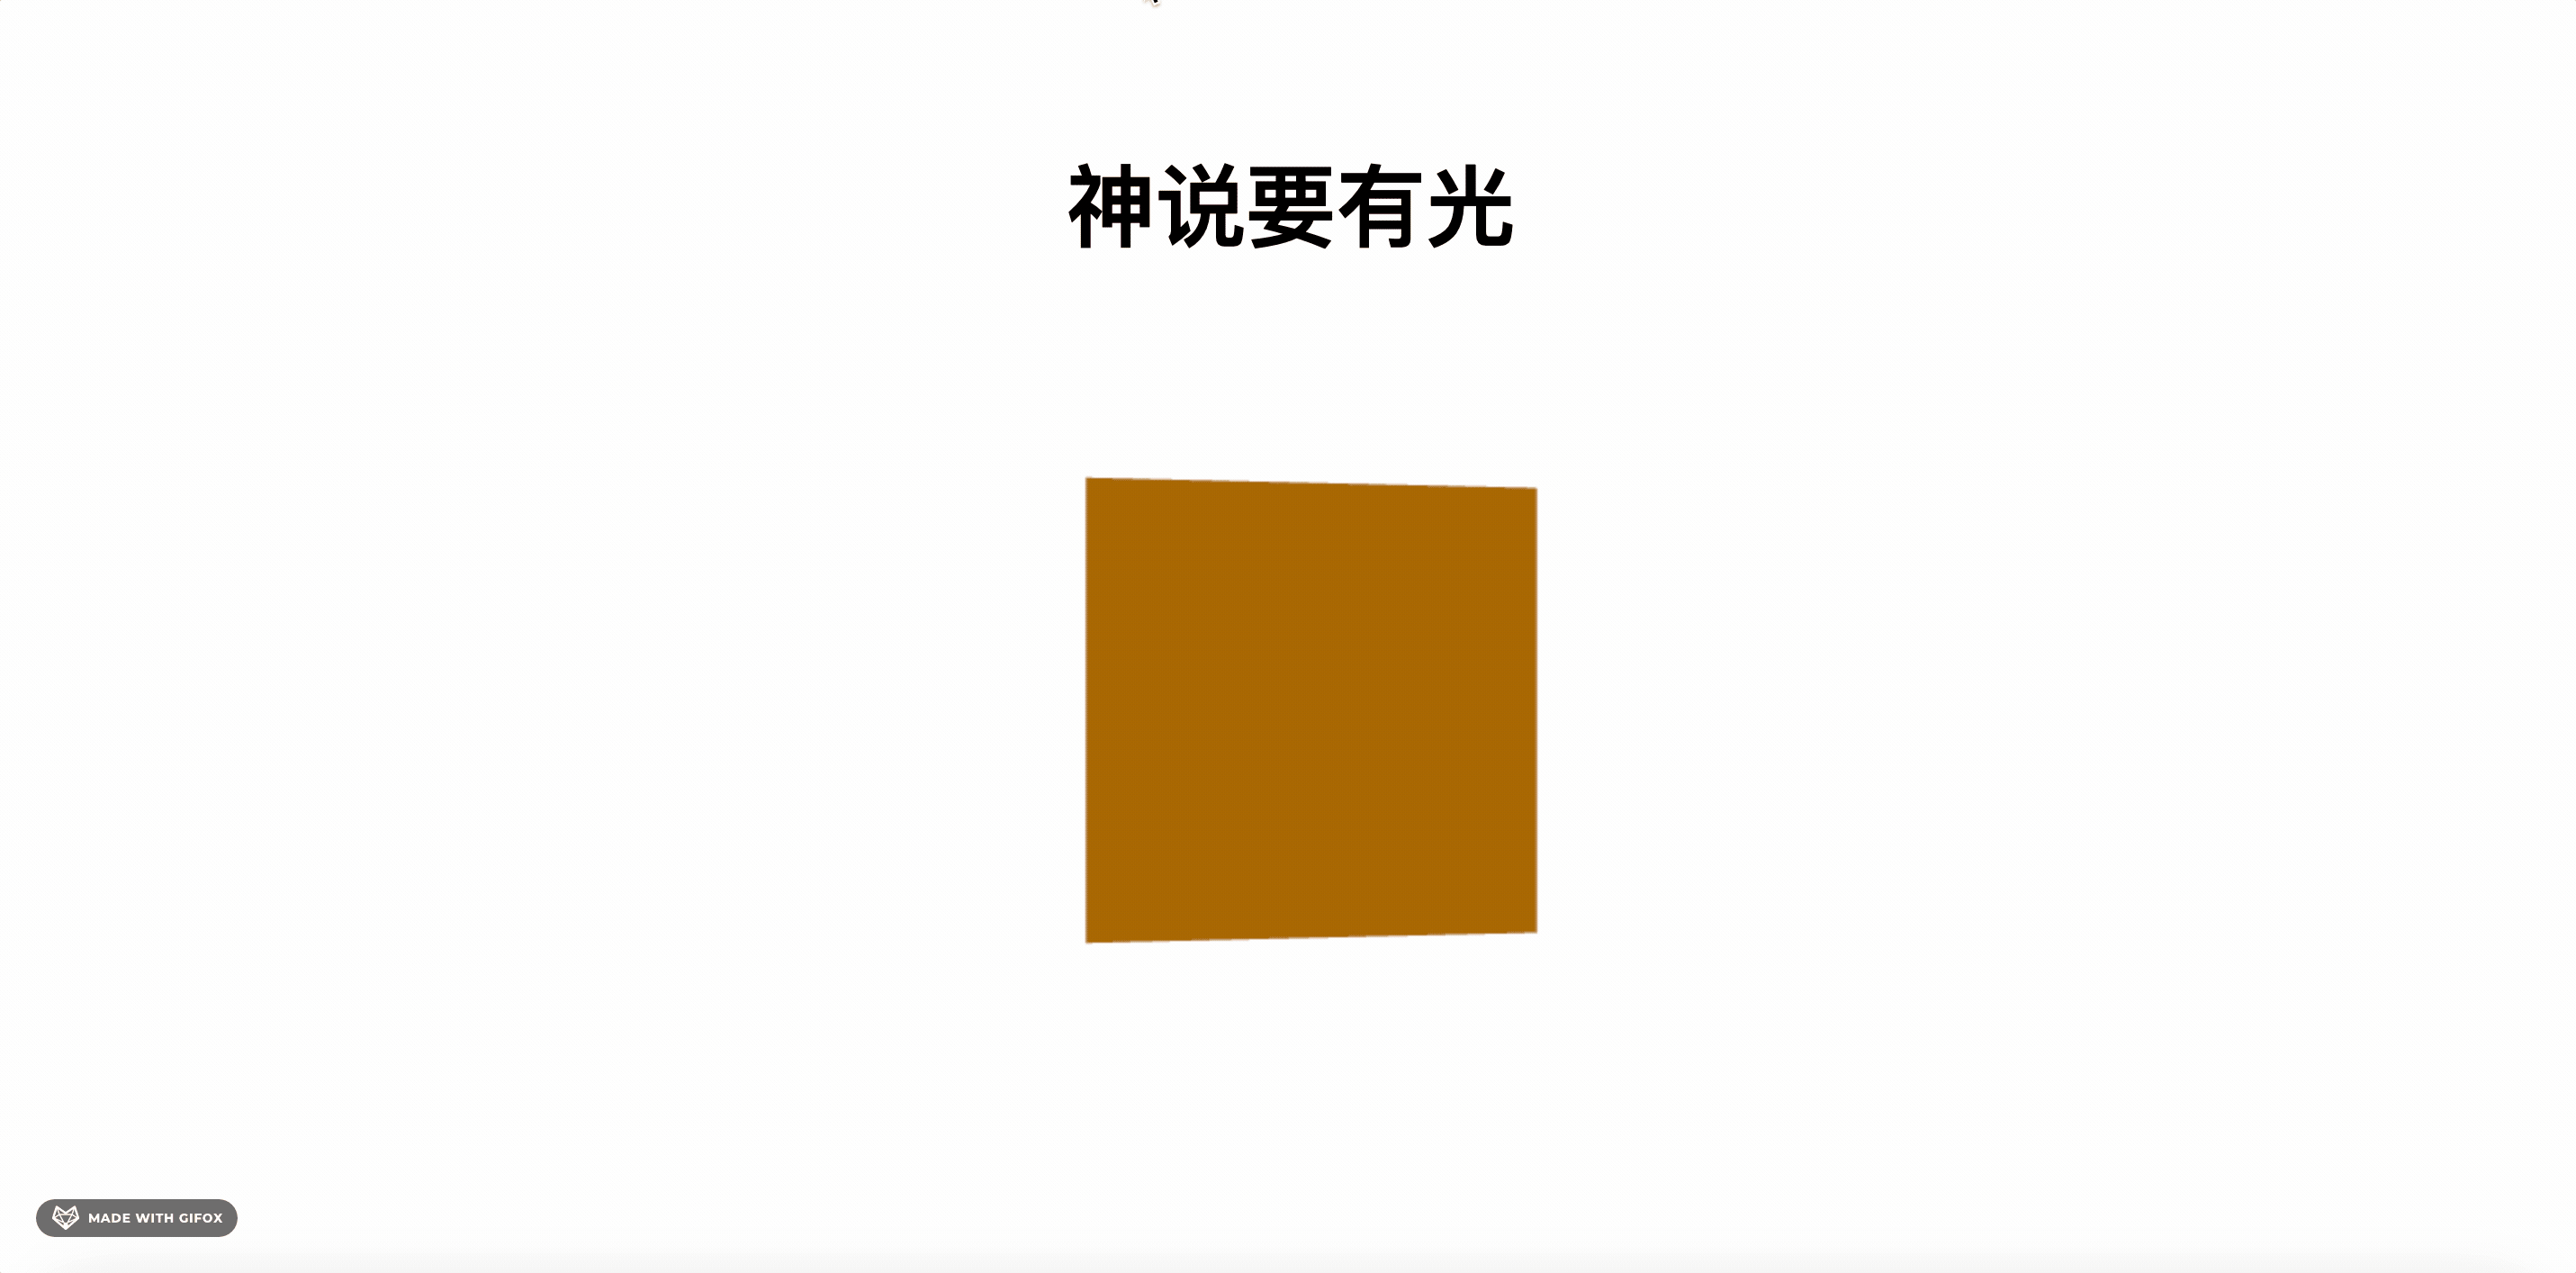
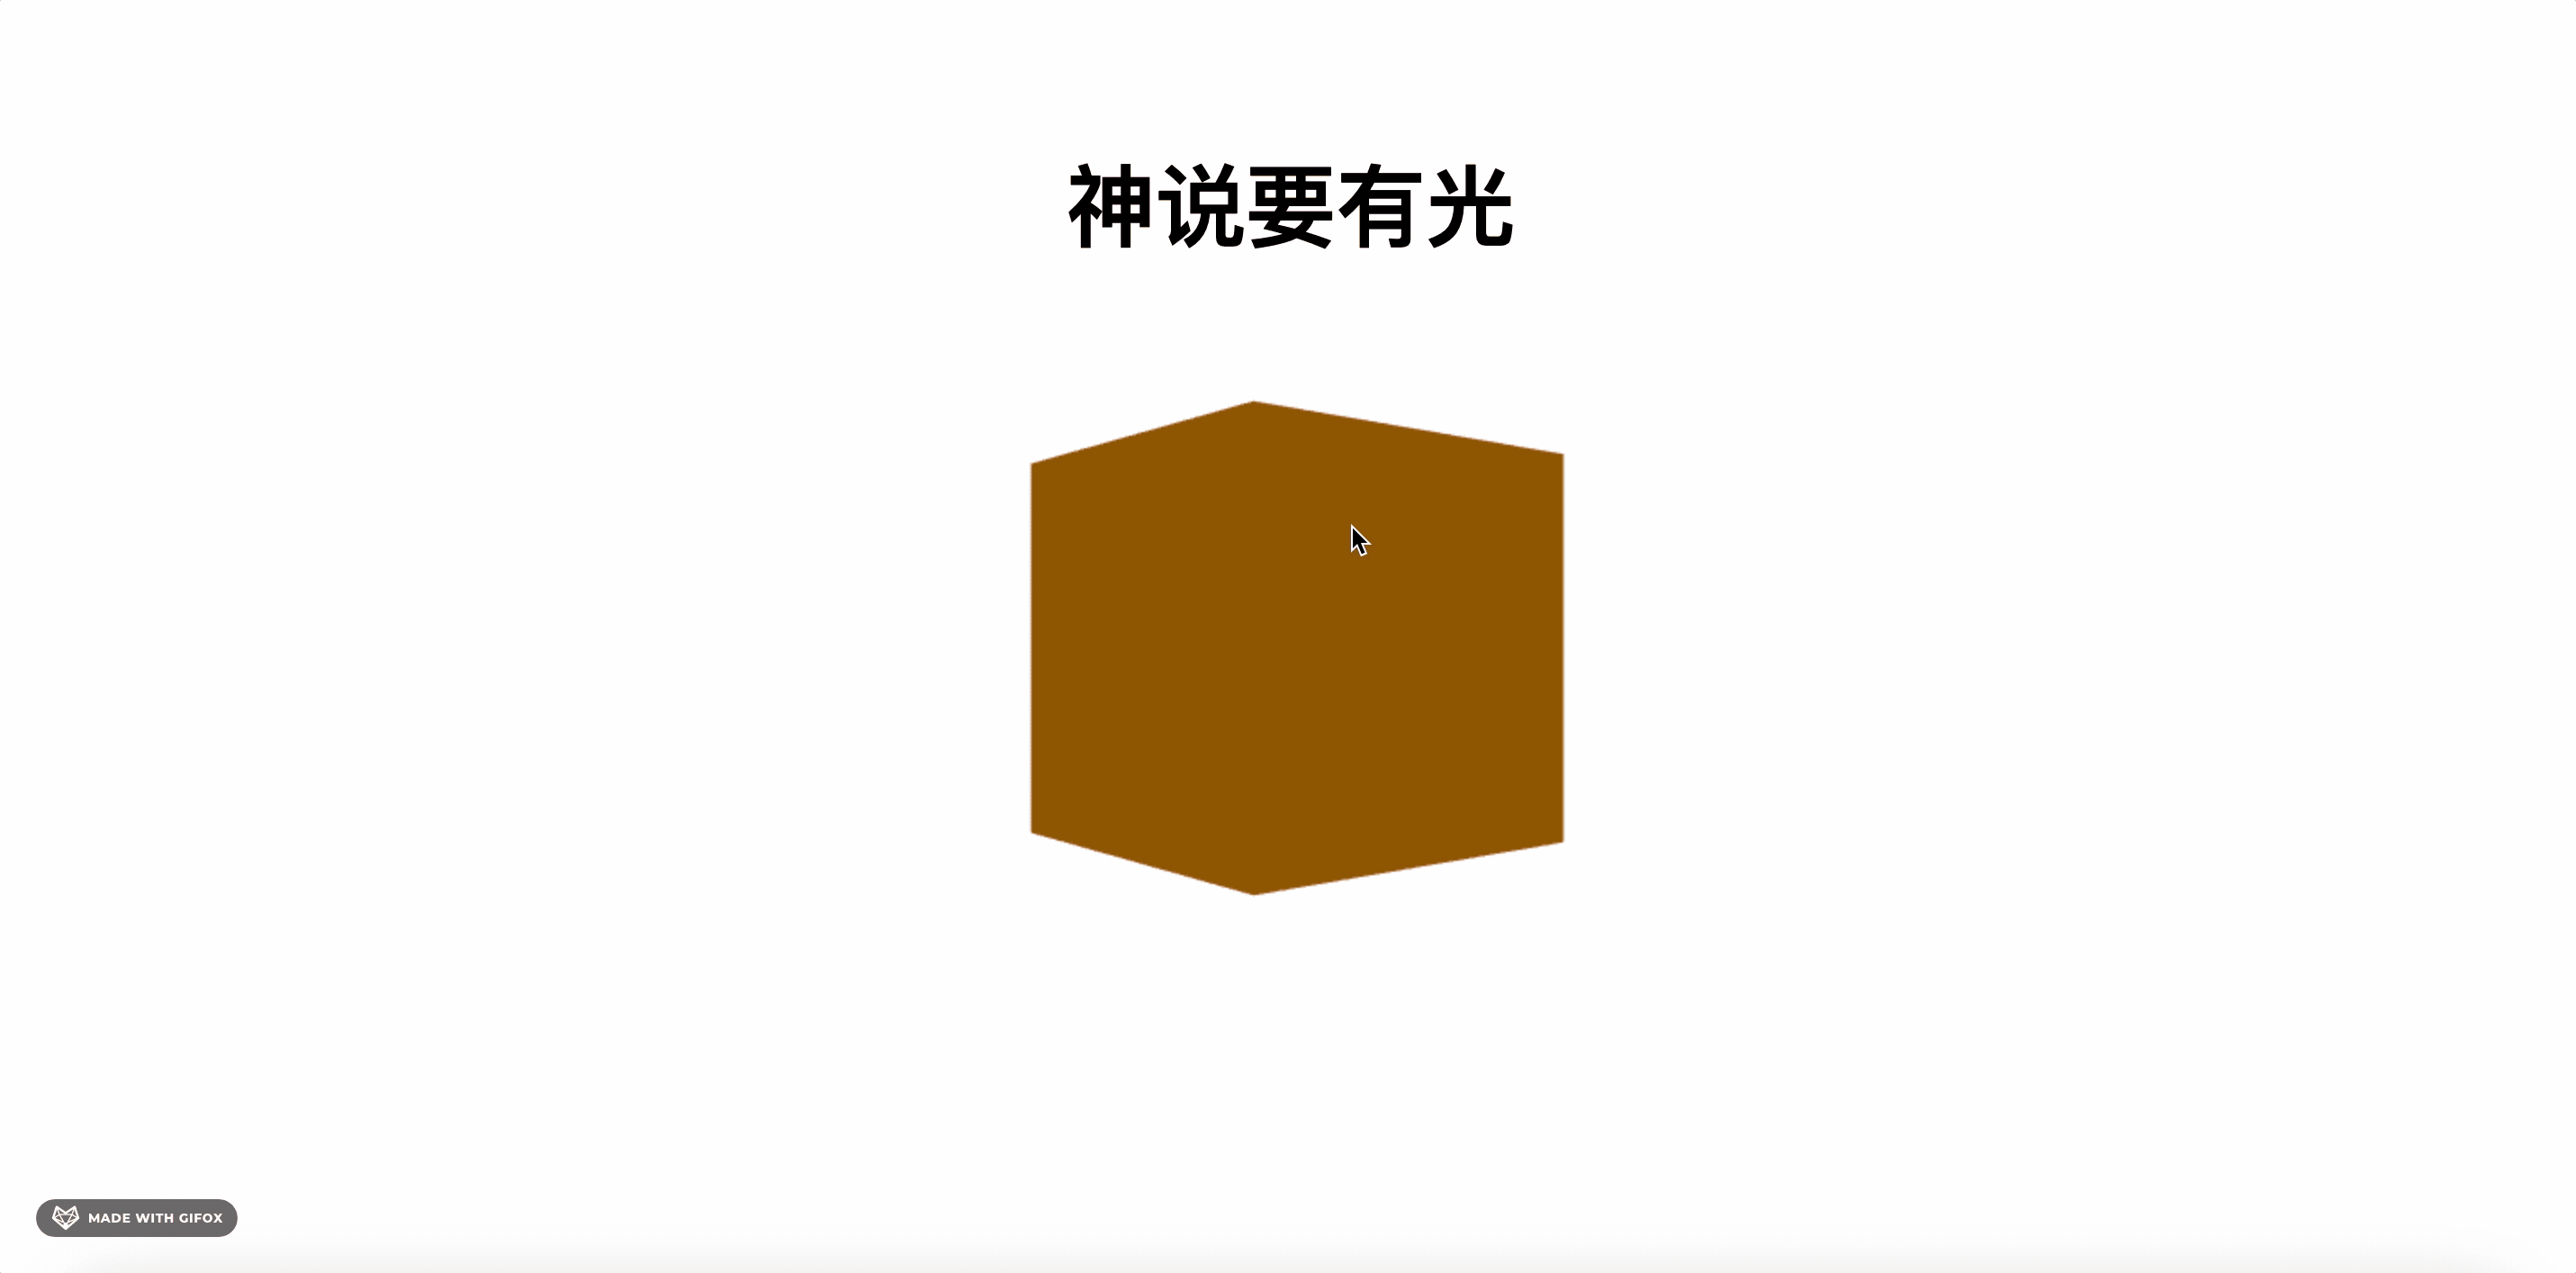
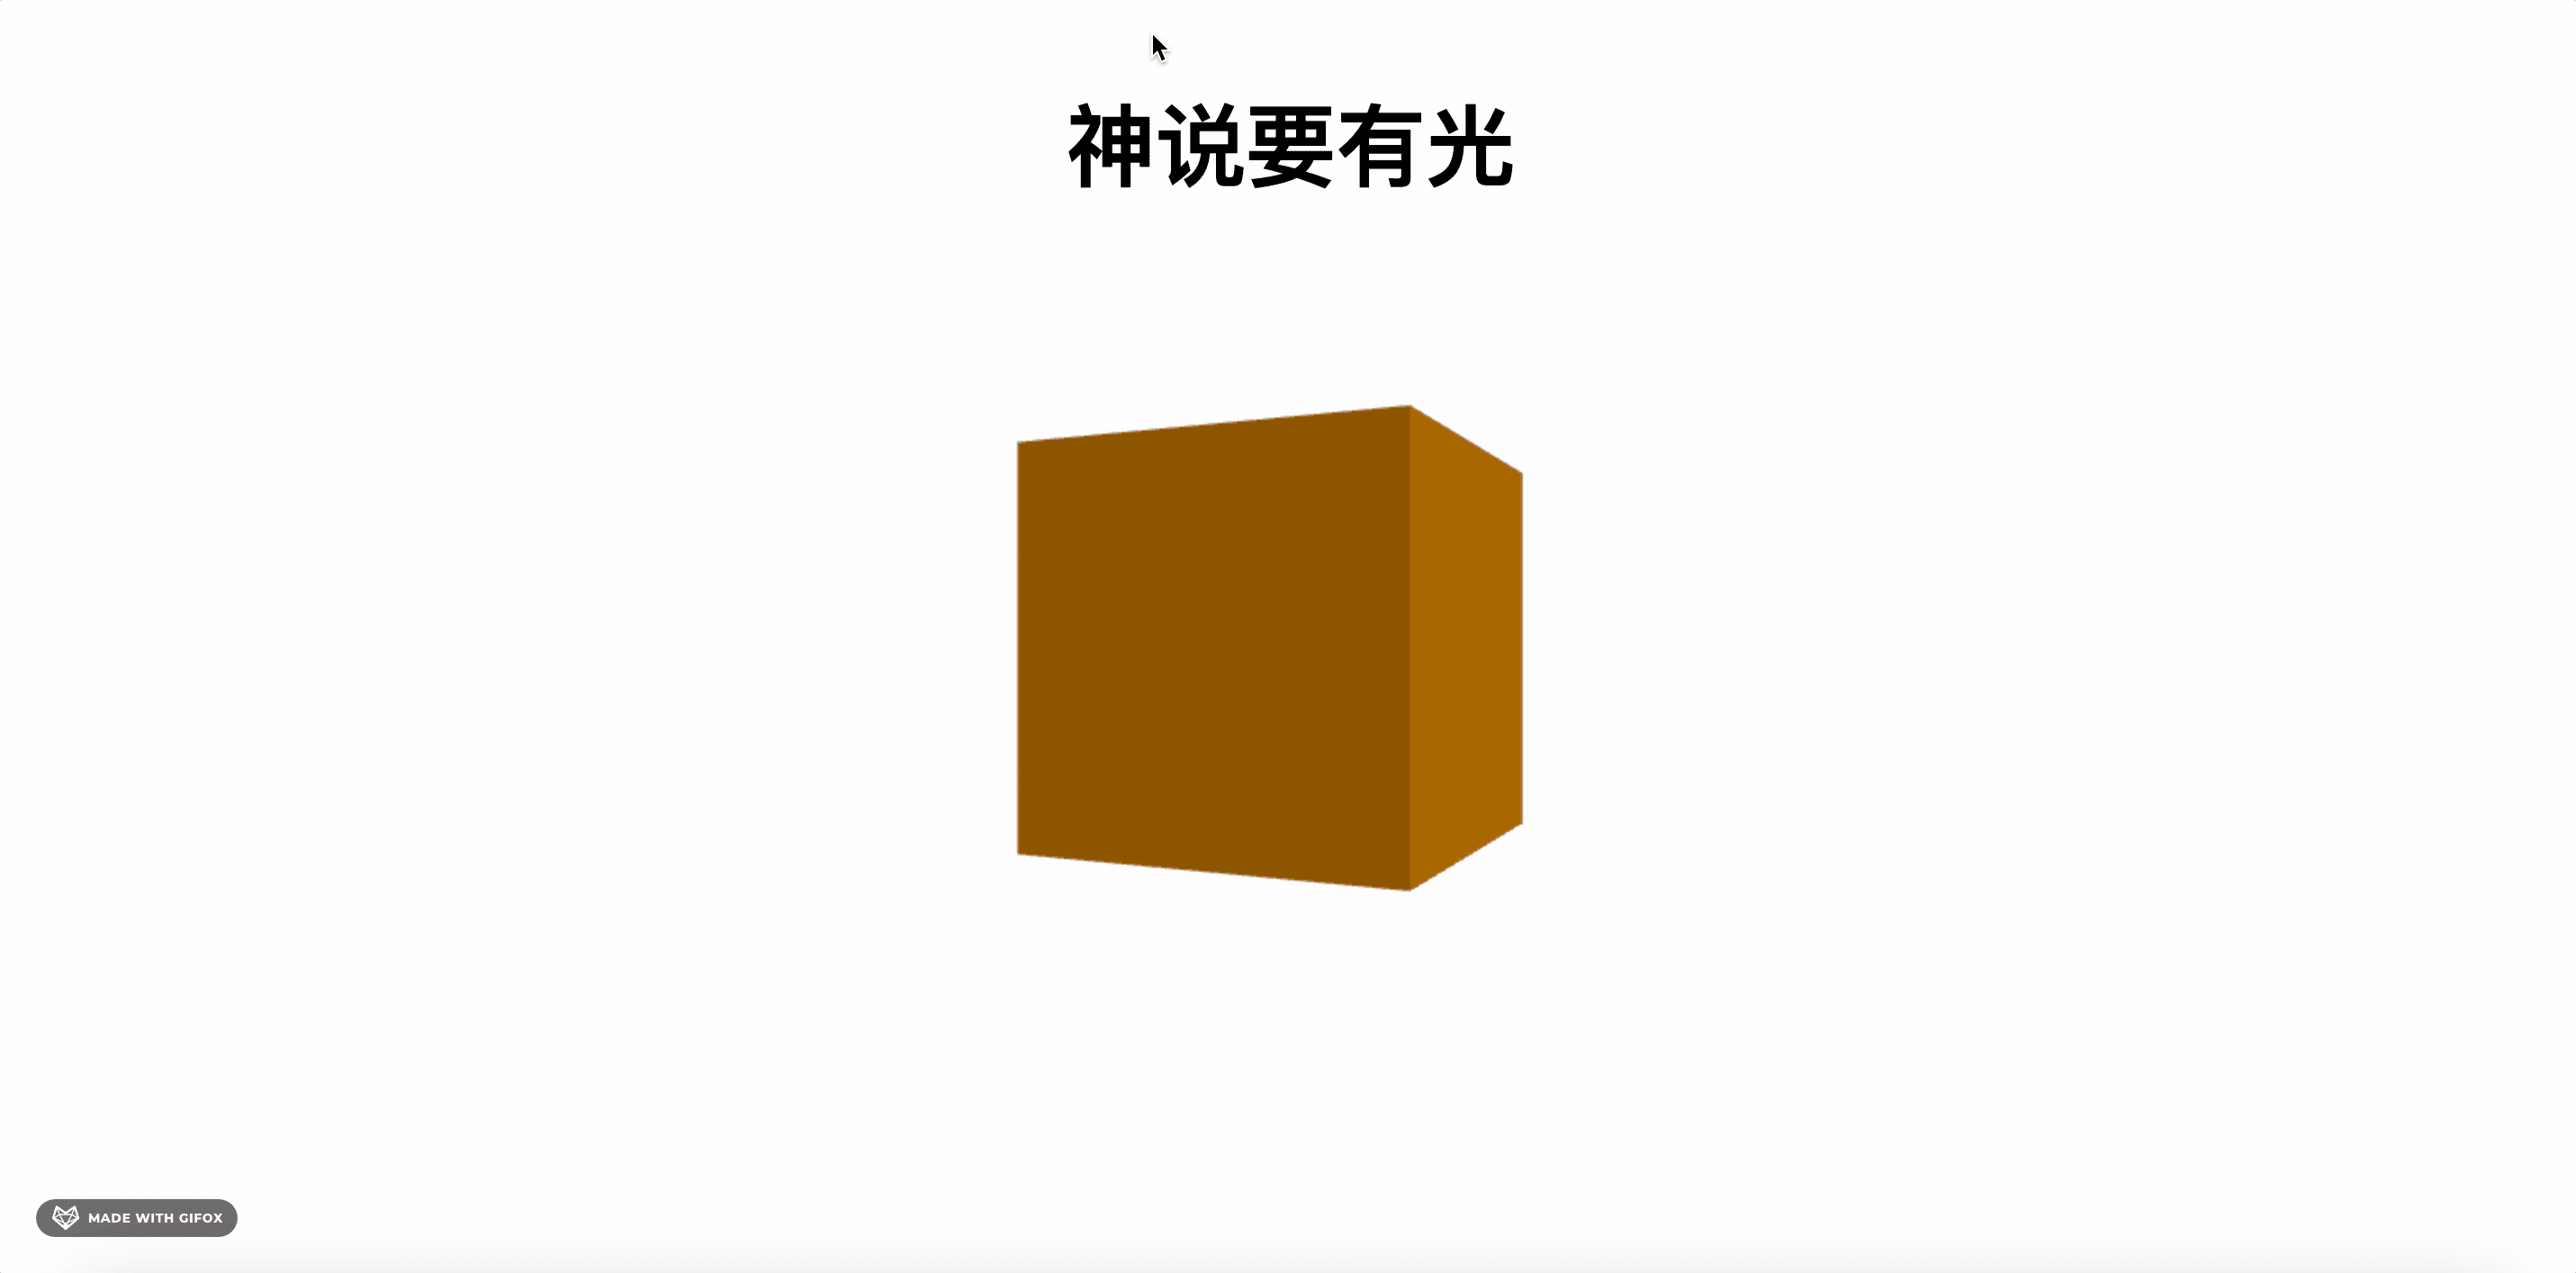
<div className='section section1'>
<h1>神说要有光</h1>
</div>
<div className='section section2'>
<h1>于是就有了光</h1>
</div>
<div className='section section3'>
<h1>你相信光吗?</h1>
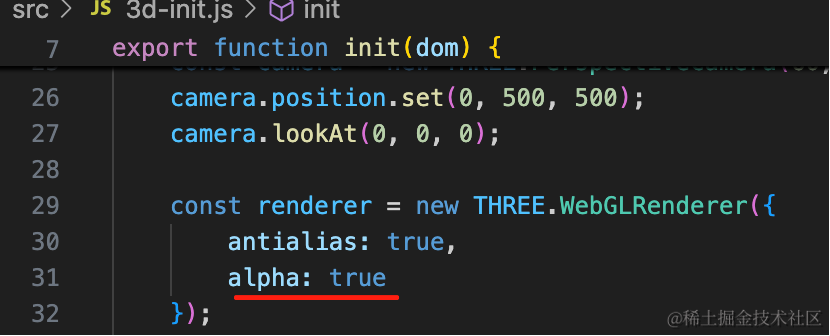
</div>然后设置 3D 场景背景透明:
去掉 OrbitControls,不然会和滚动冲突:
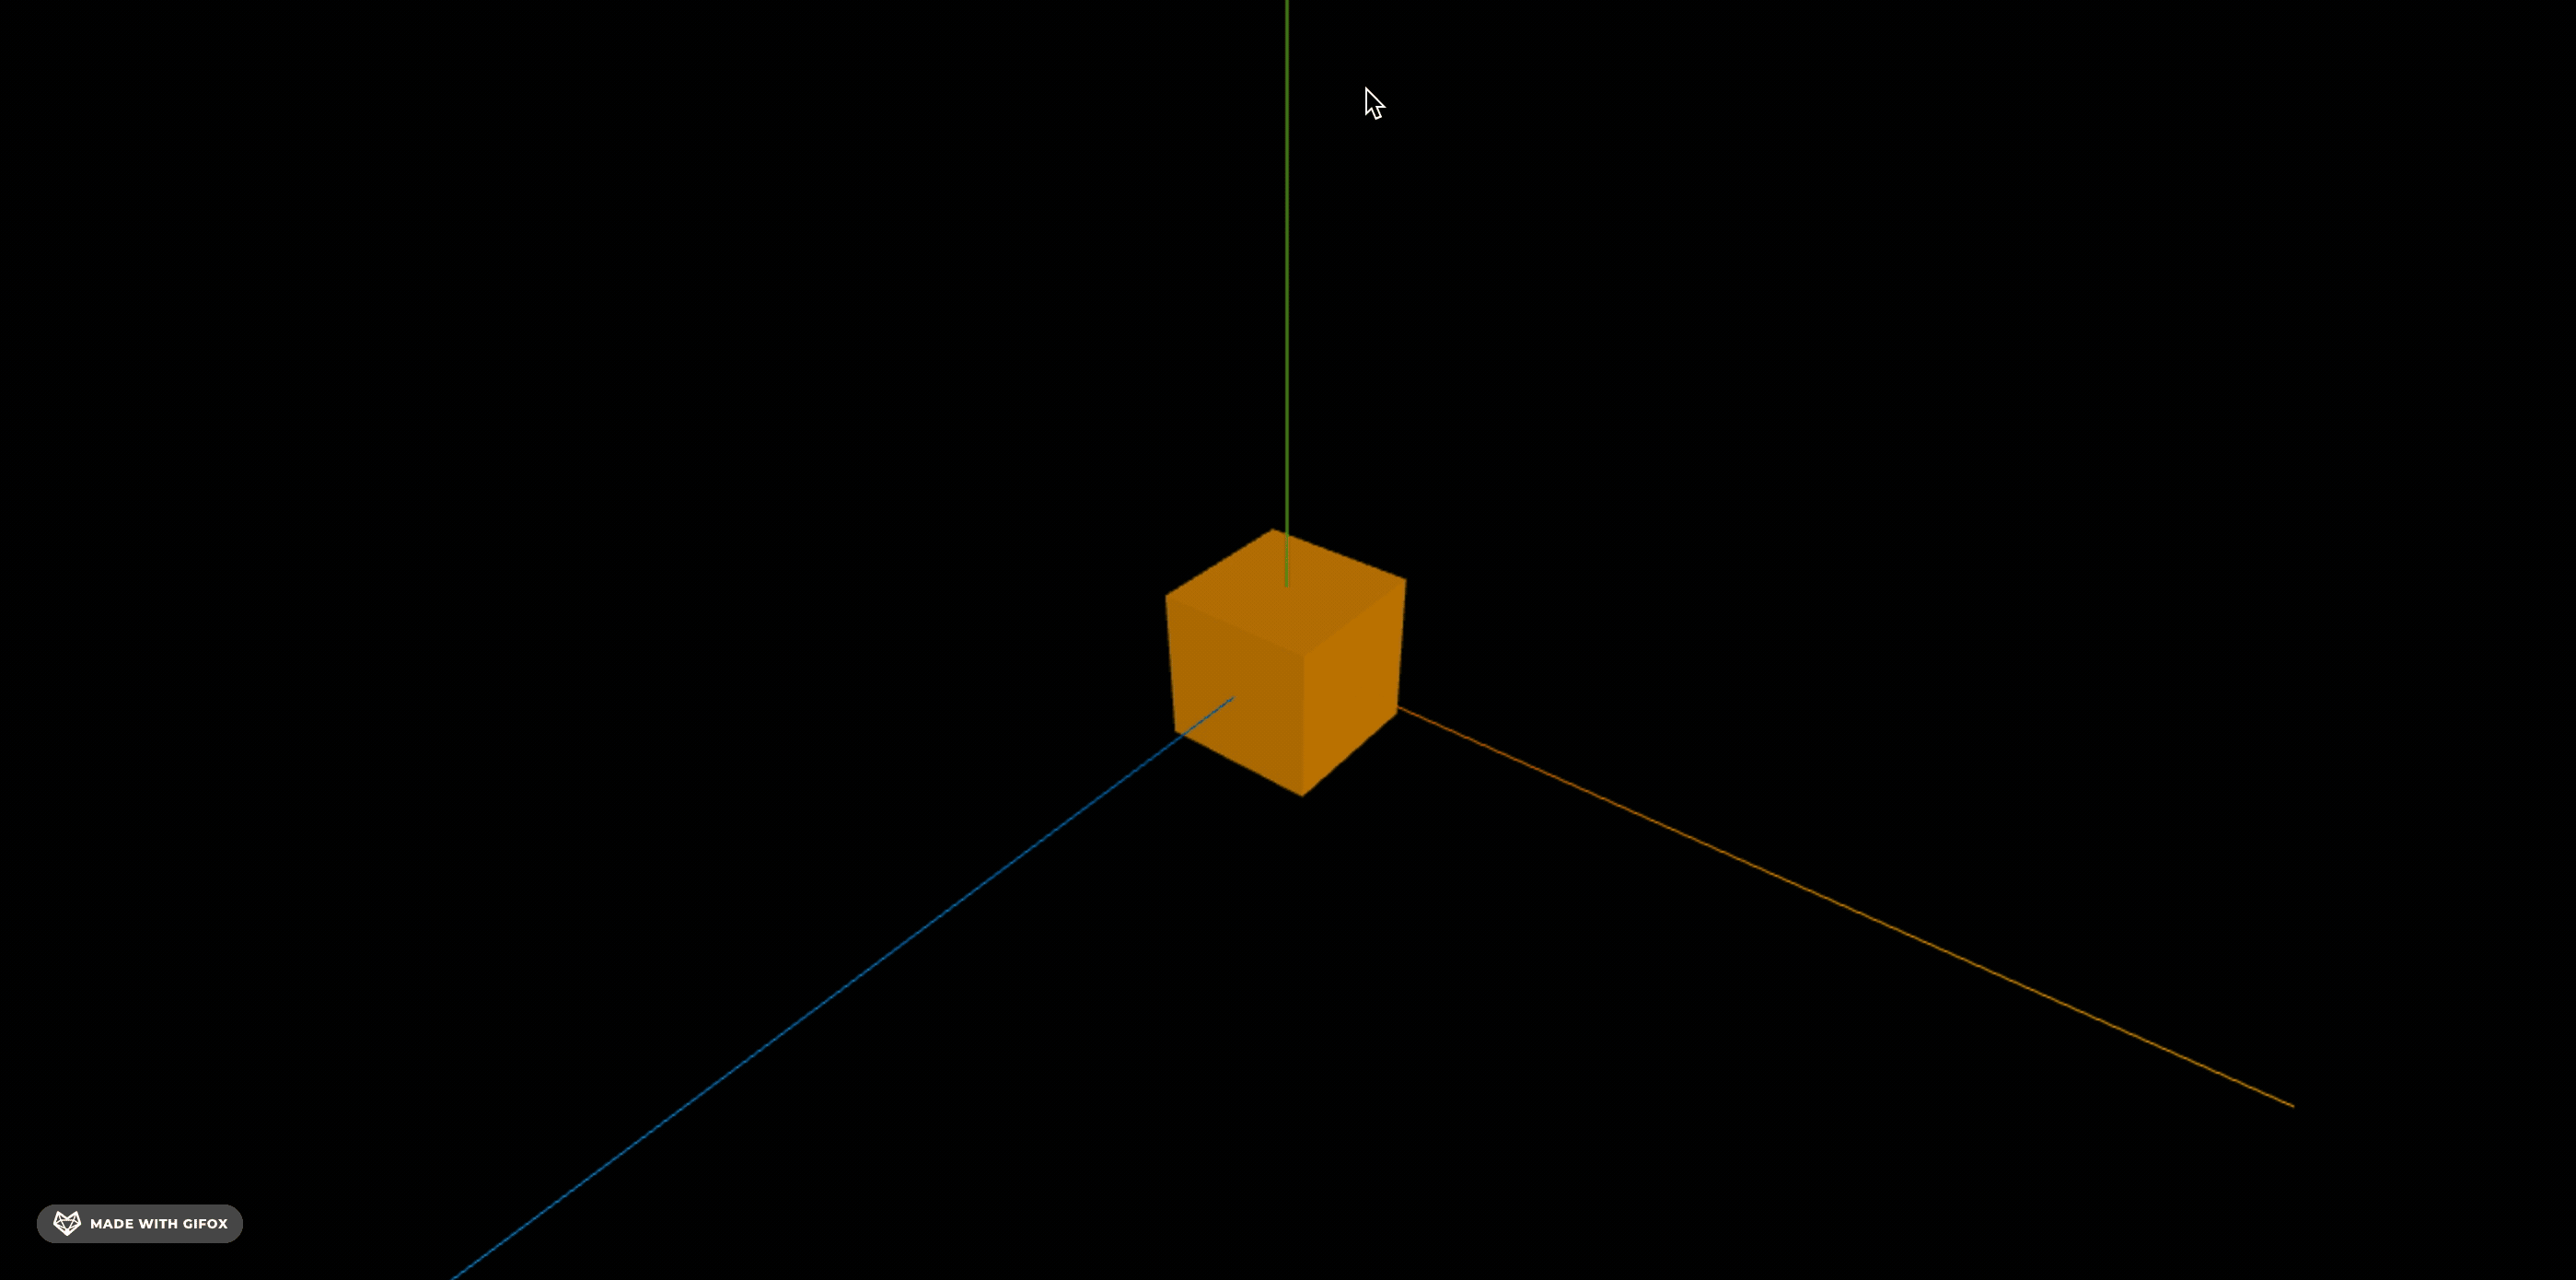
看下效果:
把 canvas 所在的那个元素绝对定位:
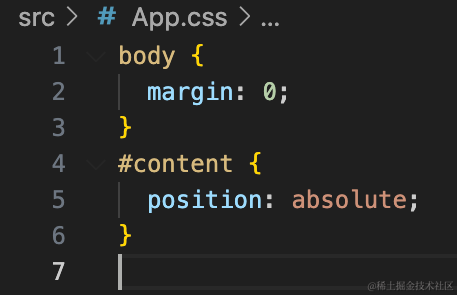
#content {
  position: absolute;
}
然后改一下这三部分的样式:
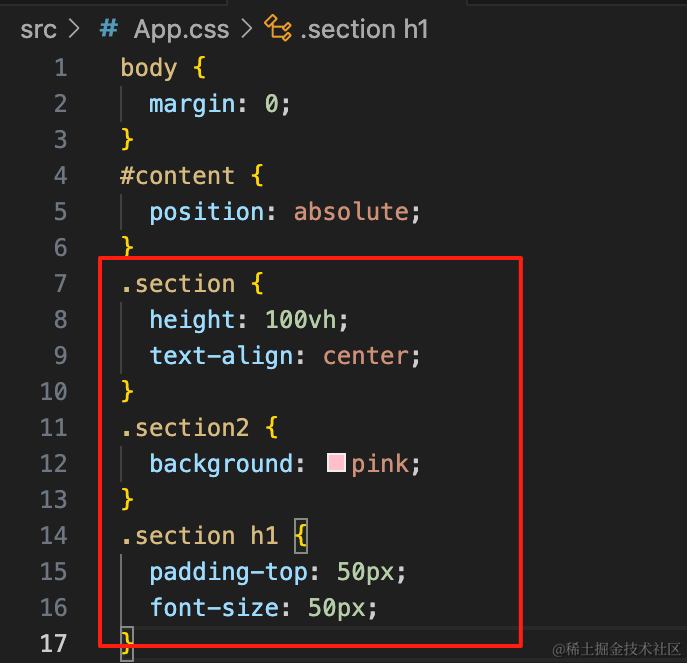
.section {
  height: 100vh;
  text-align: center;
}
.section2 {
  background: pink;
}
.section h1 {
  padding-top: 50px;
  font-size: 50px;
}
每部分都是窗口的高度 100vh
第二部分加个背景色
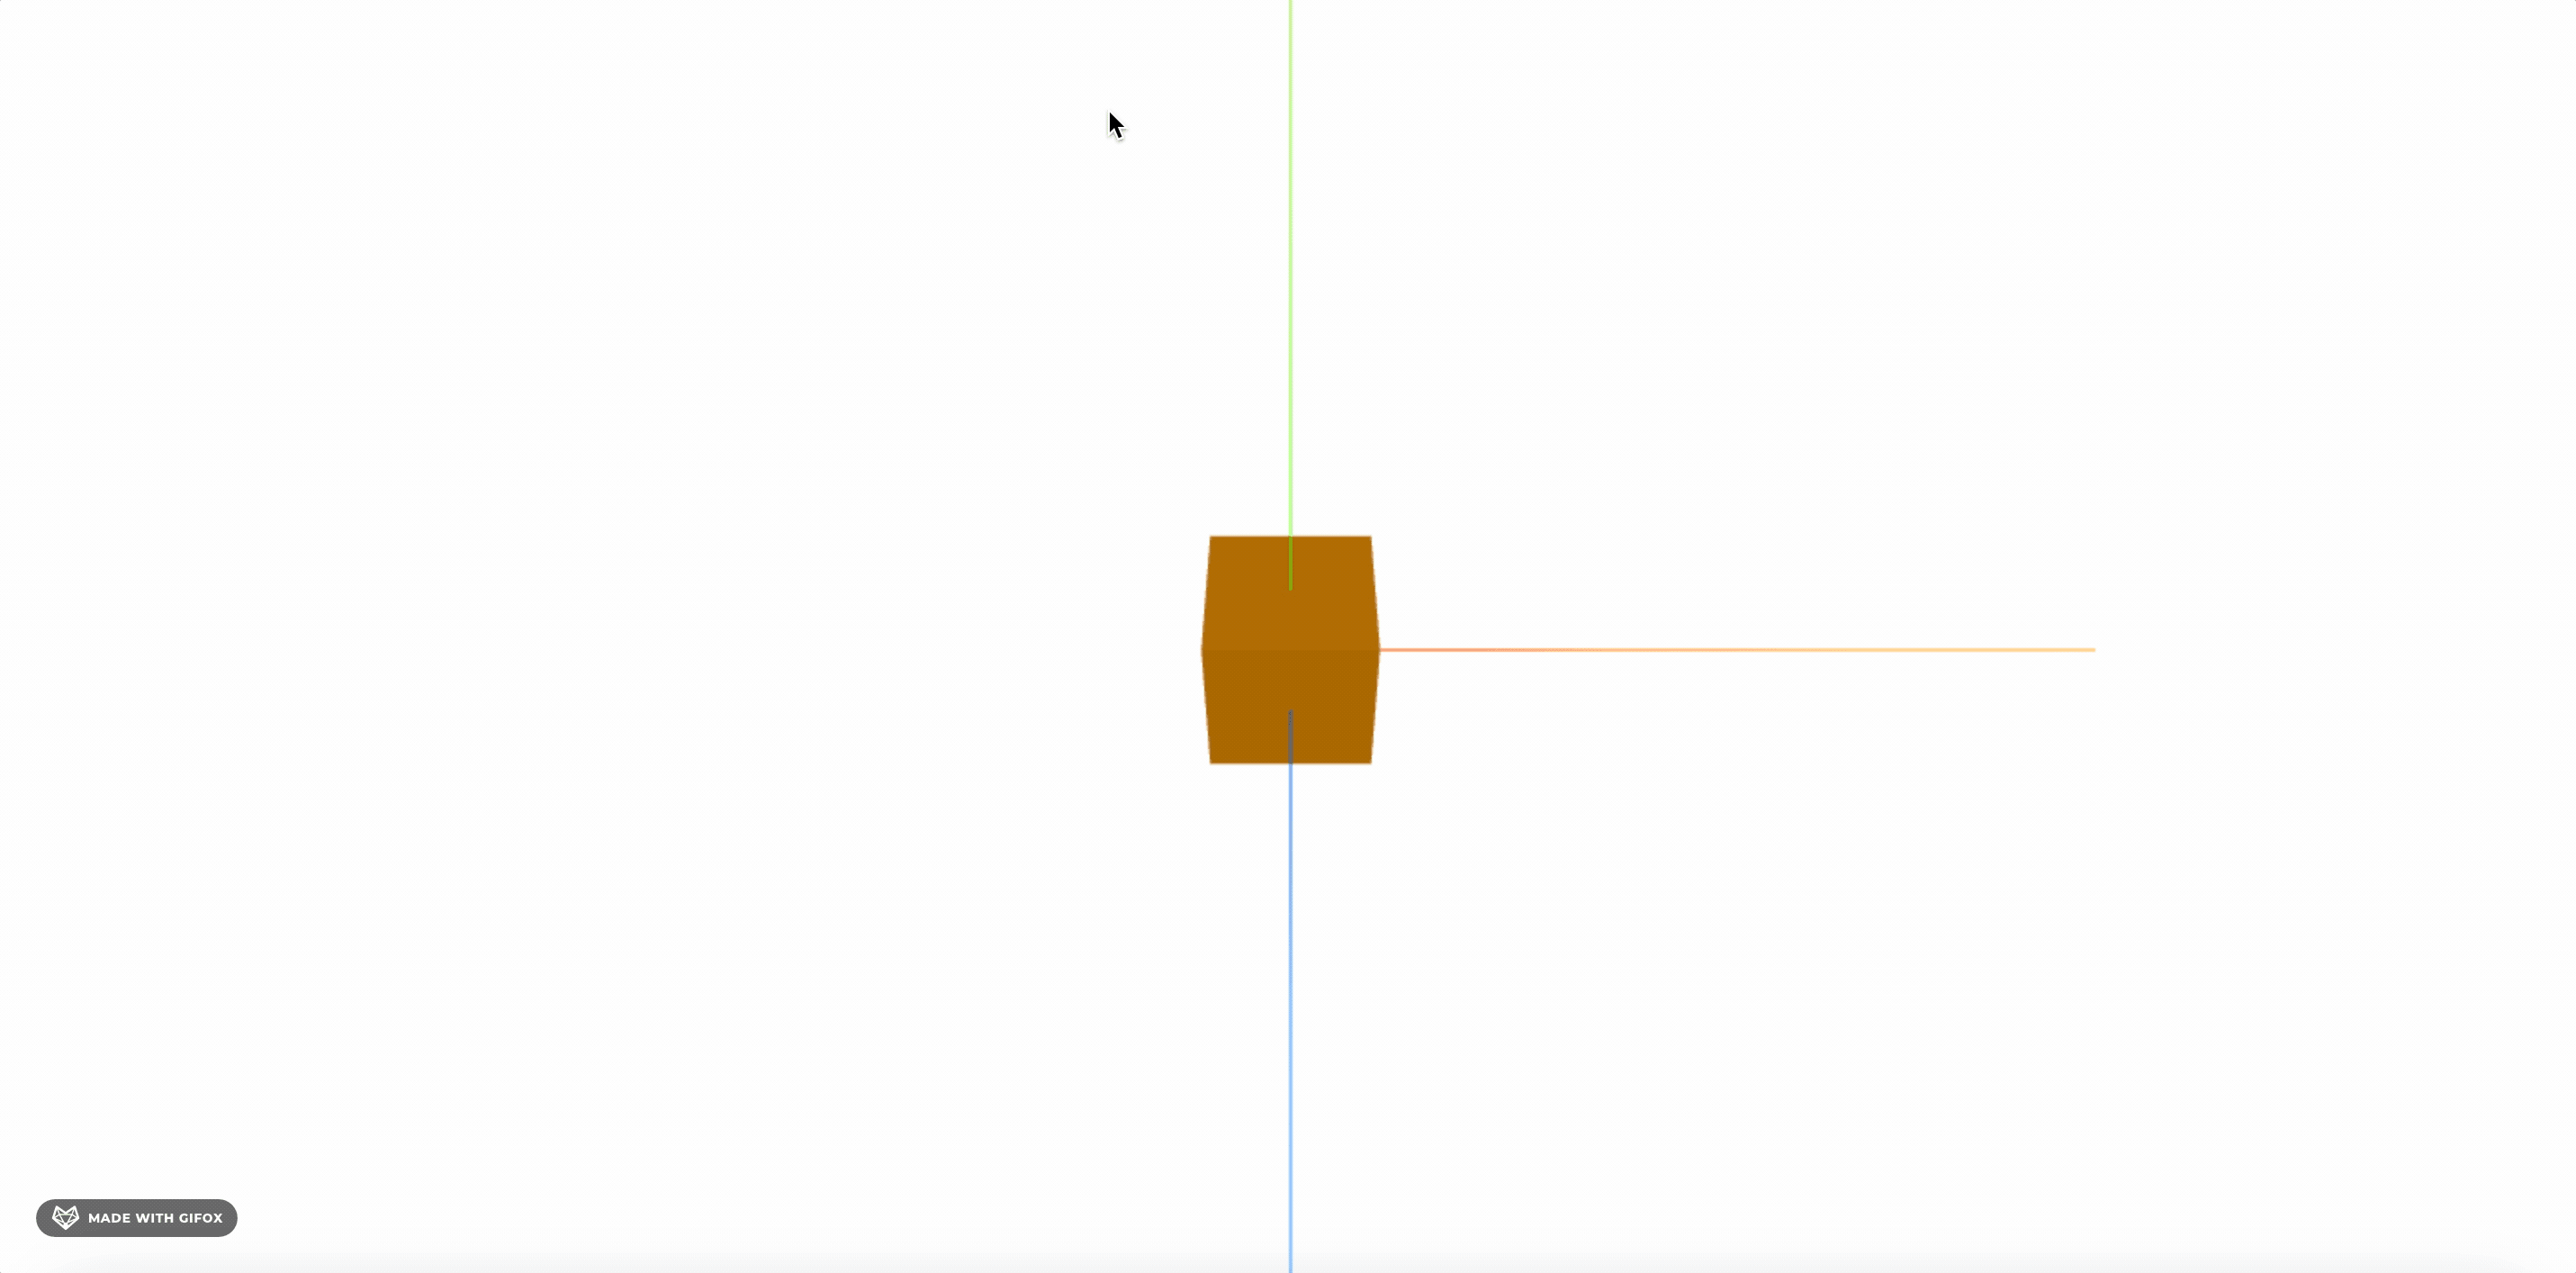
我们在 3D 场景里再加两个物体:
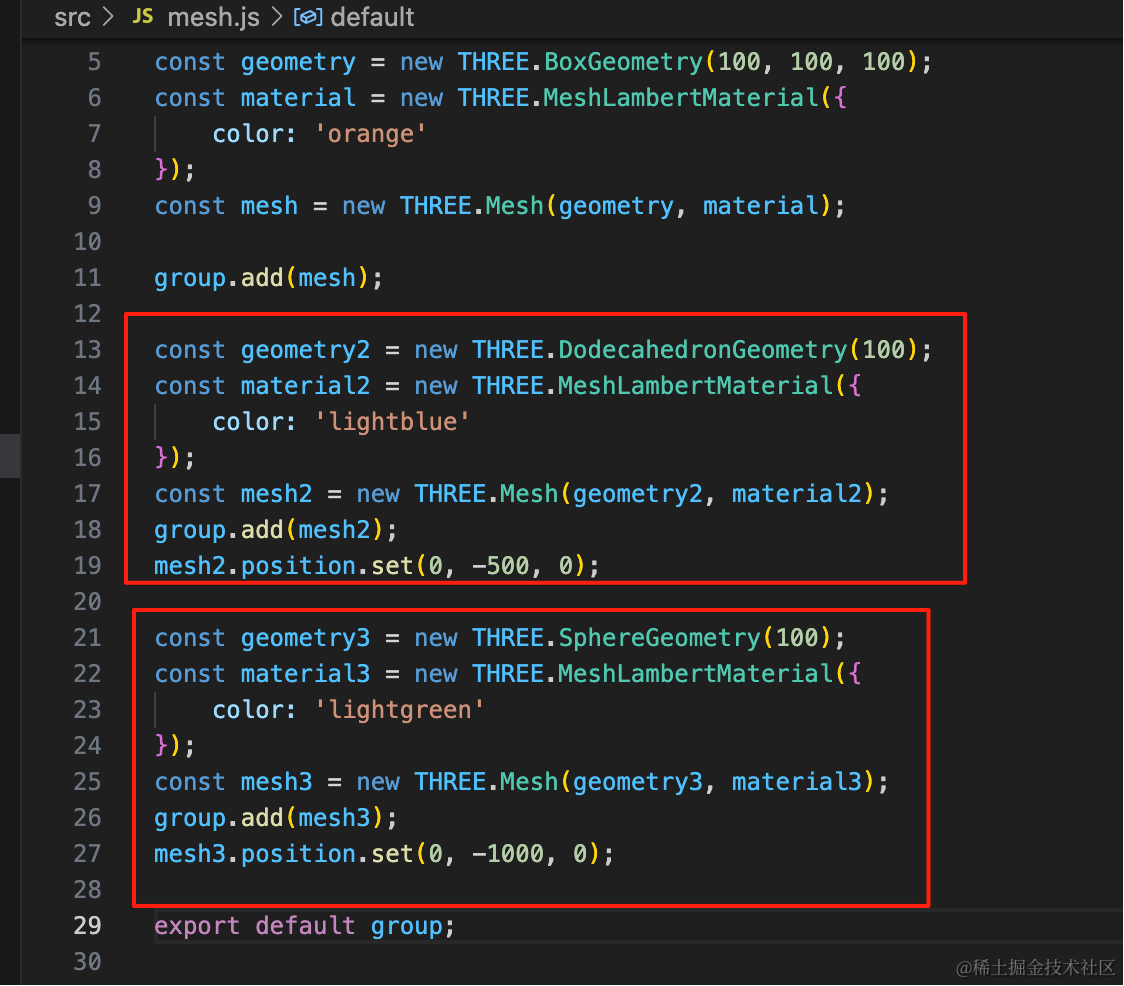
const geometry2 = new THREE.DodecahedronGeometry(100);
const material2 = new THREE.MeshLambertMaterial({
    color: 'lightblue'
});
const mesh2 = new THREE.Mesh(geometry2, material2);
group.add(mesh2);
mesh2.position.set(0, -500, 0);

const geometry3 = new THREE.SphereGeometry(100);
const material3 = new THREE.MeshLambertMaterial({
    color: 'lightgreen'
});
const mesh3 = new THREE.Mesh(geometry3, material3);
group.add(mesh3);
mesh3.position.set(0, -1000, 0);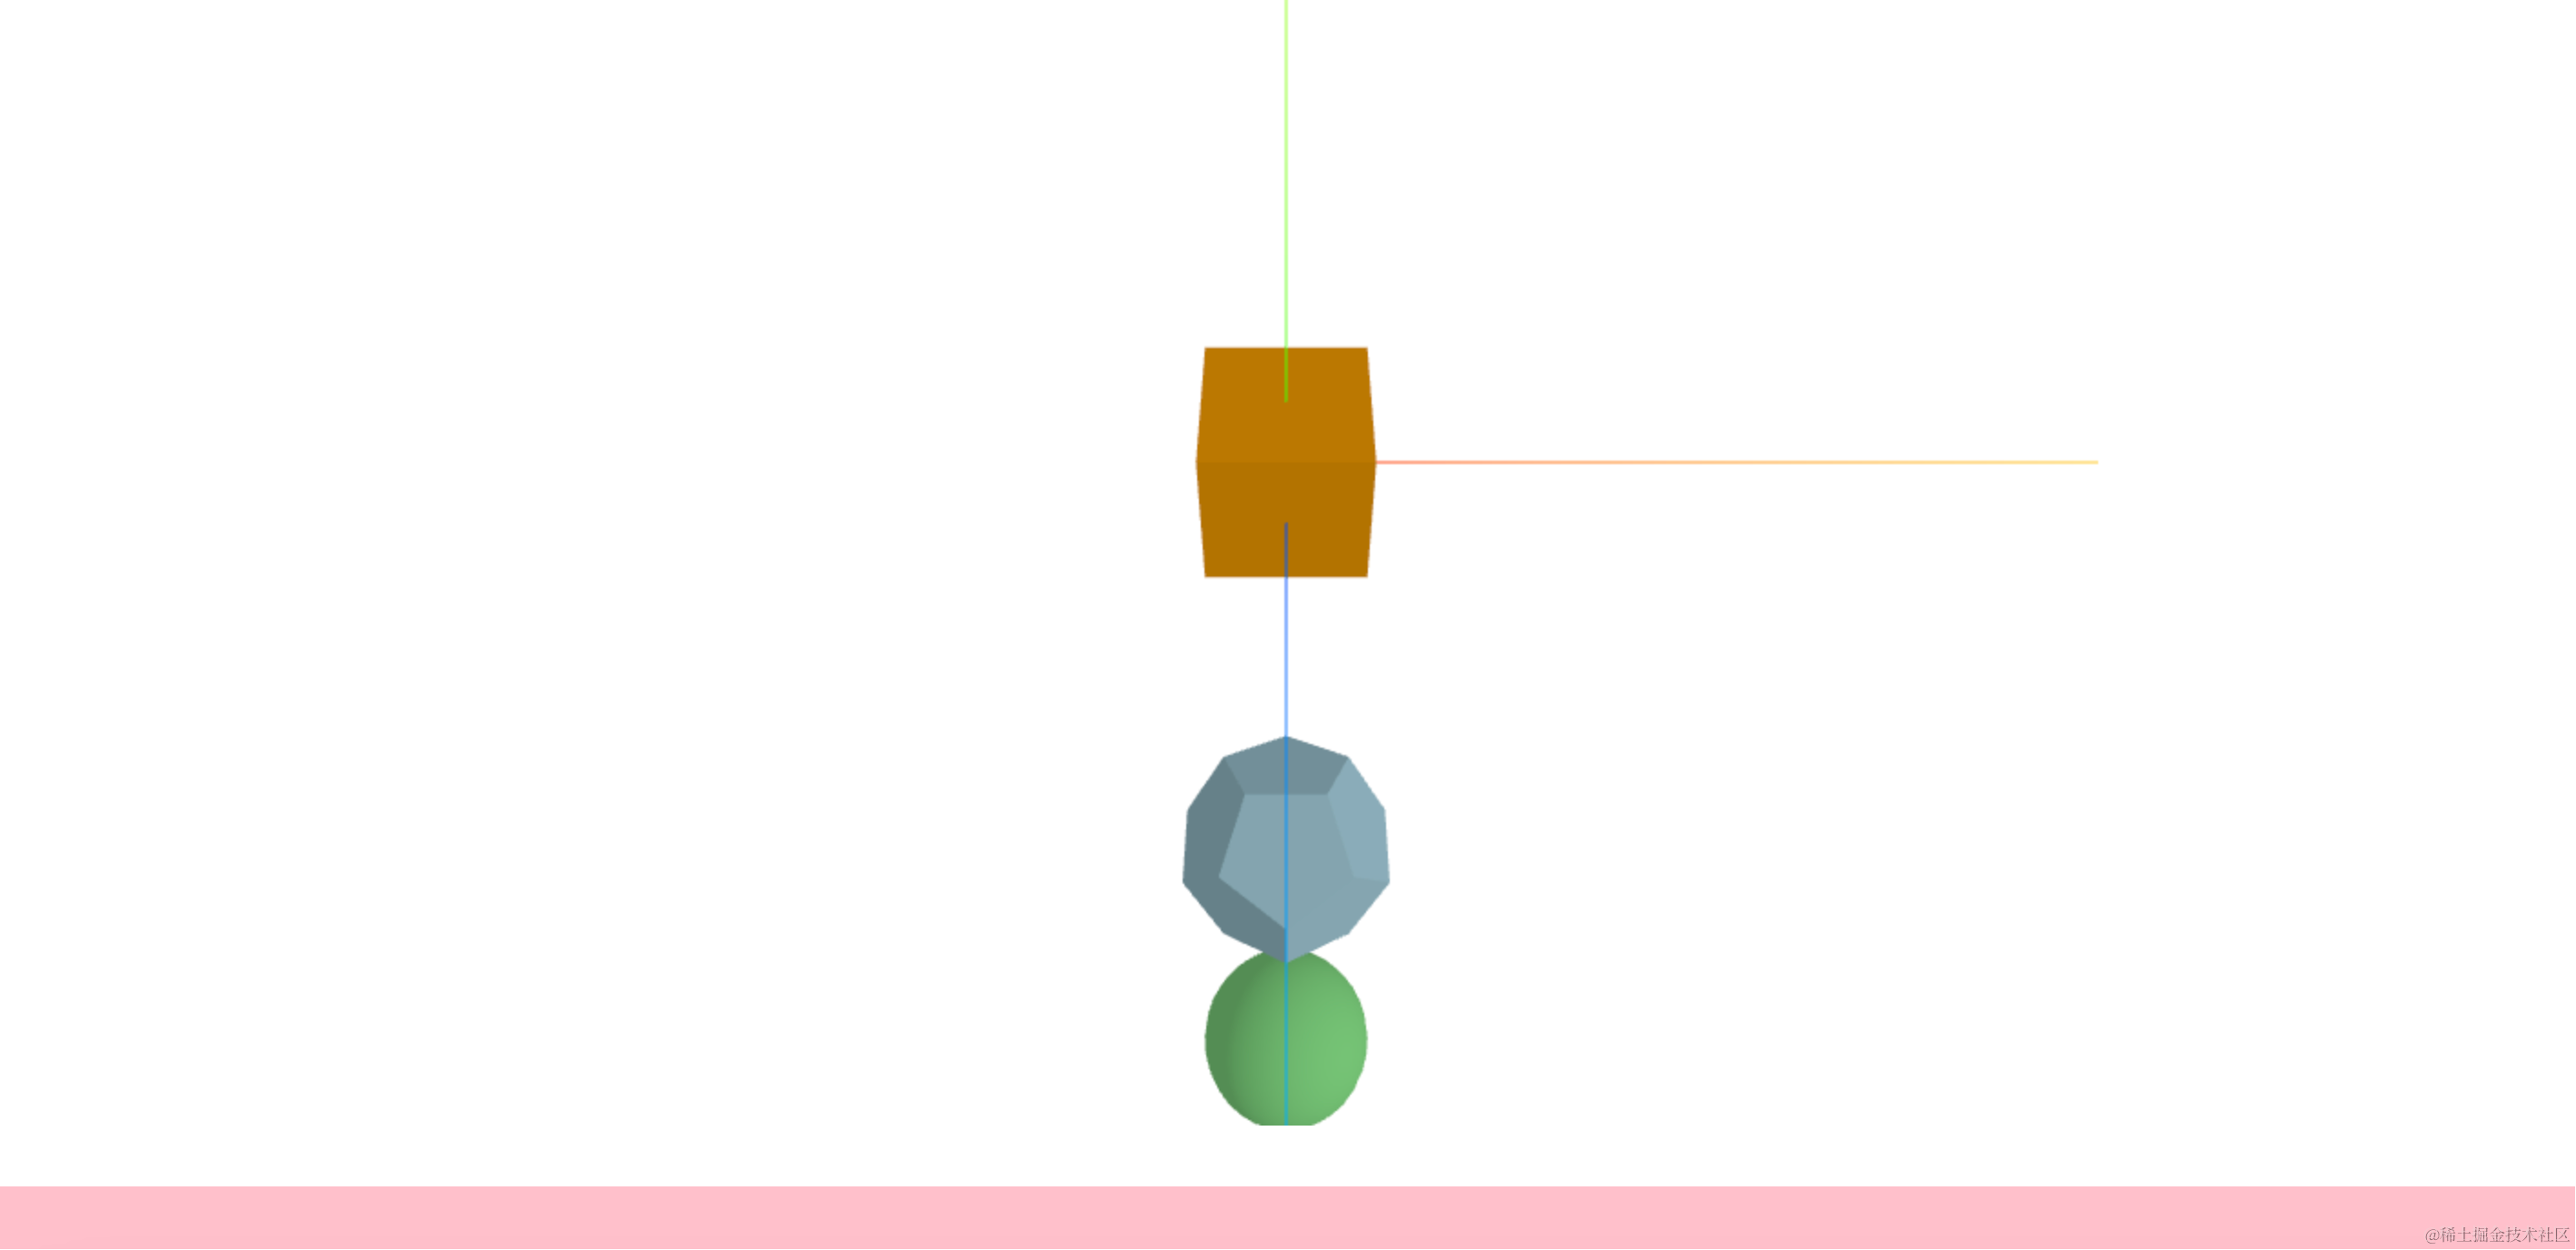
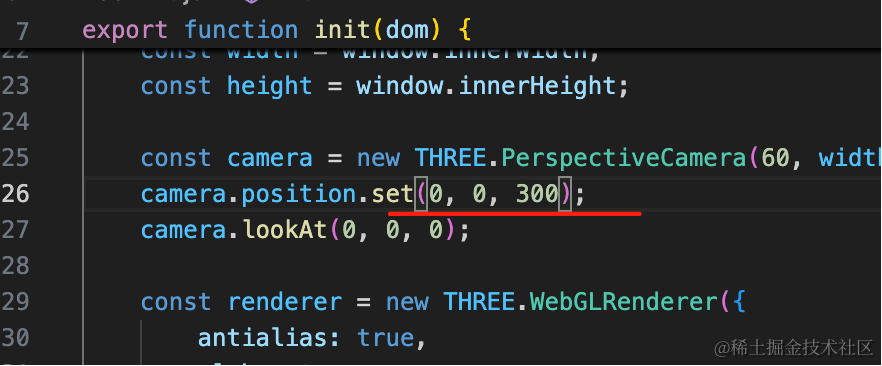
最开始相机调到 0,0,300 的位置
去掉坐标轴,然后让它转一下:
这里应该是用固定定位:
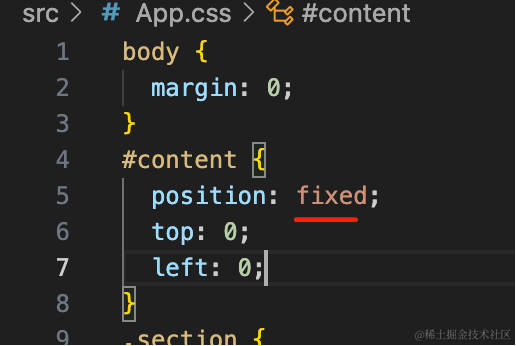
#content {
  position: fixed;
  top: 0;
  left: 0;
}
这样滚动的时候,canvas 元素位置不变,我们只是改变相机位置:
现在的元素上面还有块空白:
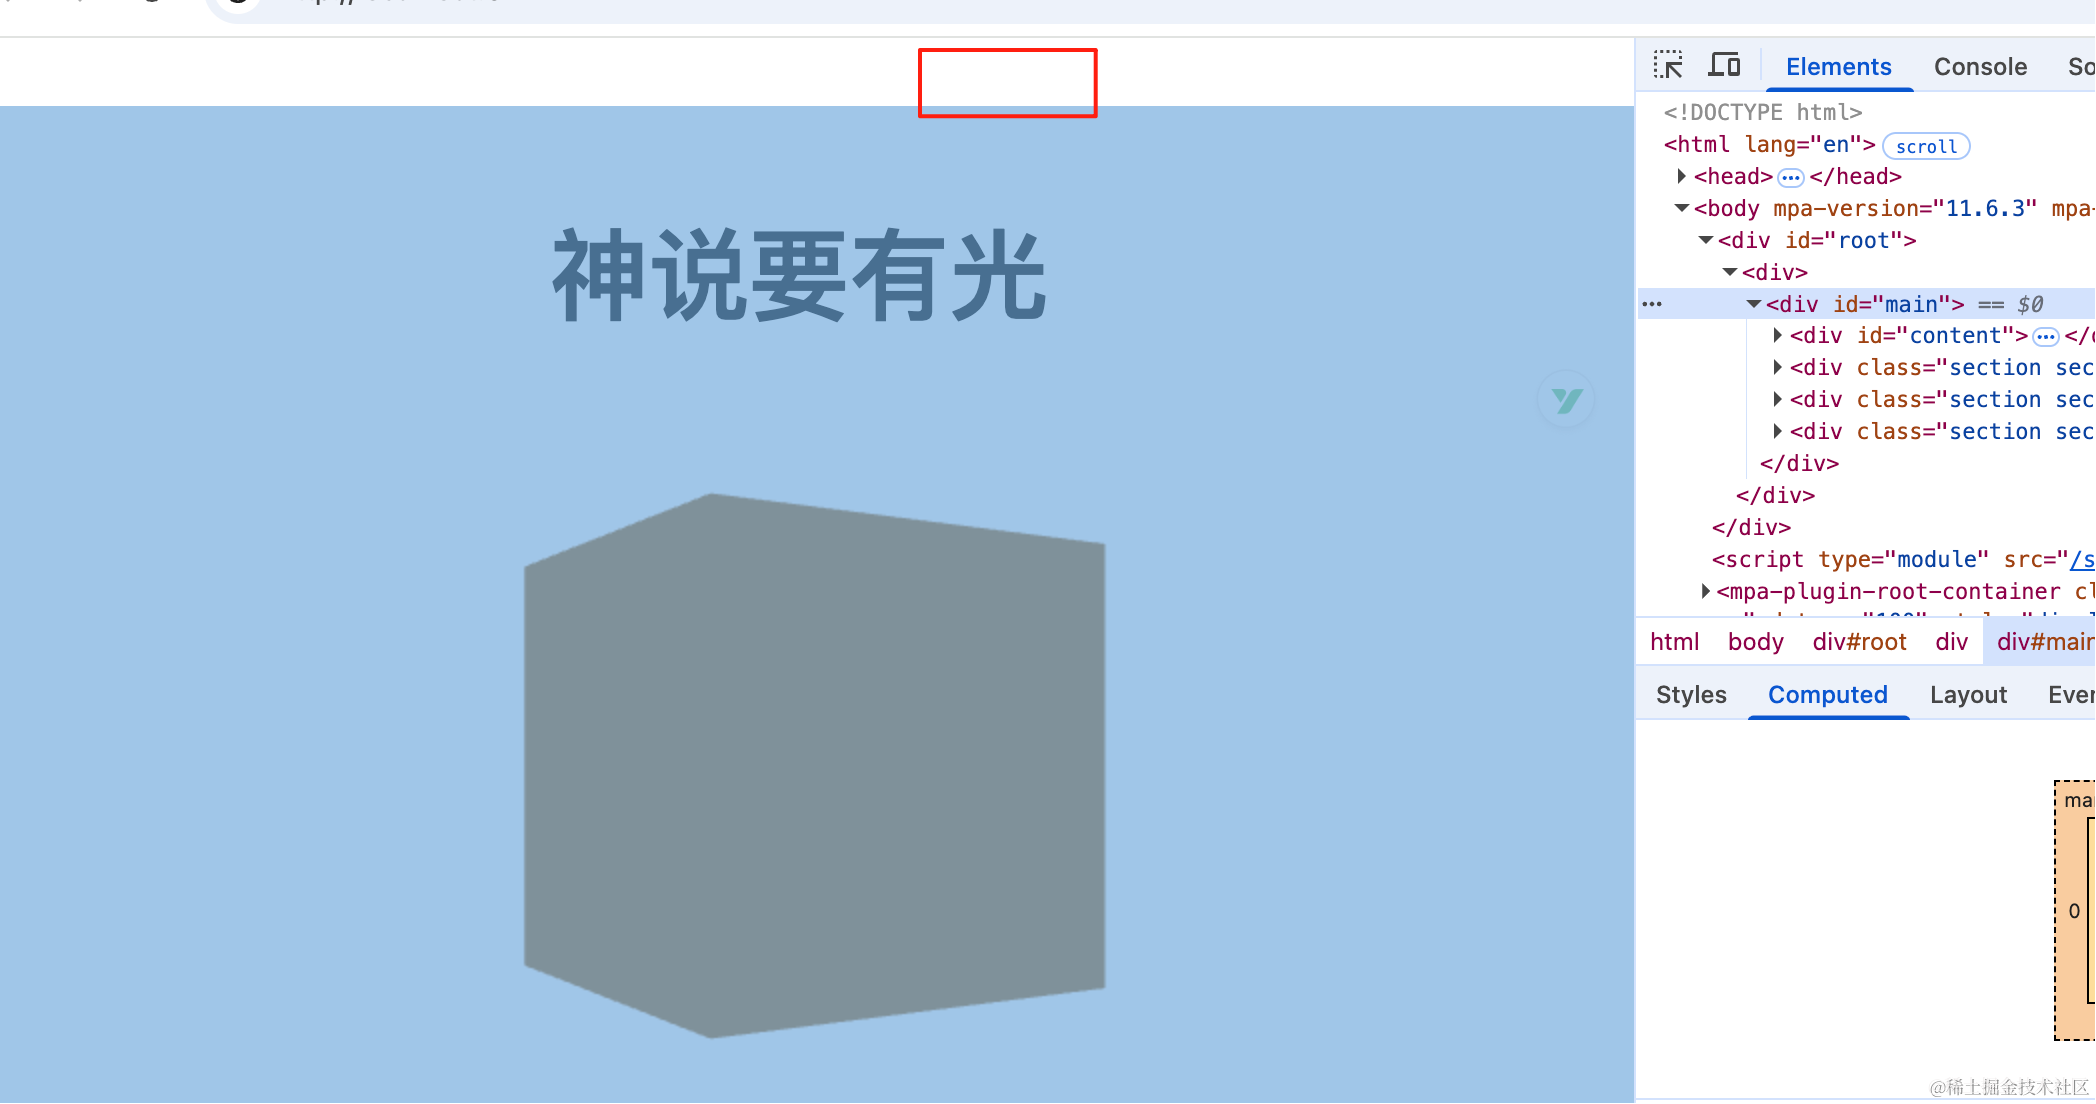
这是重置样式没写全的原因:
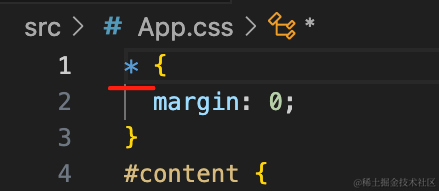

这样就好了。
改下相机位置:
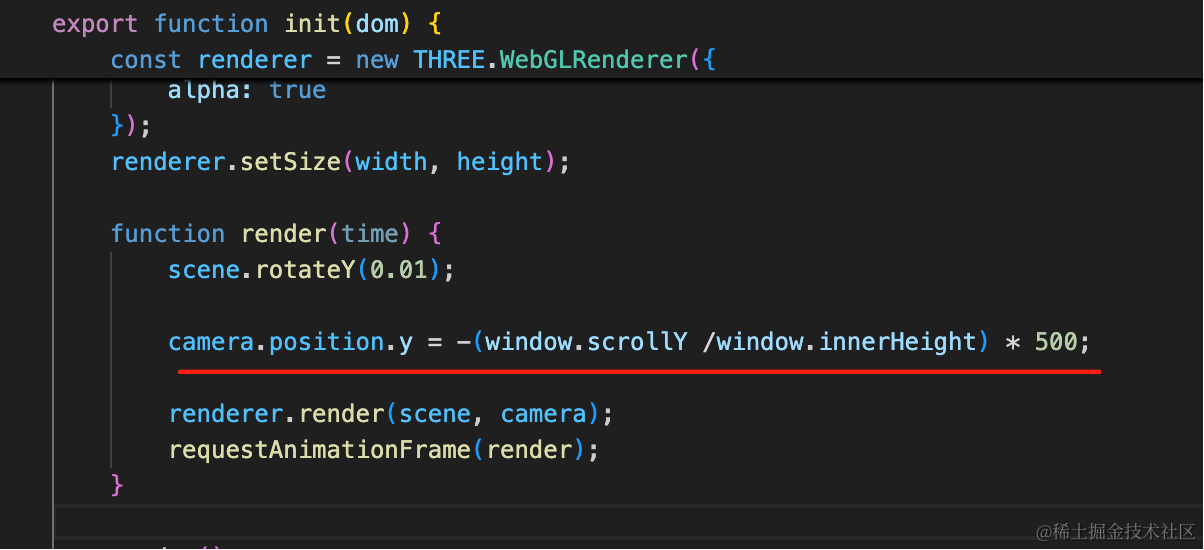
camera.position.y = -(window.scrollY /window.innerHeight) * 500;一屏是 window.innerHeight,对应的 3D 场景物体之间的间距是 500
用 scrollY 来计算滚了几屏,就移动几个 500
这样,一个最简单的全屏滚动 3D 网页就完成了。
案例代码上传了小册仓库
总结
这节我们学了下如何实现全屏滚动的 3D网页。
canvas 设置 position:fixed,然后 WebGLRenderer 背景设置透明,这样 3D 场景就一直可以看到。
然后滚动的时候,根据 scrollY 同步改变 camera 的位置。
这样就可以实现全屏滚动的 3D 网页。
当然,我们还可以基于滚动做更多的效果,下节我们继续来探索。