上节加上了切换到某一屏时的动画,以及鼠标交互:
但现在的 3D 场景的物体有点简单,我们只是控制它的放缩、位移这些。
如果是想通过滚动控制复杂的动画呢?
比如滚动控制跳舞的骨骼动画的进度?
当然也是可以的。
我们找个带骨骼动画的模型:
https://sketchfab.com/3d-models/fish-5a2b7976ef5c44658de22e98bf381277#download
比如这些鱼的尾巴摆动的骨骼动画
就可以通过滚动来控制进度。
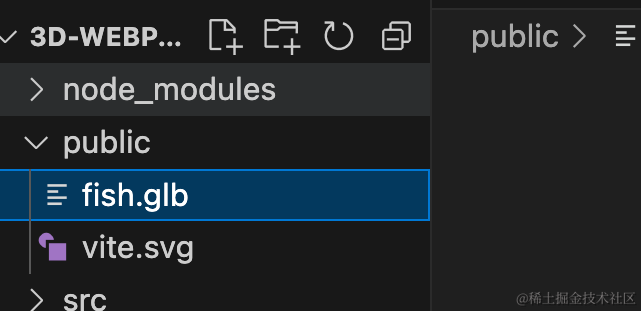
下载下来放到 public 目录:
再加一屏:
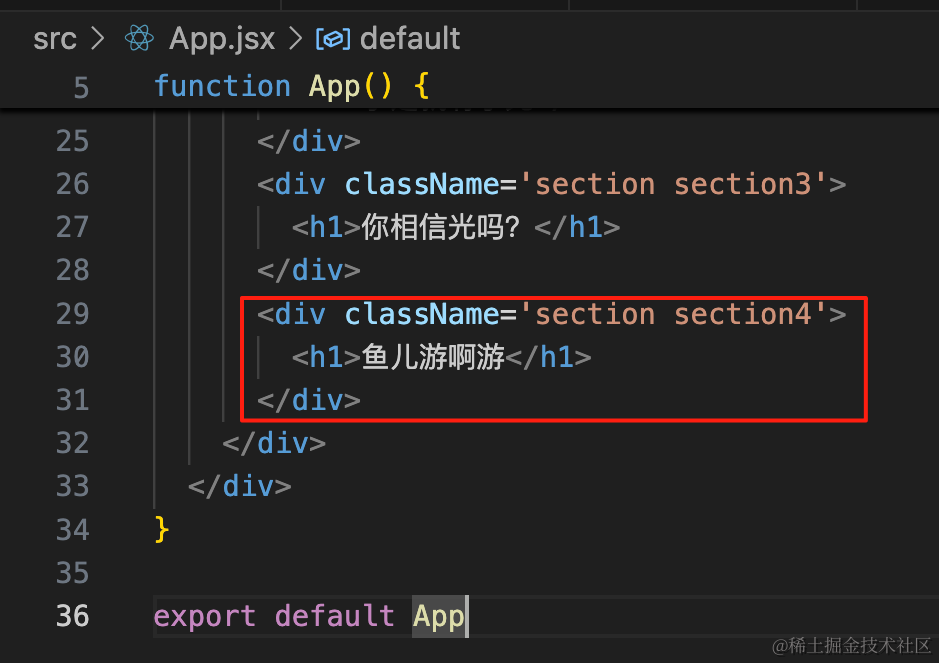
<div className='section section4'>
    <h1>鱼儿游啊游</h1>
</div>
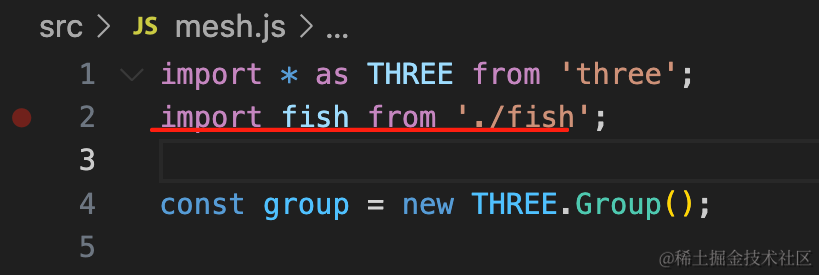
然后把模型加载进来:
创建 fish.js
import gsap from 'gsap';
import * as THREE from 'three';
import { GLTFLoader } from 'three/addons/loaders/GLTFLoader.js';

const loader = new GLTFLoader();

const mesh = new THREE.Group();

loader.load("./fish.glb", function (gltf) {
    console.log(gltf);
    mesh.add(gltf.scene);

    gltf.scene.scale.setScalar(50);

    const mixer = new THREE.AnimationMixer(gltf.scene);
    const clipAction = mixer.clipAction(gltf.animations[0]);
    clipAction.play();

    const clock = new THREE.Clock();
    function render() {
        requestAnimationFrame(render);

        const delta = clock.getDelta();
        mixer.update(delta);
    }
    render();

    const fish1 = gltf.scene.getObjectByName("BrownFishArmature_13");
    const fish2 = gltf.scene.getObjectByName("ClownFishArmature_23");
    const fish3 = gltf.scene.getObjectByName("TunaArmature_33");
    const fish4 = gltf.scene.getObjectByName("DoryArmature_47");

    fish1.parent.remove(fish1, fish3, fish4);

    fish2.name = 'fish';

})

export default mesh;
加载模型,播放播放动画。
这里有 4 条鱼,删掉 3 条留下 1 条。
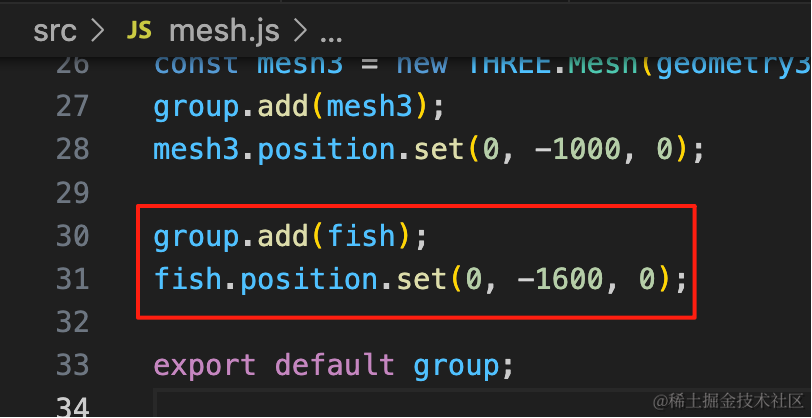
group.add(fish);
fish.position.set(0, -1600, 0);
并且调下位置。
看下效果:
这样,鱼就渲染出来了。
现在骨骼动画是自动播放的。

我们可以改成通过滚动来控制骨骼动画的播放进度。
首先,我们用 gui 来写一下:
在 animation 对象中可以拿到 duration 动画时长
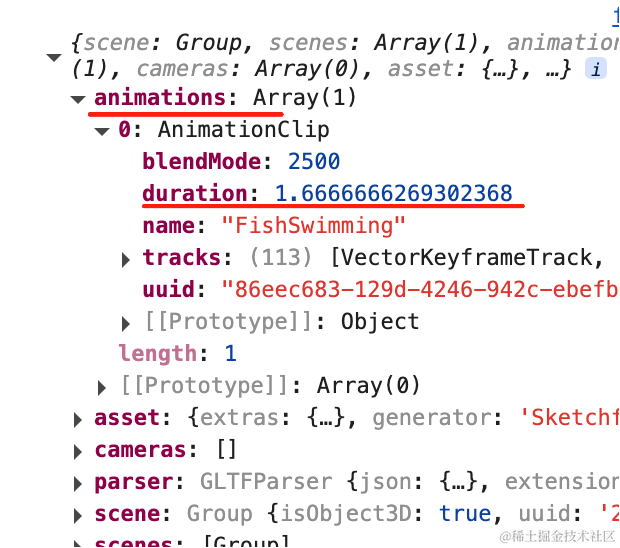
我们通过控制动画的 time 在 duration 范围内变化就可以了:
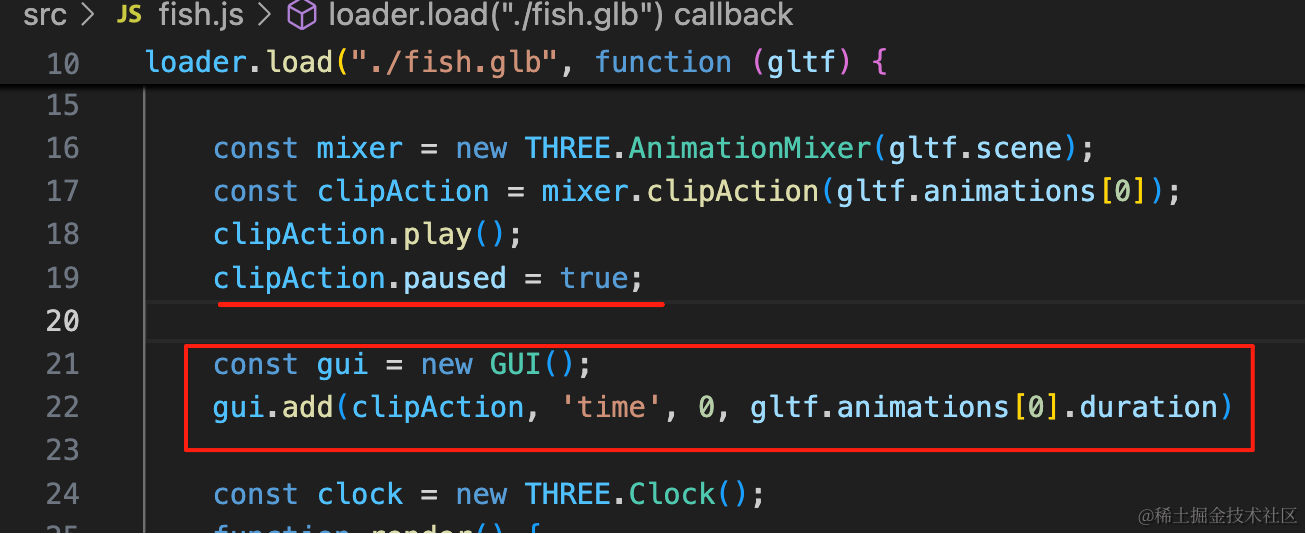
clipAction.paused = true;

const gui = new GUI();
gui.add(clipAction, 'time', 0, gltf.animations[0].duration)
用 gui 控制 time 变化。
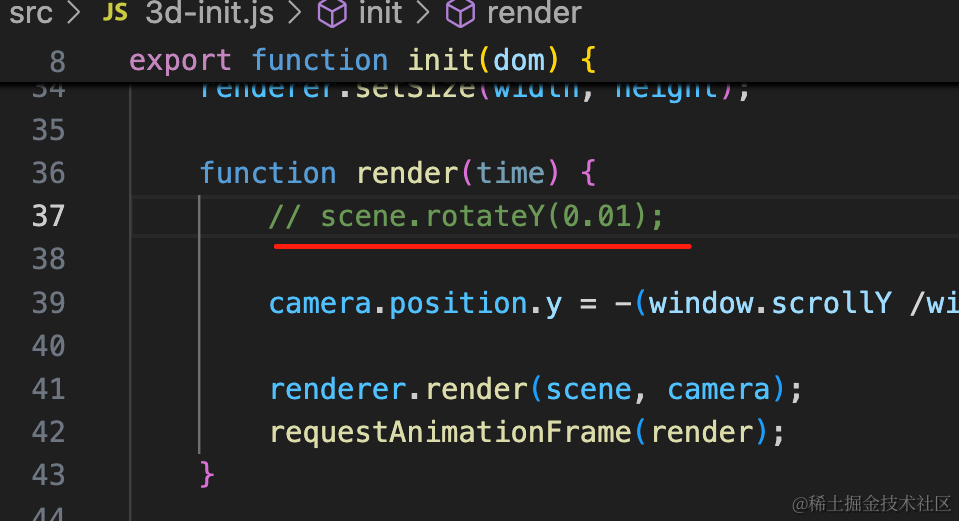
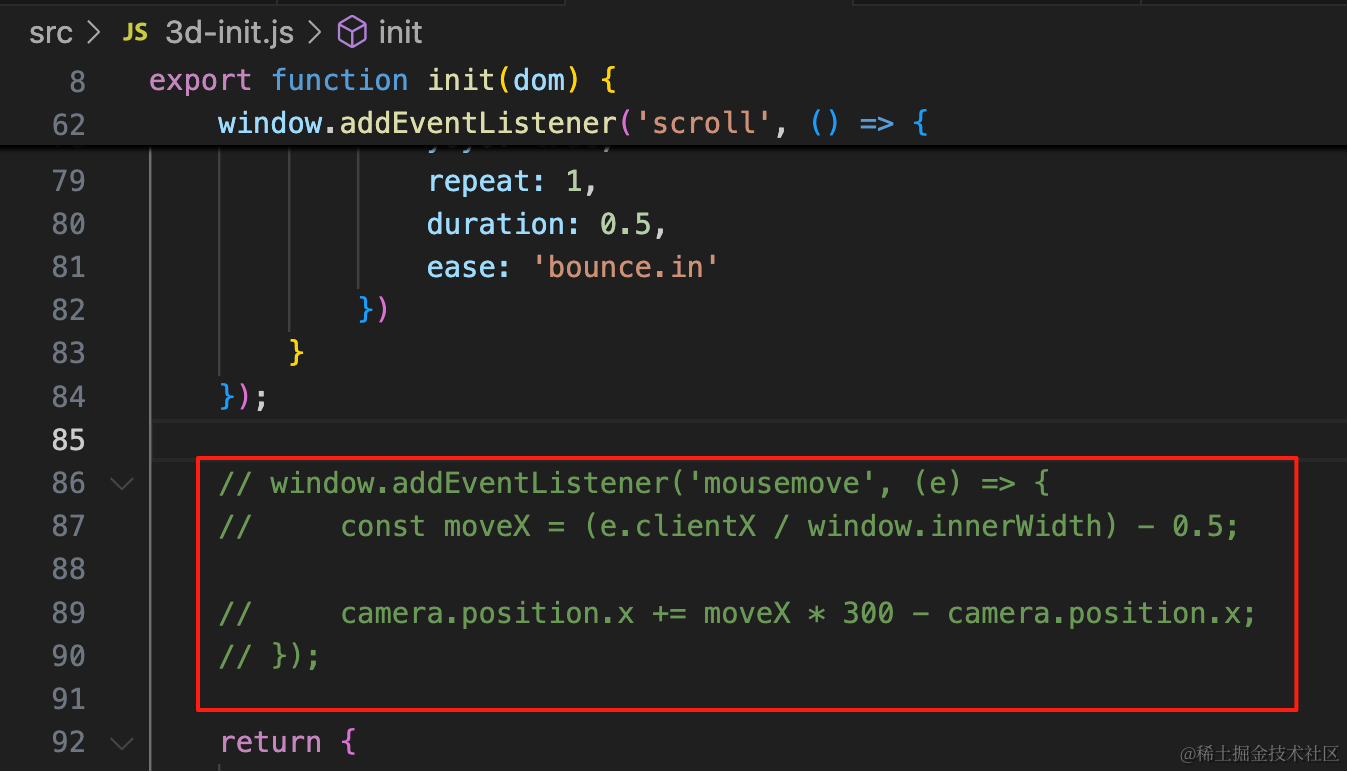
先把场景的旋转和鼠标交互去掉:
改变下 time 看下效果:
我们可以 time 控制动画进程。
那把 gui 的进度条控制,改为滚动控制不就行了?
我们再加一页,方便观察效果:
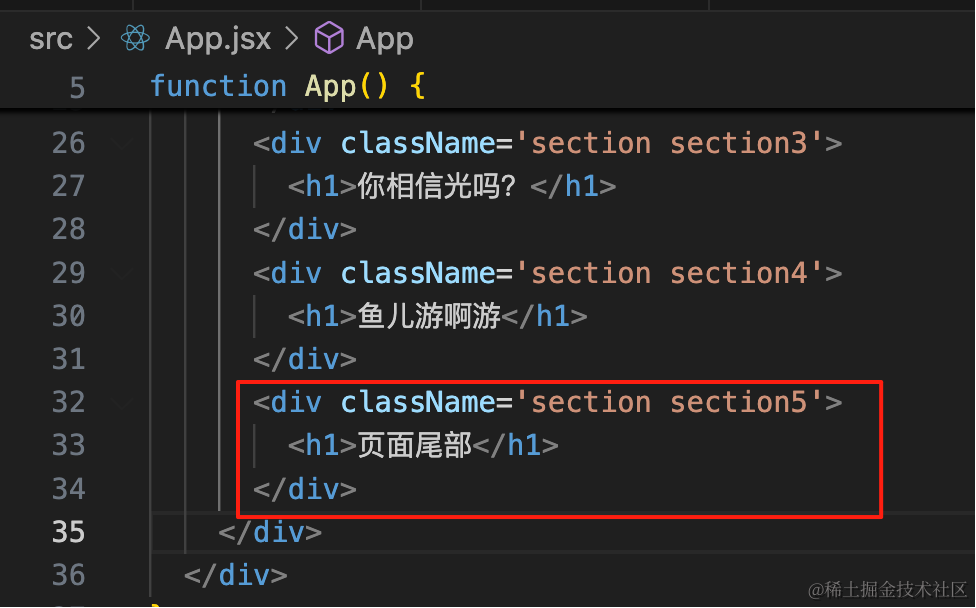
<div className='section section5'>
    <h1>页面尾部</h1>
</div>
然后计算滚动的进度来设置 time:
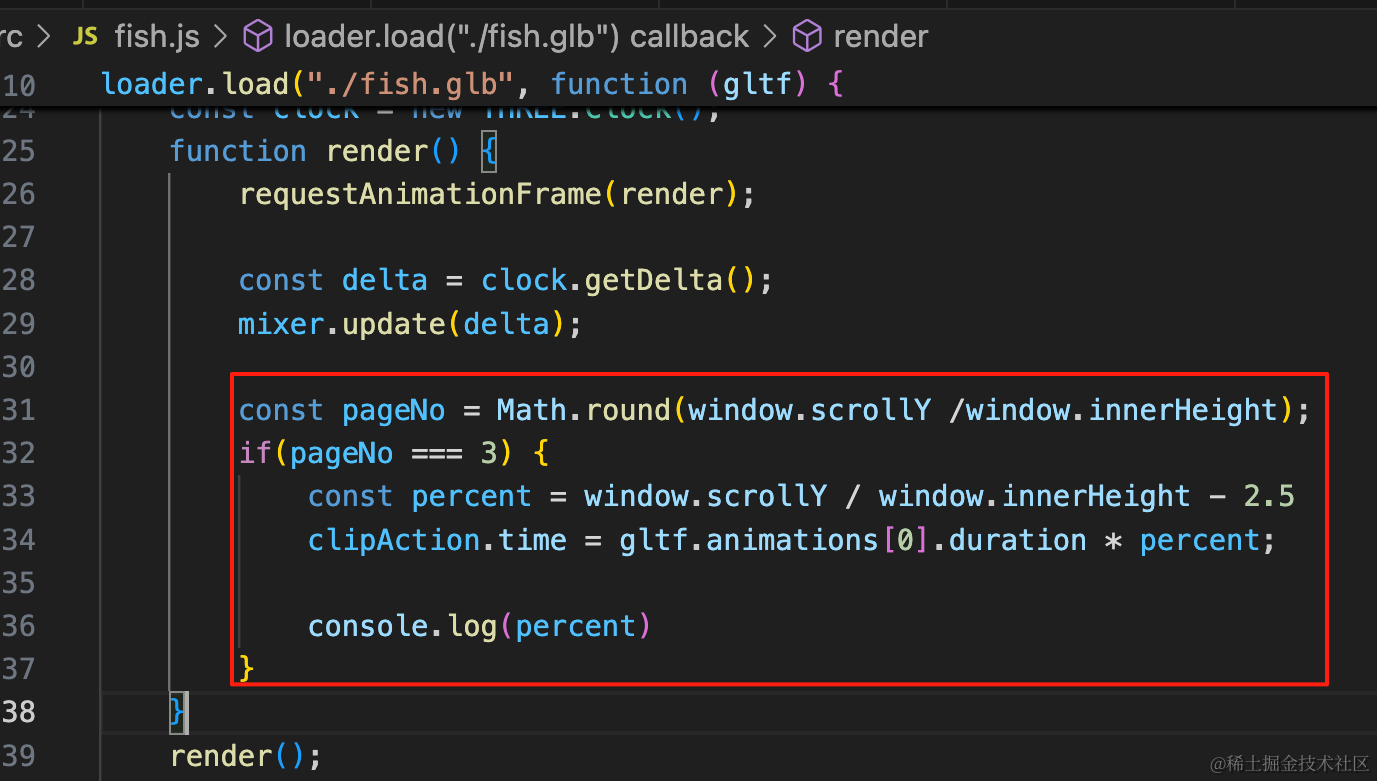
const pageNo = Math.round(window.scrollY /window.innerHeight);
if(pageNo === 3) {
    const percent = window.scrollY / window.innerHeight - 2.5
    clipAction.time = gltf.animations[0].duration * percent;

    console.log(percent)
}
我们是四舍五入的,也就是到了 2.5 屏 就开始做动画,直到 3.5 屏
所以减去 2.5 就是 0 到 1 的范围
看下效果:
可以看到,进度在 0 到 1 之间变化,鱼的尾巴是左右摆动的。
因为这个骨骼动画运动幅度太小了,不明显。
我们再找一个模型:
用之前那个人物跳舞的模型:
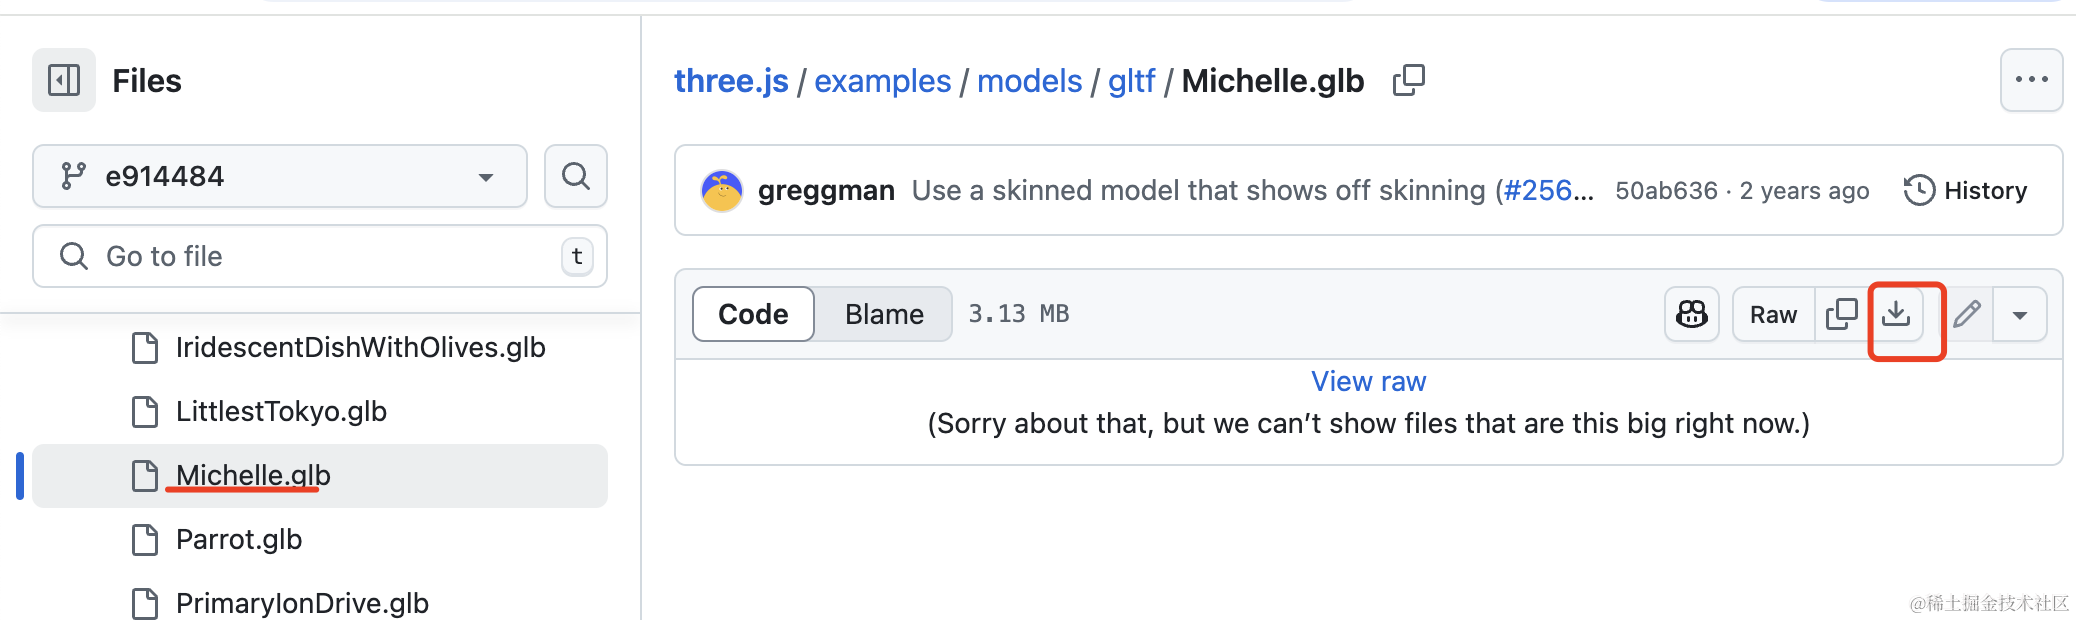
下载下来放到 public 目录下:
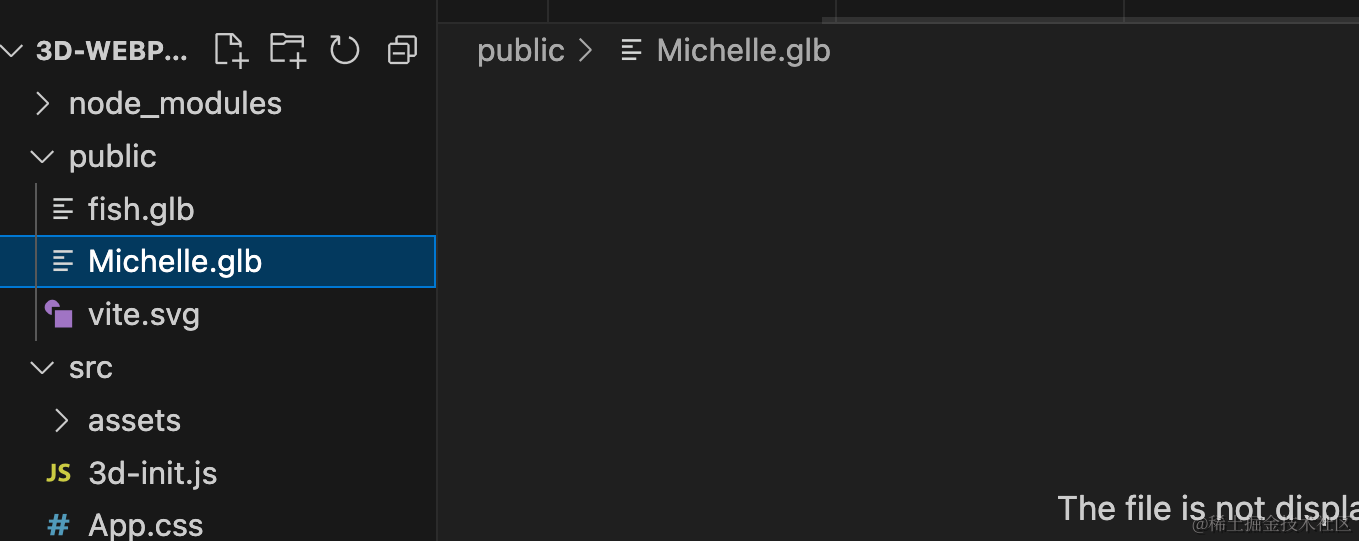
加载下:
创建 dancer.js
import gsap from 'gsap';
import * as THREE from 'three';
import { GLTFLoader } from 'three/addons/loaders/GLTFLoader.js';

const loader = new GLTFLoader();

const mesh = new THREE.Group();

loader.load("./Michelle.glb", function (gltf) {
    console.log(gltf);
    mesh.add(gltf.scene);

    gltf.scene.scale.setScalar(50);

    const mixer = new THREE.AnimationMixer(gltf.scene);
    const clipAction = mixer.clipAction(gltf.animations[0]);
    clipAction.play();

    const clock = new THREE.Clock();
    function render() {
        requestAnimationFrame(render);

        const delta = clock.getDelta();
        mixer.update(delta);
    }
    render();

})

export default mesh;
引入下:
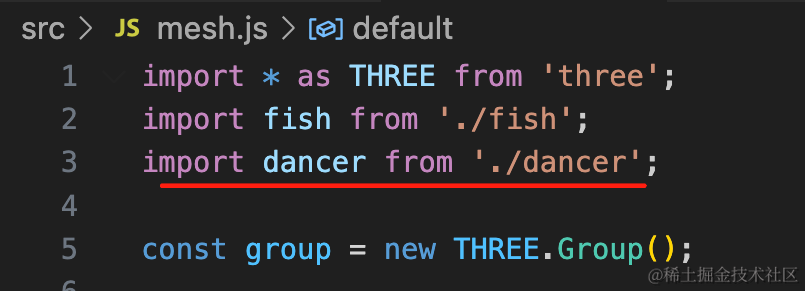
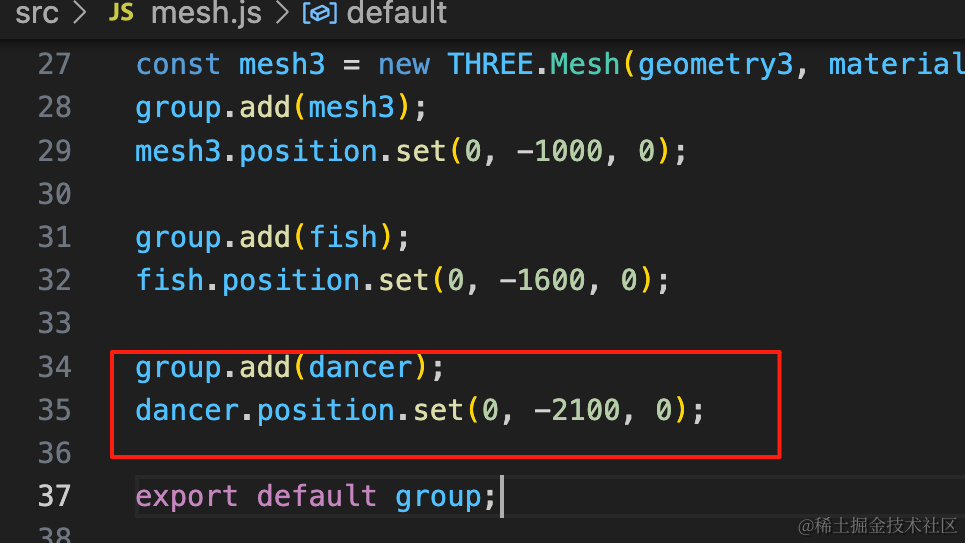
group.add(dancer);
dancer.position.set(0, -2100, 0);
再加一屏:
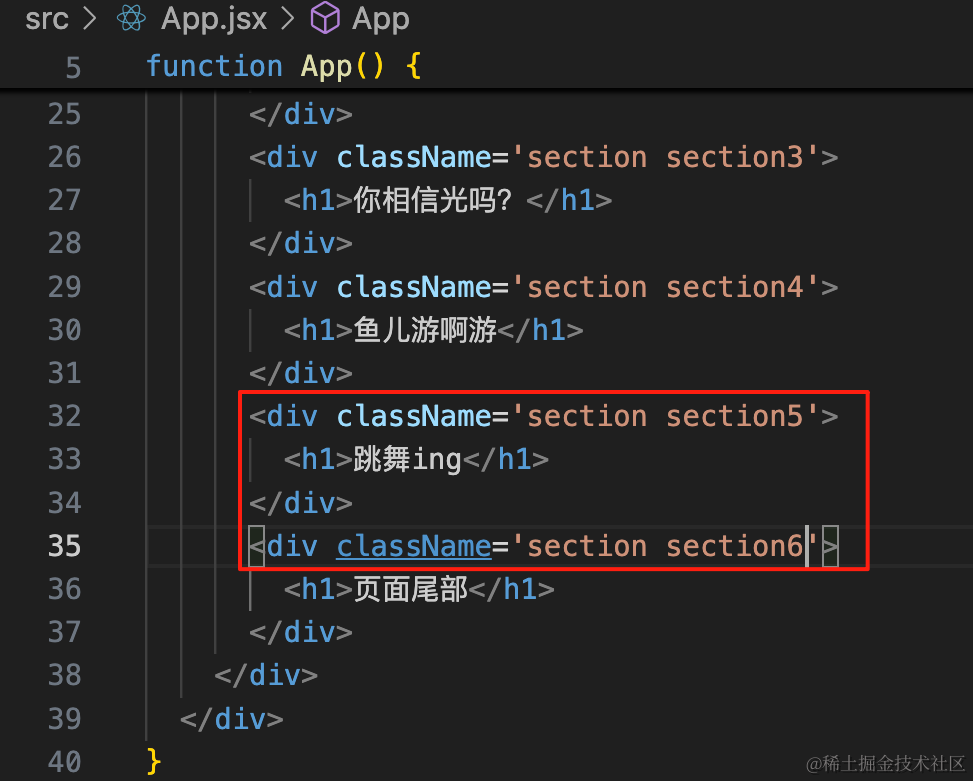
<div className='section section5'>
    <h1>跳舞ing</h1>
</div>
<div className='section section6'>
    <h1>页面尾部</h1>
</div>
最后一屏没有对应的模型,这里加个判断:
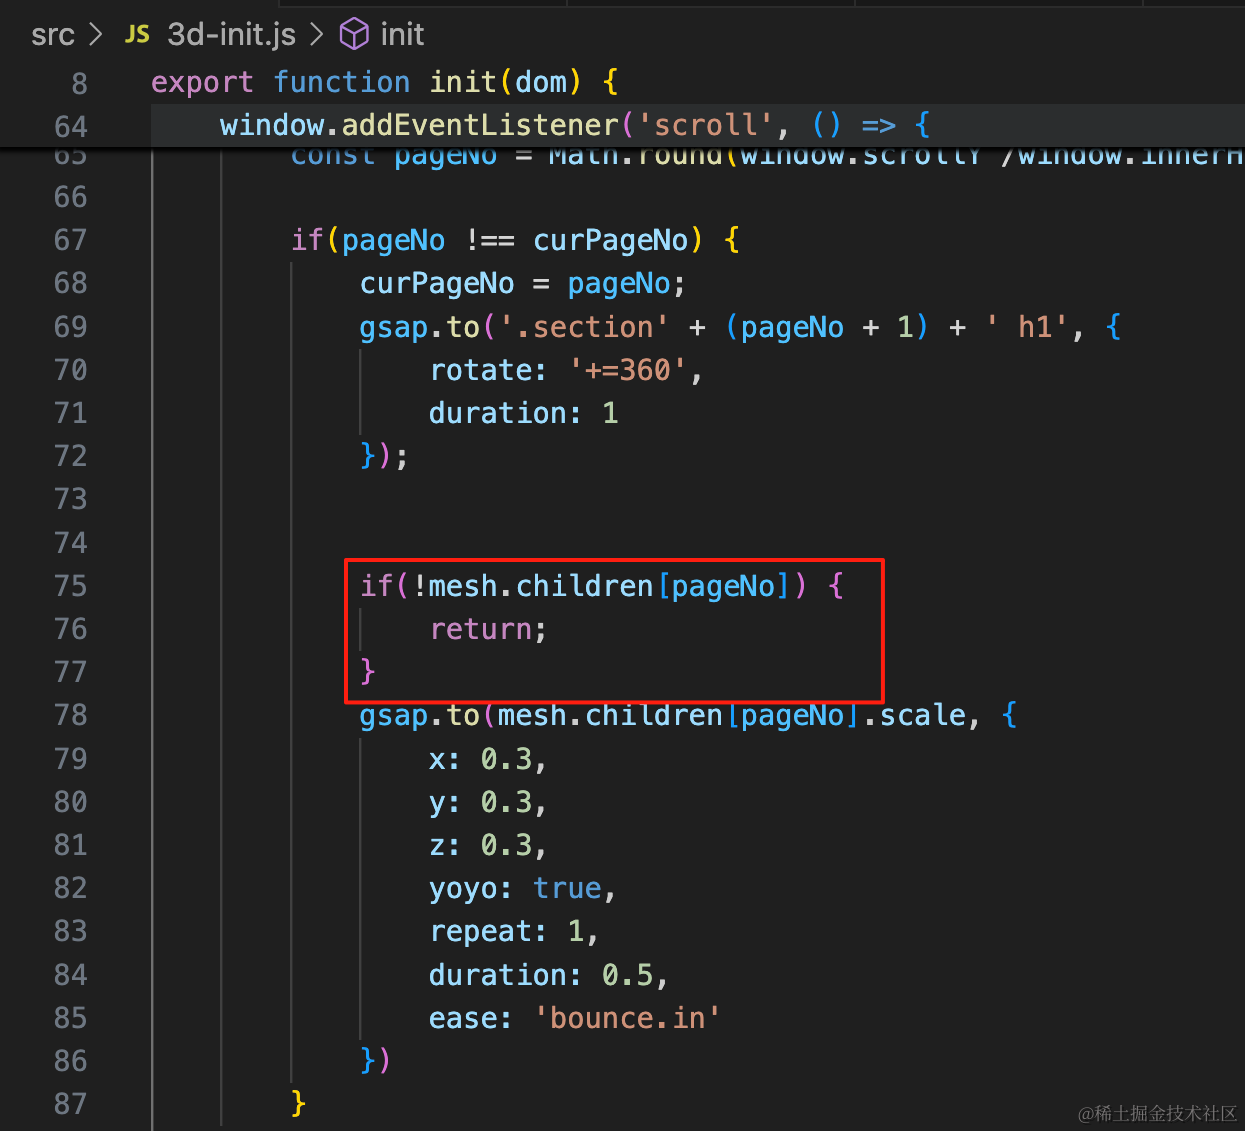
if(!mesh.children[pageNo]) {
    return;
}
我们把它暂停,然后通过滚动控制进度:
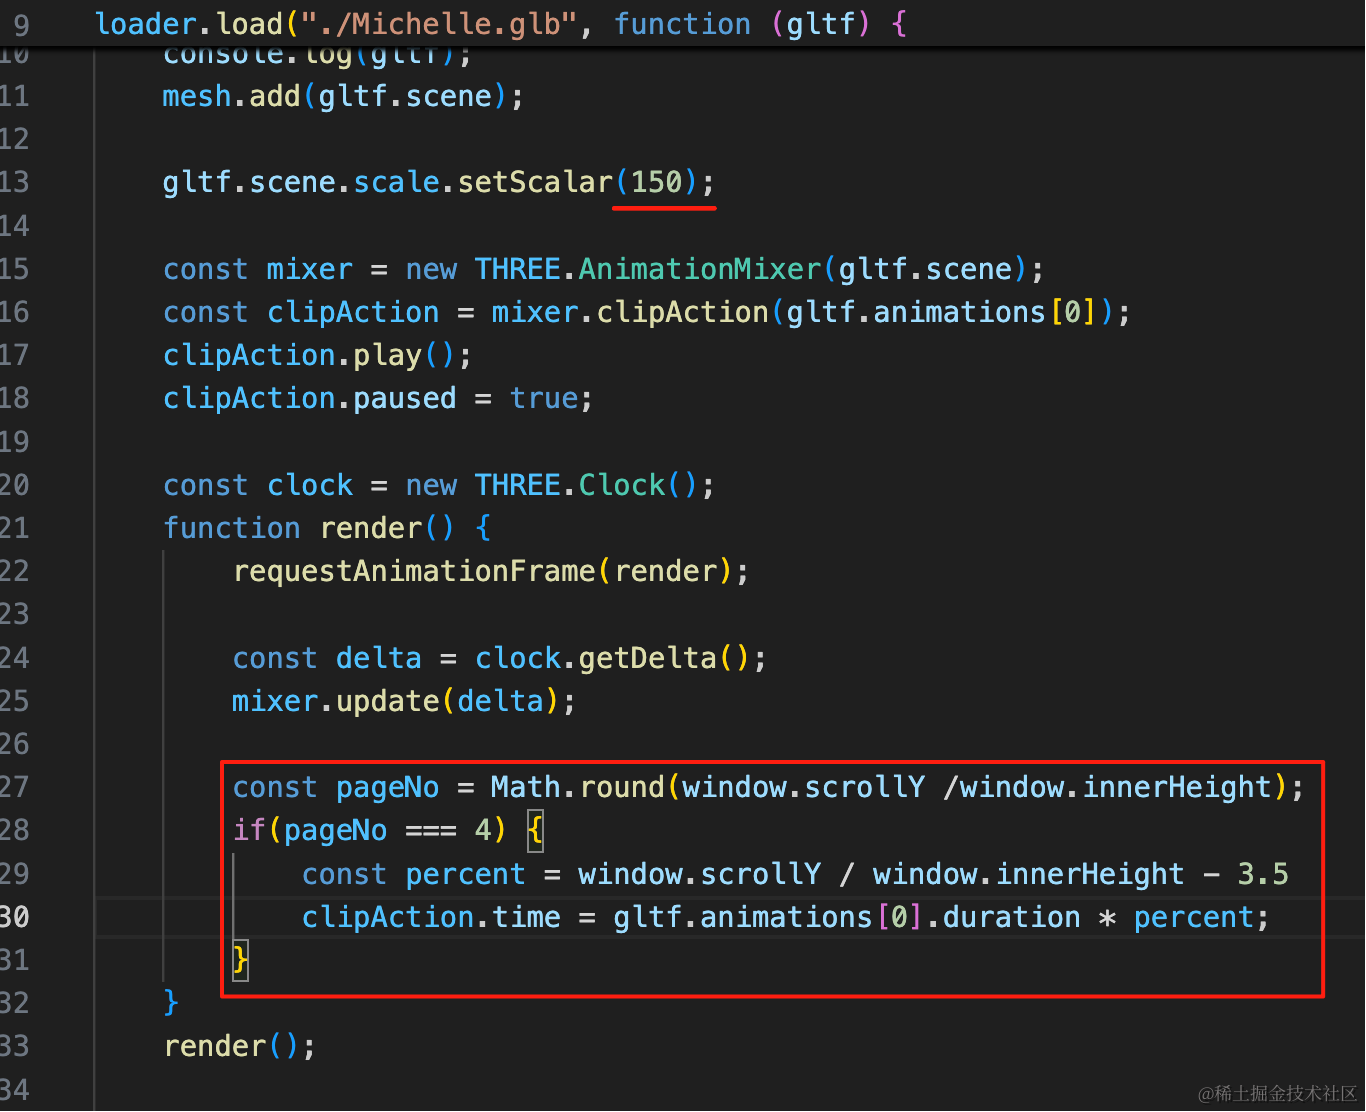
const pageNo = Math.round(window.scrollY /window.innerHeight);
if(pageNo === 4) {
    const percent = window.scrollY / window.innerHeight - 3.5
    clipAction.time = gltf.animations[0].duration * percent;
}
和之前一样,数值在 3.5 到 4.5 之间变动,控制动画进度。
顺便把模型调大了一点。
现在就可以通过上下滚动控制骨骼动画进度了。
把之前注释掉的代码放开,我们看下整体效果:

案例代码上传了小册仓库
总结
这节我们实现了滚动控制骨骼动画的功能。
可以在滚动的时候让 3D 场景做出一些变化,增加交互性。
不过现在只是一屏来控制一个动画,如果想多屏滚动控制一个动画呢?
下节我们继续探索。