学完滚动控制 3D 场景之后,我们可以做一些有意思的 3D 网站了。
前面那个星系的网站其实不是很好,我们再来做一个更符合实际应用的实战:
我在网上看到一个这样的效果:

滚动展示产品,控制产品滚动、尺寸展示、颜色切换。
这个来作为全屏滚动的实战显然更合适一点。
我们来做一下这个:
创建 vite 项目:
npx create-vite product-display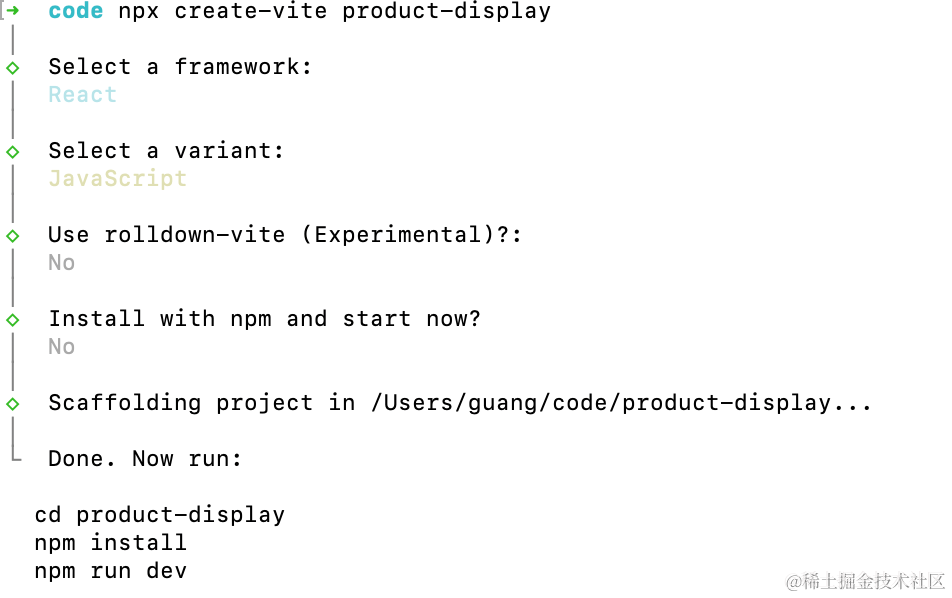
用 react + three.js 来写,因为要写 div + css 部分。
进入项目,安装依赖:
pnpm install
pnpm install --save three
pnpm install --save-dev @types/three
去掉 StrictMode 和 index.css
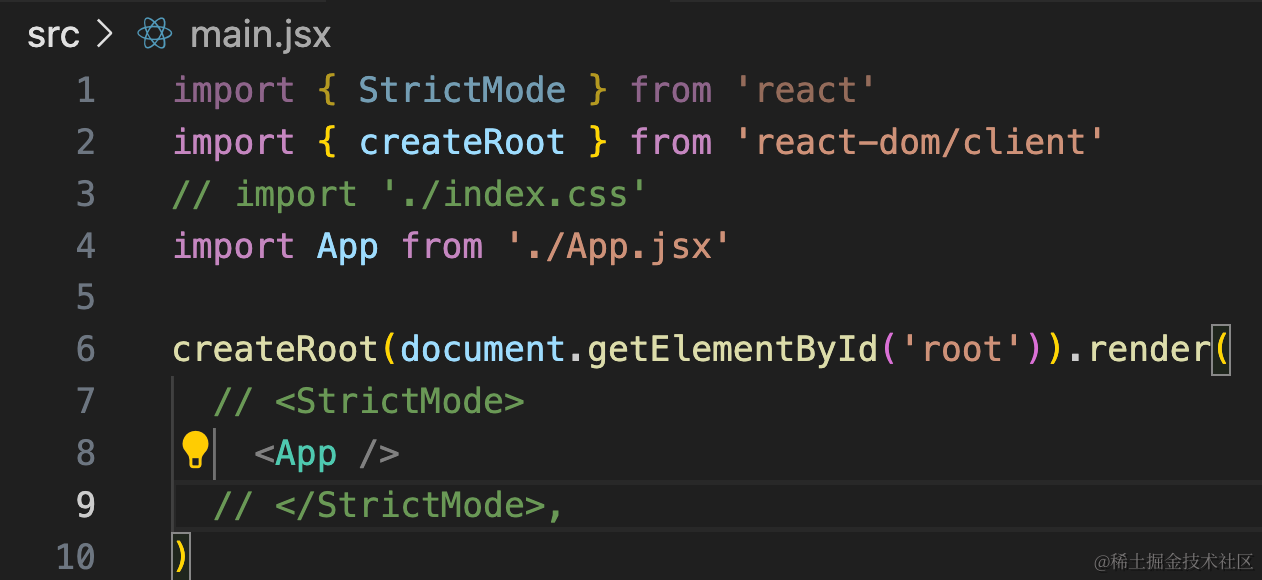
然后改一下 App.jsx
import { useEffect, useRef, useState } from 'react';
import { init } from './3d-init'
import './App.css'

function App() {

  useEffect(() => {
    const dom = document.getElementById('content');
    const { scene } = init(dom);

    return () => {
      dom.innerHTML = '';
    }
  }, []);

  return <div>
    <div id="main">
      <div id="content">
      </div>
    </div>
  </div>
}

export default App
在 App.css 写下样式:
body {
  margin: 0;
}
然后来初始化 3d 场景:
创建 3d-init.js
import * as THREE from 'three';
import {
    OrbitControls
} from 'three/addons/controls/OrbitControls.js';
import mesh from './mesh';

export function init(dom) {

    const scene = new THREE.Scene();
    scene.add(mesh);

    const axesHelper = new THREE.AxesHelper(500);
    scene.add(axesHelper);

    const directionalLight = new THREE.DirectionalLight(0xffffff);
    directionalLight.position.set(500, 400, 300);
    scene.add(directionalLight);

    const ambientLight = new THREE.AmbientLight(0xffffff);
    scene.add(ambientLight);

    const width = window.innerWidth;
    const height = window.innerHeight;

    const camera = new THREE.PerspectiveCamera(60, width / height, 1, 10000);
    camera.position.set(0, 500, 500);
    camera.lookAt(0, 0, 0);

    const renderer = new THREE.WebGLRenderer({
        antialias: true
    });
    renderer.setSize(width, height);

    function render(time) {
        renderer.render(scene, camera);
        requestAnimationFrame(render);
    }

    render();

    dom.append(renderer.domElement);

    window.onresize = function () {
        const width = window.innerWidth;
        const height = window.innerHeight;

        renderer.setSize(width,height);

        camera.aspect = width / height;
        camera.updateProjectionMatrix();
    };

    const controls = new OrbitControls(camera, renderer.domElement);

    return {
        scene,
        renderer,
        controls
    }
}
创建 mesh.js
import * as THREE from 'three';

const group = new THREE.Group();

const geometry = new THREE.BoxGeometry(100, 100, 100);
const material = new THREE.MeshLambertMaterial({
    color: 'orange'
});
const mesh = new THREE.Mesh(geometry, material);

group.add(mesh);

export default group;
我们先跑起来看下:
npm run dev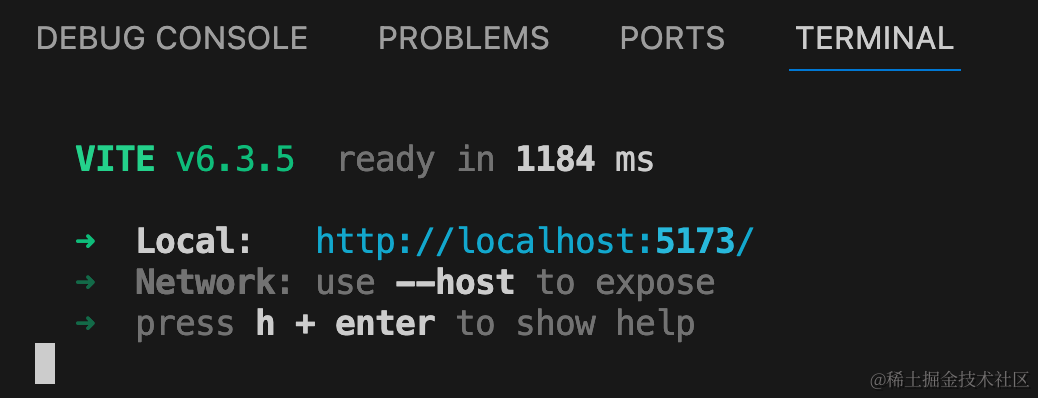
然后找个椅子的模型:
https://sketchfab.com/3d-models/basket-swing-chair-92463f2b44624180a4ed8488ce08eb83#download
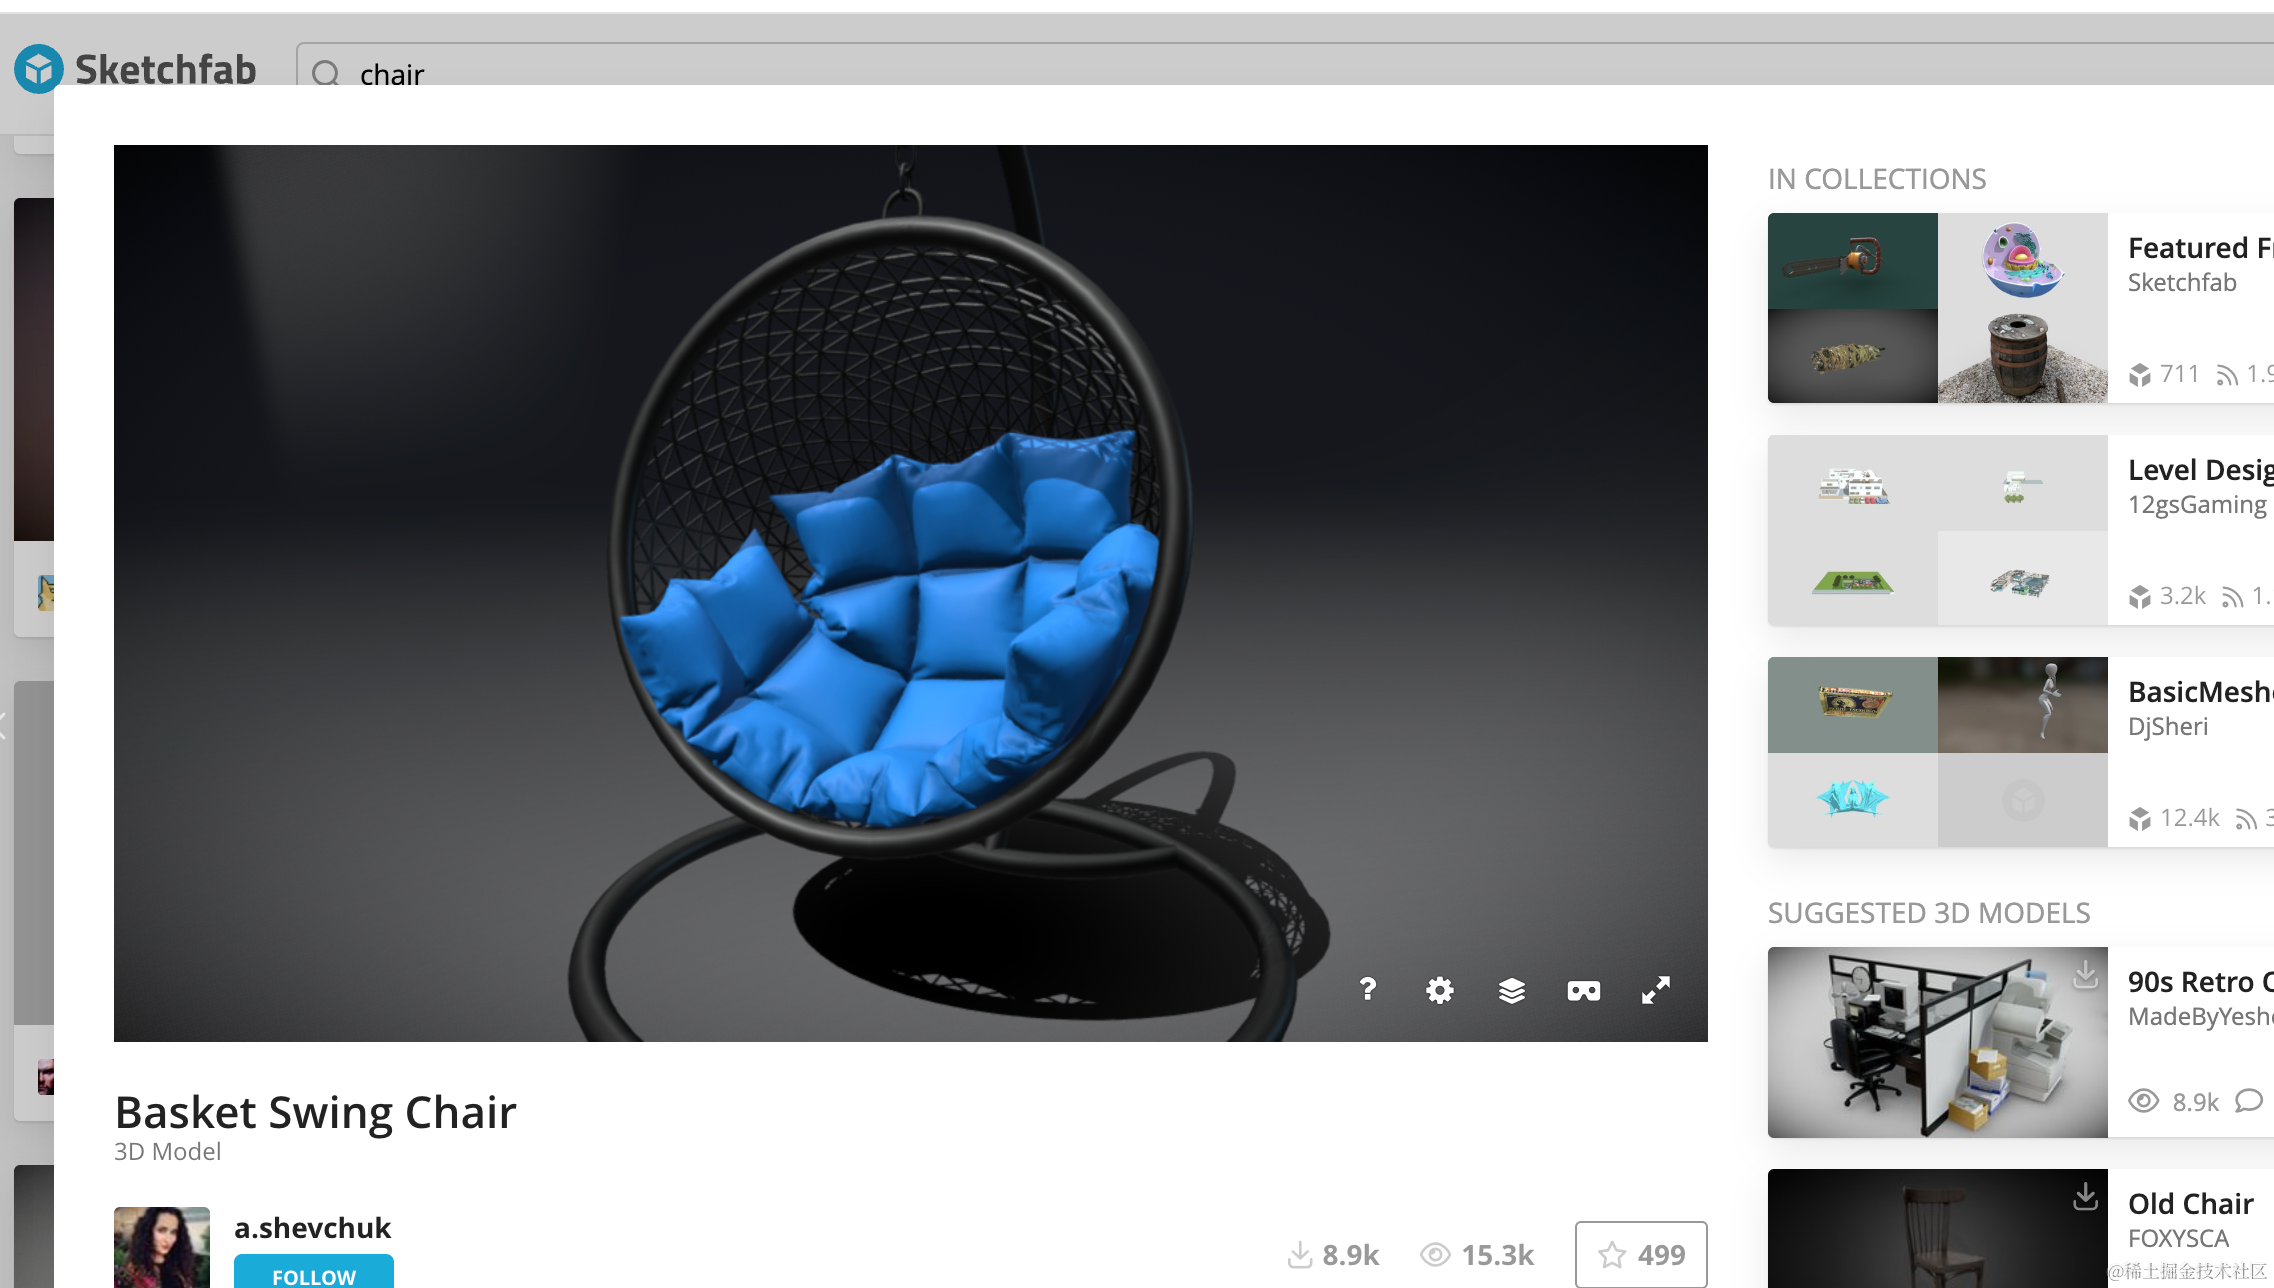
下载下来放到 public 目录:
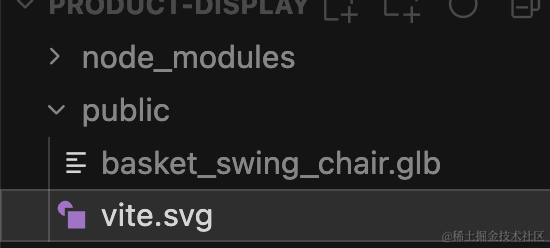
改下 mesh.js
import * as THREE from 'three';
import { GLTFLoader } from 'three/addons/loaders/GLTFLoader.js';

const group = new THREE.Group();

// 创建 GLTFLoader 实例
const loader = new GLTFLoader();

loader.load(
    'basket_swing_chair.glb',
    (gltf) => {
        group.add(gltf.scene);
        gltf.scene.scale.set(140, 140, 140);

        gltf.scene.position.set(0, -70, 0);
    }
);

export default group;
背景改成白色、去掉坐标轴
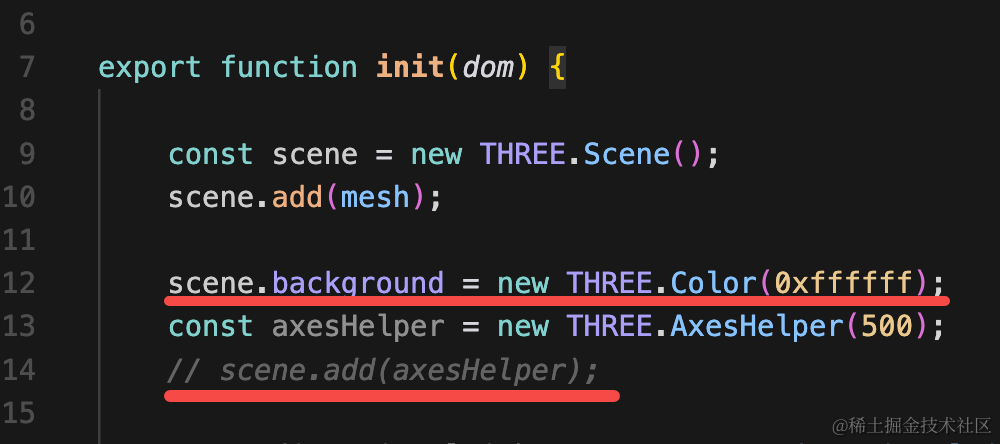
scene.background = new THREE.Color(0xffffff);
我们打印下所有的 mesh,看看哪个是蓝色部分:
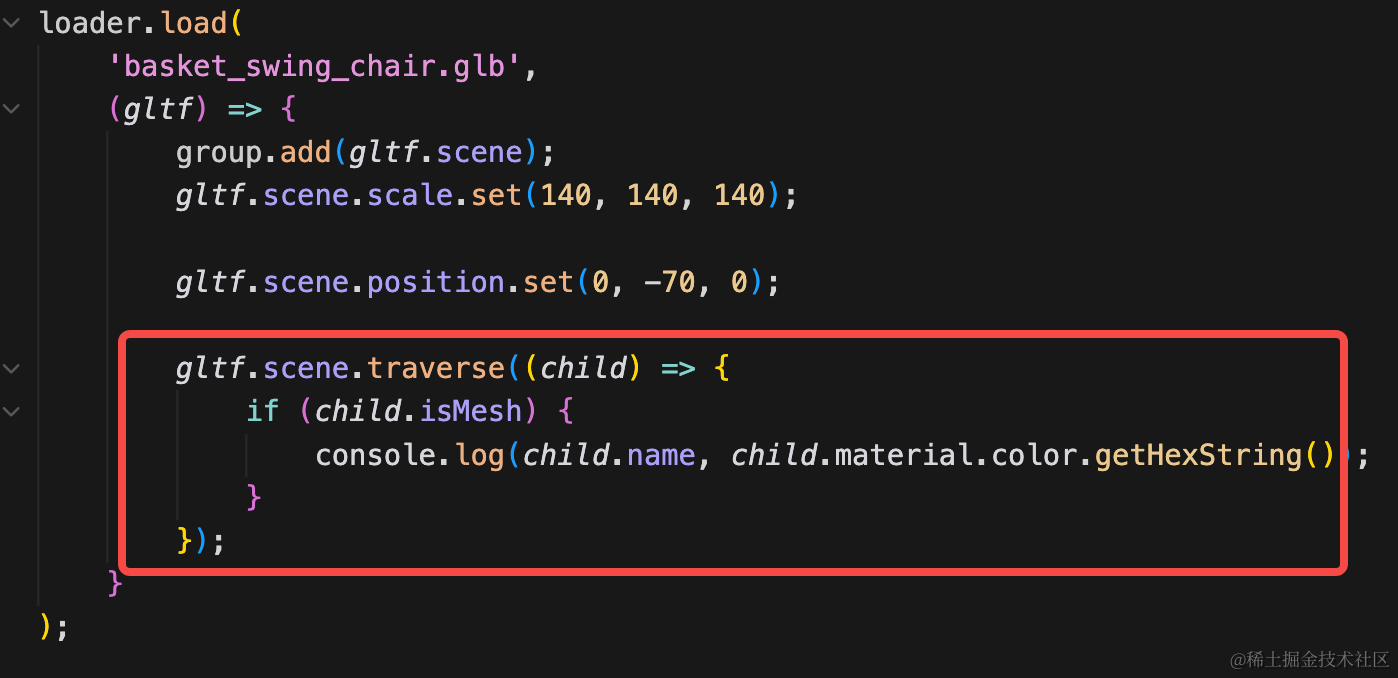
gltf.scene.traverse((child) => {
    if (child.isMesh) {
        console.log(child.name, child.material.color.getHexString());
    }
});
很明显可以看到是这个:
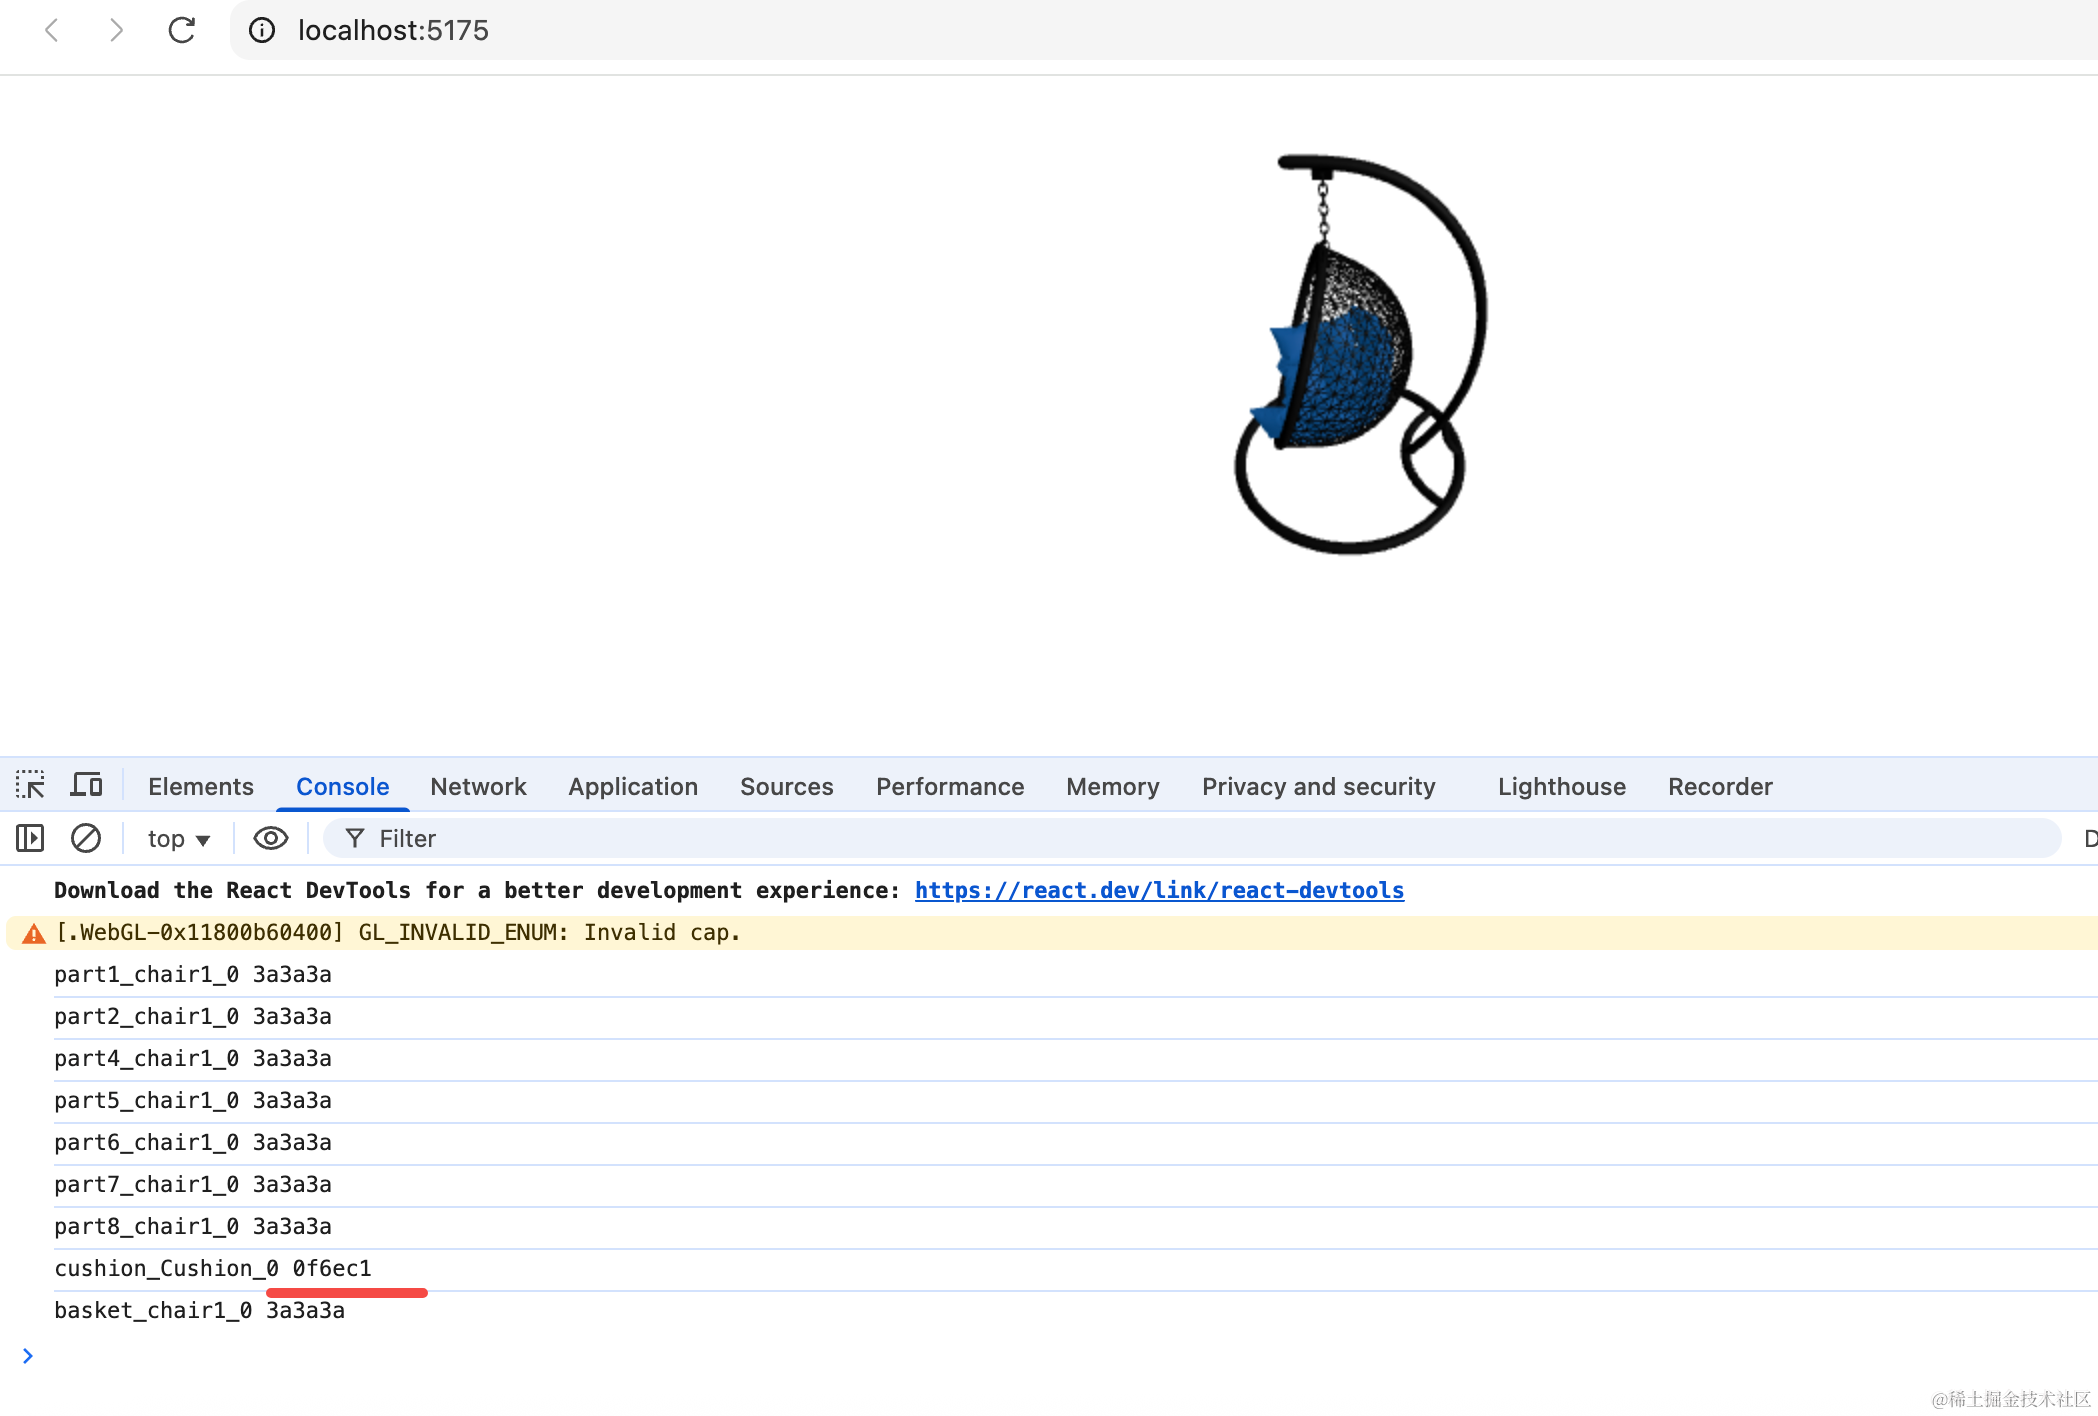
我们改一下它的颜色试一下:
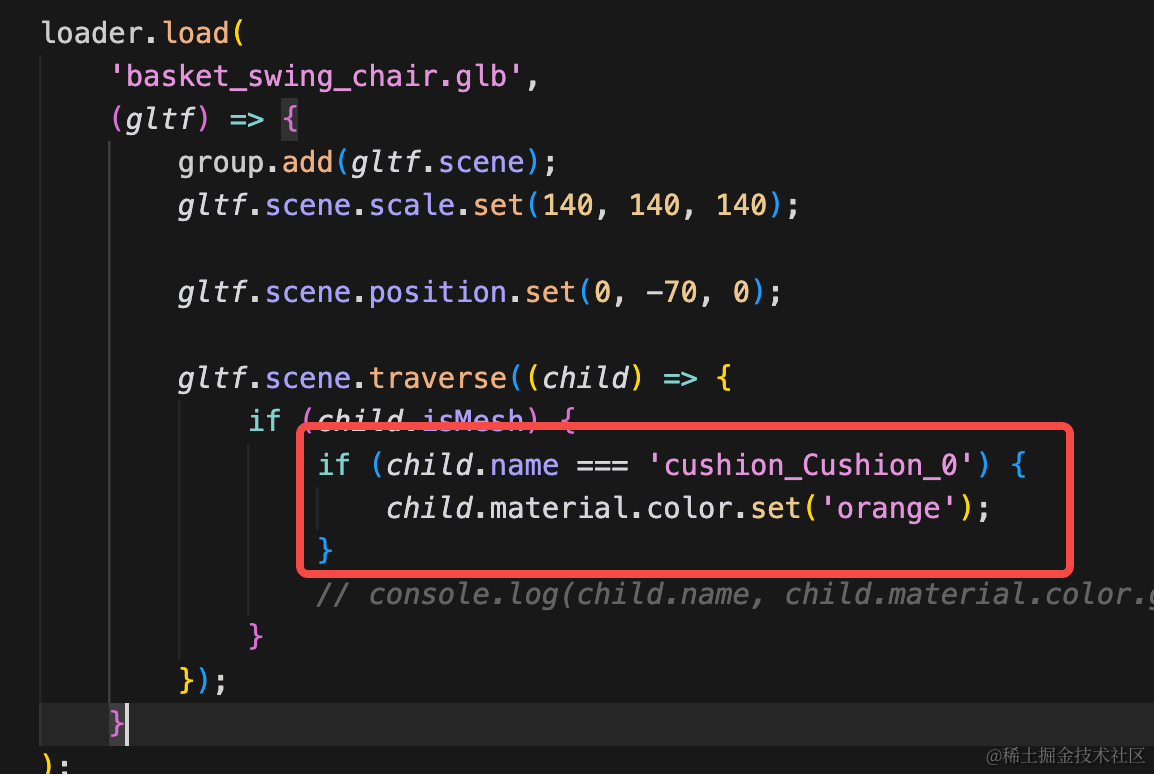
if (child.name === 'cushion_Cushion_0') {
    child.material.color.set('orange');
}
这样我们就实现了坐垫颜色的切换。
接下来就可以实现这种滚动条控制的颜色切换了:
案例代码上传了小册仓库
总结
这节我们开始做一个产品展示的网站。
和之前一样是通过滚动条控制的,可以控制产品旋转、颜色切换等。
这节我们加载了模型并且实现了颜色切换,下节我们加上滚动控制。