上节实现了点云的效果:
这节我们继续完善。
首先,同一种颜色的点太单调了,我们可以指定不同的顶点颜色:
顶点位置是 geometry.attribute.position
顶点颜色是 geometry.attribute.color
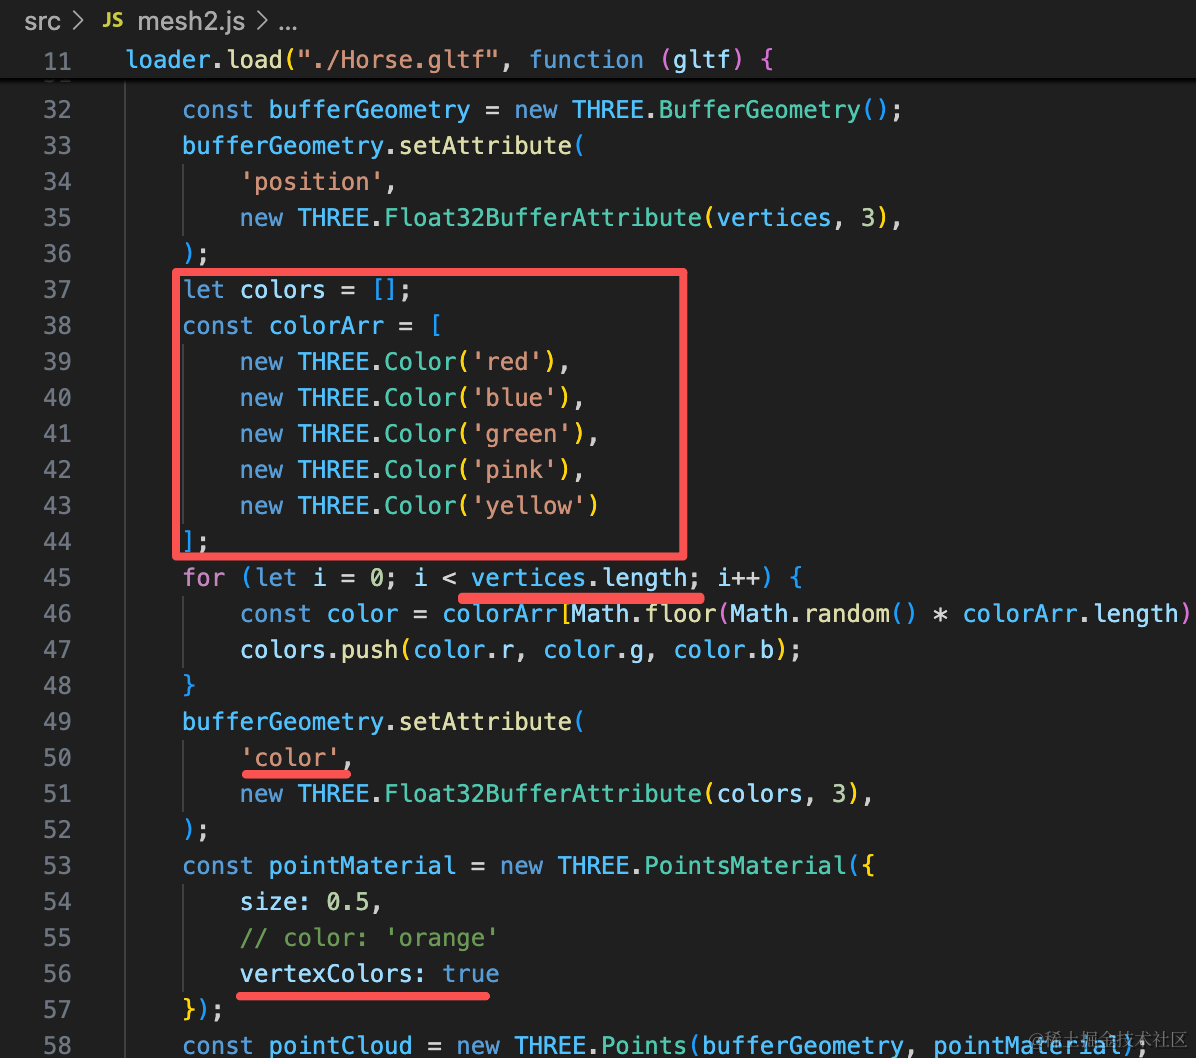
我们生成一个和顶点一一对应的 colors 数组,设置随机的颜色。
let colors = [];
const colorArr = [
    new THREE.Color('red'),
    new THREE.Color('blue'),
    new THREE.Color('green'),
    new THREE.Color('pink'),
    new THREE.Color('yellow')
];
for (let i = 0; i < vertices.length; i++) {
    const color = colorArr[Math.floor(Math.random() * colorArr.length)];
    colors.push(color.r, color.g, color.b);
}
bufferGeometry.setAttribute(
    'color',
    new THREE.Float32BufferAttribute(colors, 3),
);
const pointMaterial = new THREE.PointsMaterial({
    size: 0.5,
    // color: 'orange'
    vertexColors: true
});
指定 PointsMaterial 开启 vertexColors
然后设置 geometry.attributes.color 数组
看下效果:
现在,点云的每个点的颜色就是随机的了。
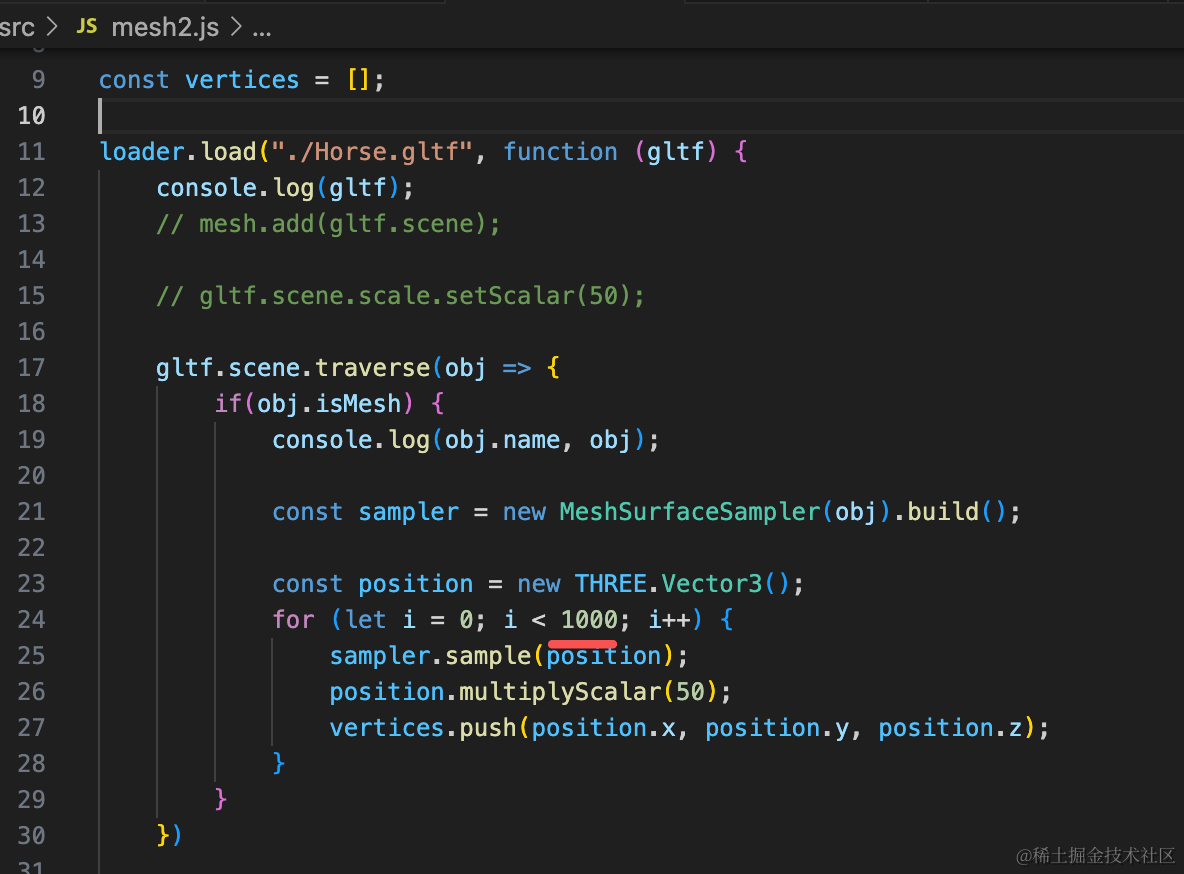
此外,你也可以不断增加采样点,而不是固定的 10000 个采样点:
初始 1000 个采样点:
后续每秒增加 1000 个:
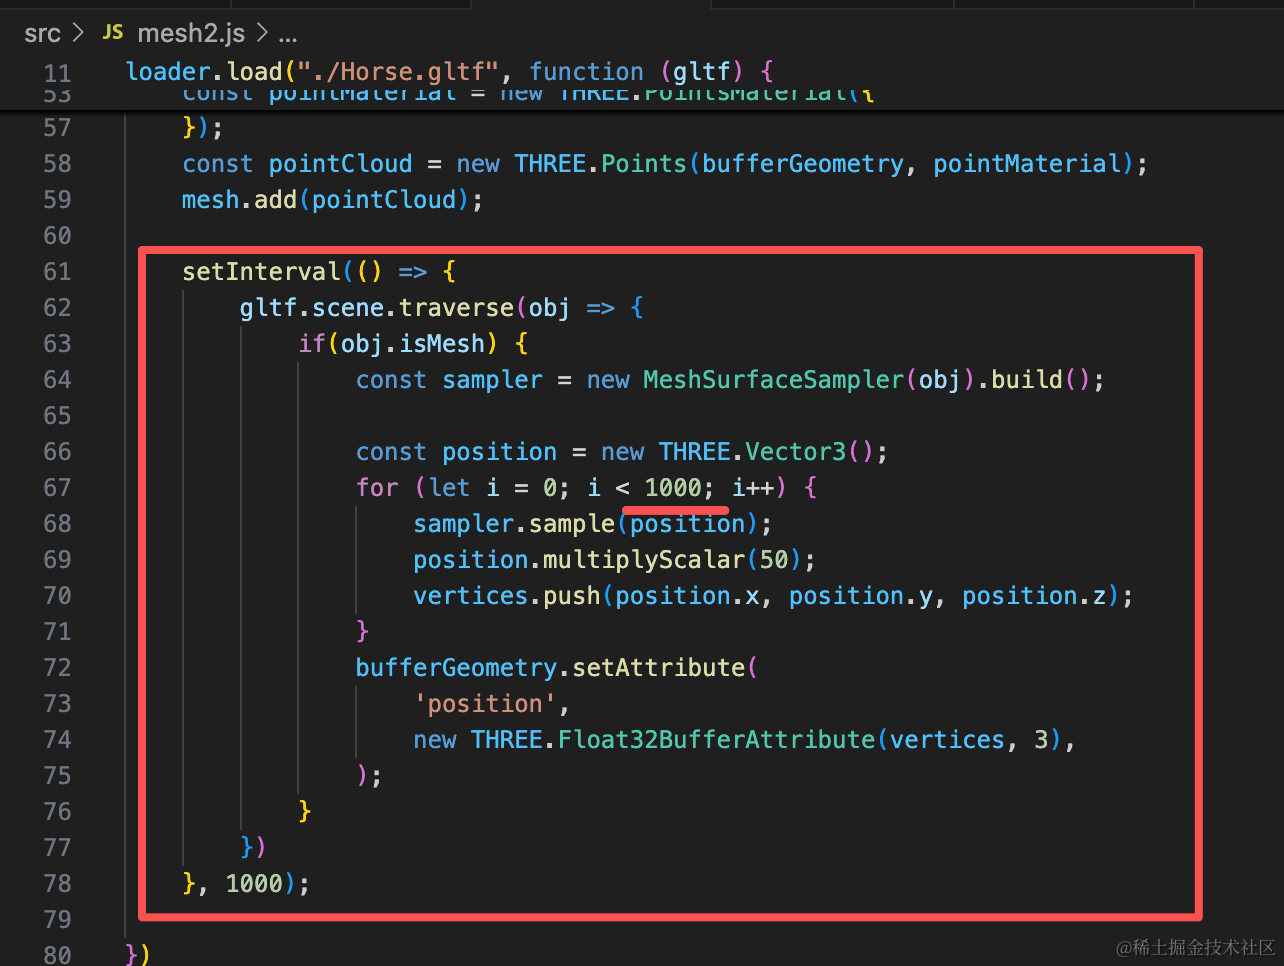
setInterval(() => {
    gltf.scene.traverse(obj => {
        if(obj.isMesh) {
            const sampler = new MeshSurfaceSampler(obj).build();

            const position = new THREE.Vector3();
            for (let i = 0; i < 1000; i++) {
                sampler.sample(position);
                position.multiplyScalar(50);
                vertices.push(position.x, position.y, position.z);
            }
            bufferGeometry.setAttribute(
                'position',
                new THREE.Float32BufferAttribute(vertices, 3),
            );
        }
    })
}, 1000);
看下效果:

刚开始采样点是不断增加的,后面就渲染报错了:

这是因为顶点颜色数量和顶点对应不上了。
我们顶点颜色数组也要同步修改:
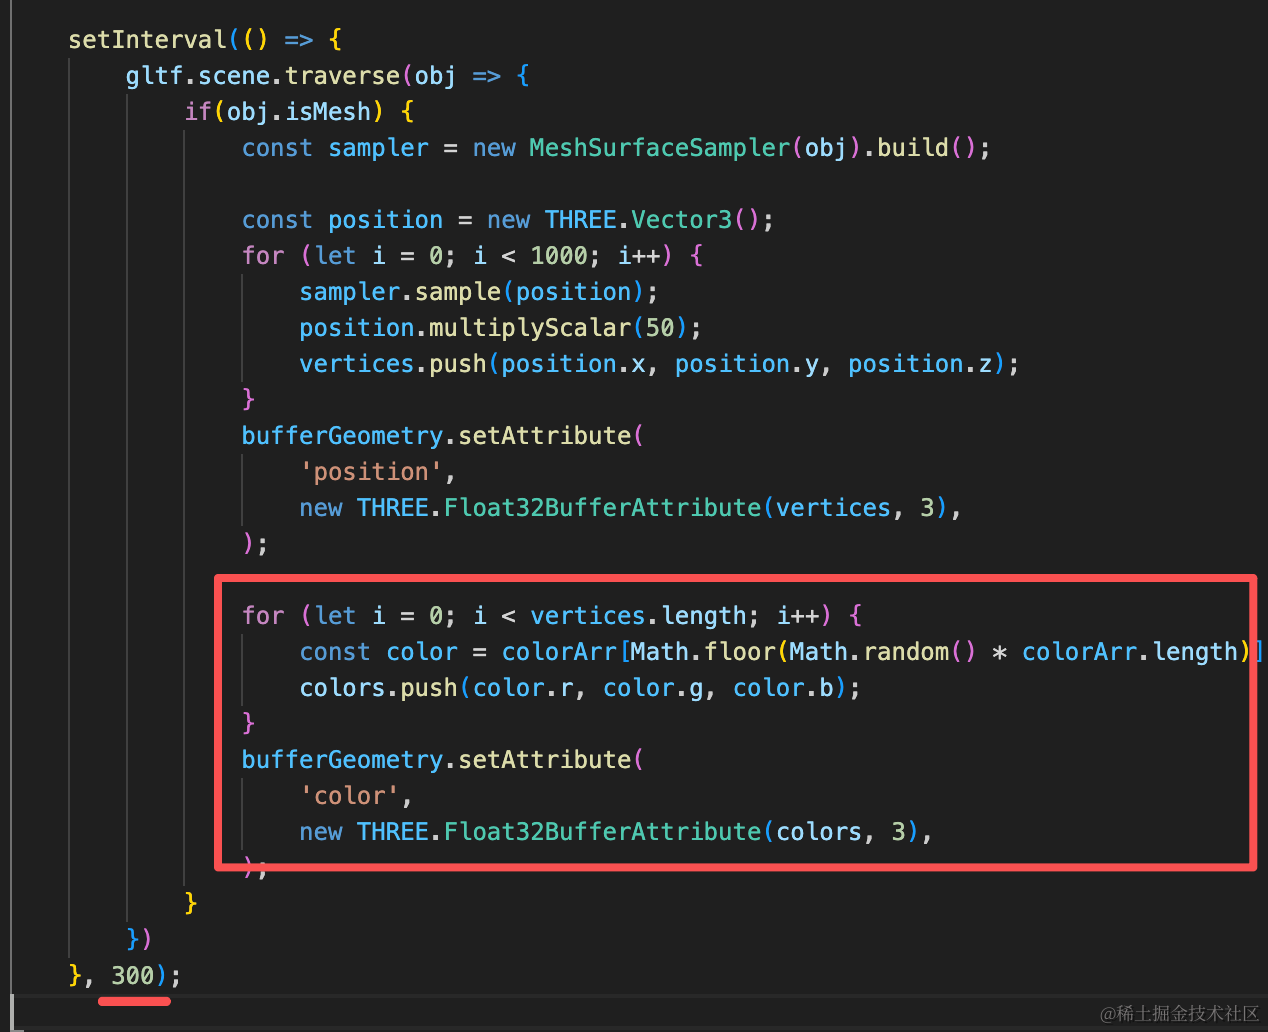
for (let i = 0; i < vertices.length; i++) {
    const color = colorArr[Math.floor(Math.random() * colorArr.length)];
    colors.push(color.r, color.g, color.b);
}
bufferGeometry.setAttribute(
    'color',
    new THREE.Float32BufferAttribute(colors, 3),
);
加上顶点颜色的修改,把增加频率加大。
但也不能无限增加,当 vertices 数组元素数量大于 6w 就 return,不再增加
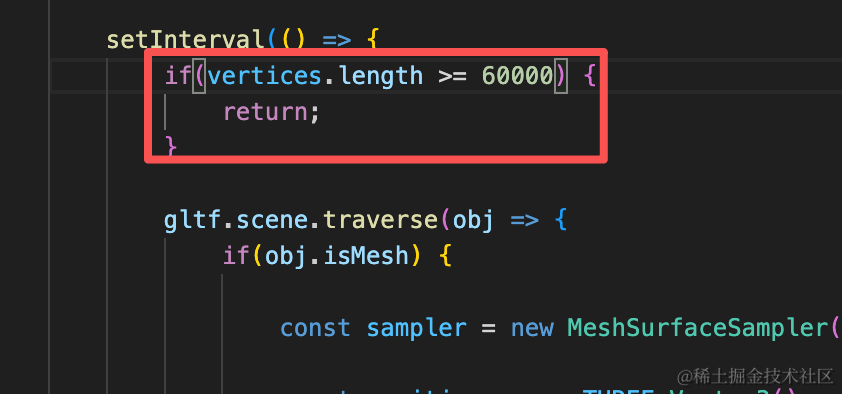
if(vertices.length >= 60000) {
    return;
}
案例代码上传了小册仓库
总结
这节我们给点云效果加上了随机顶点颜色,以及逐渐增加顶点的效果。
这里的点云数据是从模型上采样的,实际上的点云是用物理设备扫描出来的一些点。
但如果你自己要实现这种点云效果,就可以用 MeshSurfaceSampler 网格模型表面采样器实现。