上节我们学了包围盒 Box3,并且计算了模型大小:
但只用到了 expandByObject 这一个 api,其实它还有很多 api。
这节我们把各种 api 都过一遍。
npx create-vite box3-api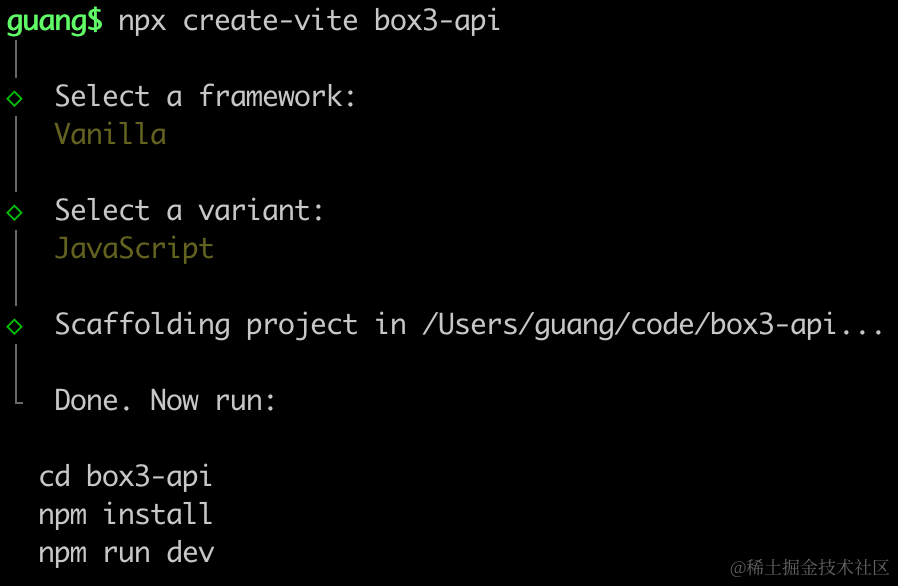
进入项目,安装依赖:
npm install
npm install --save three
npm install --save-dev @types/three
改下 src/index.js
import './style.css';
import * as THREE from 'three';
import {
    OrbitControls
} from 'three/addons/controls/OrbitControls.js';
import mesh from './mesh.js';

const scene = new THREE.Scene();

scene.add(mesh);

const light = new THREE.DirectionalLight(0xffffff);
light.position.set(500, 300, 600);
scene.add(light);

const light2 = new THREE.AmbientLight();
scene.add(light2);

const axesHelper = new THREE.AxesHelper(1000);
scene.add(axesHelper);

const width = window.innerWidth;
const height = window.innerHeight;

const camera = new THREE.PerspectiveCamera(60, width / height, 1, 10000);
camera.position.set(500, 300, 400);
camera.lookAt(0, 0, 0);

const renderer = new THREE.WebGLRenderer();
renderer.setSize(width, height)

function render() {
    renderer.render(scene, camera);
    requestAnimationFrame(render);
}

render();

document.body.append(renderer.domElement);

const controls = new OrbitControls(camera, renderer.domElement);
创建 Scene、Light、Camera、Renderer
改下 style.css
body {
    margin: 0;
}
然后创建 mesh.js
import * as THREE from 'three';
import { GLTFLoader } from 'three/addons/loaders/GLTFLoader.js';
const loader = new GLTFLoader();
const mesh = new THREE.Group();
async function main() {
const gltf = await loader.loadAsync("./Michelle.glb");
console.log(gltf);
gltf.scene.scale.setScalar(150);
mesh.add(gltf.scene);
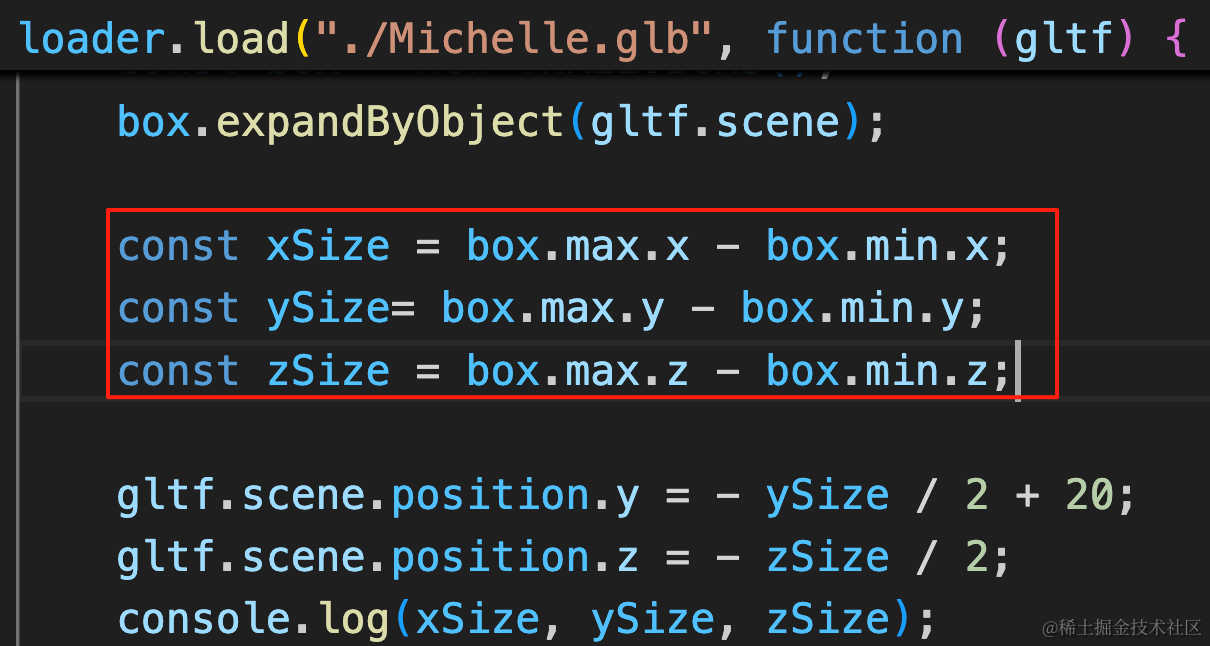
const box = new THREE.Box3();
box.expandByObject(gltf.scene);
const xSize = box.max.x - box.min.x;
const ySize= box.max.y - box.min.y;
const zSize = box.max.z - box.min.z;
gltf.scene.position.y = - ySize / 2 + 20;
gltf.scene.position.z = - zSize / 2;
console.log(xSize, ySize, zSize);
const helper1 = new THREE.BoxHelper(gltf.scene);
mesh.add(helper1);
}
main();
export default mesh;这次我们用 loadAsync 的 promise 版本的 api 来加载模型。
继续用上节的模型:
https://github.com/QuarkGluonPlasma/threejs-course-code/blob/main/dancing-mirror/public/Michelle.glb
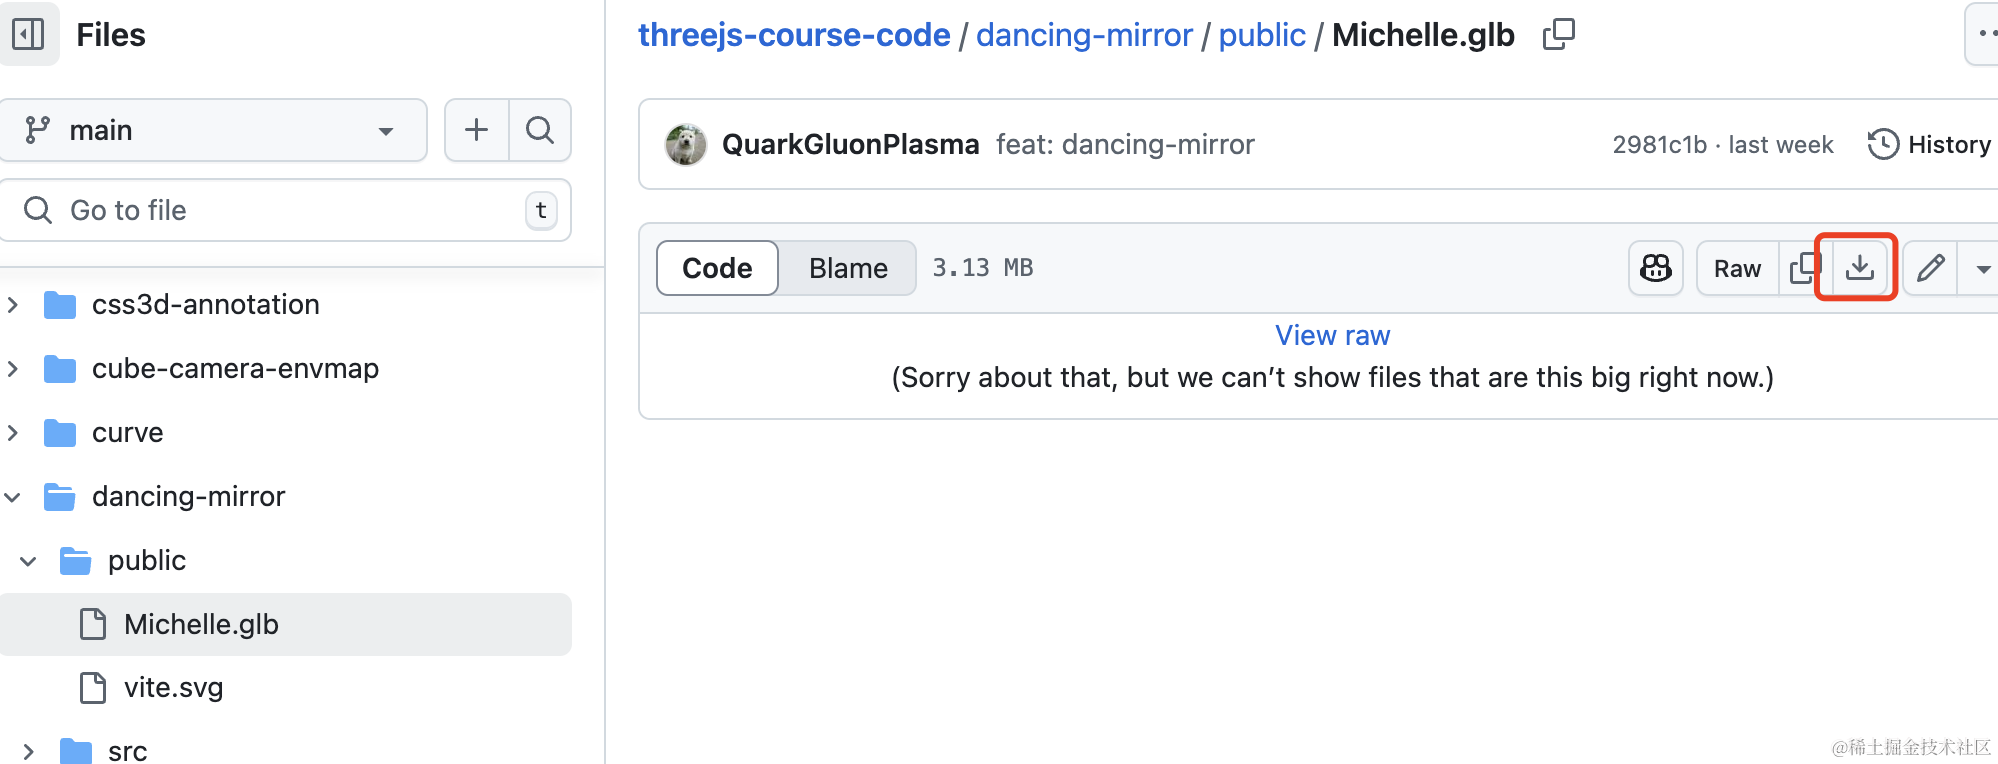
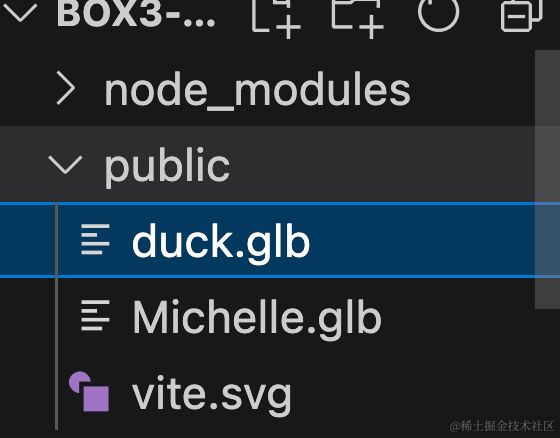
放到 public 目录下:
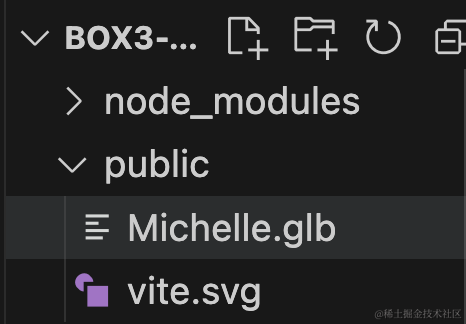
先跑起来看下:
npm run dev
Box3Helper
现在我们用的是 BoxHelper 的 api,它传入对象,会算出对象的包围盒然后可视化出来。
但我们已经自己算出了包围盒 Box3,也可以用 Box3Helper:
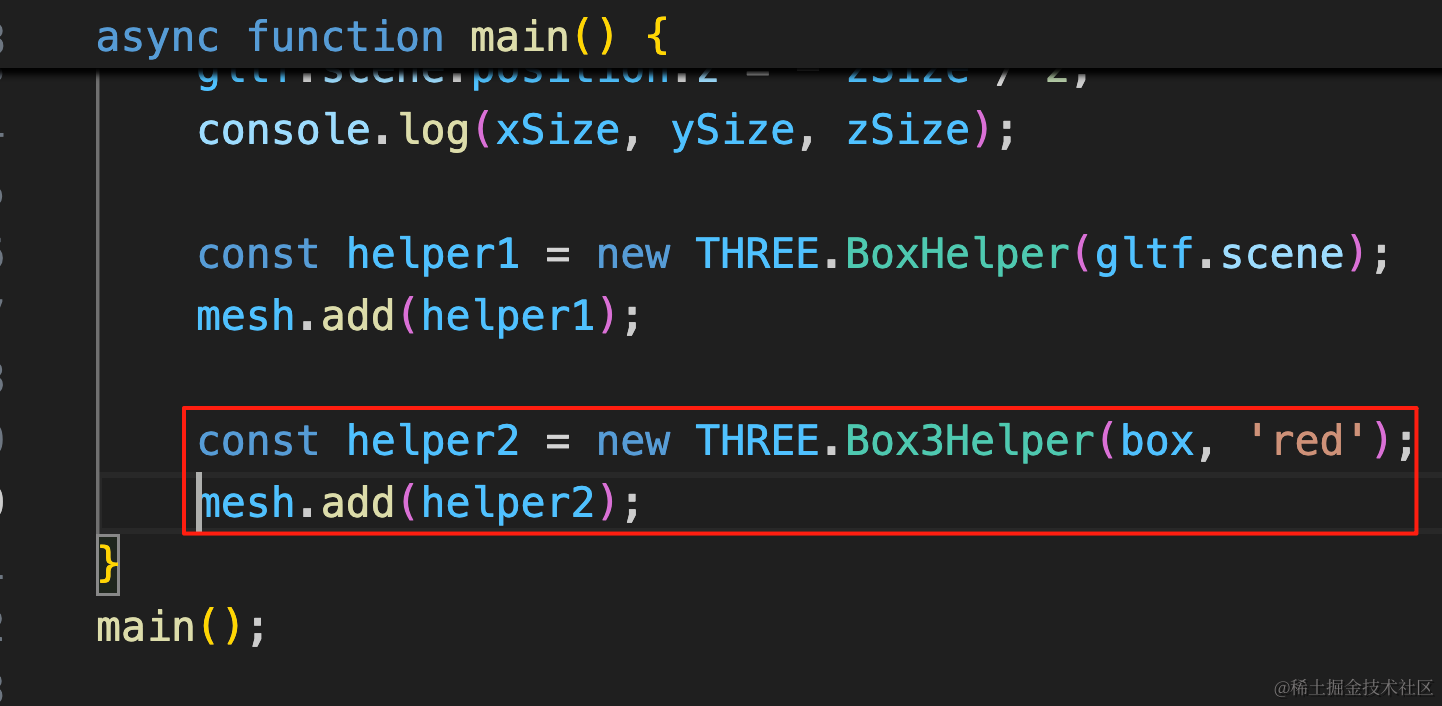
const helper2 = new THREE.Box3Helper(box, 'red');
mesh.add(helper2);
看一下:
为什么位置不对呢?
因为获取包围盒之后我们又移动了位置,所以需要再获取一次。
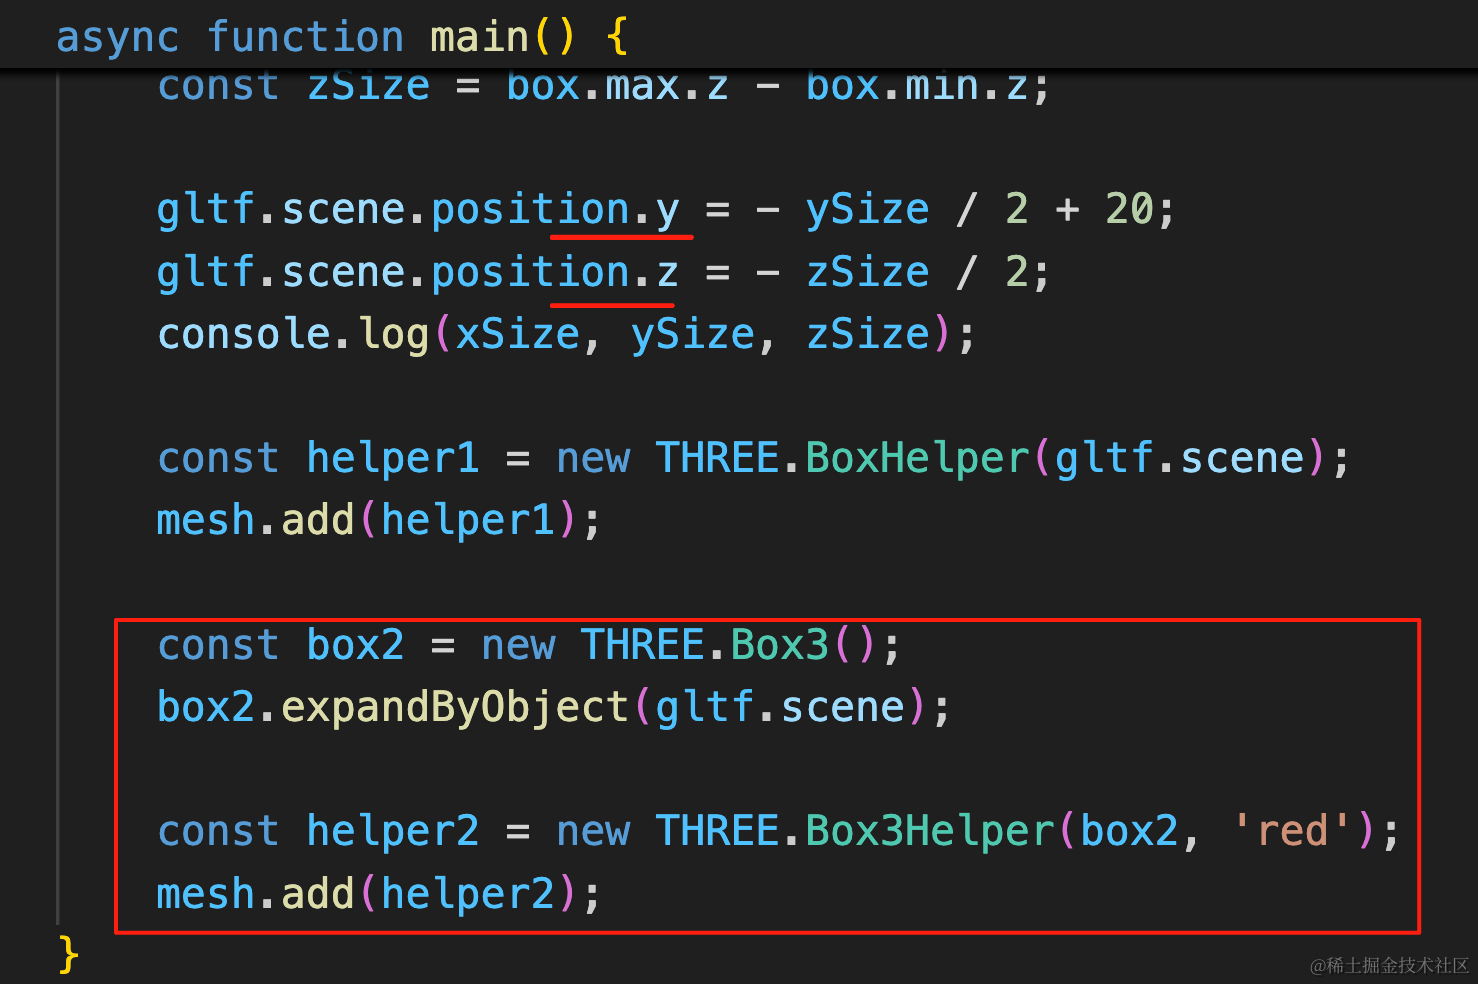
const box2 = new THREE.Box3();
box2.expandByObject(gltf.scene);

const helper2 = new THREE.Box3Helper(box2, 'red');
mesh.add(helper2);
当然,现在两者重合了,会有闪烁现象,也就是深度冲突,不知道哪个在上面哪个在下面。
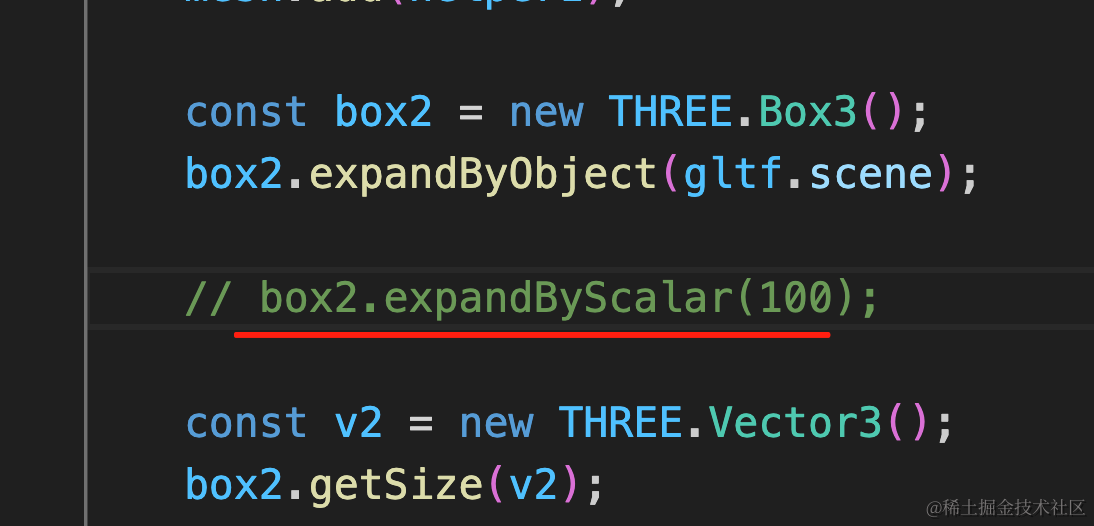
expandByScalar
expandByScalar 是扩展包围盒的大小
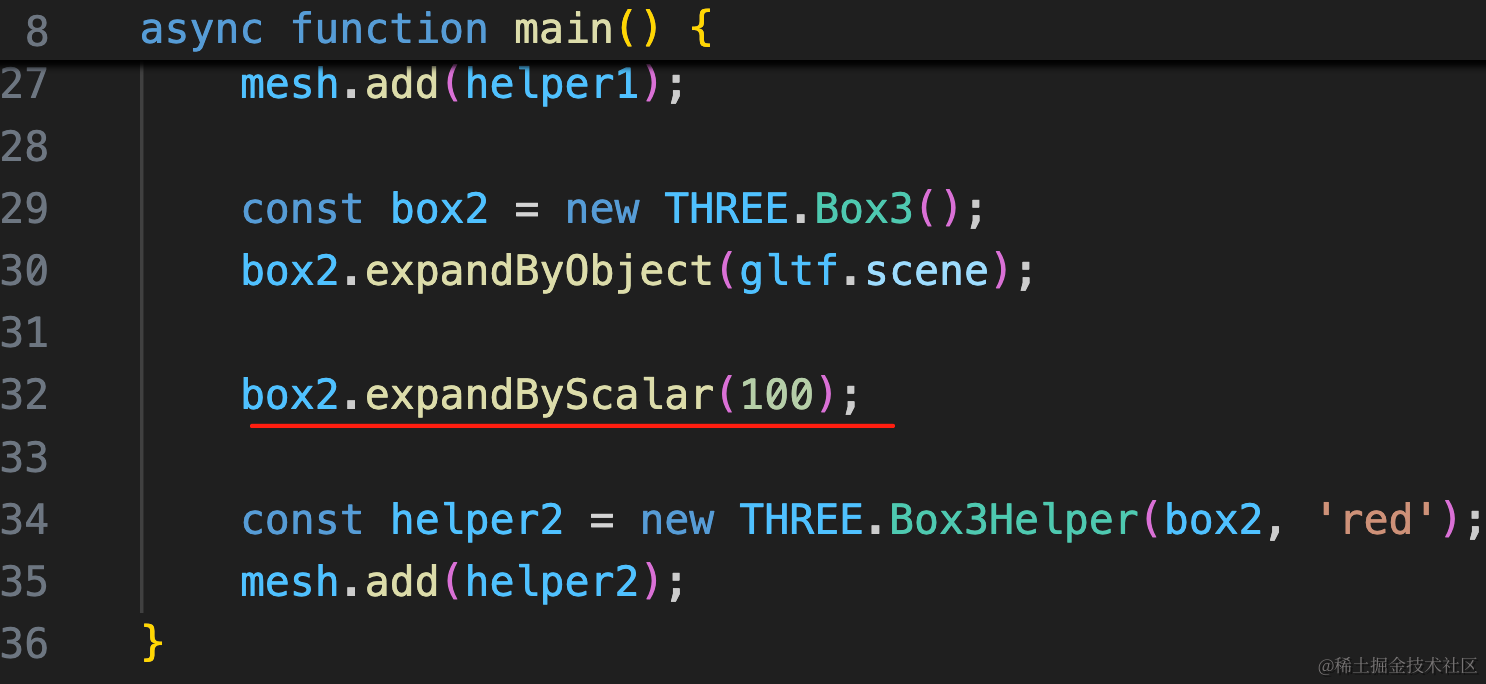
box2.expandByScalar(100);我们扩展 100

可以看到,三个方向都加上了 100 的大小。
getSize
上节我们是自己计算了包围盒的大小,用 max 的 xyz 减去 min 的 xyz:
其实也可以直接用 getSize 的 api:
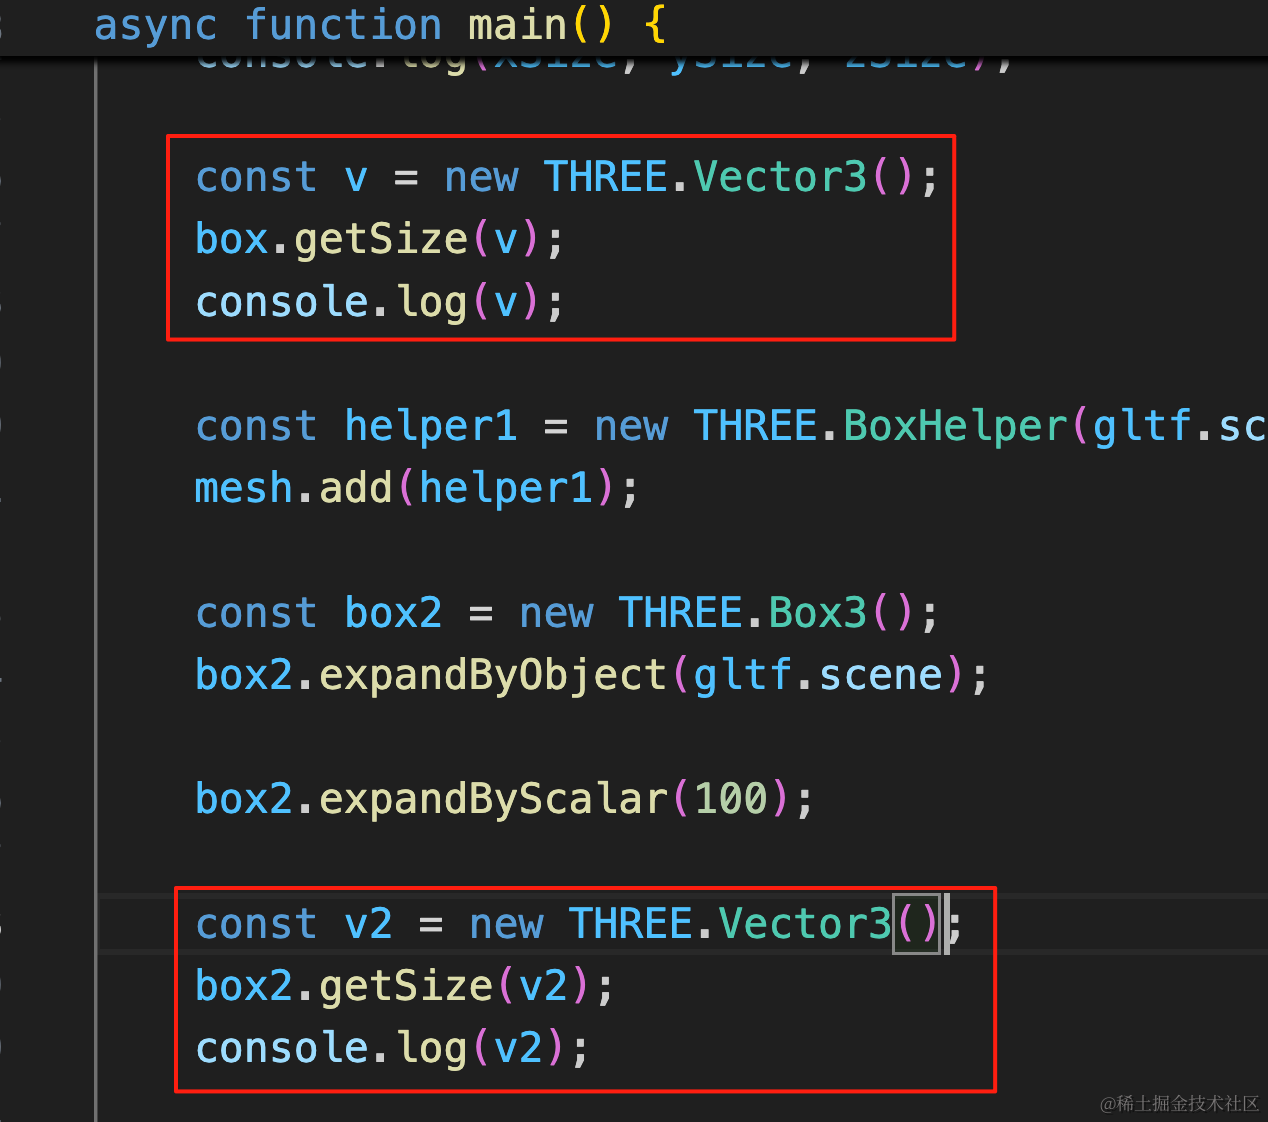
const v = new THREE.Vector3();
box.getSize(v);
console.log(v);
const v2 = new THREE.Vector3();
box2.getSize(v2);
console.log(v2);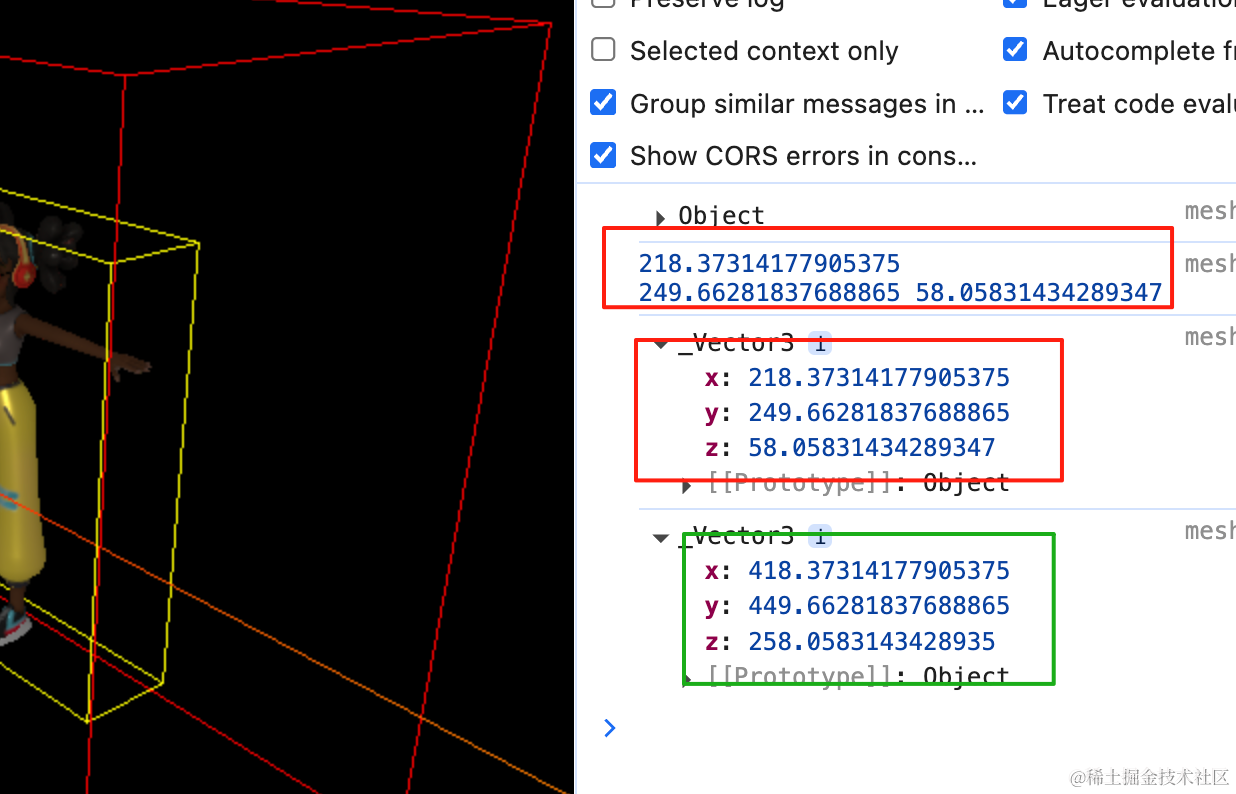
可以看到,结果和我们自己计算的是一样的。
并且扩展的包围盒在 xyz 方向加了 200,左右各 100.
setFromObject
之前创建了包围盒之后,用 expandByObject 扩展了包围盒,让它包裹目标对象:
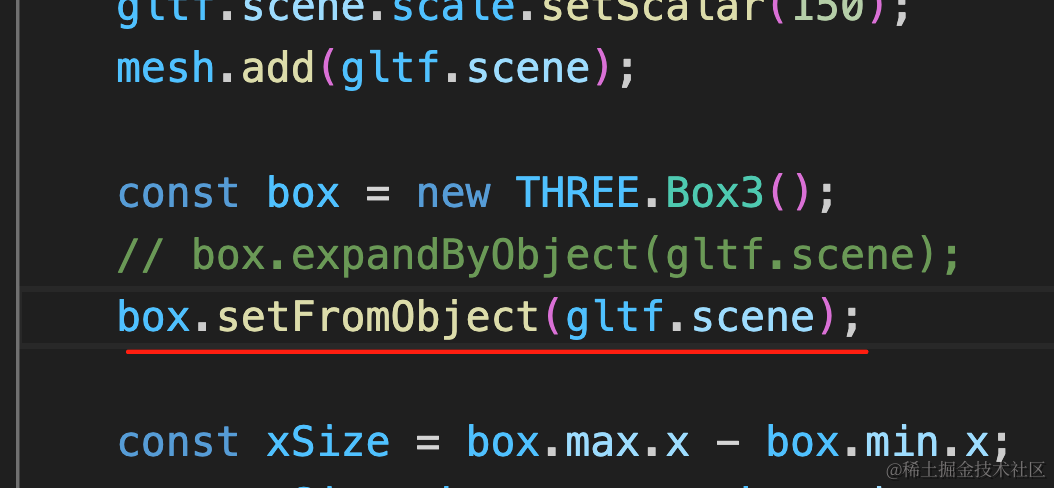
其实也可以用 setFromObject 的 api,这俩 api 作用一样:
box.setFromObject(gltf.scene);
intersectsBox
intersectsBox 可以用来判断两个包围盒是否相交,返回 boolean。可以用来做碰撞检测。
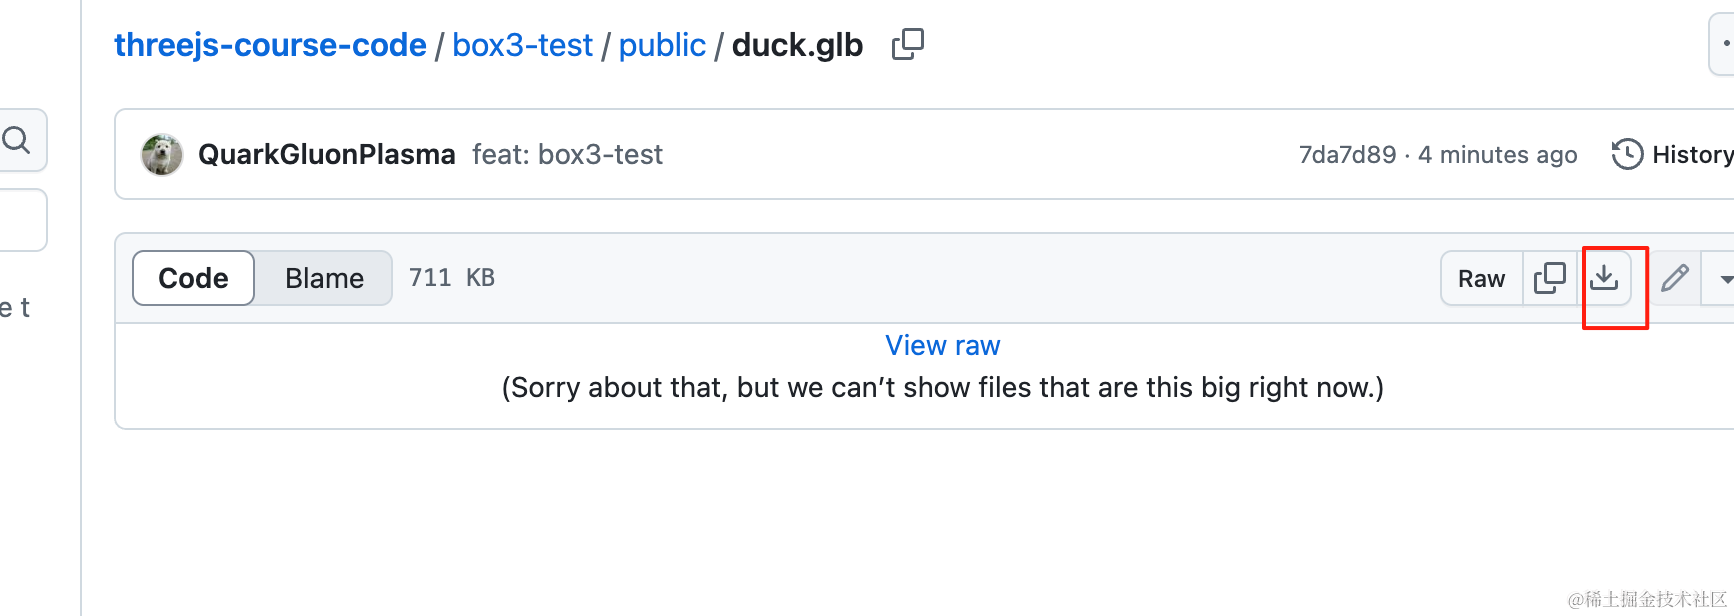
我们再加载一下鸭子模型:
从这里下载,放到 public 目录下:
https://github.com/QuarkGluonPlasma/threejs-course-code/blob/main/box3-test/public/duck.glb
代码里加载下:
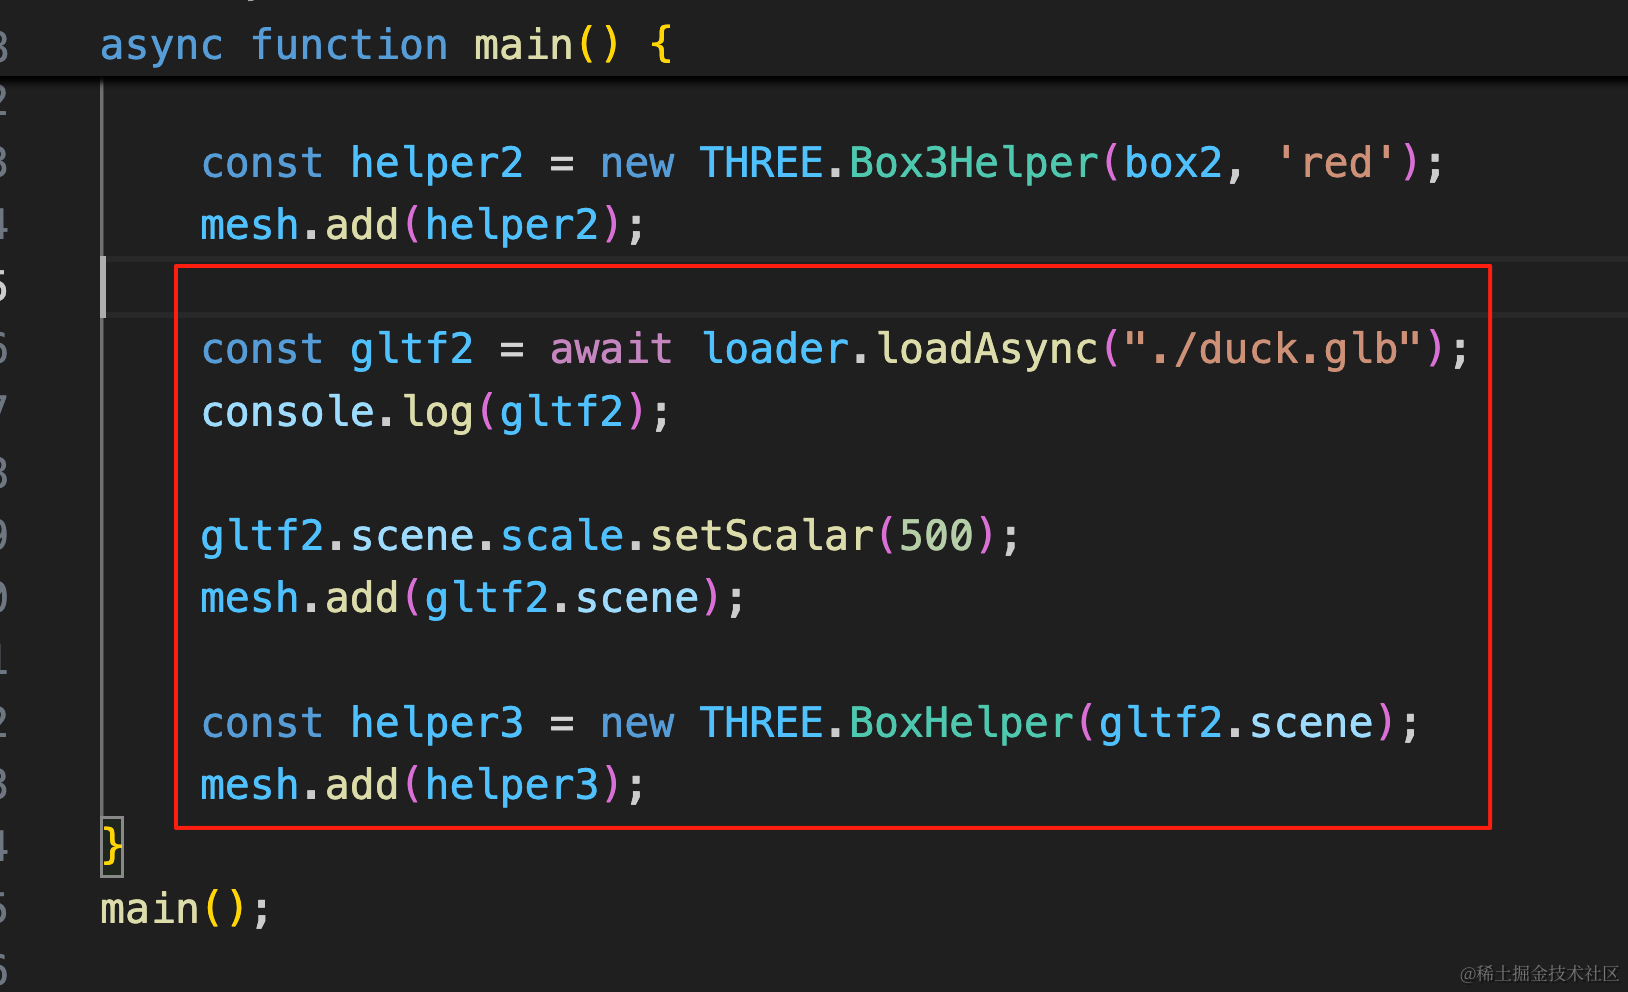
const gltf2 = await loader.loadAsync("./duck.glb");
console.log(gltf2);

gltf2.scene.scale.setScalar(500);
mesh.add(gltf2.scene);

const helper3 = new THREE.BoxHelper(gltf2.scene);
mesh.add(helper3);
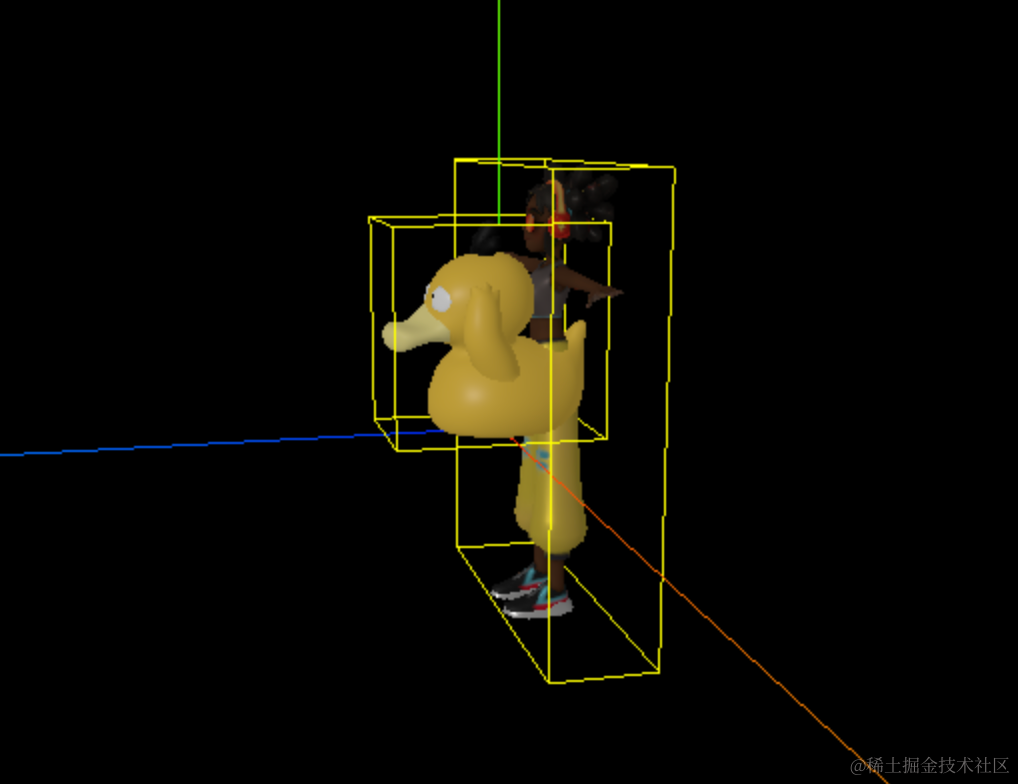
可以看到,现在明显碰撞了。
我们可以用 intersectsBox 来检测:
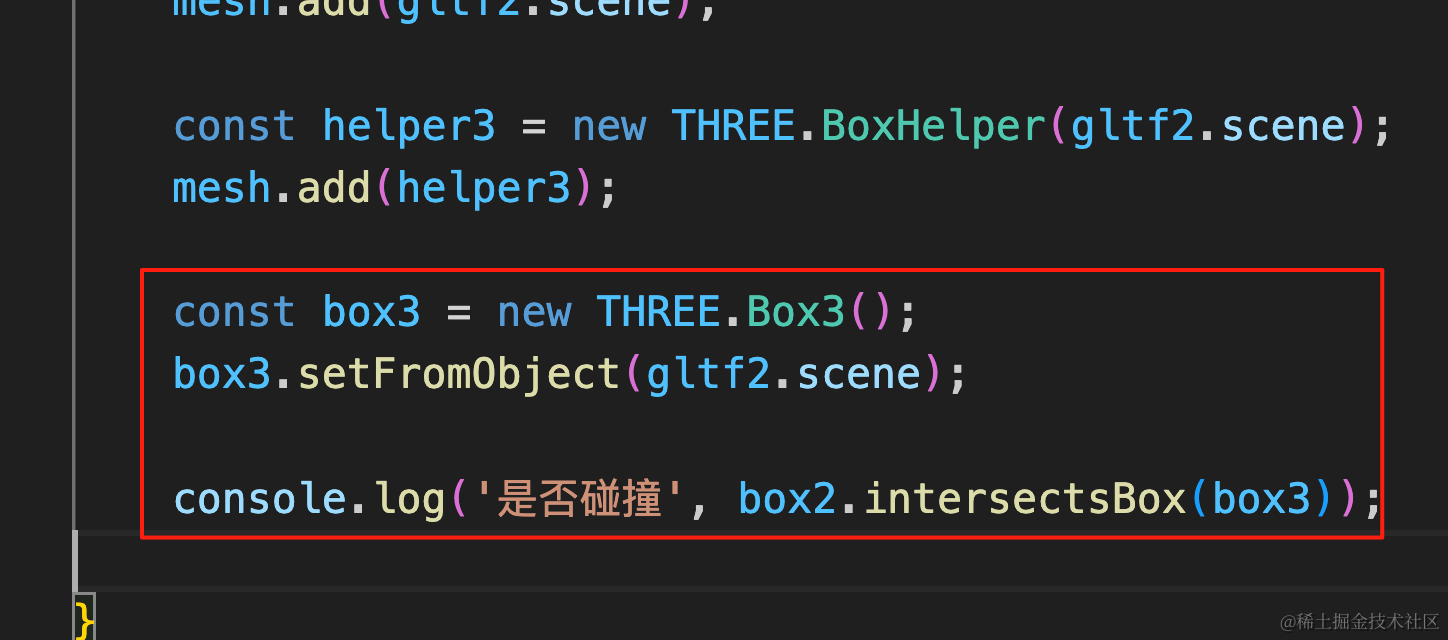
const box3 = new THREE.Box3();
box3.setFromObject(gltf2.scene);

console.log('是否碰撞', box2.intersectsBox(box3));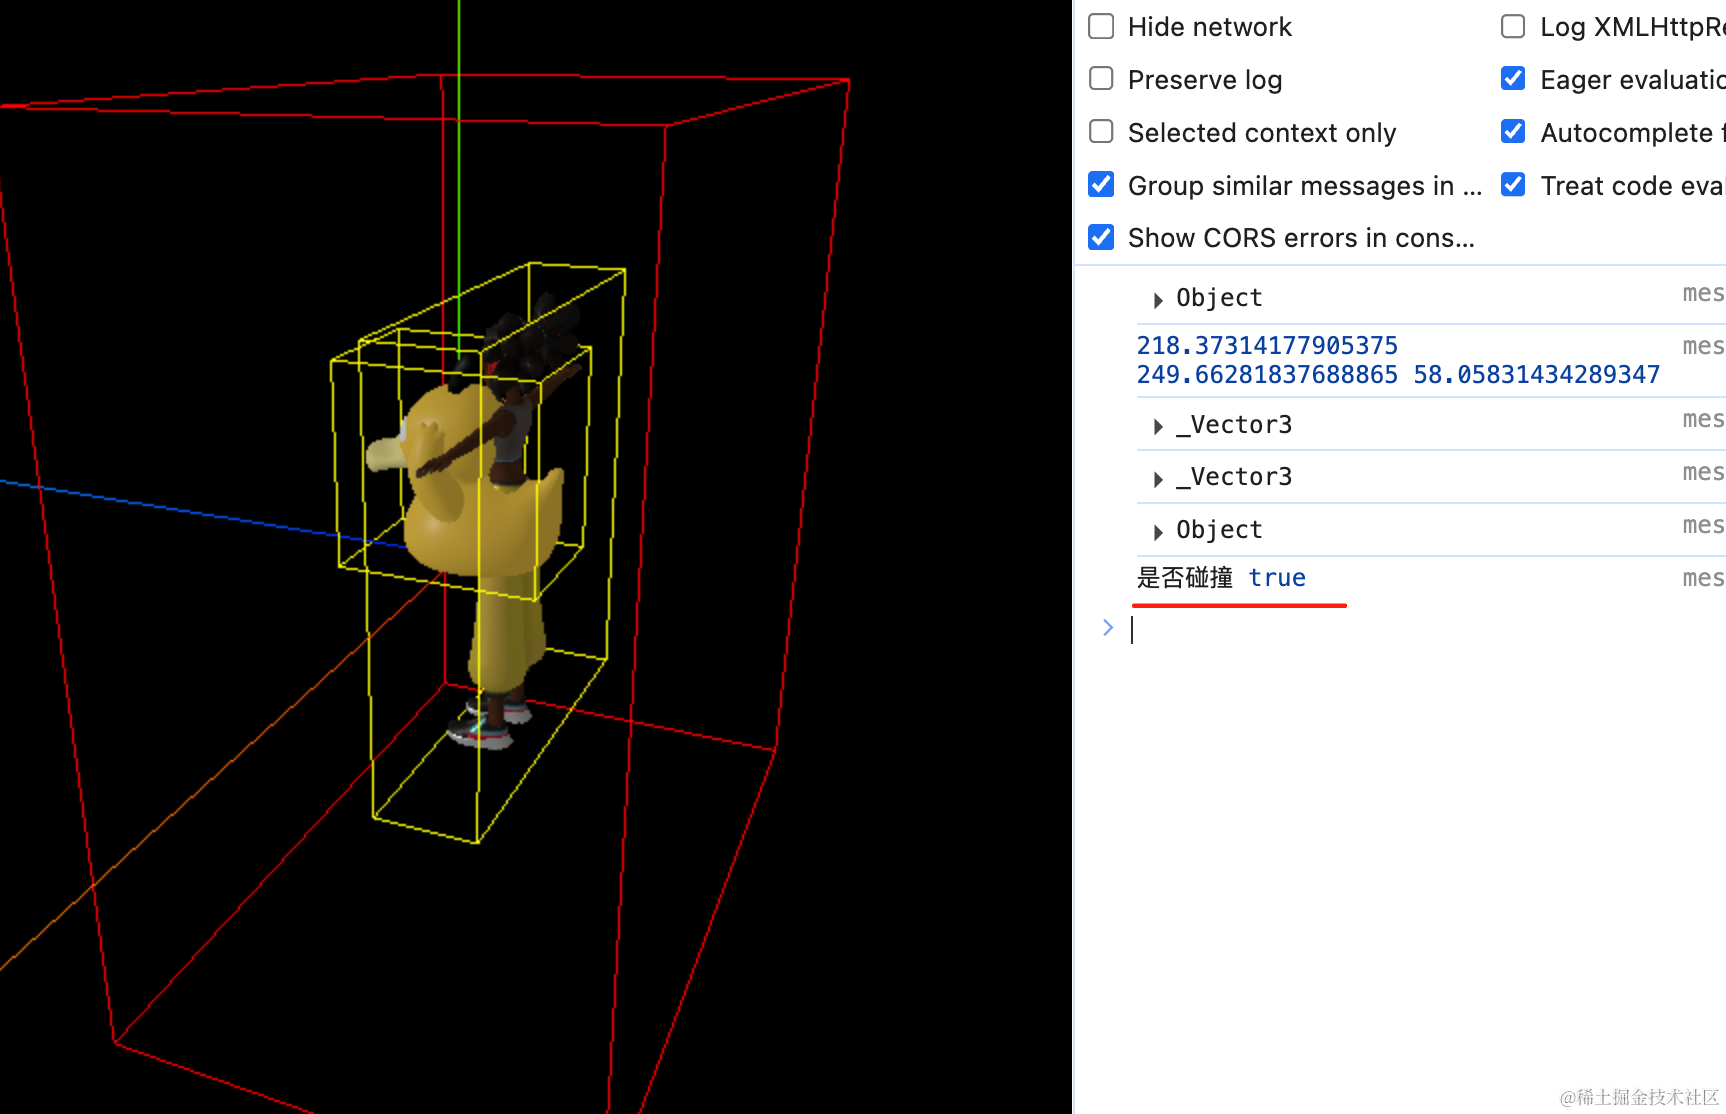
可以看到,检测到了碰撞。
我们改一下鸭子位置:
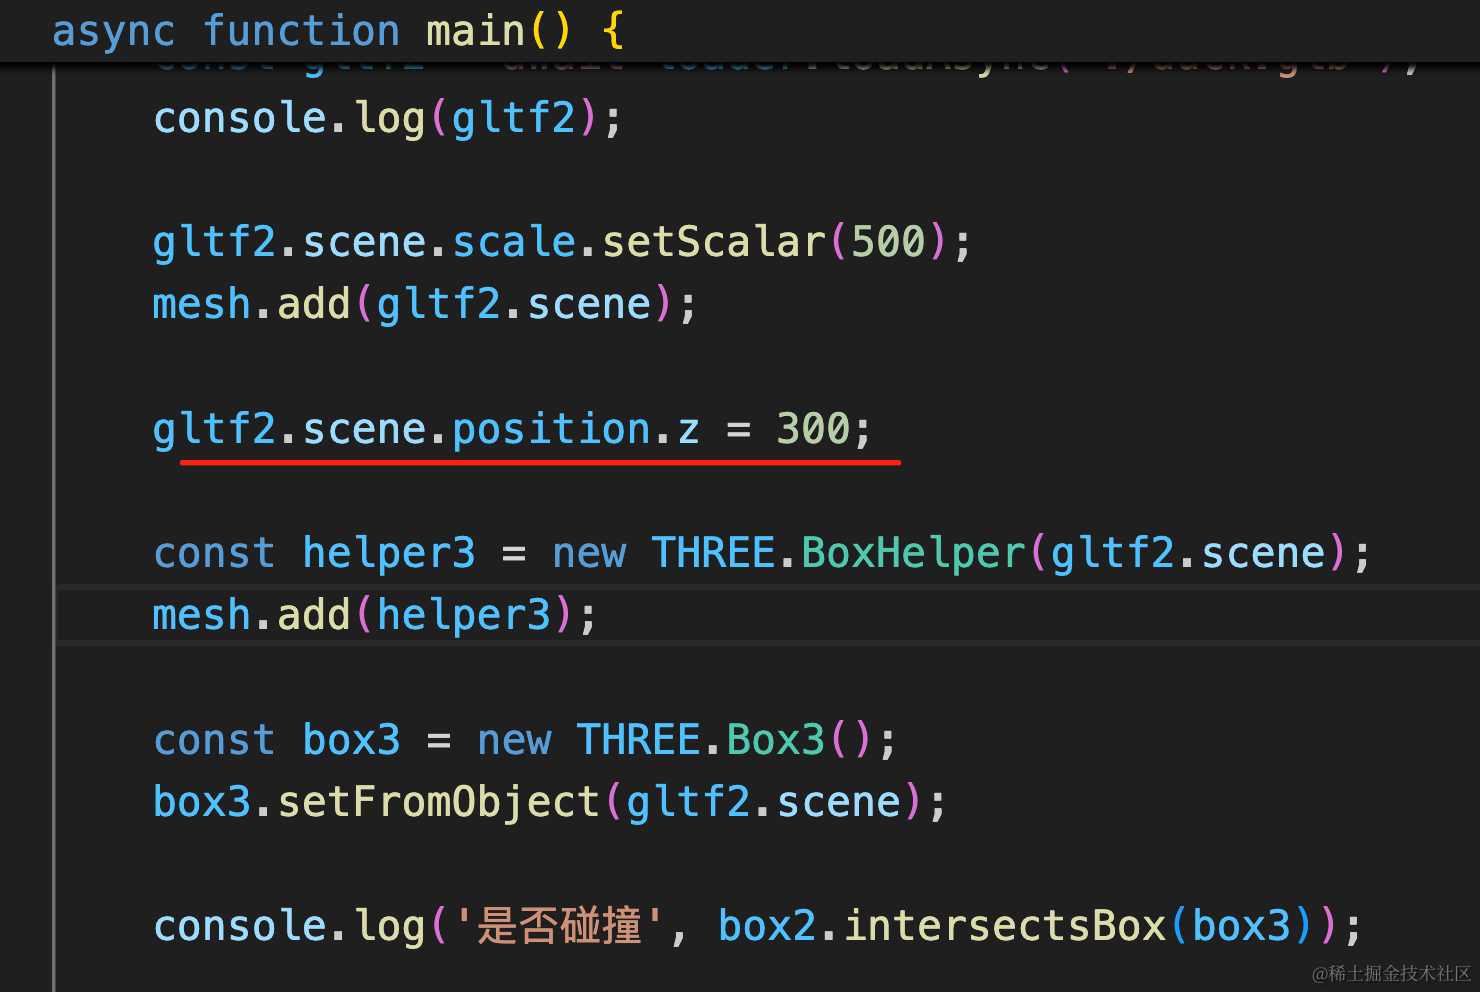
gltf2.scene.position.z = 300;再看一下:

现在就没有碰撞了。
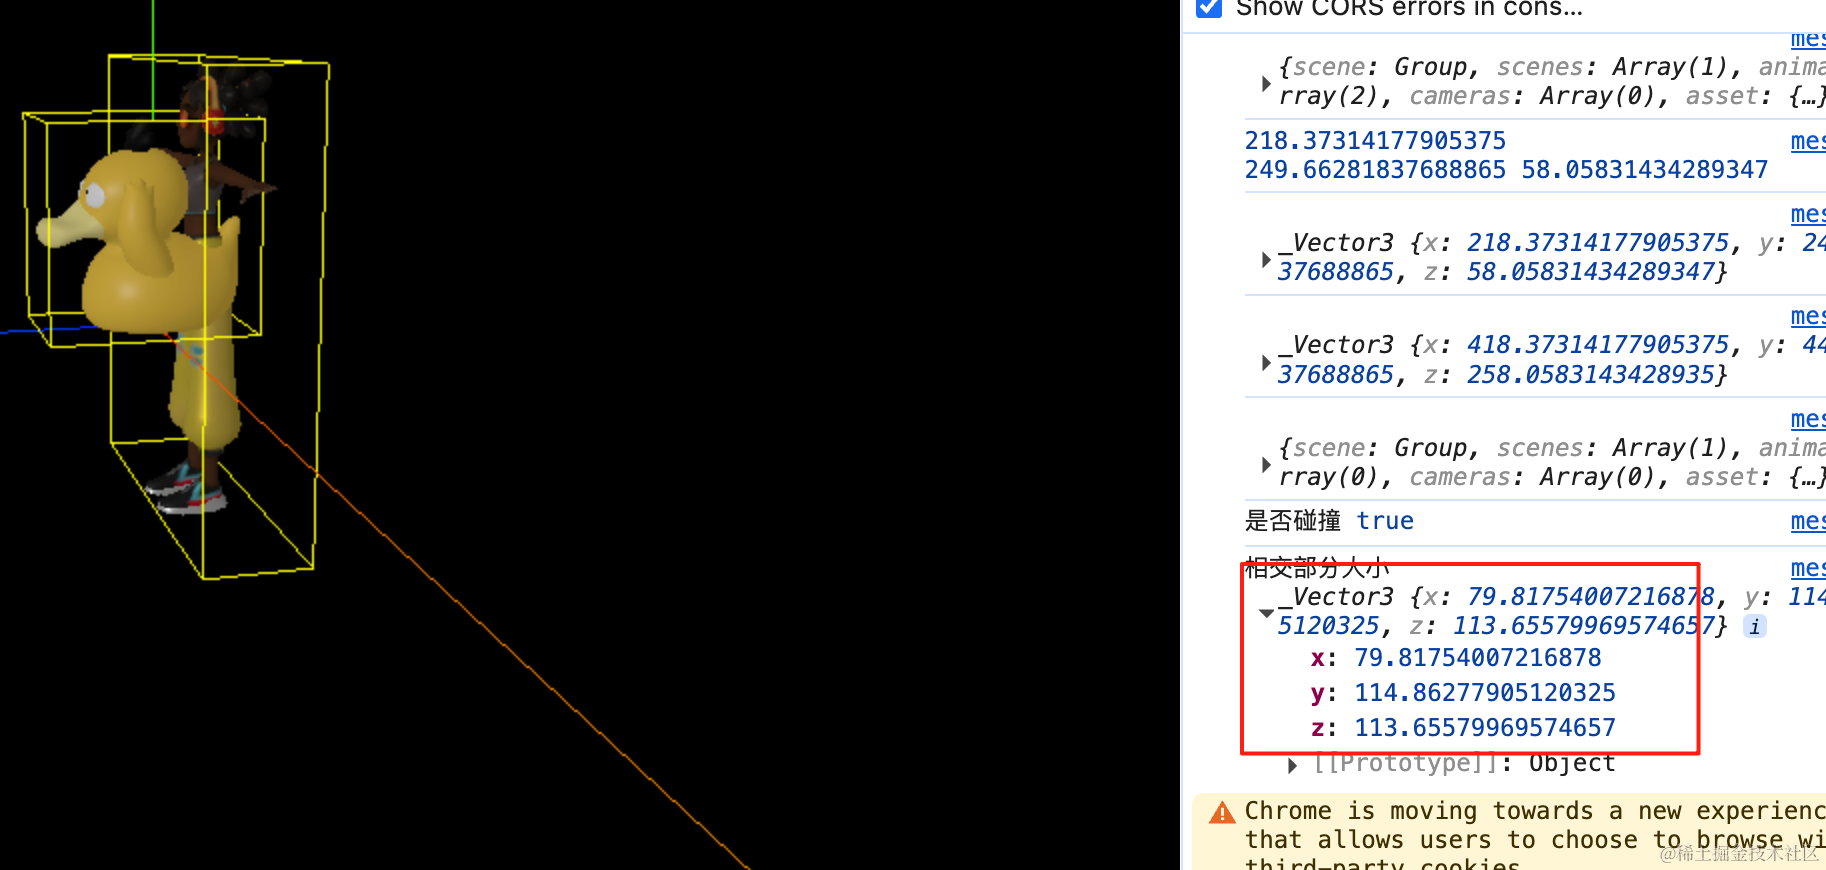
intersect
这个 api 可以判断两个包围和相交部分的大小。
注释掉这个放大:
然后移动下鸭子位置:

const intersectBox = box2.intersect(box3);
const size = intersectBox.getSize(new THREE.Vector3());
console.log('相交部分大小',size);
我们把 z 设置为 10
然后用 intersect 计算下相交部分的大小:
union
那如果我们就是人骑鸭子作为整体呢?
这时候就可以用 union 来求并集了。
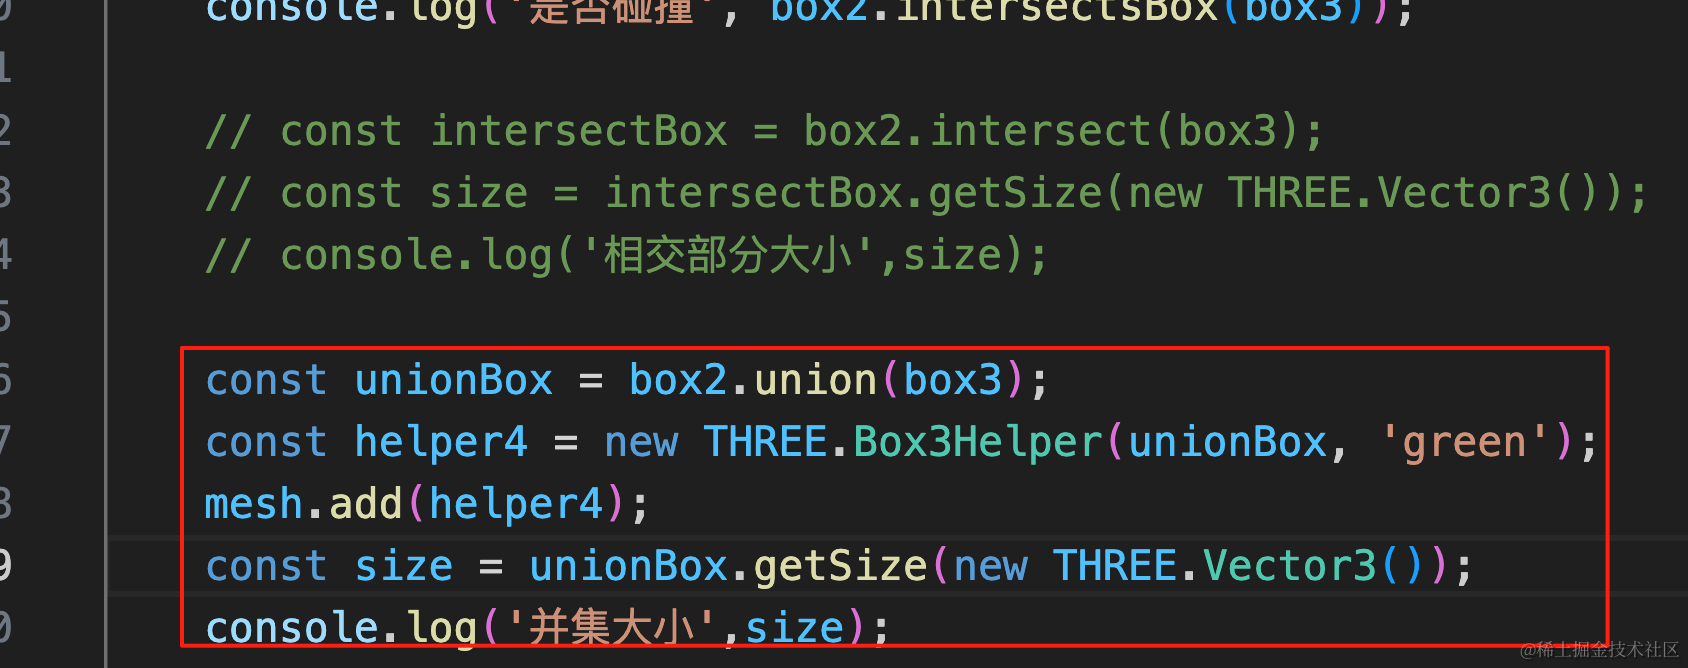
计算 union 的大小并且可视化一下。(注意要把 intersect 的代码注释掉,因为计算完之后会改变 box2 大小)
const unionBox = box2.union(box3);
const helper4 = new THREE.Box3Helper(unionBox, 'green');
mesh.add(helper4);
const size = unionBox.getSize(new THREE.Vector3());
console.log('并集大小',size);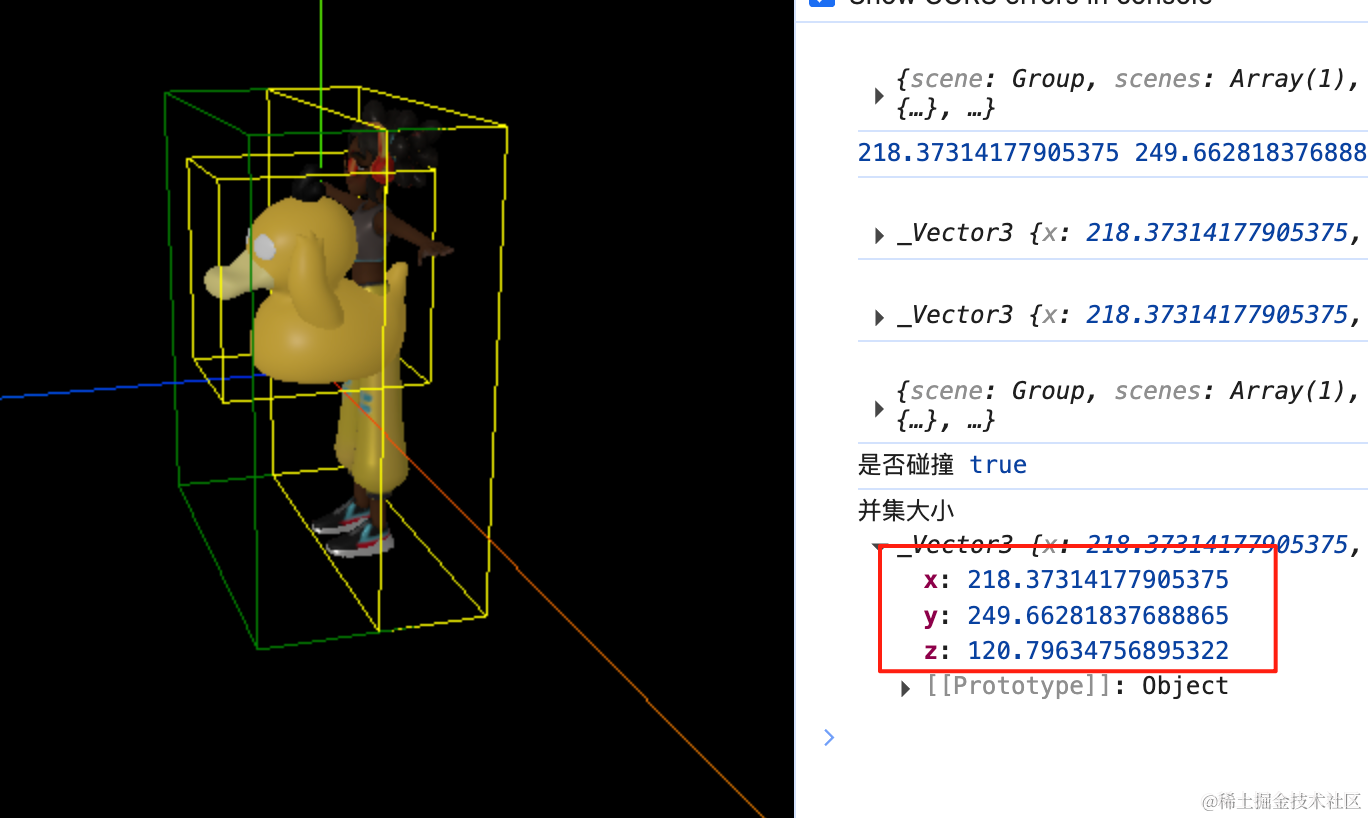
可以看到,现在人骑鸭子的包围盒就计算出来了。
当然,你也可以把人和鸭子模型加到一个 group 重新计算包围盒:

const group = new THREE.Group();
group.add(gltf.scene, gltf2.scene);
mesh.add(group);

const box4 = new THREE.Box3();
box4.setFromObject(group);

const helper5 = new THREE.Box3Helper(box4, 'green');
mesh.add(helper5);
const size = box4.getSize(new THREE.Vector3());
console.log('并集大小',size);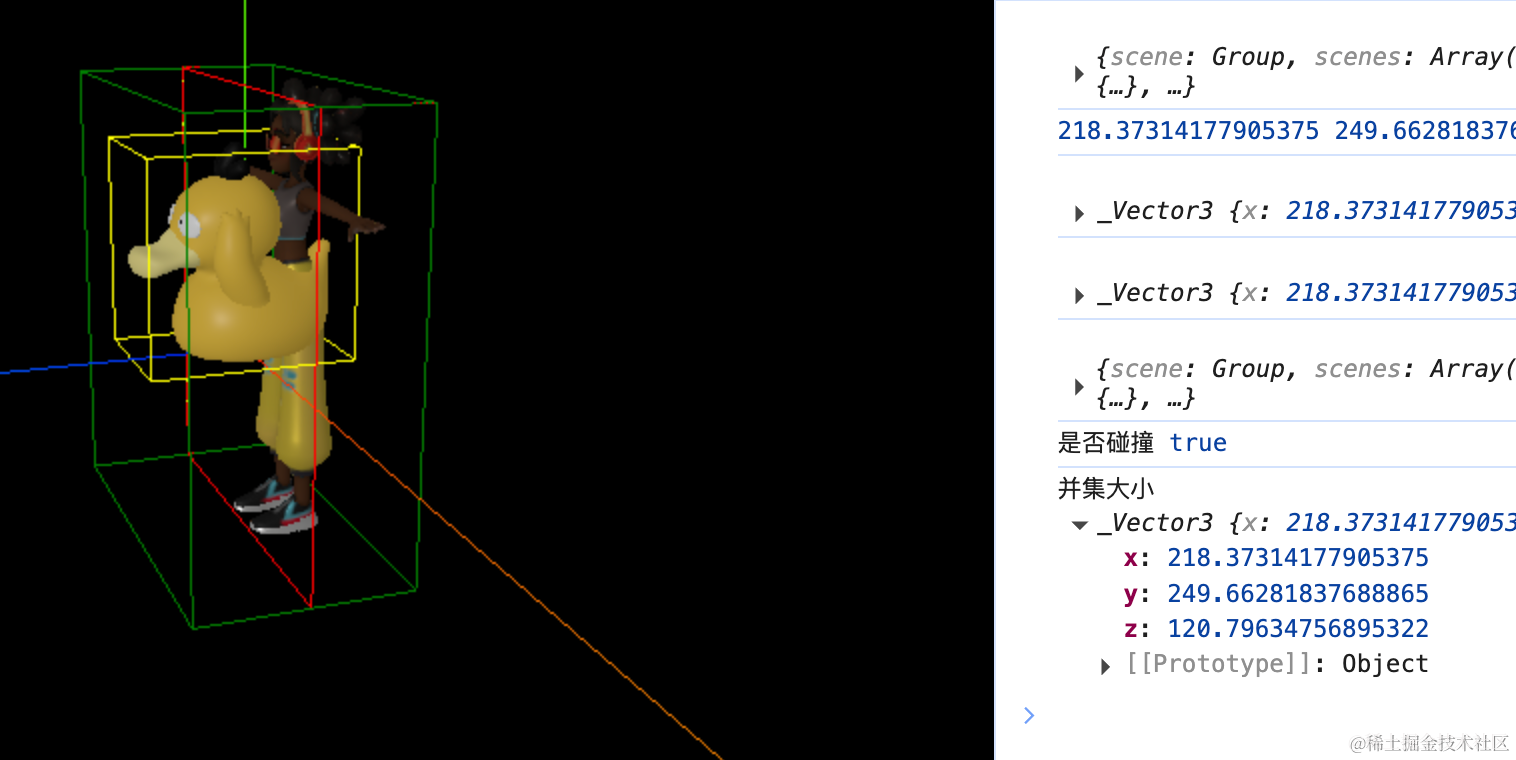
这样也可以。
getCenter
这个 api 也挺常用的,比如获取模型的中心位置:
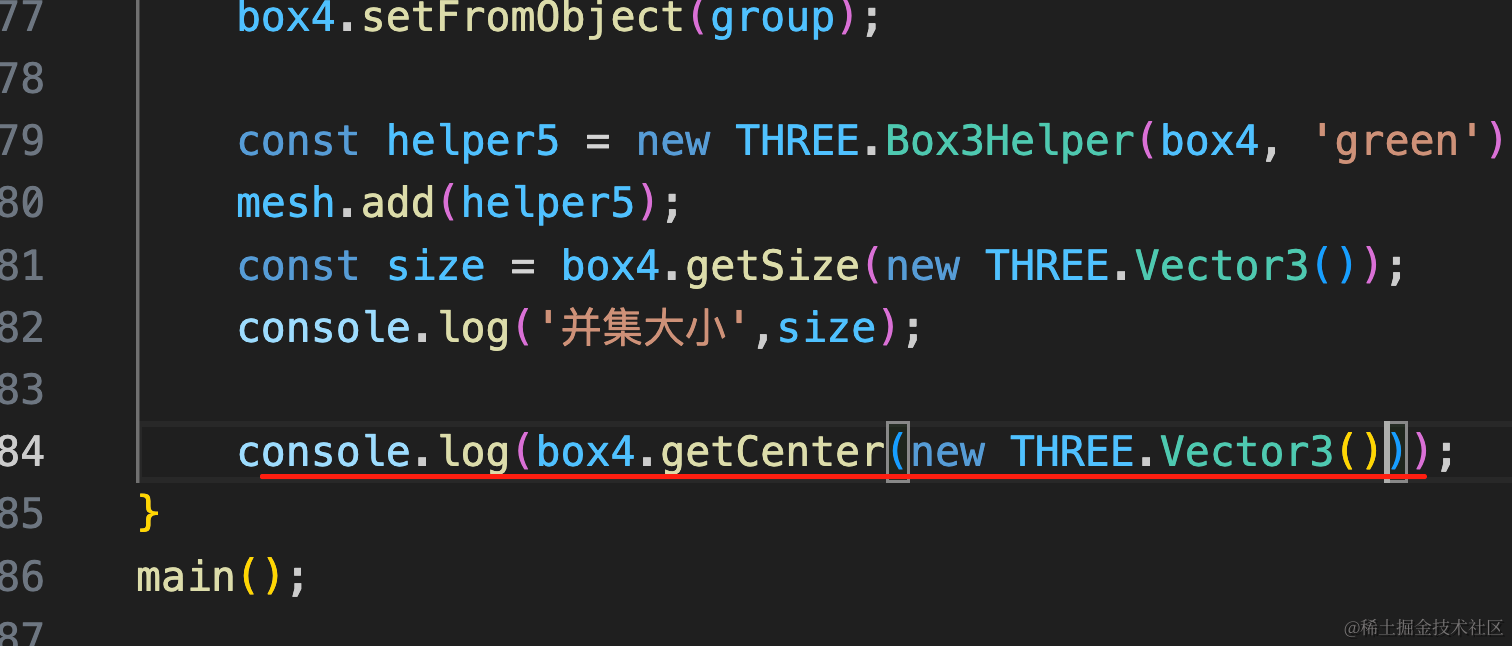
console.log(box4.getCenter(new THREE.Vector3()));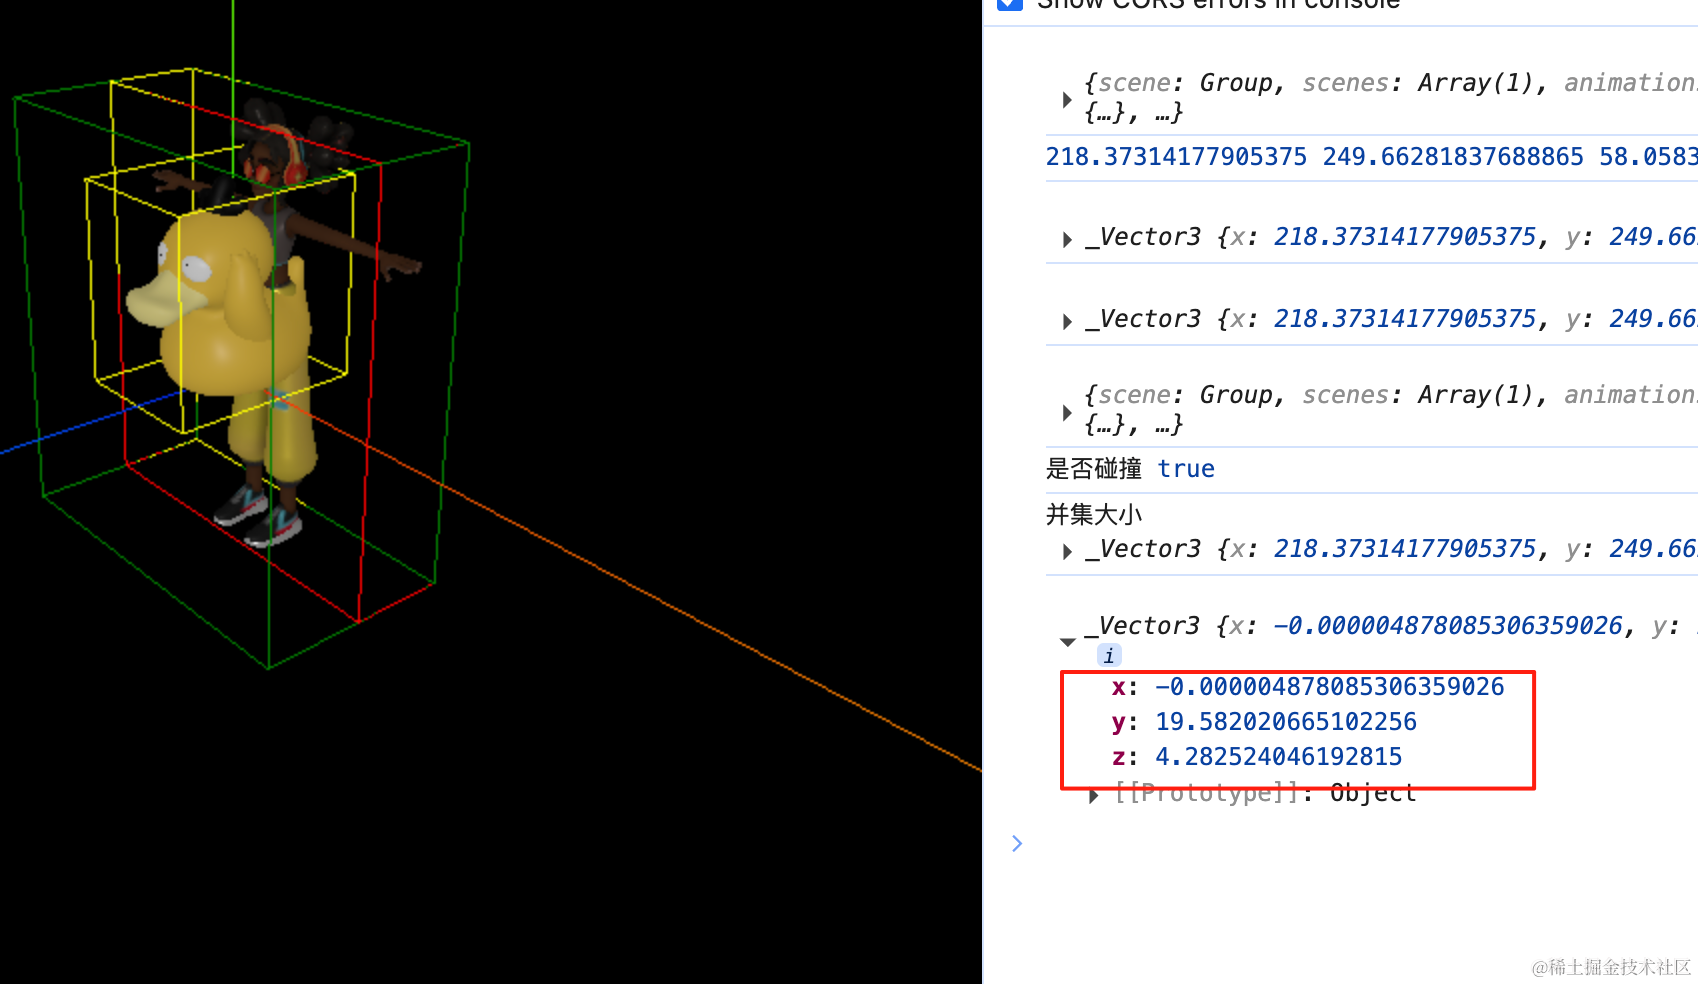
案例代码上传了小册仓库。
总结
这节我们过了一遍 Box3 的常用 api:
- Box3Helper:可视化 Box3 包围盒
- setFromObject:和 expandByObject 一样,计算对象和子对象的包围盒
- getSize:计算包围盒大小,不用自己计算
- expandByScalar:扩展包围盒
- intersectsBox:检测包围盒是否相交,可用来做碰撞检测
- intersect:计算相交部分大小
- union:计算并集大小
- getCenter:获取包围盒中心位置坐标
其中,要注意的是改变了位置需要重新获取包围盒。
我们判断物体之间的关系都是用包围盒,这些 api 在后面都经常会用到。