前面做实战的时候,你可能会遇到一个问题:
改了一个 mesh 的几何体或者材质,另一个 mesh 也跟着变了。
因为它们共用一个 geometry、material。
我们先来复现一下:
npx create-vite material-share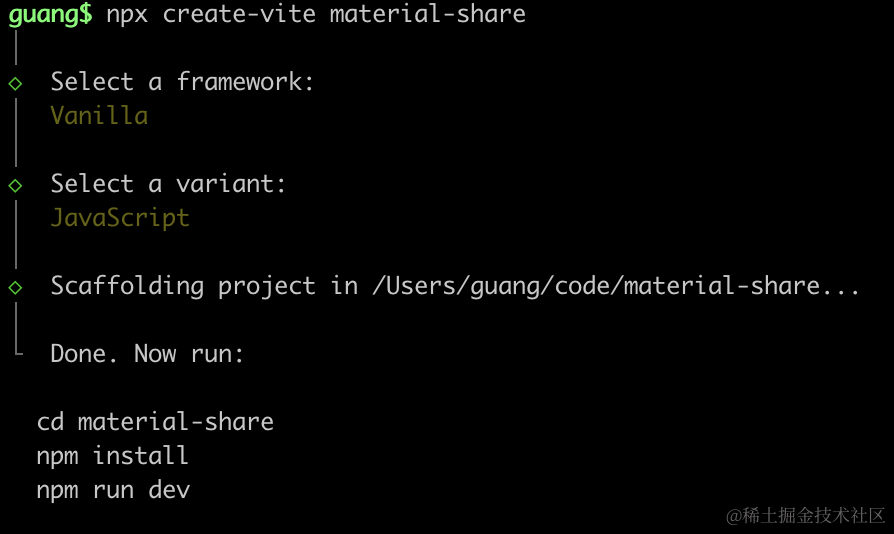
进入项目,安装依赖:
npm install
npm install --save three
npm install --save-dev @types/three
改下 src/main.js
import './style.css';
import * as THREE from 'three';
import {
    OrbitControls
} from 'three/addons/controls/OrbitControls.js';

const scene = new THREE.Scene();

const geometry = new THREE.BoxGeometry(100, 100, 100);
const material = new THREE.MeshLambertMaterial({
  color: 'orange',
});
const mesh = new THREE.Mesh(geometry, material);
scene.add(mesh);

const directionLight = new THREE.DirectionalLight(0xffffff, 2);
directionLight.position.set(500, 400, 300);
scene.add(directionLight);

const ambientLight = new THREE.AmbientLight();
scene.add(ambientLight);

const width = window.innerWidth;
const height = window.innerHeight;

const camera = new THREE.PerspectiveCamera(60, width / height, 0.1, 1000);
camera.position.set(300, 300, 500);
camera.lookAt(0, 0, 0);

const renderer = new THREE.WebGLRenderer();
renderer.setSize(width, height)

function render() {
    renderer.render(scene, camera);
    requestAnimationFrame(render);
}

render();

document.body.append(renderer.domElement);

const controls = new OrbitControls(camera, renderer.domElement);
创建 Scene、Light、Camera、Renderer。
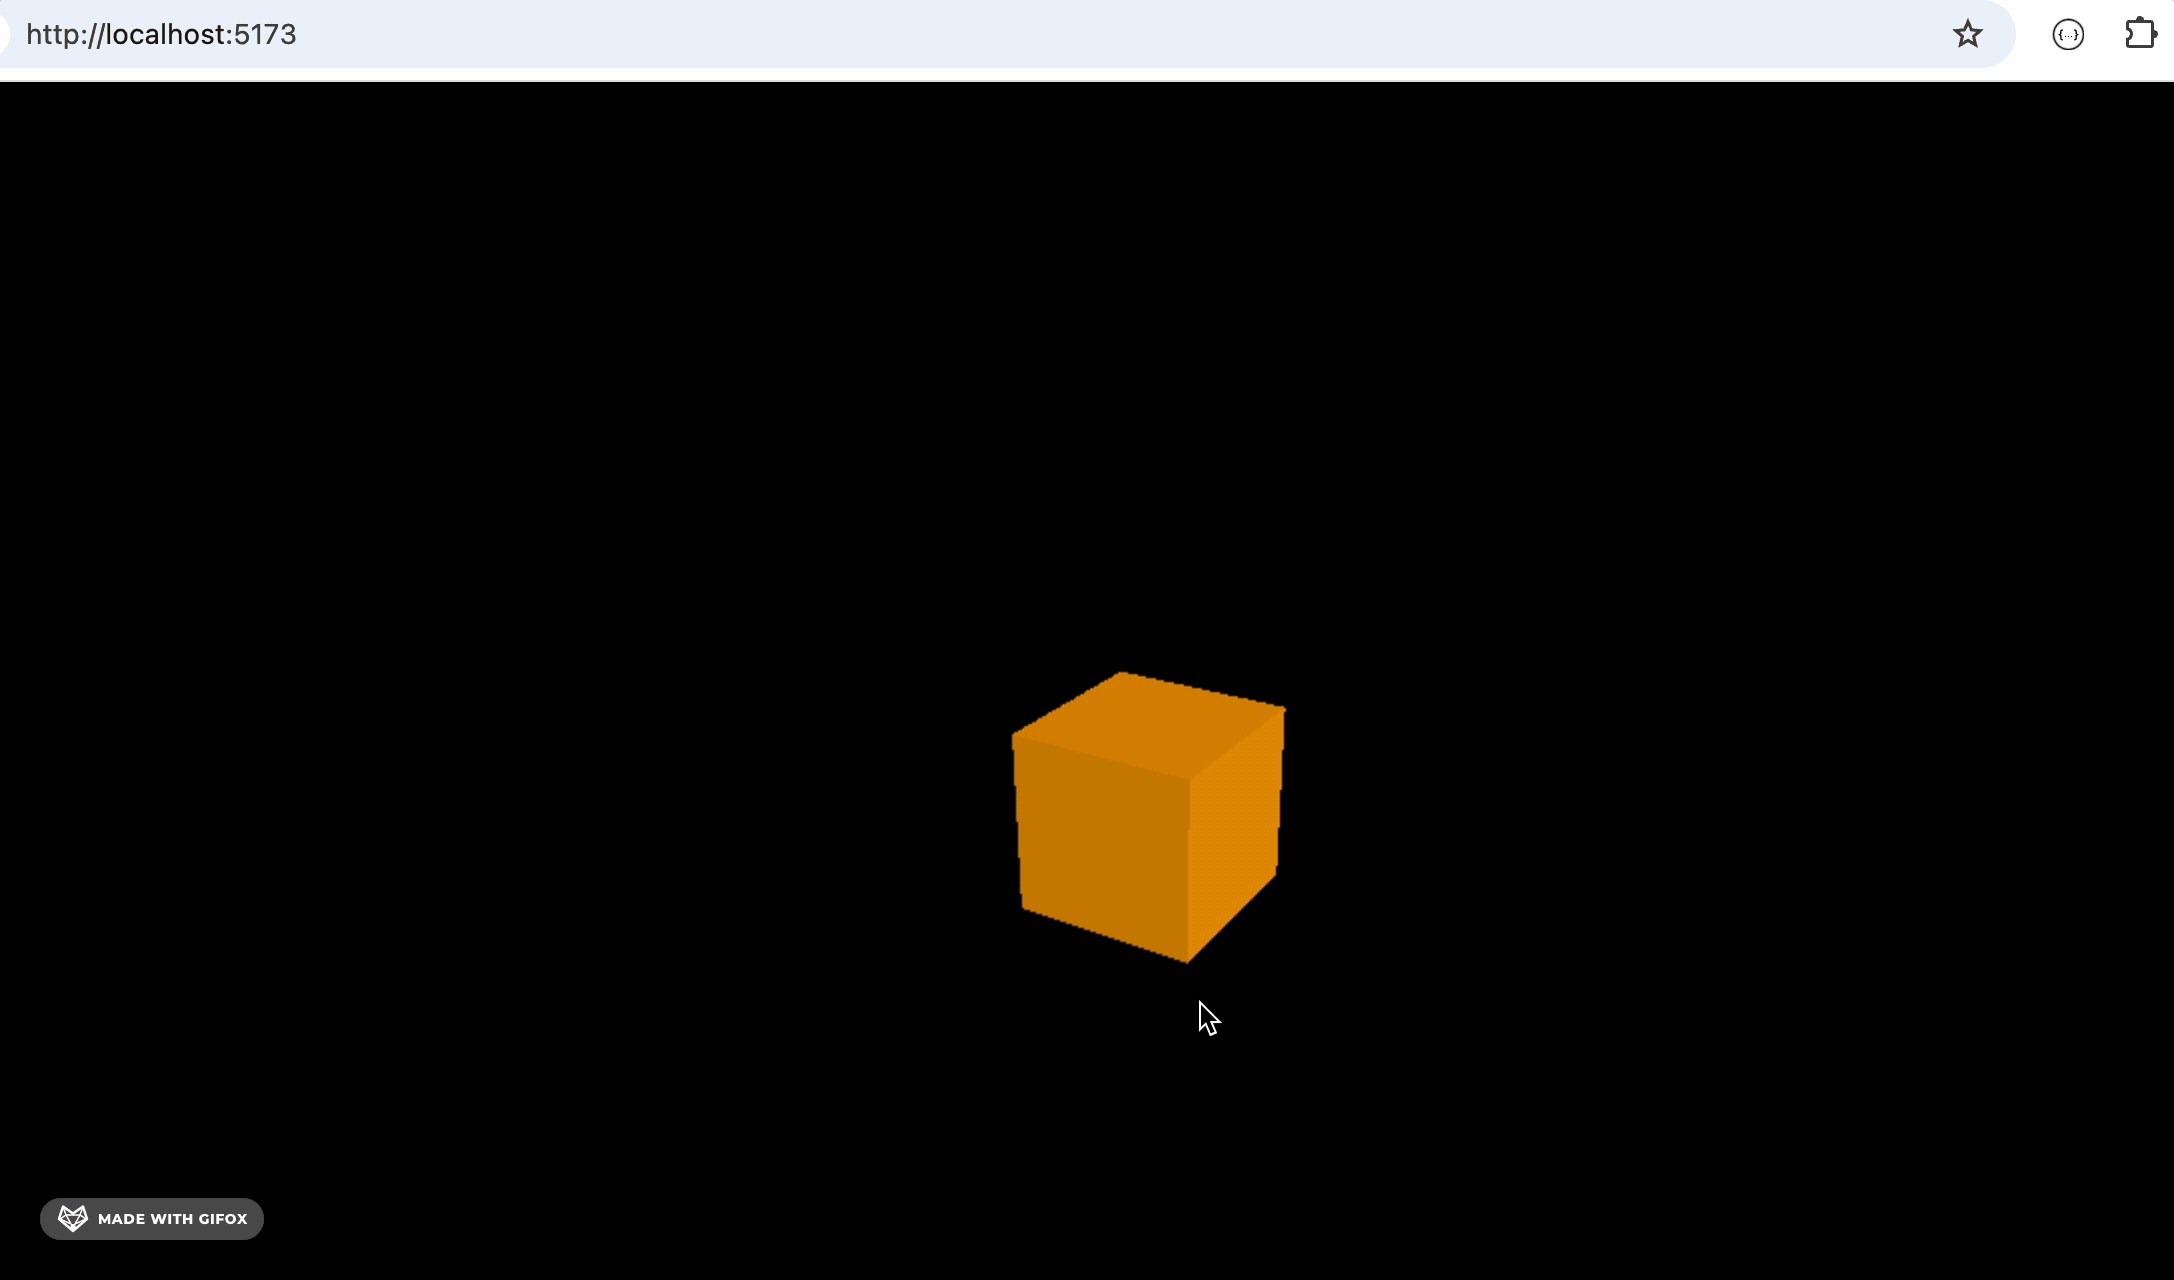
画了一个立方体。
改下 style.css
body {
  margin: 0;
}
跑一下:
npm run dev
然后我们复制一个立方体出来:
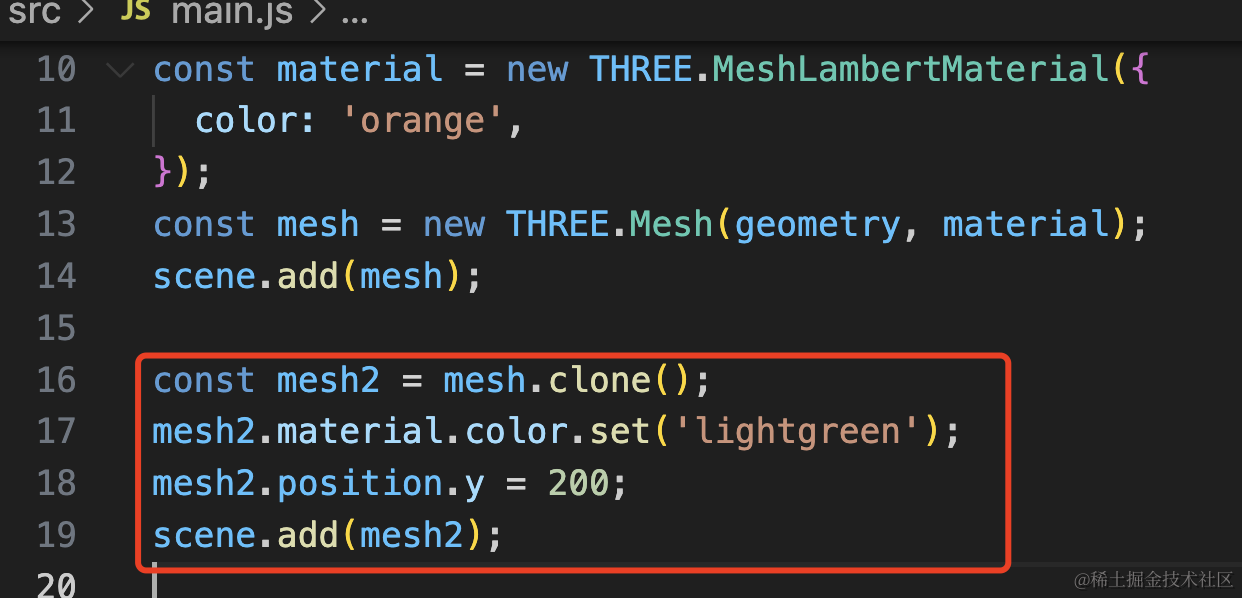
给它设置了一个绿色,并且改了下位置。
const mesh2 = mesh.clone();
mesh2.material.color.set('lightgreen');
mesh2.position.y = 200;
scene.add(mesh2);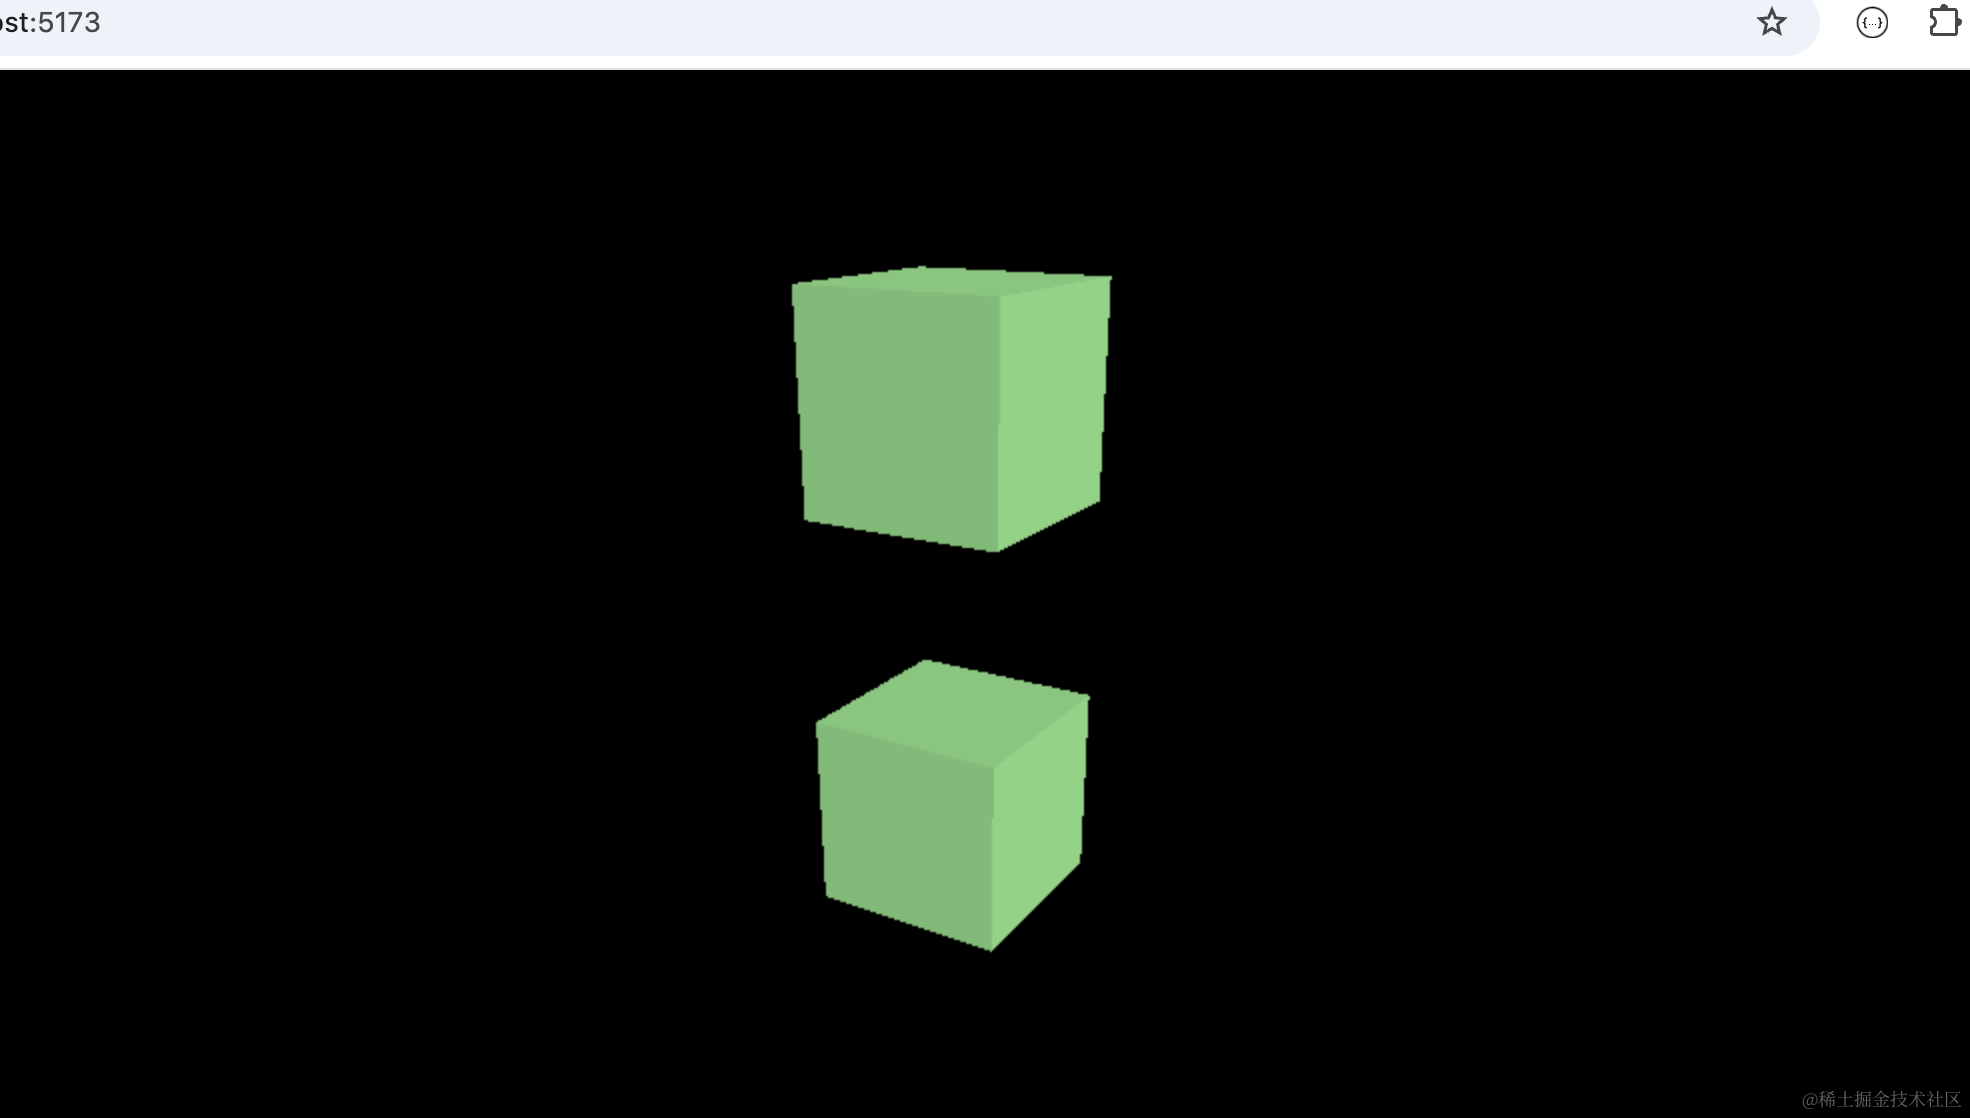
你会发现之前的立方体的材质颜色也改了。
我们再改下顶点试试:

const positions = mesh2.geometry.attributes.position;
for(let i = 0; i< positions.count; i++) {
  positions.setX(i, positions.getX(i) * 2);
}
遍历顶点位置,给 x 坐标乘以 2
看一下:
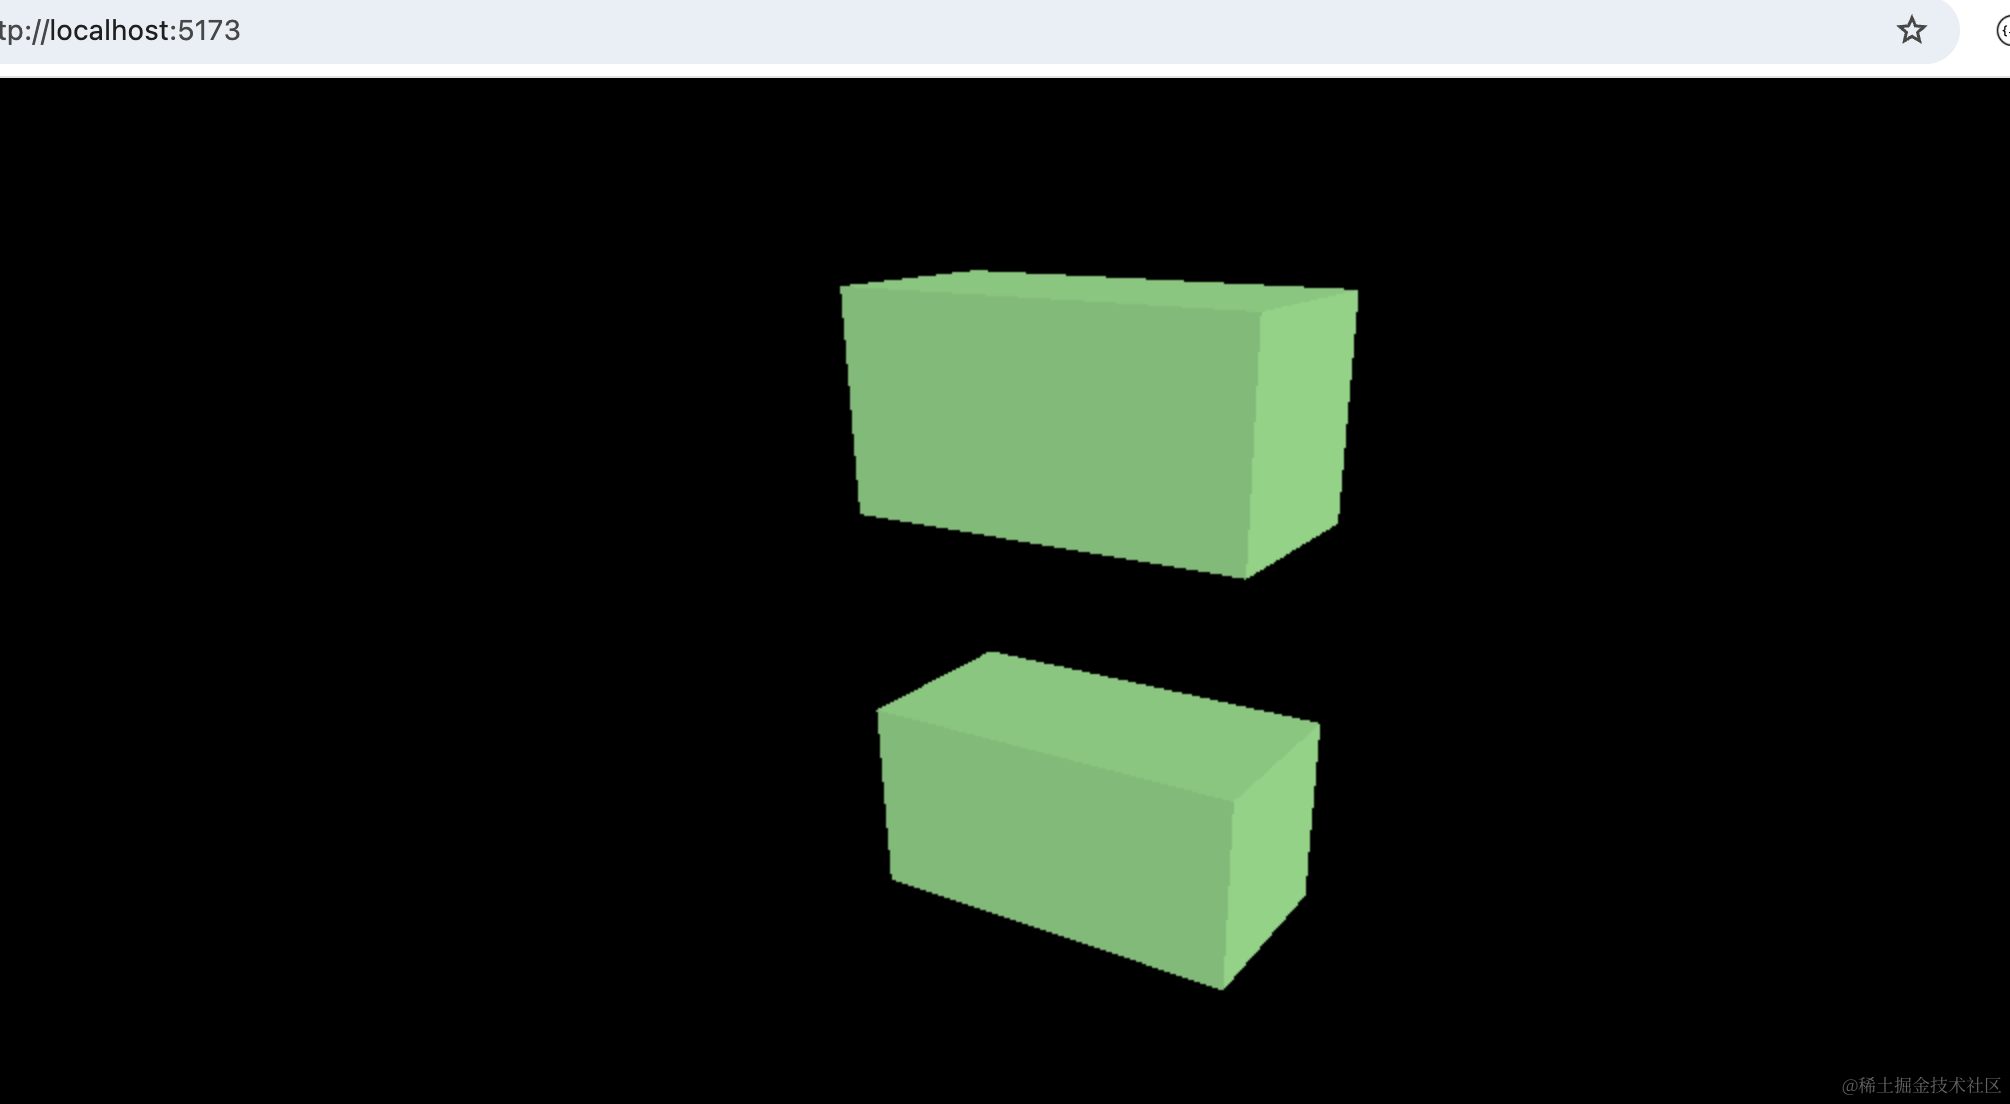
也是 mesh 也跟着变了。
因为 mesh 和 mesh2 的 geometry 和 material 是共用的。
如何解决这个问题呢?
clone 一份就好了:
mesh2.geometry = mesh2.geometry.clone();
mesh2.material = mesh2.material.clone();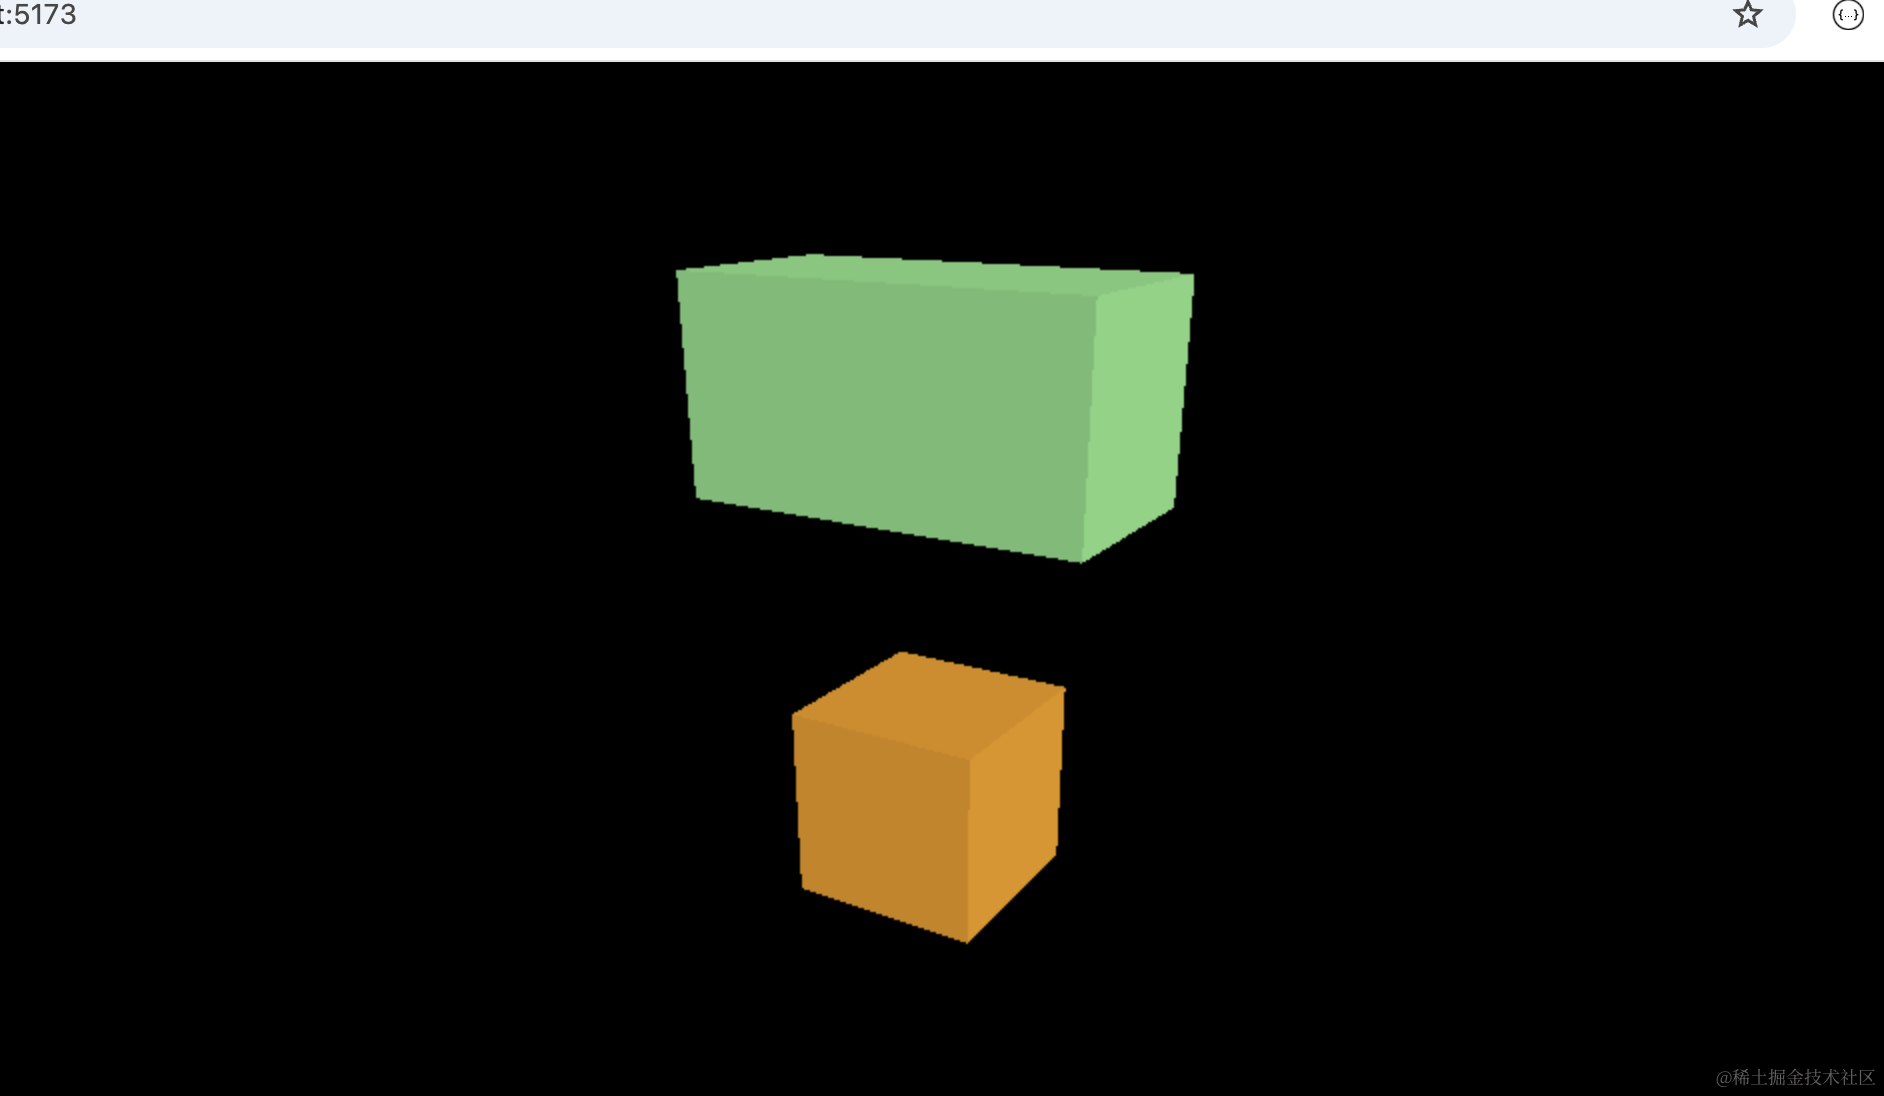
这样就好了。
但材质的共用也不完全是不好的,很多 mesh 共用一个材质的话,那我们是不是可以一起修改?
而且可以通过修改 material.visible 来达到批量隐藏一些 mesh 的效果。
我们试一下:
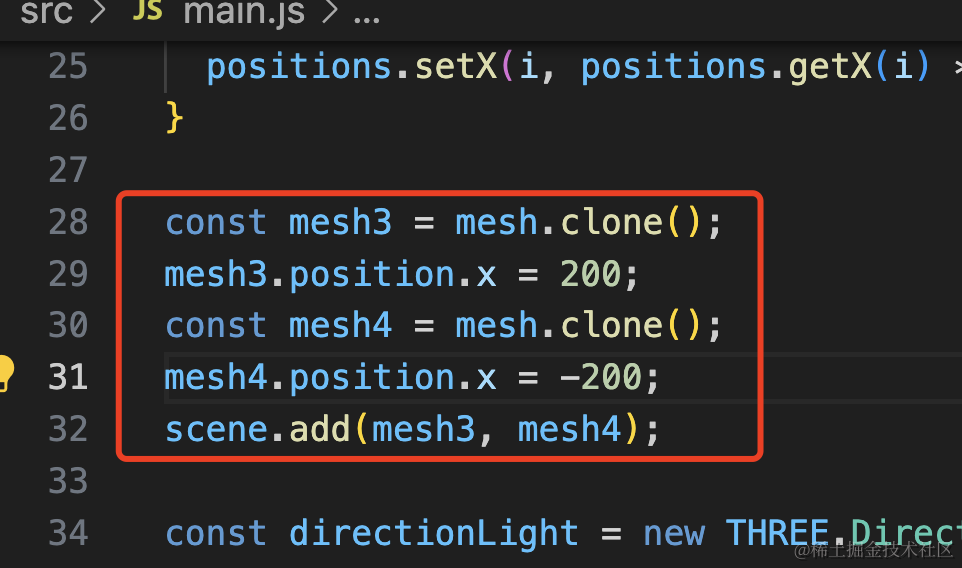
我们又 clone 了两个 mesh
const mesh3 = mesh.clone();
mesh3.position.x = 200;
const mesh4 = mesh.clone();
mesh4.position.x = -200;
scene.add(mesh3, mesh4);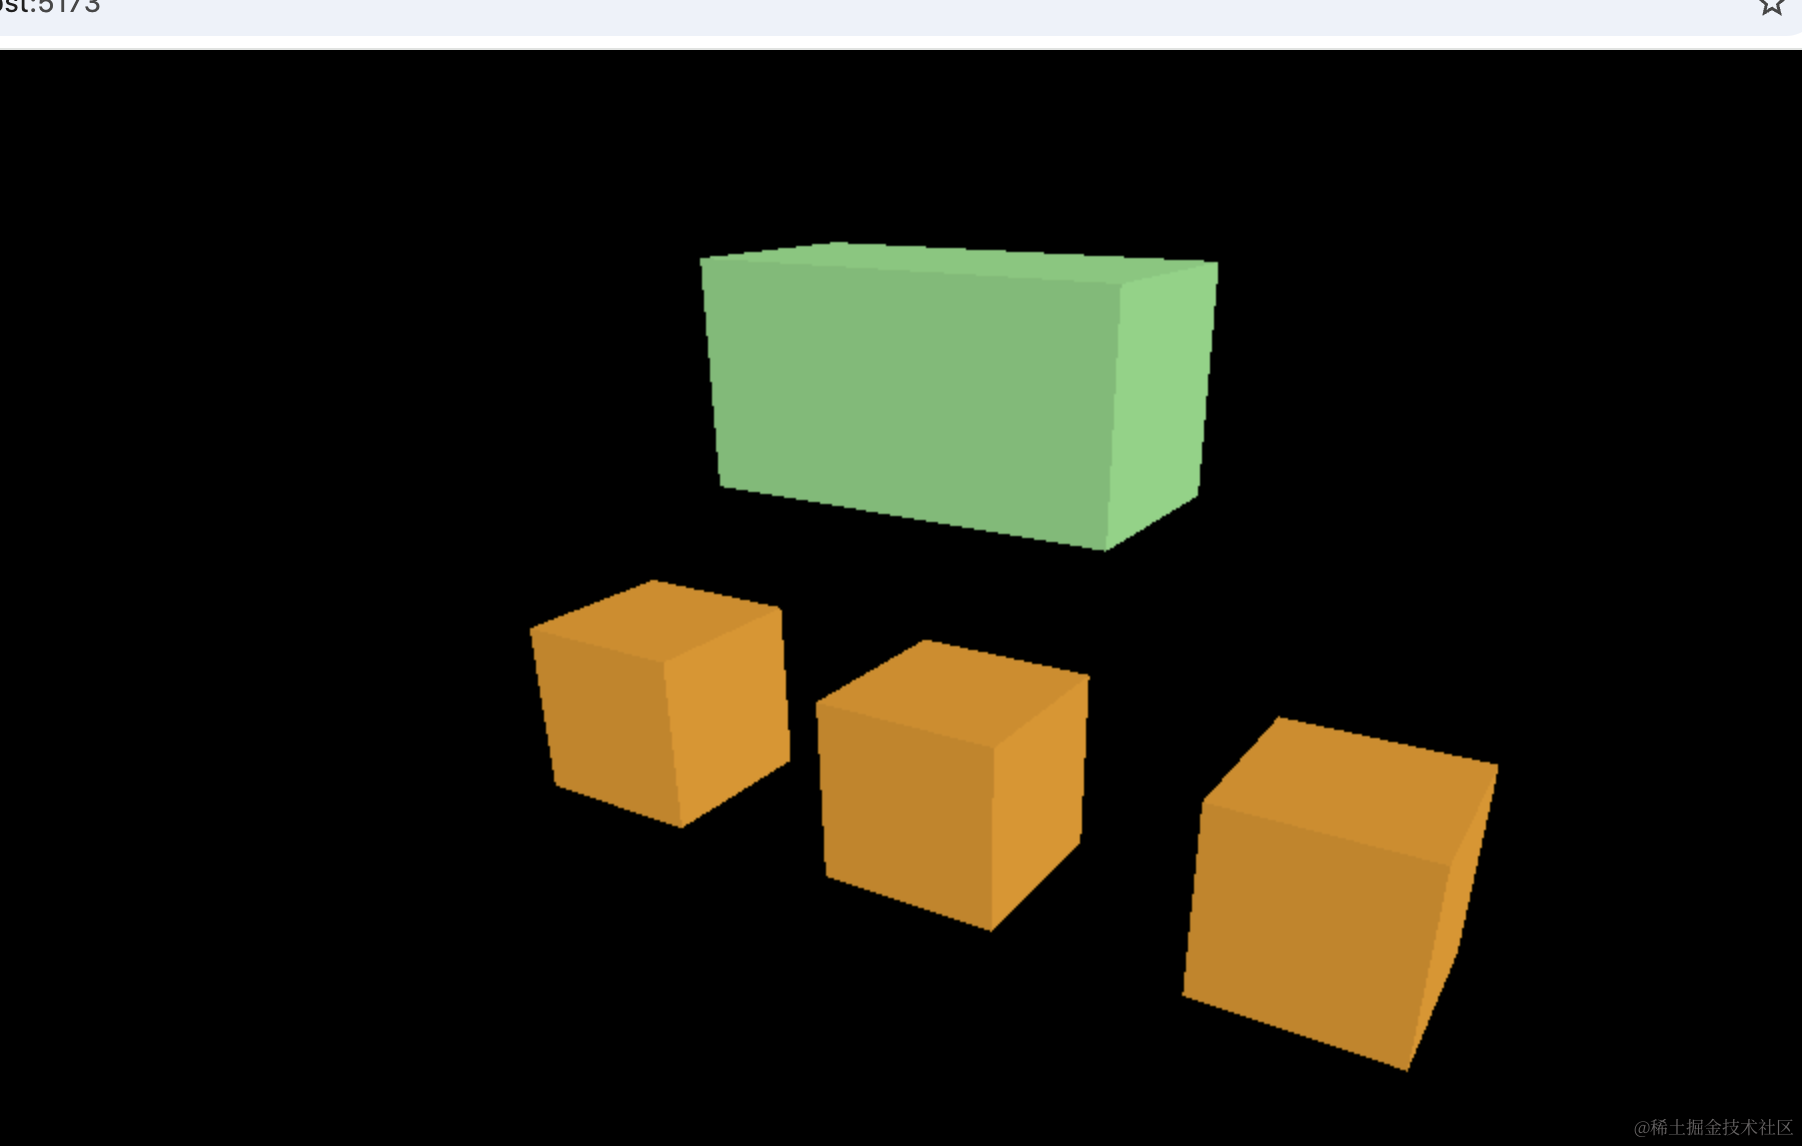
这三个 mesh 是共用材质的,想让这三个 mesh 隐藏,就可以通过这点来做到:
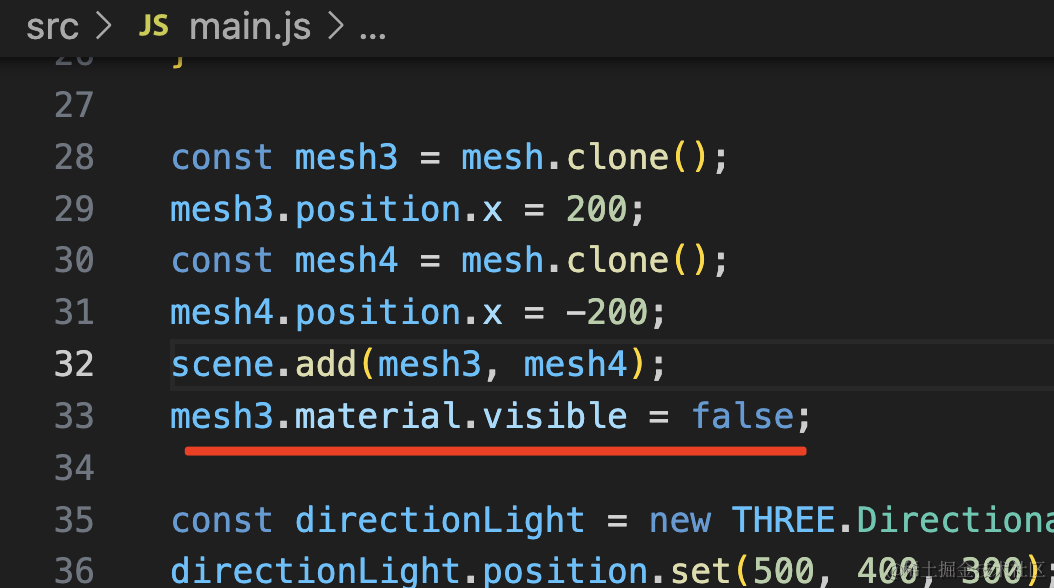
mesh3.material.visible = false;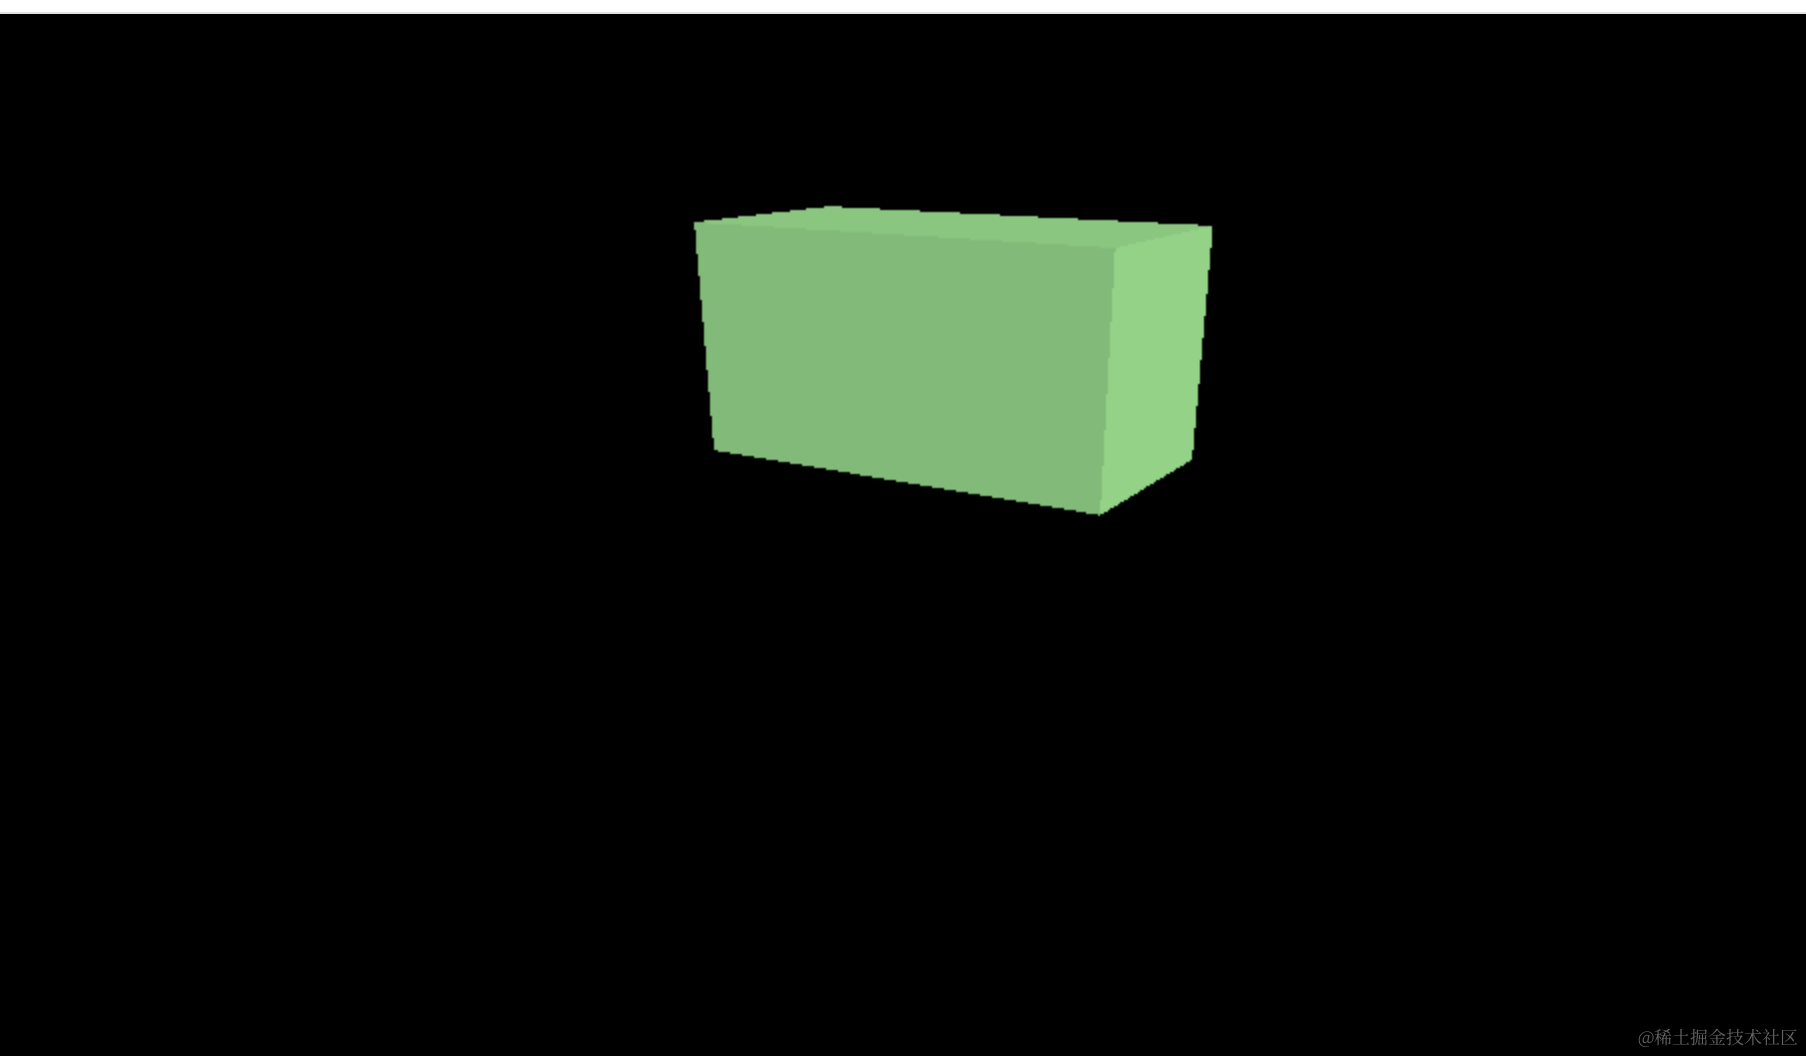
这样就都隐藏了。
除了 clone 外,还有个 copy 方法,那个是复制值用的。
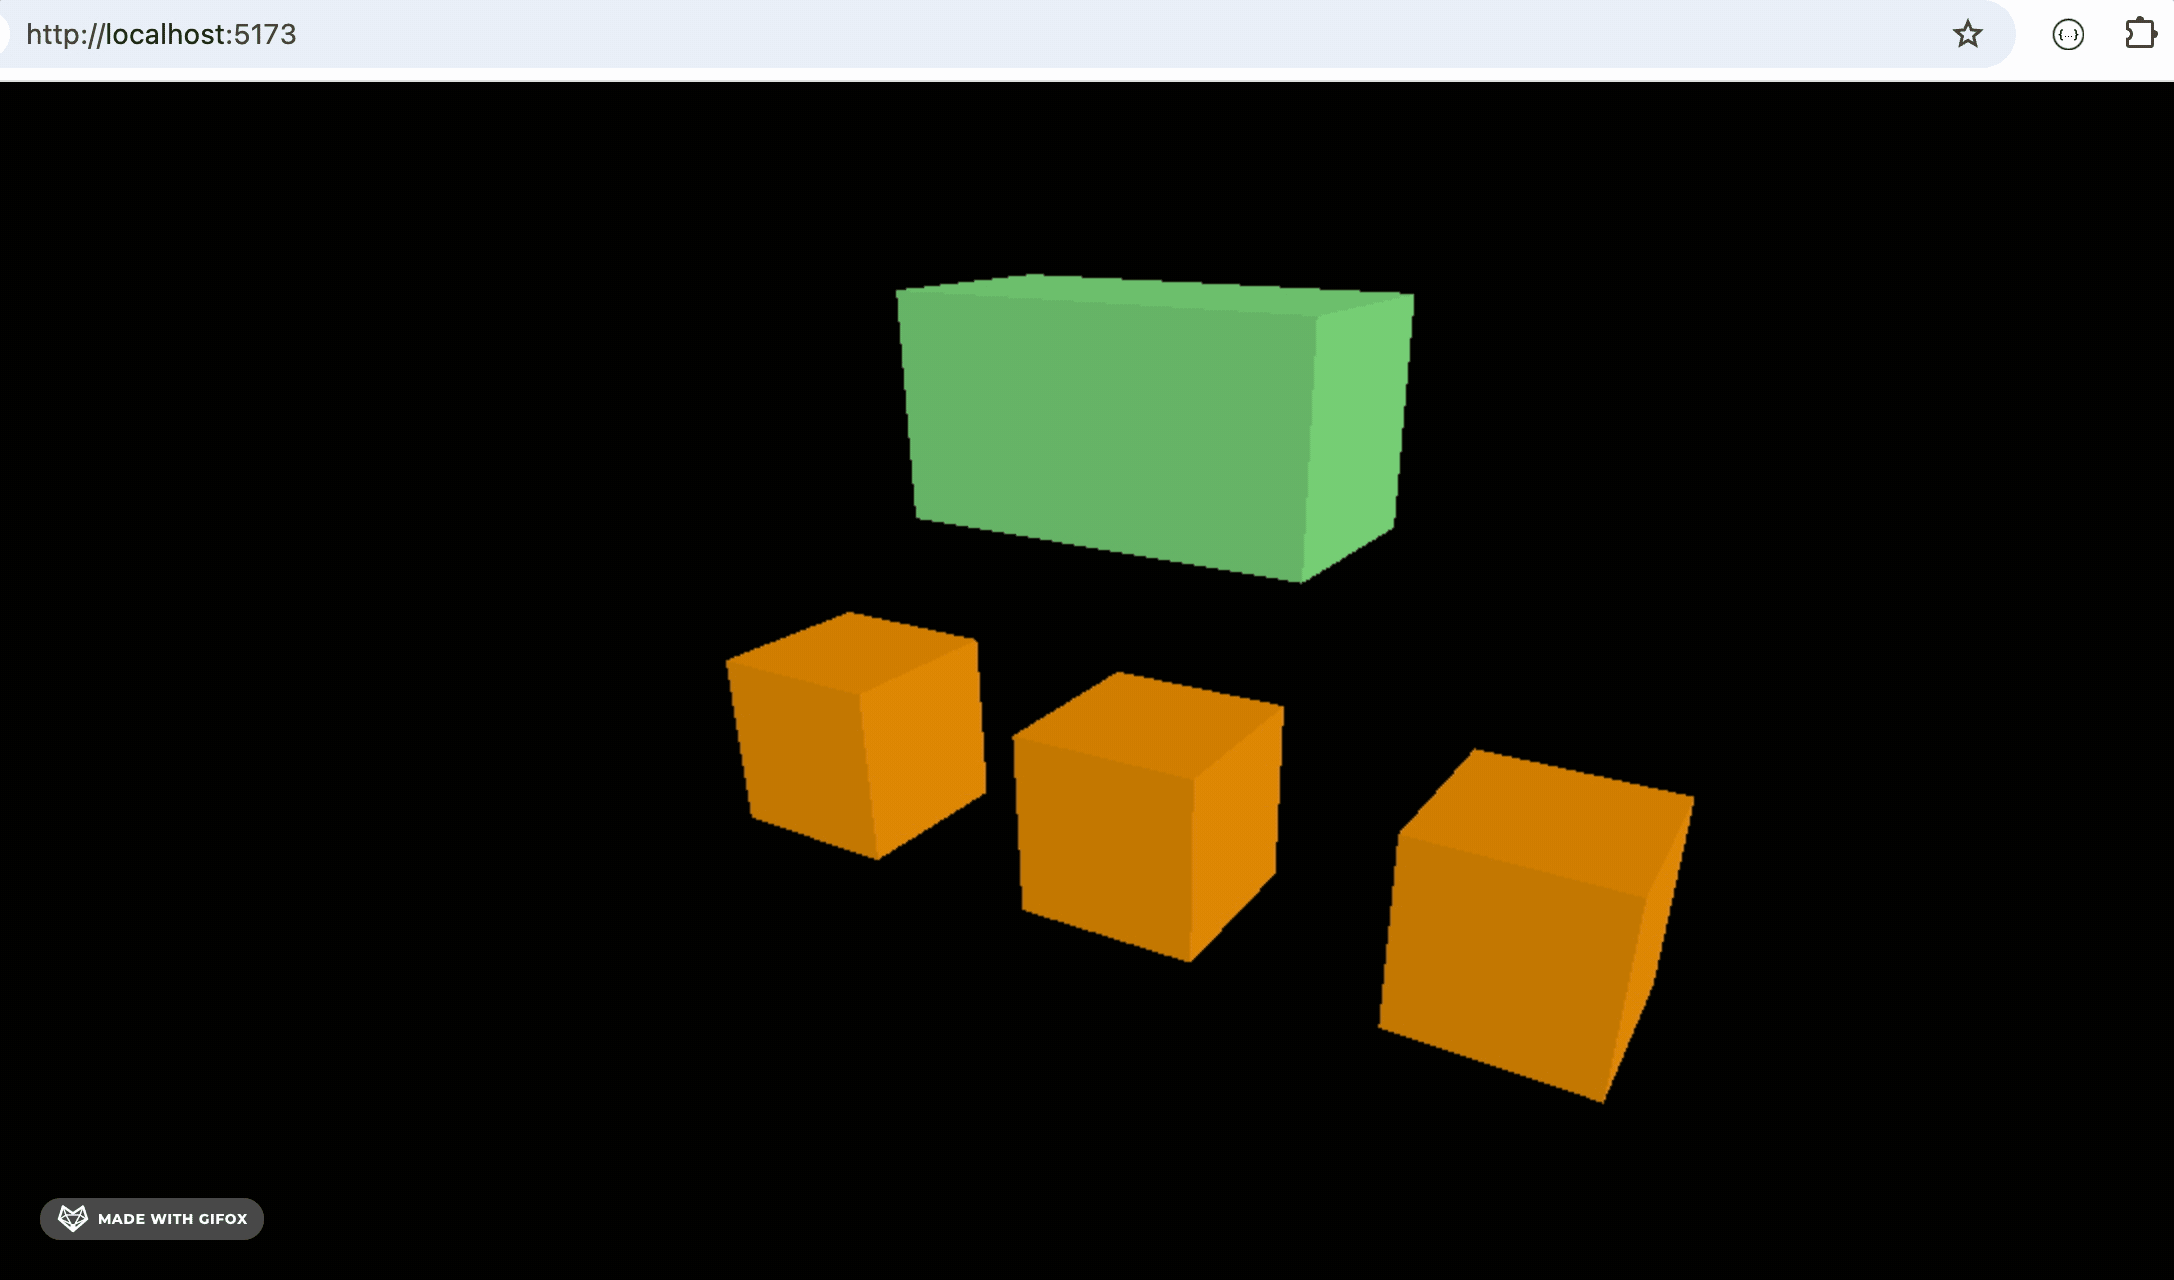
比如我们让 mesh 旋转下:
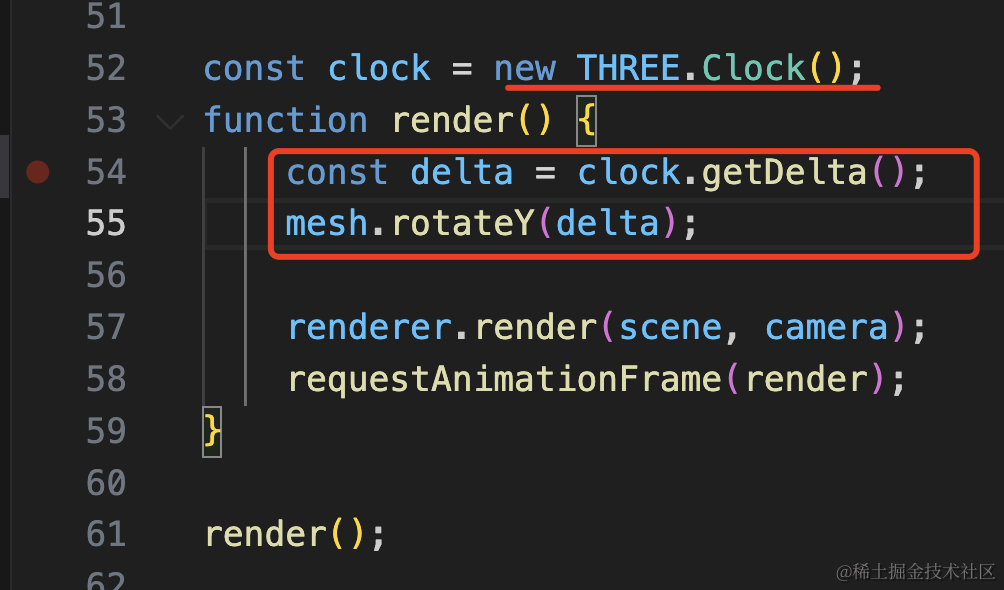
创建一个 Clock 通过 getDelta 拿到两次渲染之间的间隔,作为每次 rotateY 的值。
const clock = new THREE.Clock();
function render() {
    const delta = clock.getDelta();
    mesh.rotateY(delta);

    renderer.render(scene, camera);
    requestAnimationFrame(render);
}
如果想让 mesh2、mesh3、mesh4 同步旋转呢?
就可以用 copy:
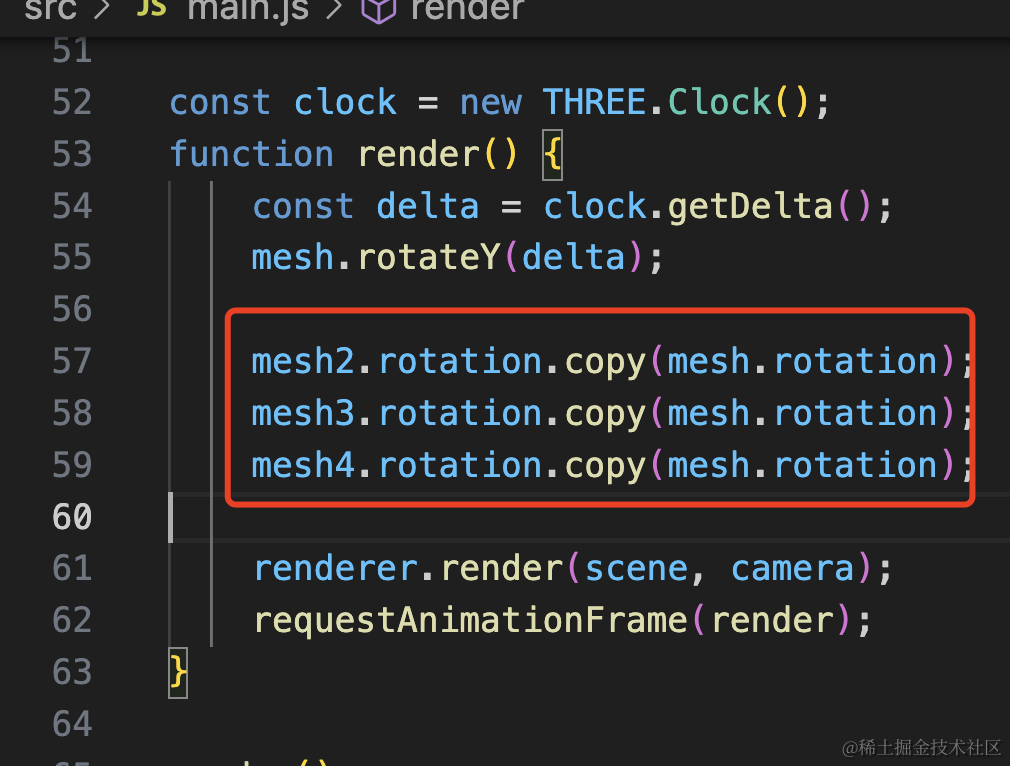
mesh2.rotation.copy(mesh.rotation);
mesh3.rotation.copy(mesh.rotation);
mesh4.rotation.copy(mesh.rotation);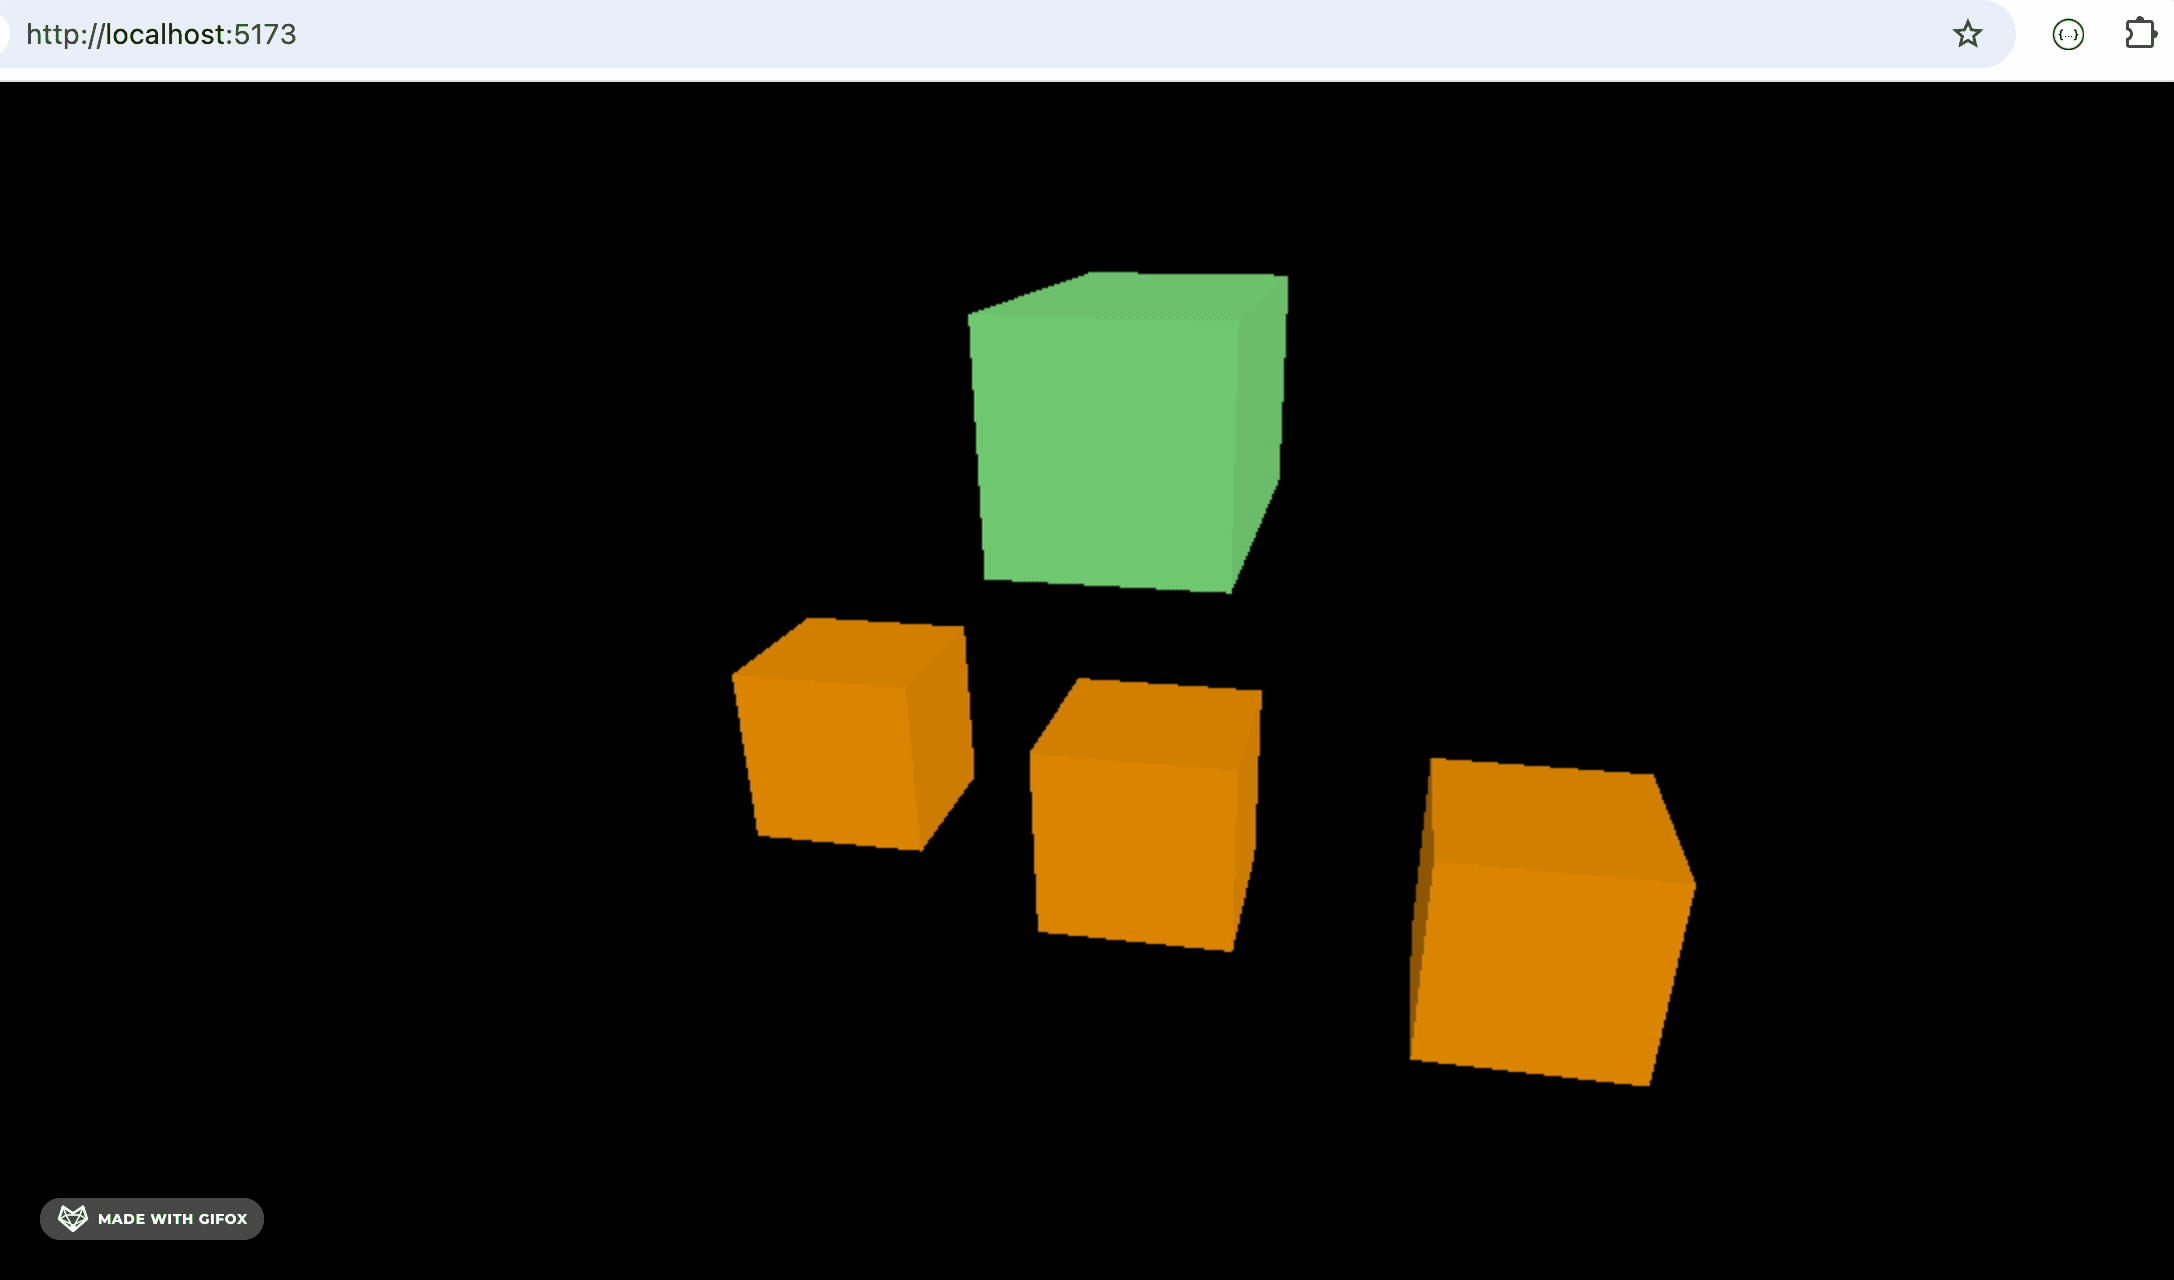
再复杂的旋转也是一样:
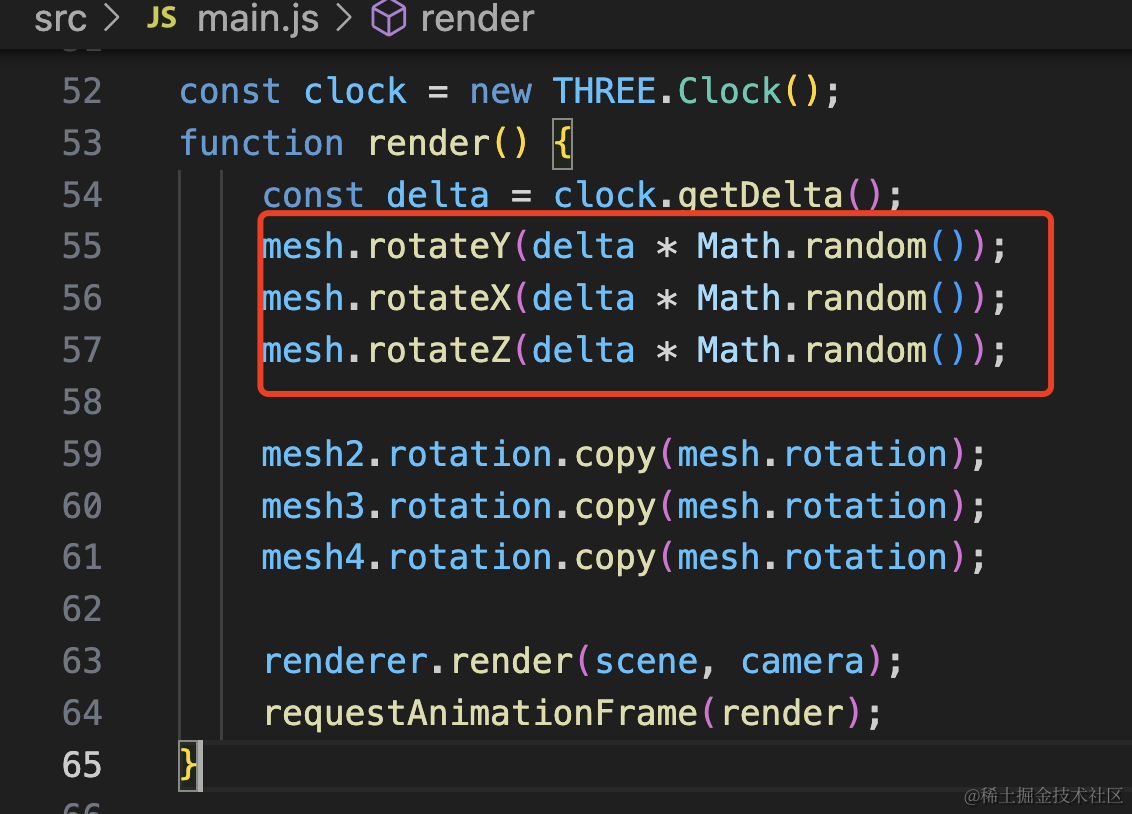
mesh.rotateY(delta * Math.random());
mesh.rotateX(delta * Math.random());
mesh.rotateZ(delta * Math.random());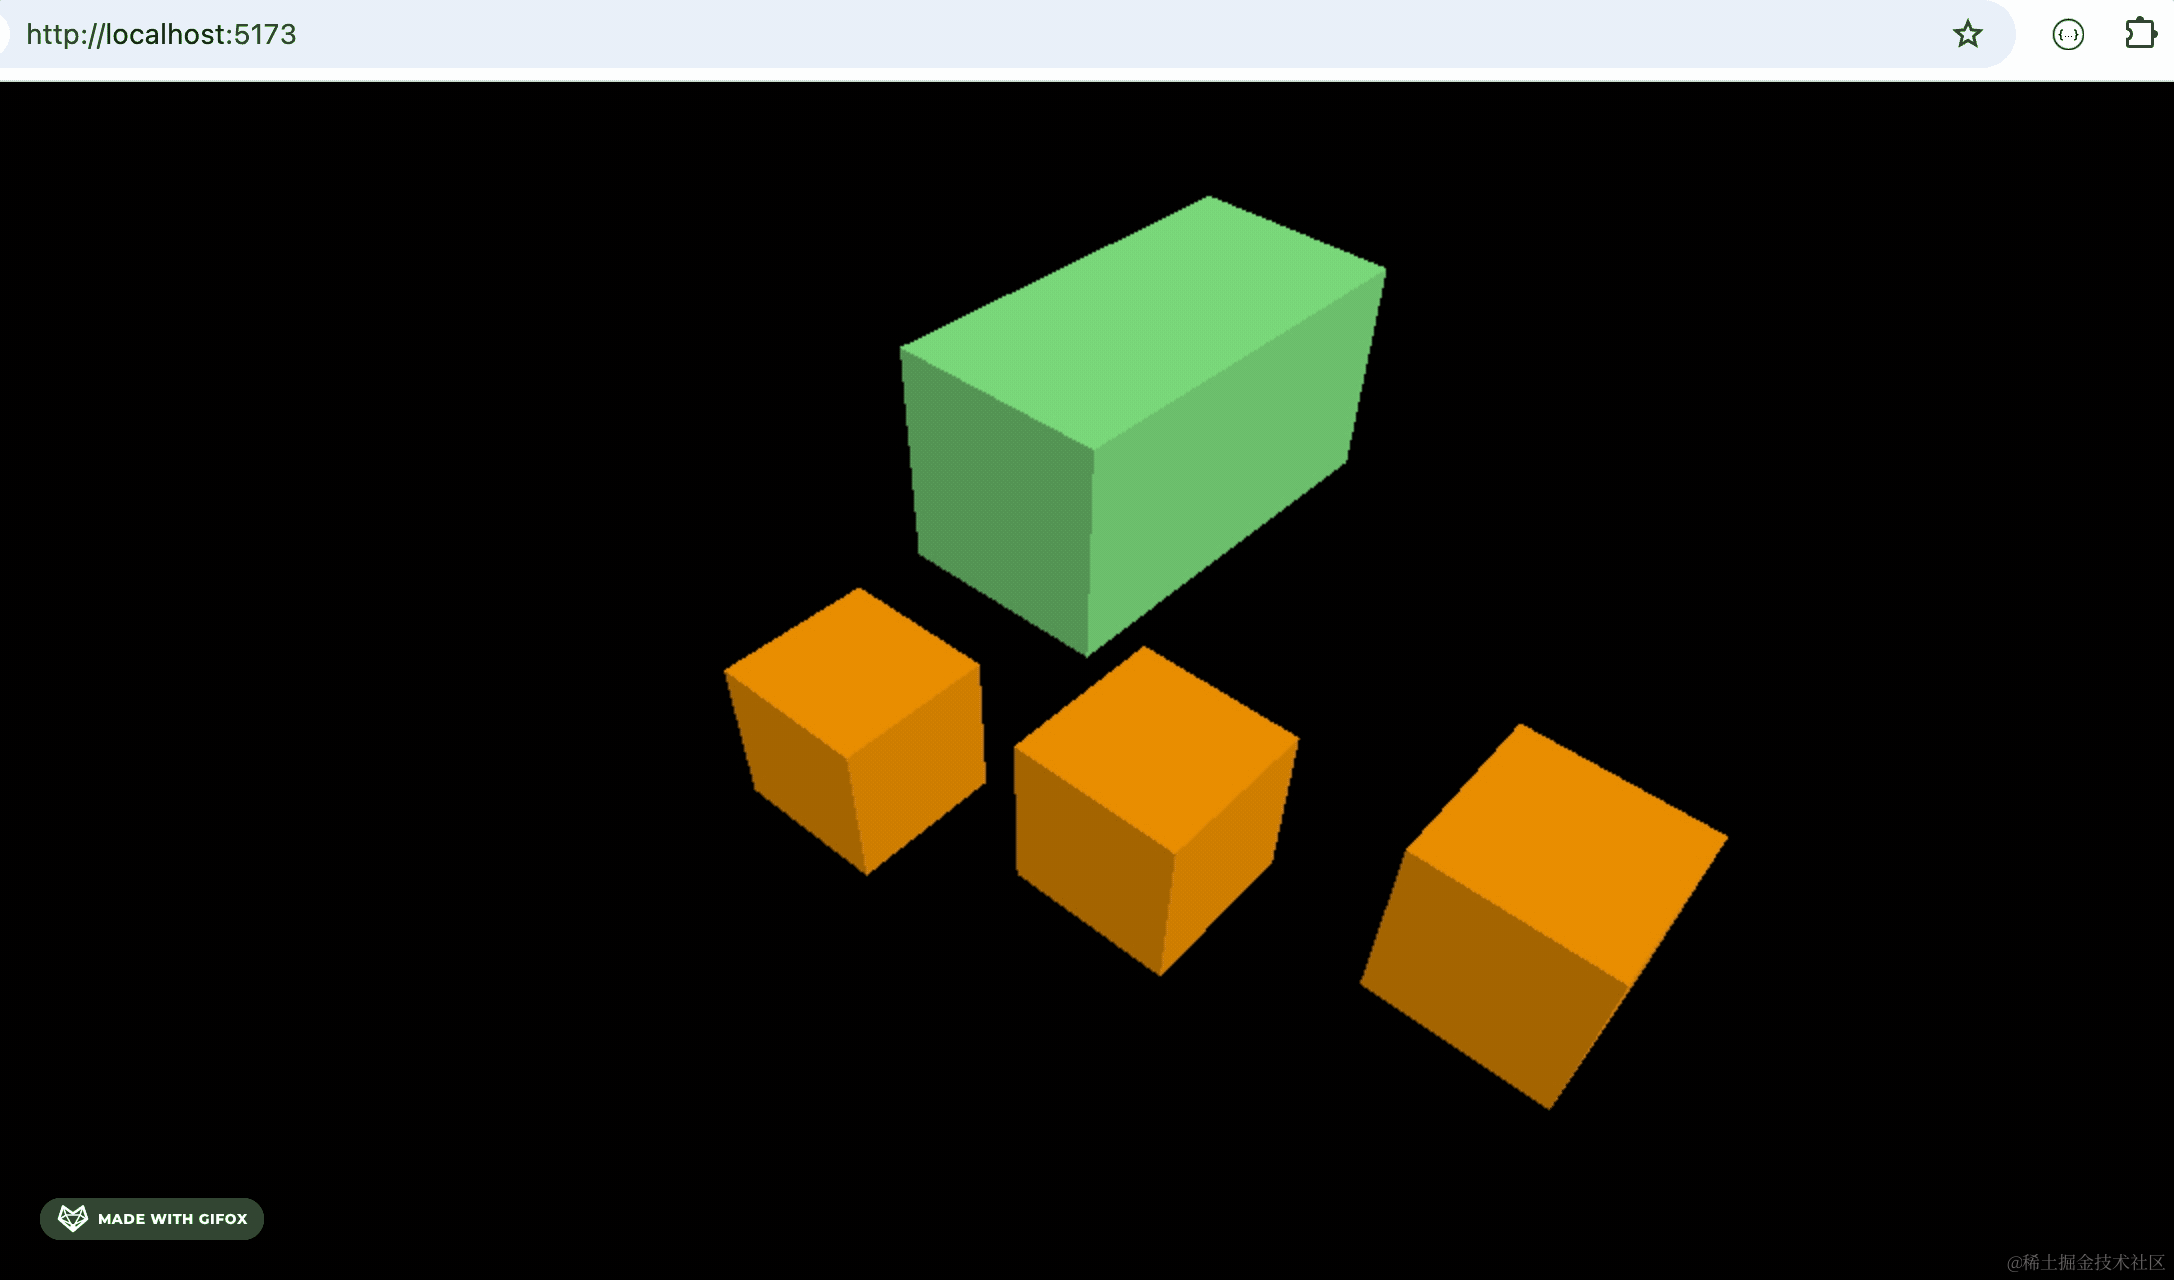
依然是完全同步的。
copy 是把传入的对象的值复制给当前对象,而 clone 是创建一个新的对象。
前面我们做林海雪原实战的时候,用过一个树的模型。
把它拿过来:
https://github.com/QuarkGluonPlasma/threejs-course-code/tree/main/snowy-forest/public/tree
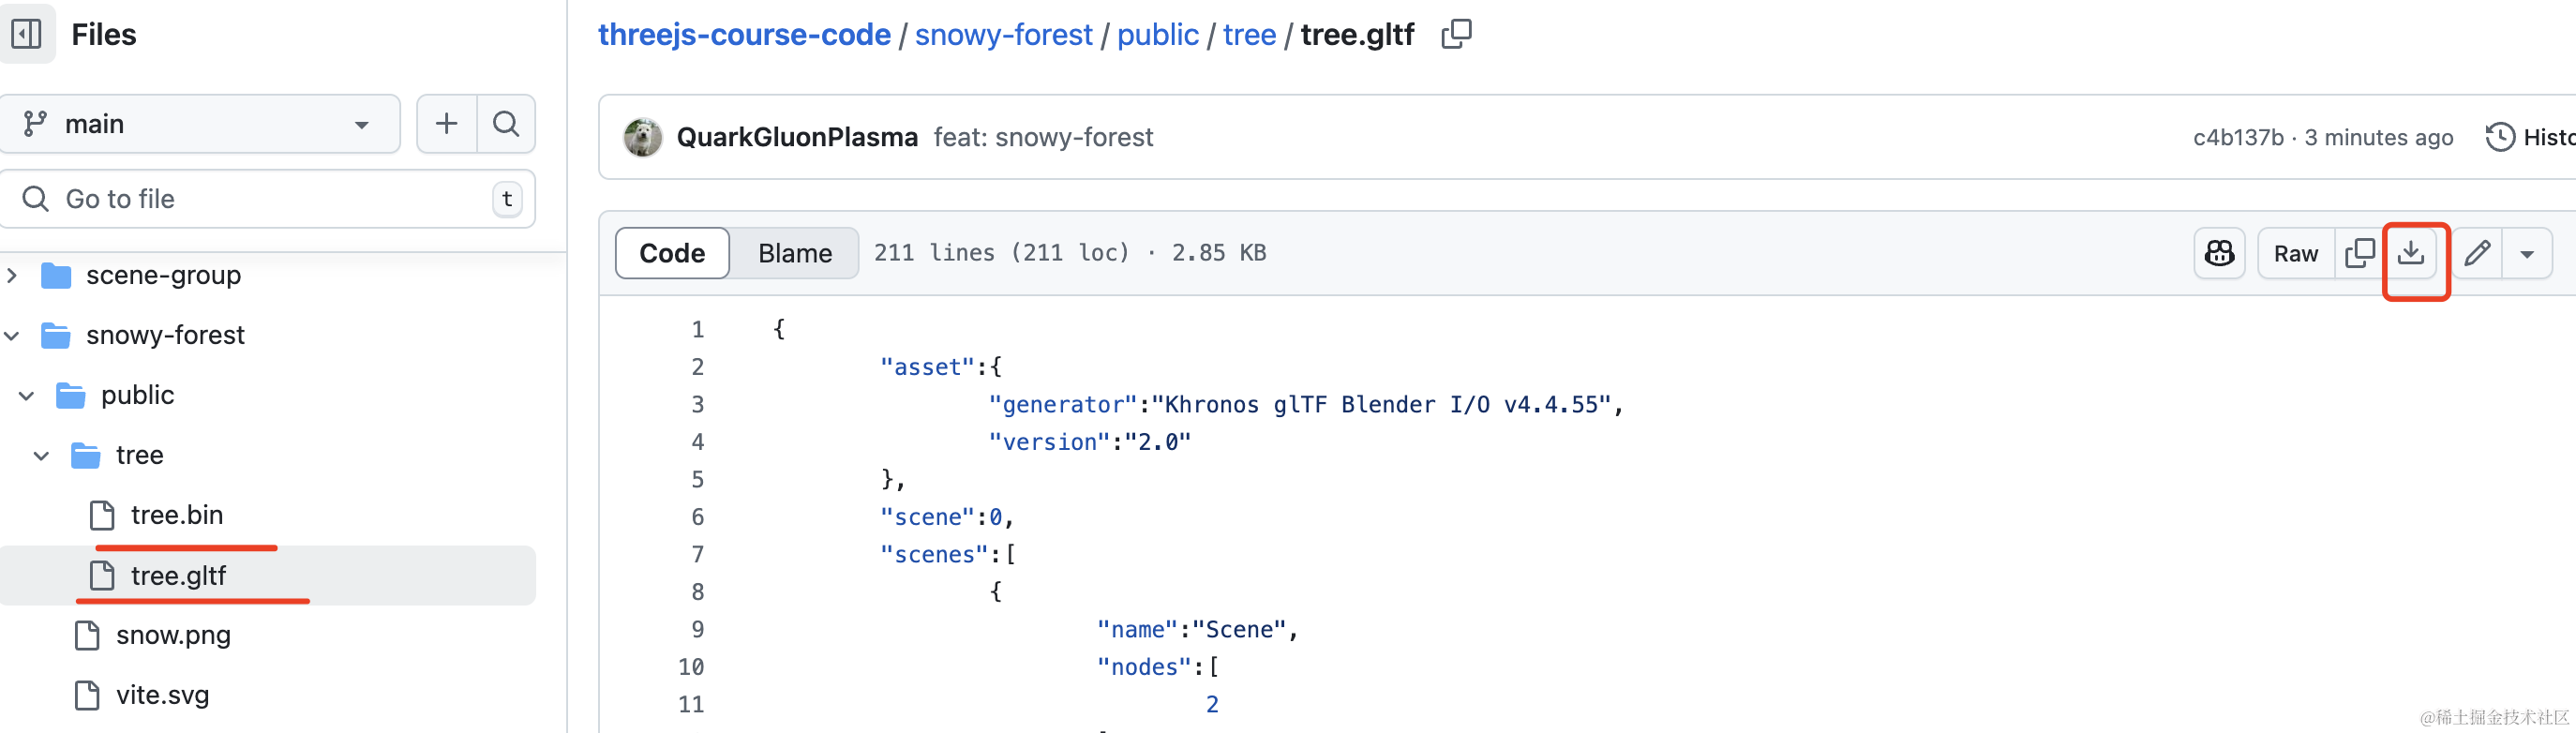
点击下载按钮,下载这两个文件
放在 public 目录下:
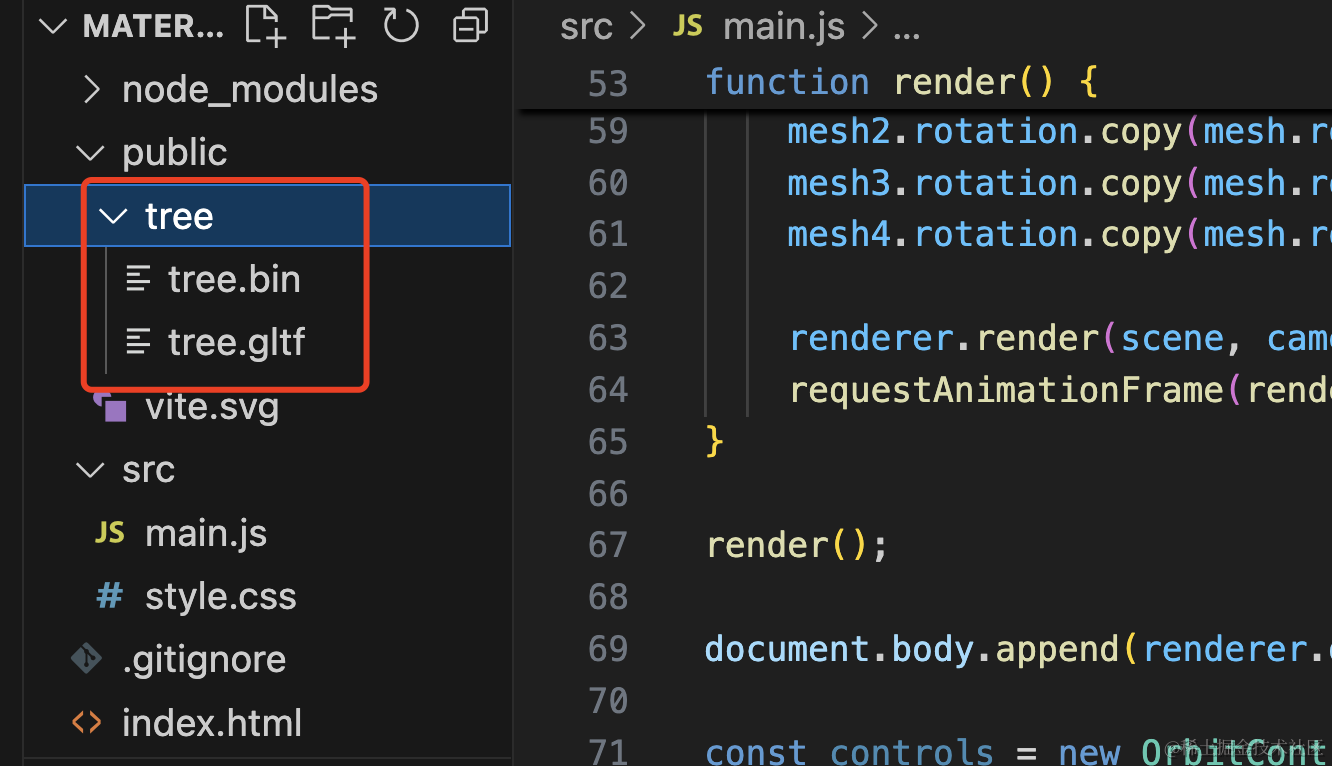
在代码里引入。
创建 src/tree.js
import * as THREE from 'three';
import { GLTFLoader } from 'three/addons/loaders/GLTFLoader.js';

const tree = new THREE.Group();

const loader = new GLTFLoader();

function loadTree(callback) {
    loader.load('./tree/tree.gltf', gltf => {
        console.log(gltf);

        tree.add(gltf.scene);

        callback(tree);
    });
}

export default loadTree;
然后在 main.js 复制几棵树出来:
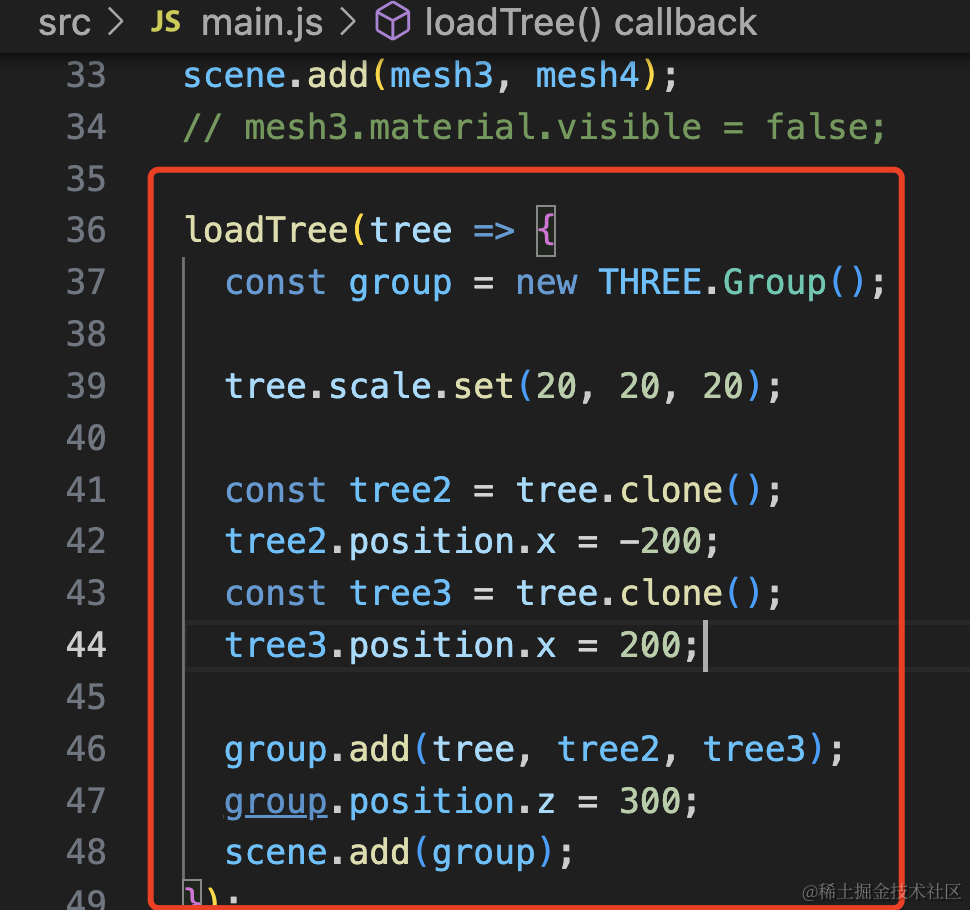
loadTree(tree => {
  const group = new THREE.Group();

  tree.scale.set(20, 20, 20);

  const tree2 = tree.clone();
  tree2.position.x = -200;
  const tree3 = tree.clone();
  tree3.position.x = 200;

  group.add(tree, tree2, tree3);
  group.position.z = 300;
  scene.add(group);
});
用一个 Group 来管理这三棵树,group 整体改变 z,内部树改变 x
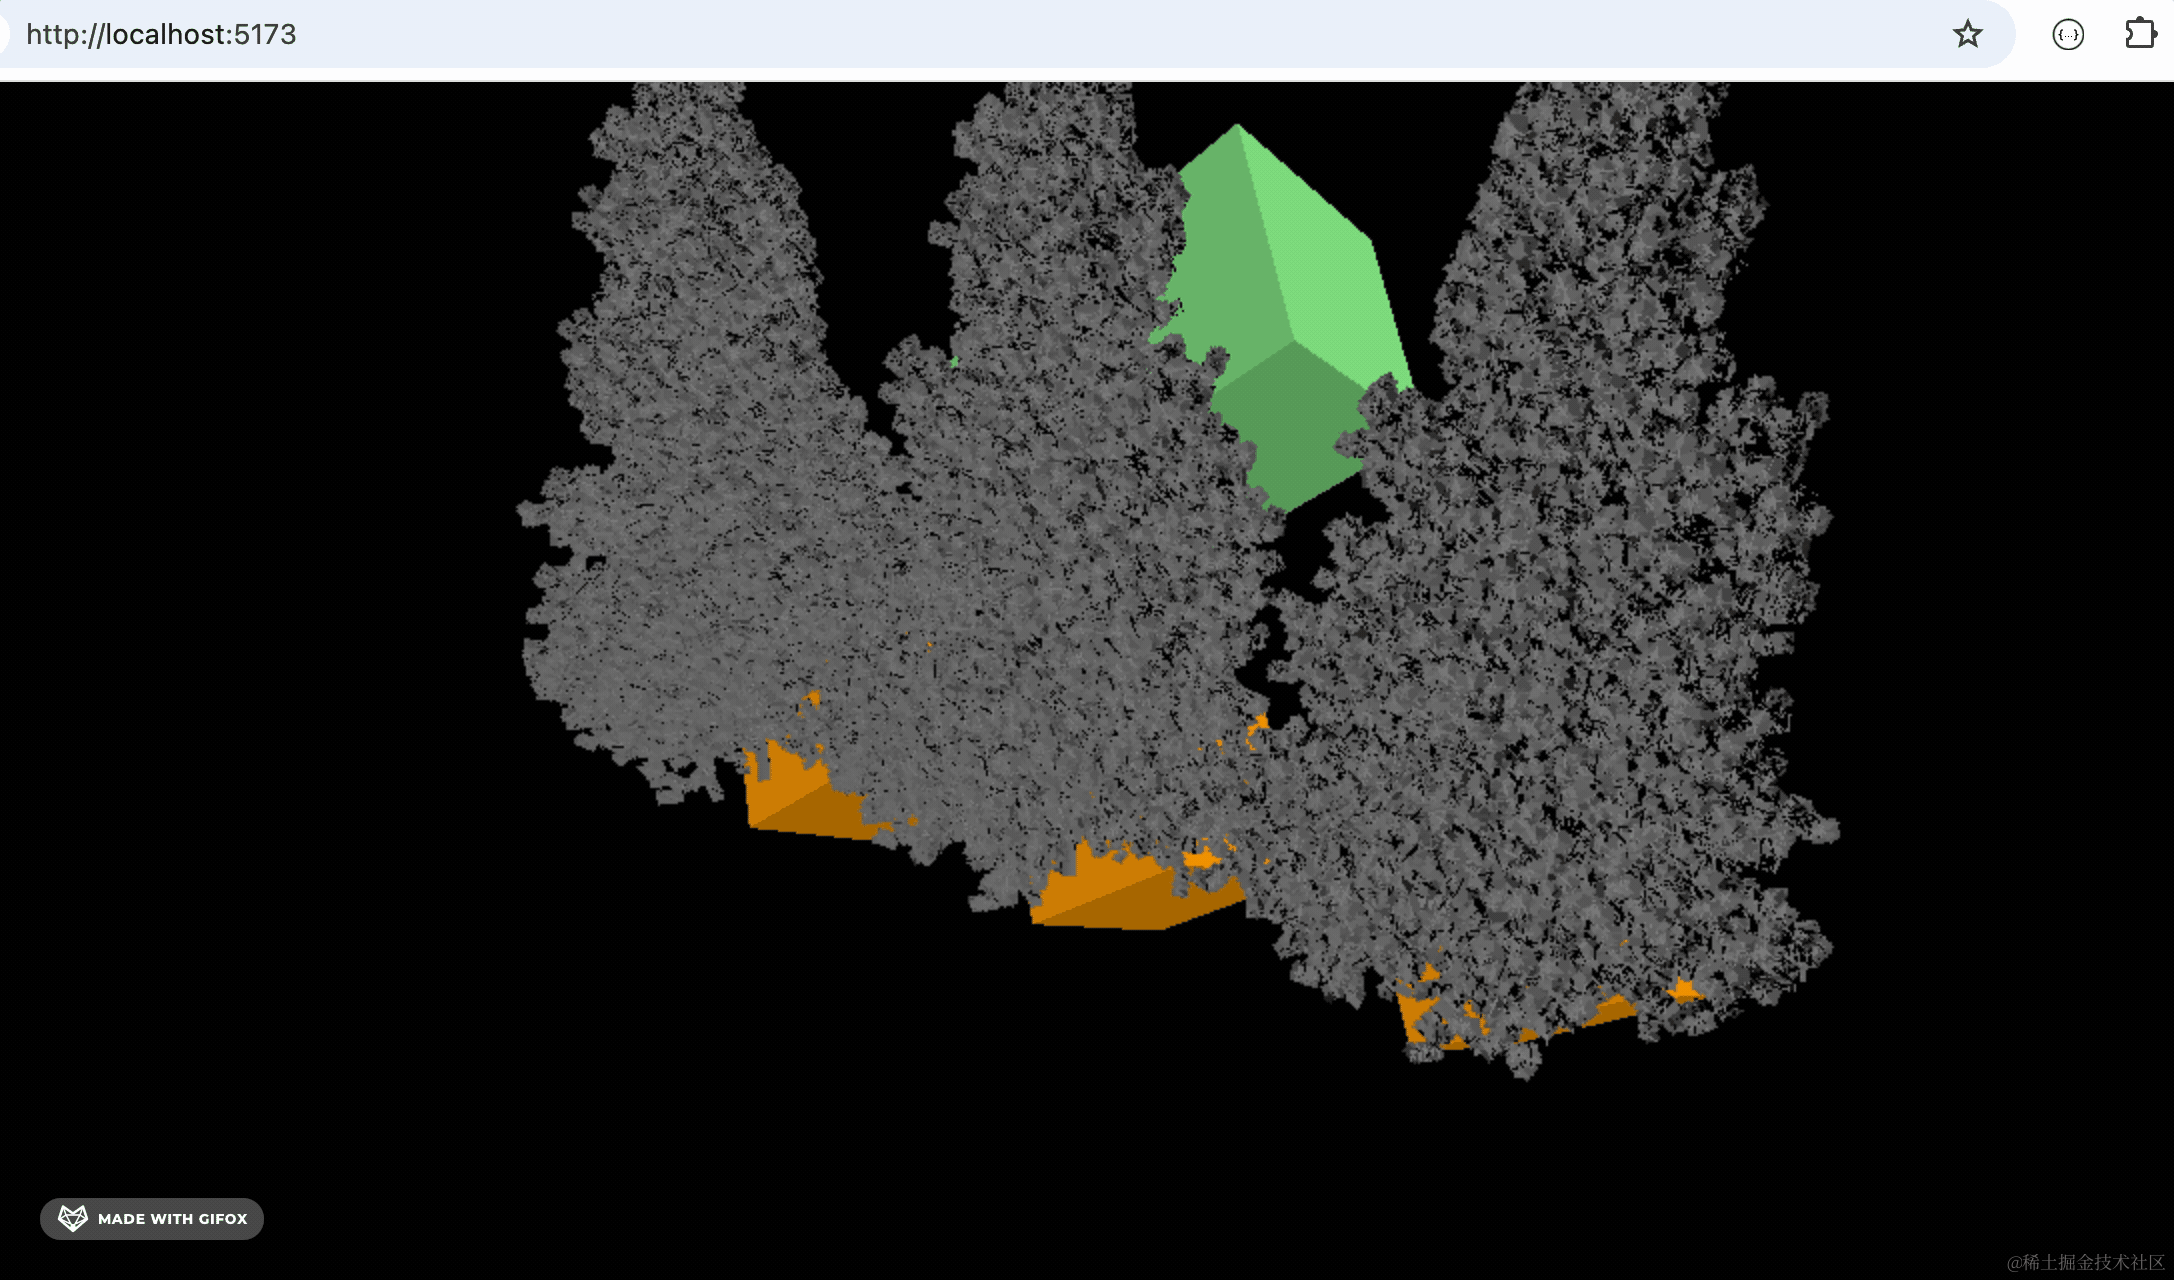
然后我们改下材质颜色:
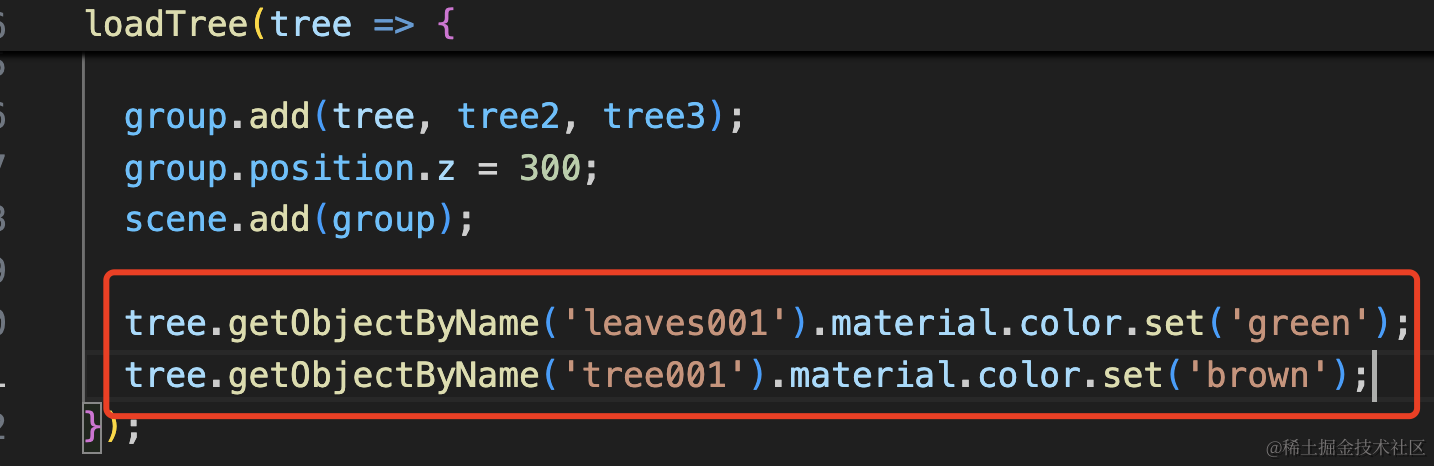
tree.getObjectByName('leaves001').material.color.set('green');
tree.getObjectByName('tree001').material.color.set('brown');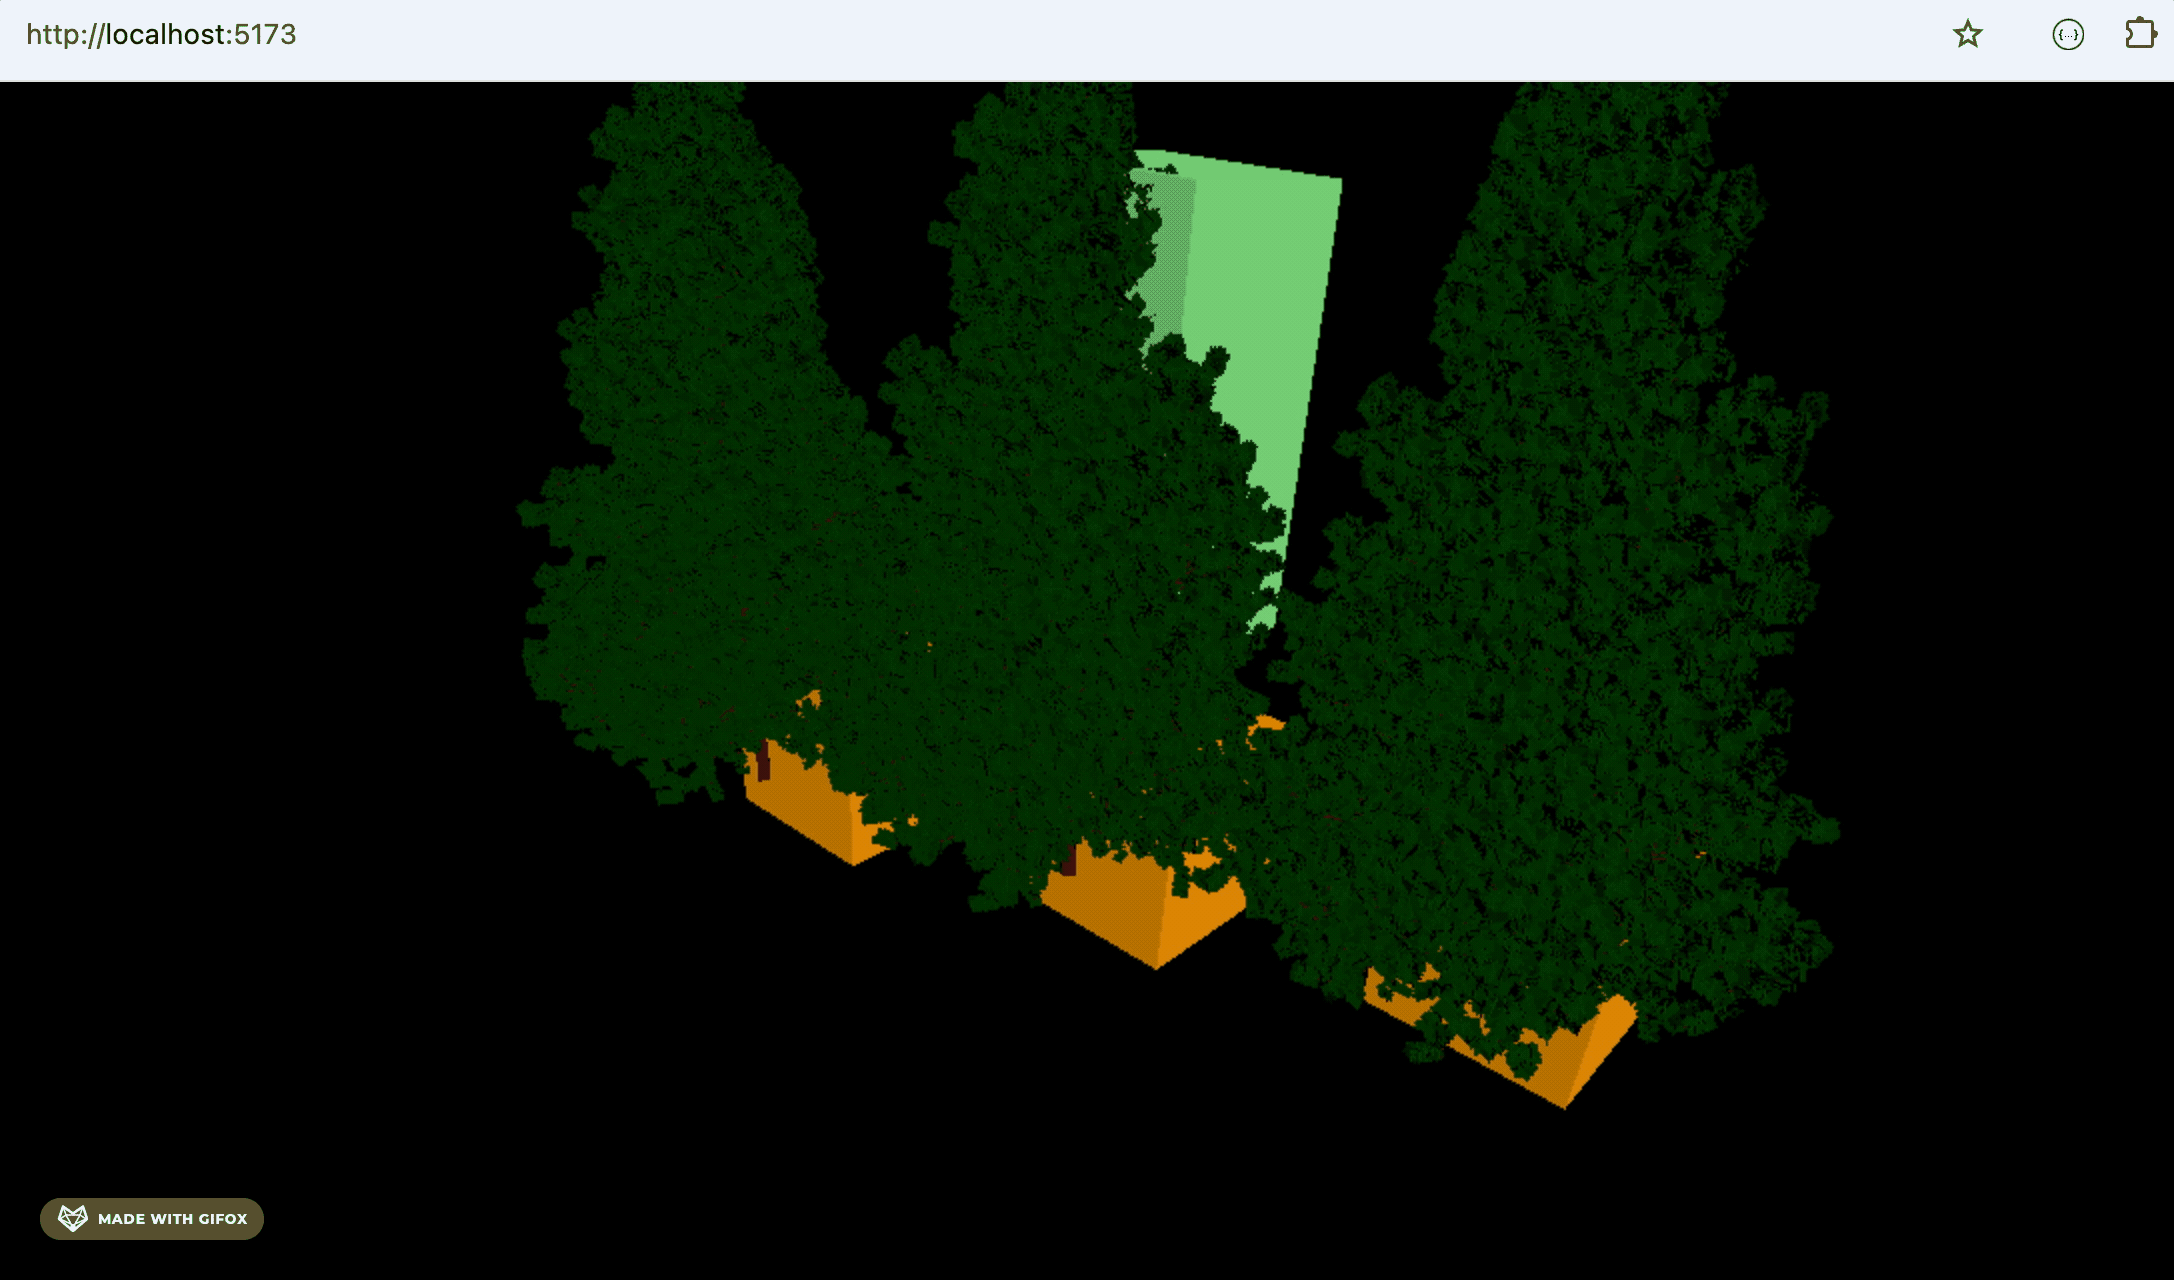
我们只改了一棵树的材质颜色,另外的也都跟着变了。
这就是材质共用的问题。
当然,这样可以批量修改所有树的颜色还是很方便的。
但如果你要给复制出来的两棵树不同的颜色呢?
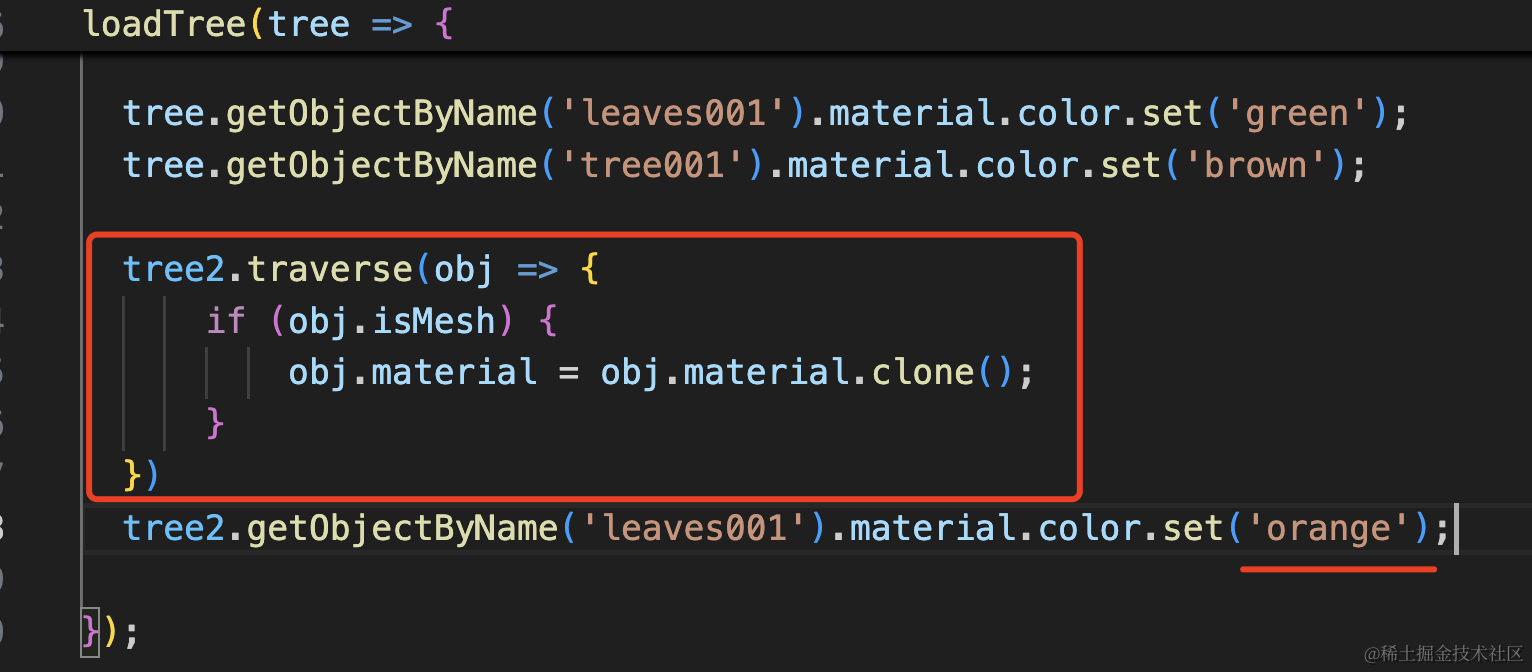
tree2.traverse(obj => {
      if (obj.isMesh) {
          obj.material = obj.material.clone();
      }
  })
  tree2.getObjectByName('leaves001').material.color.set('orange');
批量 clone 一下所有 mesh 的材质就好了。

这就是常见的材质共用问题。
案例代码上传了小册仓库。
总结
这节我们探讨了下 mesh 的 geometry 和 material 共用的问题。
它有的时候很方便,比如可以批量修改这些 mesh 的材质颜色,可以设置 visible 批量隐藏。
但有的时候会有相互影响的问题,这时候 clone 一份新的 geometry 或者 material 就好了。
此外,当你想复制值的时候,可以直接用 copy 方法,比如 rotation.copy、position.copy,它会复制目标对象的值到当前对象。
材质共用问题是非常常见的问题,clone、copy 也是很常用的方法,后面会大量用到。