上节我们设置立方体大小、相机位置、光照强度等,都是直接设置了一个值。
但很多时候,我们并不知道这个值设置多少合适。
那怎么办呢?
这时候就可以用 dat.gui 来可视化的调试了。
创建项目:
mkdir data-gui
cd data-gui
npm init -y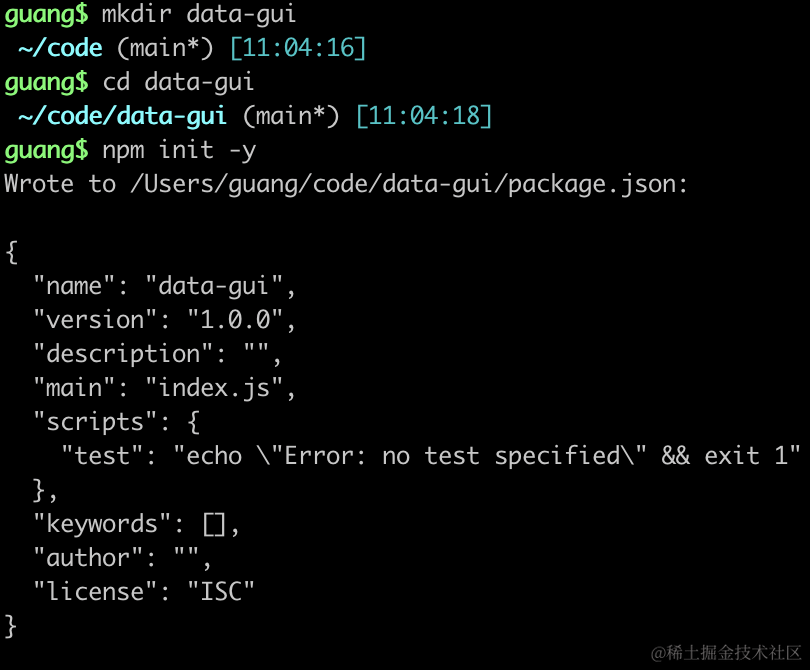
安装 three.js 类型:
npm install --save-dev @types/three然后写下 index.html
<!DOCTYPE html>
<html lang="en">
<head>
    <meta charset="UTF-8">
    <meta name="viewport" content="width=device-width, initial-scale=1.0">
    <title>Document</title>
    <style>
        body {
            margin: 0;
        }
    </style>
</head>
<body>
    <script type="importmap">
    {
        "imports": {
            "three": "https://esm.sh/three@0.174.0/build/three.module.js",
            "three/addons/": "https://esm.sh/three@0.174.0/examples/jsm/"
        }
    }
    </script>
    <script type="module" src="./index.js"></script>
</body>
</html>
type=“module” 和 type=“importmap” 的 script 的方式引入 three.js
创建 index.js
import * as THREE from 'three';
import {
    OrbitControls
} from 'three/addons/controls/OrbitControls.js';

const scene = new THREE.Scene();

const geometry = new THREE.BoxGeometry(100, 100, 100);
const material = new THREE.MeshLambertMaterial(({
    color: new THREE.Color('orange')
}));
const mesh = new THREE.Mesh(geometry, material);
mesh.position.set(0, 0, 0);
scene.add(mesh);

const pointLight = new THREE.PointLight(0xffffff, 10000);
pointLight.position.set(80, 80, 80);
scene.add(pointLight);

const axesHelper = new THREE.AxesHelper(200);
scene.add(axesHelper);

const width = window.innerWidth;
const height = window.innerHeight;

const camera = new THREE.PerspectiveCamera(60, width / height, 1, 1000);
camera.position.set(200, 200, 200);
camera.lookAt(0, 0, 0);

const renderer = new THREE.WebGLRenderer();
renderer.setSize(width, height)

function render() {
    renderer.render(scene, camera);
    requestAnimationFrame(render);
}

render();

document.body.append(renderer.domElement);

const controls = new OrbitControls(camera, renderer.domElement);
跑一下:
npx live-server
现在还是上节的代码。
我们引入 dat.gui

import { GUI } from 'three/addons/libs/lil-gui.module.min.js';创建 gui 对象,添加几个控件:
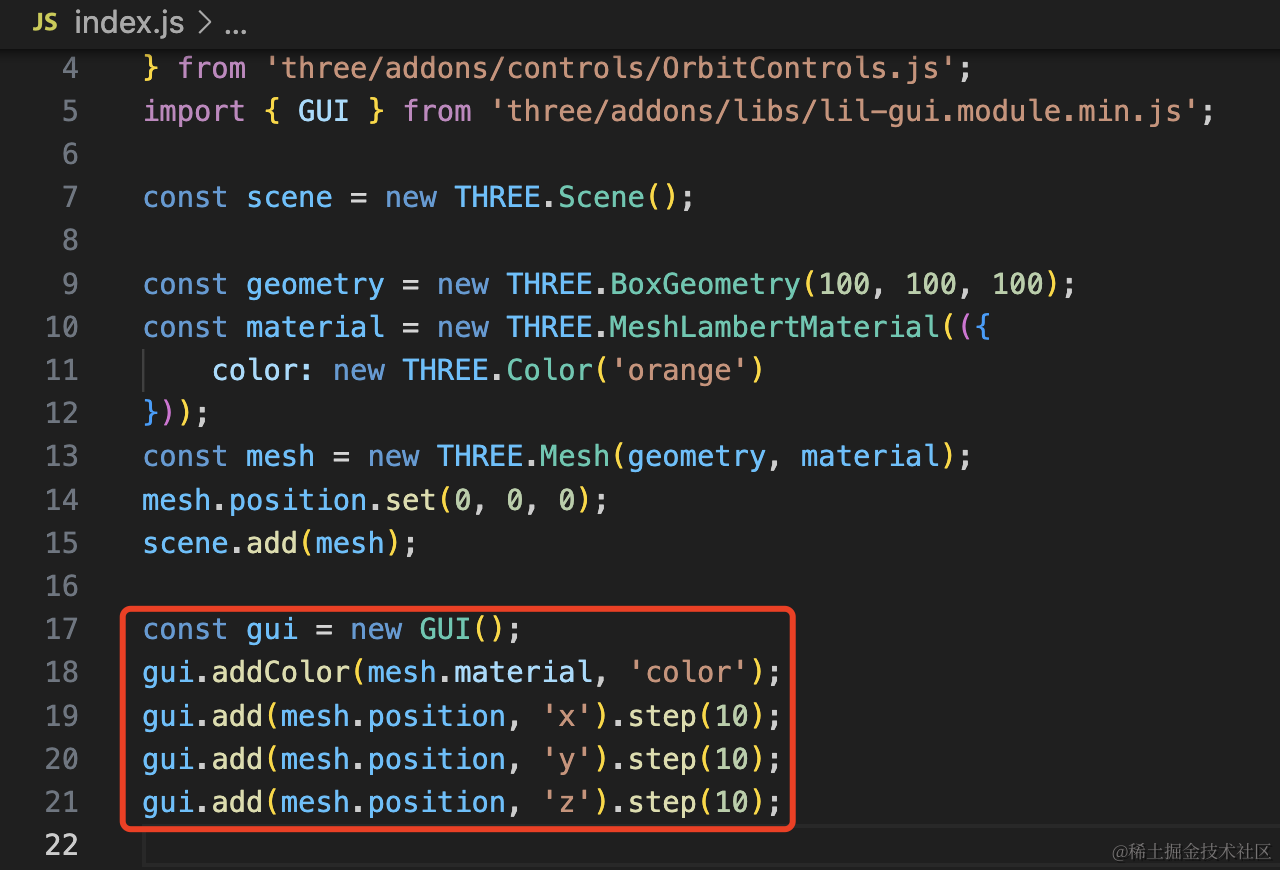
可视化的调节 mesh.material.color 和 mesh.position 来改变颜色、位置。
const gui = new GUI();
gui.addColor(mesh.material, 'color');
gui.add(mesh.position, 'x').step(10);
gui.add(mesh.position, 'y').step(10);
gui.add(mesh.position, 'z').step(10);
看下效果:
右上角出现了一个控制面板,可以可视化的调节立方体的颜色、位置等。
这样直观多了。
你可以在这里调完之后,再把调好的数值更新到代码里。
调节位置的时候,明显可以感觉到光影的变化:
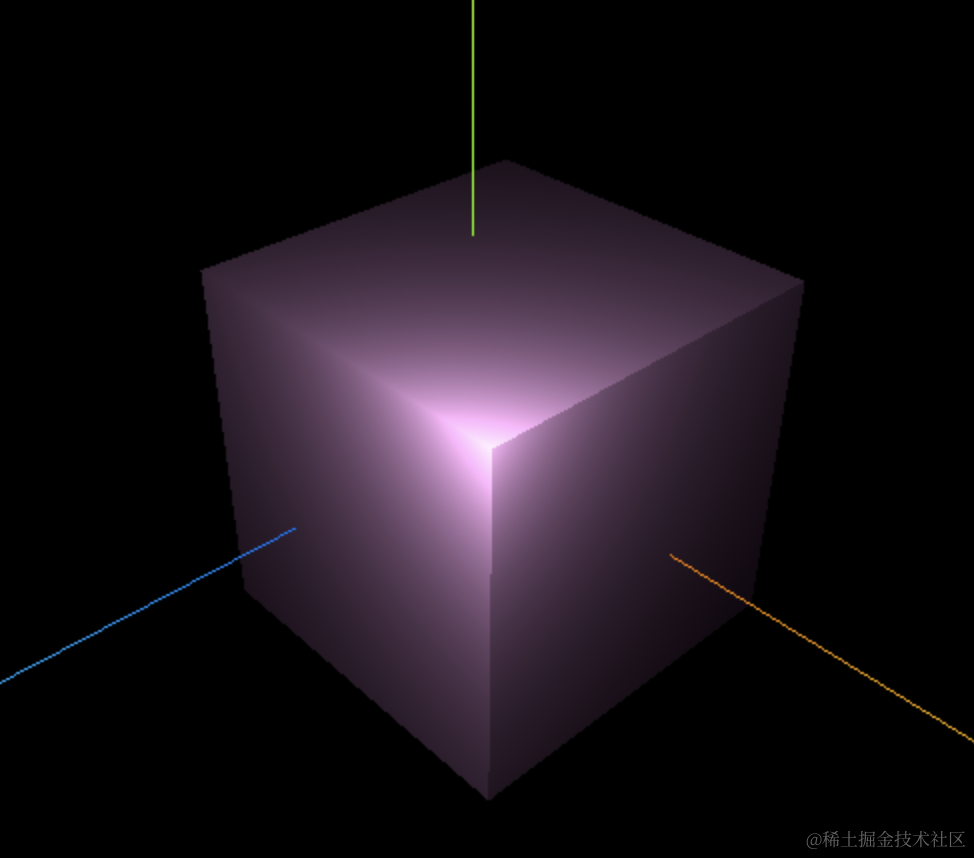
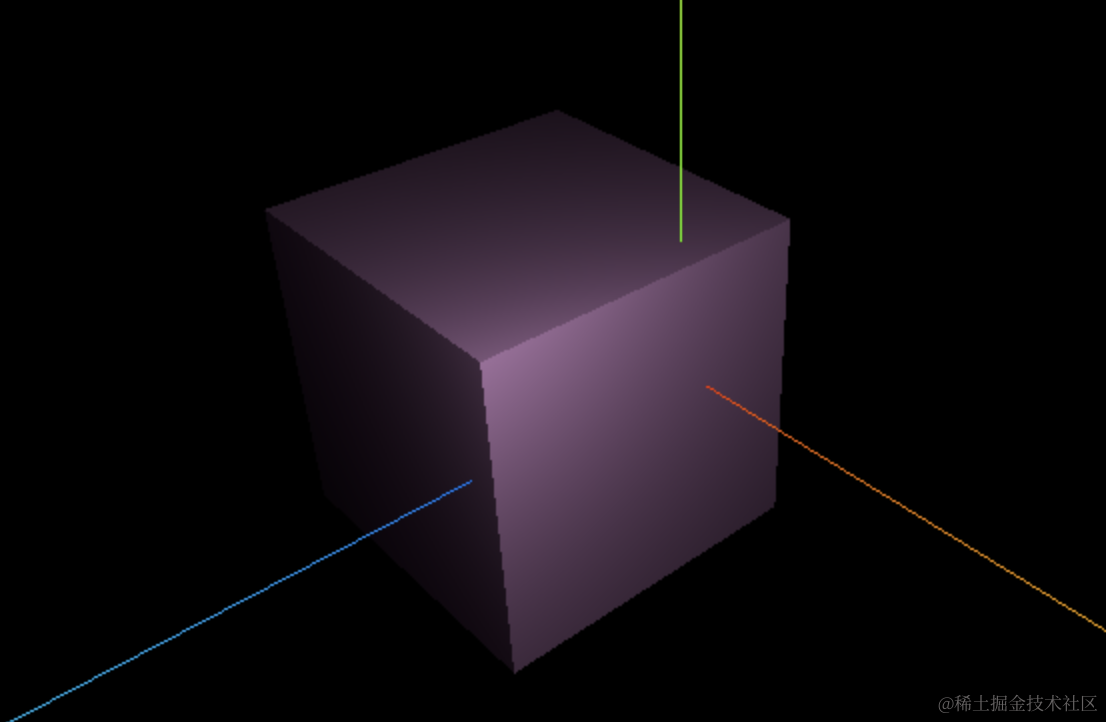
灯光的位置、光照强度等显然也应该可视化的调一下:
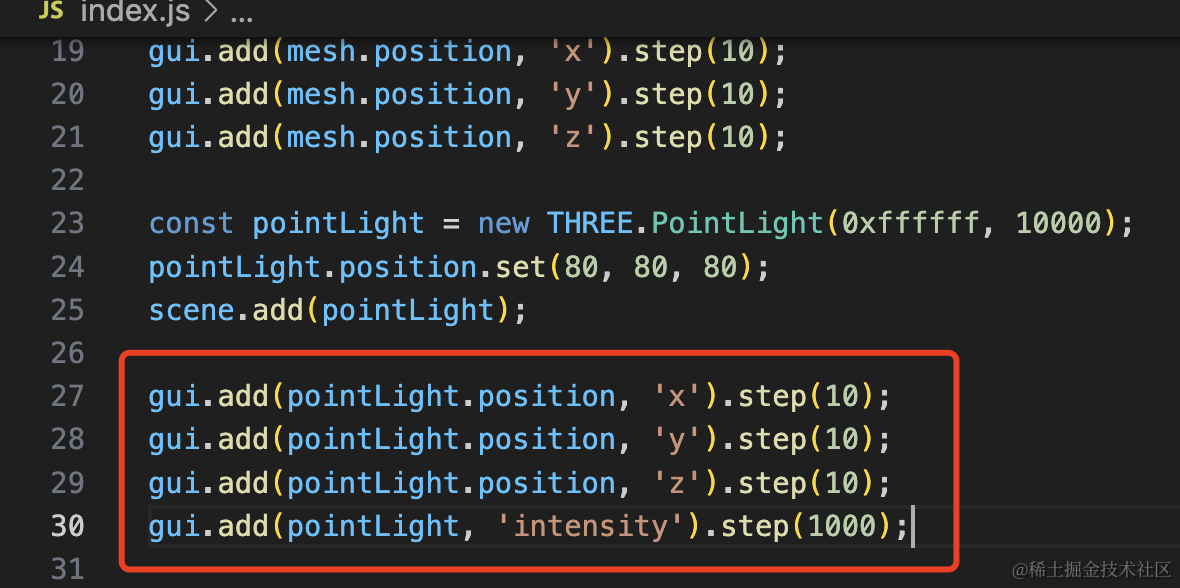
调节灯光位置 light.position 和强度 light.intensity
step 是步长,也就是每条调多少
gui.add(pointLight.position, 'x').step(10);
gui.add(pointLight.position, 'y').step(10);
gui.add(pointLight.position, 'z').step(10);
gui.add(pointLight, 'intensity').step(1000);
看下效果:
先调一下灯光的强度:

再调一下灯光位置:
可以很直观感受到灯光强度和灯光位置的变化。
但现在有个问题:

调节立方体和调节灯光的控件混在一起,比较乱。
能不能分个组呢?
可以的。
这样:
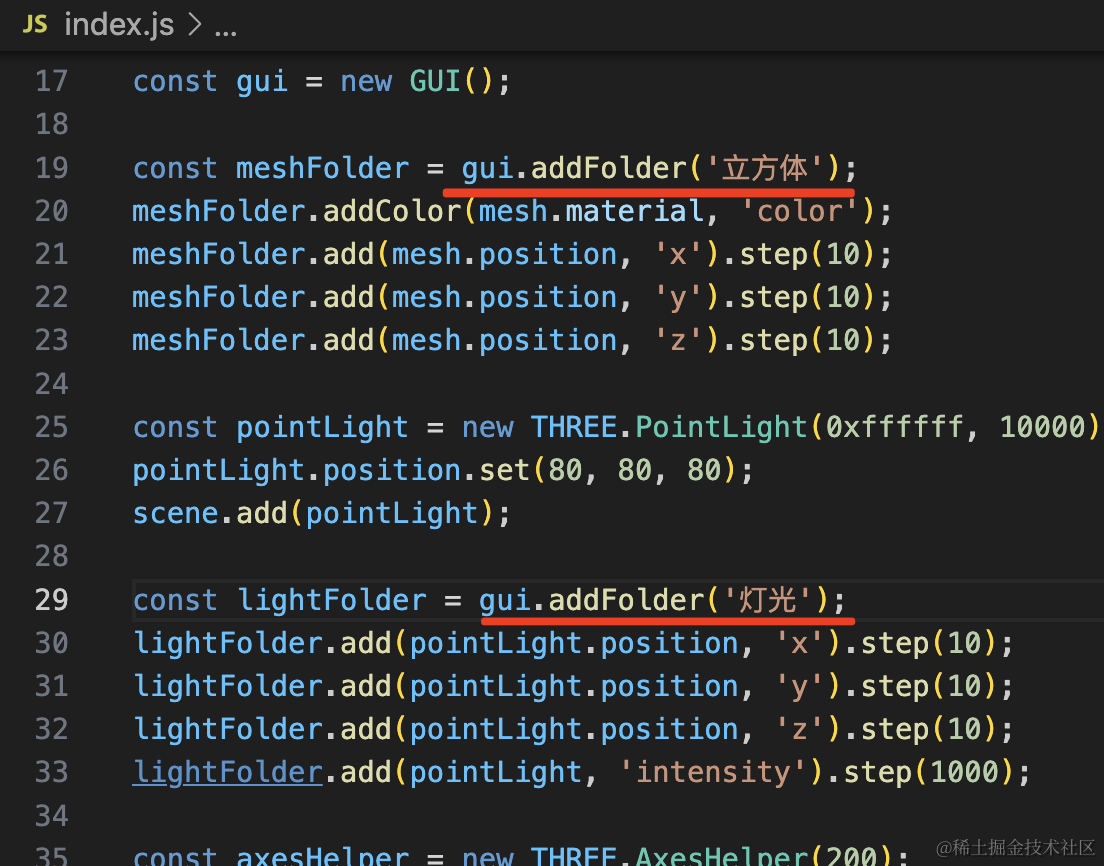
通过 gui.addFolder 创建两个分组,然后把控件添加到不同分组下就可以了。
const meshFolder = gui.addFolder('立方体');
meshFolder.addColor(mesh.material, 'color');
meshFolder.add(mesh.position, 'x').step(10);
meshFolder.add(mesh.position, 'y').step(10);
meshFolder.add(mesh.position, 'z').step(10);
const lightFolder = gui.addFolder('灯光');
lightFolder.add(pointLight.position, 'x').step(10);
lightFolder.add(pointLight.position, 'y').step(10);
lightFolder.add(pointLight.position, 'z').step(10);
lightFolder.add(pointLight, 'intensity').step(1000);看下效果:
接下来我们过一下其他控件类型,不同的场景需要不同的控件:
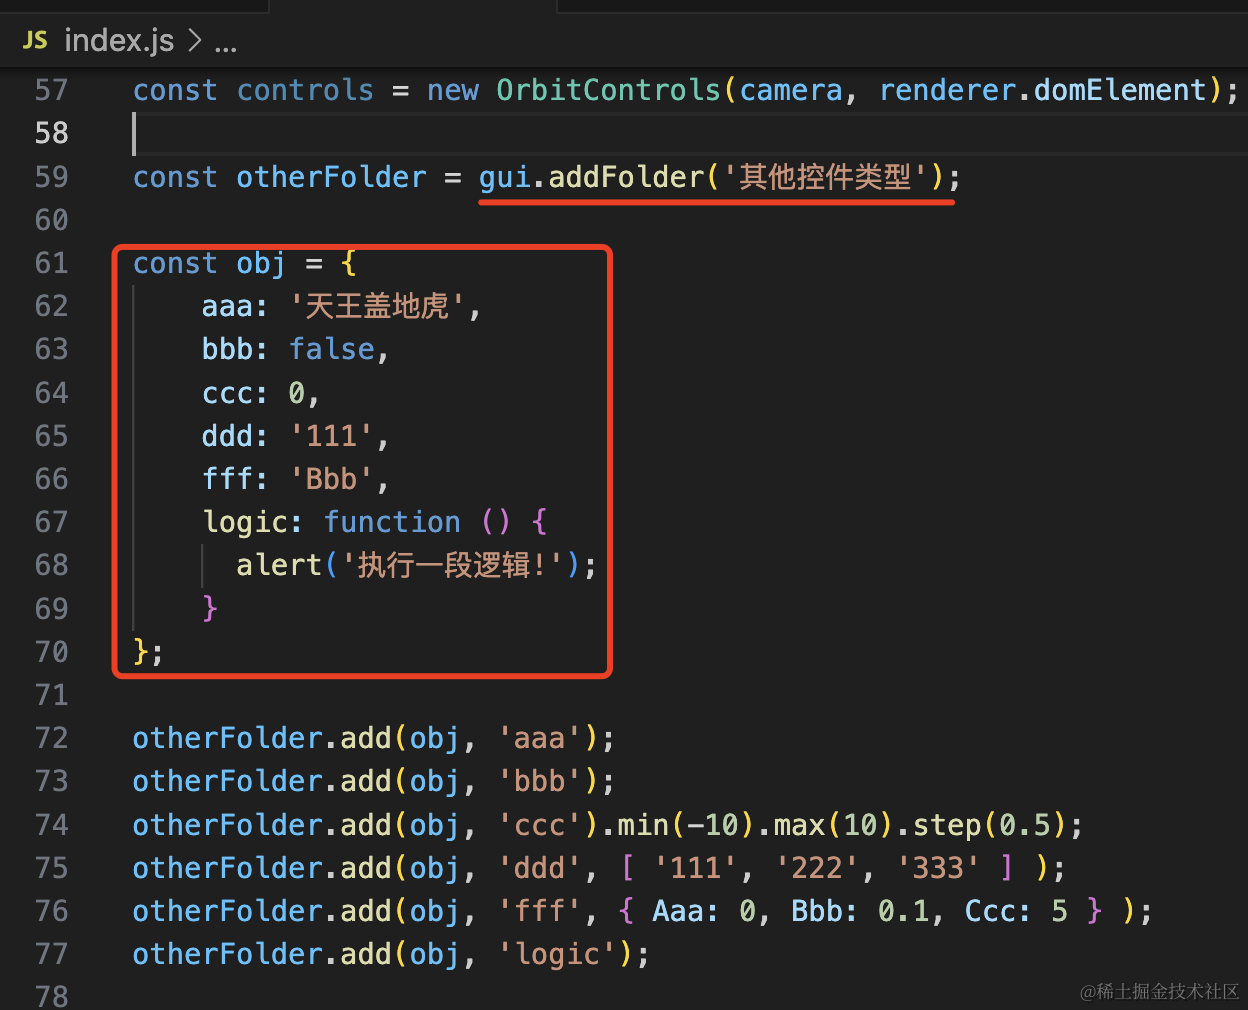
首先 addFolder 添加一个分组,然后添加各种控件。
其实用法都一样,都是 add,dat.gui 内部会自己根据属性的类型使用不同的控件。
如果是枚举值,需要用数组、对象的方式在第三个参数里列出来。
const otherFolder = gui.addFolder('其他控件类型');

const obj = {
    aaa: '天王盖地虎',
    bbb: false,
    ccc: 0,
    ddd: '111',
    fff: 'Bbb',
    logic: function () {
      alert('执行一段逻辑!');
    }
};

otherFolder.add(obj, 'aaa');
otherFolder.add(obj, 'bbb');
otherFolder.add(obj, 'ccc').min(-10).max(10).step(0.5);
otherFolder.add(obj, 'ddd', [ '111', '222', '333' ] );
otherFolder.add(obj, 'fff', { Aaa: 0, Bbb: 0.1, Ccc: 5 } );
otherFolder.add(obj, 'logic');
看下效果:

可以看到,分别用输入框、下拉列表、单选框、range 条等来展示。
点击 logic 按钮会执行对应的函数。
要注意的是 ccc 那个,如果没有指定范围,交互就和上面的数字输入框差不多,有了 min、max 之后,会多一个 range 条。
min、max 也可以这样写:
otherFolder.add(obj, 'ccc', -10, 10);那这些自定义的值如何与三维场景联动呢?
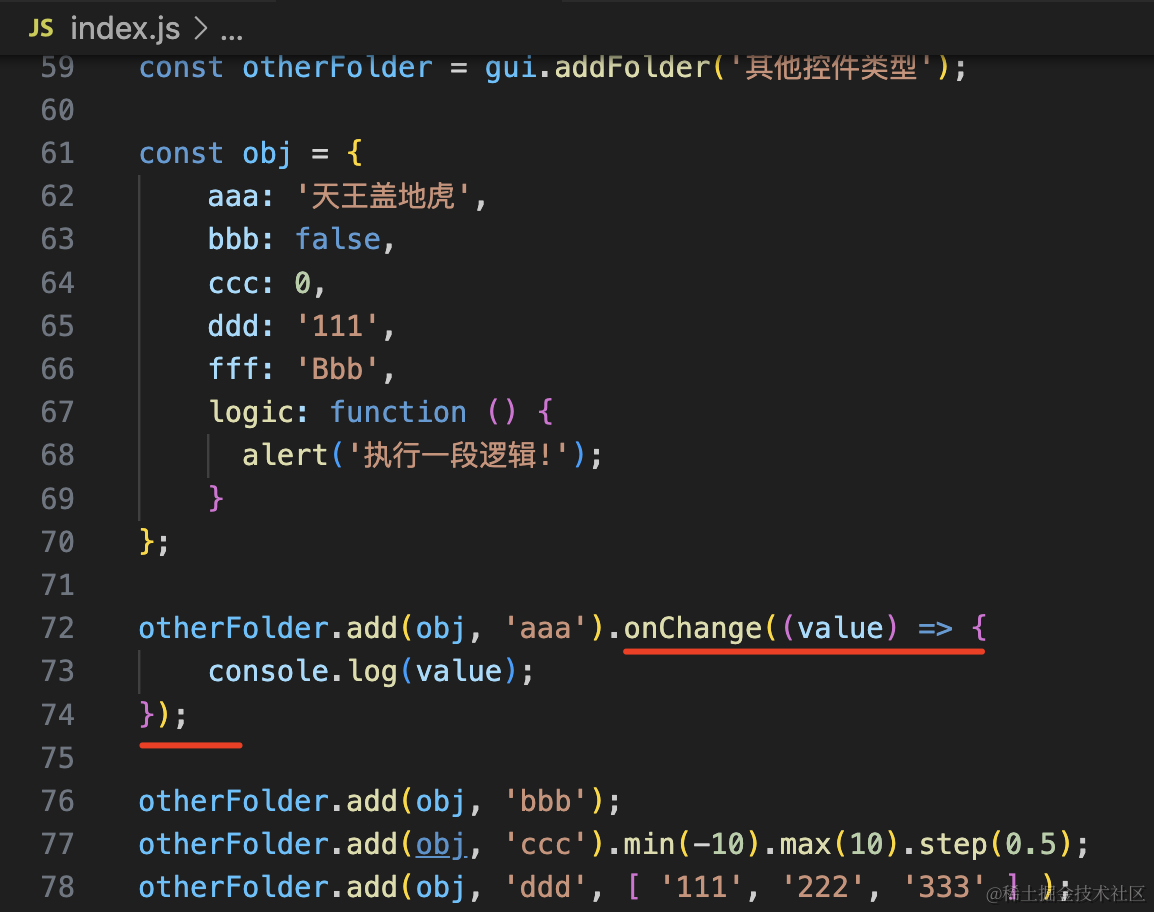
可以给它添加一个 onChange 事件,在里面拿到 value 来修改三维场景的参数就可以了。
案例代码上传了小册仓库。
总结
dat.gui 是可视化调试 3D 场景中一些参数的工具。
它可以通过 add 添加控件,通过 addFolder 对这些控件分组。
用法是这样 add(obj, ‘prop’),每个控件的类型是根据属性值的类型来确定的,如果是枚举值,可以在第三个参数通过数组、对象来声明。
你还可以添加一些非 3D 场景参数的控件,在 onChange 的回调函数里拿到 value 来修改 3D 场景的参数。
这个调试工具是非常常用的,在后面会大量用到。