其实除了刚学的 CSS2DRenderer、CSS3DRenderer 外,前面学的 Sprite 也可以用来做标注。
CSS2DRenderer 是这样的:
它永远面向相机这点,是不是和 Sprite 很像?
只是 Sprite 不能渲染 dom,其余的 CSS2DObject 很类似。
再就是 Sprite 做标注可以随着 3D 场景放缩,而 CSS2DObject 不可以。
如果你要做一些简单的标注,可以用 Sprite 结合 canvas 来做。
用 canvas 画一些内容,然后把它作为 Sprite 的纹理实现标注,这样可以绘制各种形状的交互。
我们试一下:
npx create-vite canvas-sprite-annotation
进入项目,安装依赖:
npm install
npm install --save three
npm install --save-dev @types/three
改下 src/main.js
import './style.css';
import * as THREE from 'three';
import {
    OrbitControls
} from 'three/addons/controls/OrbitControls.js';
import mesh from './mesh.js';

const scene = new THREE.Scene();

scene.add(mesh);

const directionLight = new THREE.DirectionalLight(0xffffff, 2);
directionLight.position.set(500, 400, 300);
scene.add(directionLight);

const ambientLight = new THREE.AmbientLight();
scene.add(ambientLight);

const width = window.innerWidth;
const height = window.innerHeight;

const helper = new THREE.AxesHelper(500);
scene.add(helper);

const camera = new THREE.PerspectiveCamera(60, width / height, 0.1, 10000);
camera.position.set(500, 600, 800);
camera.lookAt(0, 0, 0);

const renderer = new THREE.WebGLRenderer();
renderer.setSize(width, height)

function render() {
    renderer.render(scene, camera);
    requestAnimationFrame(render);
}

render();

document.body.append(renderer.domElement);

const controls = new OrbitControls(camera, renderer.domElement);
创建 Scene、Light、Camera、Renderer。
改下 style.css
body {
  margin: 0;
}
我们还是用前面两节的物体来做标注:
创建 mesh.js
import * as THREE from 'three';
const planeGeometry = new THREE.PlaneGeometry(1000, 1000);
const planeMaterial = new THREE.MeshLambertMaterial({
color: new THREE.Color('skyblue')
});
const plane = new THREE.Mesh(planeGeometry, planeMaterial);
plane.rotateX(- Math.PI / 2);
plane.position.y = -50;
const boxGeometry = new THREE.BoxGeometry(100, 100, 100);
const boxMaterial = new THREE.MeshLambertMaterial({
color: new THREE.Color('orange')
});
const box = new THREE.Mesh(boxGeometry, boxMaterial);
const box2 = box.clone();
box2.position.x = 200;
const mesh = new THREE.Group();
mesh.add(plane);
mesh.add(box);
mesh.add(box2);
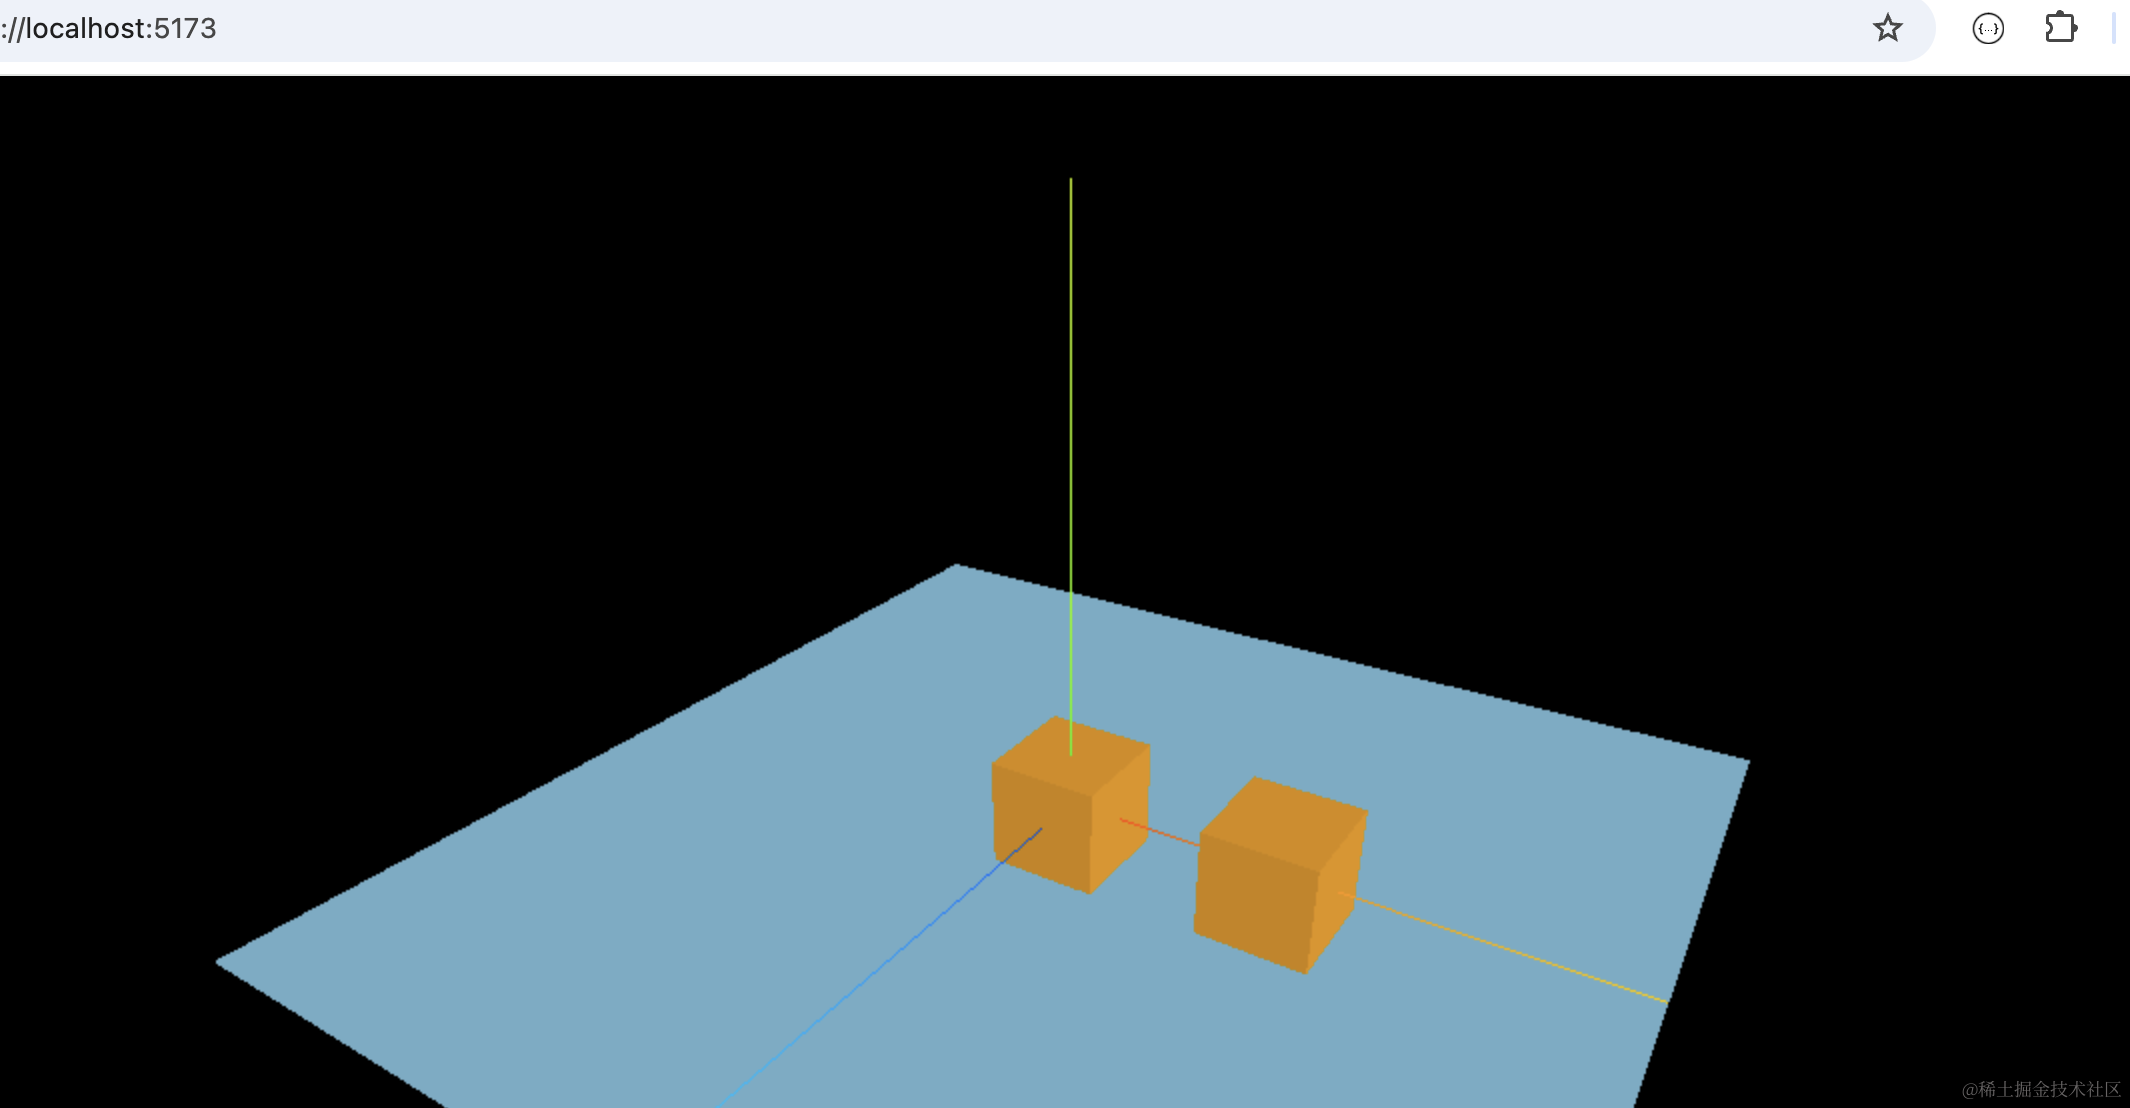
export default mesh;一个平面,两个立方体。
跑一下:
npm run dev
看下效果:
这次用 Sprite 来做标注:
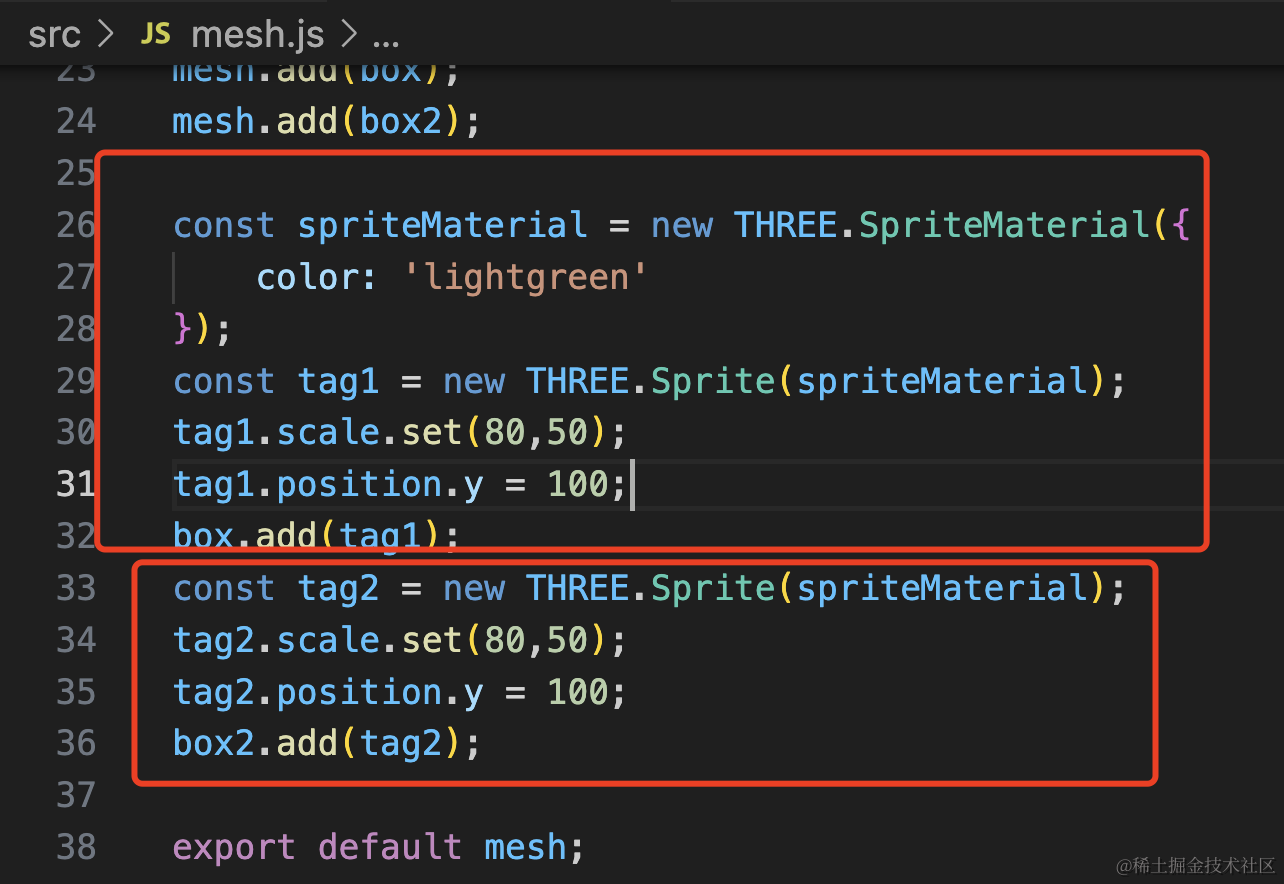
const spriteMaterial = new THREE.SpriteMaterial({
    color: 'lightgreen'
});
const tag1 = new THREE.Sprite(spriteMaterial);
tag1.scale.set(80,50);
tag1.position.y = 100;
box.add(tag1);
const tag2 = new THREE.Sprite(spriteMaterial);
tag2.scale.set(80,50);
tag2.position.y = 100;
box2.add(tag2);
可以看到,和 CSS2DObject 很像。
只不过它不能渲染 dom。
但它可以用 canvas 呀。
这样:
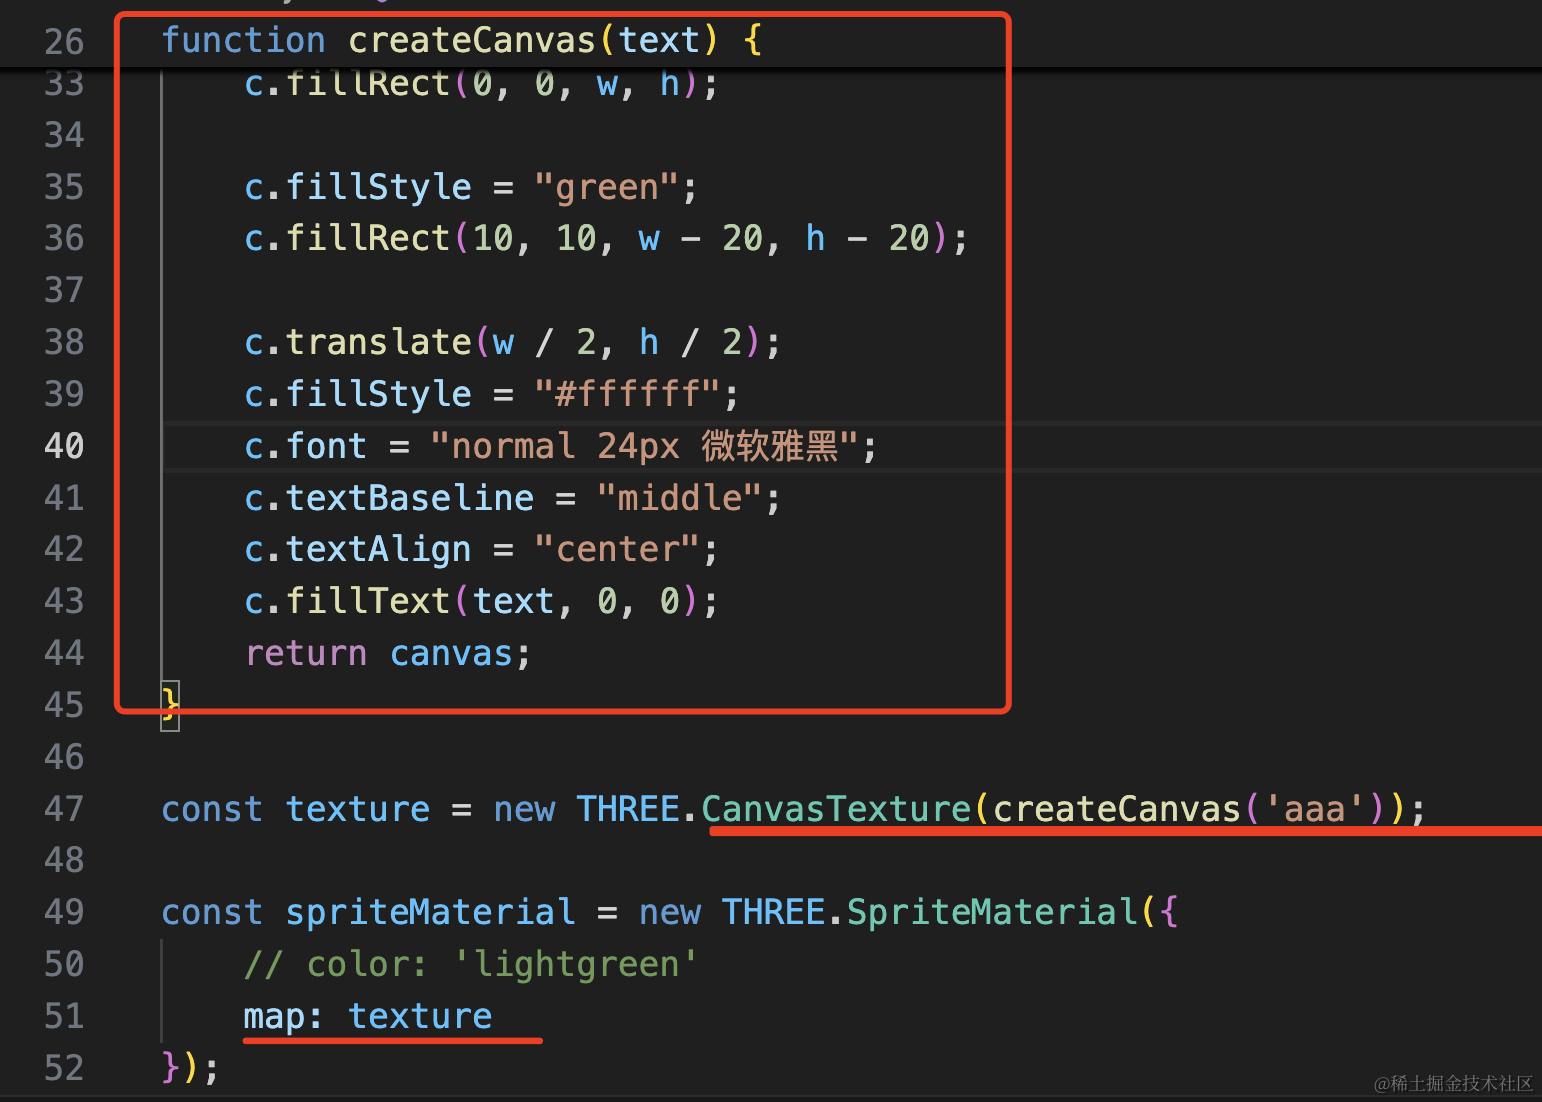
function createCanvas(text) {
    const canvas = document.createElement("canvas");
    const w = canvas.width = 80;
    const h = canvas.height = 50;

    const c = canvas.getContext('2d');
    c.fillStyle = "white";
    c.fillRect(0, 0, w, h);

    c.fillStyle = "green";
    c.fillRect(10, 10, w - 20, h - 20);

    c.translate(w / 2, h / 2);
    c.fillStyle = "#ffffff";
    c.font = "normal 24px 微软雅黑";
    c.textBaseline = "middle";
    c.textAlign = "center";
    c.fillText(text, 0, 0);
    return canvas;
}

const texture = new THREE.CanvasTexture(createCanvas('aaa'));

const spriteMaterial = new THREE.SpriteMaterial({
    // color: 'lightgreen'
    map: texture
});
创建一个 canvas 元素,用 CanvasTexture 作为 SpriteMaterial 的纹理。
canvas 画了 2 个矩形和一行文字。
看下效果:
相比 CSS2DRenderer 渲染 dom 做为标注,用 canvas + Sprite 可以绘制出各种形状的标注。
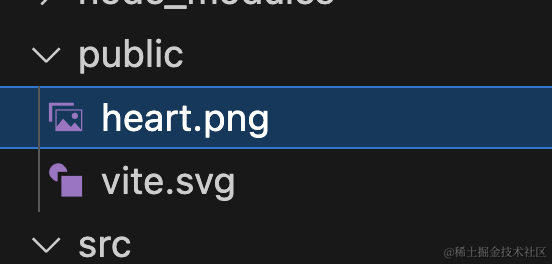
我们再用 canvas 画点更复杂的内容,比如图片:

放到 public 目录下:
然后画到 canvas 上:
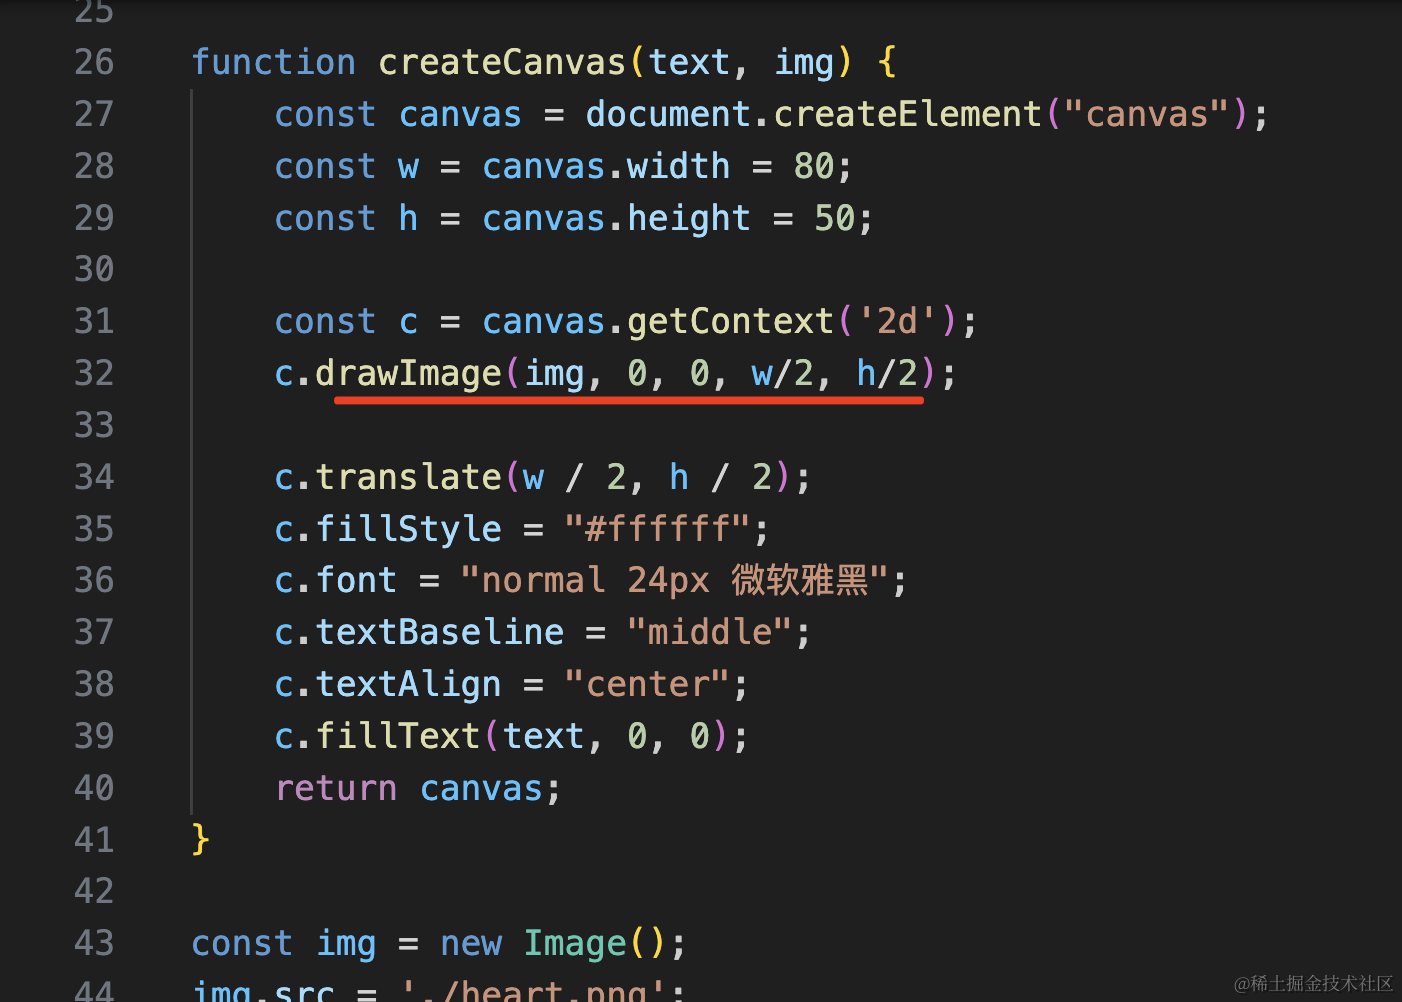
function createCanvas(text, img) {
const canvas = document.createElement("canvas");
const w = canvas.width = 80;
const h = canvas.height = 50;
const c = canvas.getContext('2d');
c.drawImage(img, 0, 0, w/2, h/2);
c.translate(w / 2, h / 2);
c.fillStyle = "#ffffff";
c.font = "normal 24px 微软雅黑";
c.textBaseline = "middle";
c.textAlign = "center";
c.fillText(text, 0, 0);
return canvas;
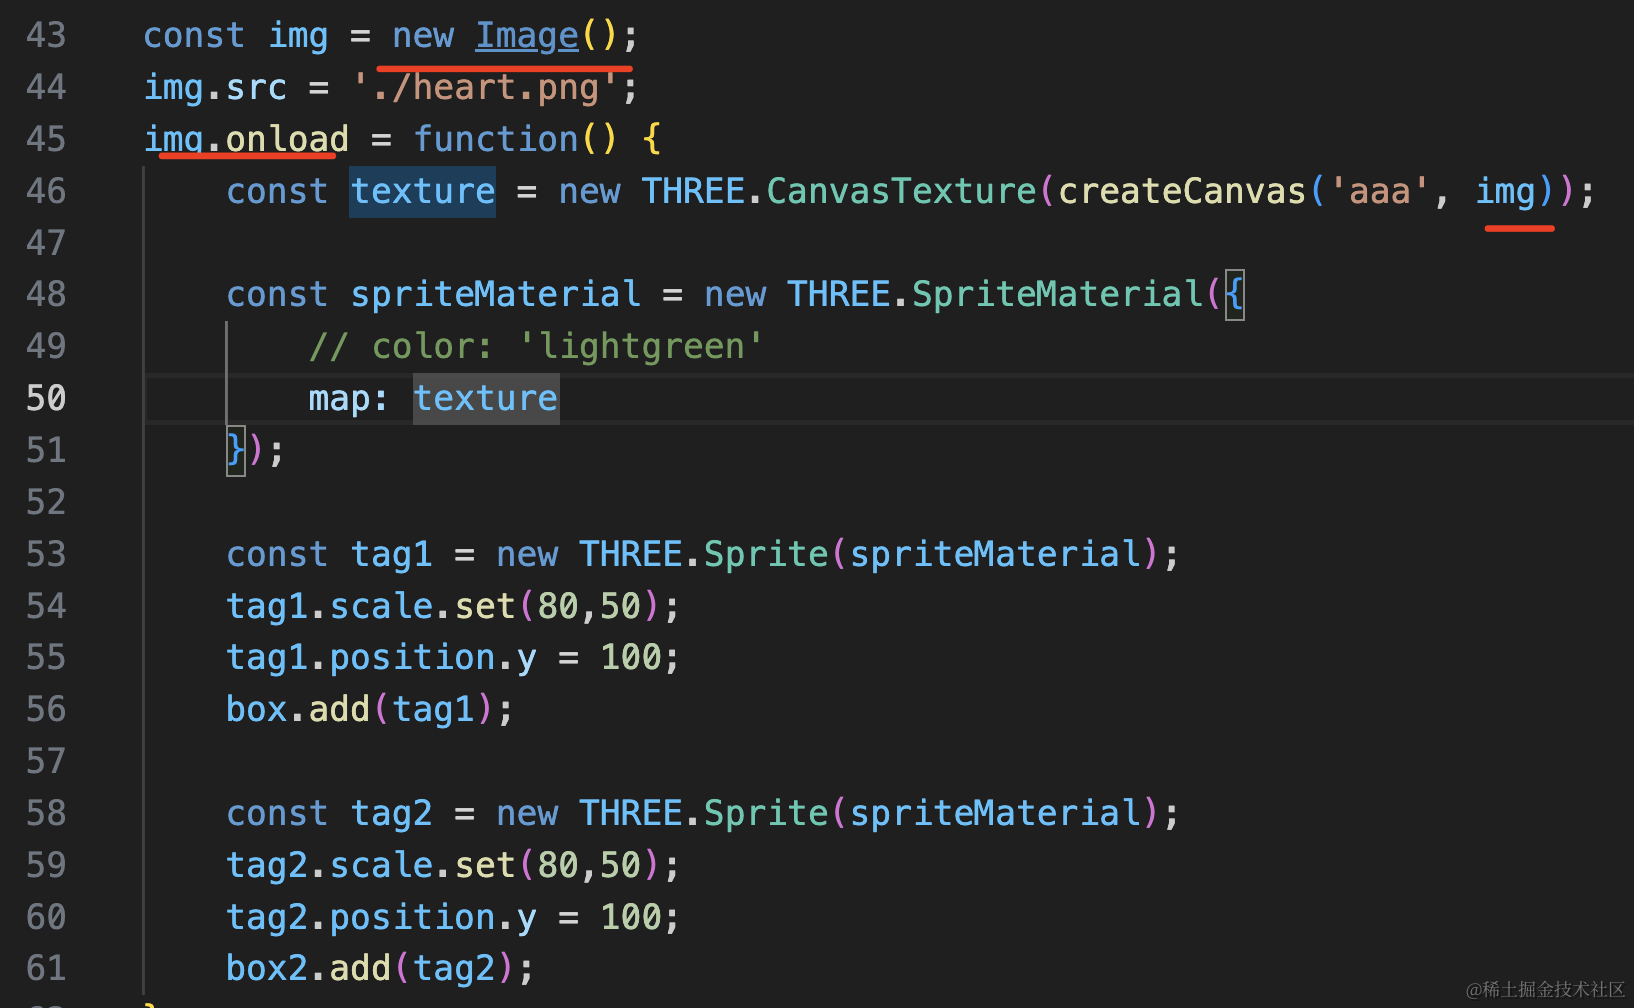
}const img = new Image();
img.src = './heart.png';
img.onload = function() {
}
这样,用 canvas 画的标注就完成了。
案例代码上传了小册仓库。
总结
这节我们学了 canvas 结合 Sprite 来做标注。
它和 CSS2DRenderer 类似,都是永远正对相机,只不过它不能渲染 dom。
但 Sprite 可以随 3D 物体放缩,CSS2DRenderer 不可以。
它做标注一般是结合 canvas 来用,canvas 画出各种内容,然后用 CanvasTexture 作为 Sprite 的纹理,这样可以画出各种标注图案。
做标注的三种方案,在特定场景下都有各自的应用,根据需求灵活选用。