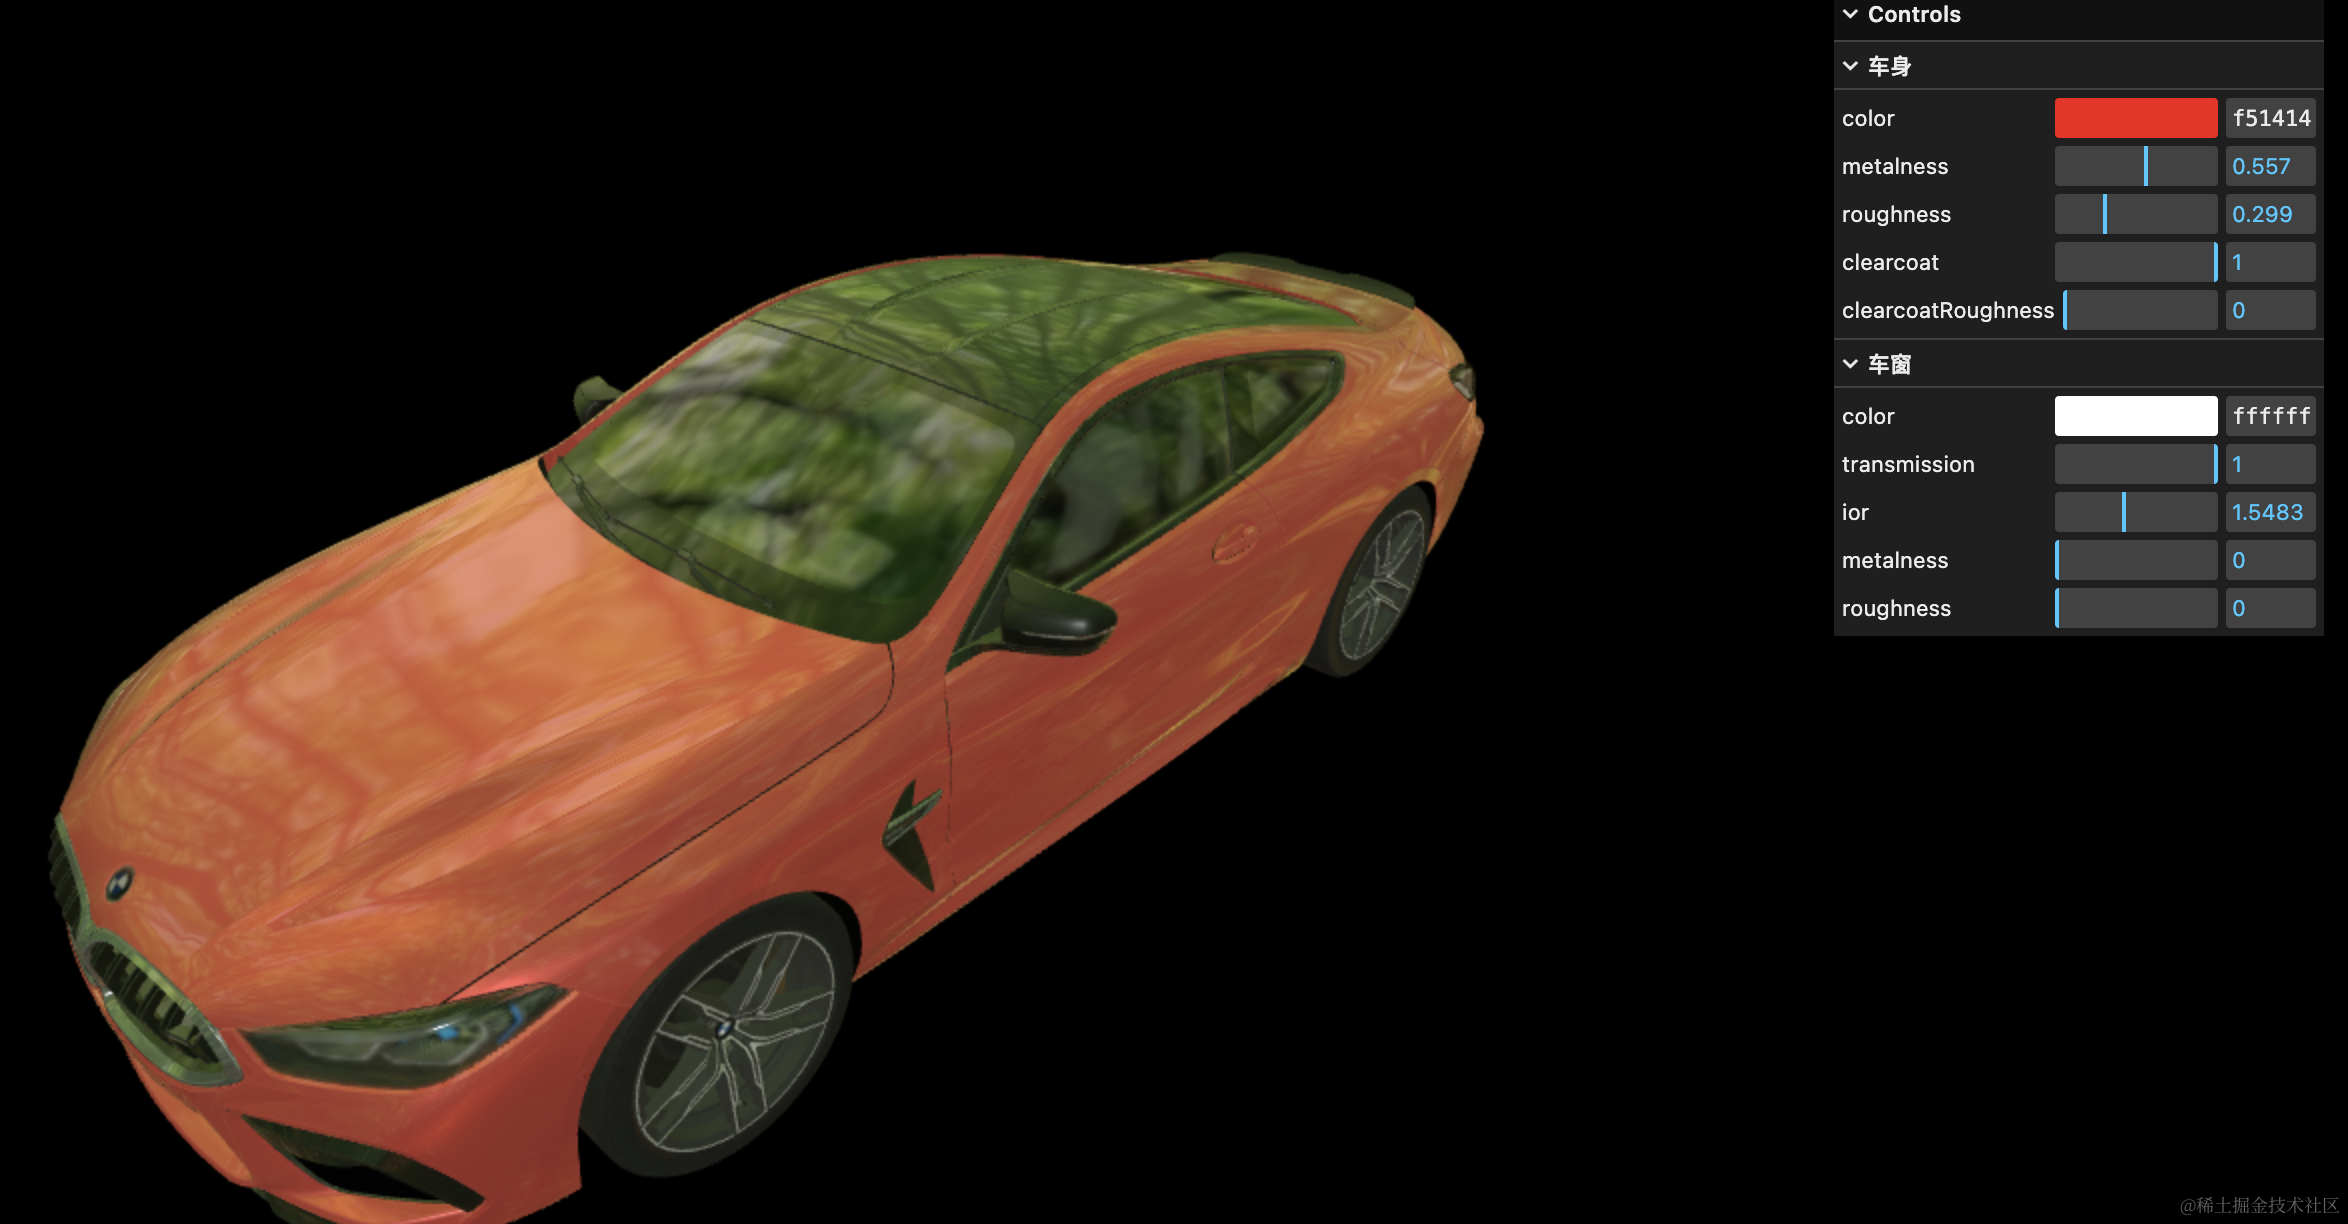
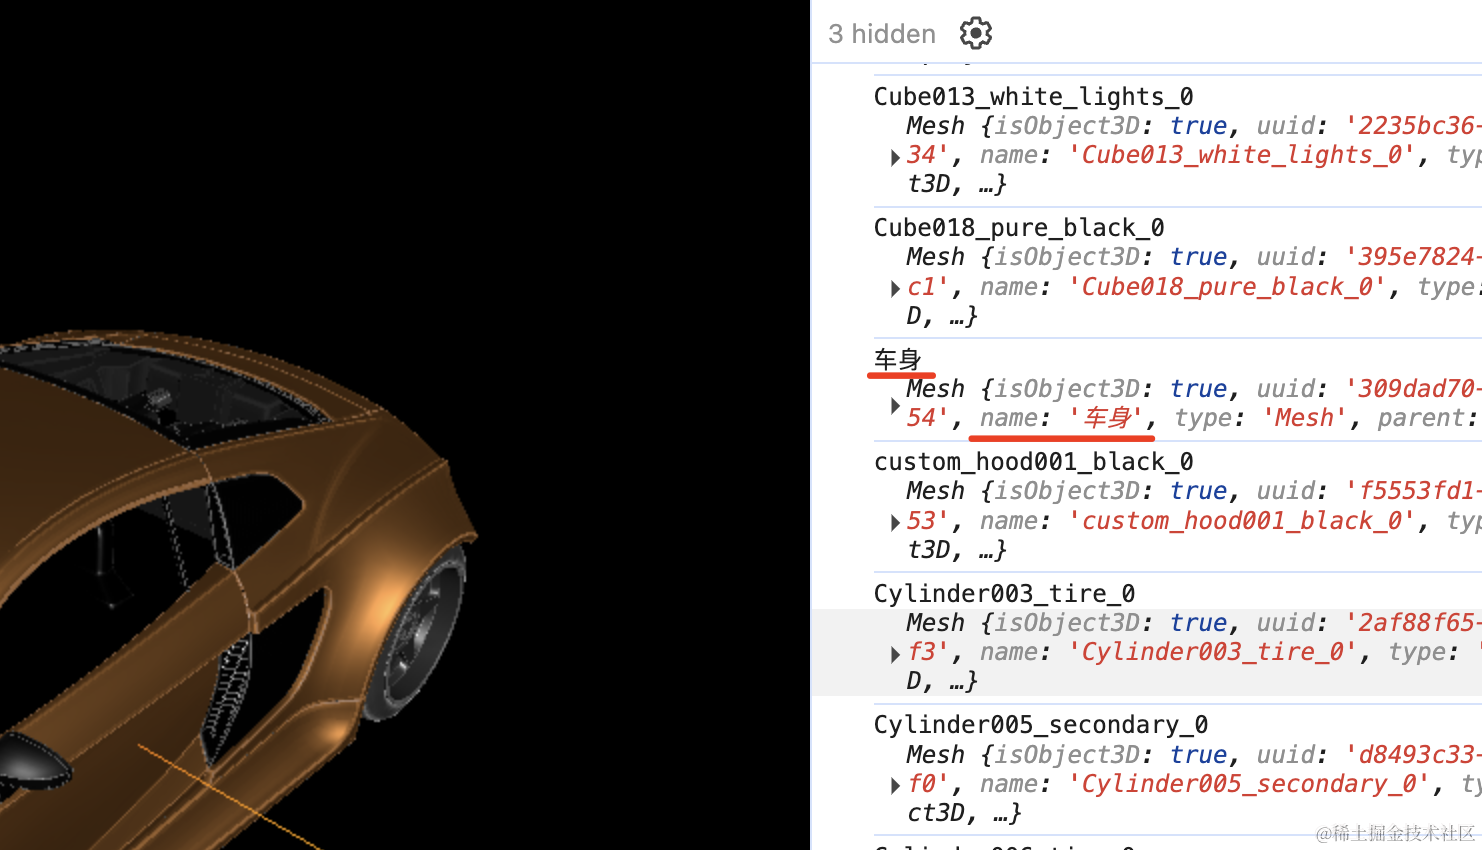
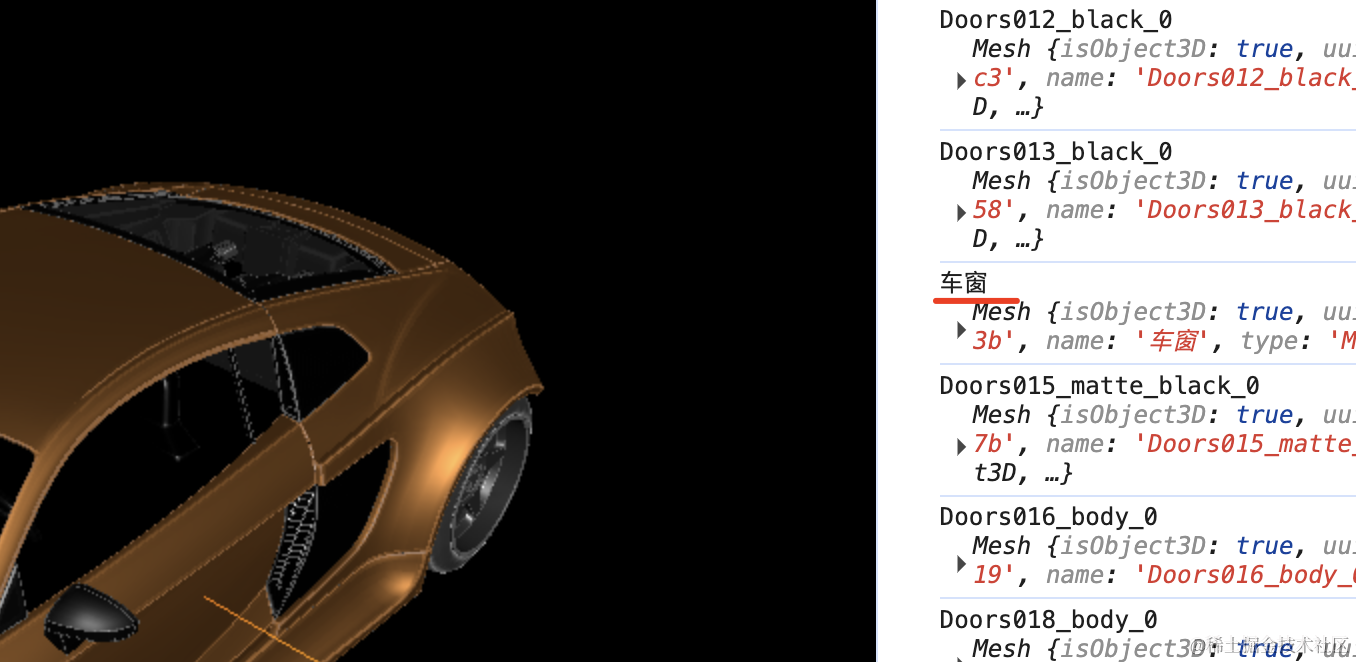
上节练习 PBR 材质的时候,我们用了一辆汽车的模型:
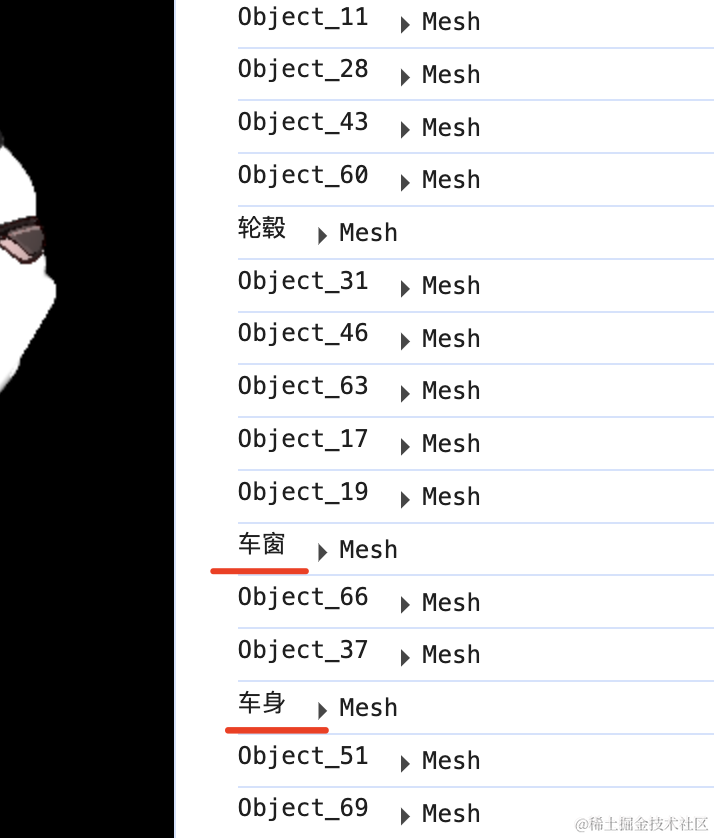
它有很多 mesh,其中车身、车窗两个 mesh 的名字明显是修改过的:
那从哪里搜索模型,又如何编辑模型中某个部分的名字呢?
首先,搜索模型我是从 sketchfab.com 这个网站:
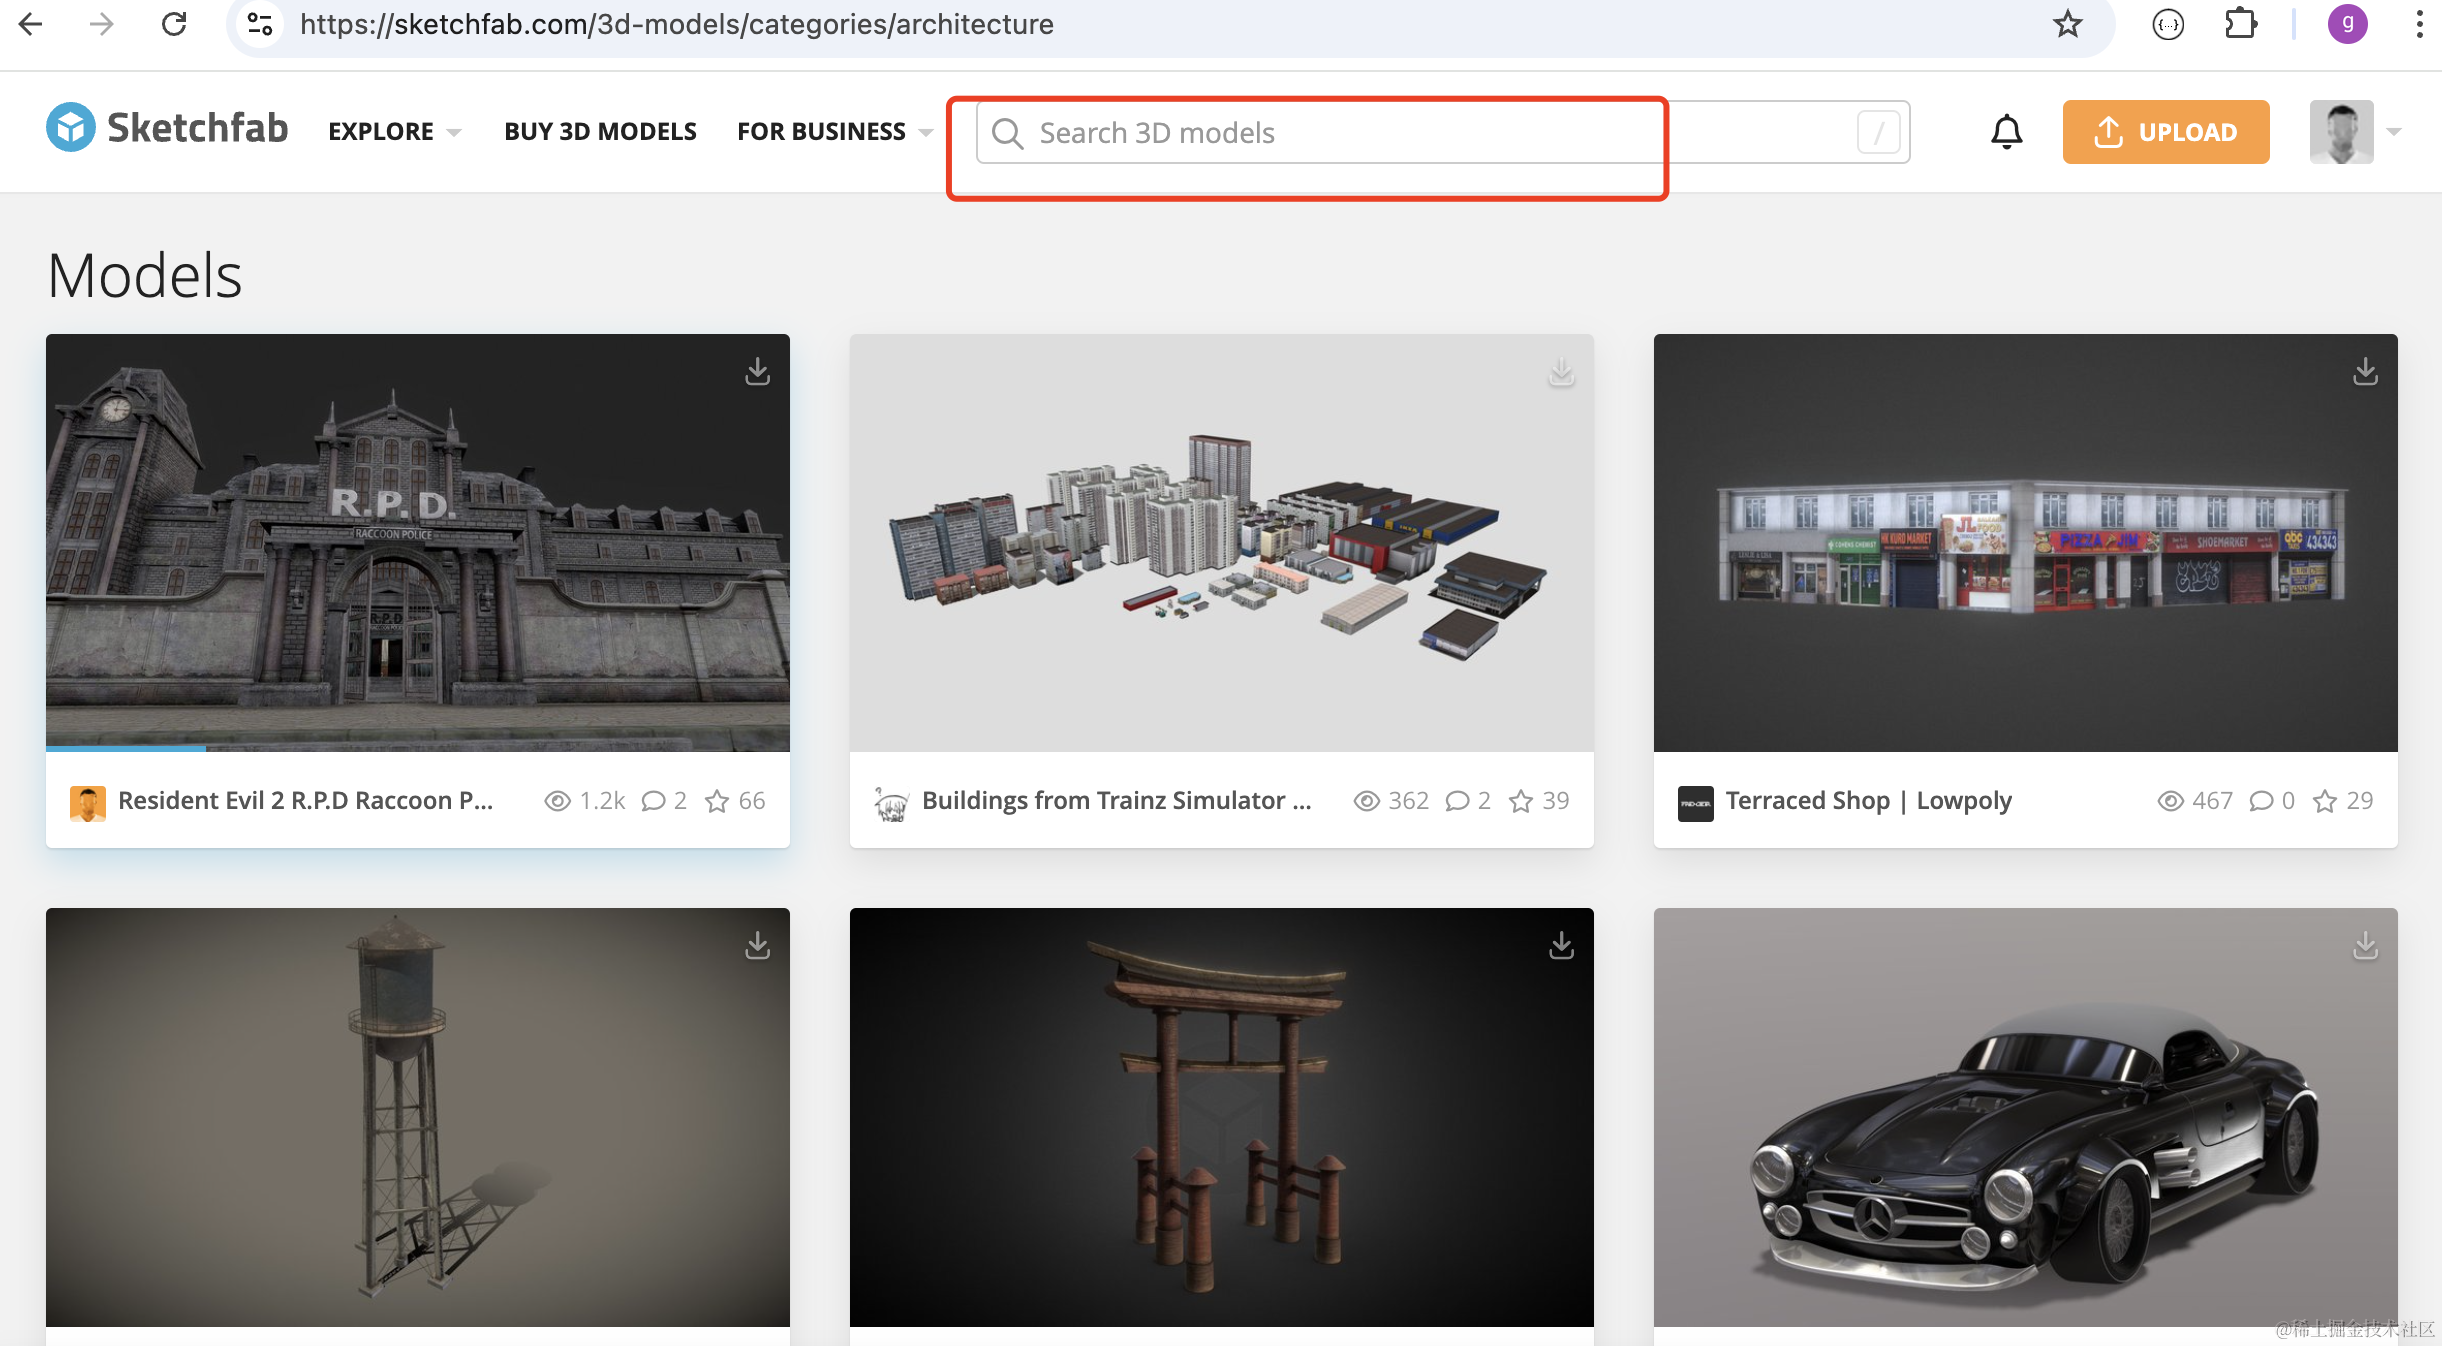
比如搜索 car audi:
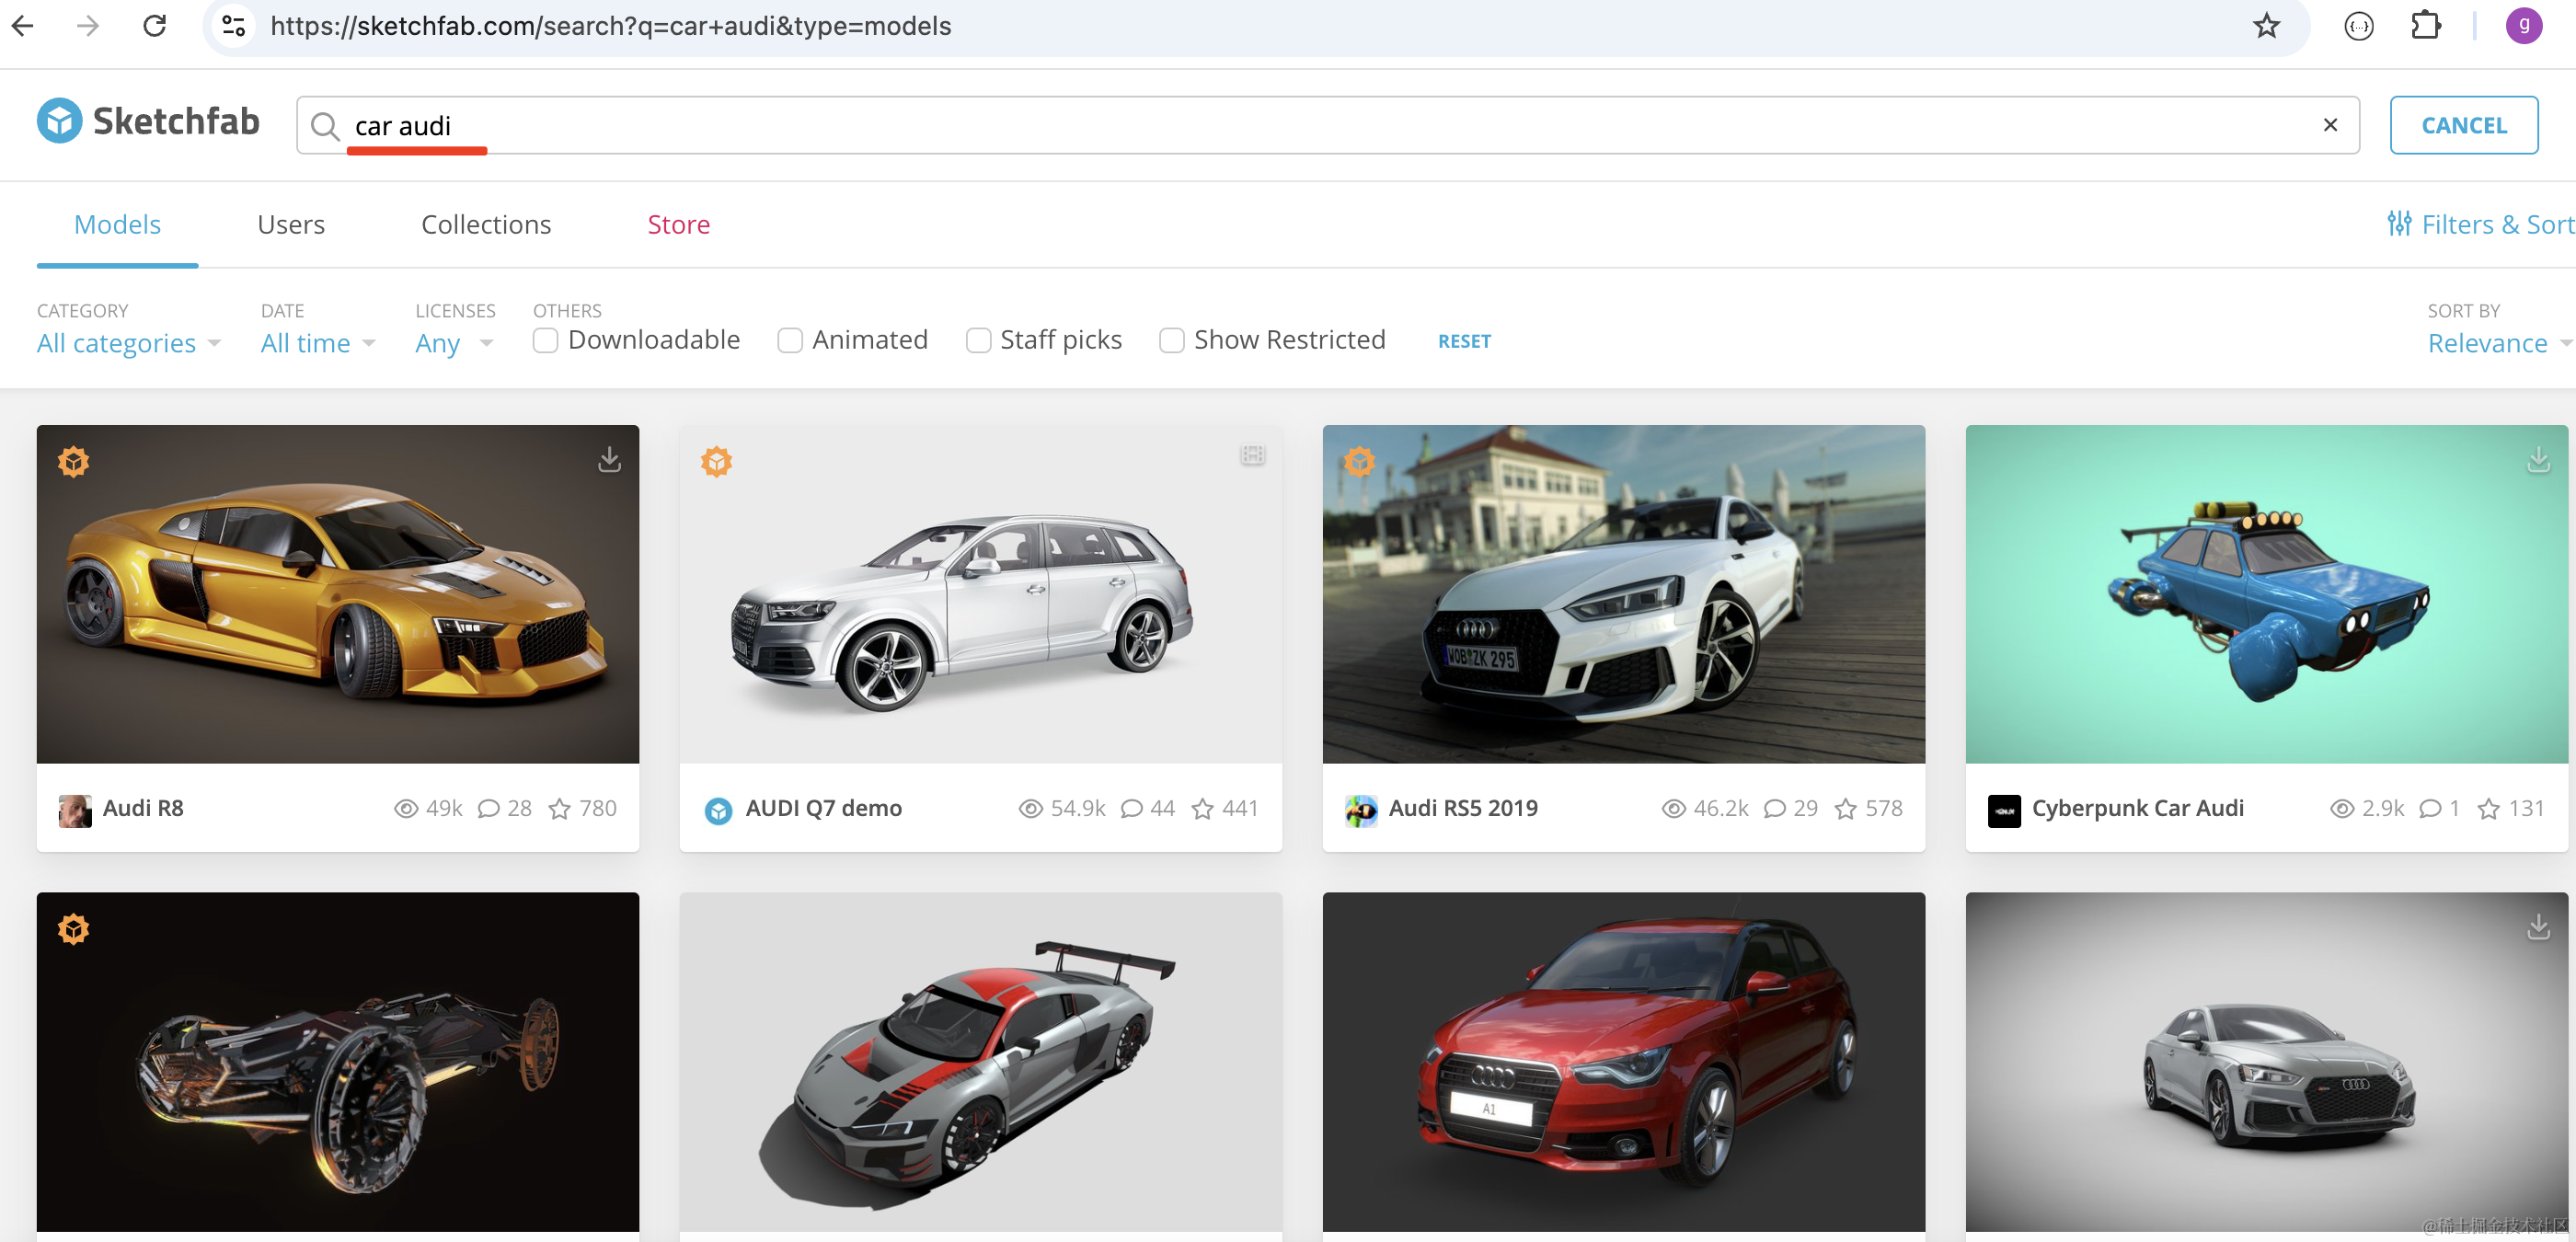
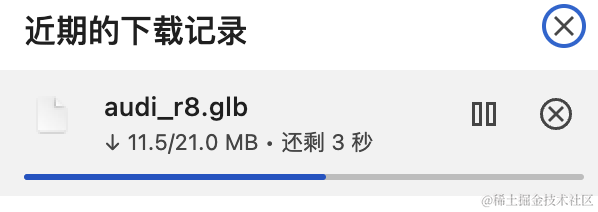
我们下载第一个模型:

https://sketchfab.com/3d-models/audi-r8-e17e438f076f4427a58d93aa779edaed
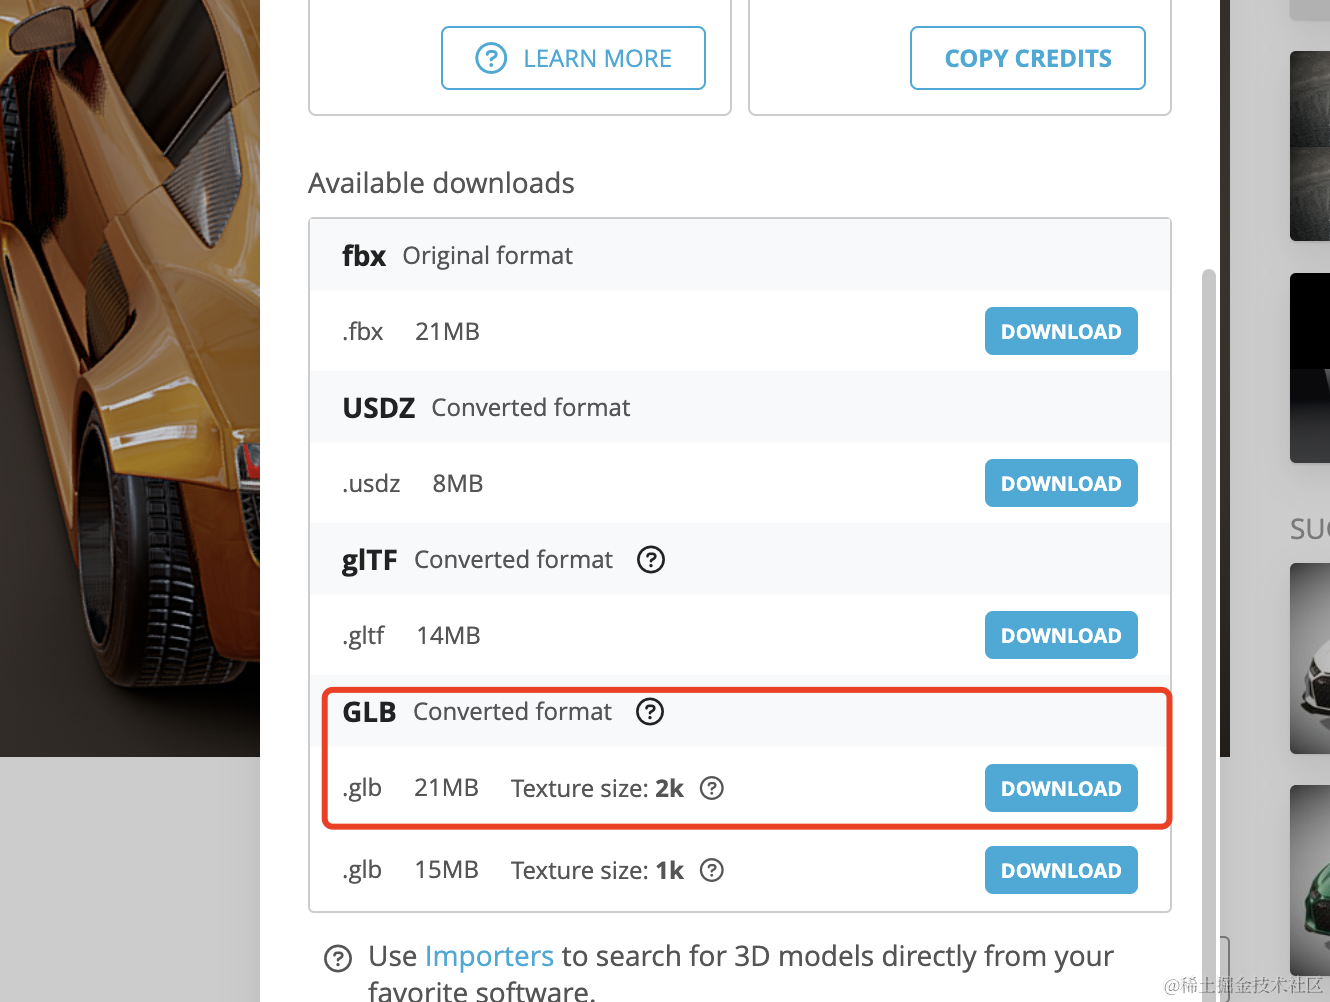
可以选择格式,我们下载 glb 格式:
然后我们创建个项目把它渲染出来:
npx create-vite model-download-edit
进入项目,安装依赖:
npm install
npm install --save three
npm install --save-dev @types/three
改下 src/main.js
import './style.css';
import * as THREE from 'three';
import {
    OrbitControls
} from 'three/addons/controls/OrbitControls.js';
import mesh from './mesh.js';

const scene = new THREE.Scene();

scene.add(mesh);

const directionLight = new THREE.DirectionalLight(0xffffff, 10);
directionLight.position.set(100, 100, 100);
scene.add(directionLight);

const ambientLight = new THREE.AmbientLight();
scene.add(ambientLight);

const helper = new THREE.AxesHelper(100);
scene.add(helper);

const width = window.innerWidth;
const height = window.innerHeight;

const camera = new THREE.PerspectiveCamera(60, width / height, 0.1, 10000);
camera.position.set(100, 100, 100);
camera.lookAt(0, 0, 0);

const renderer = new THREE.WebGLRenderer();
renderer.setSize(width, height)

function render() {
    renderer.render(scene, camera);
    requestAnimationFrame(render);
}

render();

document.body.append(renderer.domElement);

const controls = new OrbitControls(camera, renderer.domElement);

window.onresize = function () {
    const width = window.innerWidth;
    const height = window.innerHeight;

    renderer.setSize(width,height);

    camera.aspect = width / height;
    camera.updateProjectionMatrix();
};
创建 Scene、Light、Camera、Renderer。
改下 style.css
body {
  margin: 0;
}
写下 mesh.js
import * as THREE from 'three';
import { GLTFLoader } from 'three/addons/loaders/GLTFLoader.js';
const loader = new GLTFLoader();
const mesh = new THREE.Group();
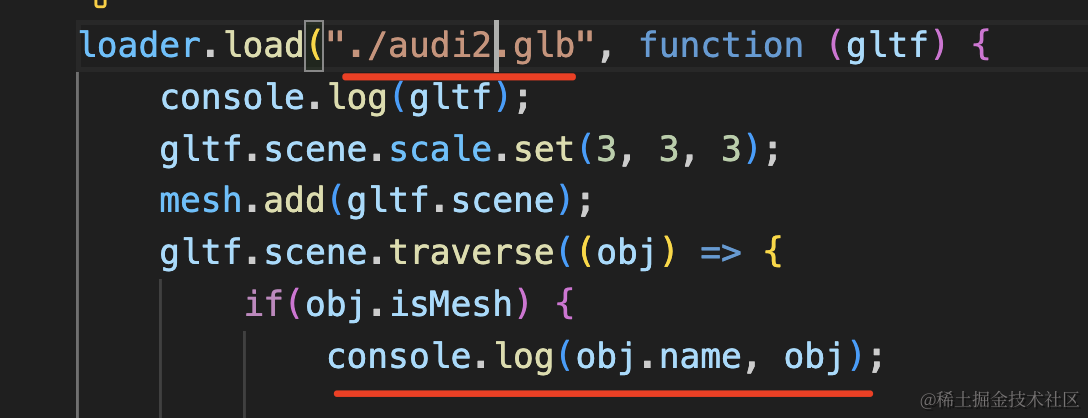
loader.load("./car.glb", function (gltf) {
console.log(gltf);
mesh.add(gltf.scene);
gltf.scene.traverse((obj) => {
if(obj.isMesh) {
console.log(obj.name, obj);
}
});
});
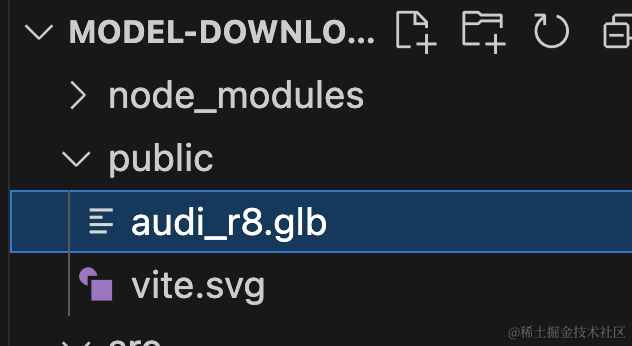
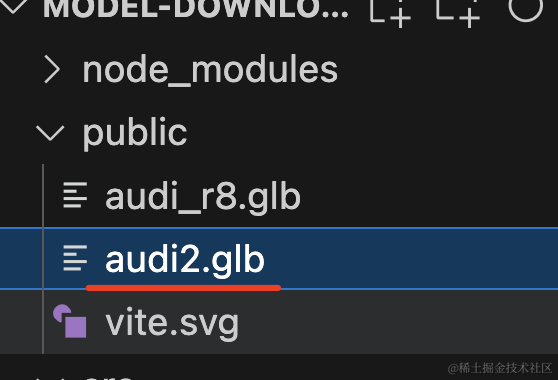
export default mesh;把刚才的模型放到 public 目录下:
跑一下:
npm run dev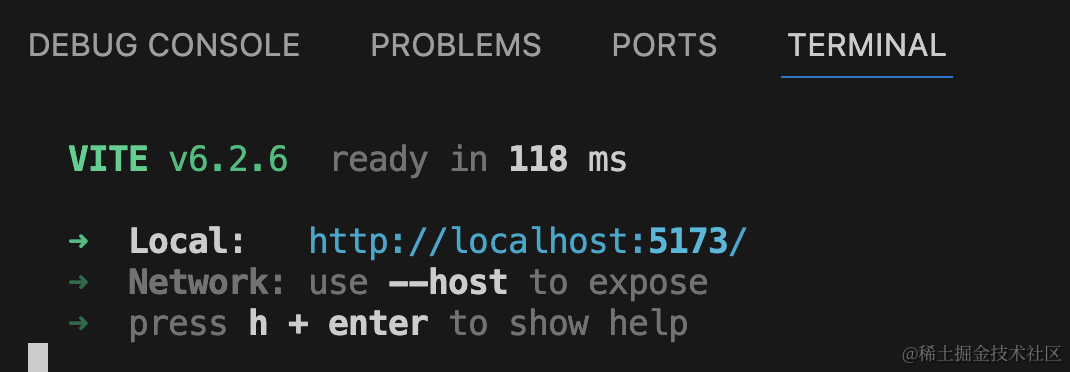
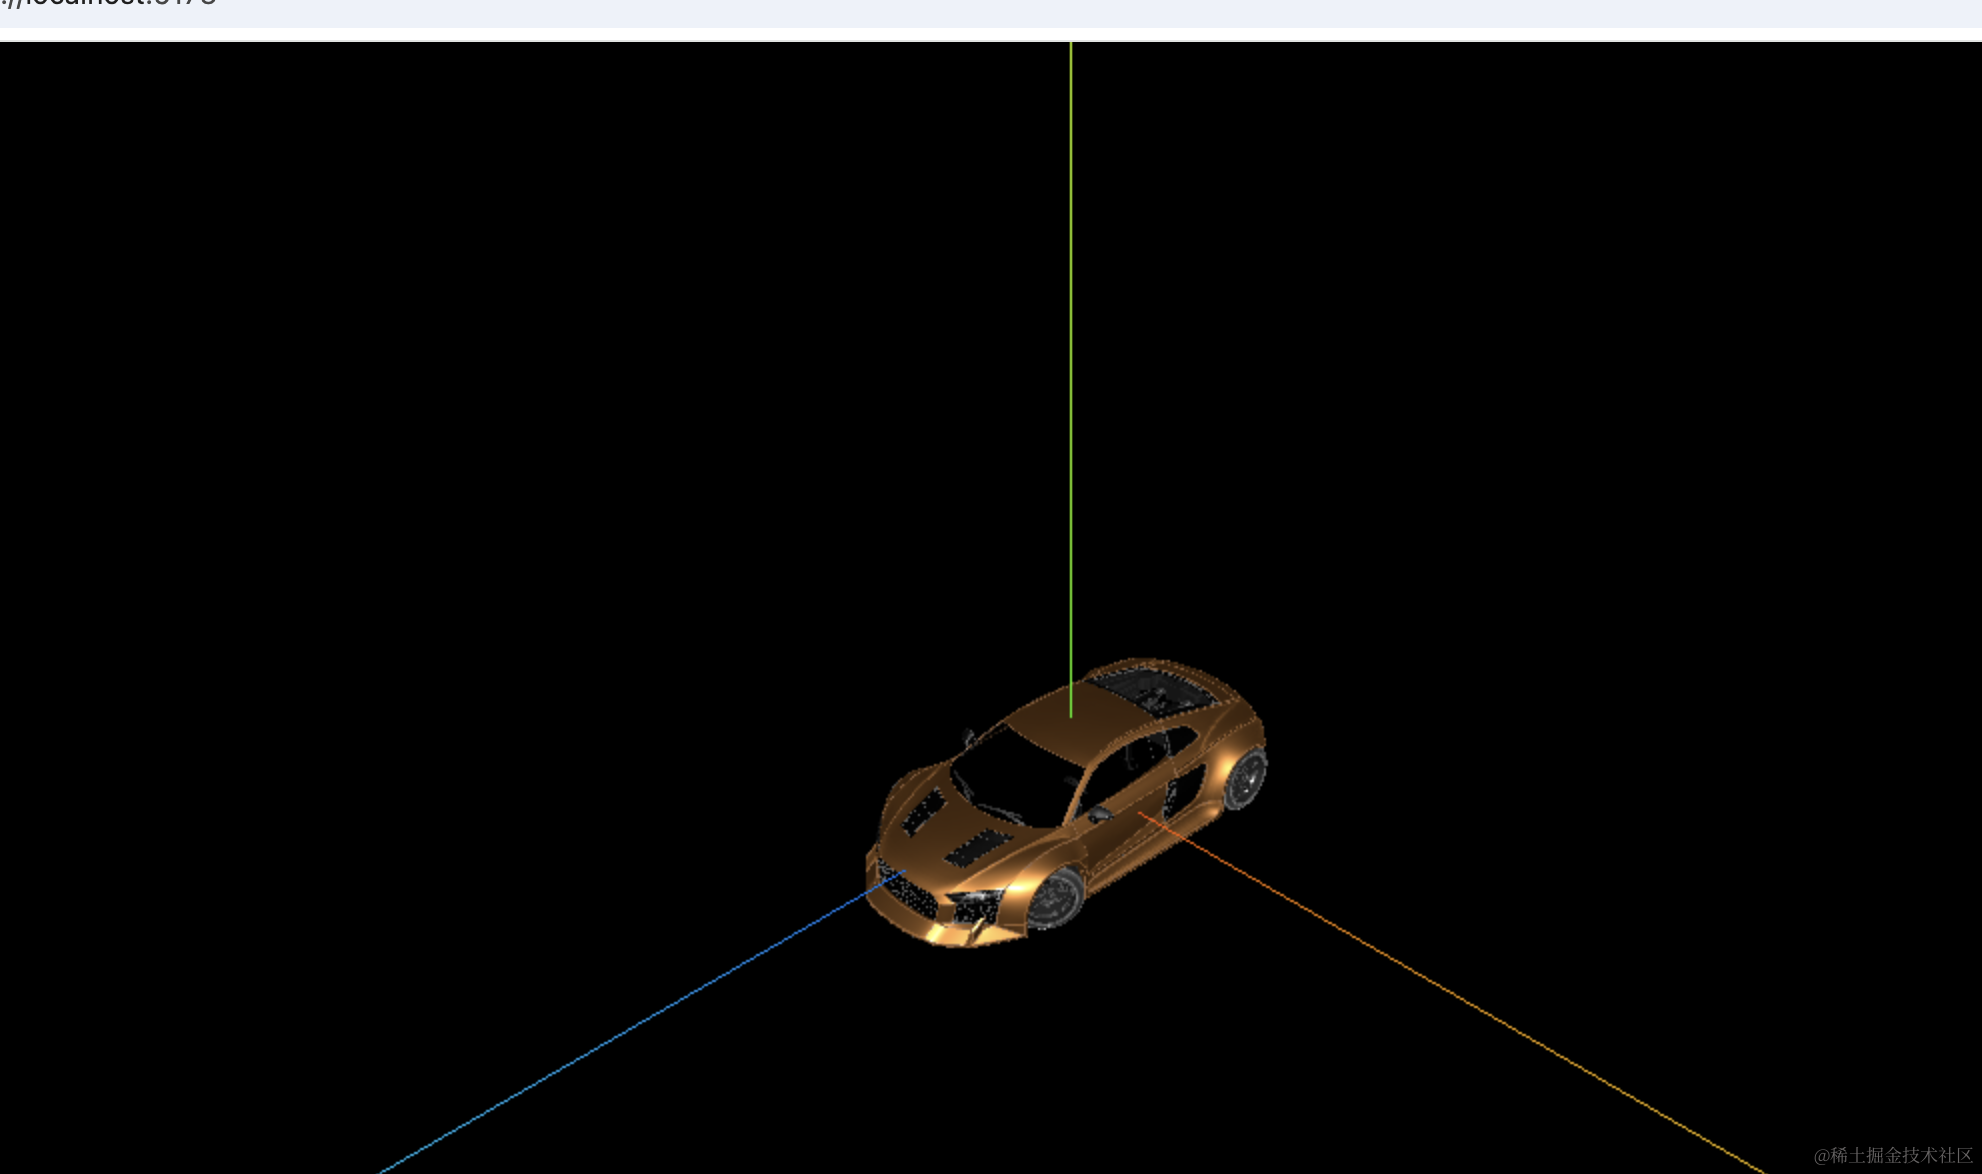
有点小,我们放大三倍:
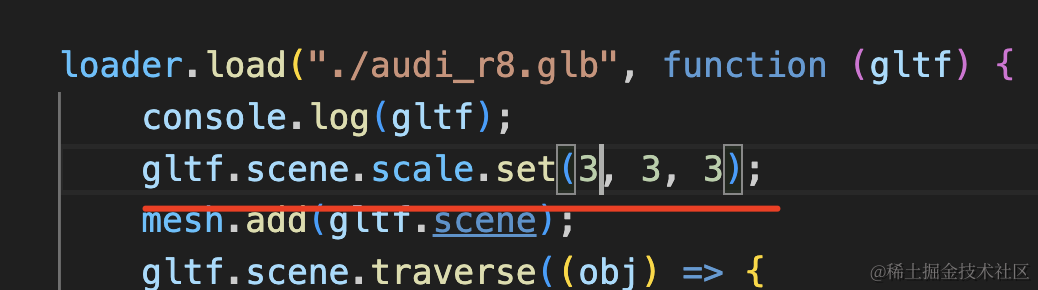
gltf.scene.scale.set(3, 3, 3);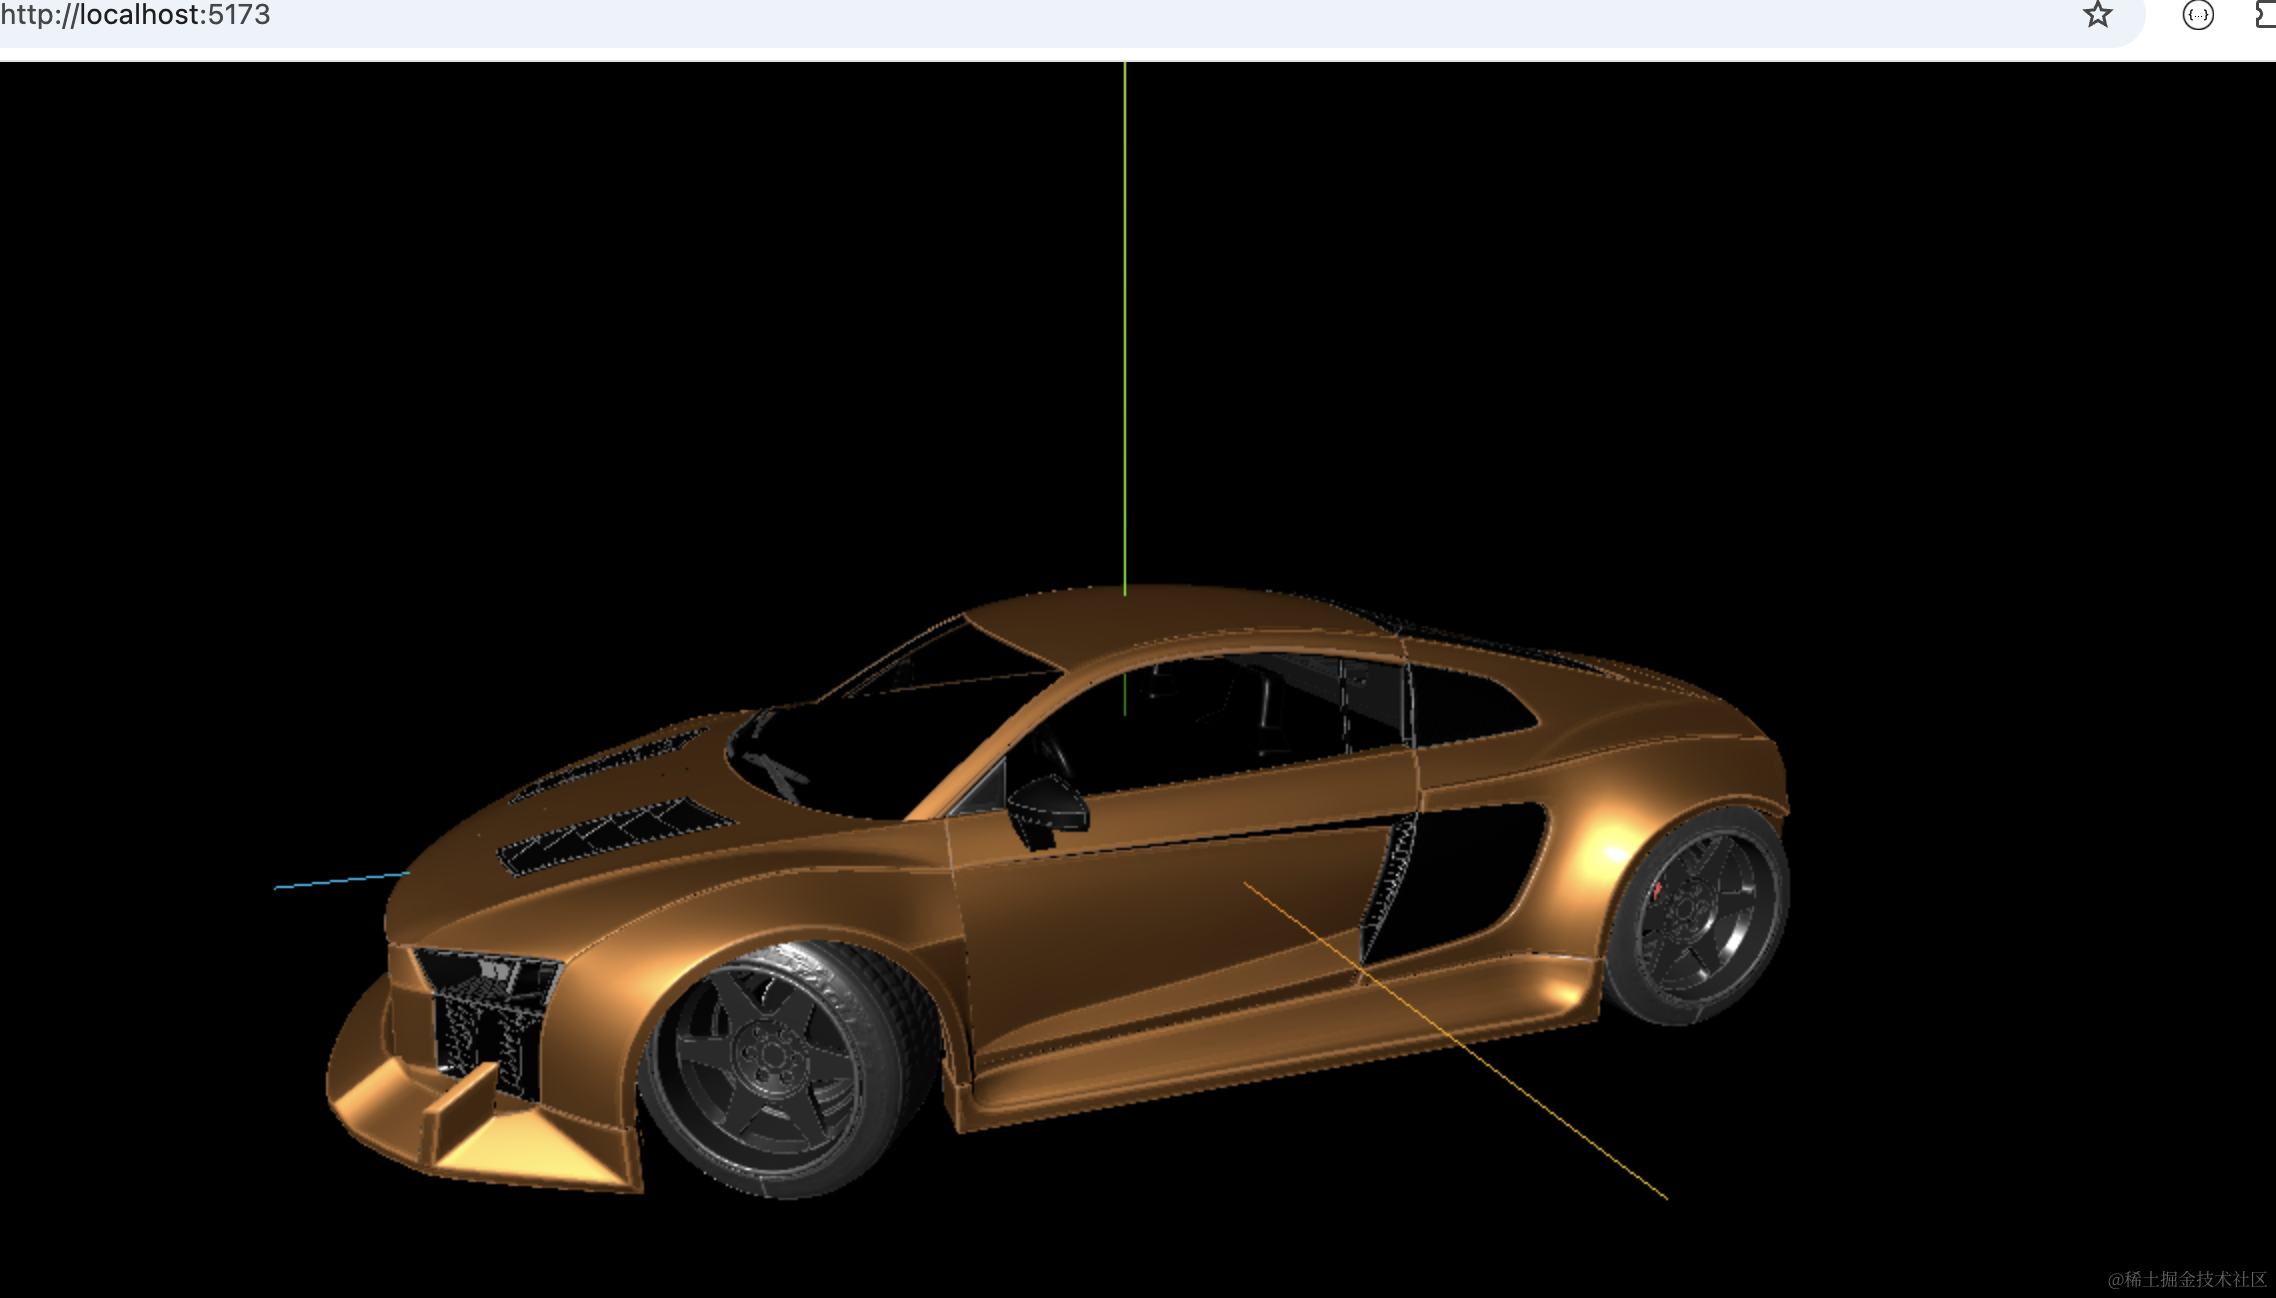
打开 devtools 看下:
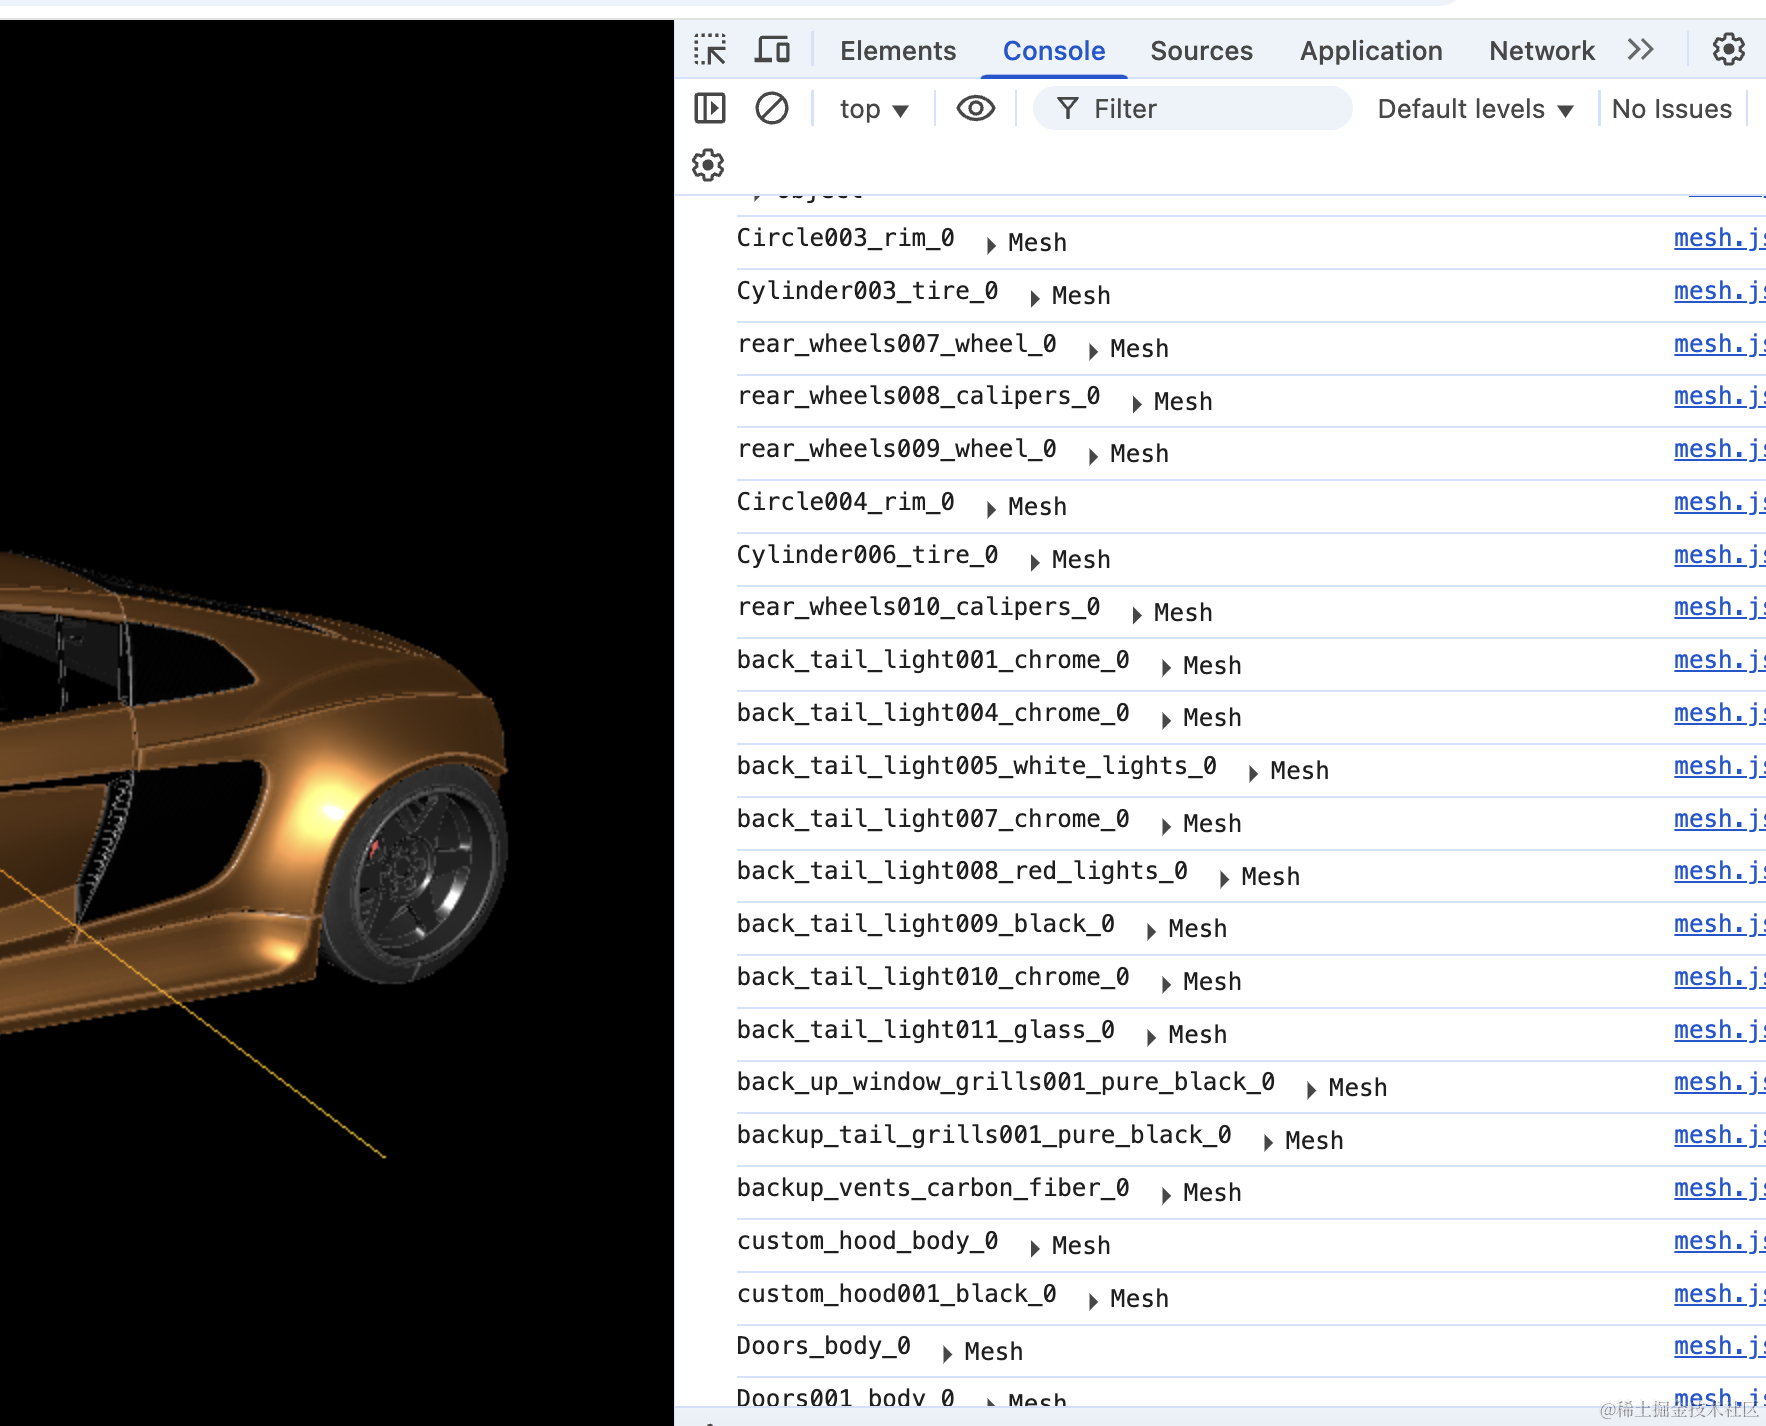
还是一堆 mesh,名字看不出是啥部件来。
那咋办呢?
可以用 blender 来找车身和车窗。
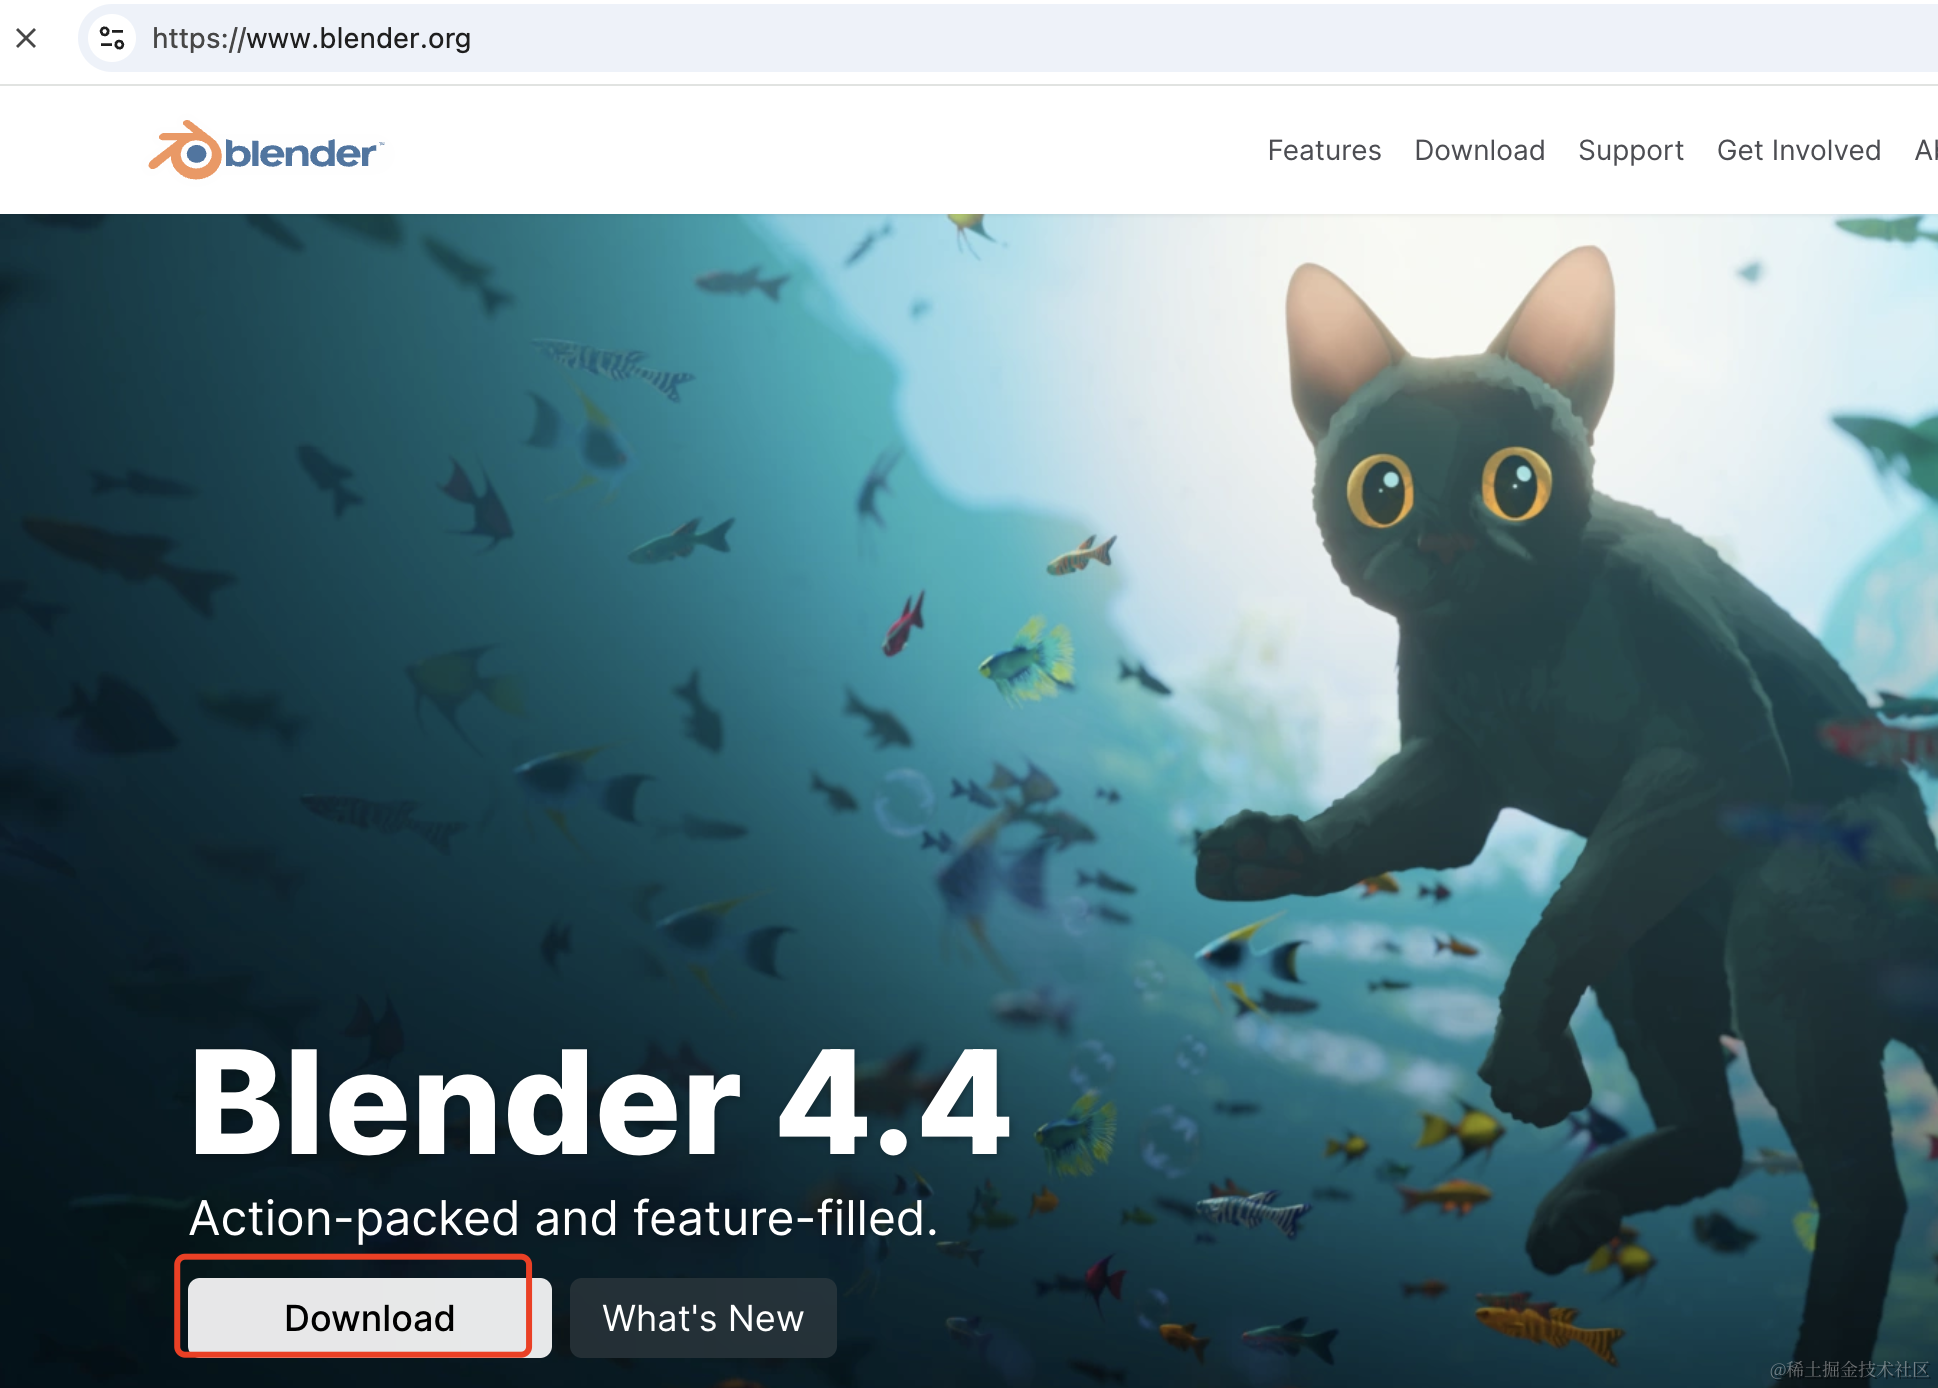
下载安装后,打开 blender:
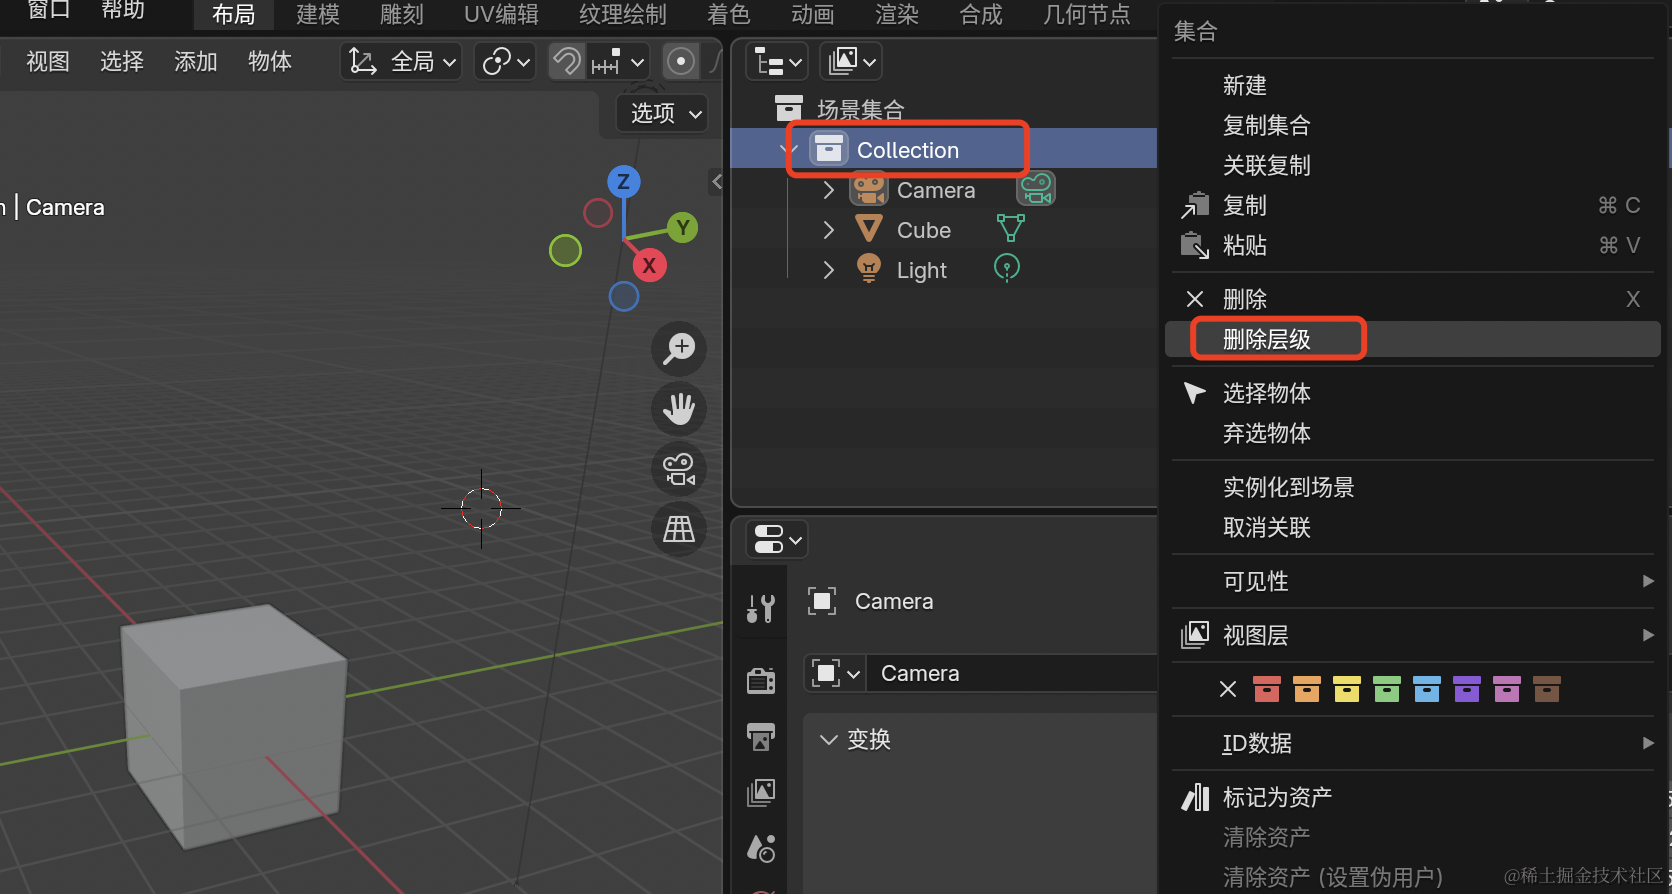
现在这个立方体删掉,右键点击删除层级。
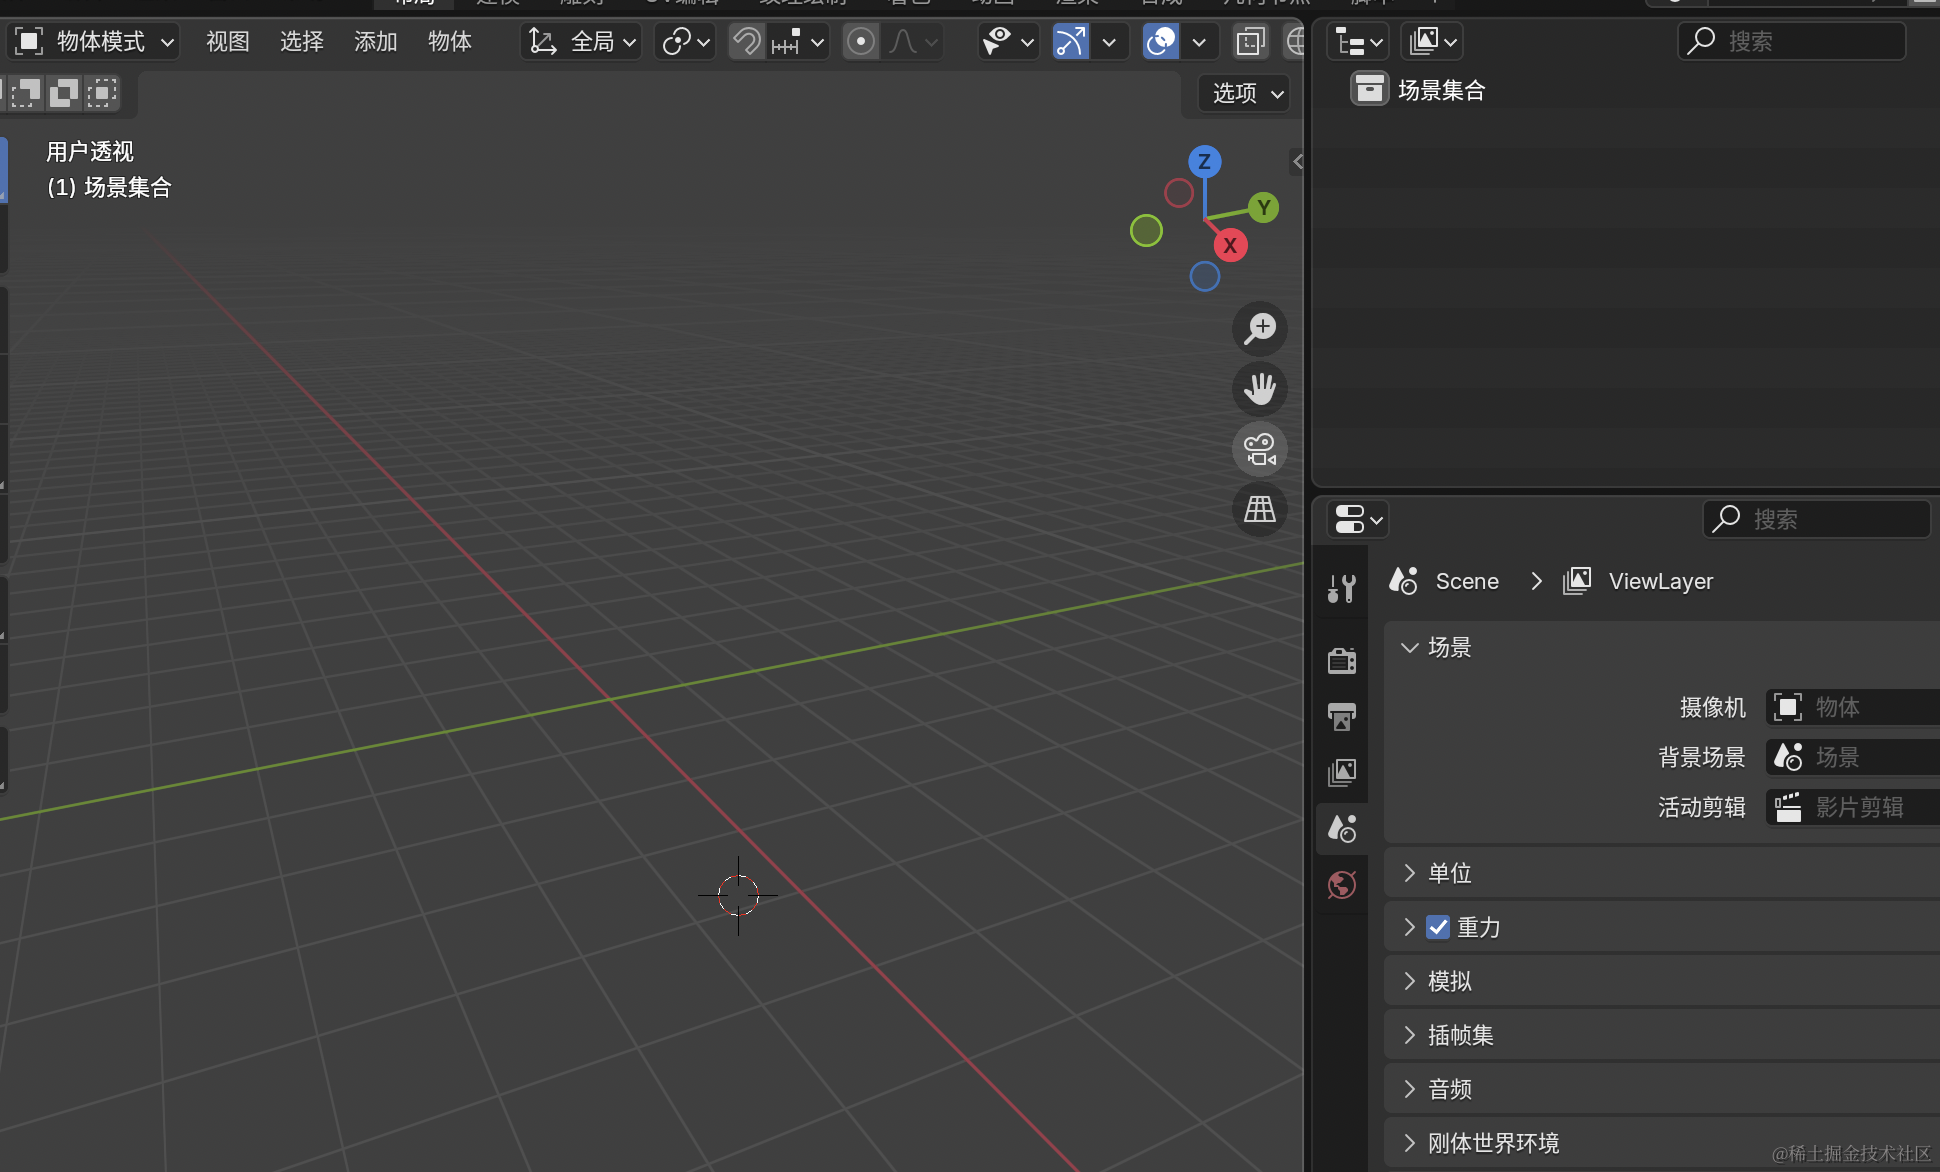
然后把那个 glb 模型拖进来:
右边可以看到这个车的所有部件,比在 threejs 里遍历打印方便多了:
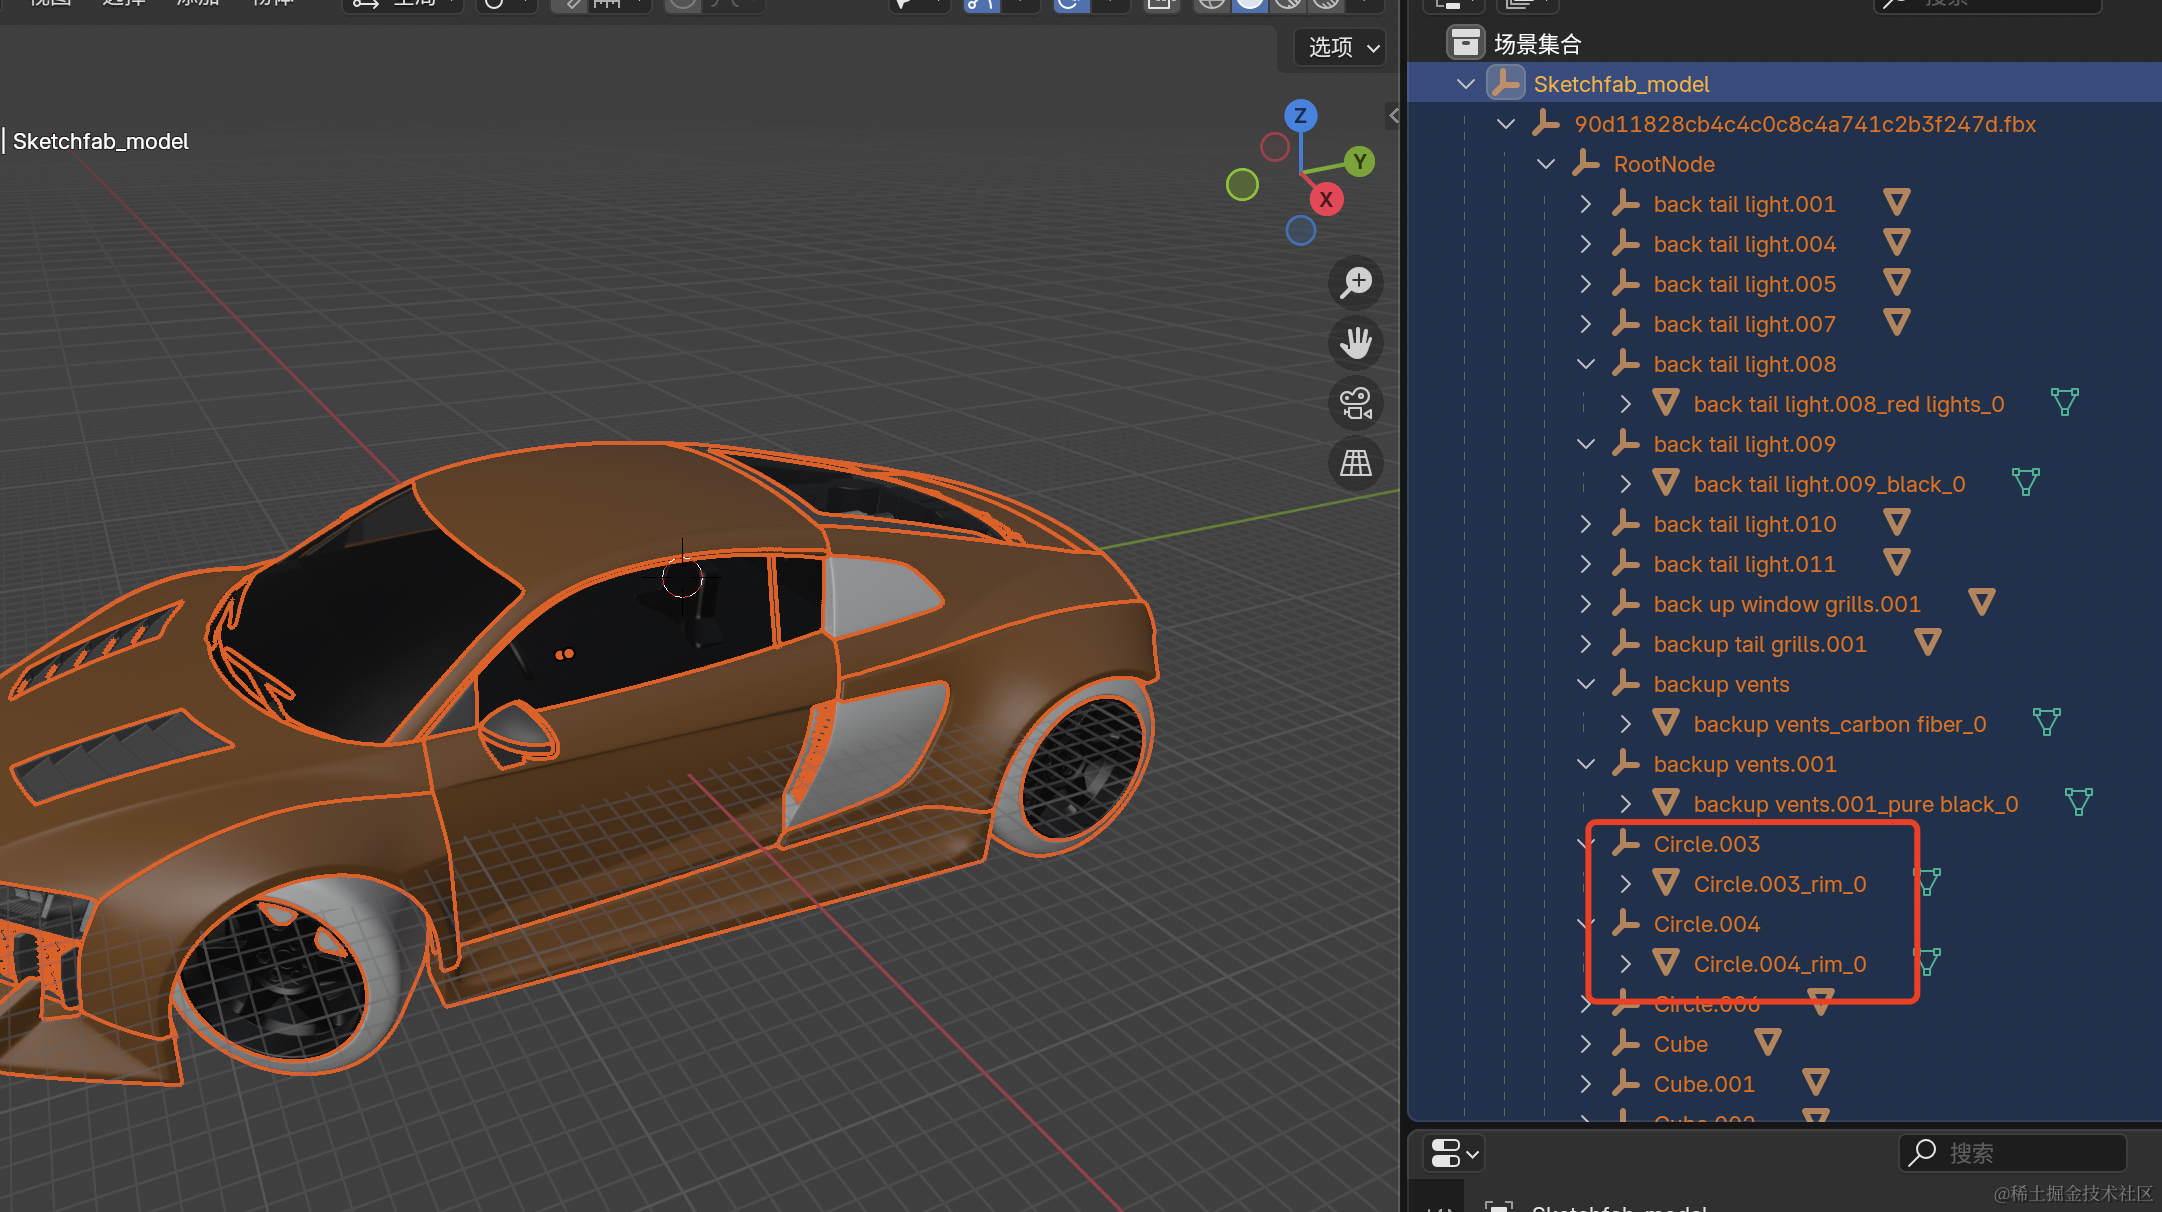
可以看到一个个 Group 下面的对象。
当然,你可能觉得现在的车看起来和在 sketchfab 上的效果不一样,是不是丢失了啥东西?
不是,只是渲染方式不一样。
点击右上角这个按钮,切换视图着色方式为预览模式:
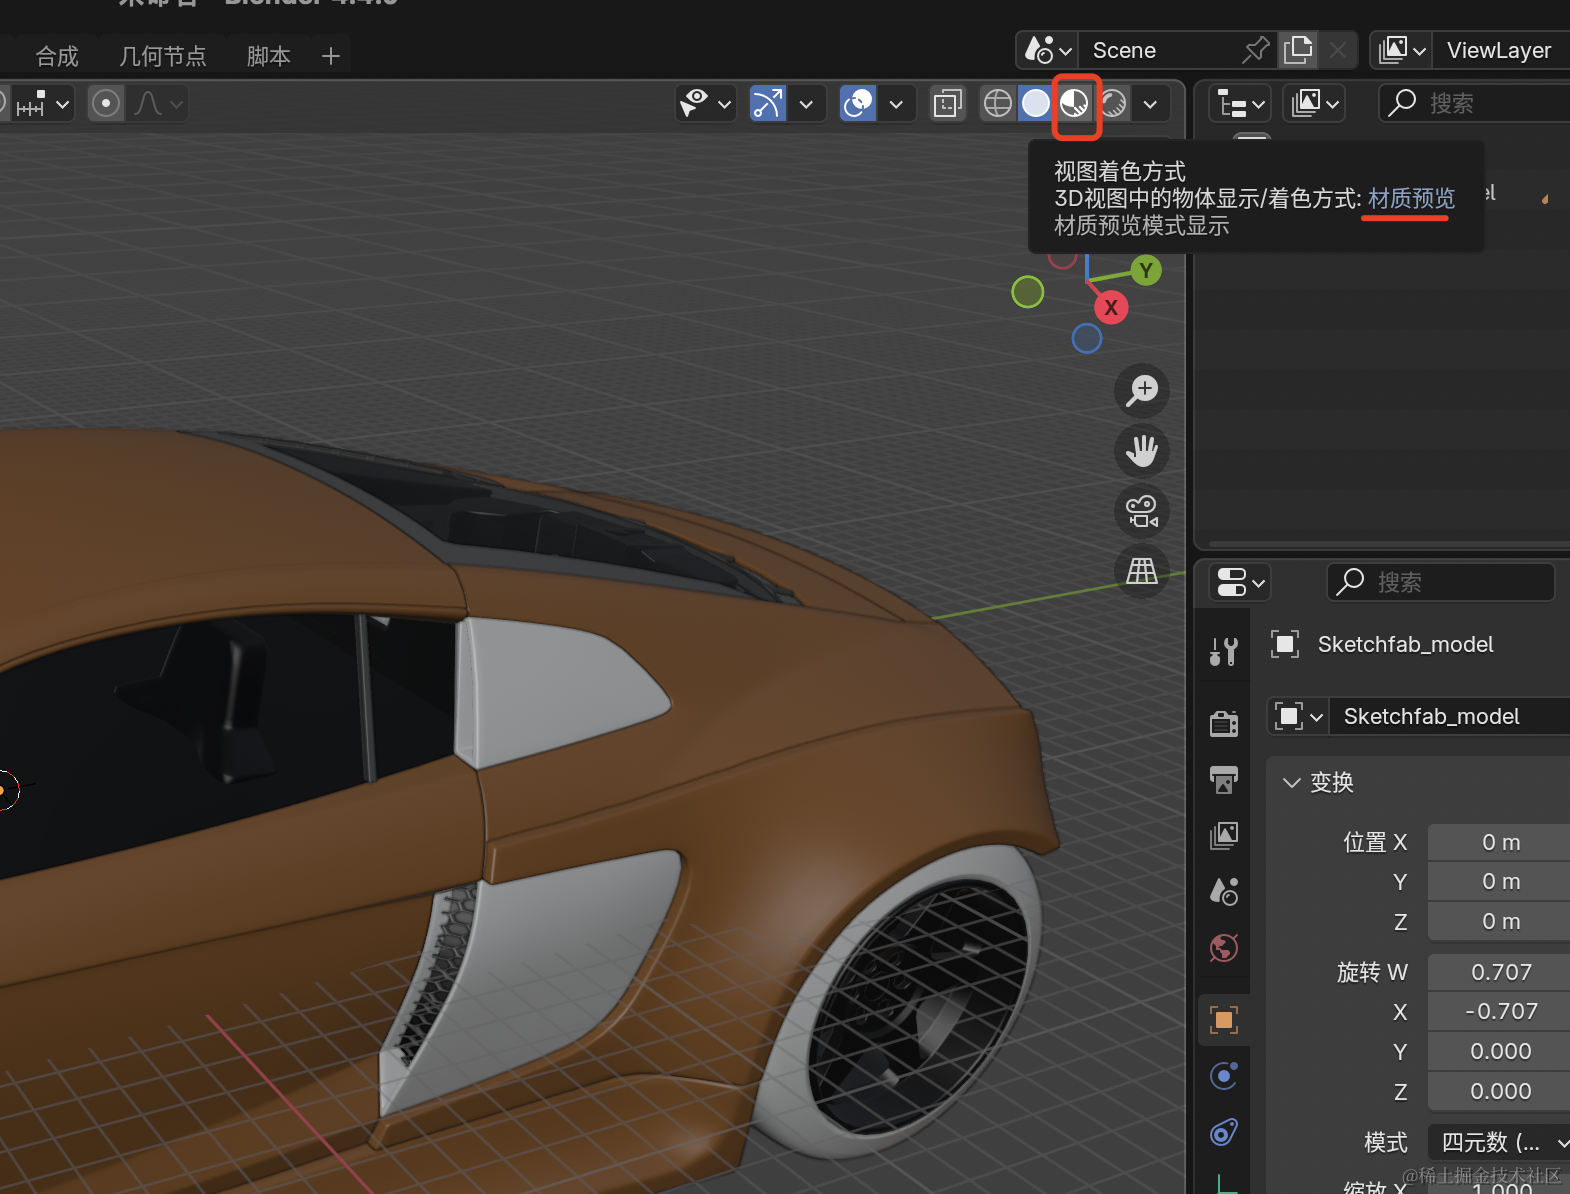
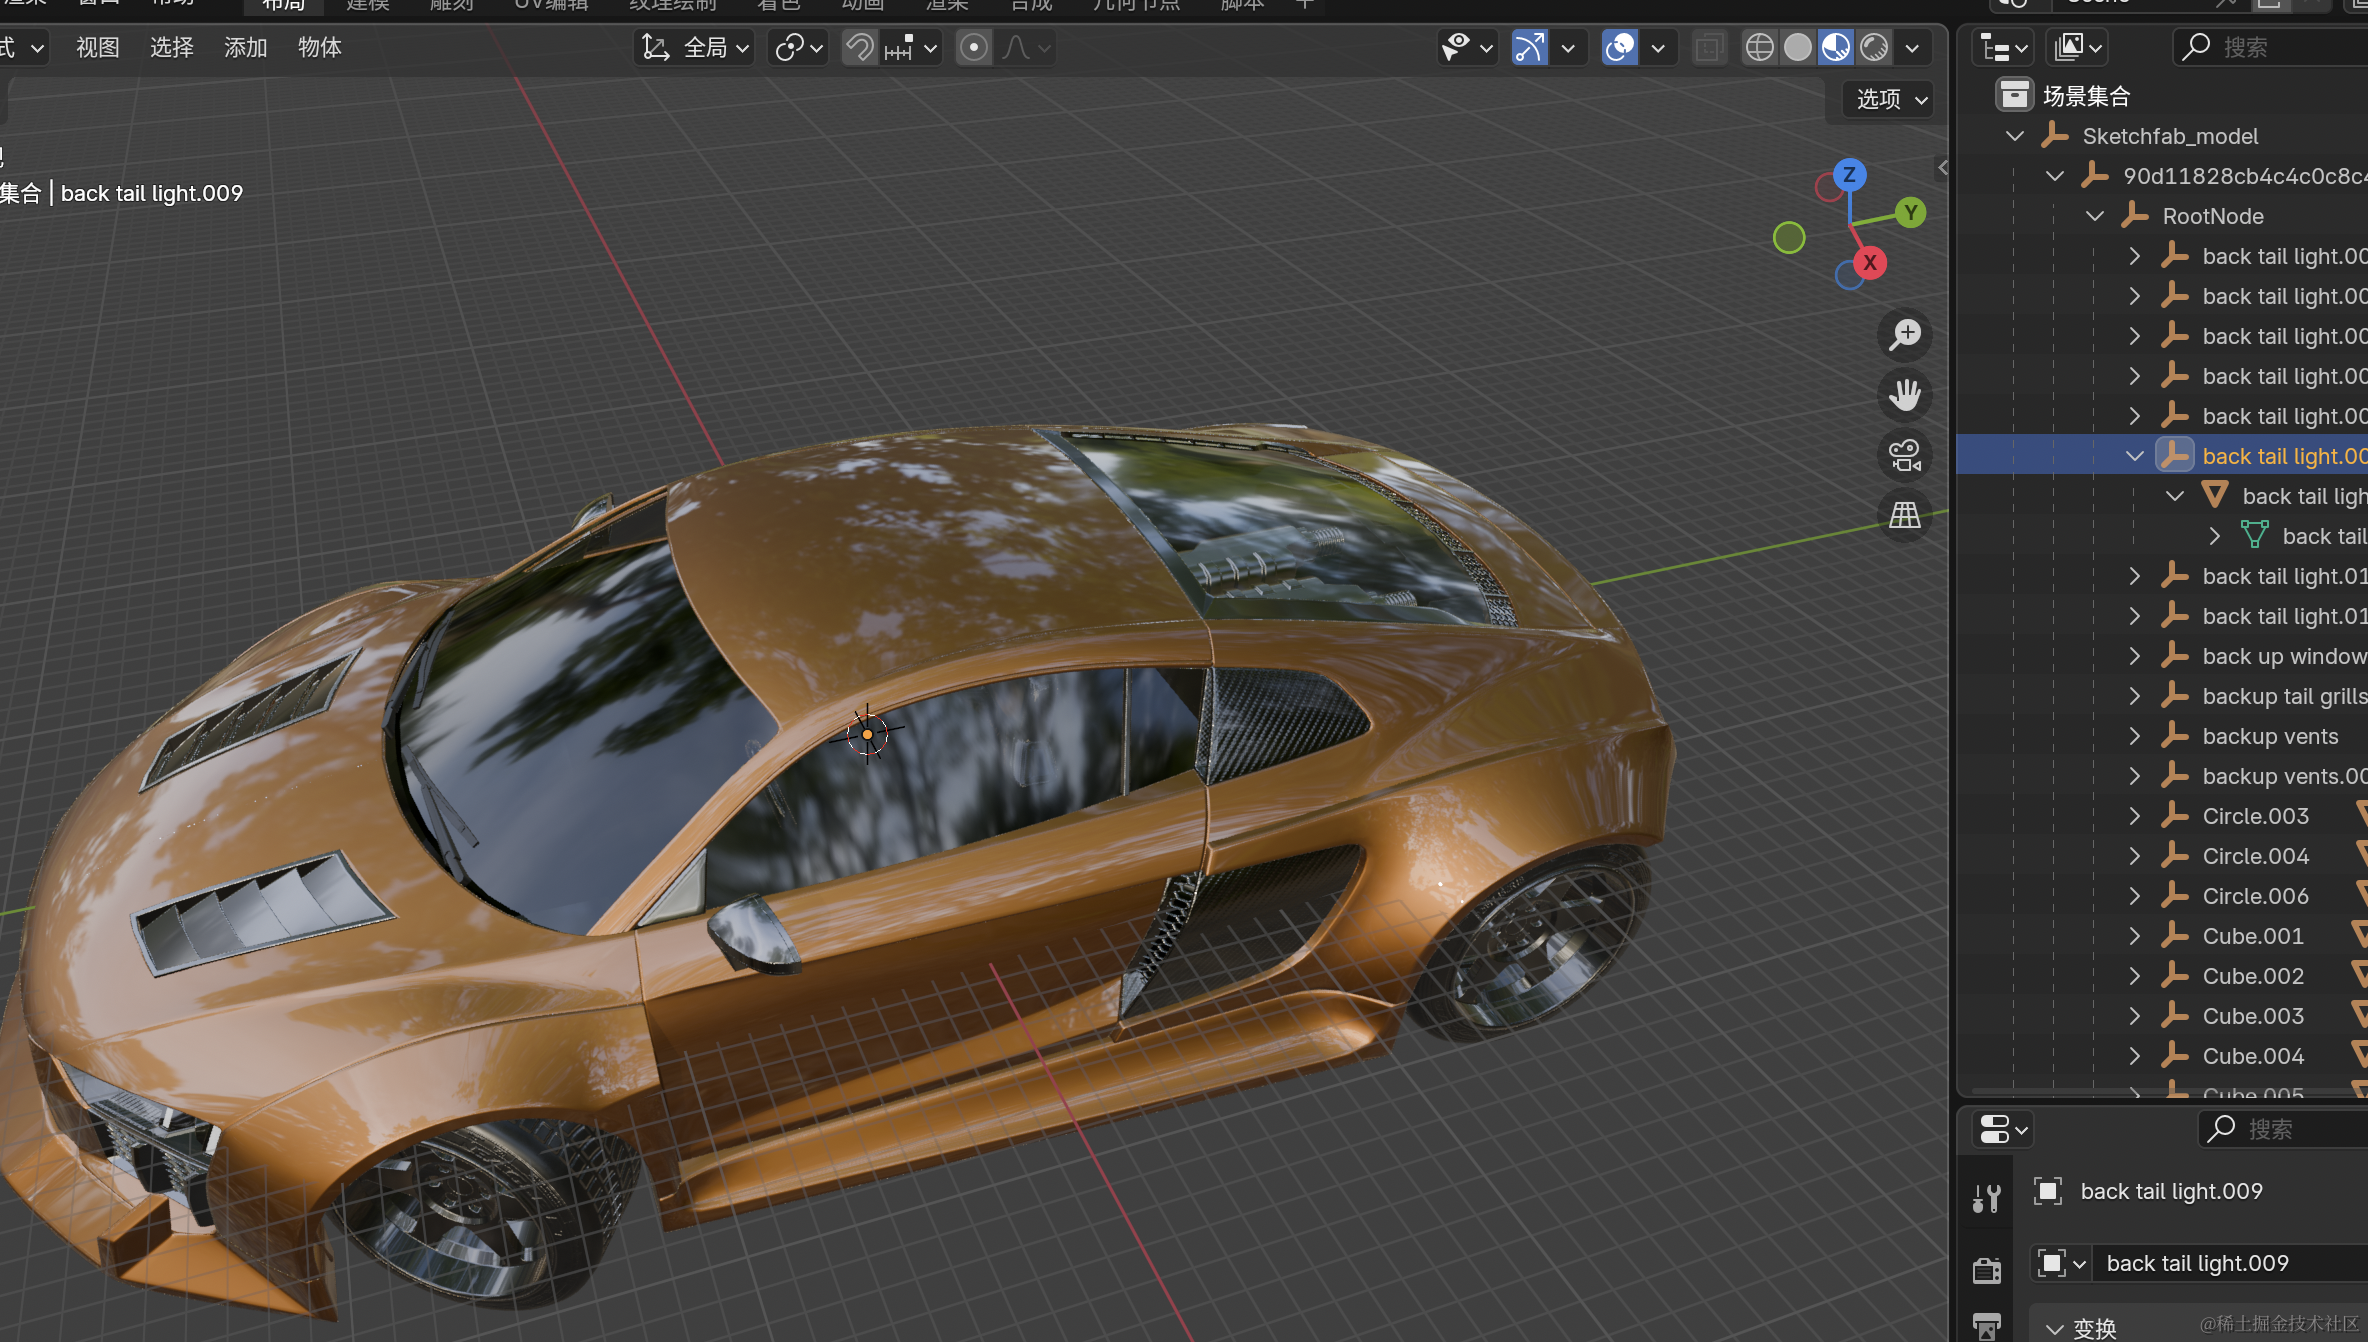
现在看起来是不是就真实多了?
然后我们要找到车身和车窗的对象,改下它的名字。
怎么找呢?
我们用笨办法,显示隐藏:
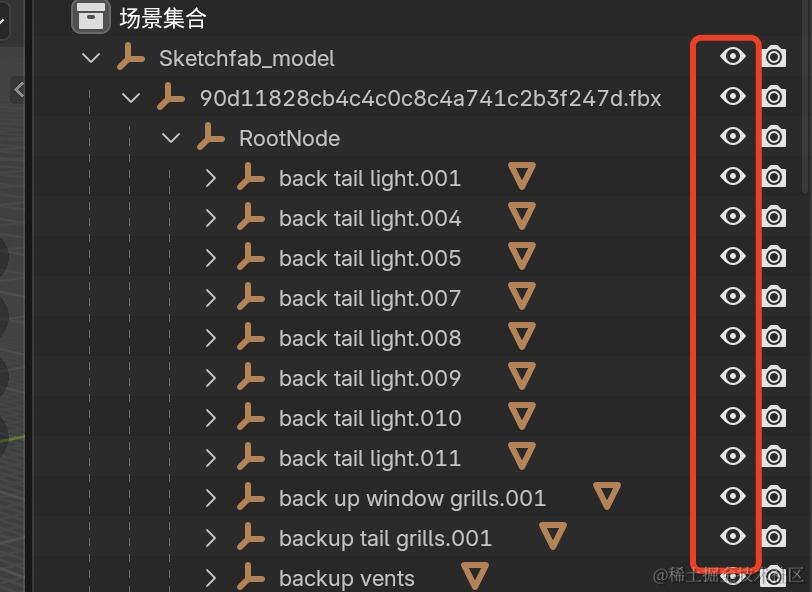
右边这一排按钮式控制显示隐藏的。
注意要按住 shift 点击,就是连子对象一块隐藏显示。
这样从上到下依次隐藏就好了(按住 shift 点):
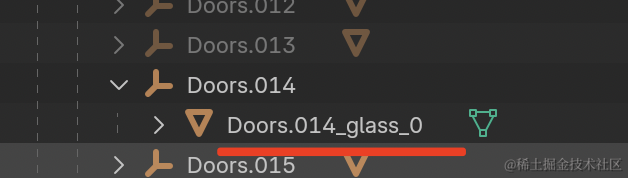
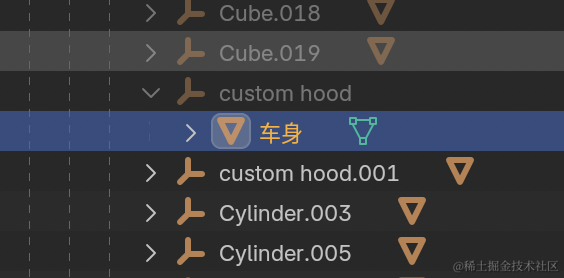
当你看到车身隐藏的时候,就找到了目标对象,把这个名字记下来:
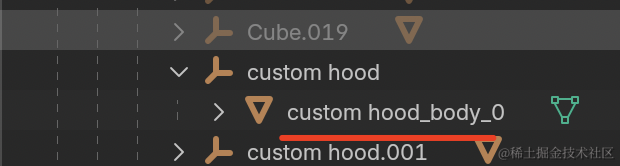
空格替换成下划线,去代码里试一下:
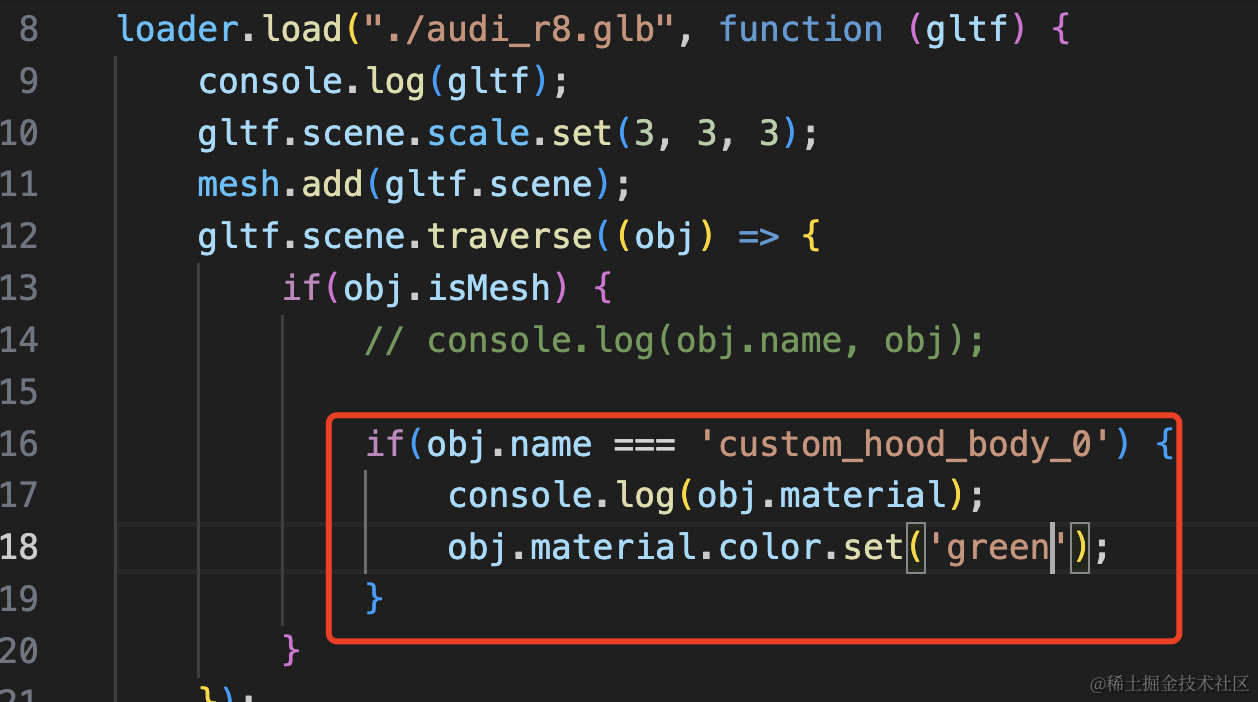
if(obj.name === 'custom_hood_body_0') {
    console.log(obj.material);
    obj.material.color.set('green');
}
打印下材质对象,修改下颜色。
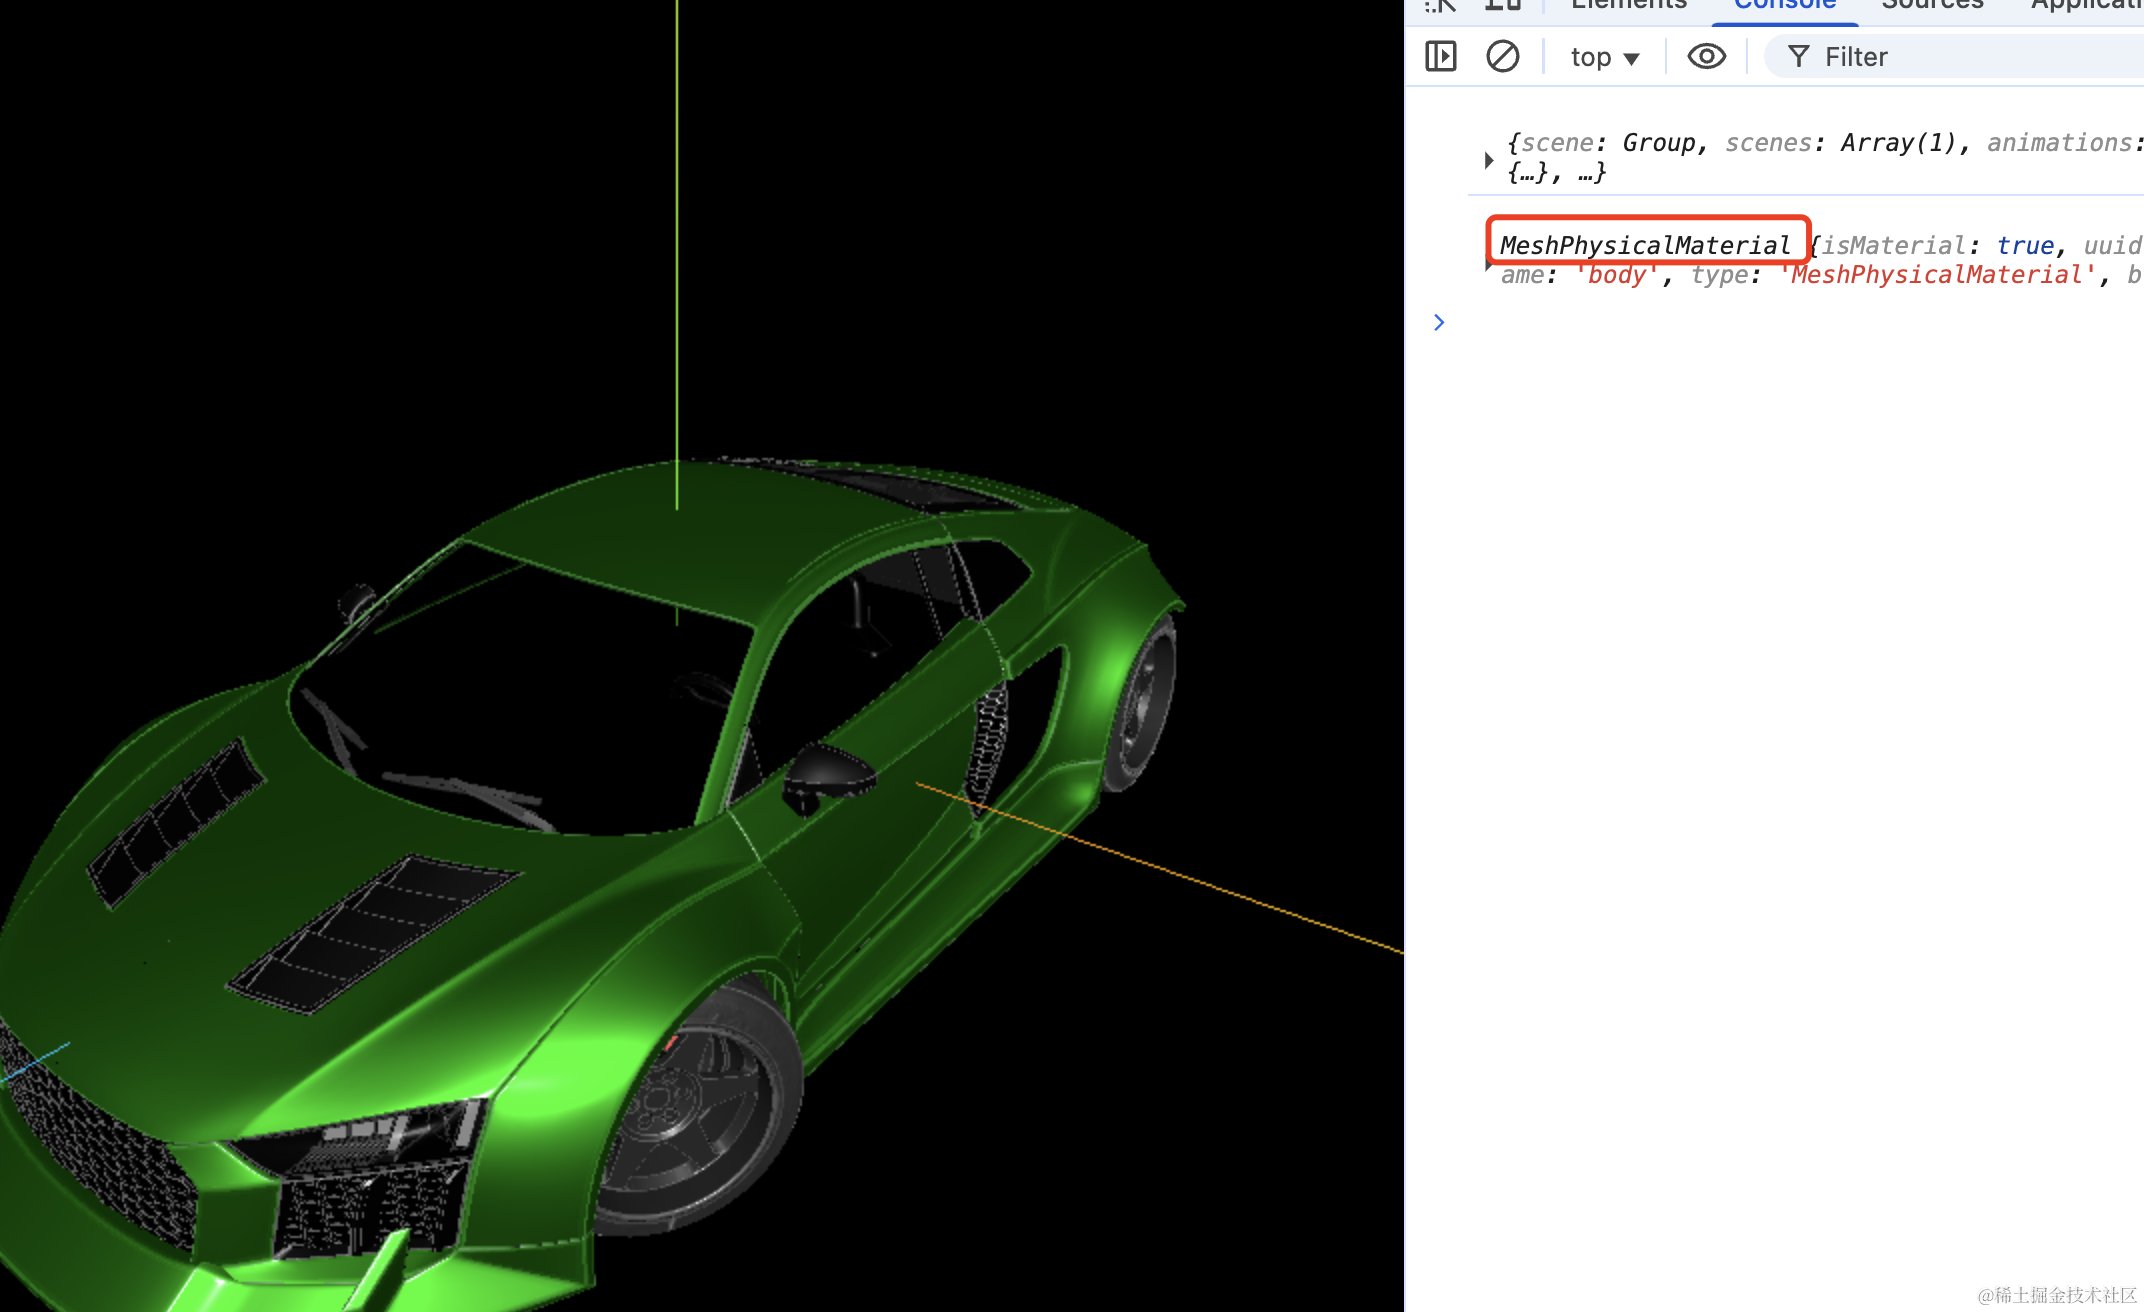
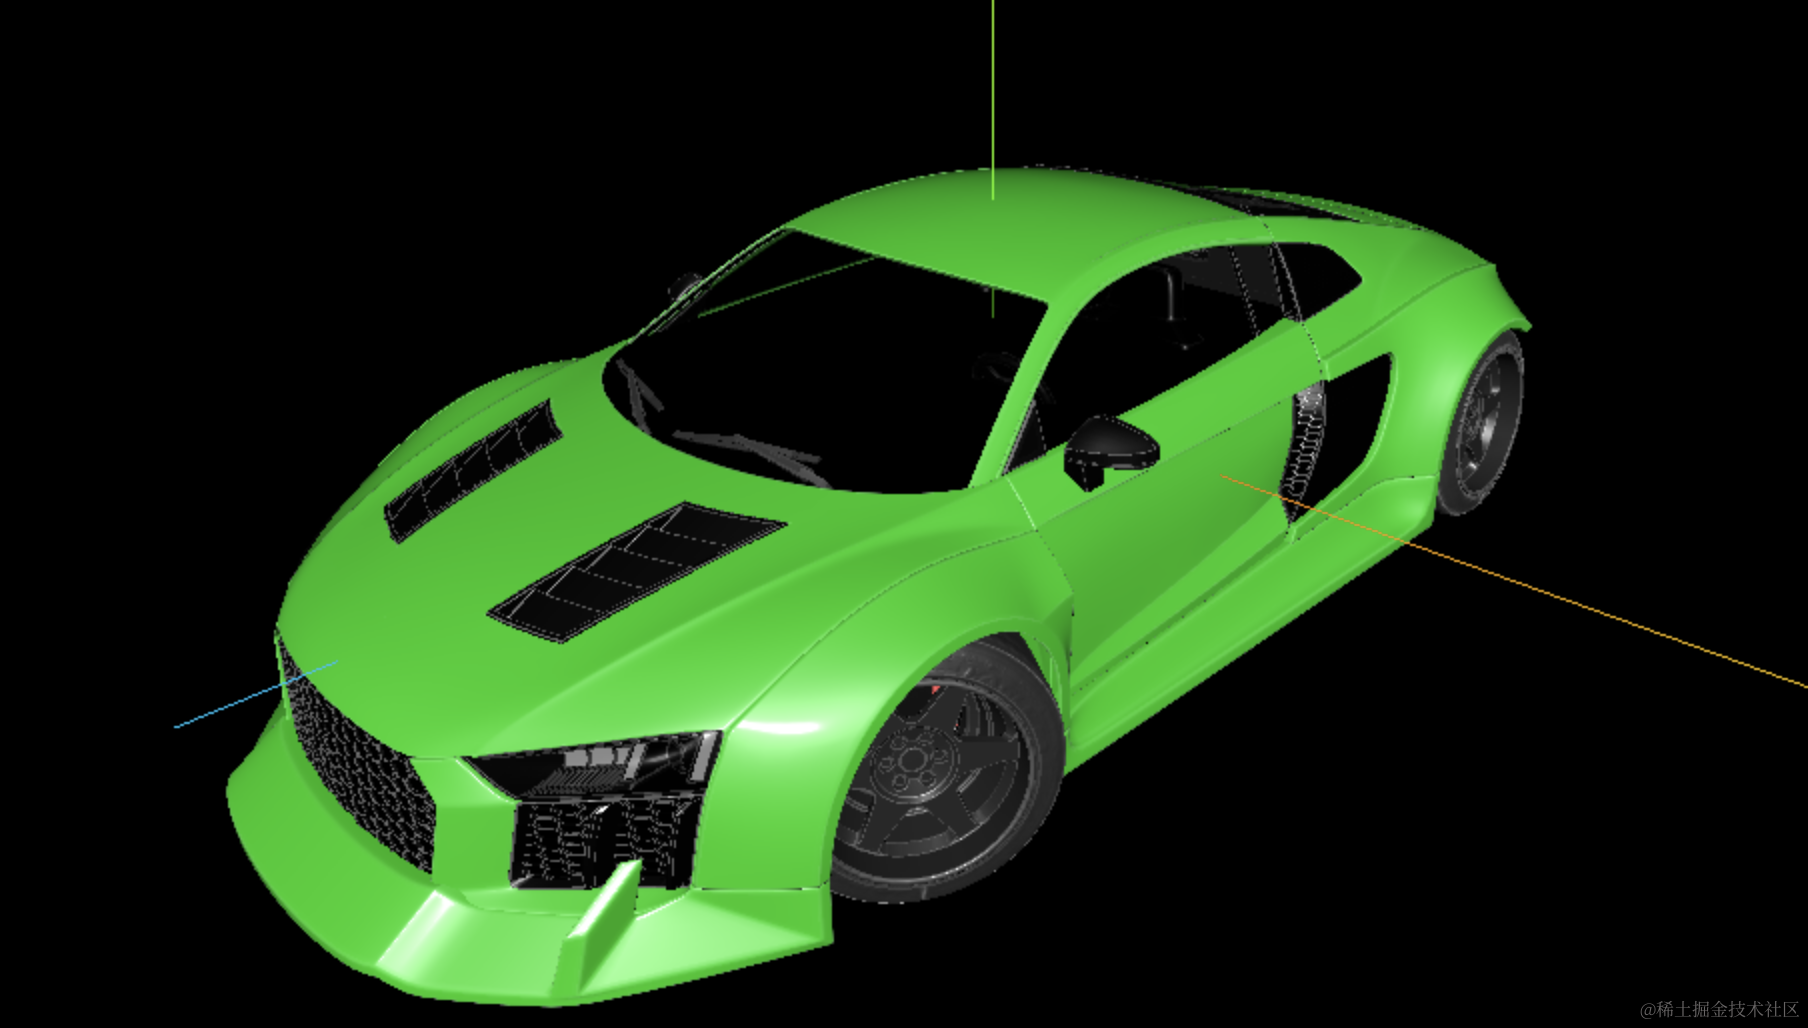
可以看到,车身变绿了,打印材质是物理网格材质。
我们再修改下其他属性,比如金属度、粗糙度。
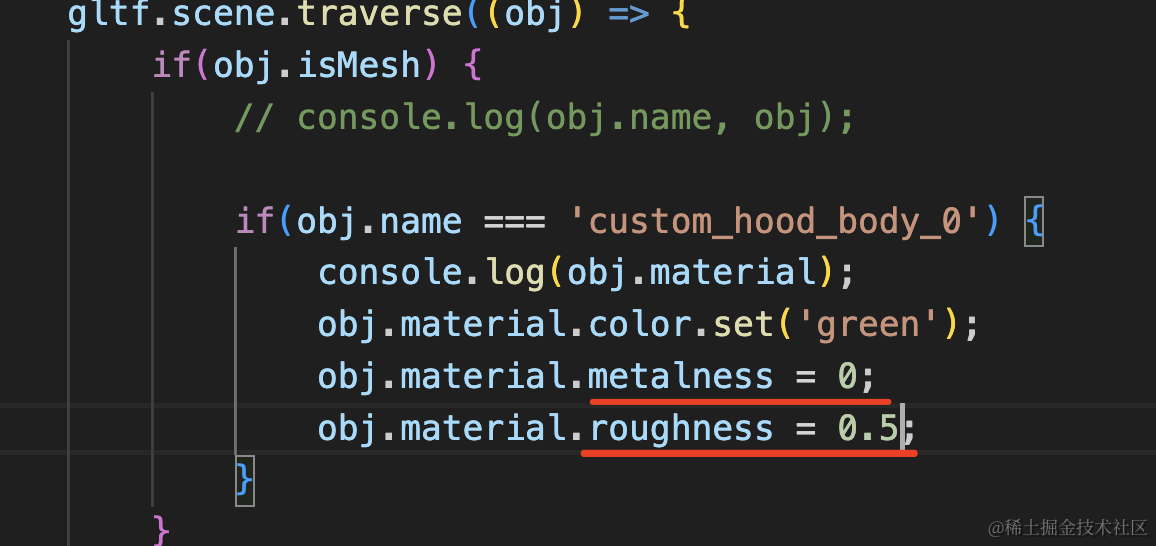
obj.material.metalness = 0;
obj.material.roughness = 0.5;
金属度改为 0,这样看起来就像塑料了:
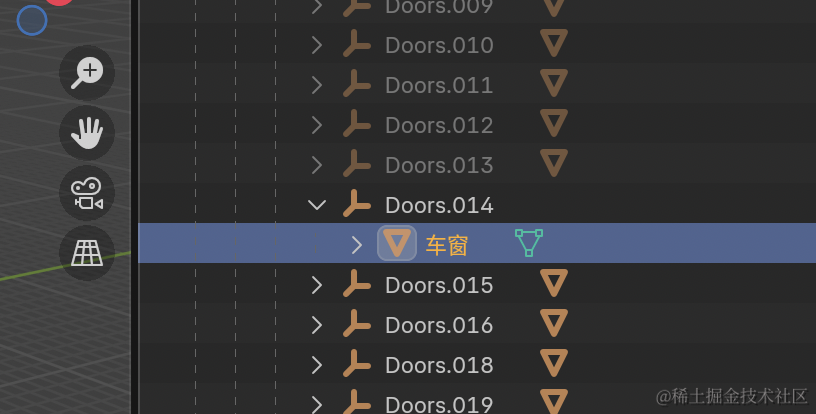
接下来同样的方式来找车窗部分:
然后在代码里修改下:
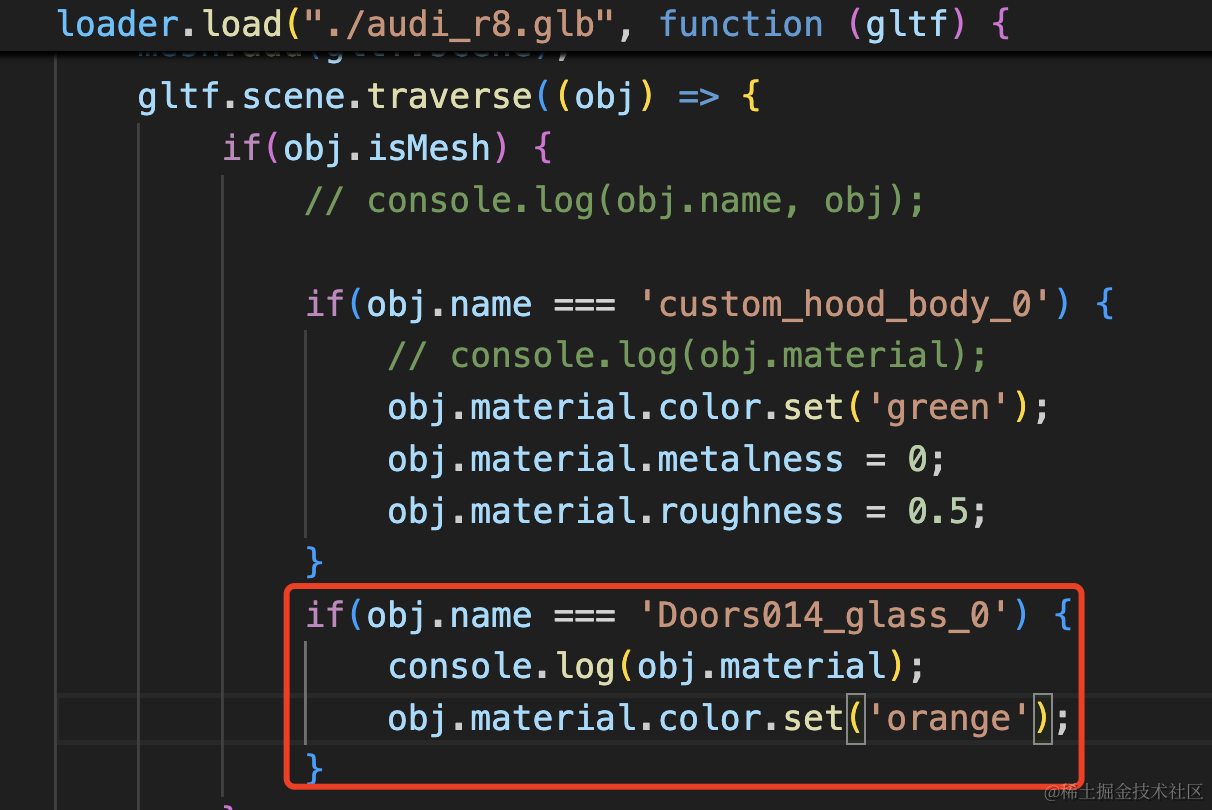
if(obj.name === 'Doors014_glass_0') {
    console.log(obj.material);
    obj.material.color.set('orange');
}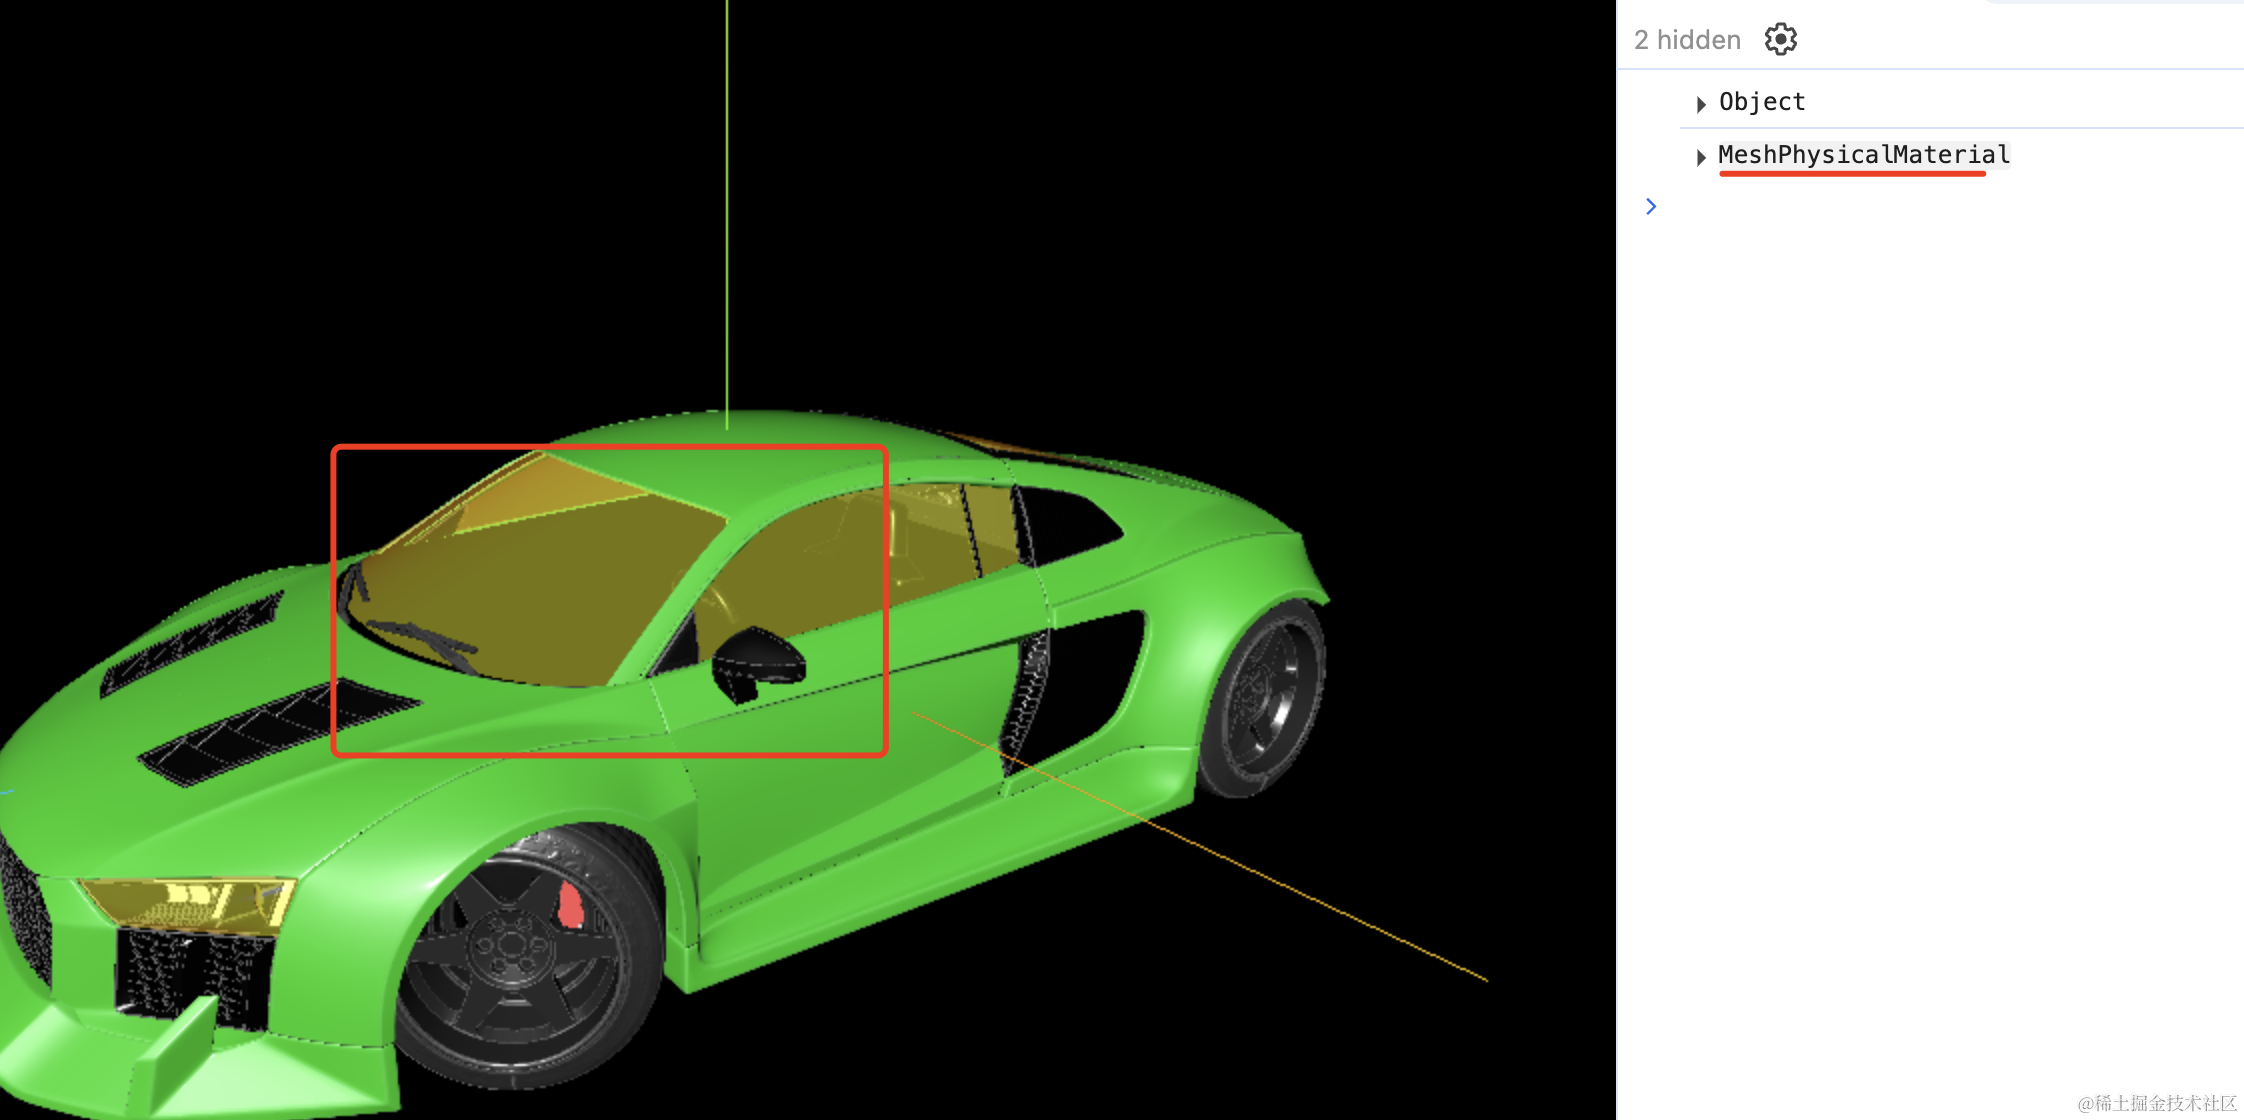
可以看到,车窗的颜色改了,它也是物理网格材质。
当然,你也可以修改对象名字之后重新导出 glb 文件。
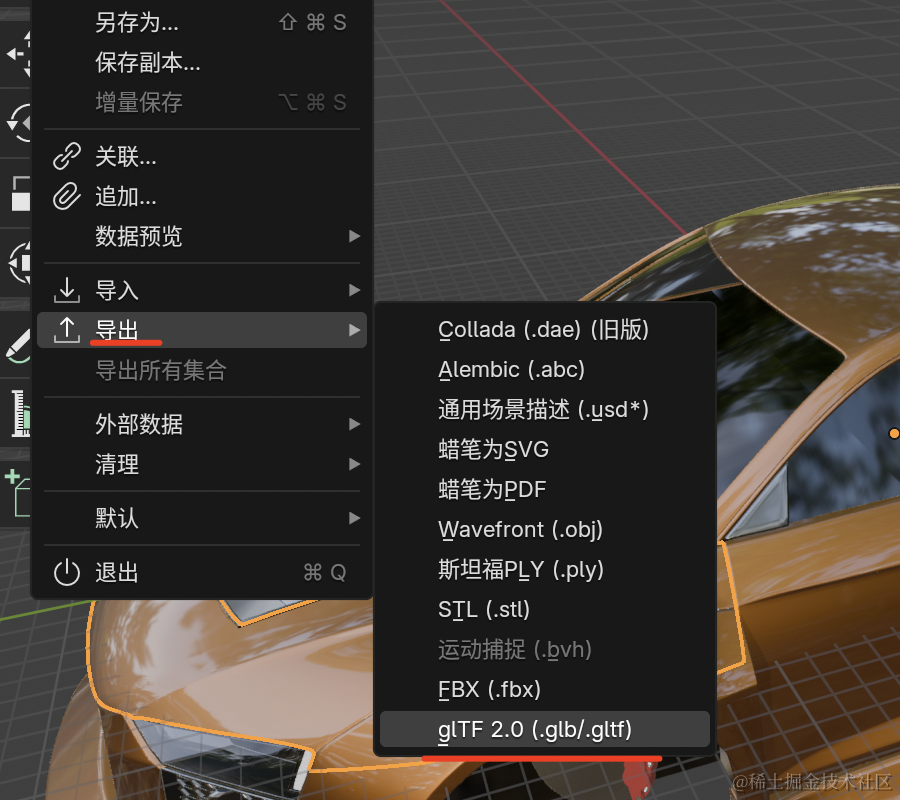
把导出的 glb 文件放到 public 目录下:
代码里加载试试:
这样,车身、车窗的对象就好找多了。
案例代码上传了小册仓库。
总结
这节我们学了在哪搜索模型,以及如何查找模型中的目标对象。
我们从 sketchfab.com 这个免费的 3D 模型网站来搜索和下载 glb 的模型。
这些模型里 mesh 的命名比较随意,找到目标 mesh 比较难。
我们可以把模型导入 blender,通过隐藏的方式来一个个找,找到目标对象后把名字记下来,然后在代码里就可以根据名字来修改目标对象了。
当然,你也可以找到对象后修改 name,之后导出一个新的 glb。
后面用到的模型的搜索、编辑都是这个流程。