这节我们来学下 MeshMatcapMaterial 材质。
它和 MeshBasicMaterial 一样,并不会计算灯光,但是却可以实现光照效果。
它是怎么做到的呢?
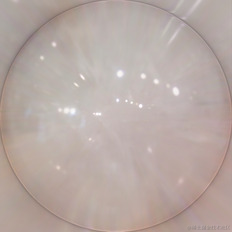
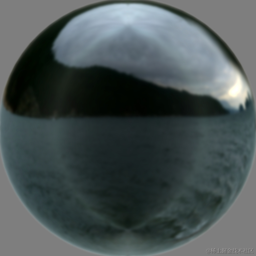
它是通过传入一个光照到球体的反光效果的图片:
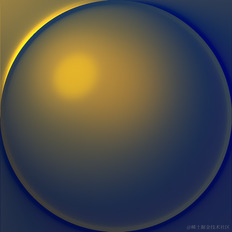
这个图片里包含了光照信息,这样就可以根据这个图片的信息和顶点法线方向来设置材质的颜色。
它是提前把光照信息放到了这个图片里,不会计算真实的光照,但是效果还是比较真实的。
我们来试一下:
npx create-vite matcap-material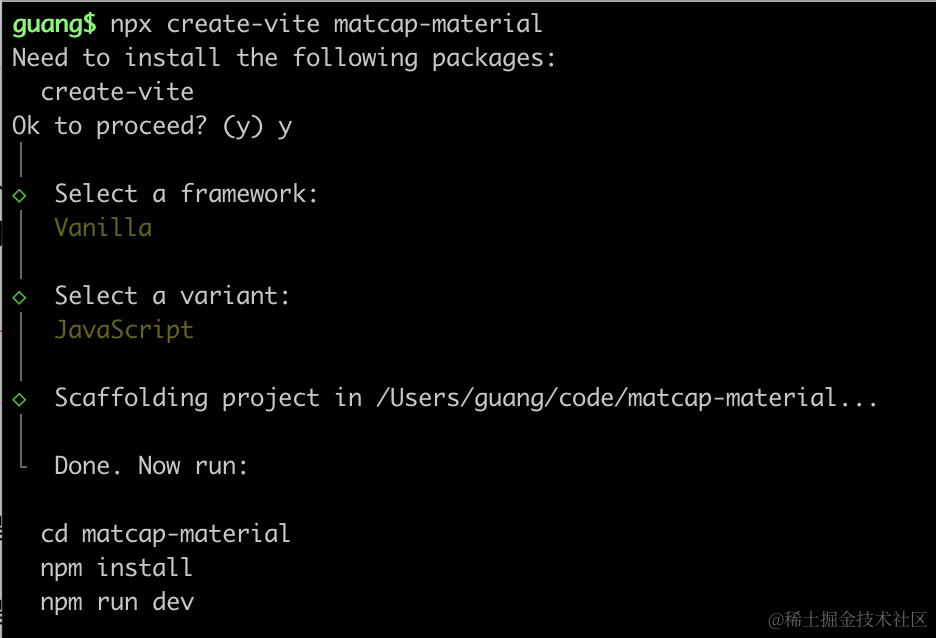
进入项目,安装依赖:
npm install
npm install --save three
npm install --save-dev @types/three
改下 src/main.js
import './style.css';
import * as THREE from 'three';
import {
    OrbitControls
} from 'three/addons/controls/OrbitControls.js';
import mesh from './mesh.js';

const scene = new THREE.Scene();

scene.add(mesh);

const directionLight = new THREE.DirectionalLight(0xffffff);
directionLight.position.set(500, 600, 800);
scene.add(directionLight);

const ambientLight = new THREE.AmbientLight();
scene.add(ambientLight);

const helper = new THREE.AxesHelper(100);
scene.add(helper);

const width = window.innerWidth;
const height = window.innerHeight;

const camera = new THREE.PerspectiveCamera(60, width / height, 0.1, 10000);
camera.position.set(500, 600, 800);
camera.lookAt(0, 0, 0);

const renderer = new THREE.WebGLRenderer();
renderer.setSize(width, height)

function render() {
    renderer.render(scene, camera);
    requestAnimationFrame(render);
}

render();

document.body.append(renderer.domElement);

const controls = new OrbitControls(camera, renderer.domElement);

window.onresize = function () {
    const width = window.innerWidth;
    const height = window.innerHeight;

    renderer.setSize(width,height);

    camera.aspect = width / height;
    camera.updateProjectionMatrix();
};
创建 Scene、Light、Camera、Renderer。
改下 style.css
body {
  margin: 0;
}
写一下 mesh.js
import * as THREE from 'three';

const geometry = new  THREE.SphereGeometry(300);
const material = new THREE.MeshPhongMaterial({
    color: 'orange'
});
const mesh = new THREE.Mesh(geometry, material);

export default mesh;
首先,我们用 phong 材质创建一个球体。
跑一下:
npm run dev
平行光强度比较高,能明显看到光照效果。
MeshPhongMaterial、MashLambertMaterial、MeshStandardMaterial、MeshPhysicalMaterial 都是能反光的材质,会更根据光照来计算反光效果。
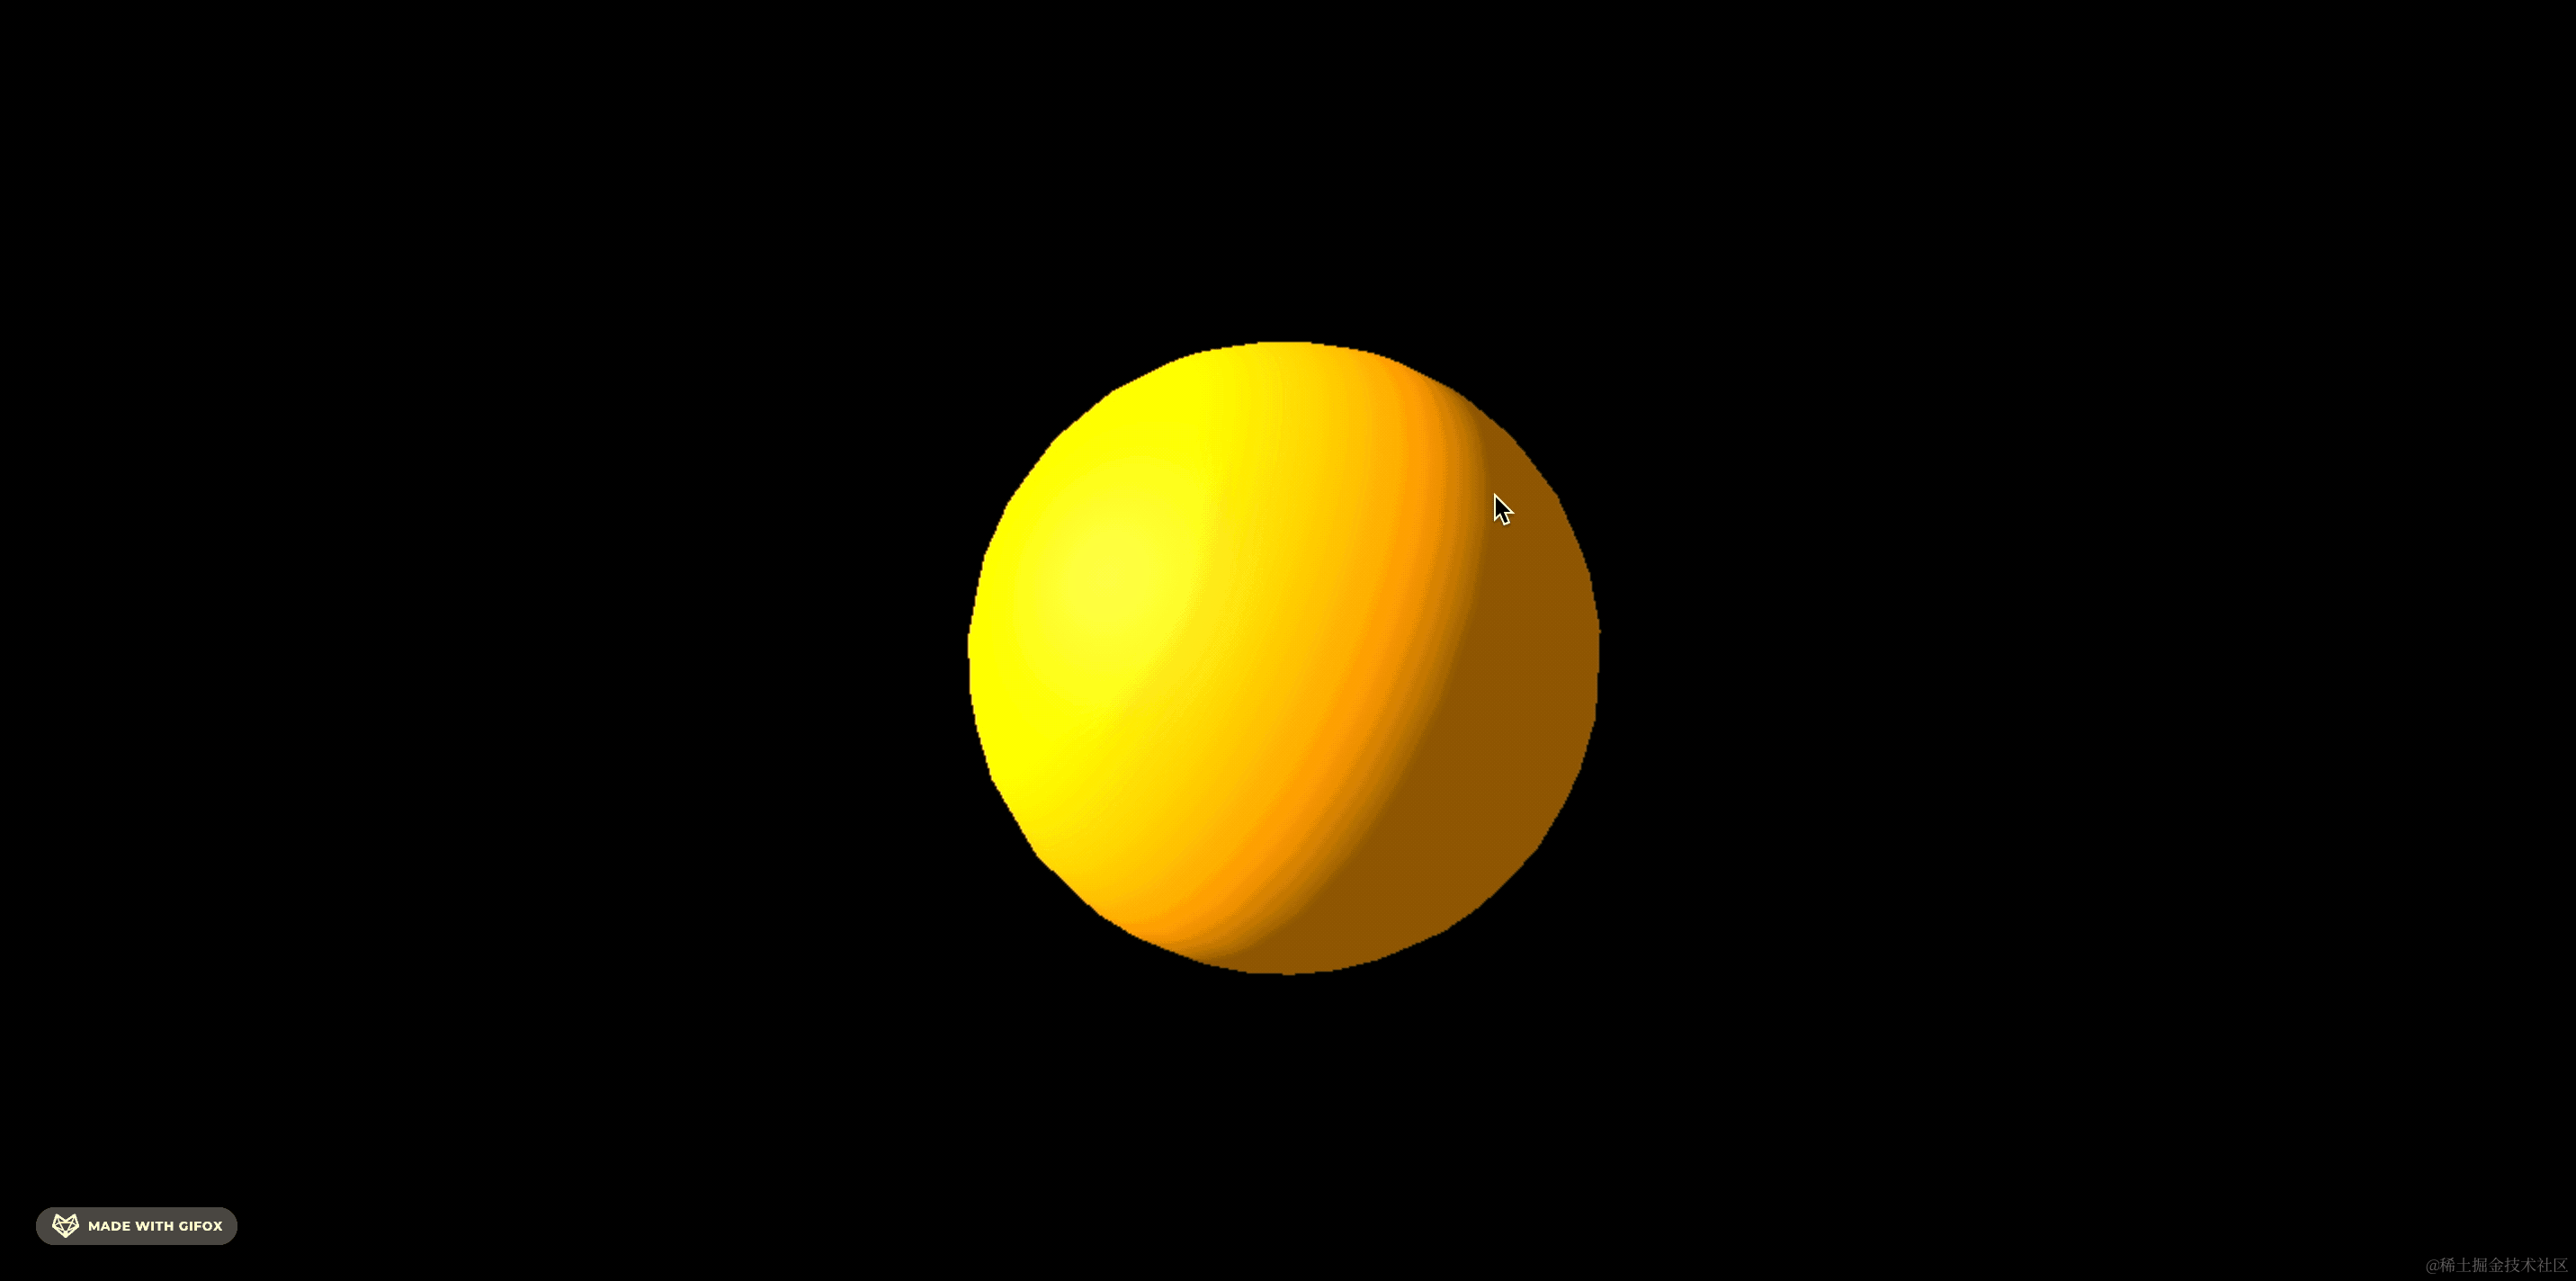
我们换成 MeshMatcapMaterial:
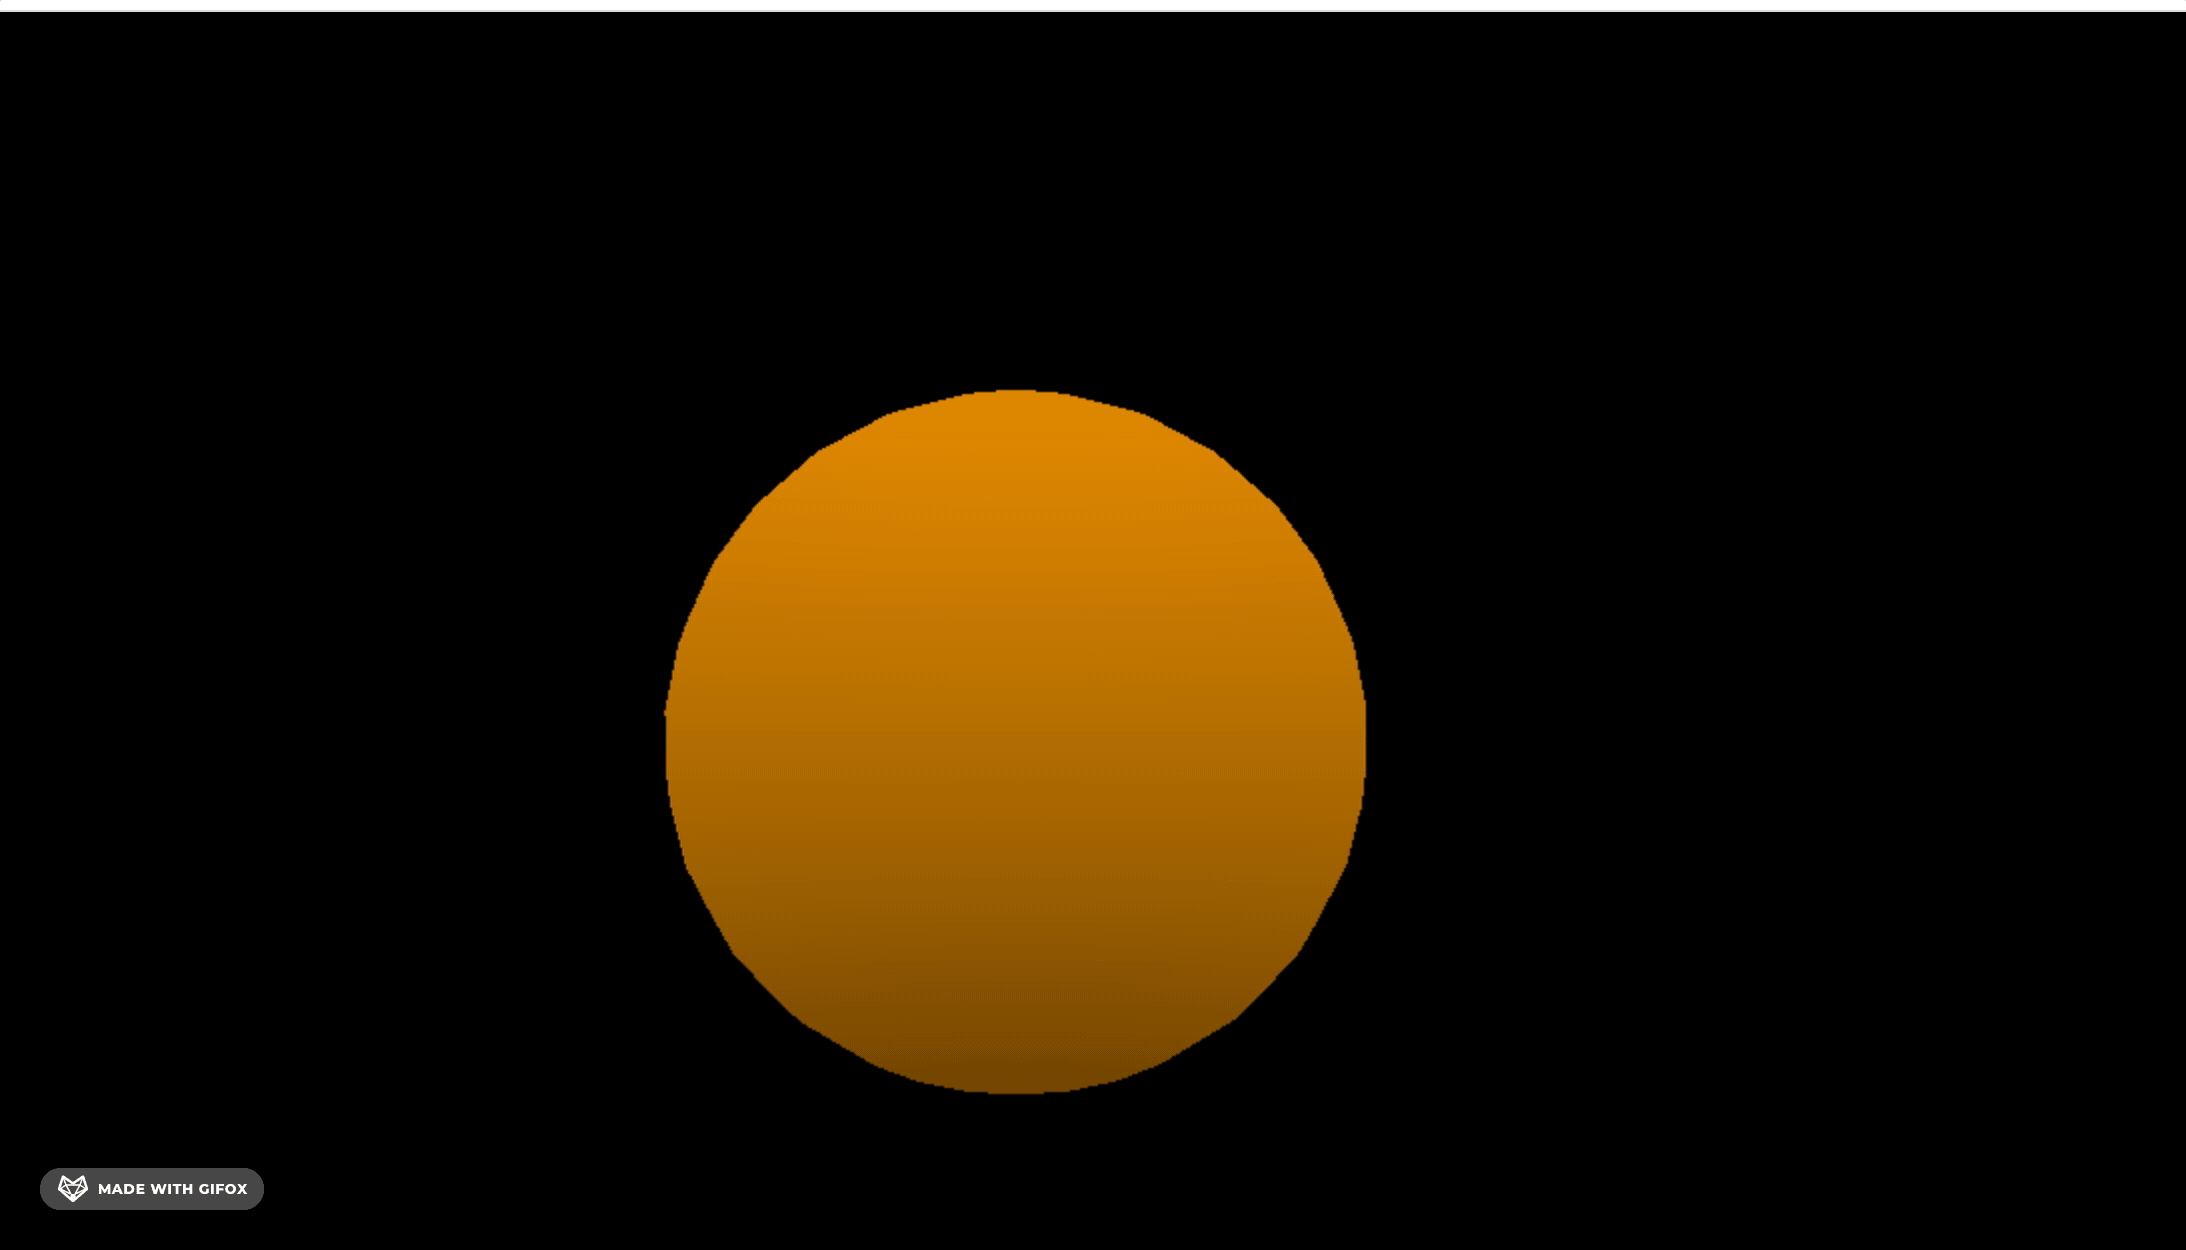
显然,这个材质不会处理灯光。
但它可以加载一个光照球的图片来实现光照效果。
比如这个:
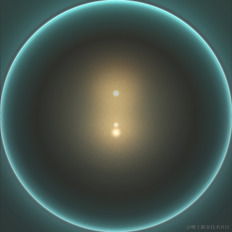
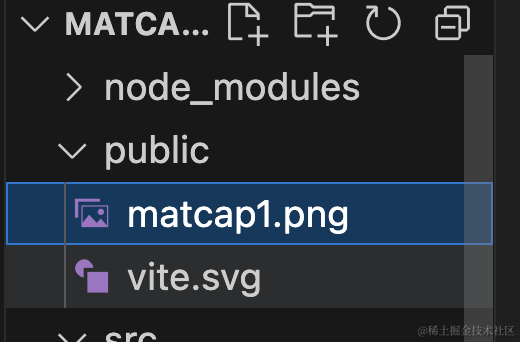
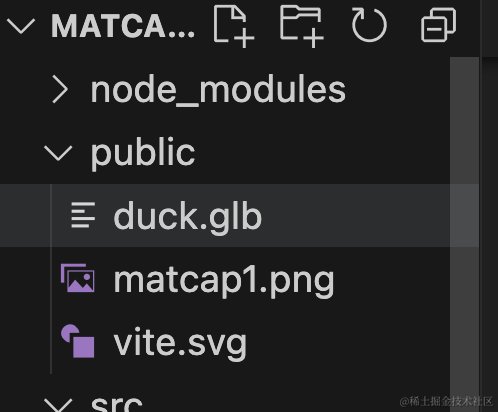
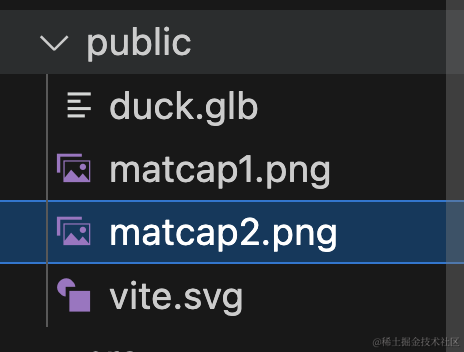
把它放到 public 目录下
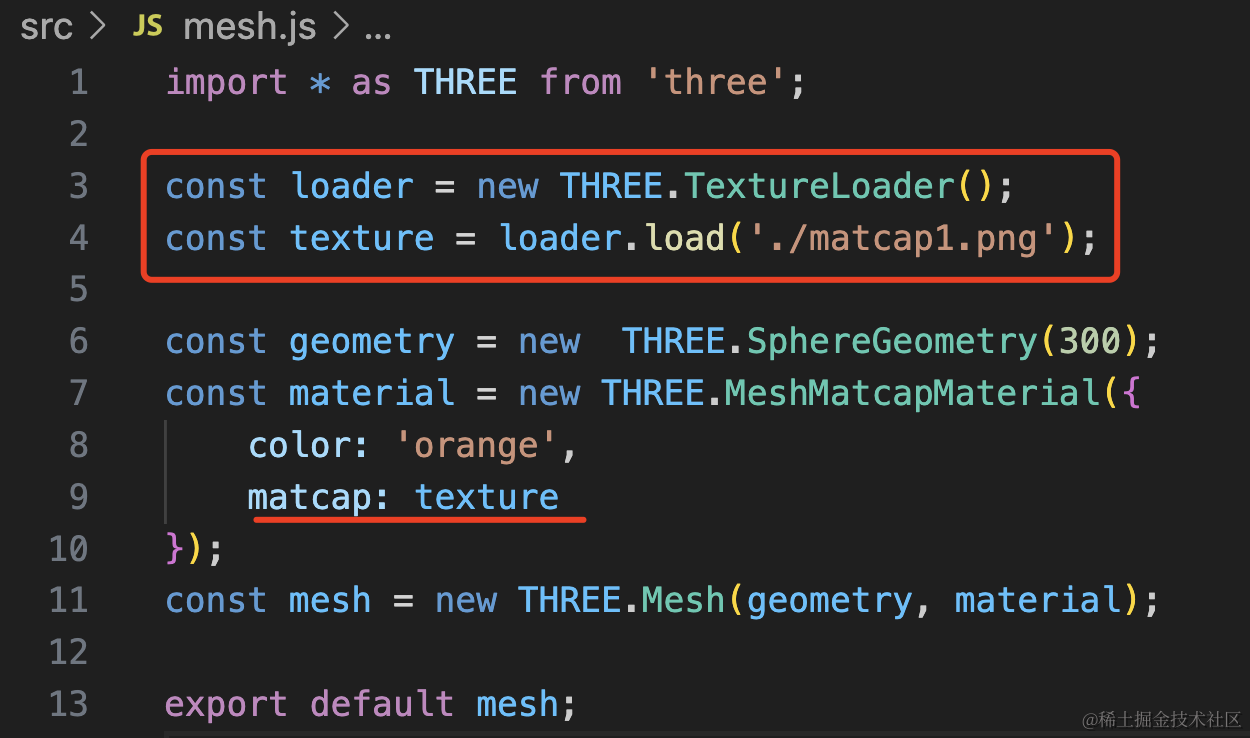
import * as THREE from 'three';
const loader = new THREE.TextureLoader();
const texture = loader.load('./matcap1.png');
const geometry = new THREE.SphereGeometry(300);
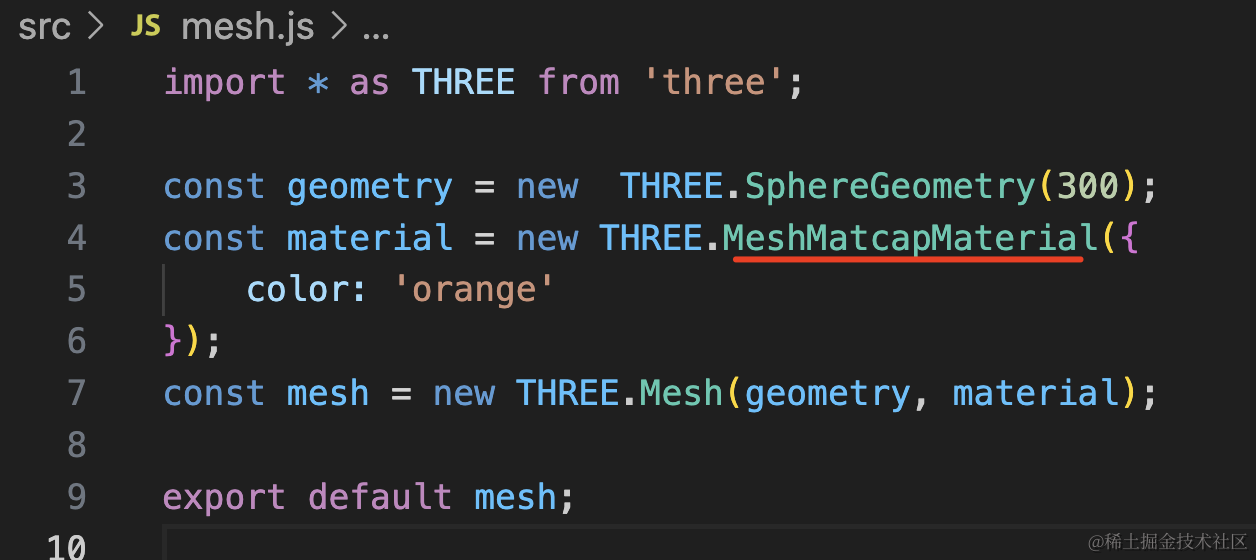
const material = new THREE.MeshMatcapMaterial({
color: 'orange',
matcap: texture
});
const mesh = new THREE.Mesh(geometry, material);
export default mesh;看下效果:

这样就是一个提前设置好的光照效果了。
你可能觉得这也没啥啊,不是很真实。
换个非球体的模型就明显了:
我从 sketchfb 找了一个模型:
https://sketchfab.com/3d-models/pokemon-psybberduck-toy-f0864db153a3416695e681c575009daf
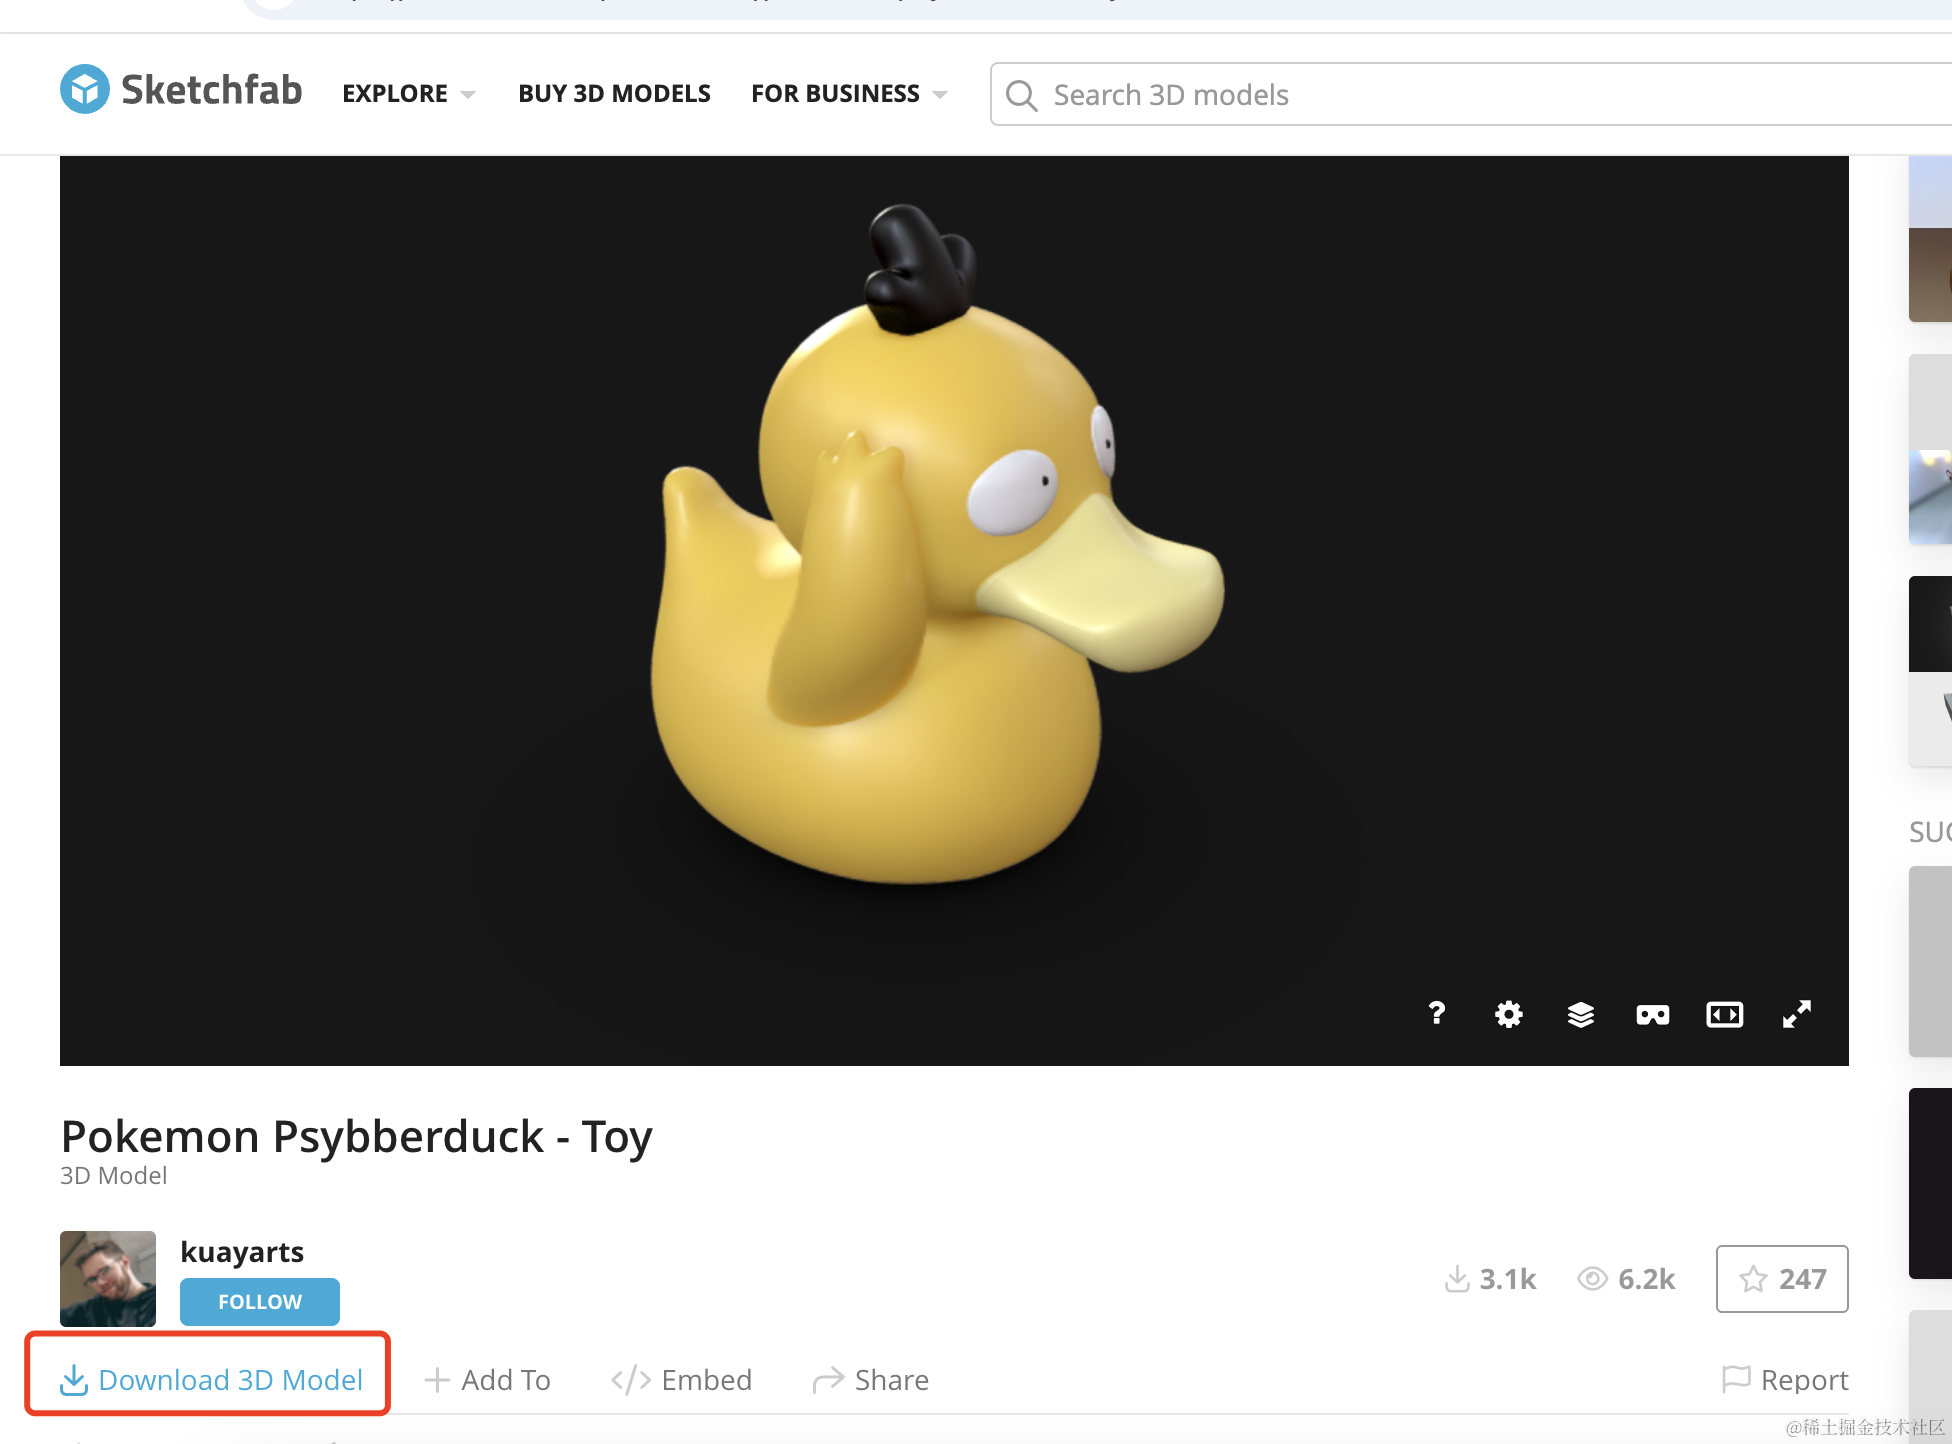
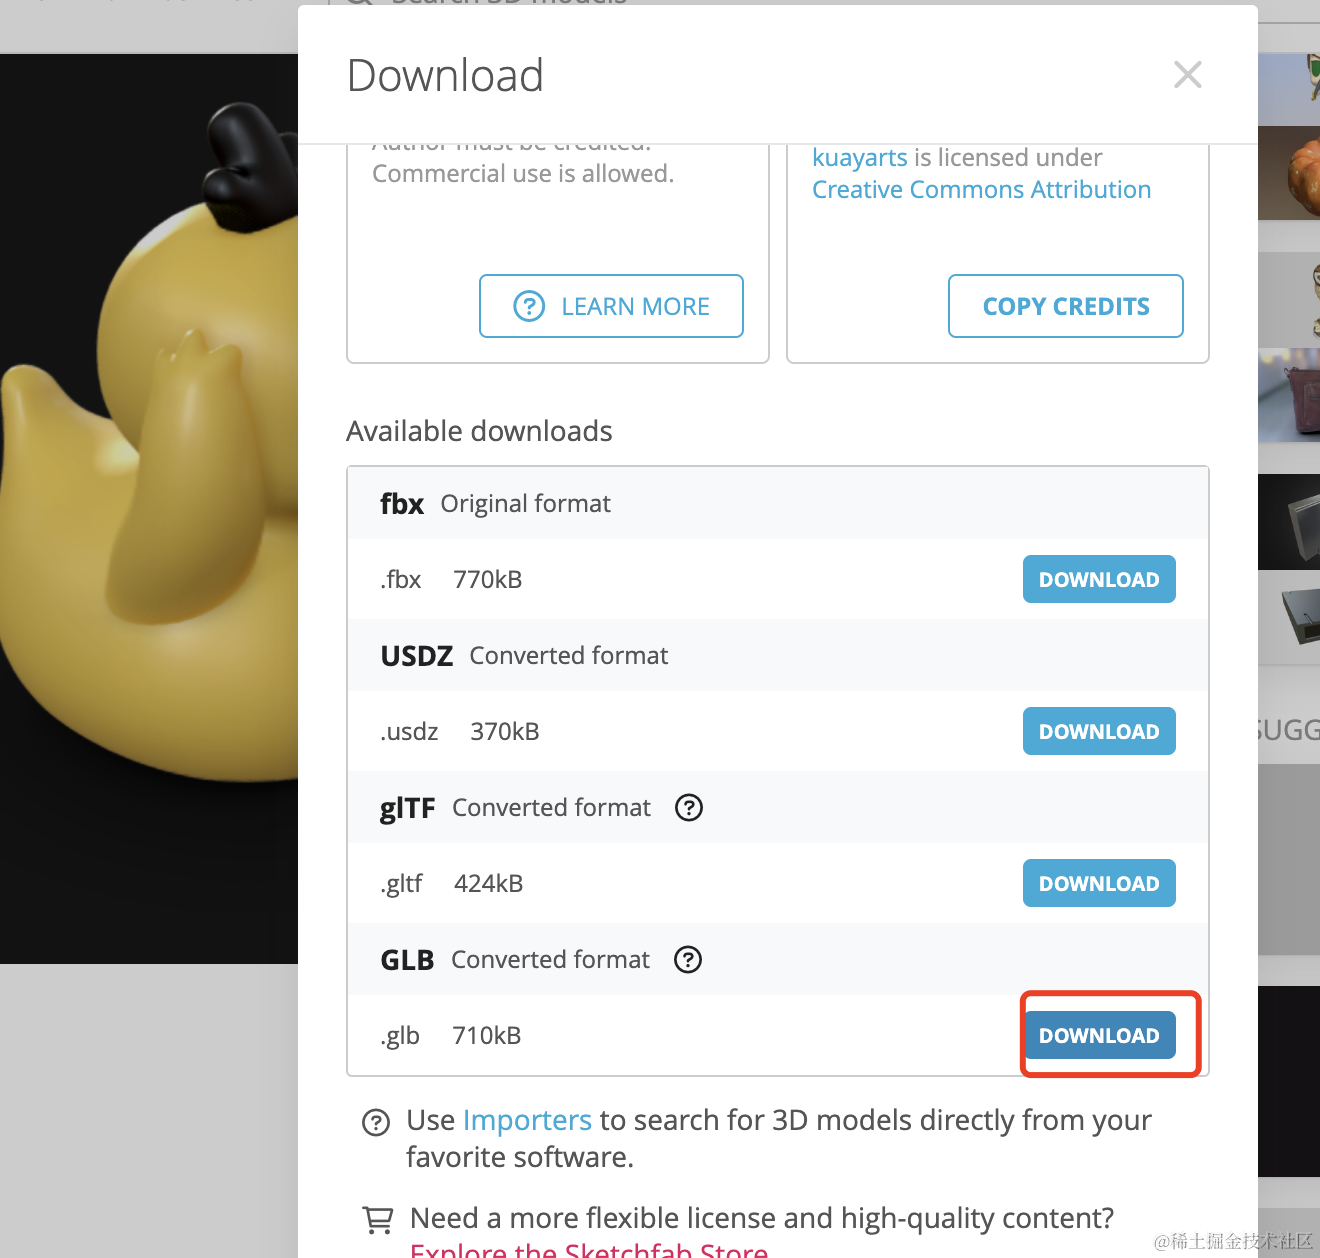
下载下来放 public 目录下:
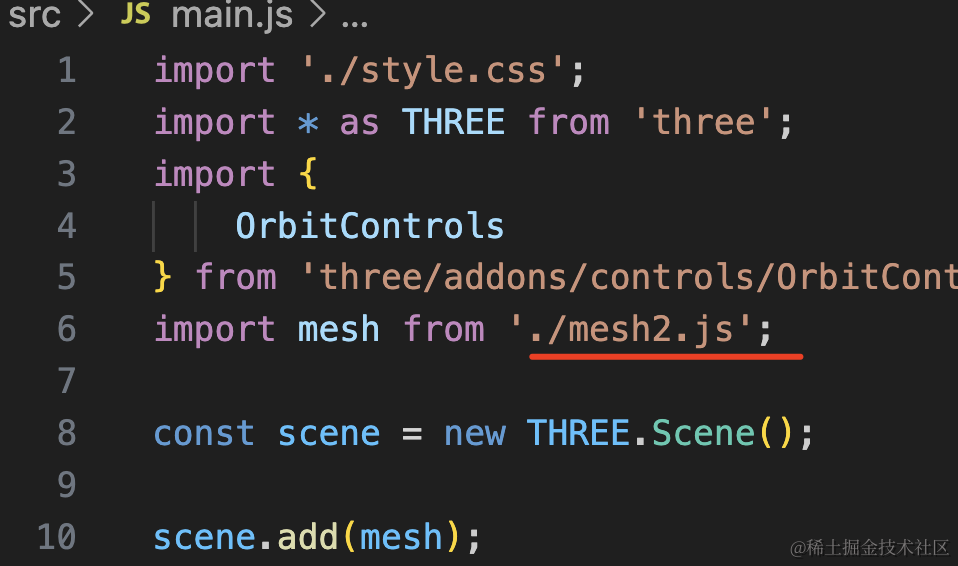
代码里加载下:
创建 mesh2.js
import * as THREE from 'three';
import { GLTFLoader } from 'three/addons/loaders/GLTFLoader.js';

const loader = new GLTFLoader();

const mesh = new THREE.Group();

loader.load("./duck.glb", function (gltf) {
    console.log(gltf);
    mesh.add(gltf.scene);
    gltf.scene.scale.setScalar(3000);
    gltf.scene.position.y = -300;
})

export default mesh;
setScalar(3000) 就是 set(3000, 3000, 3000)
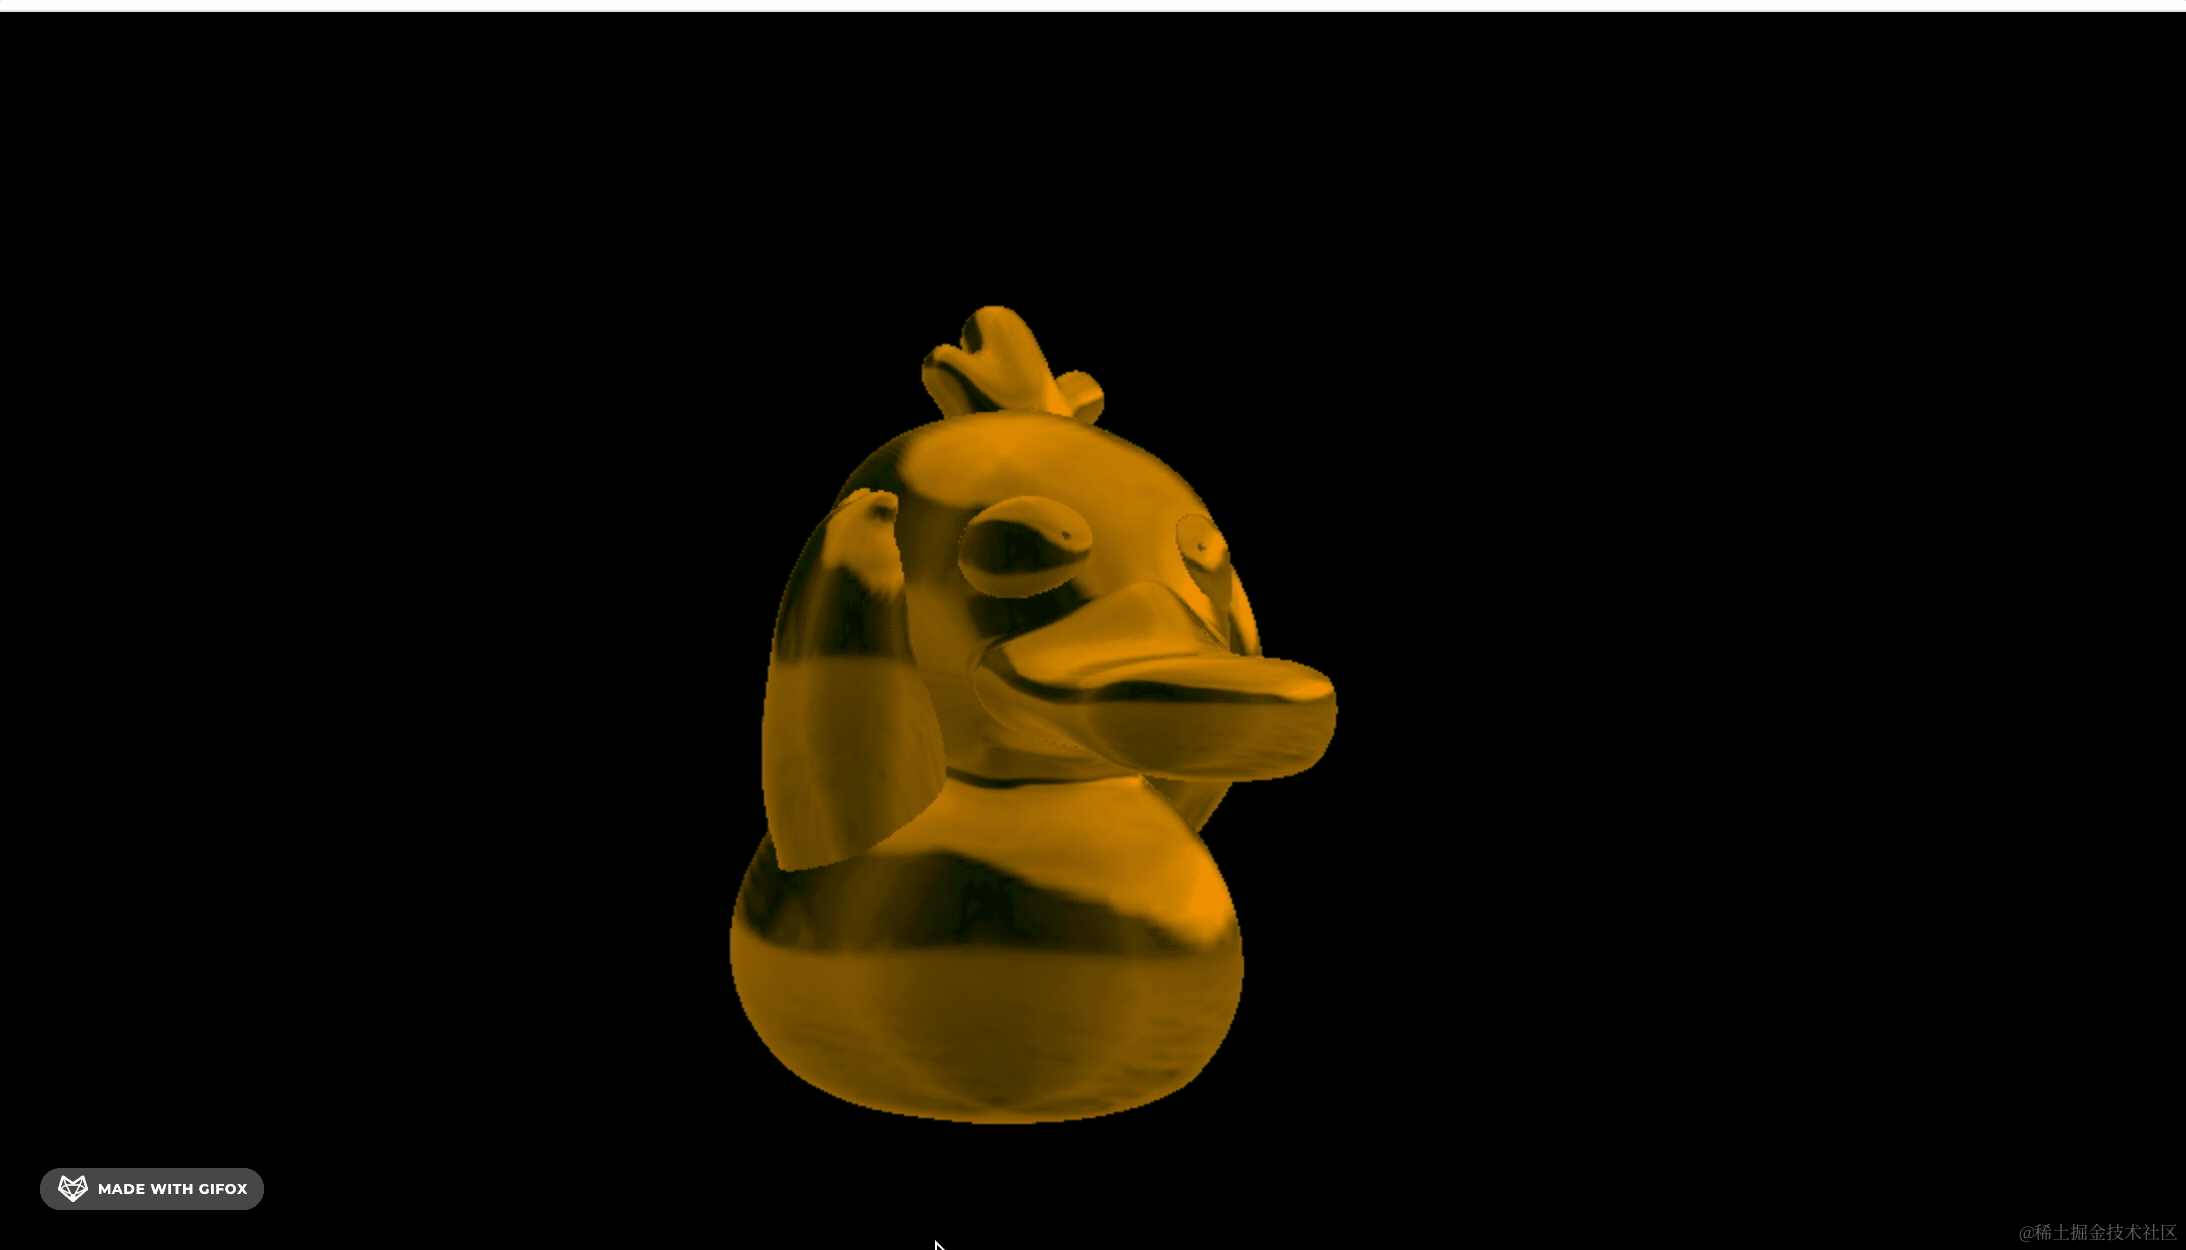
看下效果:
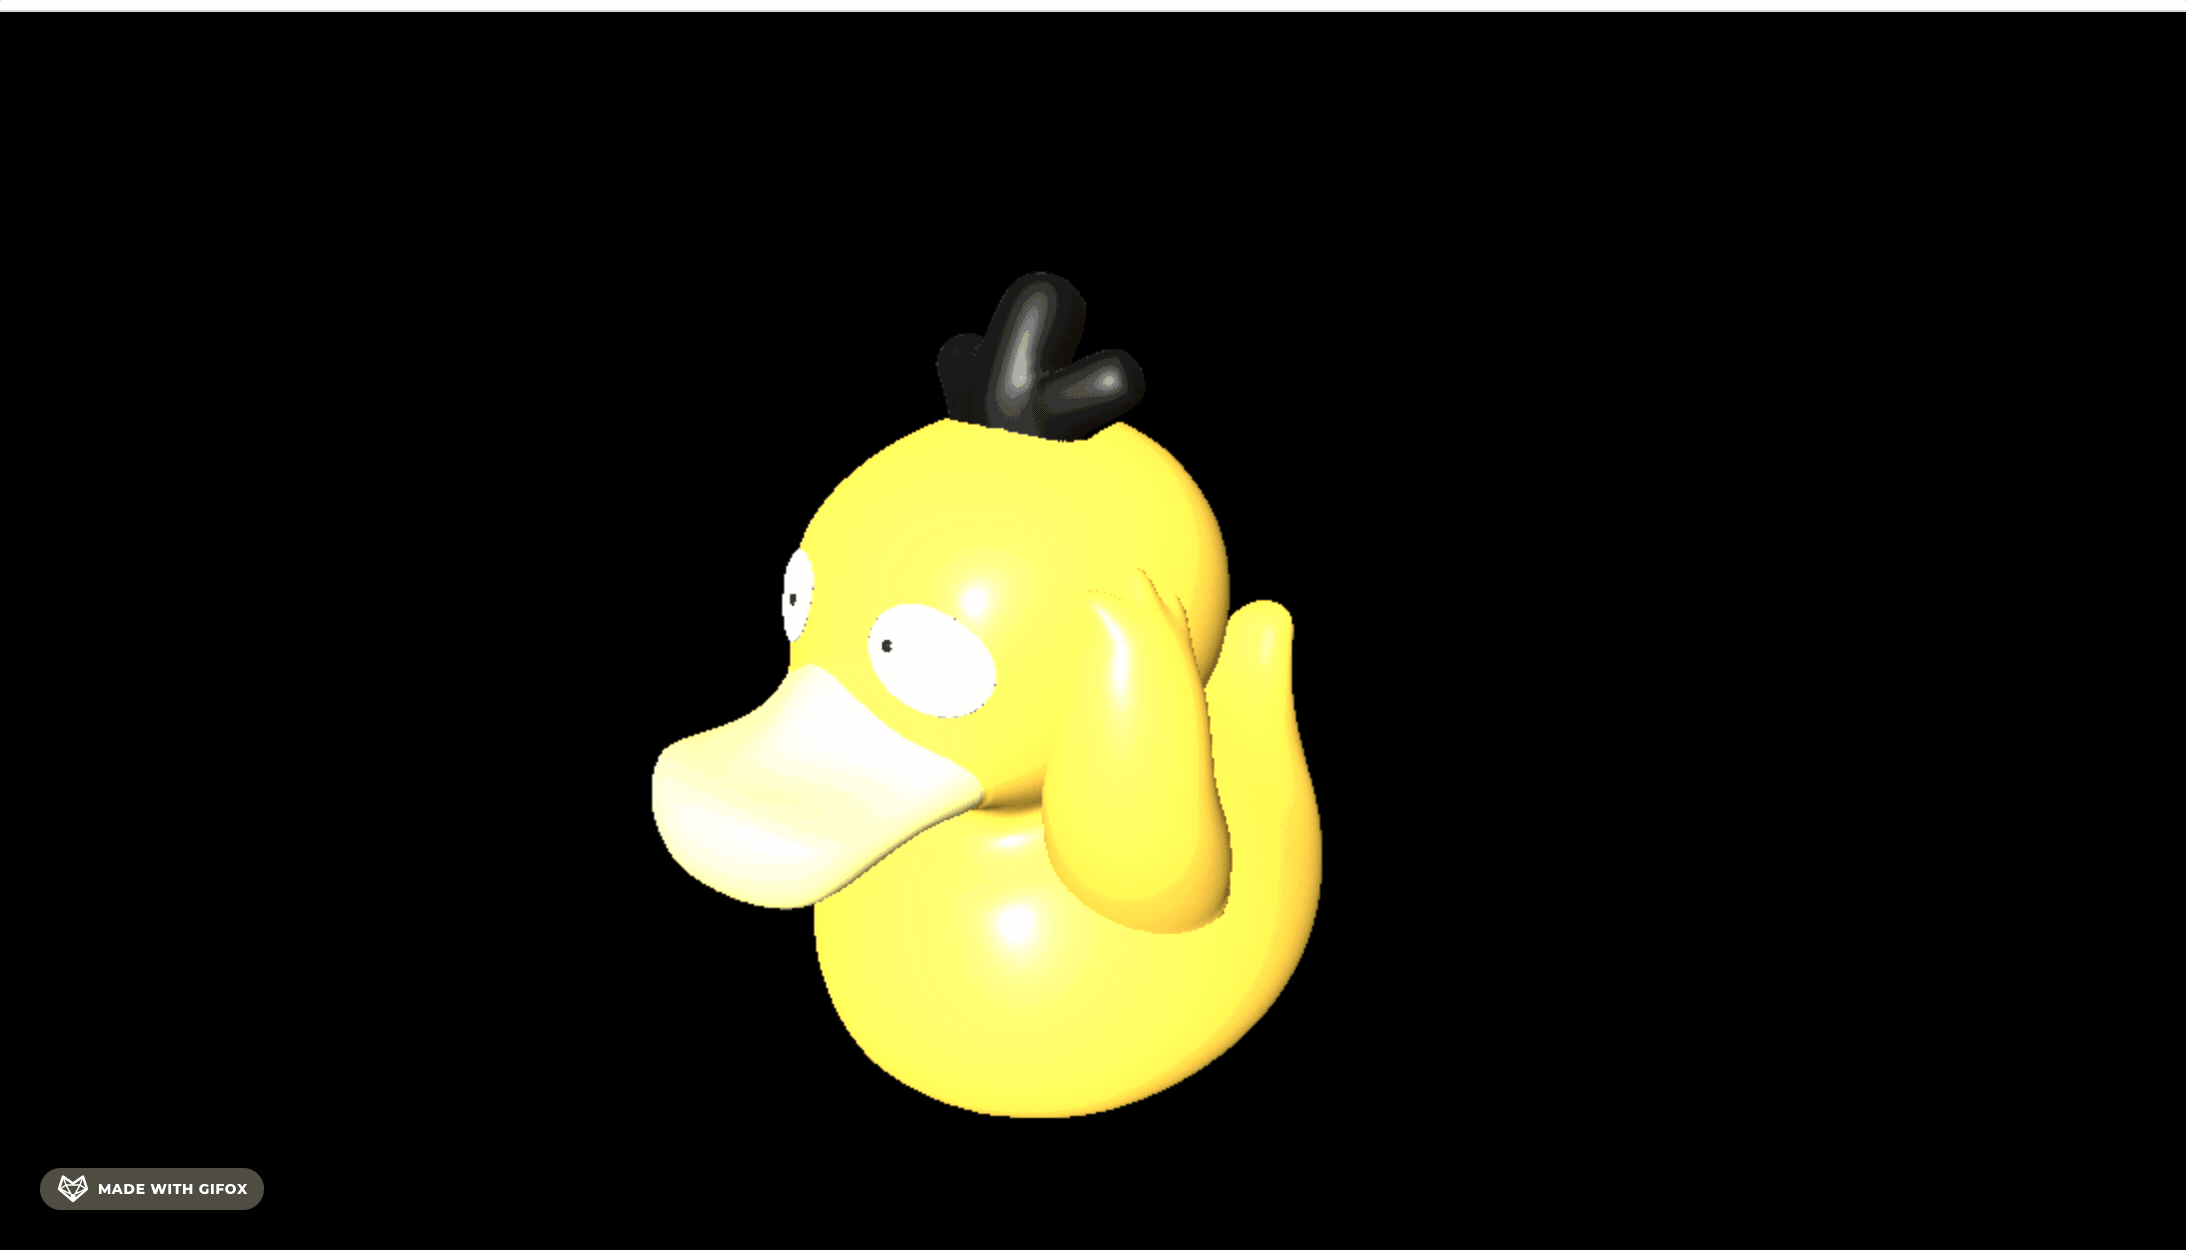
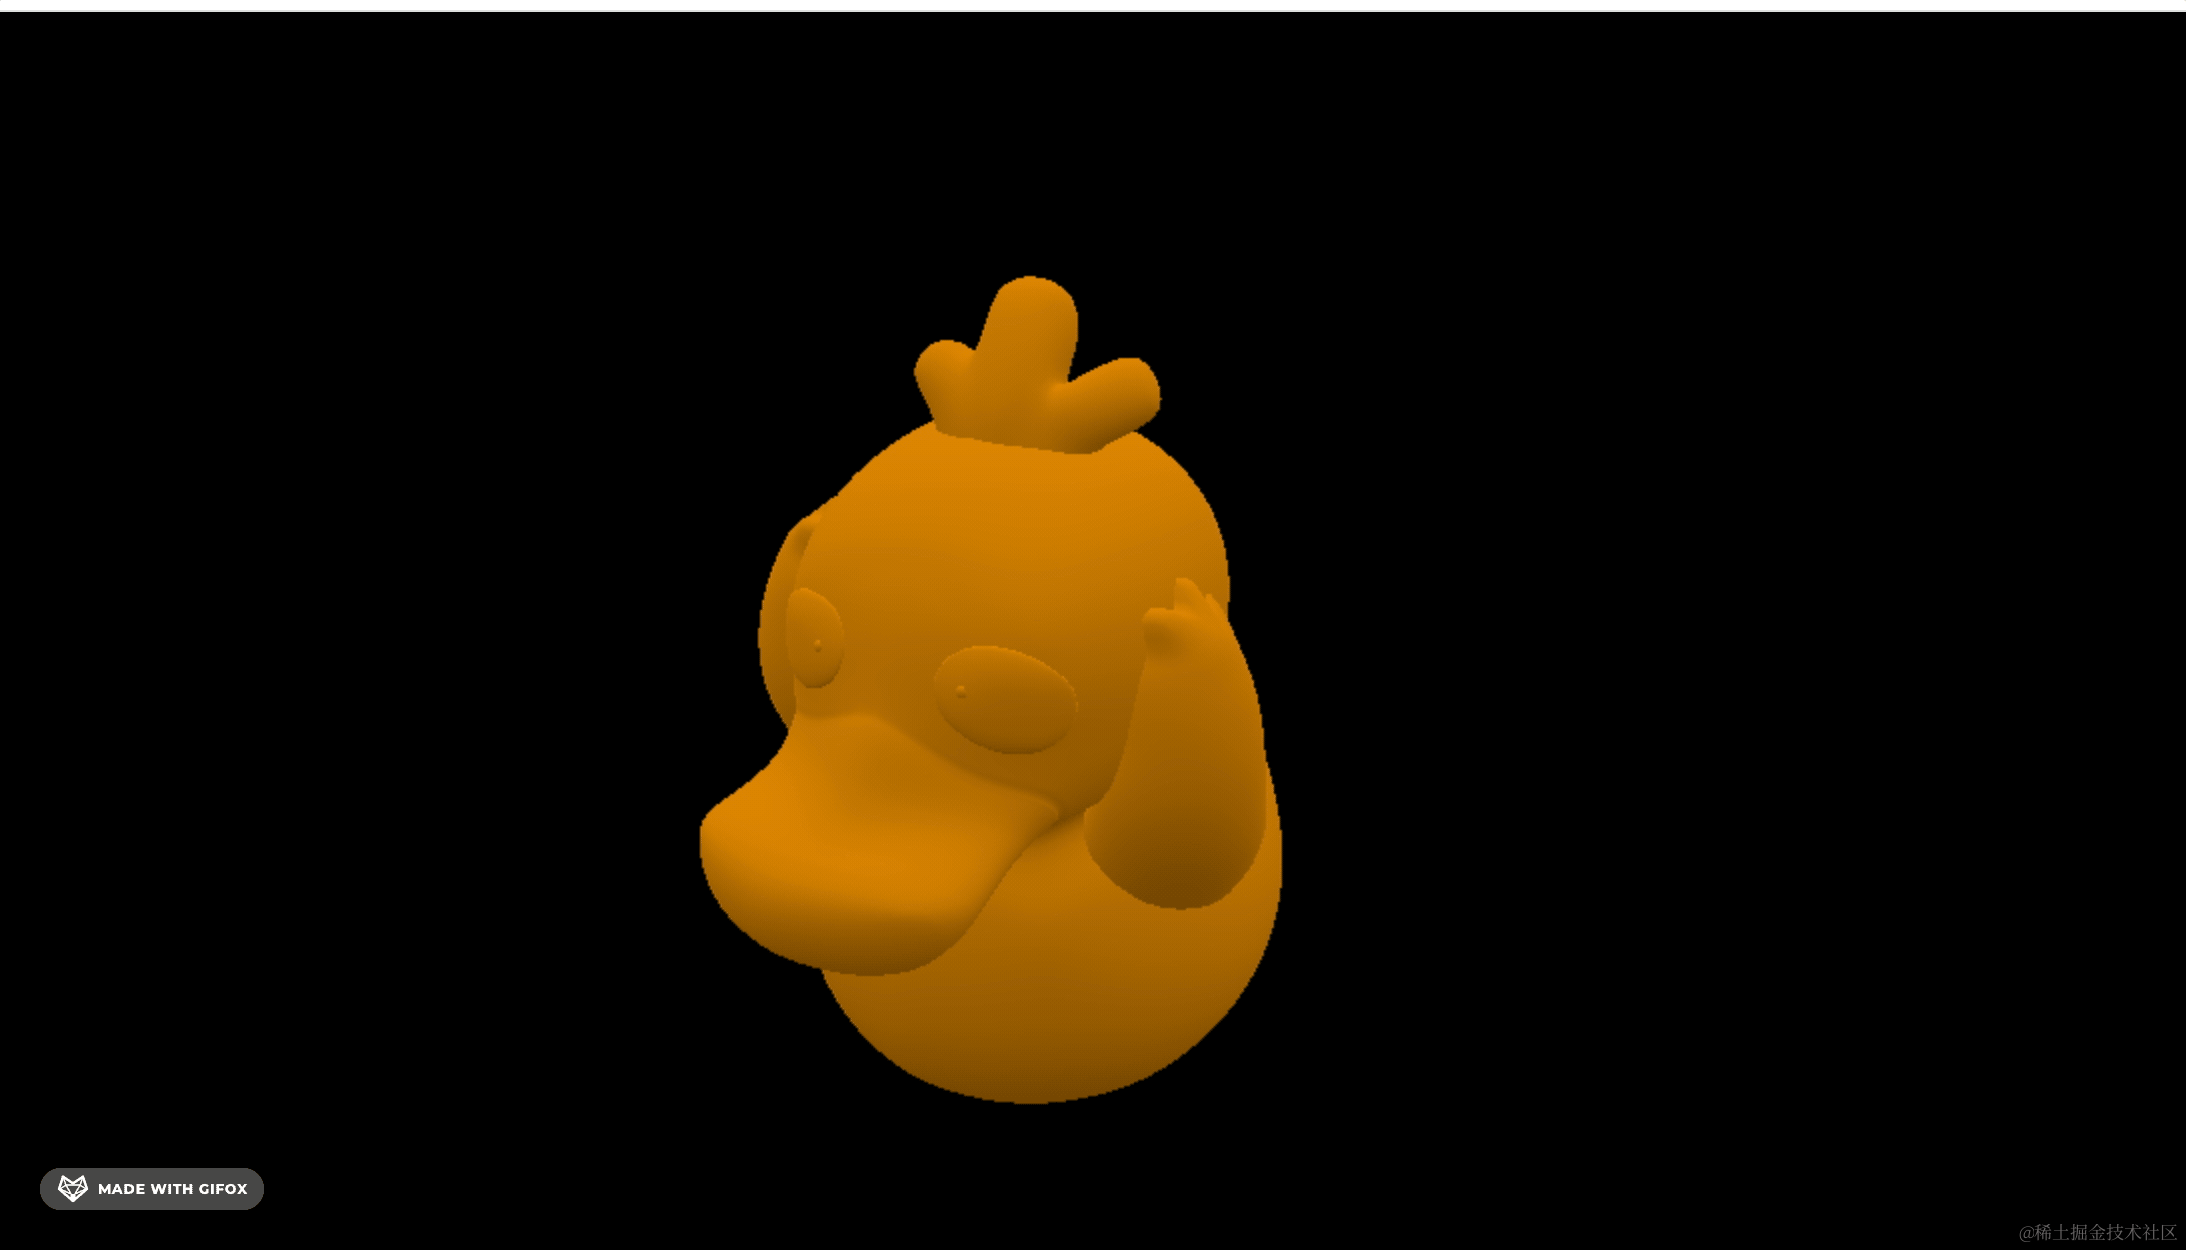
这个鸭子模型本身的材质是反光的。
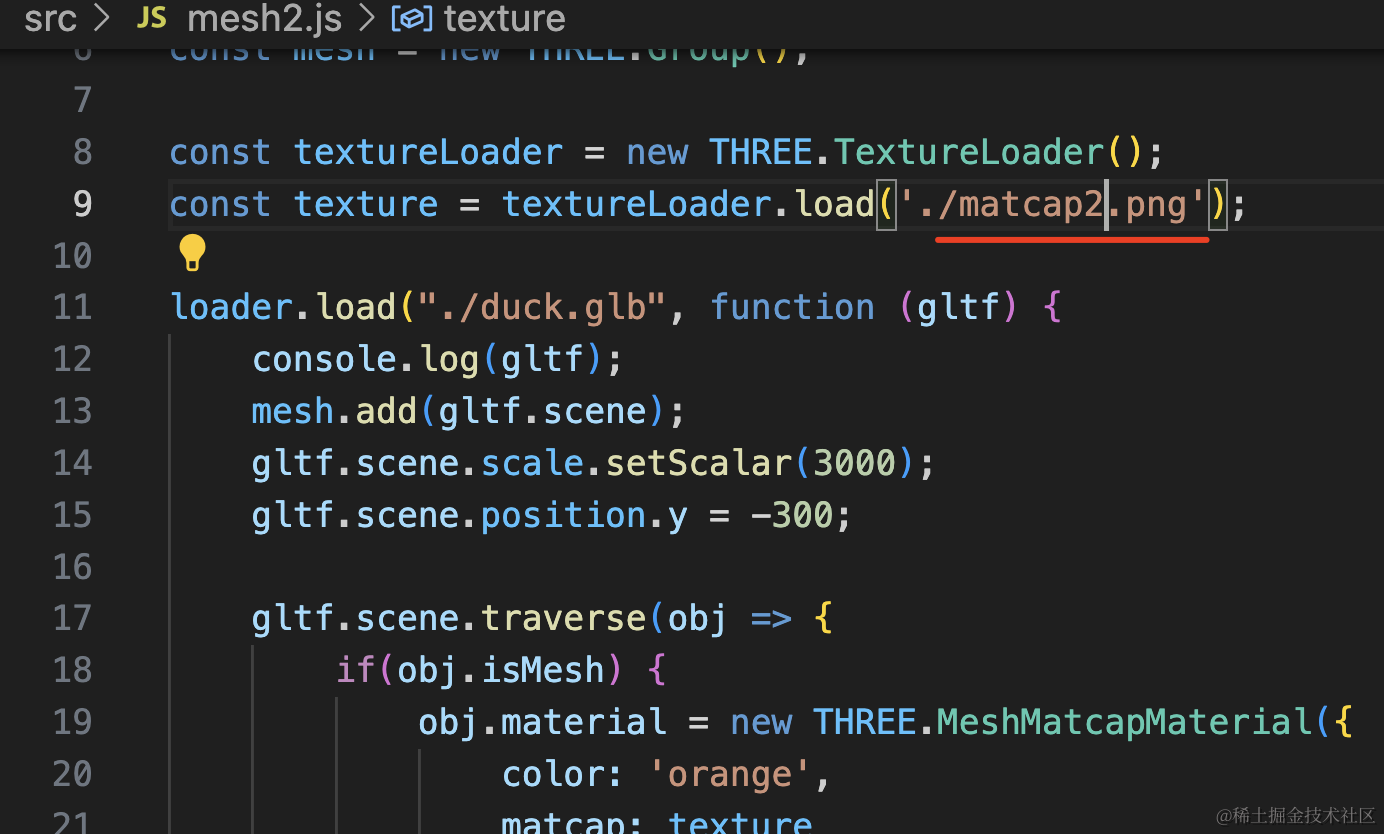
我们换成 MeshMatcapMaterial:
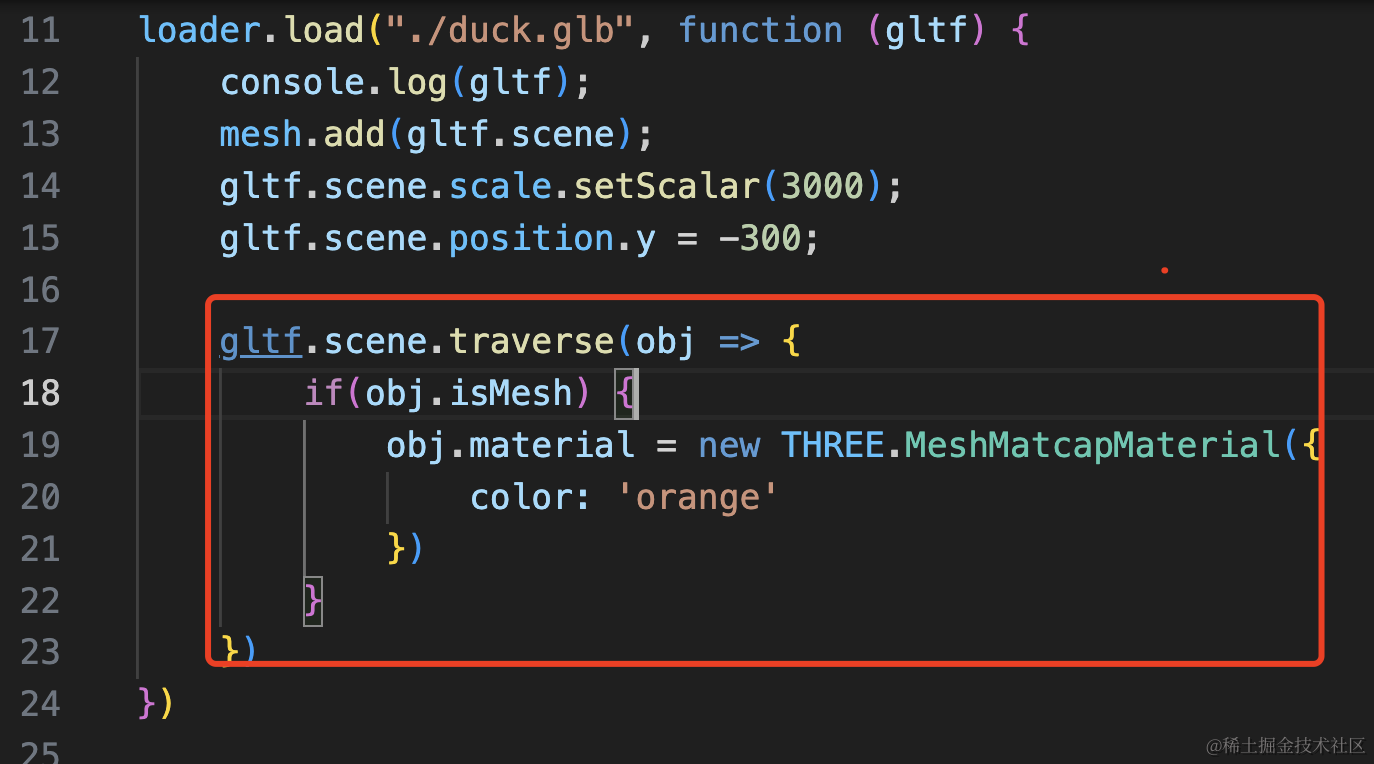
gltf.scene.traverse(obj => {
    if(obj.isMesh) {
        obj.material = new THREE.MeshMatcapMaterial({
            color: 'orange'
        })
    }
})
这样是不反光的,我们加上 matcap 纹理
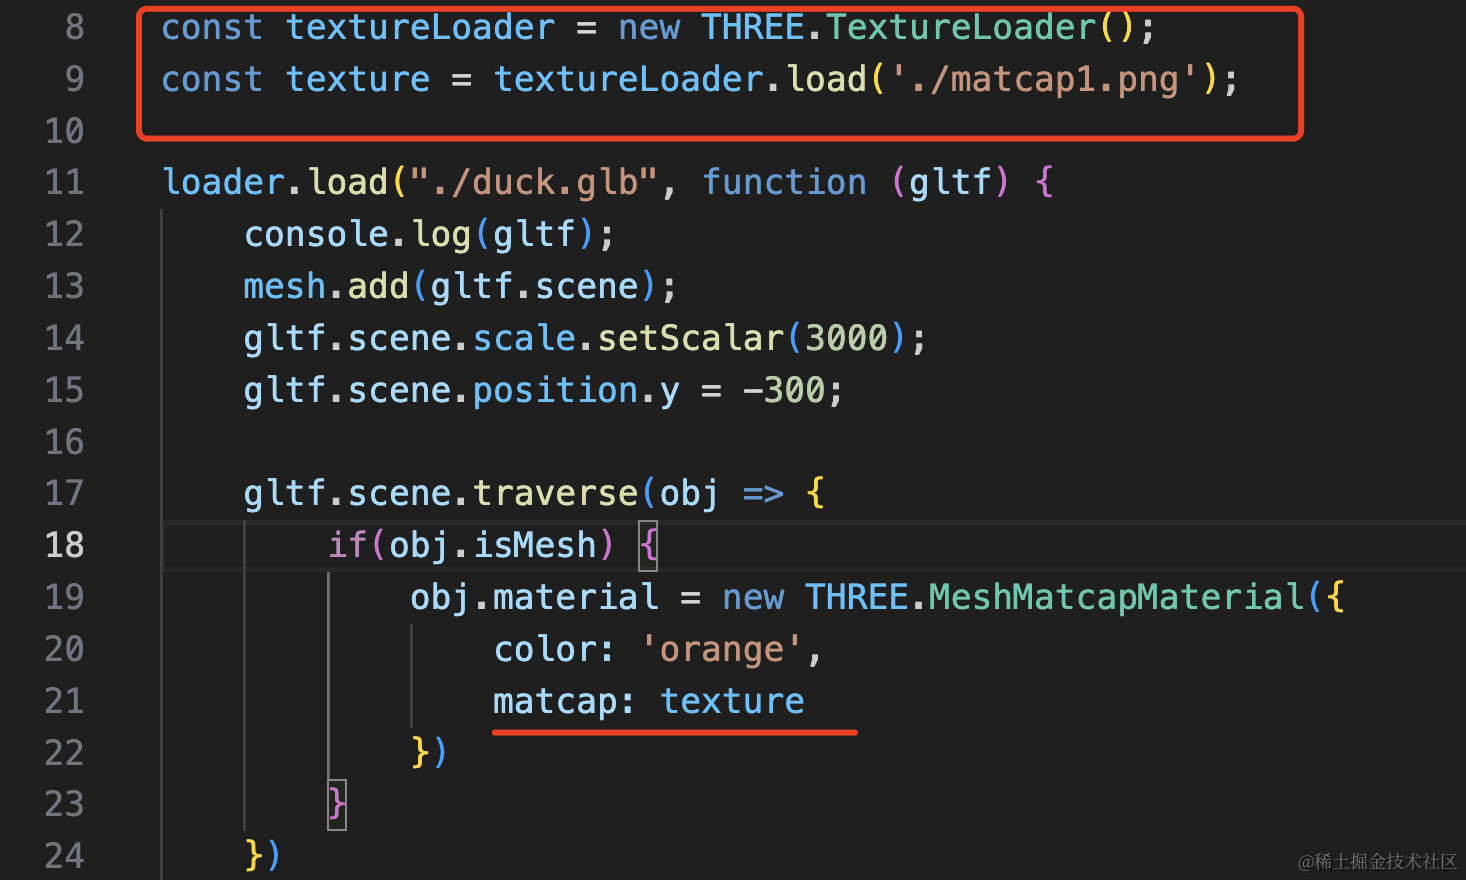
const textureLoader = new THREE.TextureLoader();
const texture = textureLoader.load('./matcap1.png');obj.material = new THREE.MeshMatcapMaterial({
color: 'orange',
matcap: texture
})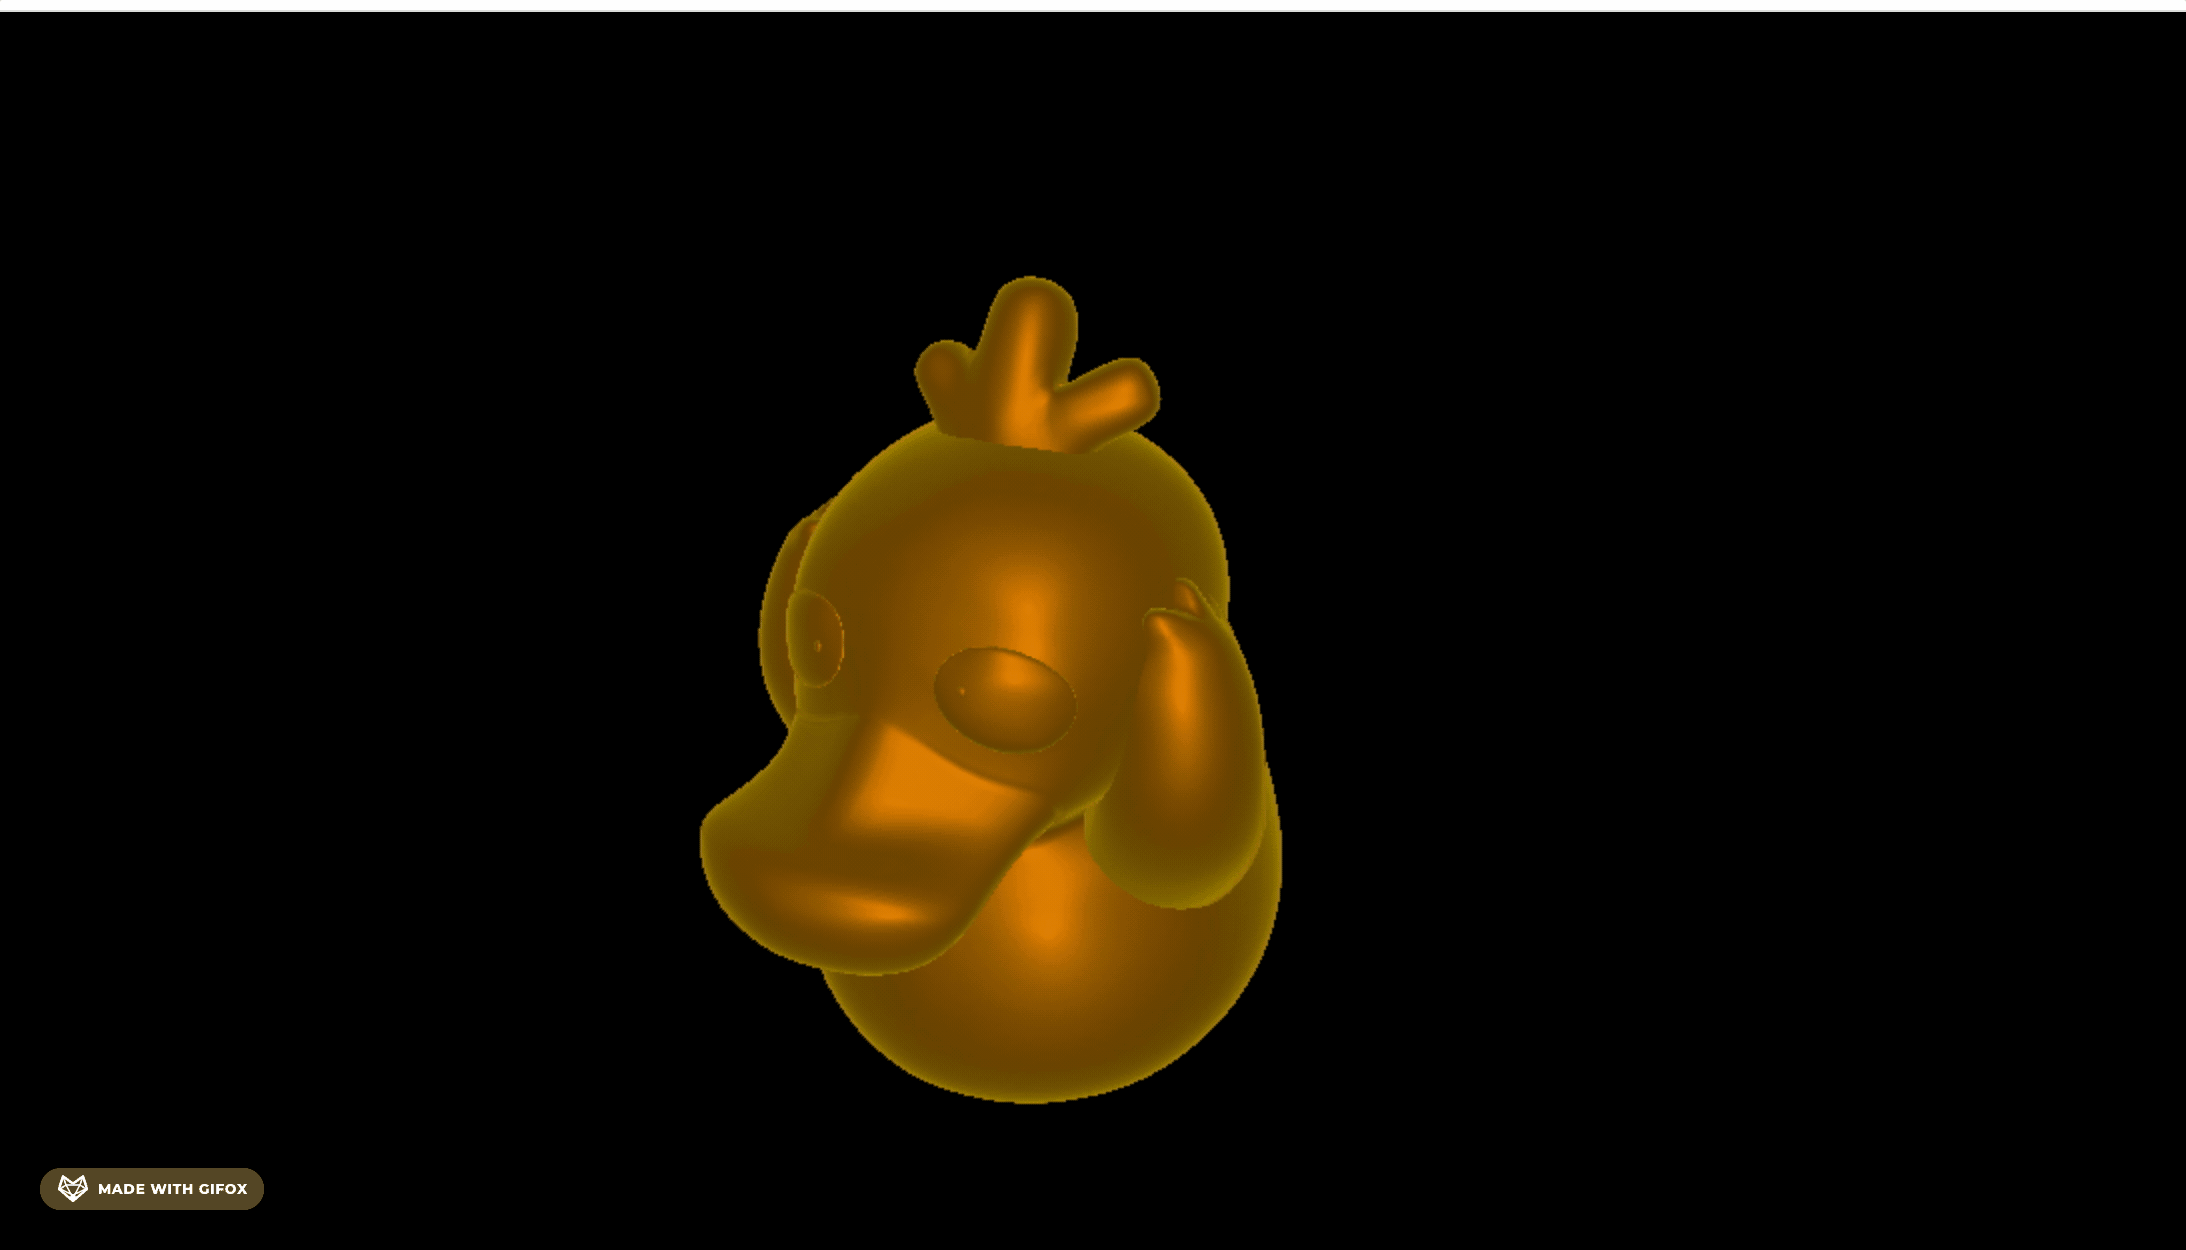
看起来是不是挺真实的?
但它并不是真正的计算光照,而是根据法线方向来应用提前渲染好的光照效果。
如果真的要实时计算的话,需要用 PBR 材质,加一个 sheen 光泽层来实现这种效果。
用 MatCap 材质,能简单快速实现各种高级效果,性能消耗还少,因为不计算光照。
我们换个光泽球:
放到 public 目录下:
替换下:

现在是不是就有玉石的感觉了?
这种光泽球你可以从这个开源项目里找:
https://observablehq.com/d/2c53c7ee9f619740?ui=classic
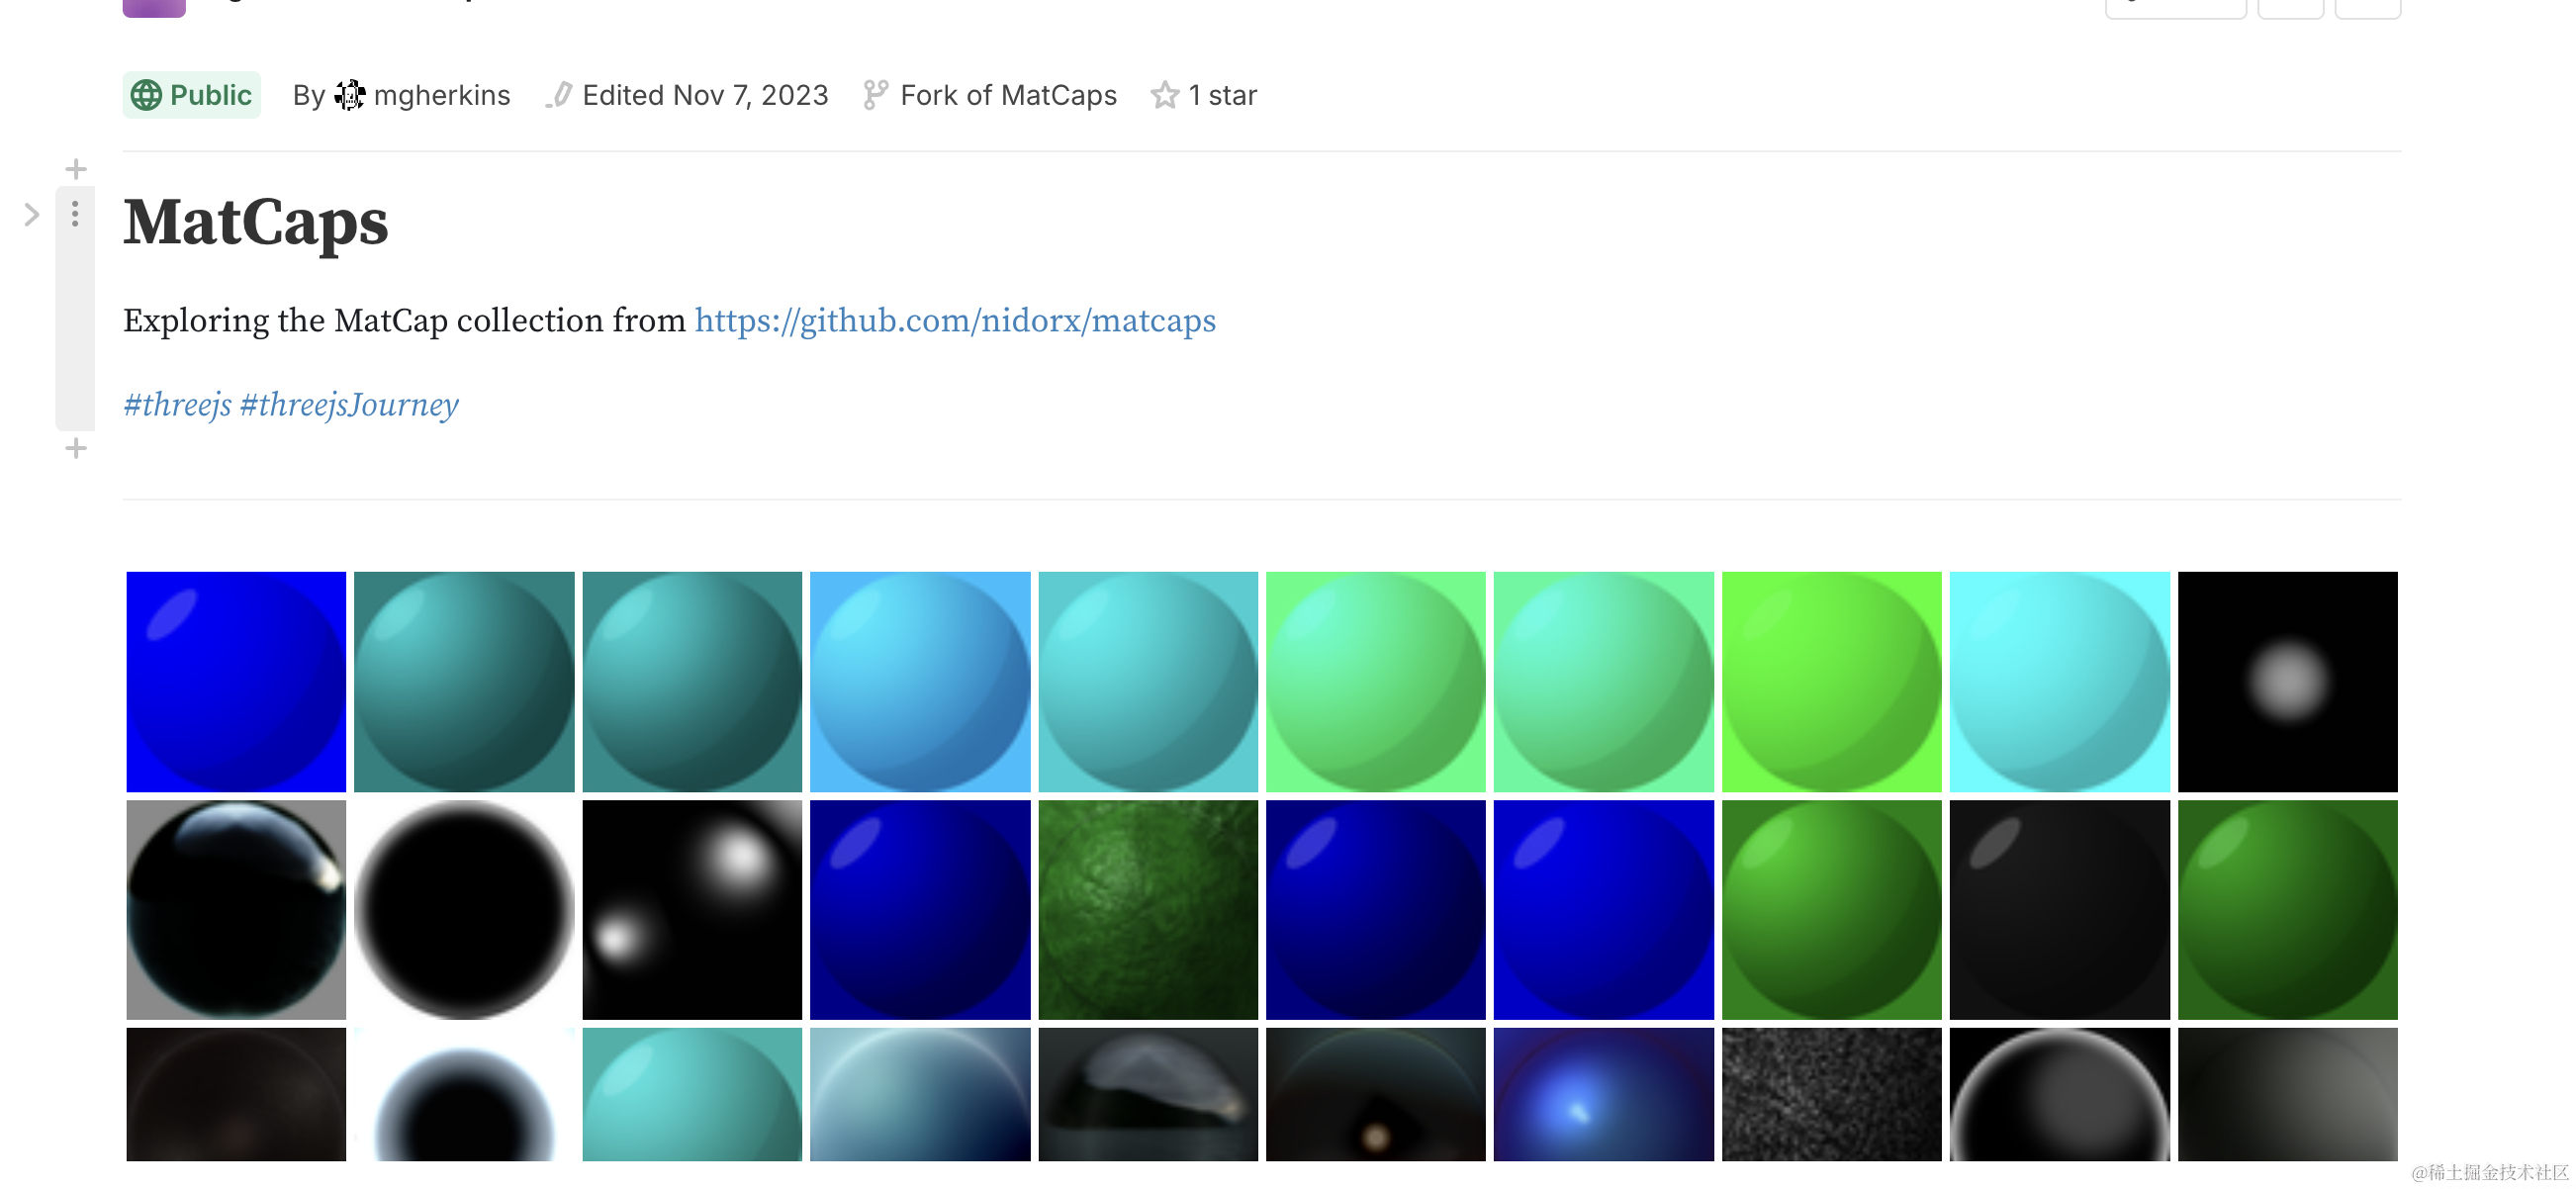
或者从这里看渲染后的效果:
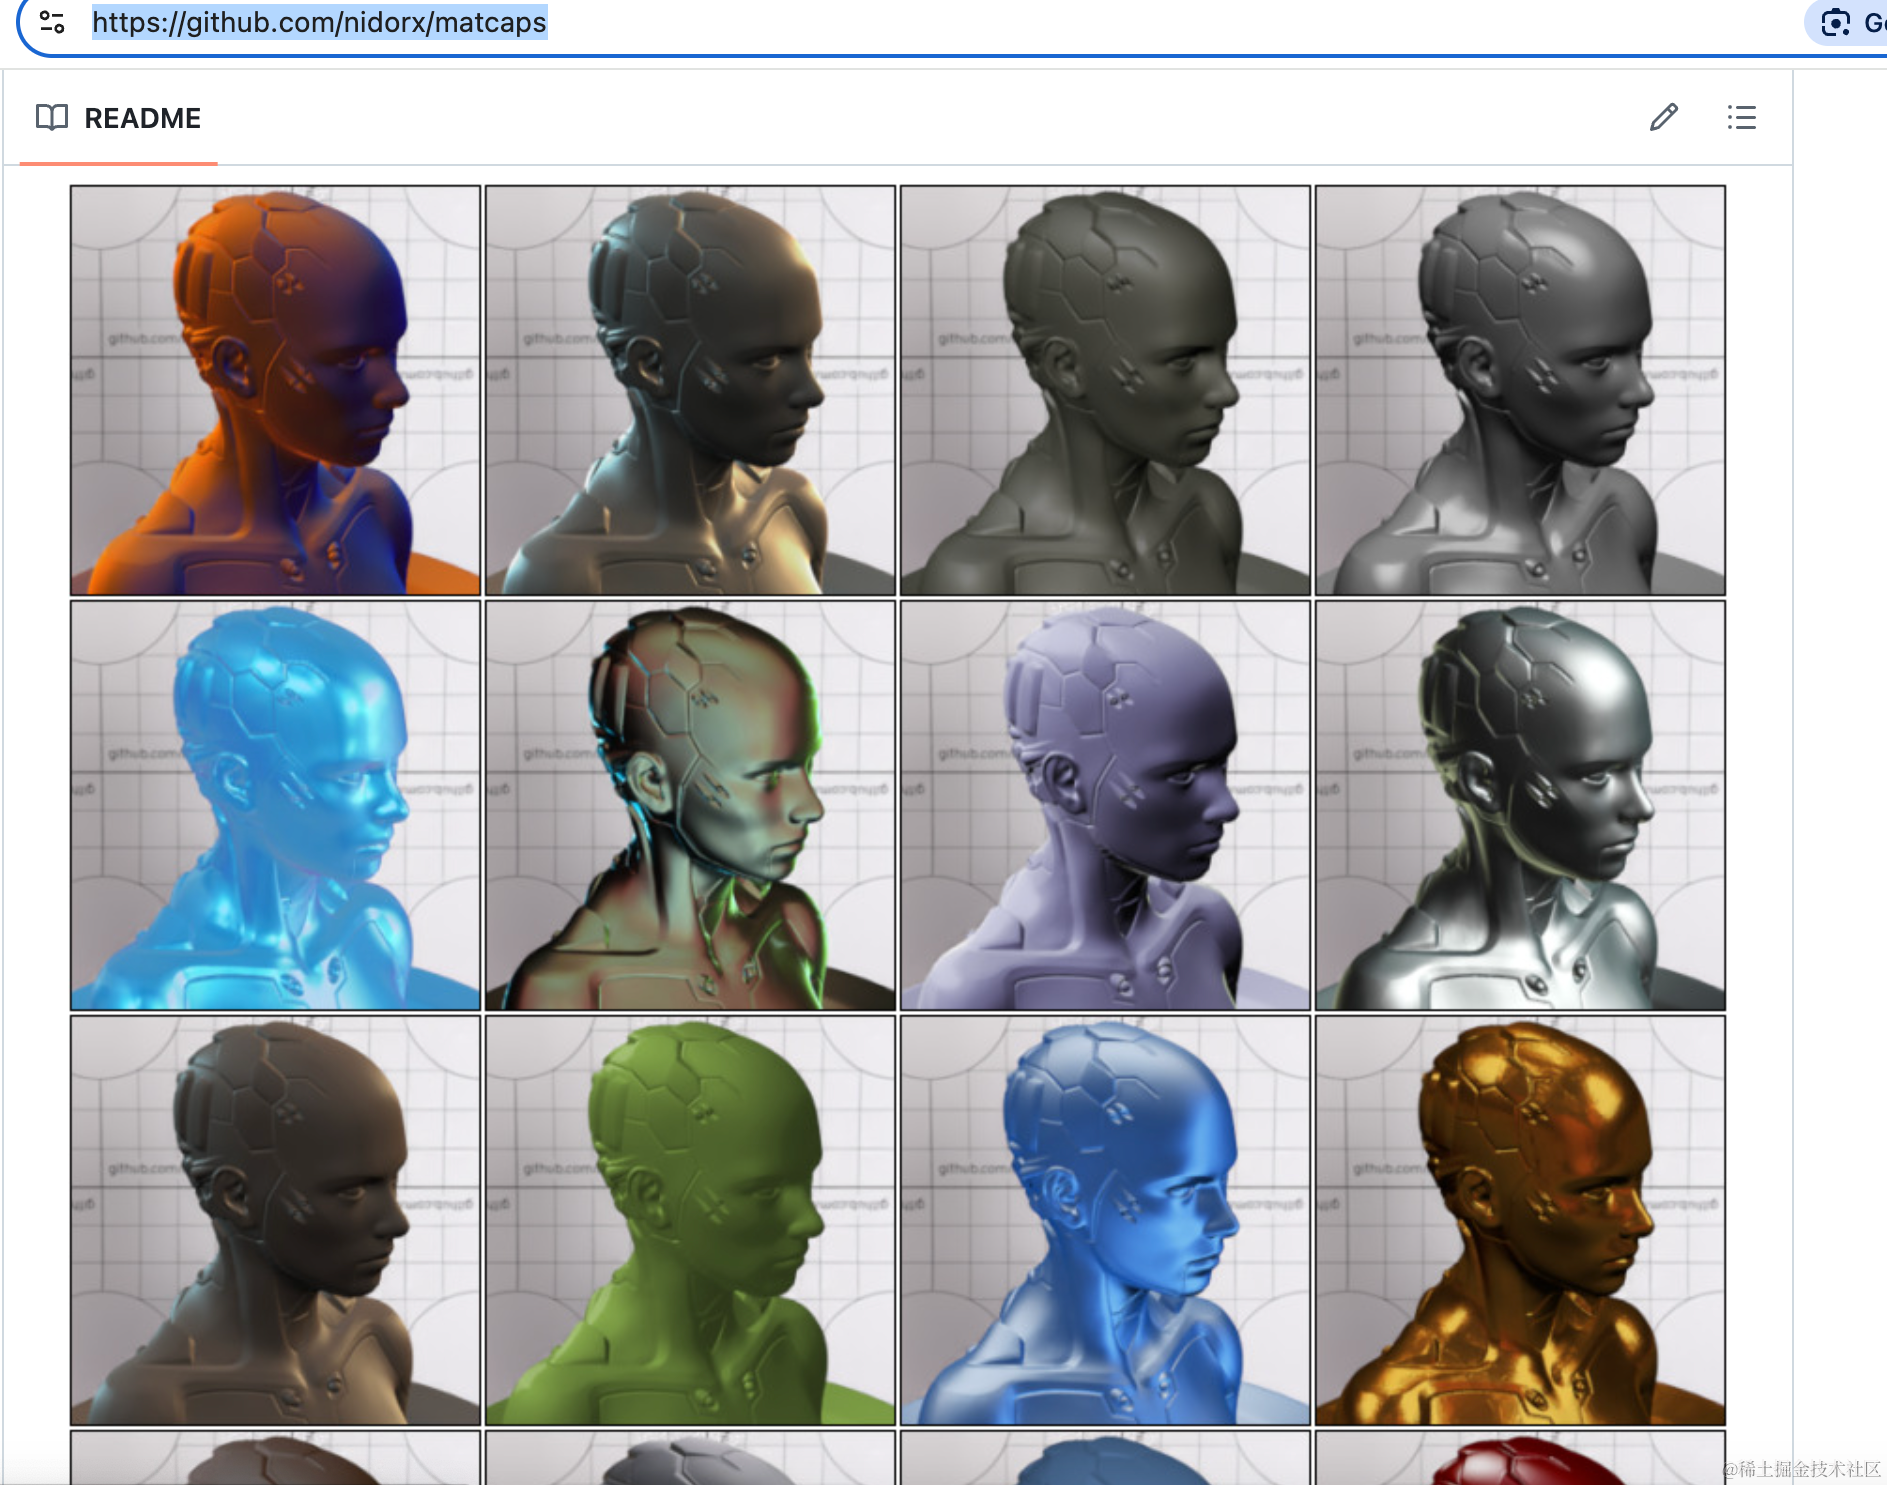
https://github.com/nidorx/matcaps
比如换这个:
看下效果:
现在是不是金属感就很强了?
这个上面还可以看到环境贴图。
当然,你也可以自己制作这种光泽球,就是画一个球体,实现各种材质和光照效果之后,做成图片就可以了。
总之,通过光泽球可以实现各种预渲染的光照效果。
虽然这些光照效果是提前定义好的,但整体看起来还算真实。
案例代码上传了小册仓库。
总结
这节我们学了 MeshMatcapMaterial 材质。
它并不计算灯光,但可以通过提前渲染好的光泽球图片根据顶点法线来计算光照。
换上不同的光泽球图片,就可以实现各种材质的光照效果。
整体看起来还算真实,而且性能特别好。