这节我们来学一个新的几何体:DecalGeometry 贴花几何体
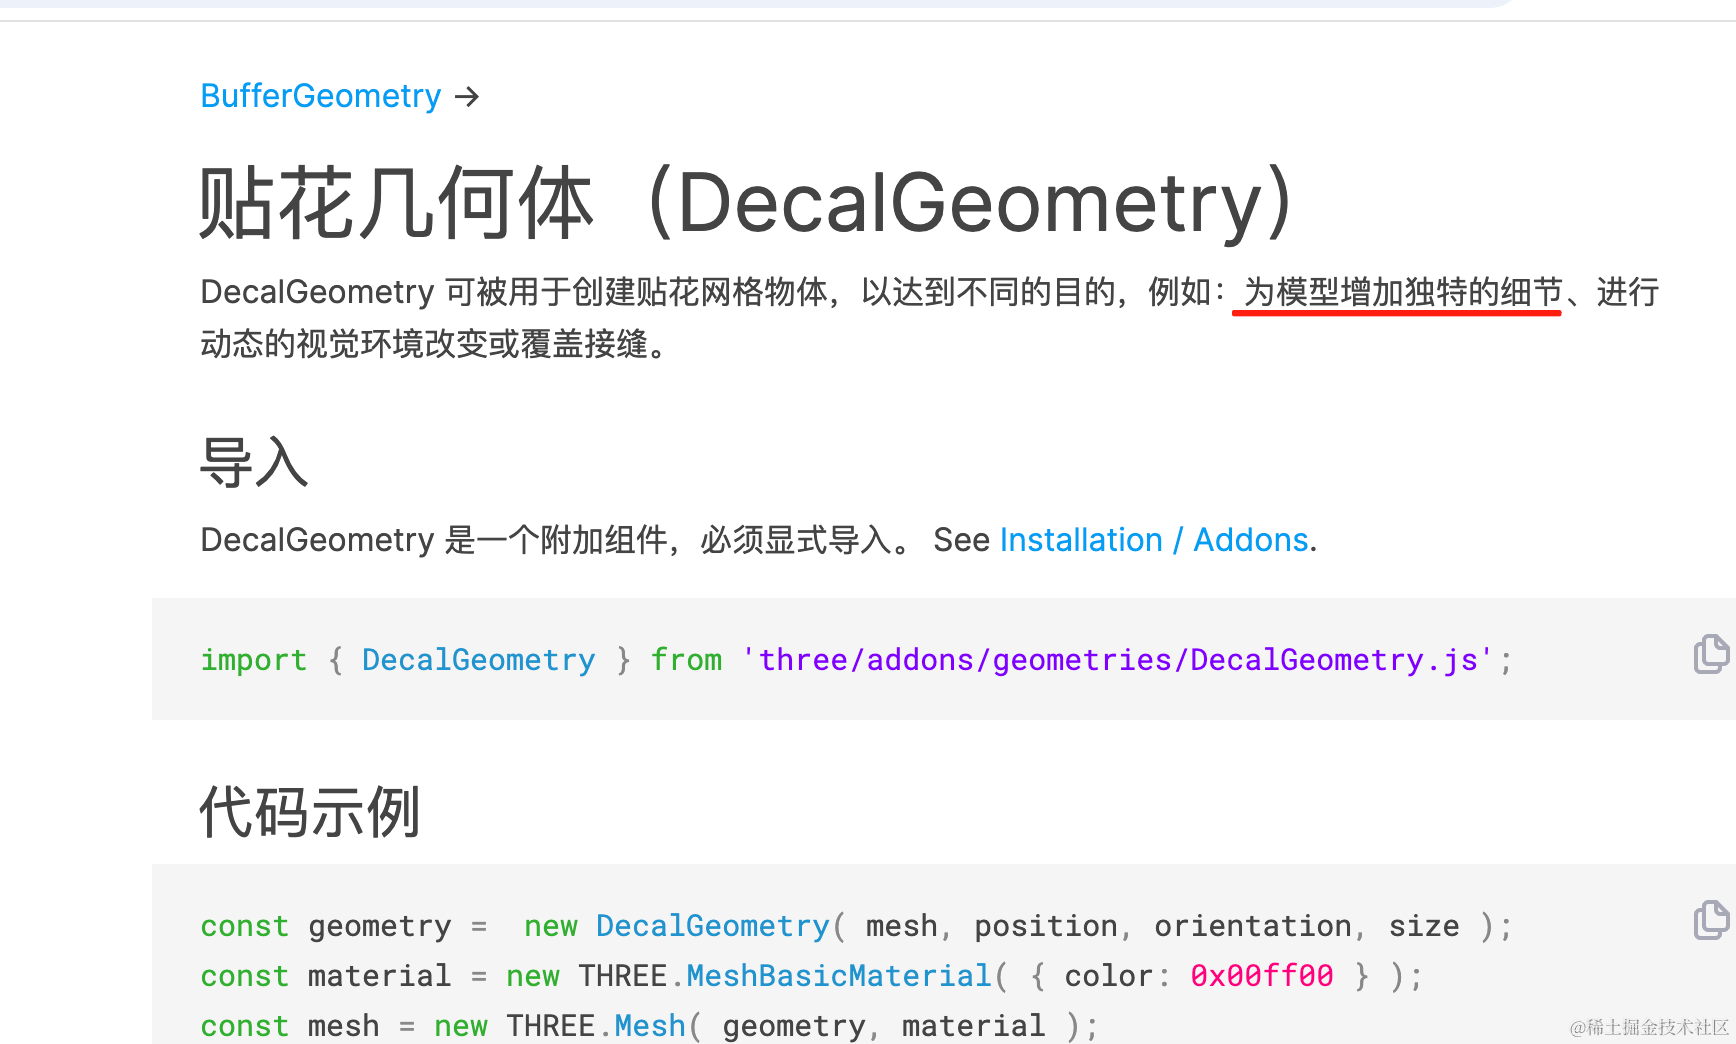
它可以给目标物体增加一些装饰。
什么意思呢?
比如说 T 恤的模型上,你想增加一些特殊的图案:
但这个模型本身是凹凸不平的,如何紧贴着表面给他加一些东西呢?
或者说篮球的签名:
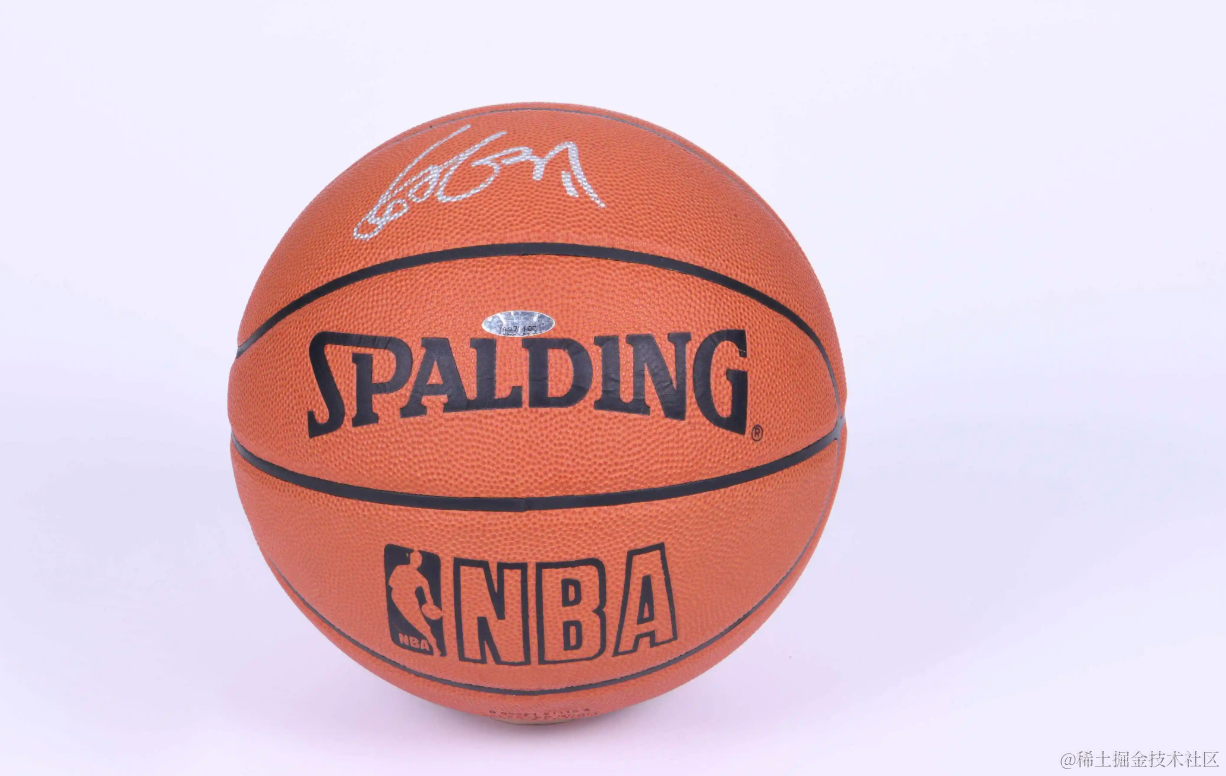
如果你有一个篮球模型,如何给他动态添加一些签名的装饰呢?
这种就要用到贴花几何体了。
它就是用来创建贴在一个网格模型表面的装饰。
我们来试一下:
npx create-vite decal-geometry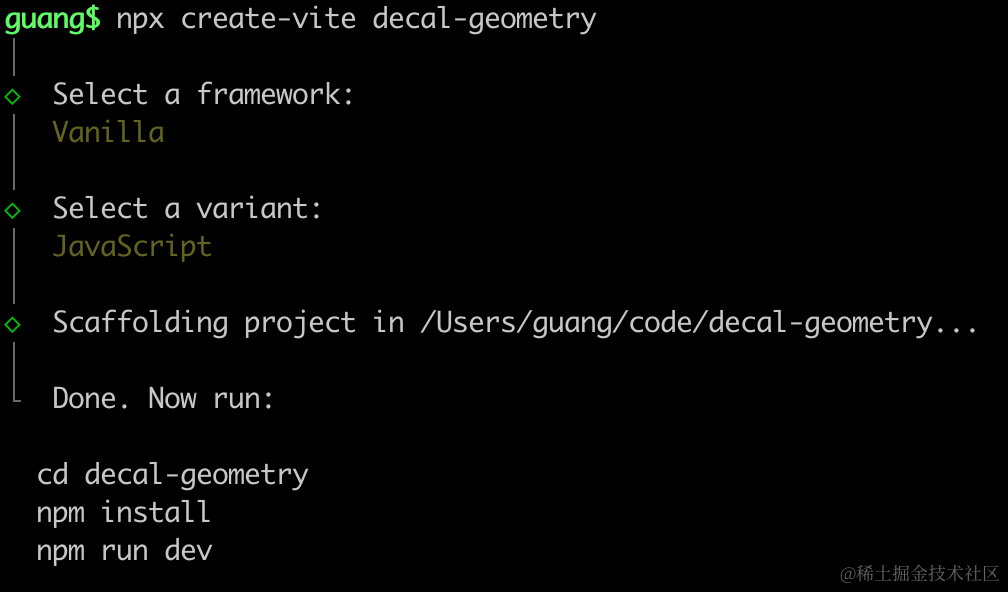
进入项目,安装依赖:
npm install
npm install --save three
npm install --save-dev @types/three
改下 src/main.js
import './style.css';
import * as THREE from 'three';
import {
    OrbitControls
} from 'three/addons/controls/OrbitControls.js';
import mesh from './mesh.js';

const scene = new THREE.Scene();
scene.add(mesh);

const directionLight = new THREE.DirectionalLight(0xffffff, 2);
directionLight.position.set(500, 400, 300);
scene.add(directionLight);

const ambientLight = new THREE.AmbientLight();
scene.add(ambientLight);

const width = window.innerWidth;
const height = window.innerHeight;

const camera = new THREE.PerspectiveCamera(60, width / height, 0.1, 1000);
camera.position.set(500, 600, 400);
camera.lookAt(0, 0, 0);

const renderer = new THREE.WebGLRenderer({
    antialias: true
});
renderer.setSize(width, height)

function render() {
    renderer.render(scene, camera);
    requestAnimationFrame(render);
}

render();

document.body.append(renderer.domElement);

const controls = new OrbitControls(camera, renderer.domElement);
创建 Scene、Light、Camera、Renderer。
改下 style.css
body {
  margin: 0;
}
然后在 mesh.js 创建一个球:
import * as THREE from 'three';

const group = new THREE.Group();

const geometry = new THREE.SphereGeometry(200);
const material = new THREE.MeshPhongMaterial({
    color: 'orange'
});
const mesh = new THREE.Mesh(geometry, material);
group.add(mesh);

export default group;
跑一下:
npm run dev
然后在上面加一个图片,紧贴表面。
创建贴花几何体 DecalGeometry:
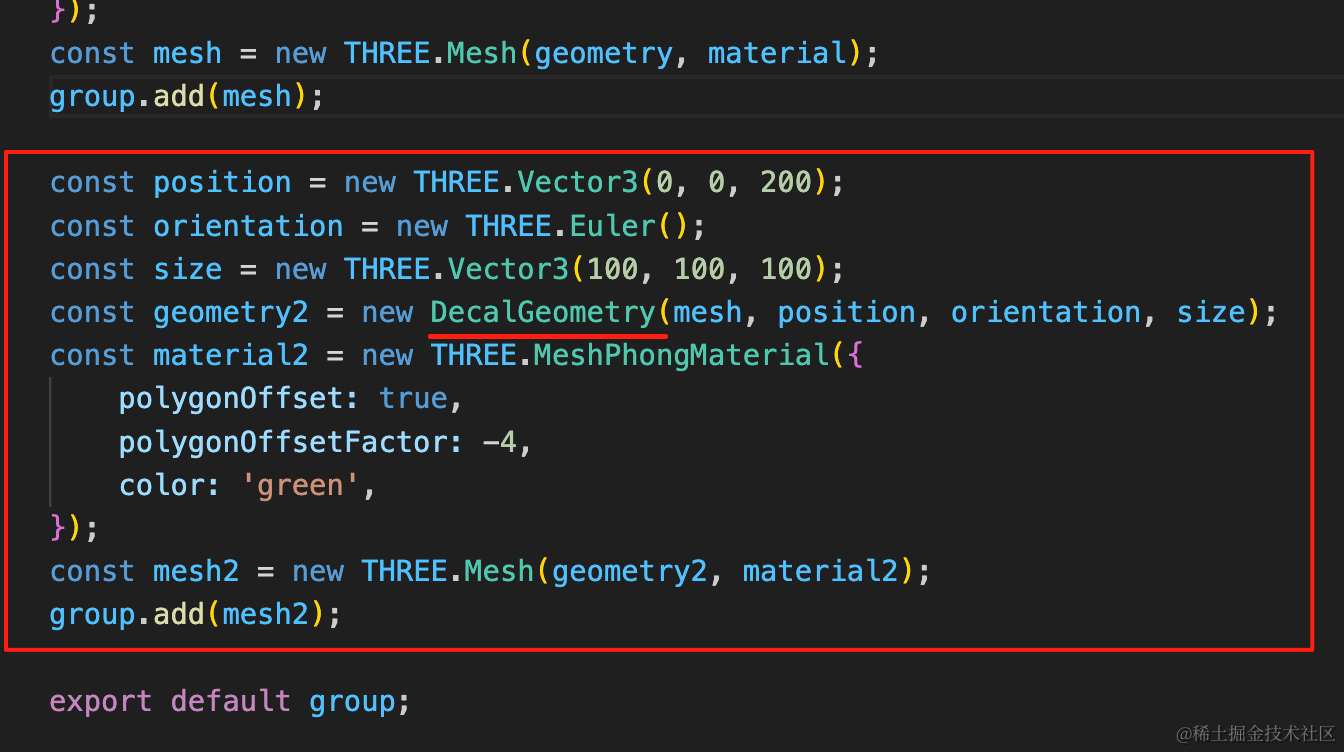
DecalGeometry 是附在另一个网格模型表面,所以要传入 mesh 以及位置、角度、大小。
然后不能紧贴表面,让它有个 -4 的偏移。
const position = new THREE.Vector3(0, 0, 200);
const orientation = new THREE.Euler();
const size = new THREE.Vector3(100, 100, 100);
const geometry2 = new DecalGeometry(mesh, position, orientation, size);
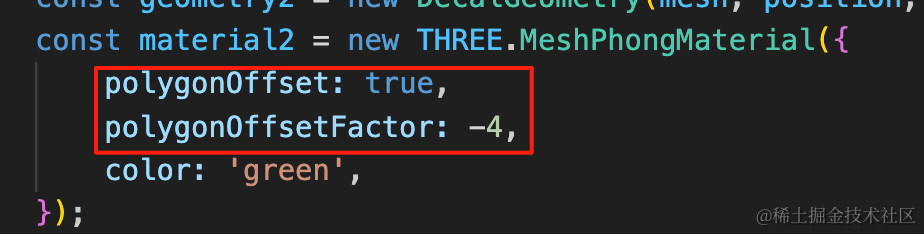
const material2 = new THREE.MeshPhongMaterial({
polygonOffset: true,
polygonOffsetFactor: -4,
color: 'green',
});
const mesh2 = new THREE.Mesh(geometry2, material2);
group.add(mesh2);看下效果:
可以看到,现在球体表面就多了一个装饰,这个就是贴花几何体。
这俩参数是防止深度冲突的,去掉的话,贴花和表面重合就会闪烁,因为不知道哪个在上面:

然后我们找张图片试一下:
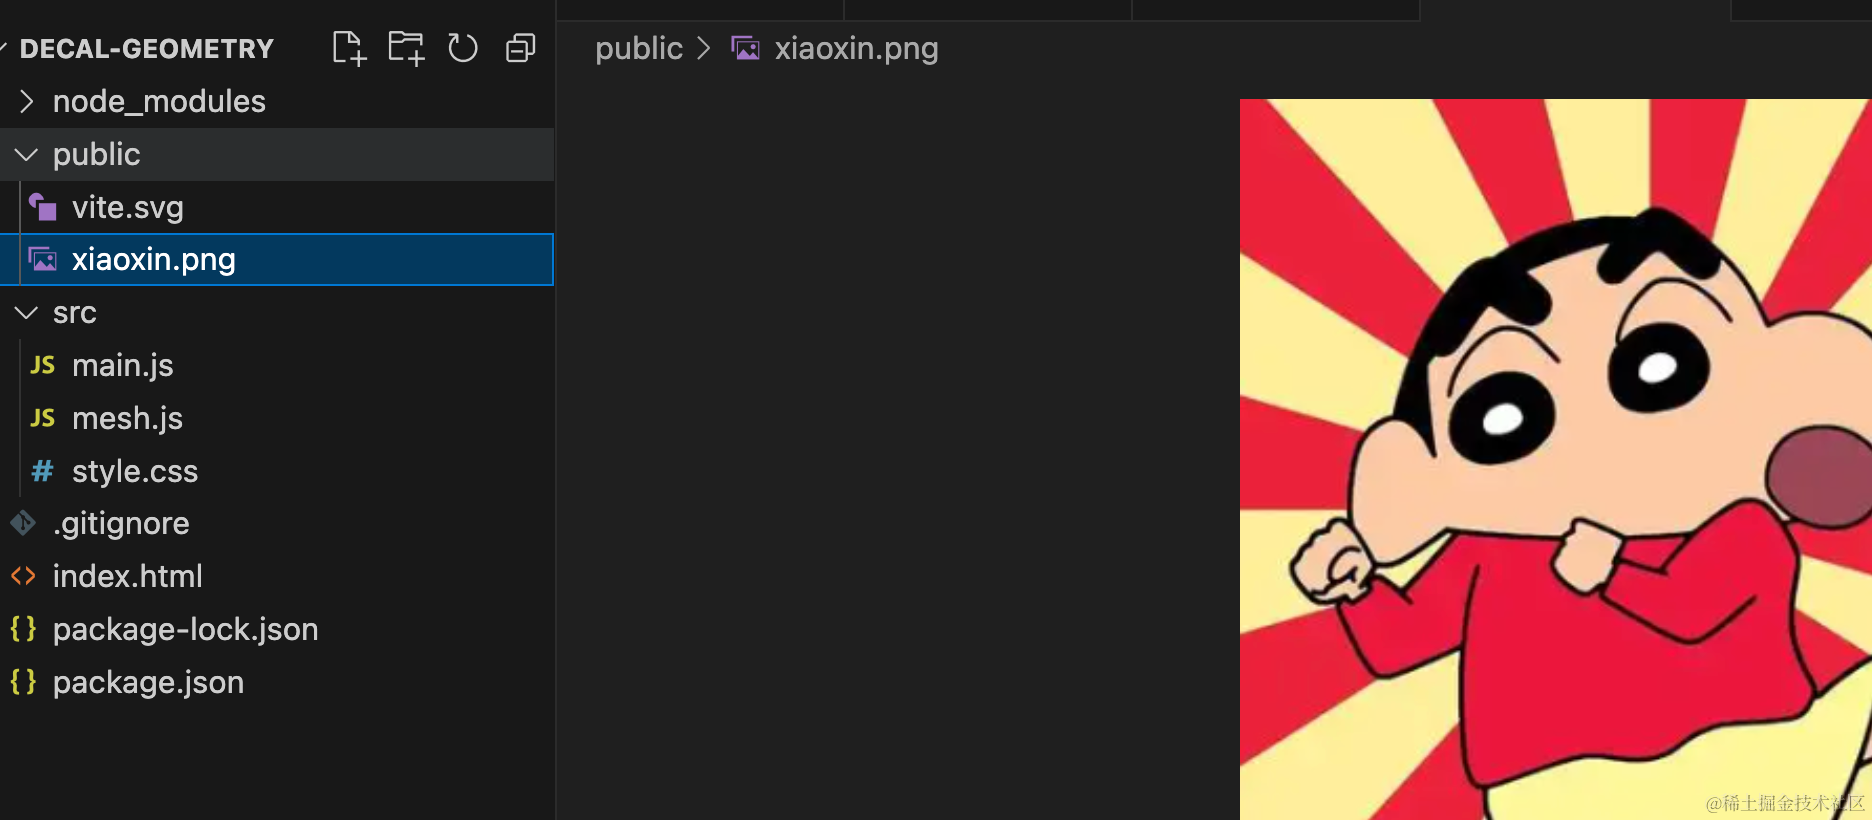
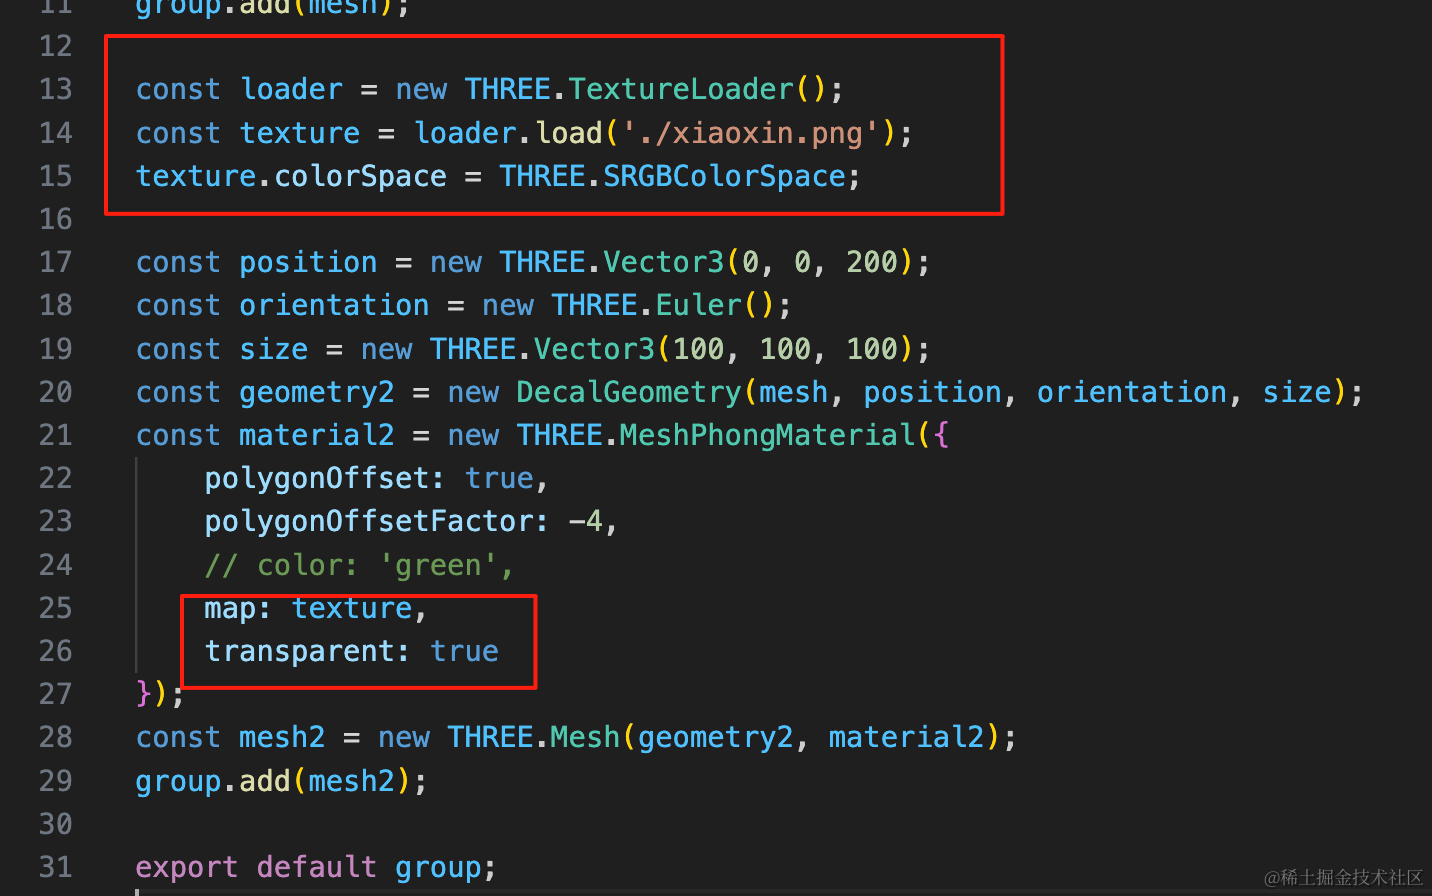
const loader = new THREE.TextureLoader();
const texture = loader.load('./xiaoxin.png');
texture.colorSpace = THREE.SRGBColorSpace;
const material2 = new THREE.MeshPhongMaterial({
polygonOffset: true,
polygonOffsetFactor: -4,
// color: 'green',
map: texture,
transparent: true
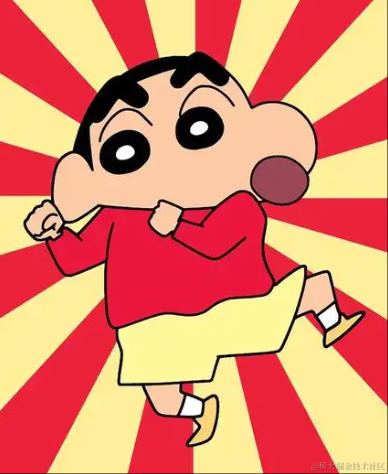
});看下效果:
换个复杂一点的几何体:
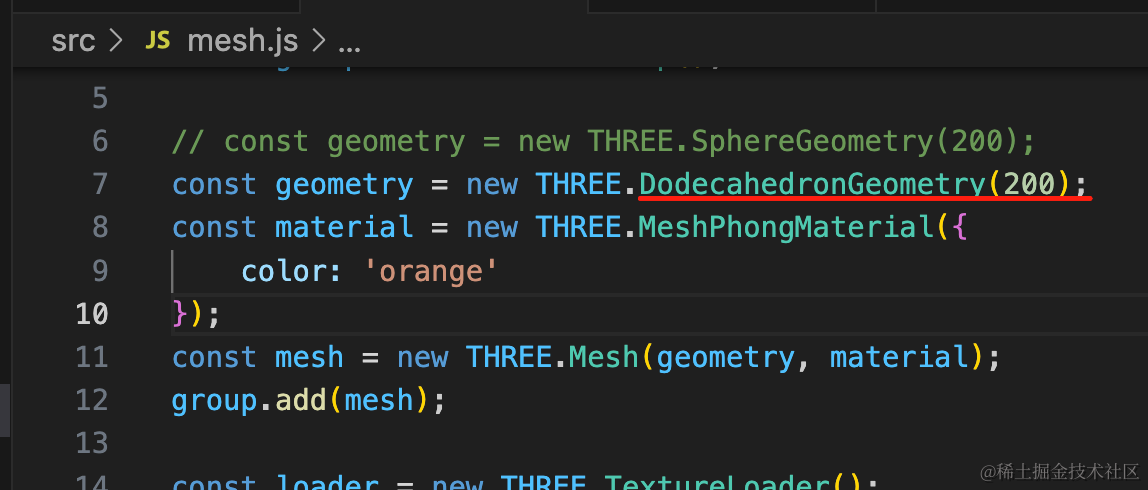
const geometry = new THREE.DodecahedronGeometry(200);换成正十二面体。
也同样是紧贴着几何体。
如果我要贴在某个角上,如何知道位置呢?
可以用 RayCaster 来实现:
我们添加一个点击事件:
const loader = new THREE.TextureLoader();
const texture = loader.load('./xiaoxin.png');
texture.colorSpace = THREE.SRGBColorSpace;
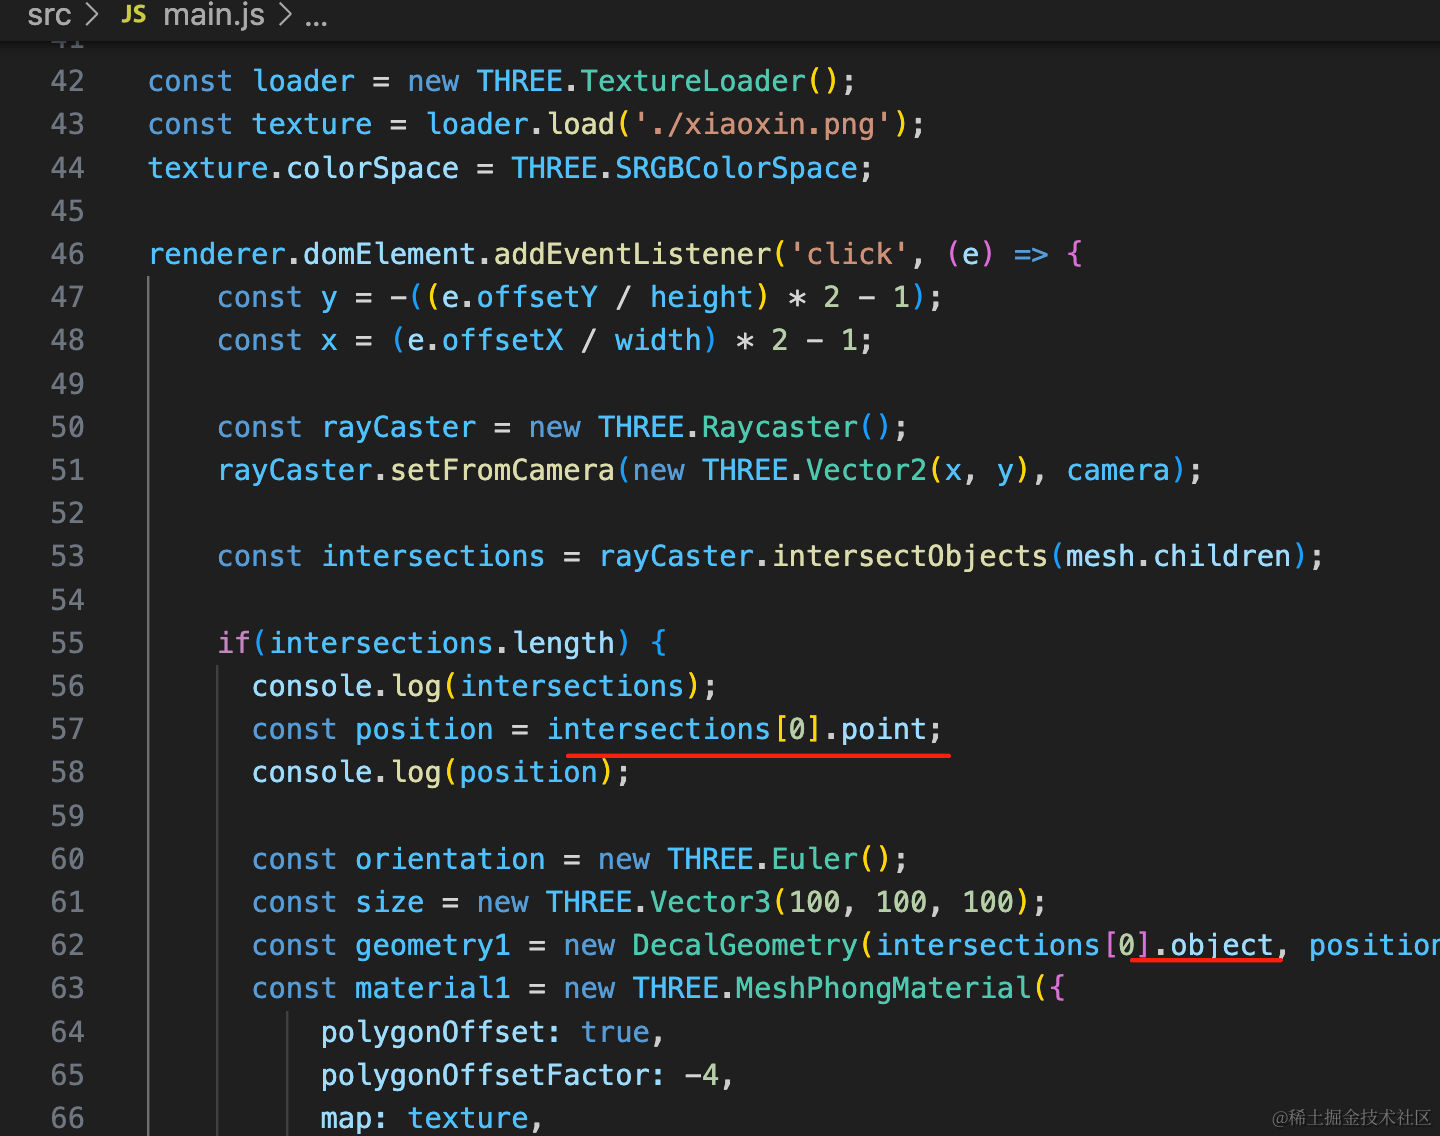
renderer.domElement.addEventListener('click', (e) => {
const y = -((e.offsetY / height) * 2 - 1);
const x = (e.offsetX / width) * 2 - 1;
const rayCaster = new THREE.Raycaster();
rayCaster.setFromCamera(new THREE.Vector2(x, y), camera);
const intersections = rayCaster.intersectObjects(mesh.children);
if(intersections.length) {
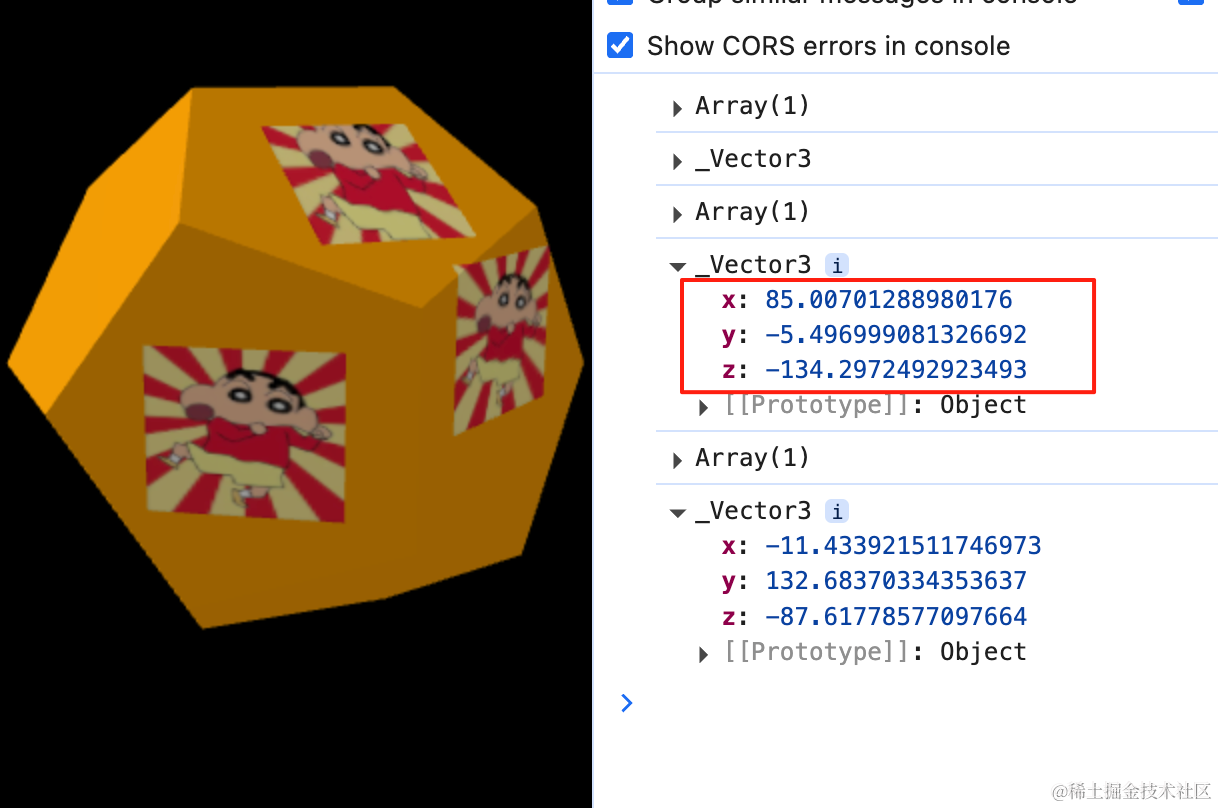
console.log(intersections);
const position = intersections[0].point;
console.log(position);
const orientation = new THREE.Euler();
const size = new THREE.Vector3(100, 100, 100);
const geometry1 = new DecalGeometry(intersections[0].object, position, orientation, size);
const material1 = new THREE.MeshPhongMaterial({
polygonOffset: true,
polygonOffsetFactor: -4,
map: texture,
transparent: true,
});
const mesh1 = new THREE.Mesh( geometry1, material1 );
scene.add(mesh1);
}
});点击选中 3D 场景的物体后,我们通过 object 拿到点击的物体,给他添加贴花几何体。
贴花几何体的位置从 intersections[0].point 来取。
你可以把调好的位置记下来,更新到代码里:
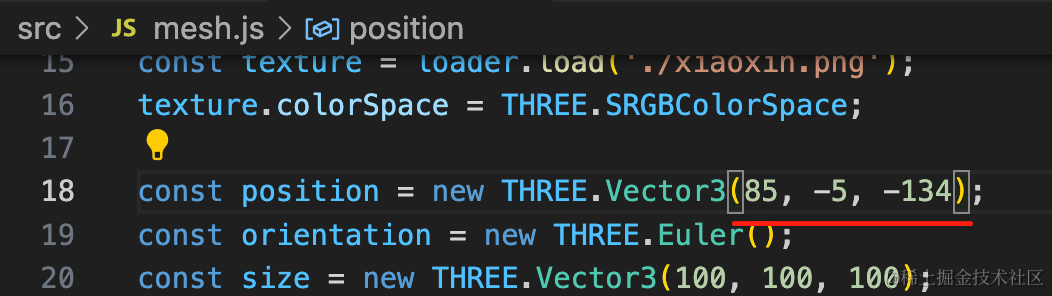
这样,最开始就是展示在目标位置了:
案例代码上传了小册仓库。
总结
这节我们学了贴花结合体 DecalGeometry,它可以给物体表面增加一些装饰。
比如 T 恤添加一些图案、篮球做签名等,都可以用贴花几何体来做。
但在什么位置添加贴花不好计算,可以直接用 RayCaster 处理点击,取 intersections[0].point 就行。
贴花几何体比较特殊,在需要给物体添加装饰的时候很有用。