这节我们来初始化 3D 部分:
它分为两块,2D 的平面户型图、3D 的立体房屋。
平面户型图我们也用 Three.js 来画。
所以一共要在两个 dom 元素下挂载 2 个 canvas
点击 2D、3D 切换按钮的时候,切换显示隐藏。
我们先来写第一个:
改下 components/Main/index.tsx
import { useEffect } from "react";
import { init3D } from "./init-3d";

function Main() {

    useEffect(() => {
        const dom = document.getElementById('threejs-3d-container')!;
        const { scene } = init3D(dom);

        return () => {
          dom.innerHTML = '';
        }
    }, []);

    return <div className="Main">
         <div id="threejs-3d-container"></div>
    </div>
}

export default Main;
在 useEffect 里拿到 dom 元素,传给 init3D 方法来做初始化。
当组件销毁的时候,把 innerHTML 清空,也就是销毁 threejs 的 canvas。
然后写一下 Main/init-3d.ts
import * as THREE from 'three';
import {
    OrbitControls
} from 'three/addons/controls/OrbitControls.js';

export function init3D(dom: HTMLElement) {
    const scene = new THREE.Scene();

    const axesHelper = new THREE.AxesHelper(500);
    scene.add(axesHelper);

    const directionalLight = new THREE.DirectionalLight(0xffffff);
    directionalLight.position.set(500, 400, 300);
    scene.add(directionalLight);

    const ambientLight = new THREE.AmbientLight(0xffffff);
    scene.add(ambientLight);

    const width = window.innerWidth;
    const height = window.innerHeight - 60;

    const camera = new THREE.PerspectiveCamera(60, width / height, 1, 10000);
    camera.position.set(500, 500, 500);
    camera.lookAt(0, 0, 0);

    const renderer = new THREE.WebGLRenderer({
        antialias: true
    });
    renderer.setSize(width, height);
    renderer.setClearColor('lightyellow');

    function render() {
        renderer.render(scene, camera);
        requestAnimationFrame(render);
    }

    render();

    dom.append(renderer.domElement);

    window.onresize = function () {
        const width = window.innerWidth;
        const height = window.innerHeight - 60;

        renderer.setSize(width,height);

        camera.aspect = width / height;
        camera.updateProjectionMatrix();
    };

    const controls = new OrbitControls(camera, renderer.domElement);

    return {
        scene
    }
}
和前面的 threejs editor 项目一样,创建 Scene、Camera、Renderer、OrbitControls
这次 renderer.setClearColor 设置背景颜色是浅黄色。
宽度是 window.innerWidth 高度是 window.innerHeight - 60
看下效果:
这样,第一个 scene 就初始化完成了。
然后再写一个,用来渲染平面户型图:
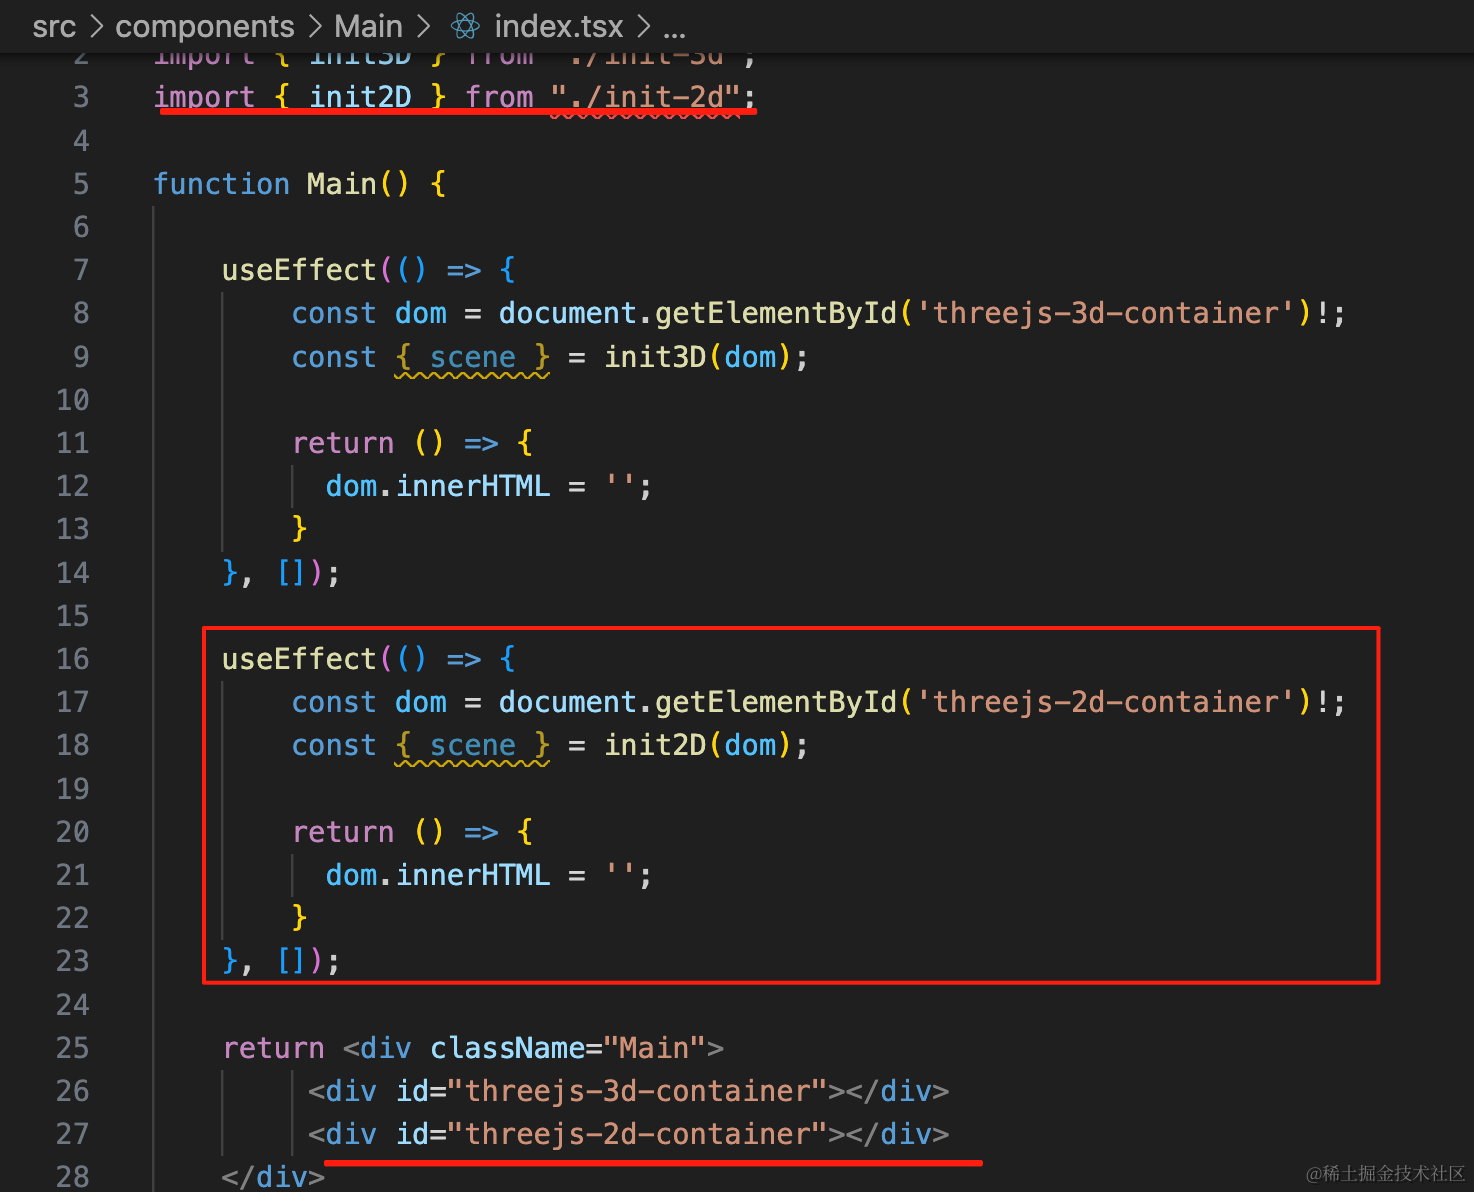
import { useEffect } from "react";
import { init3D } from "./init-3d";
import { init2D } from "./init-2d";

function Main() {

    useEffect(() => {
        const dom = document.getElementById('threejs-3d-container')!;
        const { scene } = init3D(dom);

        return () => {
          dom.innerHTML = '';
        }
    }, []);

    useEffect(() => {
        const dom = document.getElementById('threejs-2d-container')!;
        const { scene } = init2D(dom);

        return () => {
          dom.innerHTML = '';
        }
    }, []);

    return <div className="Main">
         <div id="threejs-3d-container"></div>
         <div id="threejs-2d-container"></div>
    </div>
}

export default Main;
初始化 3D 场景的代码和之前一样,只是我们把 clearColor 改成淡蓝色:
Main/init-2d.ts
import * as THREE from 'three';
import {
    OrbitControls
} from 'three/addons/controls/OrbitControls.js';

export function init2D(dom: HTMLElement) {
    const scene = new THREE.Scene();

    const axesHelper = new THREE.AxesHelper(500);
    scene.add(axesHelper);

    const directionalLight = new THREE.DirectionalLight(0xffffff);
    directionalLight.position.set(500, 400, 300);
    scene.add(directionalLight);

    const ambientLight = new THREE.AmbientLight(0xffffff);
    scene.add(ambientLight);

    const width = window.innerWidth;
    const height = window.innerHeight - 60;

    const camera = new THREE.PerspectiveCamera(60, width / height, 1, 10000);
    camera.position.set(500, 500, 500);
    camera.lookAt(0, 0, 0);

    const renderer = new THREE.WebGLRenderer({
        antialias: true
    });
    renderer.setSize(width, height);
    renderer.setClearColor('lightblue');

    function render() {
        renderer.render(scene, camera);
        requestAnimationFrame(render);
    }

    render();

    dom.append(renderer.domElement);

    window.onresize = function () {
        const width = window.innerWidth;
        const height = window.innerHeight - 60;

        renderer.setSize(width,height);

        camera.aspect = width / height;
        camera.updateProjectionMatrix();
    };

    const controls = new OrbitControls(camera, renderer.domElement);

    return {
        scene
    }
}
然后在 App.scss 里改下样式:
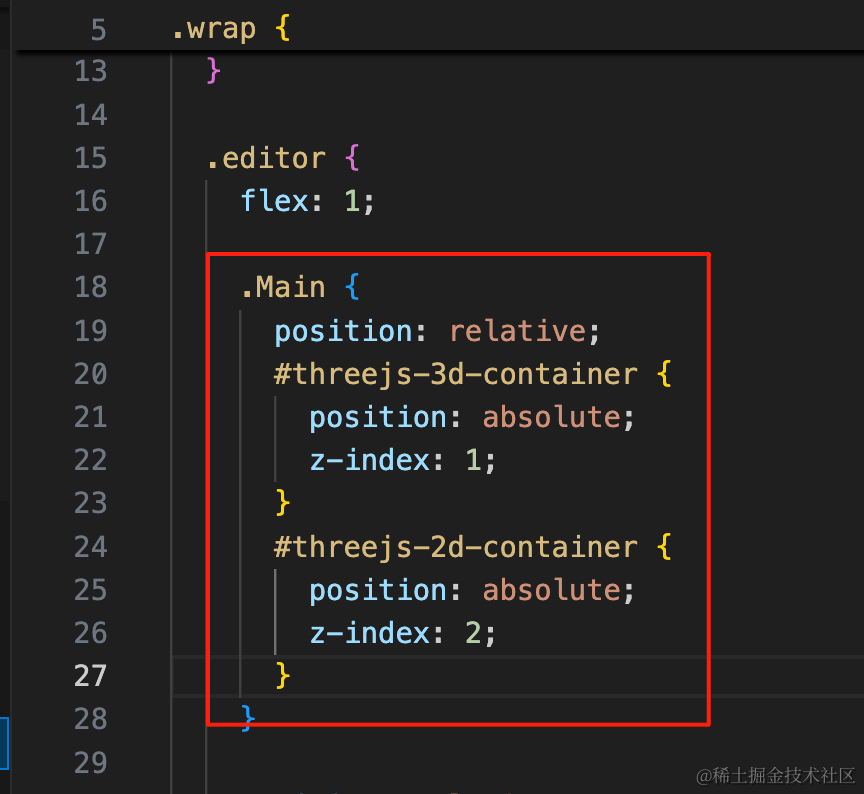
.Main {
  position: relative;
  #threejs-3d-container {
    position: absolute;
    z-index: 1;
  }
  #threejs-2d-container {
    position: absolute;
    z-index: 2;
  }
}
两个 canvas 重合,让 2D 的在上面。
看下效果:
初始化没问题。
但这样把两边的面板挡住了,那俩也要设置 z-index
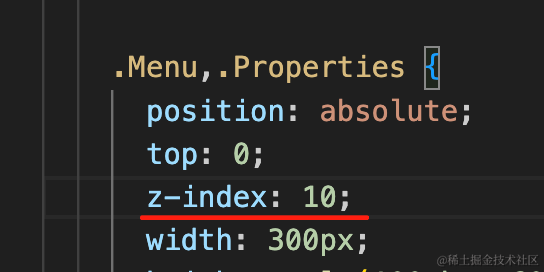
这样就好了。
然后我们来做这个切换按钮:

用 antd 的 Button 来写:
npm install --save antd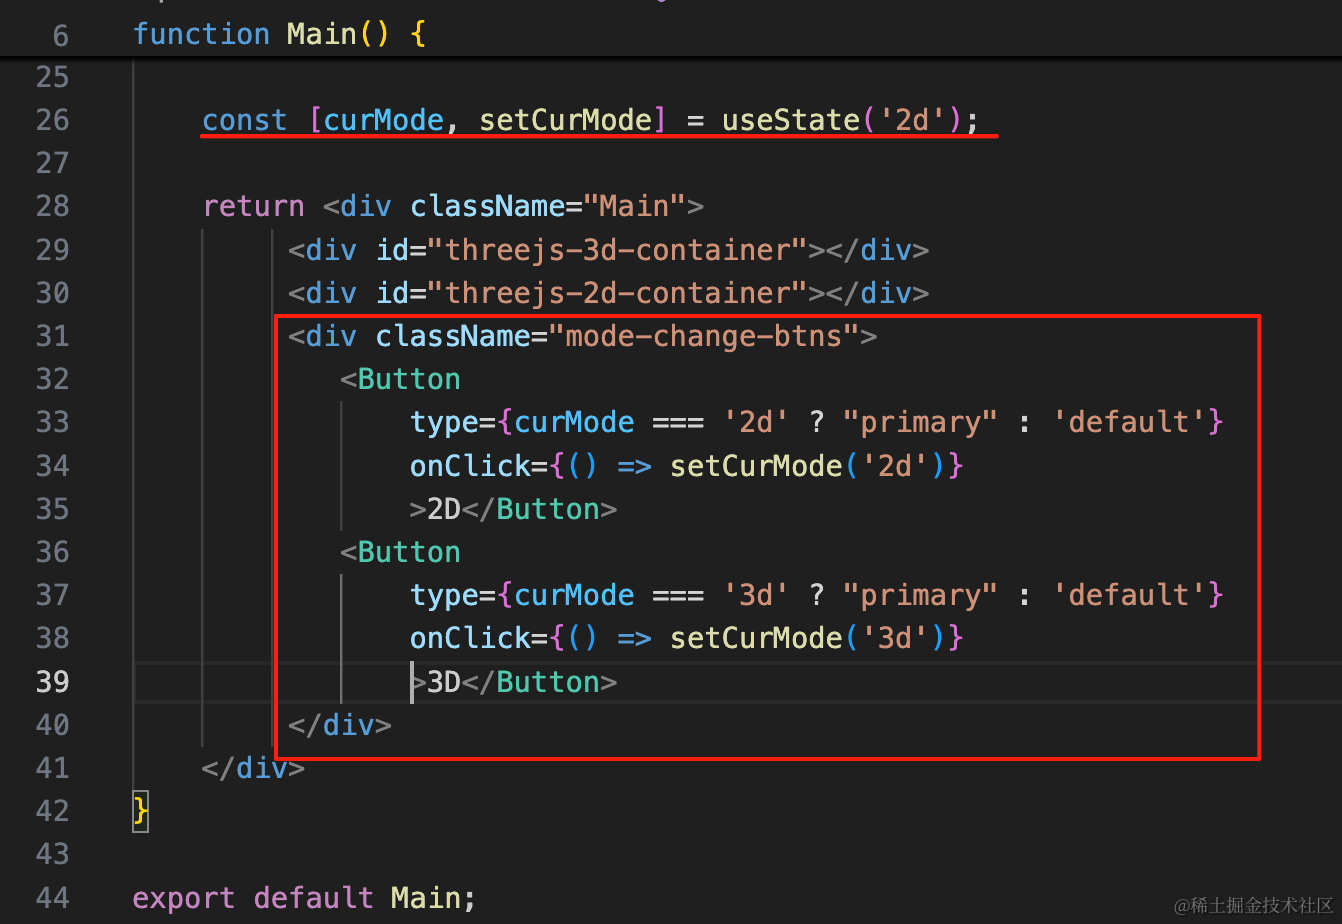
const [curMode, setCurMode] = useState('2d');

return <div className="Main">
     <div id="threejs-3d-container"></div>
     <div id="threejs-2d-container"></div>
     <div className="mode-change-btns">
        <Button
            type={curMode === '2d' ? "primary" : 'default'}
            onClick={() => setCurMode('2d')}
            >2D</Button>
        <Button
            type={curMode === '3d' ? "primary" : 'default'}
            onClick={() => setCurMode('3d')}
            >3D</Button>
     </div>
</div>
加一个状态来保存 mode,根据状态来设置按钮的 type
然后写下样式:
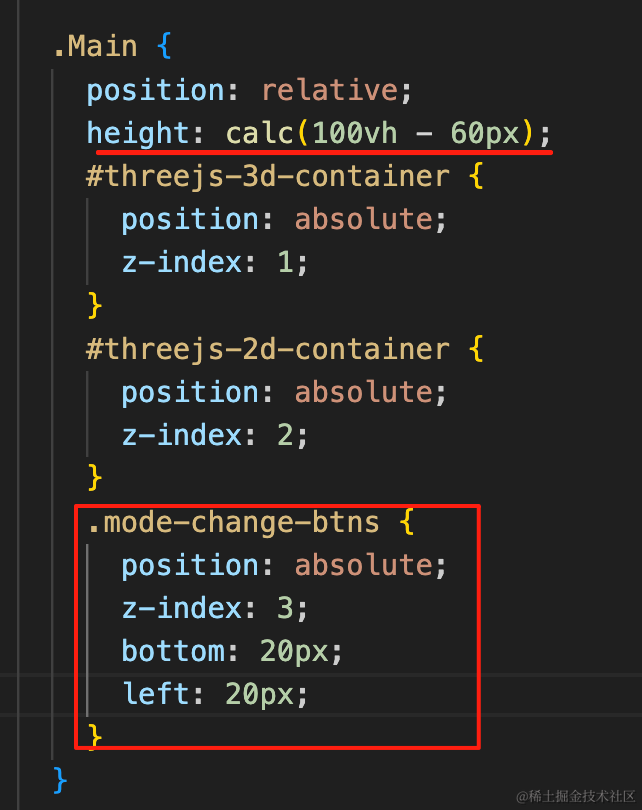
height: calc(100vh - 60px);

.mode-change-btns {
    position: absolute;
    z-index: 3;
    bottom: 20px;
    left: 20px;
}
设置整体的高度和按钮的绝对定位。
试下效果:

这样,切换按钮就完成了。
只是现在展开左侧面板的时候,会把切换按钮盖住,这个我们后面再处理。
然后点击切换按钮的时候,切换两个 canvas 的显示隐藏:
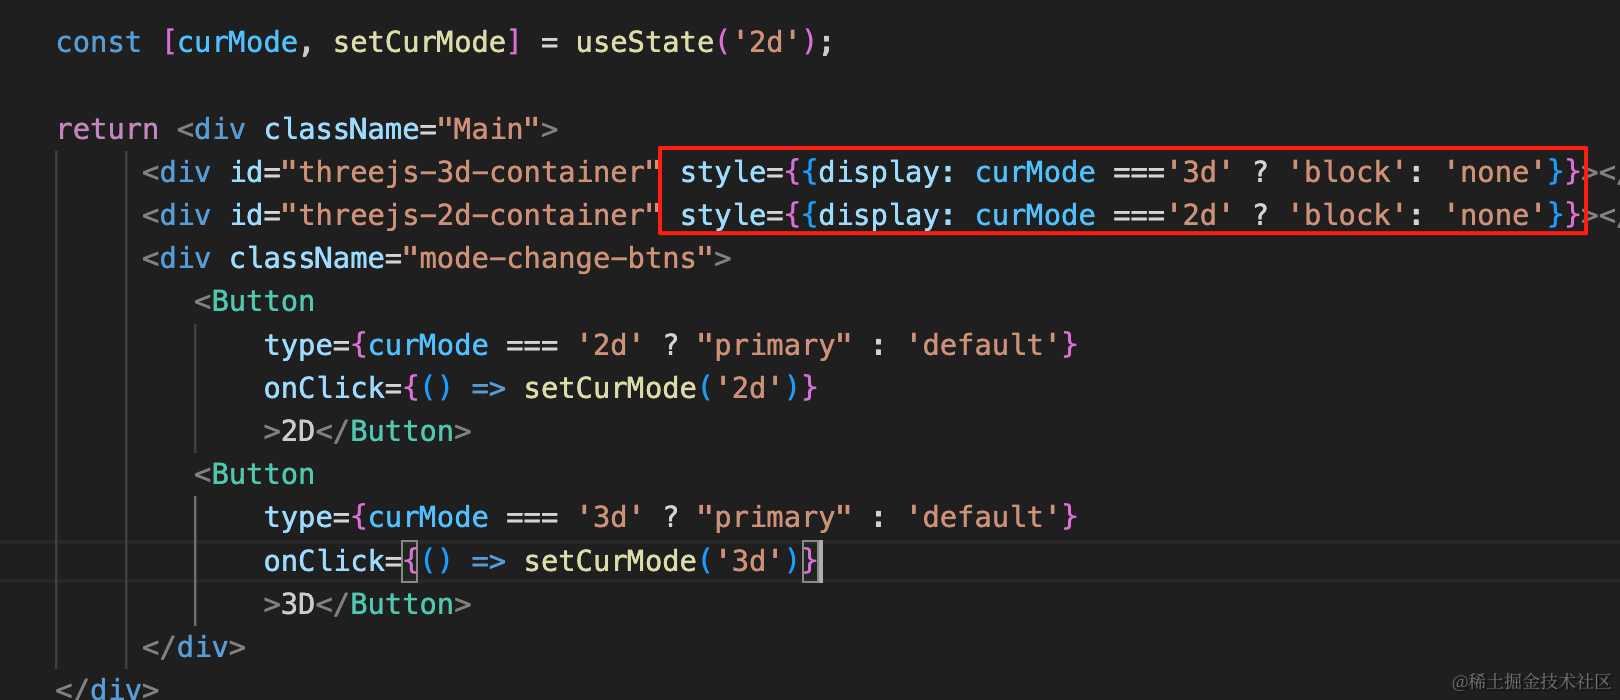
<div id="threejs-3d-container" style={{display: curMode ==='3d' ? 'block': 'none'}}></div>
<div id="threejs-2d-container" style={{display: curMode ==='2d' ? 'block': 'none'}}></div>
这样,两个 3D 场景的切换就完成了。
案例代码上传了小册仓库
总结
这节我们初始化了 threejs 部分。
我们需要创建两个场景,分别渲染在两个 canvas 上。
并且添加了一个切换按钮,来切换 2d、3d 的两个场景的显示隐藏。
初始化完 threejs 部分,下节我们来写 store 部分。