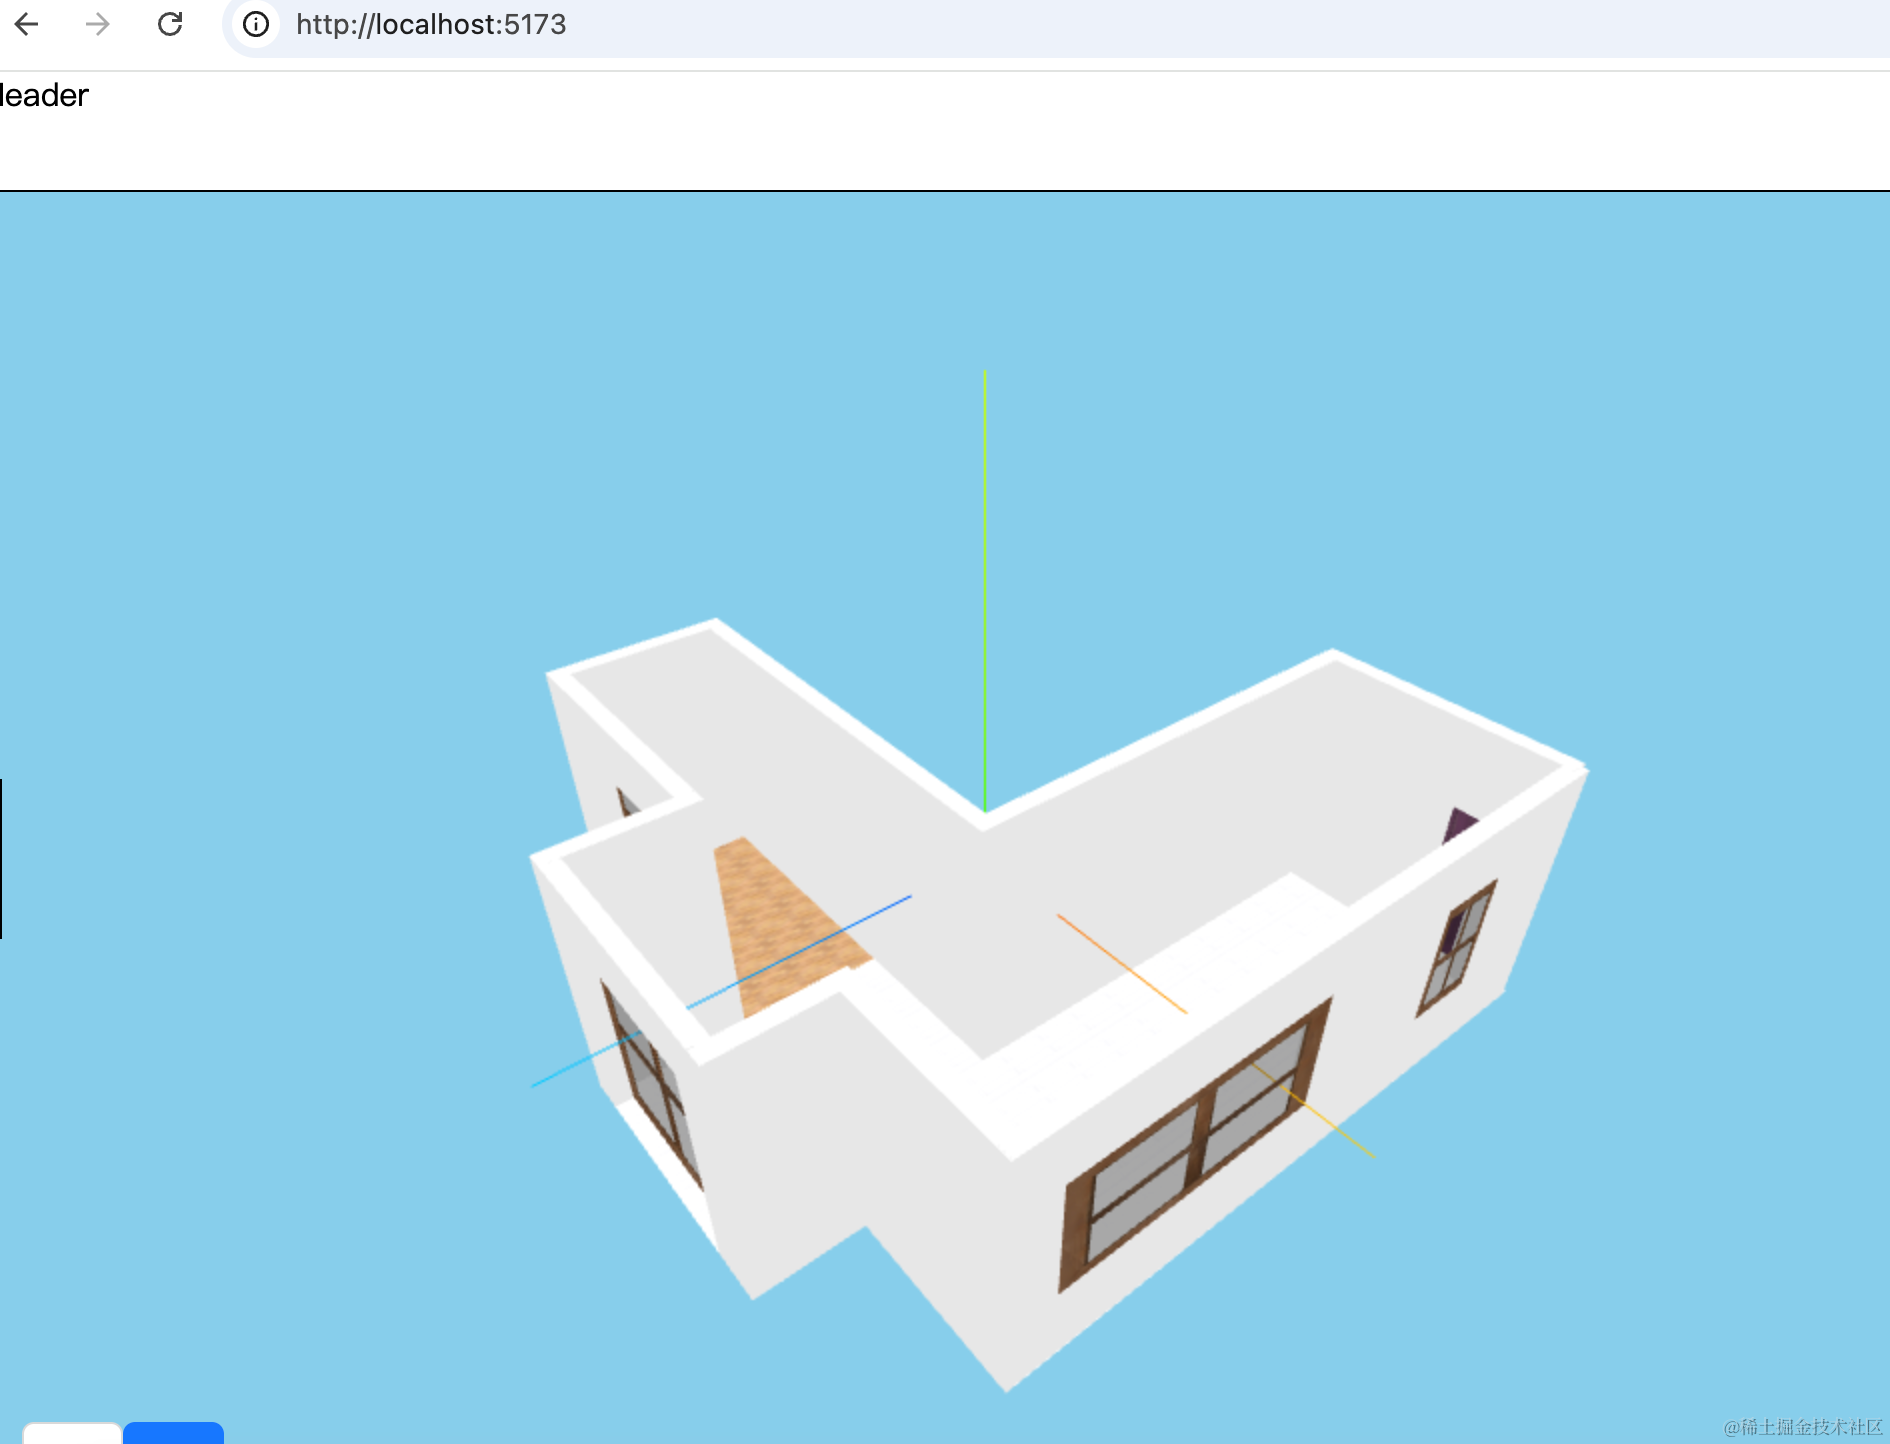
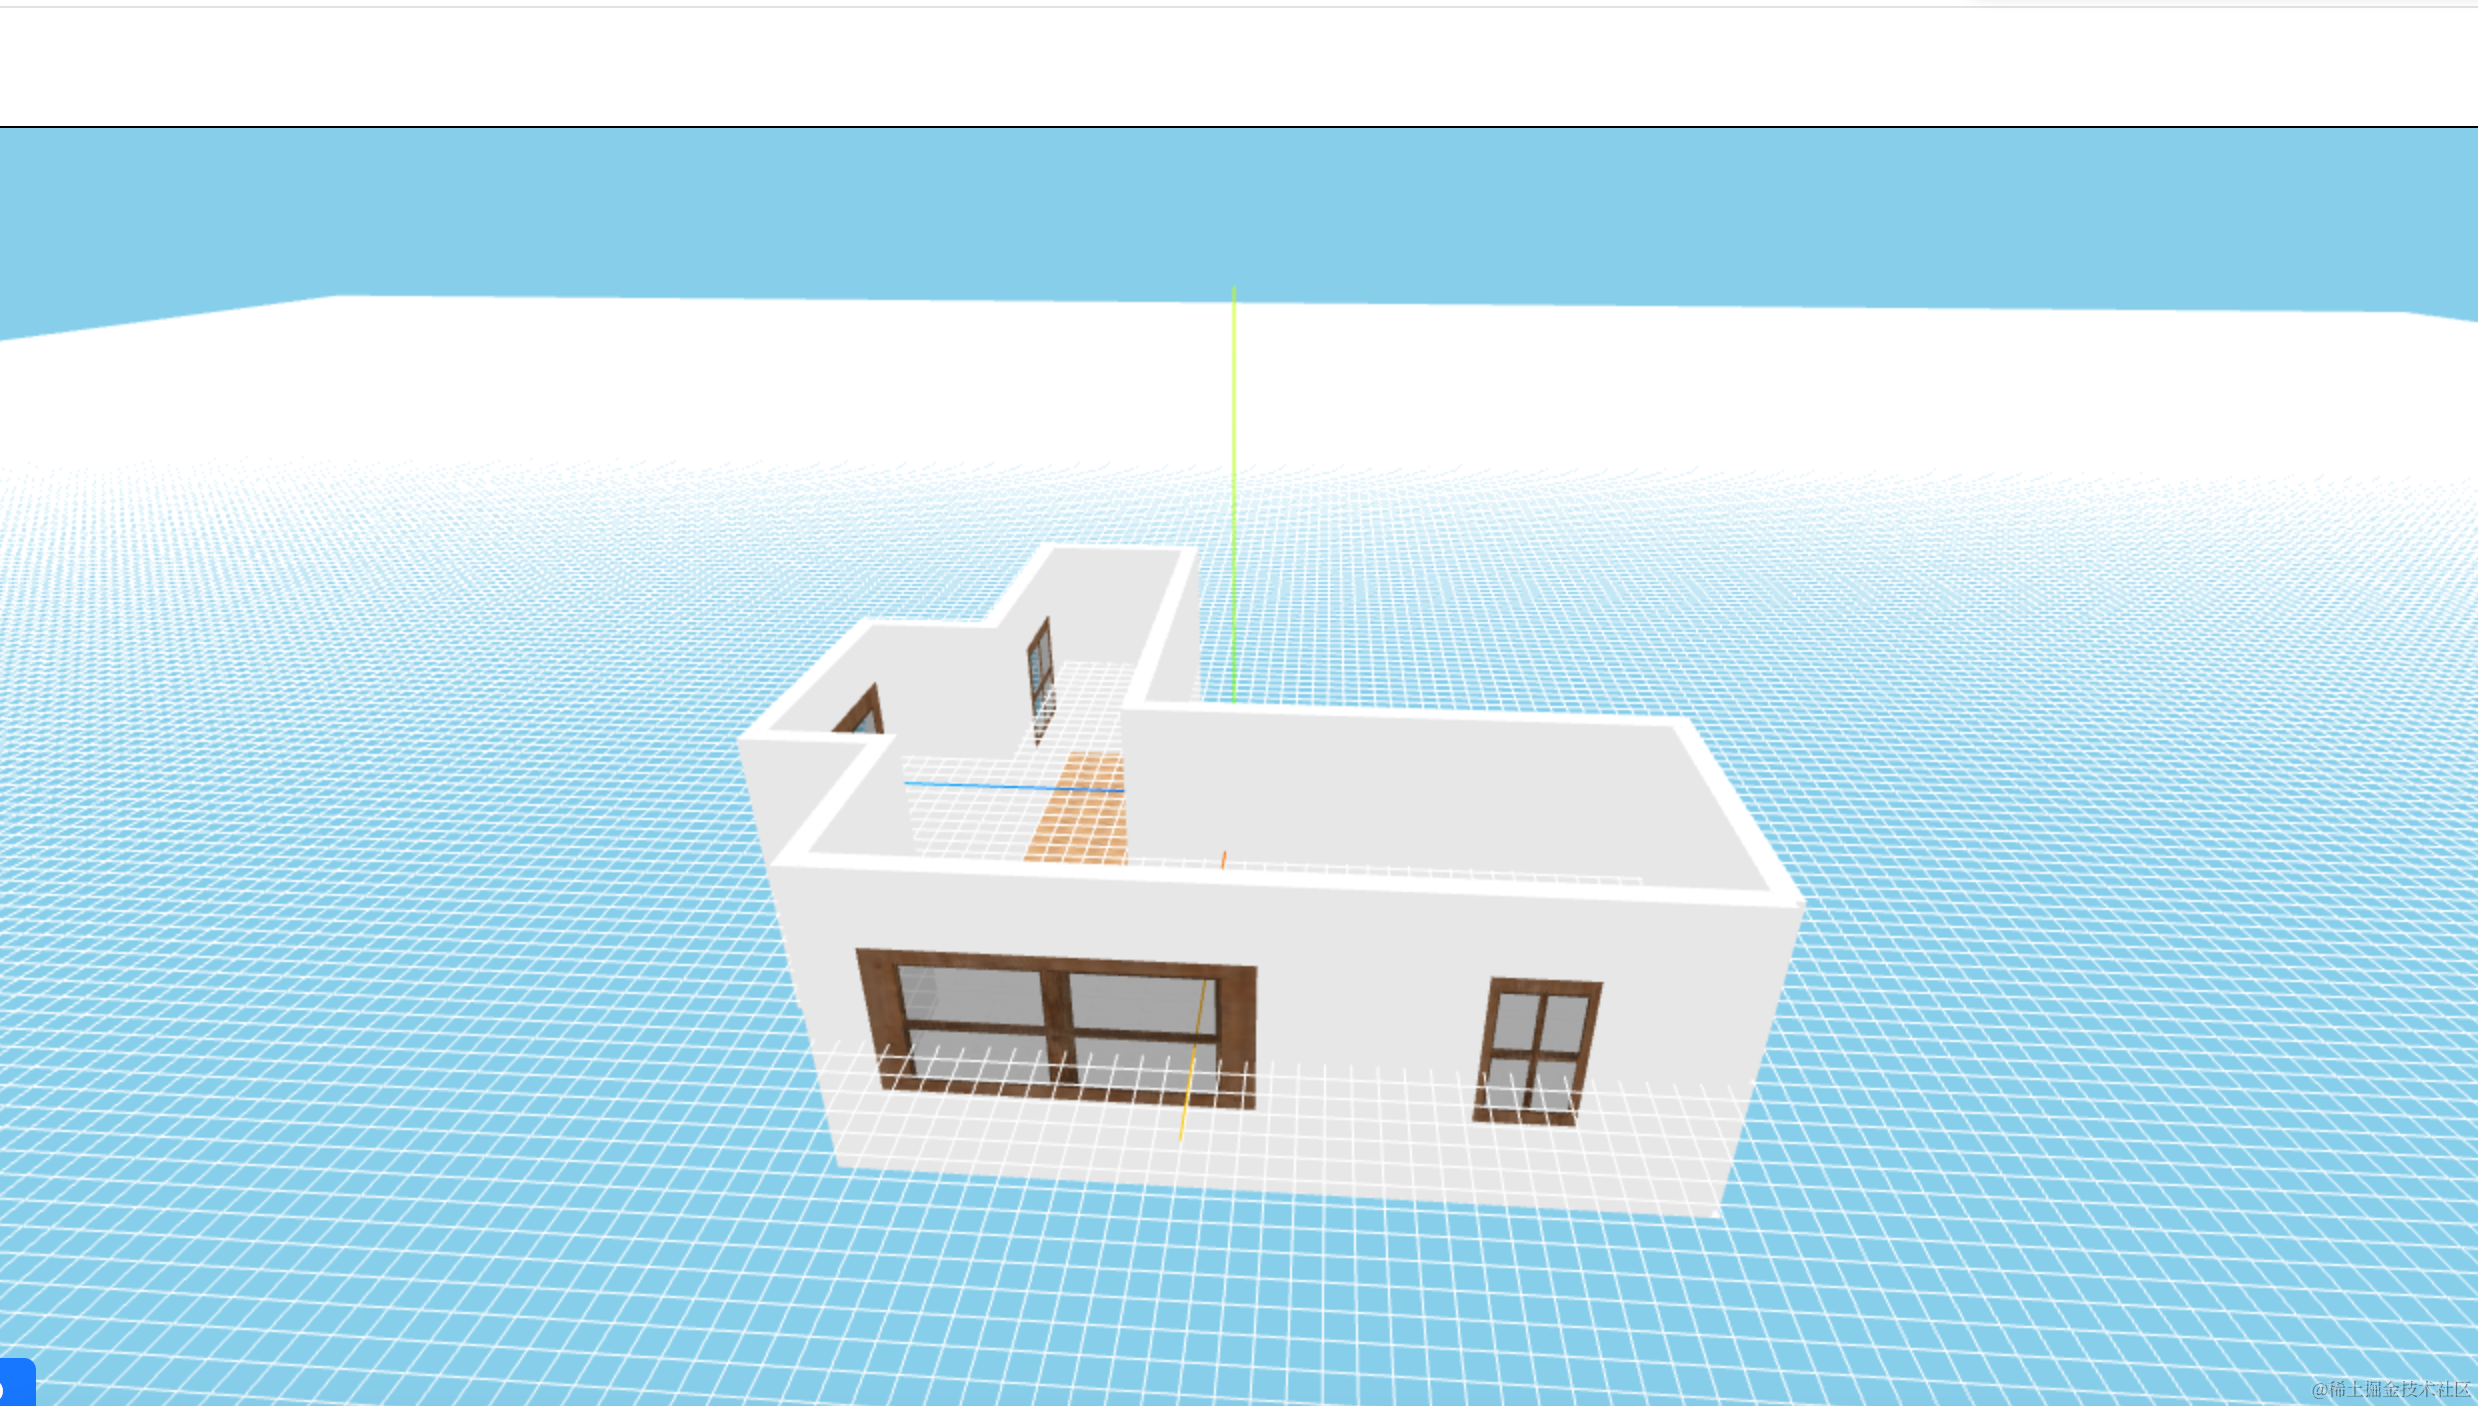
上节绘制了一个相对复杂的户型:
这节我们继续来把场景优化一下。
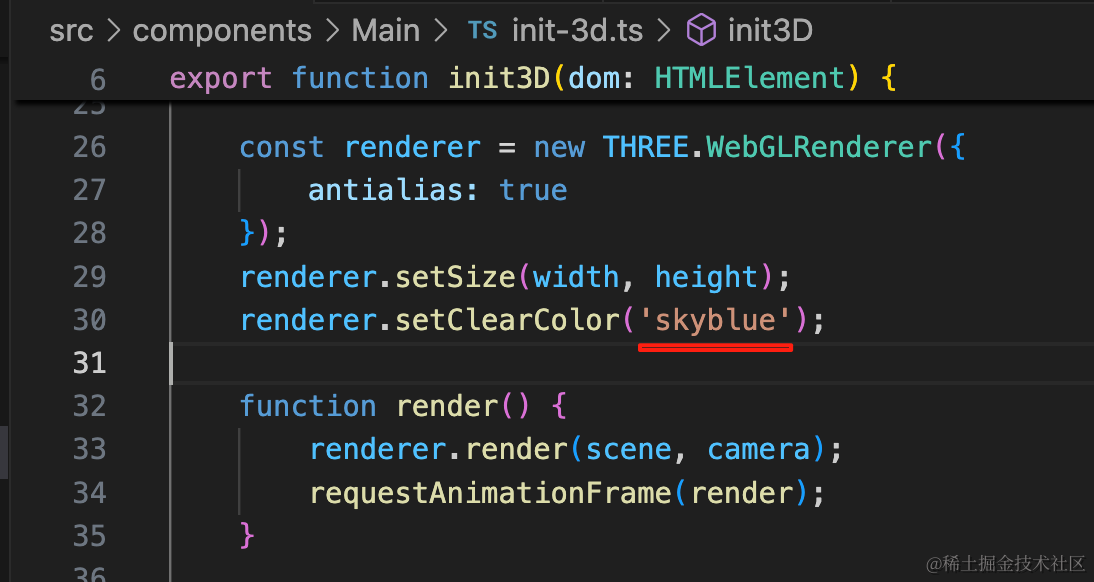
首先是地面、天空的颜色:
地面用 GridHelper 就行,而天空是天蓝色的背景色。
改一下背景色:
加一下地面的 GridHelper:

const gridHelper = new THREE.GridHelper(
    100000,
    500,
    'white',
    'white'
);
gridHelper.position.y = -100;
scene.add(gridHelper);
大小为 10w,分成 500 个格子
之前房子拿到包围盒的中心之后,y 轴也做了位移,其实没必要。
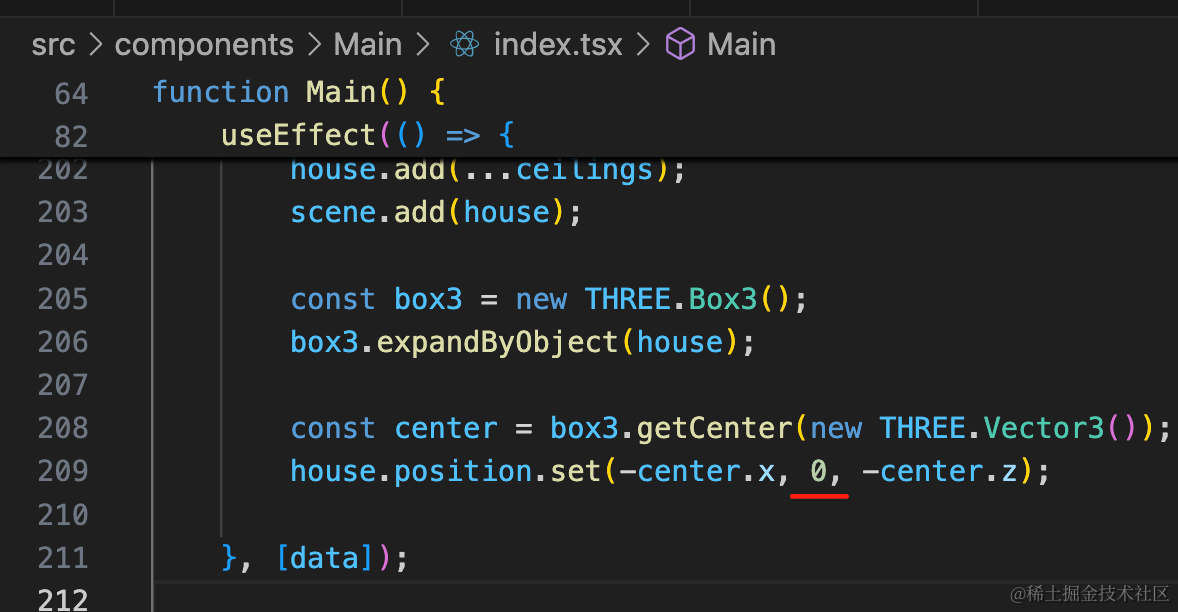
这样 GridHelper 位置就对了。
然后做一下点击时展示线框的效果:
这个用 EdgesGeometry。

const edges: Array<THREE.Line> = [];
renderer.domElement.addEventListener('click', (e) => {
    const y = -((e.offsetY / height) * 2 - 1);
    const x = (e.offsetX / width) * 2 - 1;

    const rayCaster = new THREE.Raycaster();
    rayCaster.setFromCamera(new THREE.Vector2(x, y), camera);

    const intersections = rayCaster.intersectObjects(scene.children);

    edges.forEach(item => {
        item.parent?.remove(item);
    })
    if(intersections.length) {
        const obj = intersections[0].object as THREE.Mesh;
        if(obj.isMesh) {
            const geometry = new THREE.EdgesGeometry(obj.geometry);
            const material = new THREE.LineBasicMaterial({
                color: 'blue'
            });
            const line = new THREE.LineSegments(geometry, material);
            obj.add(line);
            edges.push(line);
        }
    }
});
用 edges 数组保存所有的线框。
点击的时候,给点到的对象加一个 EdgesGeometry 的 Line。
之前先把所有的线框删掉,再加一个最新的。
这样,线框就加好了。
酷家乐里相机移动的时候,前面的墙会被隐藏:
这个是咋做到的呢?
判断角度:
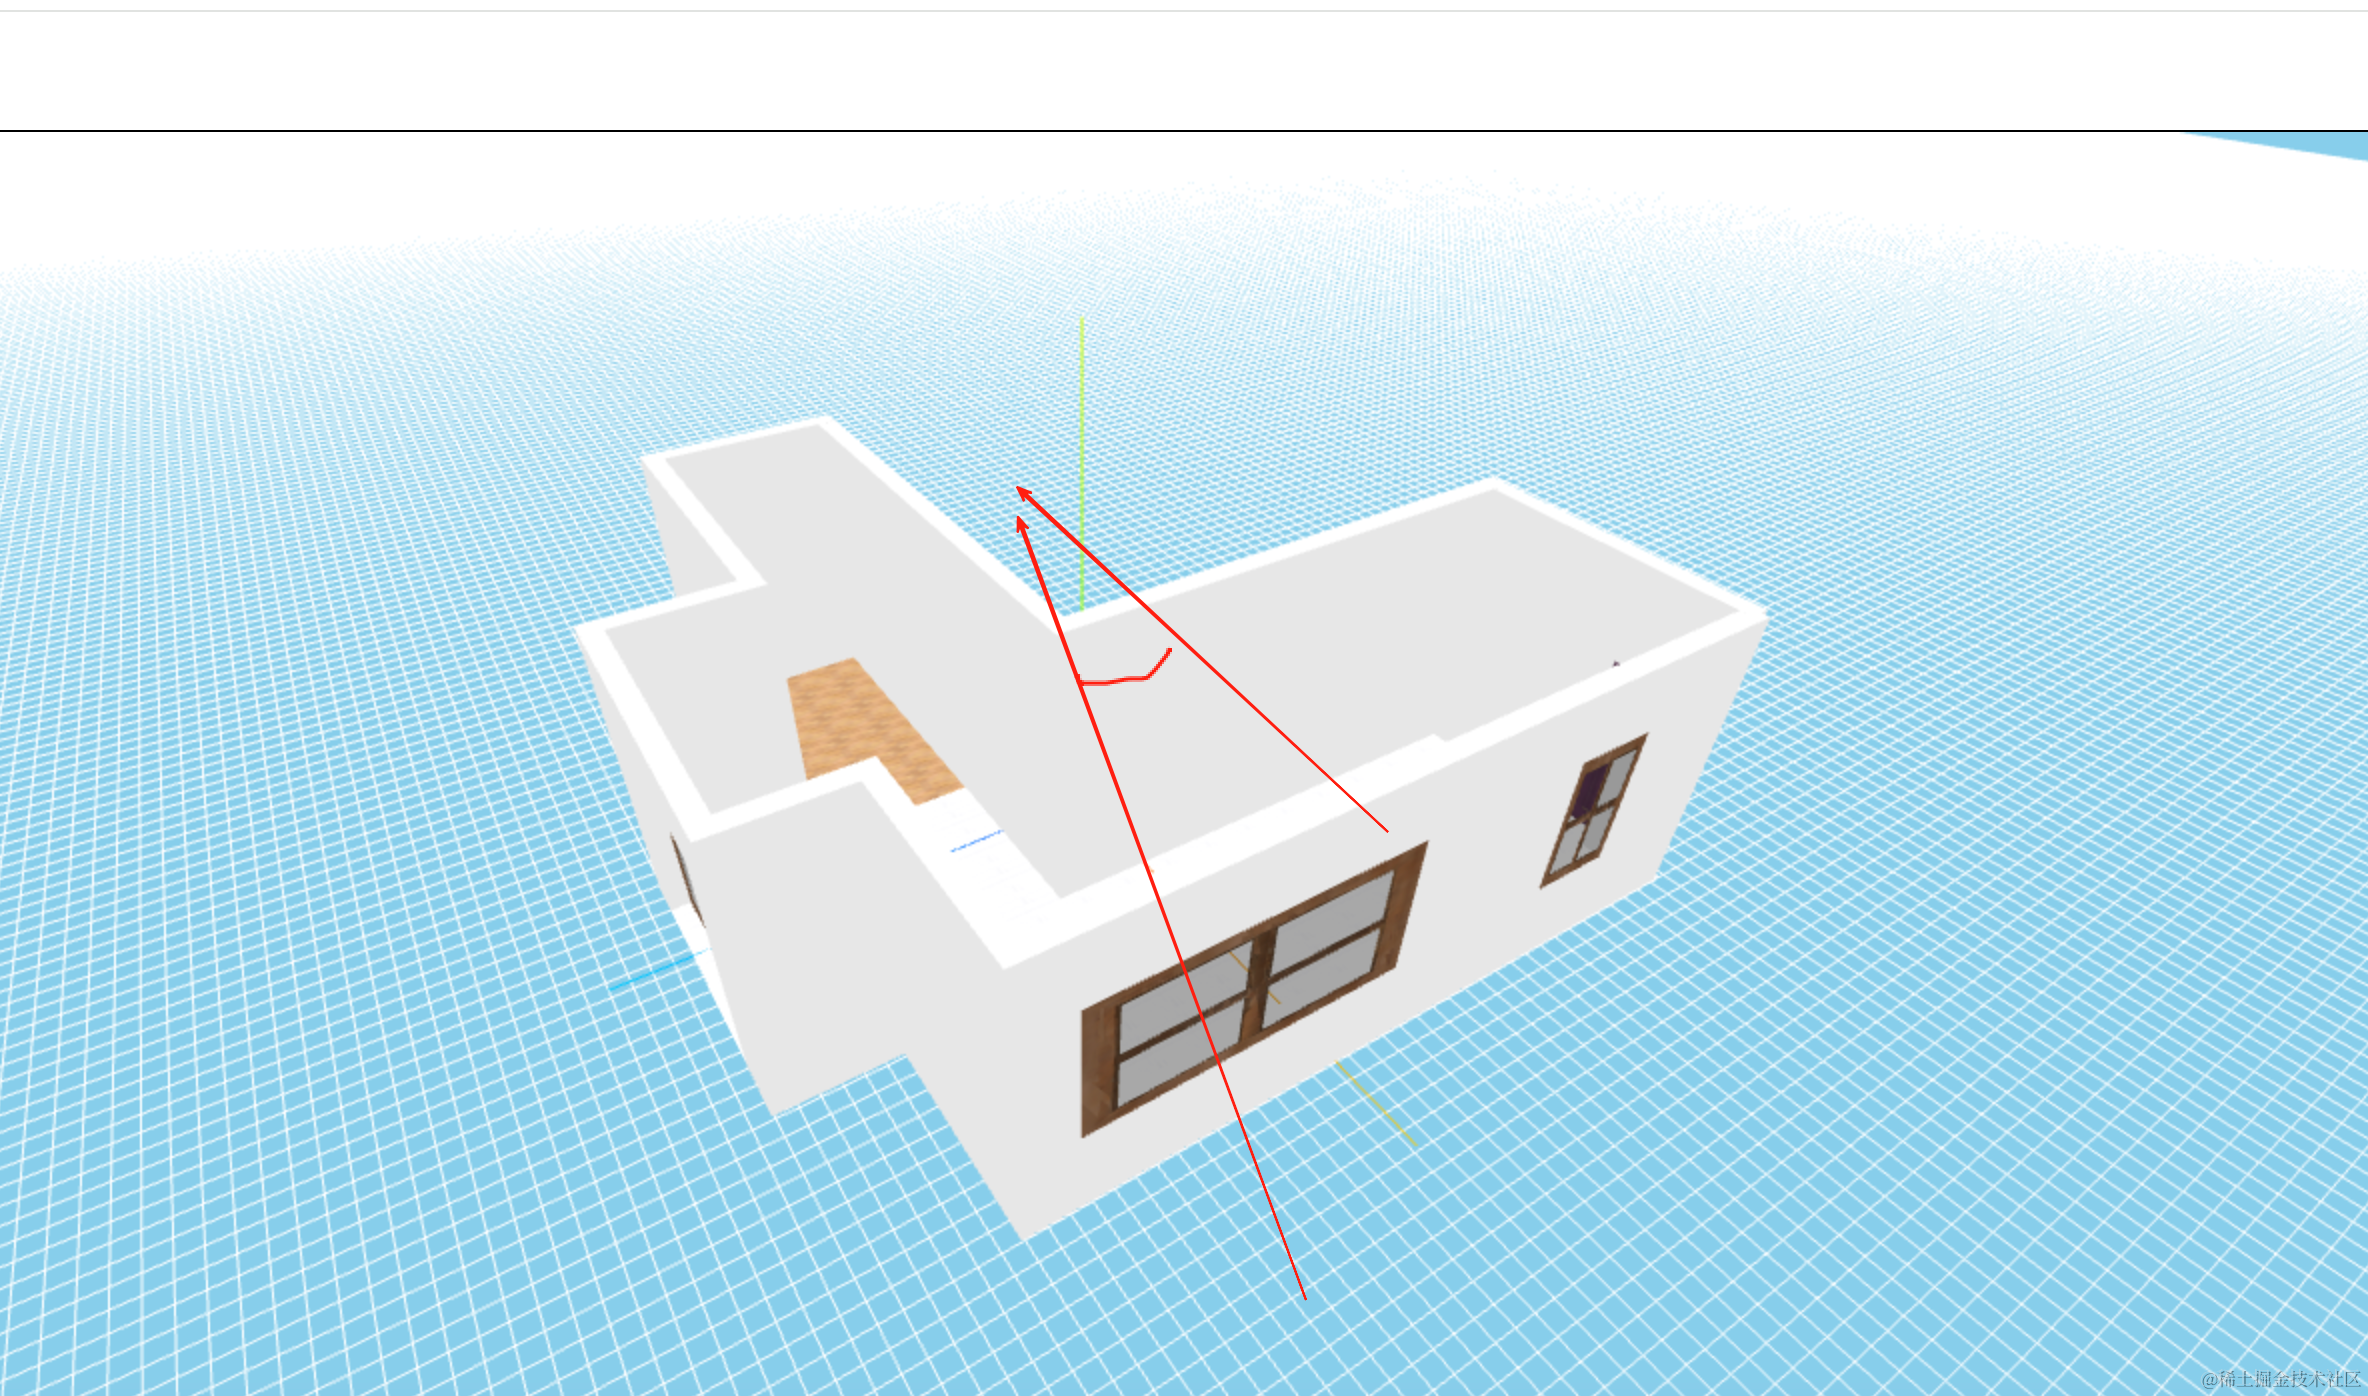
每面墙都有一条法线。
它和相机方向的夹角,如果是锐角,那就是需要隐藏的,如果是钝角,那就不需要隐藏。
有两个向量 Vector3 可以让它俩做点积,判断是否大于 0 来判断角度。
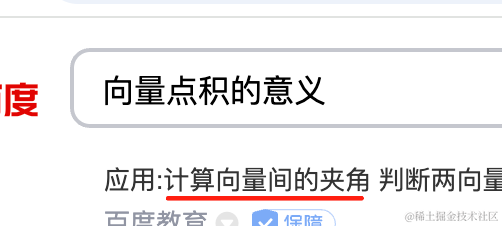
只要知道两个向量的点积可以计算夹角就好了。
首先,我们要在数据里存储一下墙的向量:
首先改下类型:
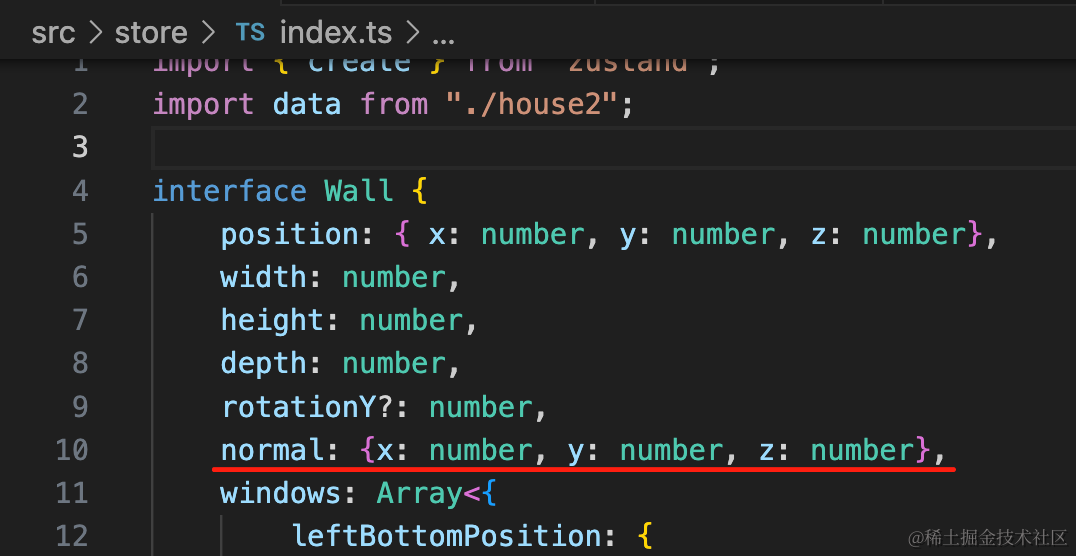
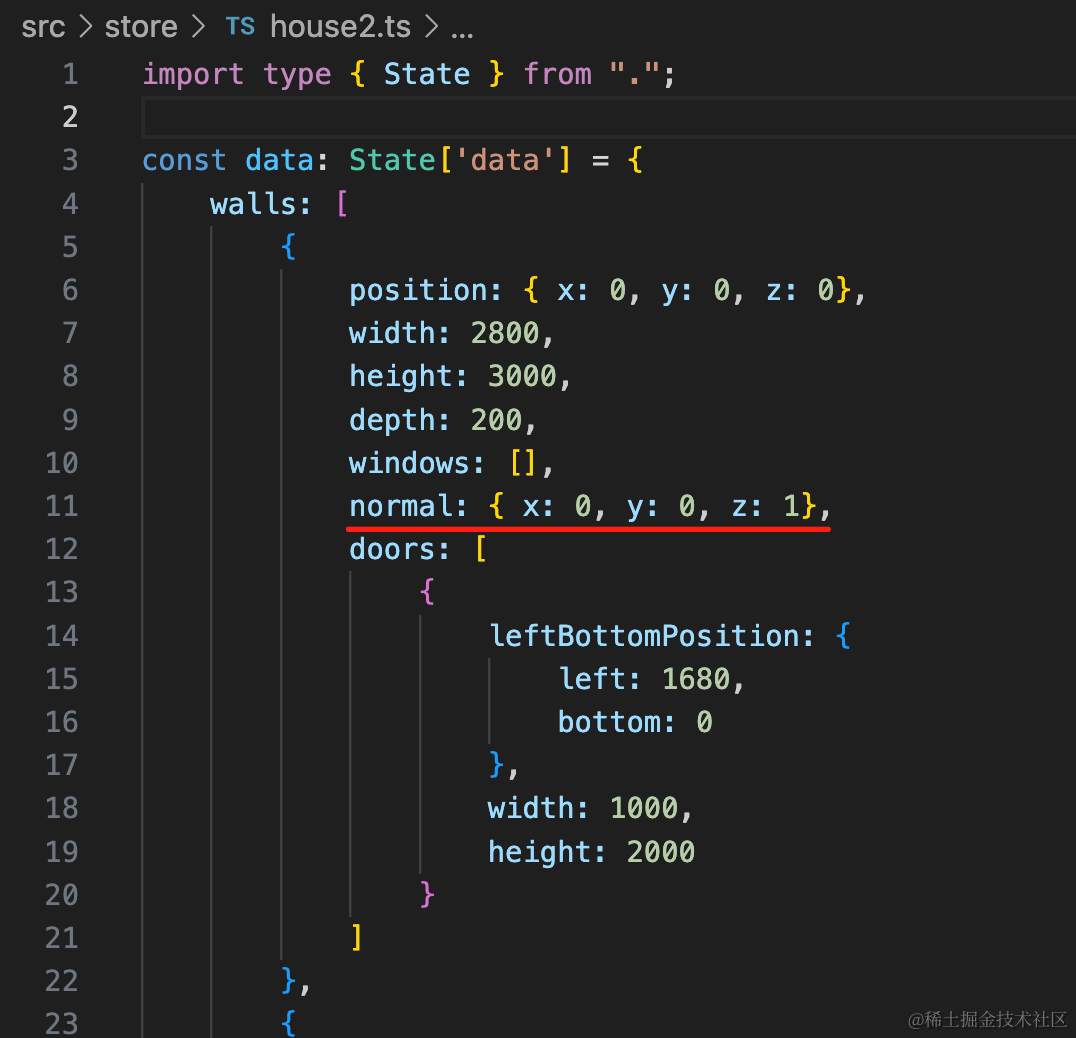
normal: {x: number, y: number, z: number},然后给每面墙加一下 normal 数据:
向量方向是朝向屋内。
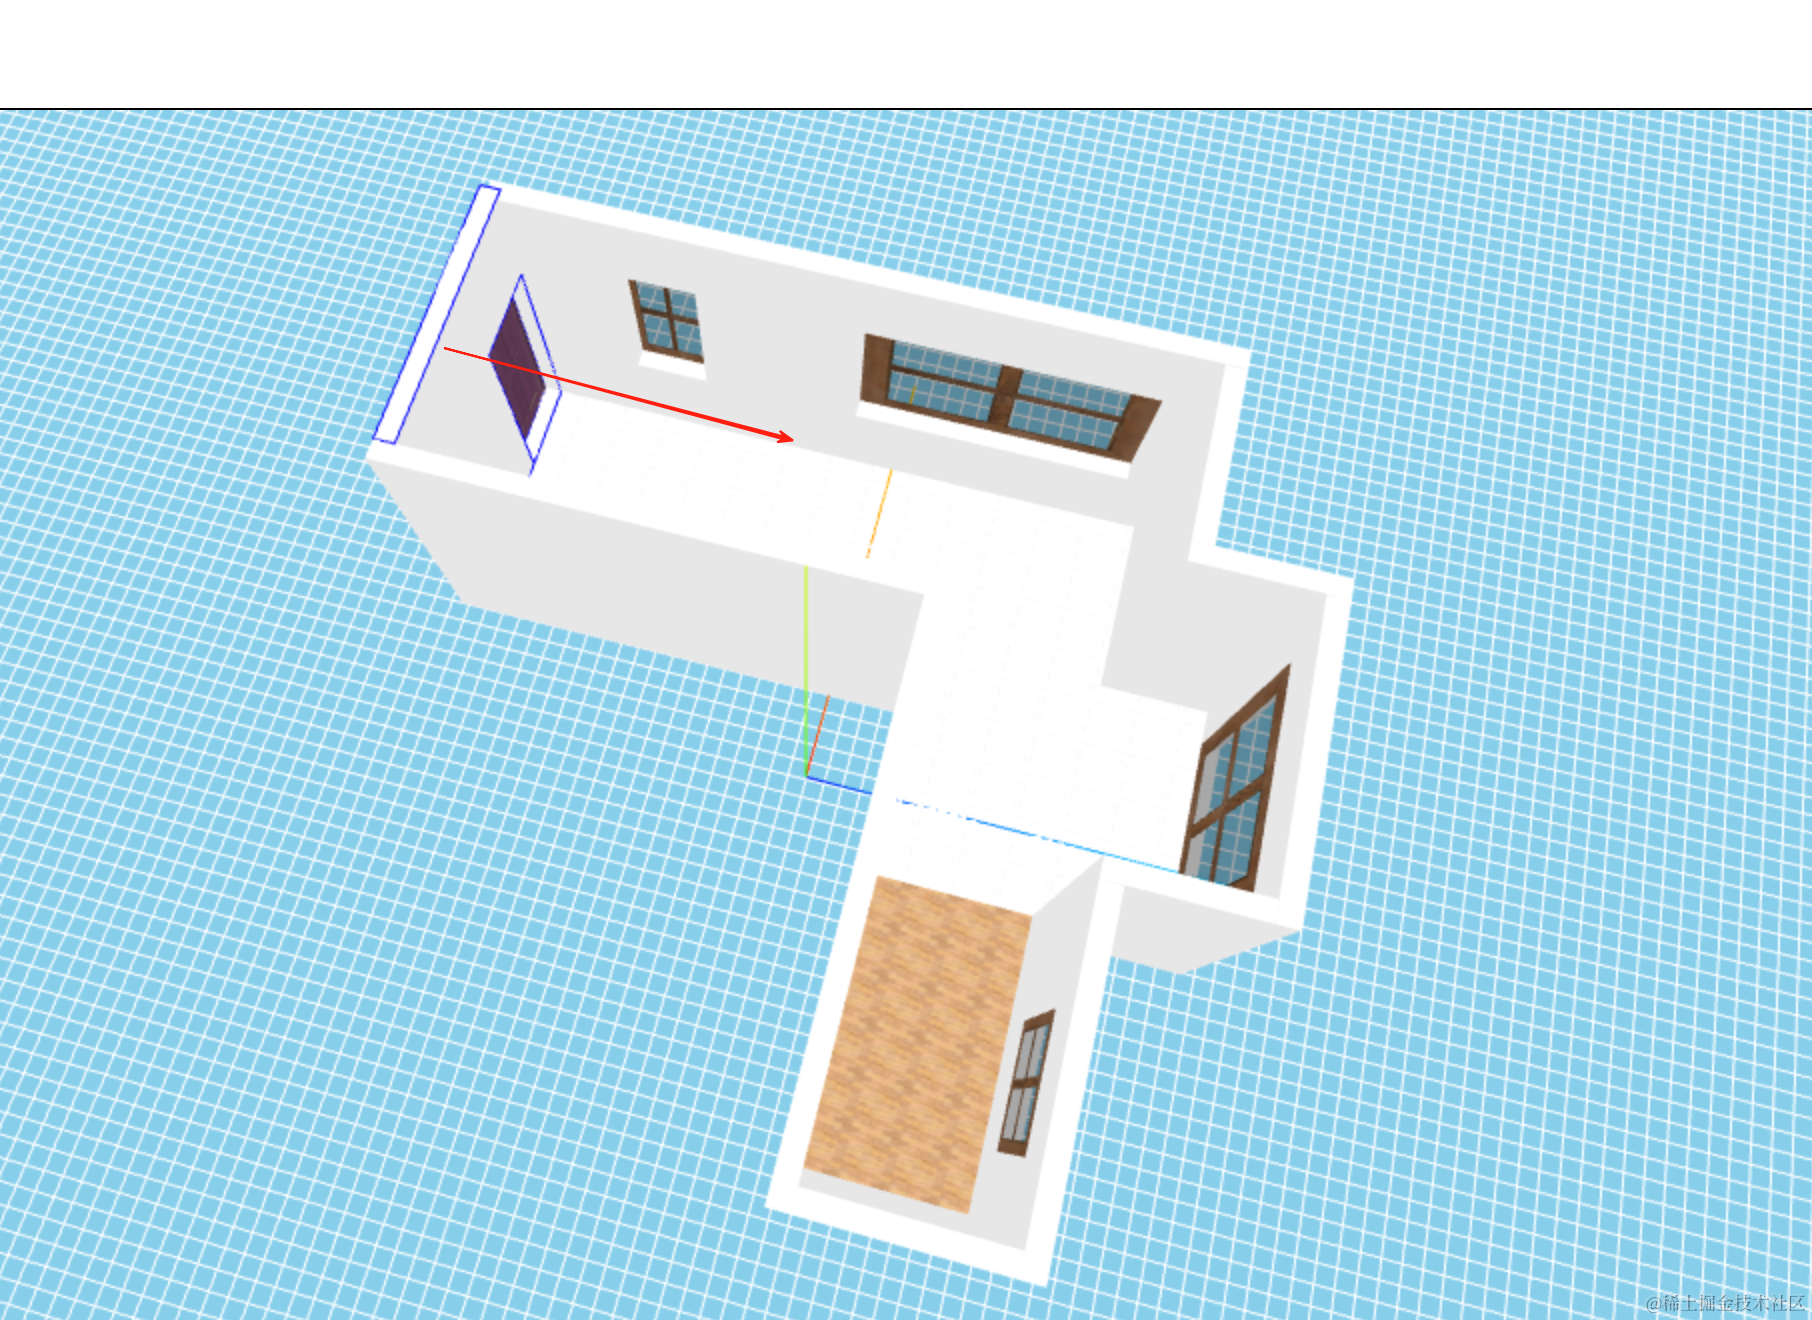
比如第一面墙的方向就是 { x: 0, y: 0, z: 1 }
这样依次填入每面墙的法线:
walls: [
    {
        position: { x: 0, y: 0, z: 0},
        width: 2800,
        height: 3000,
        depth: 200,
        windows: [],
        normal: { x: 0, y: 0, z: 1},
        doors: [
            {
                leftBottomPosition: {
                    left: 1680,
                    bottom: 0
                },
                width: 1000,
                height: 2000
            }
        ]
    },
    {
        position: { x: 0, y: 0, z: 0},
        width: 5000,
        height: 3000,
        depth: 200,
        normal: { x: 1, y: 0, z: 0},
        rotationY: -Math.PI / 2,
        windows: []
    },
    {
        position: { x: -5000, y: 0, z: 5000},
        width: 5000,
        height: 3000,
        depth: 200,
        normal: { x: 0, y: 0, z: 1},
        windows: []
    },
    {
        position: { x: -5000, y: 0, z: 5000},
        width: 1880,
        height: 3000,
        depth: 200,
        normal: { x: 1, y: 0, z: 0},
        rotationY: -Math.PI / 2,
        windows: []
    },
    {
        position: { x: -5200, y: 0, z: 6880},
        width: 3000,
        height: 3000,
        depth: 200,
        normal: { x: 0, y: 0, z: -1},
        windows: [
            {
                leftBottomPosition: {
                    left: 830,
                    bottom: 900
                },
                width: 1200,
                height: 1400
            },
        ]
    },
    {
        position: { x: -2000, y: 0, z: 6880},
        width: 1580,
        height: 3000,
        depth: 200,
        rotationY: -Math.PI / 2,
        normal: { x: 1, y: 0, z: 0},
        windows: []
    },
    {
        position: { x: -2200, y: 0, z: 8260},
        width: 2880,
        height: 3000,
        depth: 200,
        normal: { x: 0, y: 0, z: -1},
        windows: [
            {
                leftBottomPosition: {
                    left: 355,
                    bottom: 0
                },
                width: 2140,
                height: 2400
            },
        ]
    },
    {
        position: { x: 880, y: 0, z: 7080},
        width: 1380,
        height: 3000,
        depth: 200,
        rotationY: -Math.PI / 2,
        normal: { x: -1, y: 0, z: 0},
        windows: []
    },
    {
        position: { x: 880, y: 0, z: 7080},
        width: 2000,
        height: 3000,
        depth: 200,
        normal: { x: 0, y: 0, z: -1},
        windows: []
    },
    {
        position: { x: 2880, y: 0, z: 0},
        width: 7180,
        height: 3000,
        depth: 200,
        rotationY: -Math.PI / 2,
        normal: { x: -1, y: 0, z: 0},
        windows: [
            {
                leftBottomPosition: {
                    left: 1200,
                    bottom: 900
                },
                width: 790,
                height: 1400
            },
            {
                leftBottomPosition: {
                    left: 3680,
                    bottom: 900
                },
                width: 3000,
                height: 1400
            }
        ]
    },
],
有了法线之后,每帧渲染的时候就可以计算下夹角了。
我们先把需要用到的墙和相机准备好:
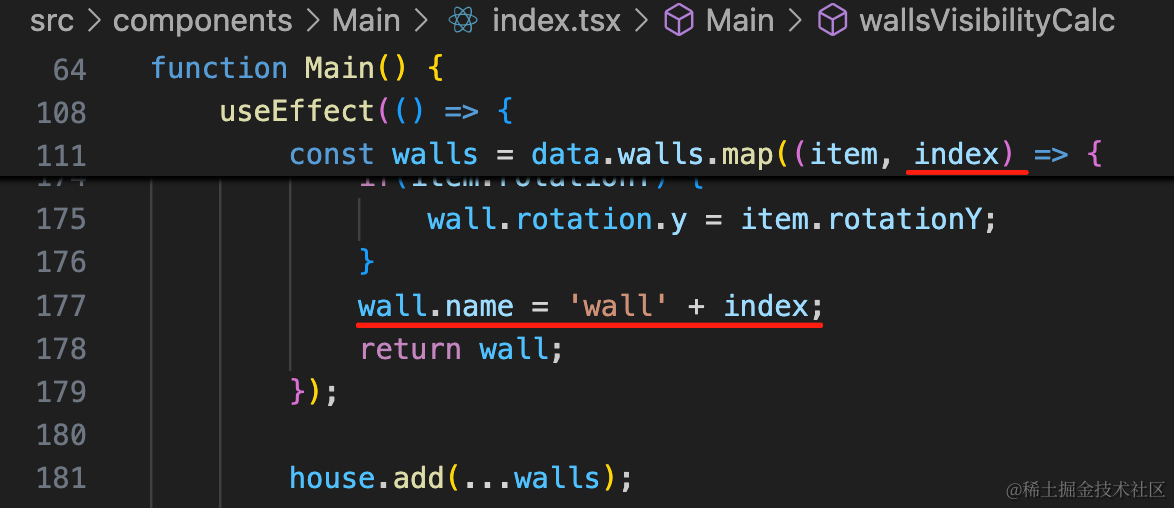
wall.name = 'wall' + index;给墙一个名字,后面好查找。
然后把 camera 导出:
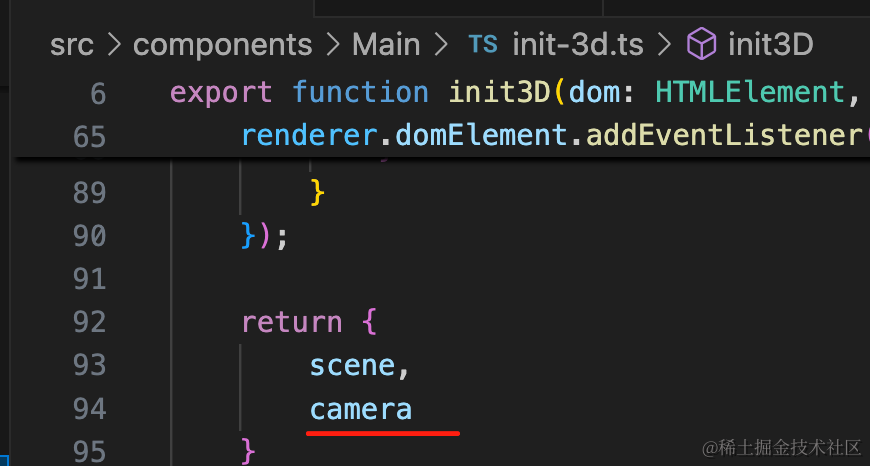
组件里保存下:
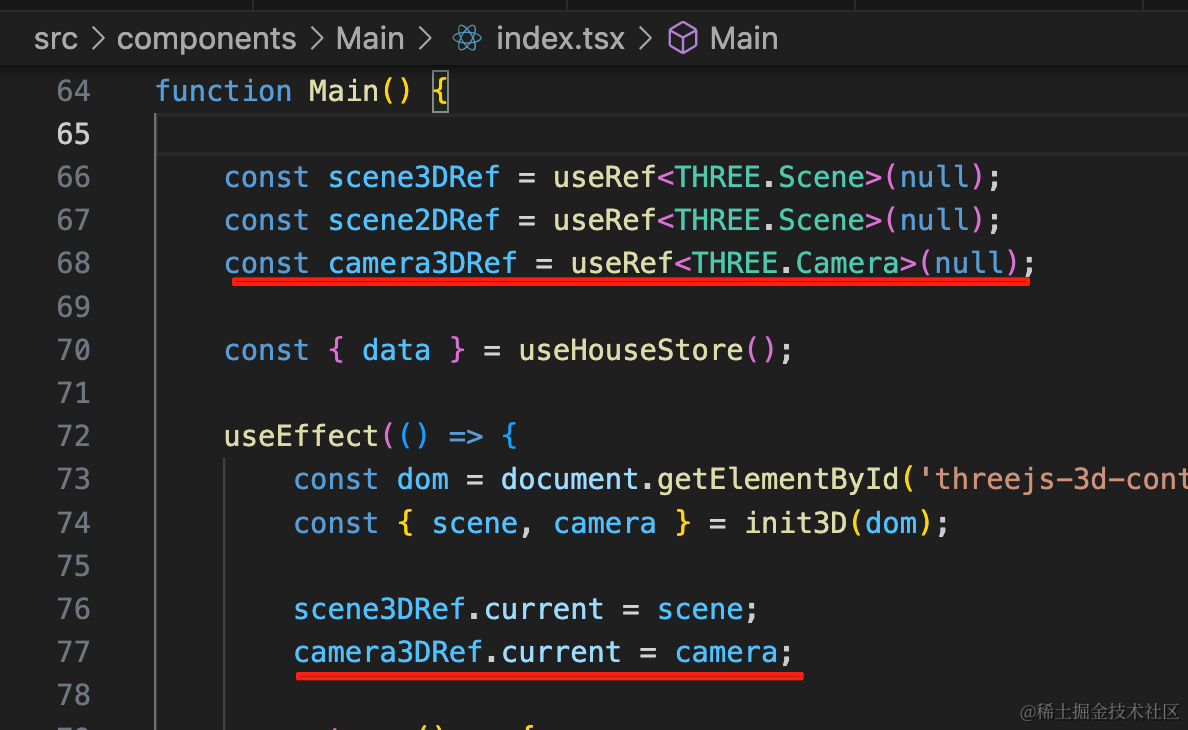
const camera3DRef = useRef<THREE.Camera>(null);camera3DRef.current = camera;然后就可以加一个计算相机和墙夹角的函数了:
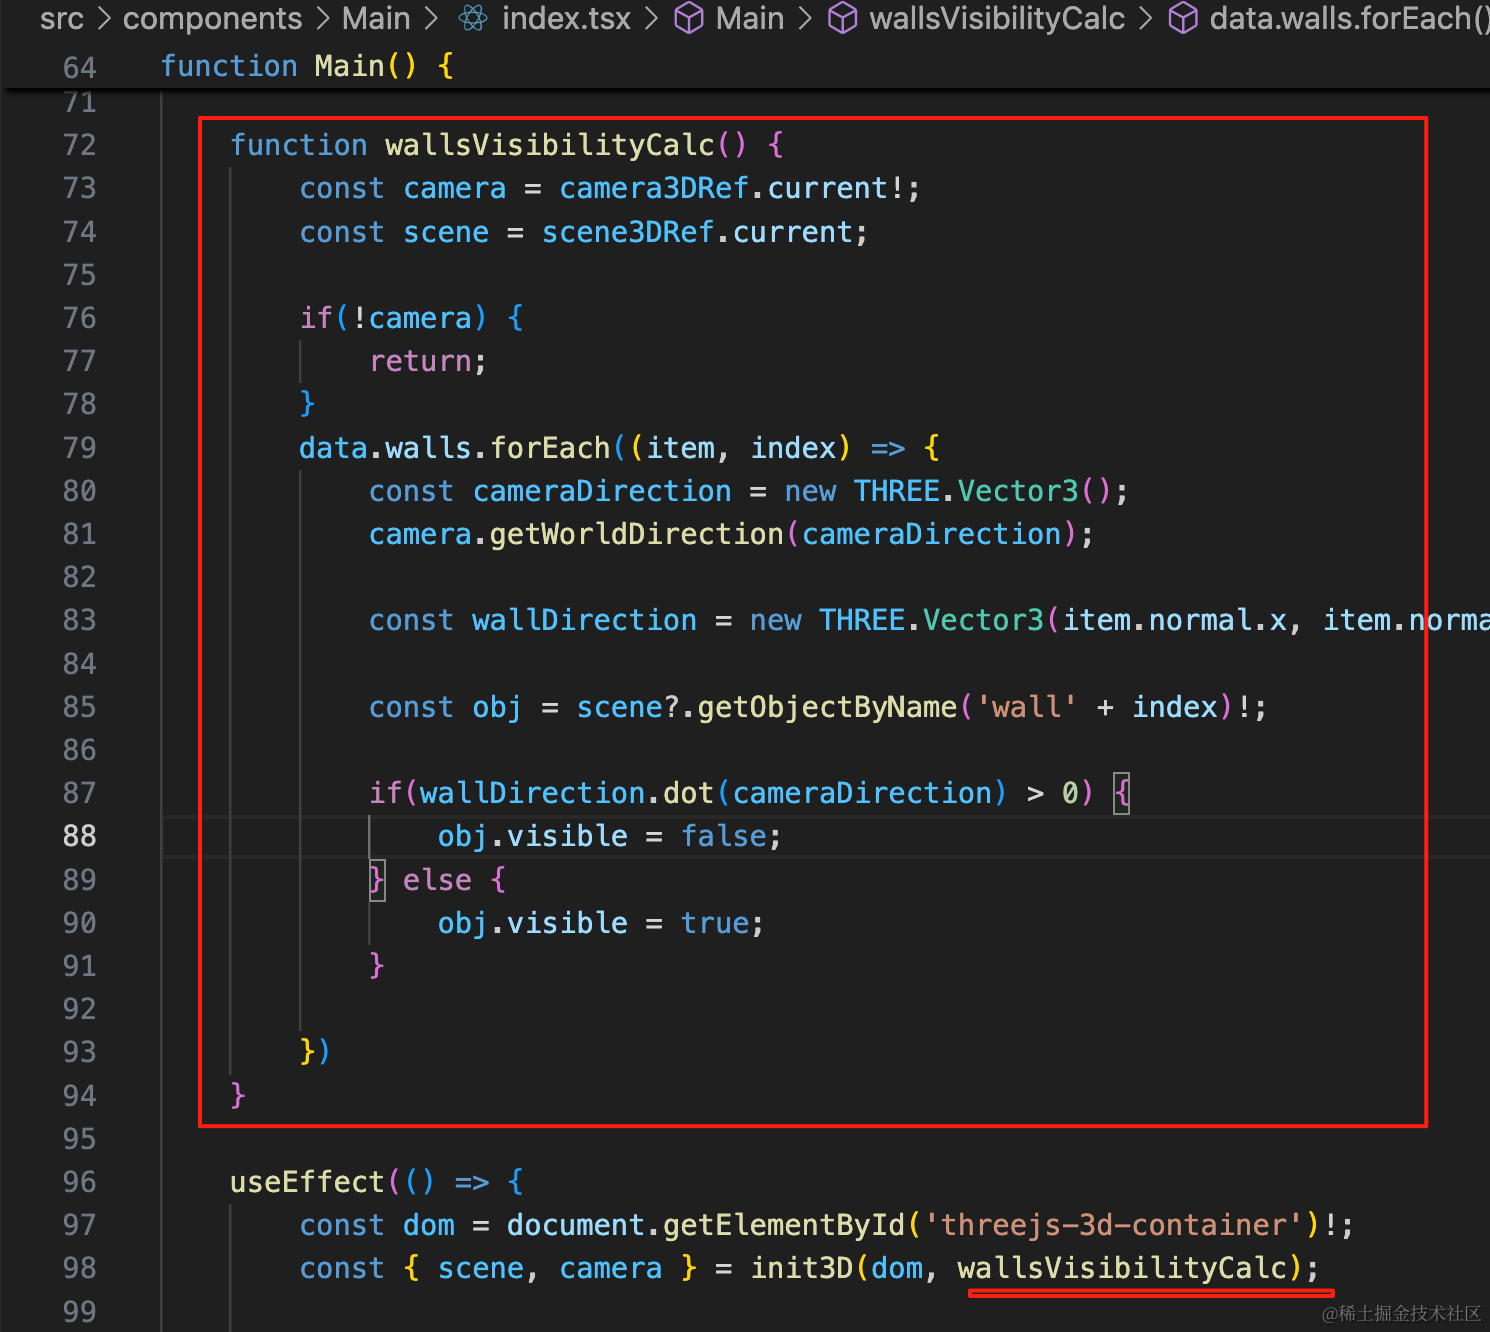
function wallsVisibilityCalc() {
    const camera = camera3DRef.current!;
    const scene = scene3DRef.current;

    if(!camera) {
        return;
    }
    data.walls.forEach((item, index) => {
        const cameraDirection = new THREE.Vector3();
        camera.getWorldDirection(cameraDirection);

        const wallDirection = new THREE.Vector3(item.normal.x, item.normal.y, item.normal.z);

        const obj = scene?.getObjectByName('wall' + index)!;

        if(wallDirection.dot(cameraDirection) > 0) {
            obj.visible = false;
        } else {
            obj.visible = true;
        }

    })
}
如果没有 camera 说明没初始化完成,不处理。
遍历墙,通过 camera.getWorldDirection 拿到相机方向,然后和墙的 normal 向量做点积,如果大于 0,说明是锐角,就隐藏,否则显示。
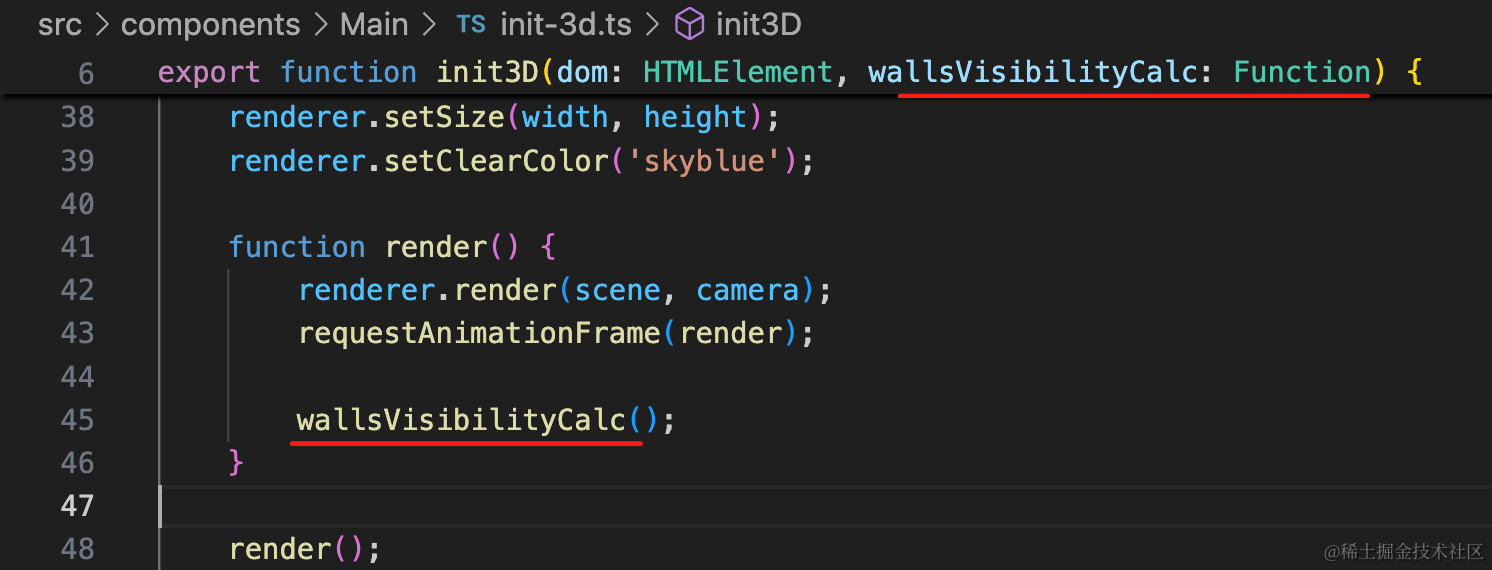
把它传入 init 函数,渲染循环里调用下:
看下效果:
这样我们就实现了酷家乐同款的墙隐藏的效果。
对比下:
是一样的。
最后我们顺便改一下另一个户型的数据,加上法线:
walls: [
    {
        position: { x: 0, y: 0, z: 0},
        width: 5000,
        height: 3000,
        depth: 200,
        normal: { x: 0, y: 0, z: 1},
        windows: []
    },
    {
        position: { x: 0, y: 0, z: 7000},
        width: 5000,
        height: 3000,
        depth: 200,
        normal: { x: 0, y: 0, z: -1},
        windows: []
    },
    {
        position: { x: 0, y: 0, z: 0},
        width: 7200,
        height: 3000,
        depth: 200,
        rotationY: -Math.PI / 2,
        normal: { x: 1, y: 0, z: 0},
        windows: [
                {
                    leftBottomPosition: {
                        left: 2867,
                        bottom: 900
                    },
                    width: 2100,
                    height: 1620
                }
        ]
    },
    {
        position: { x: 5000, y: 0, z: 0},
        width: 7200,
        height: 3000,
        depth: 200,
        rotationY: -Math.PI / 2,
        normal: { x: -1, y: 0, z: 0},
        windows: [],
        doors: [
            {
                leftBottomPosition: {
                    left: 6084,
                    bottom: 0
                },
                width: 856,
                height: 2152
            }
        ]
    },
],
试一下:
也没问题。
案例代码上传了小册仓库
总结
这节我们优化了下 3D 场景。
首先我们改了背景色、加上了 GridHelper 作为地面。
然后点击的时候用 EdgesGeometry 给物体加上了线框。
之后又实现了靠近相机的墙面隐藏的功能。
这个是通过计算墙的向量和相机方向向量的点积来实现的,点积大于 0 代表是锐角。
这样,我们户型的 3D 场景就完成了。