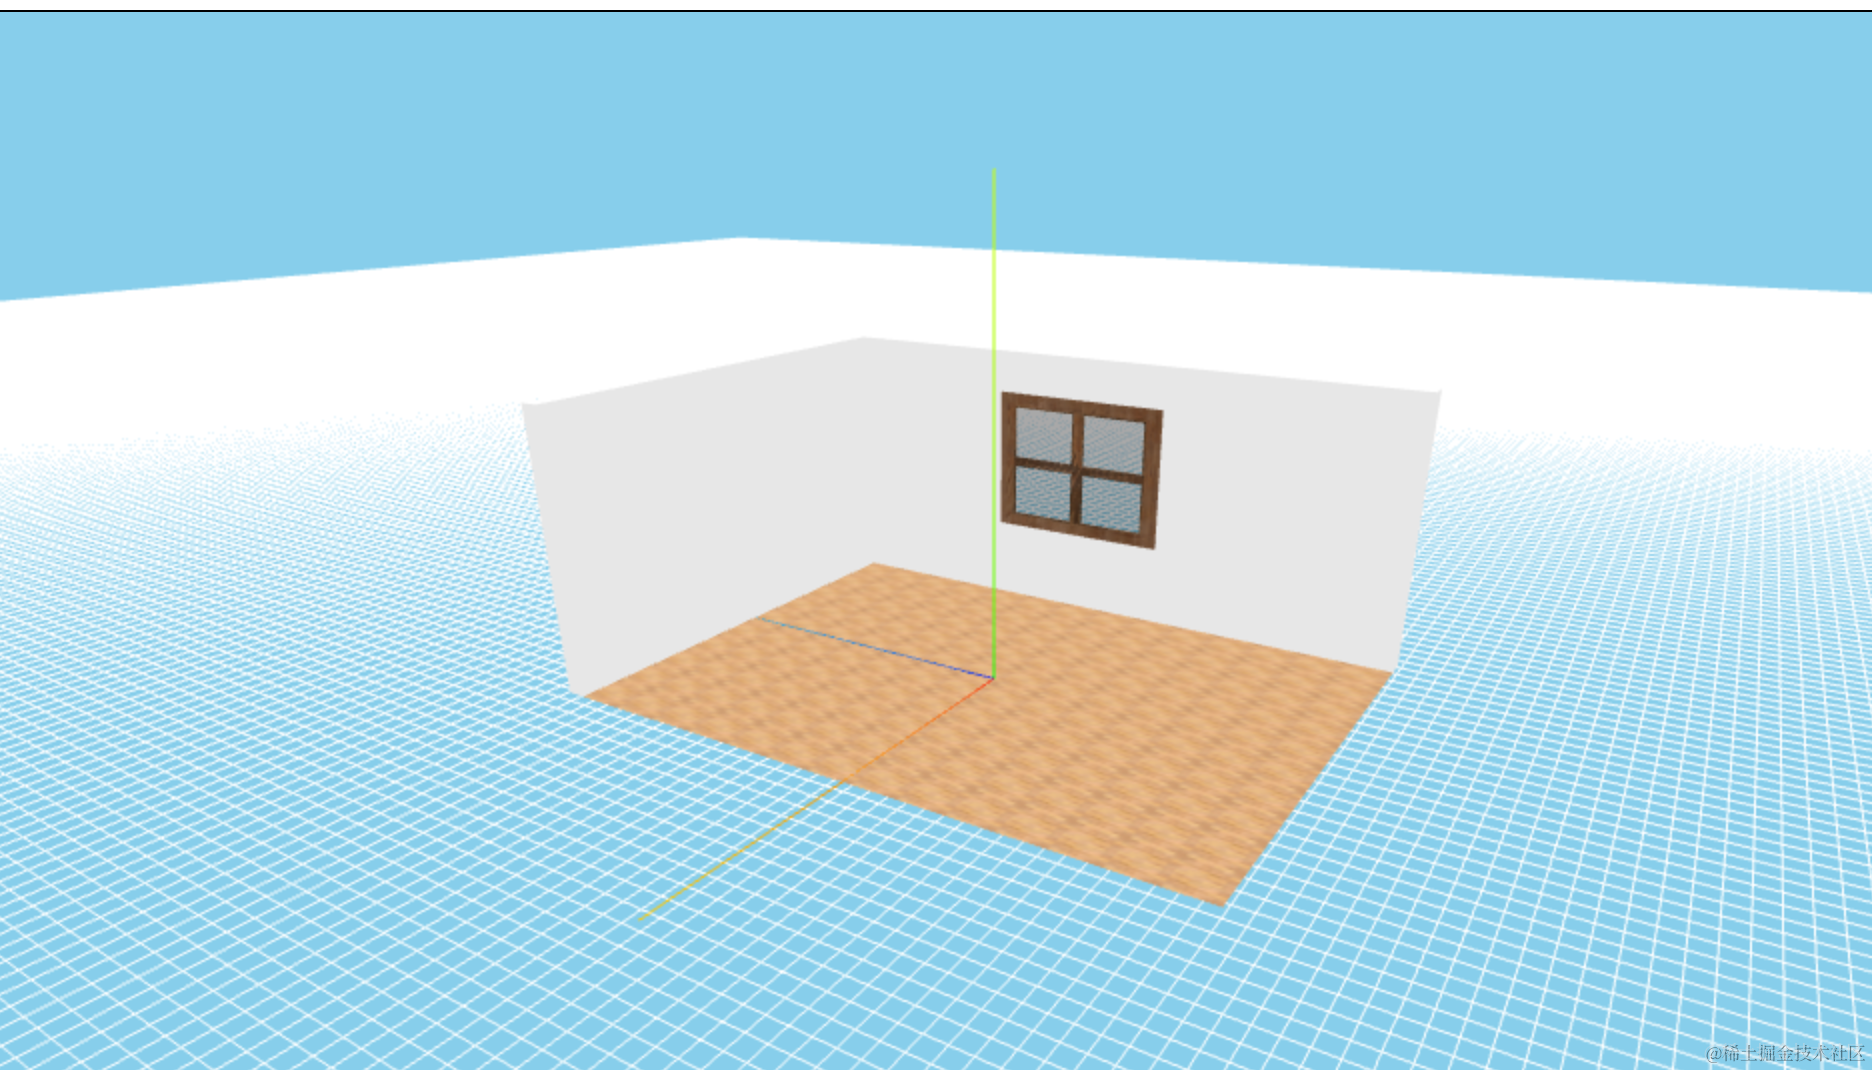
3D 部分的户型绘制告一段落:
这节我们来绘制 2D 部分。
也就是这个:

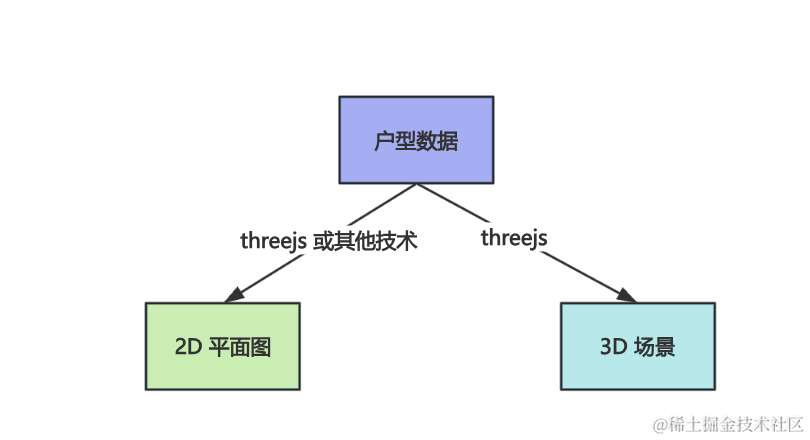
它是在一个平面上绘制,其实不是非得用 threejs,用任何 canvas 技术都行,比如 fabric.js。
我们维护的同一份数据,在 3D 视图用 threejs 绘制 3D 场景,在 2d 视图可以用别的技术方案来绘制平面户型。
先来绘制这个户型:
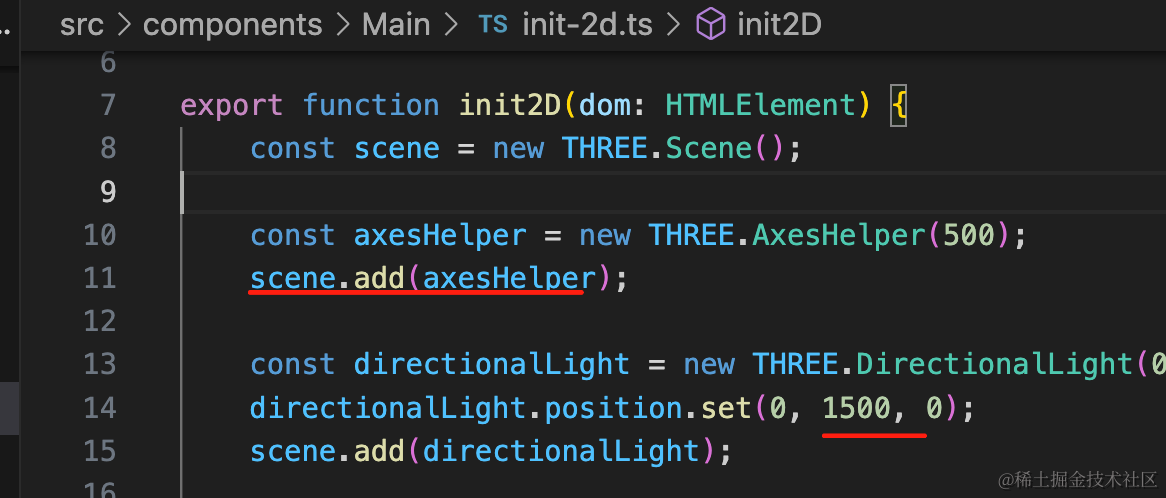
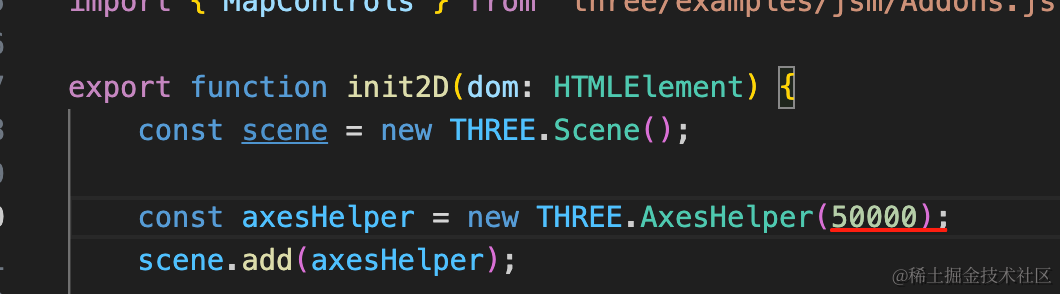
改下 init-2d.ts,加上坐标轴 helper、调一下灯光位置(和 3d 场景一样,灯光从上往下)。
然后先用之前 3d 场景渲染墙的方式渲染一下试试:
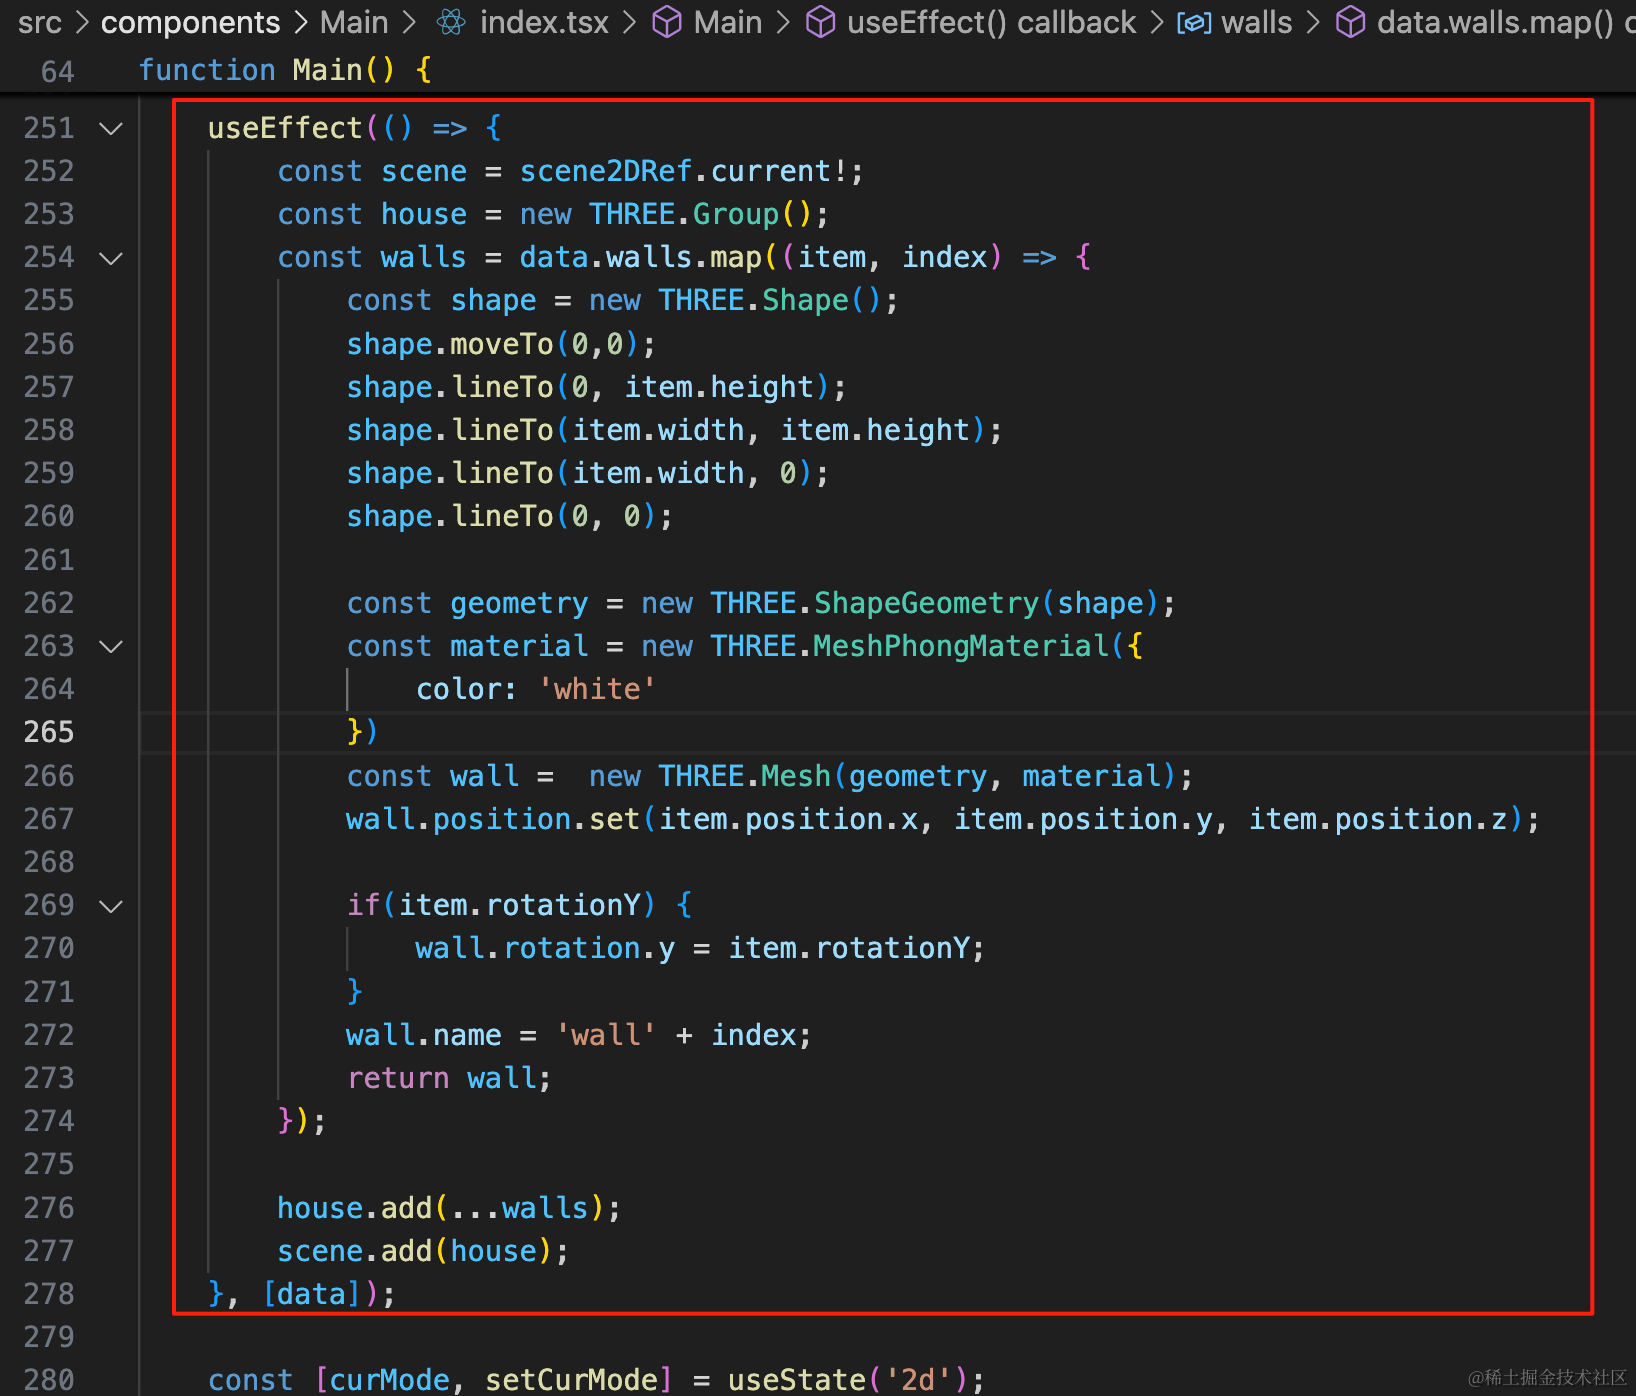
useEffect(() => {
    const scene = scene2DRef.current!;
    const house = new THREE.Group();
    const walls = data.walls.map((item, index) => {
        const shape = new THREE.Shape();
        shape.moveTo(0,0);
        shape.lineTo(0, item.height);
        shape.lineTo(item.width, item.height);
        shape.lineTo(item.width, 0);
        shape.lineTo(0, 0);

        const geometry = new THREE.ShapeGeometry(shape);
        const material = new THREE.MeshPhongMaterial({
            color: 'white'
        })
        const wall =  new THREE.Mesh(geometry, material);
        wall.position.set(item.position.x, item.position.y, item.position.z);

        if(item.rotationY) {
            wall.rotation.y = item.rotationY;
        }
        wall.name = 'wall' + index;
        return wall;
    });

    house.add(...walls);
    scene.add(house);
}, [data]);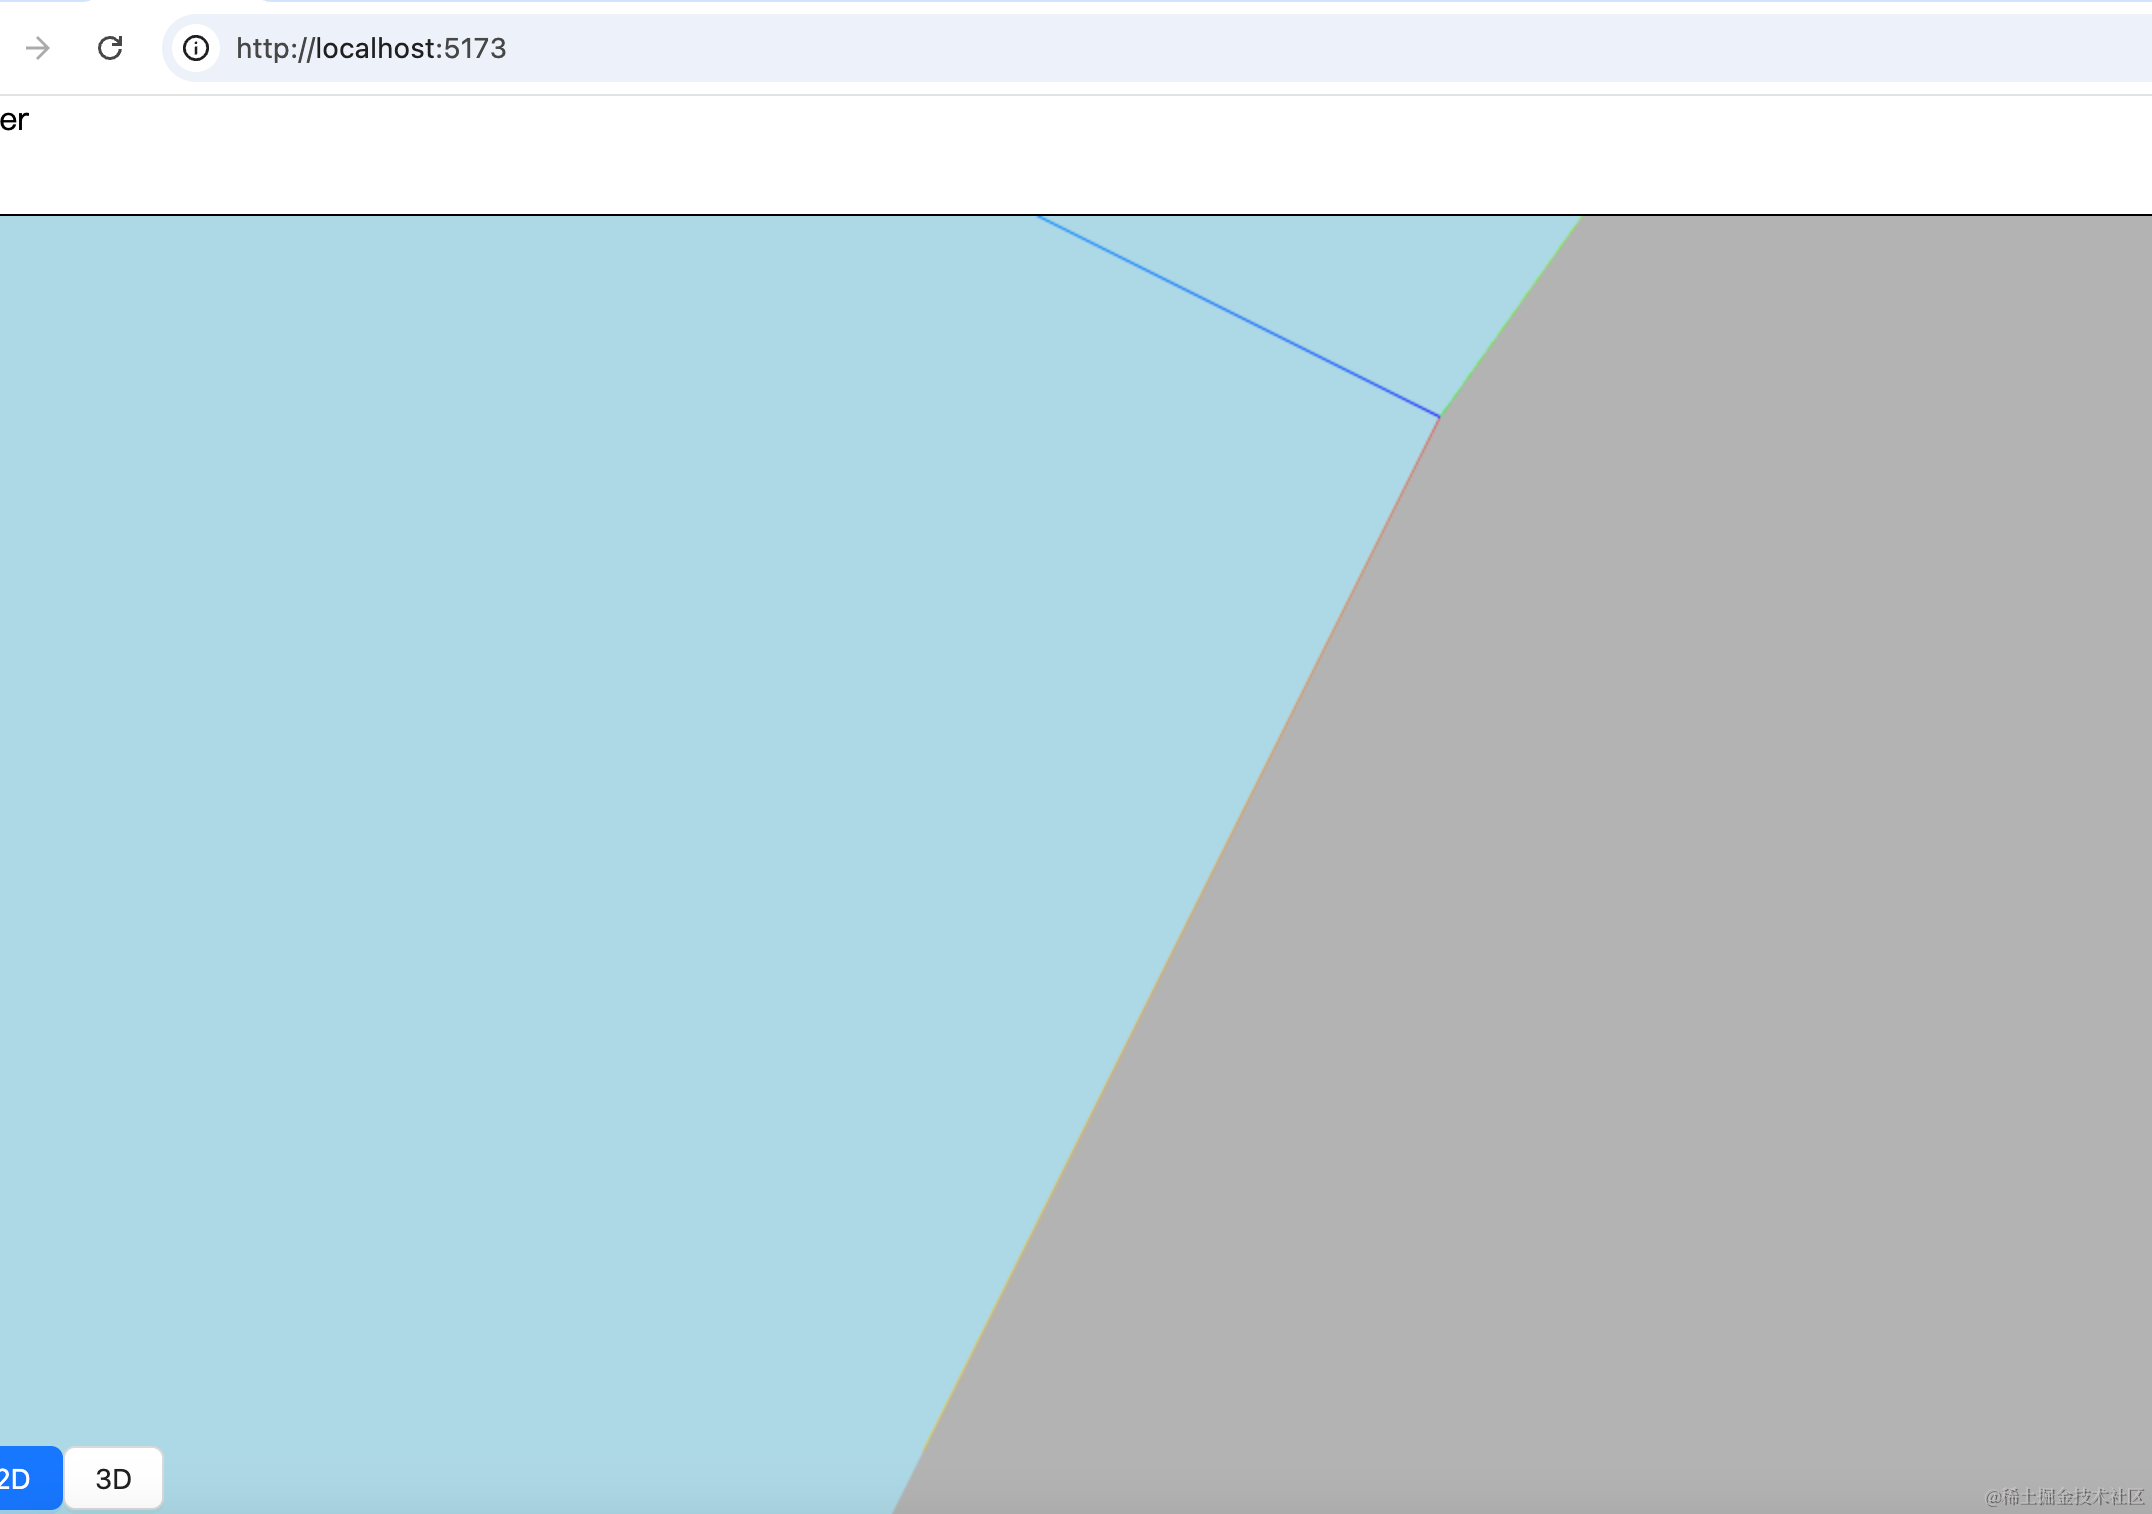
可以看到,之前我们 3D 场景里是竖直画的墙,现在 2D 里就不对了。
所以要改下:
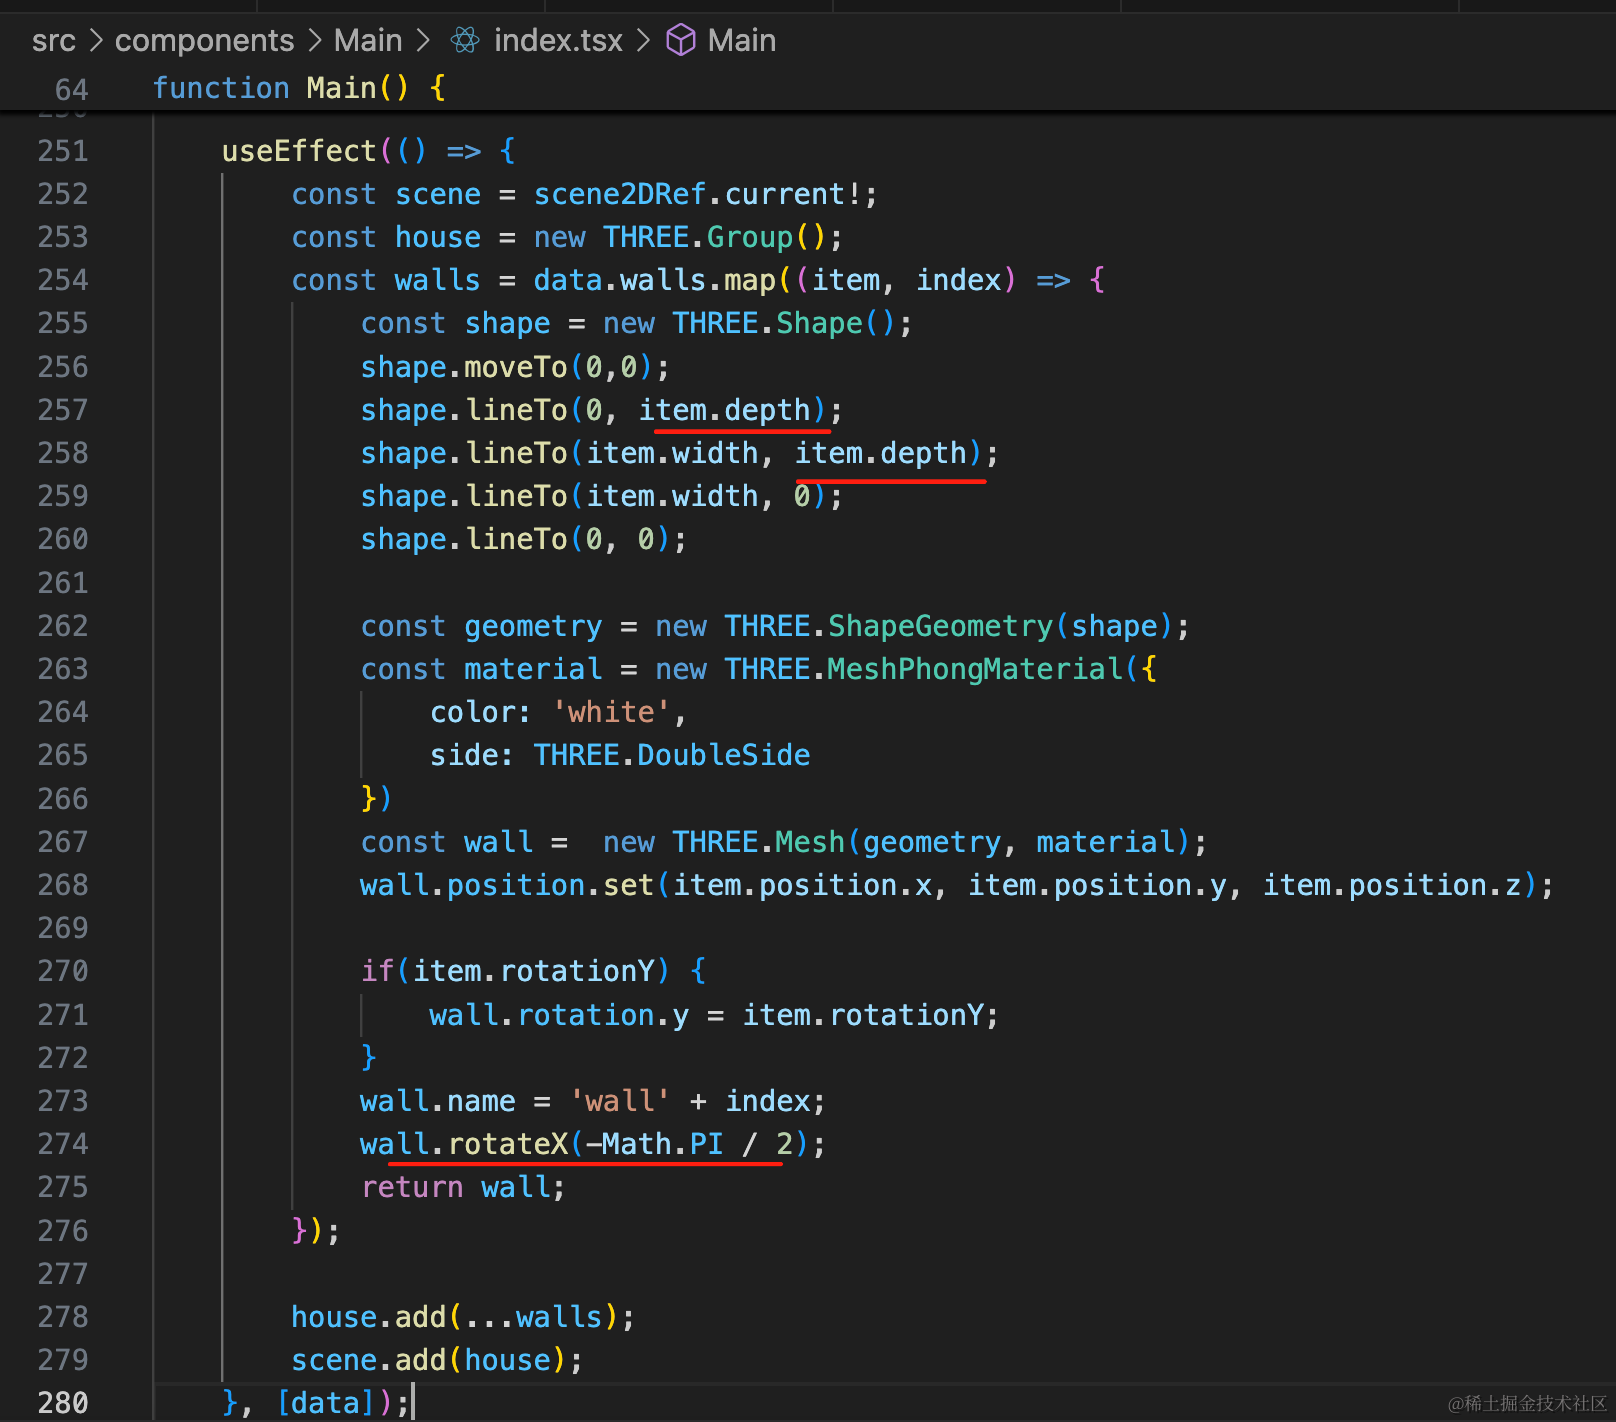
useEffect(() => {
    const scene = scene2DRef.current!;
    const house = new THREE.Group();
    const walls = data.walls.map((item, index) => {
        const shape = new THREE.Shape();
        shape.moveTo(0,0);
        shape.lineTo(0, item.depth);
        shape.lineTo(item.width, item.depth);
        shape.lineTo(item.width, 0);
        shape.lineTo(0, 0);

        const geometry = new THREE.ShapeGeometry(shape);
        const material = new THREE.MeshPhongMaterial({
            color: 'white',
            side: THREE.DoubleSide
        })
        const wall =  new THREE.Mesh(geometry, material);
        wall.position.set(item.position.x, item.position.y, item.position.z);

        if(item.rotationY) {
            wall.rotation.y = item.rotationY;
        }
        wall.name = 'wall' + index;
        wall.rotateX(-Math.PI / 2);
        return wall;
    });

    house.add(...walls);
    scene.add(house);
}, [data]);
之前 height 的地方改成 depth,然后旋转一下。
并且调节下相机的位置、可视范围:

const camera = new THREE.PerspectiveCamera(60, width / height, 1, 100000);
camera.position.set(0, 10000, 0);
camera.lookAt(0, 0, 0);
坐标轴有点短,调大一点:
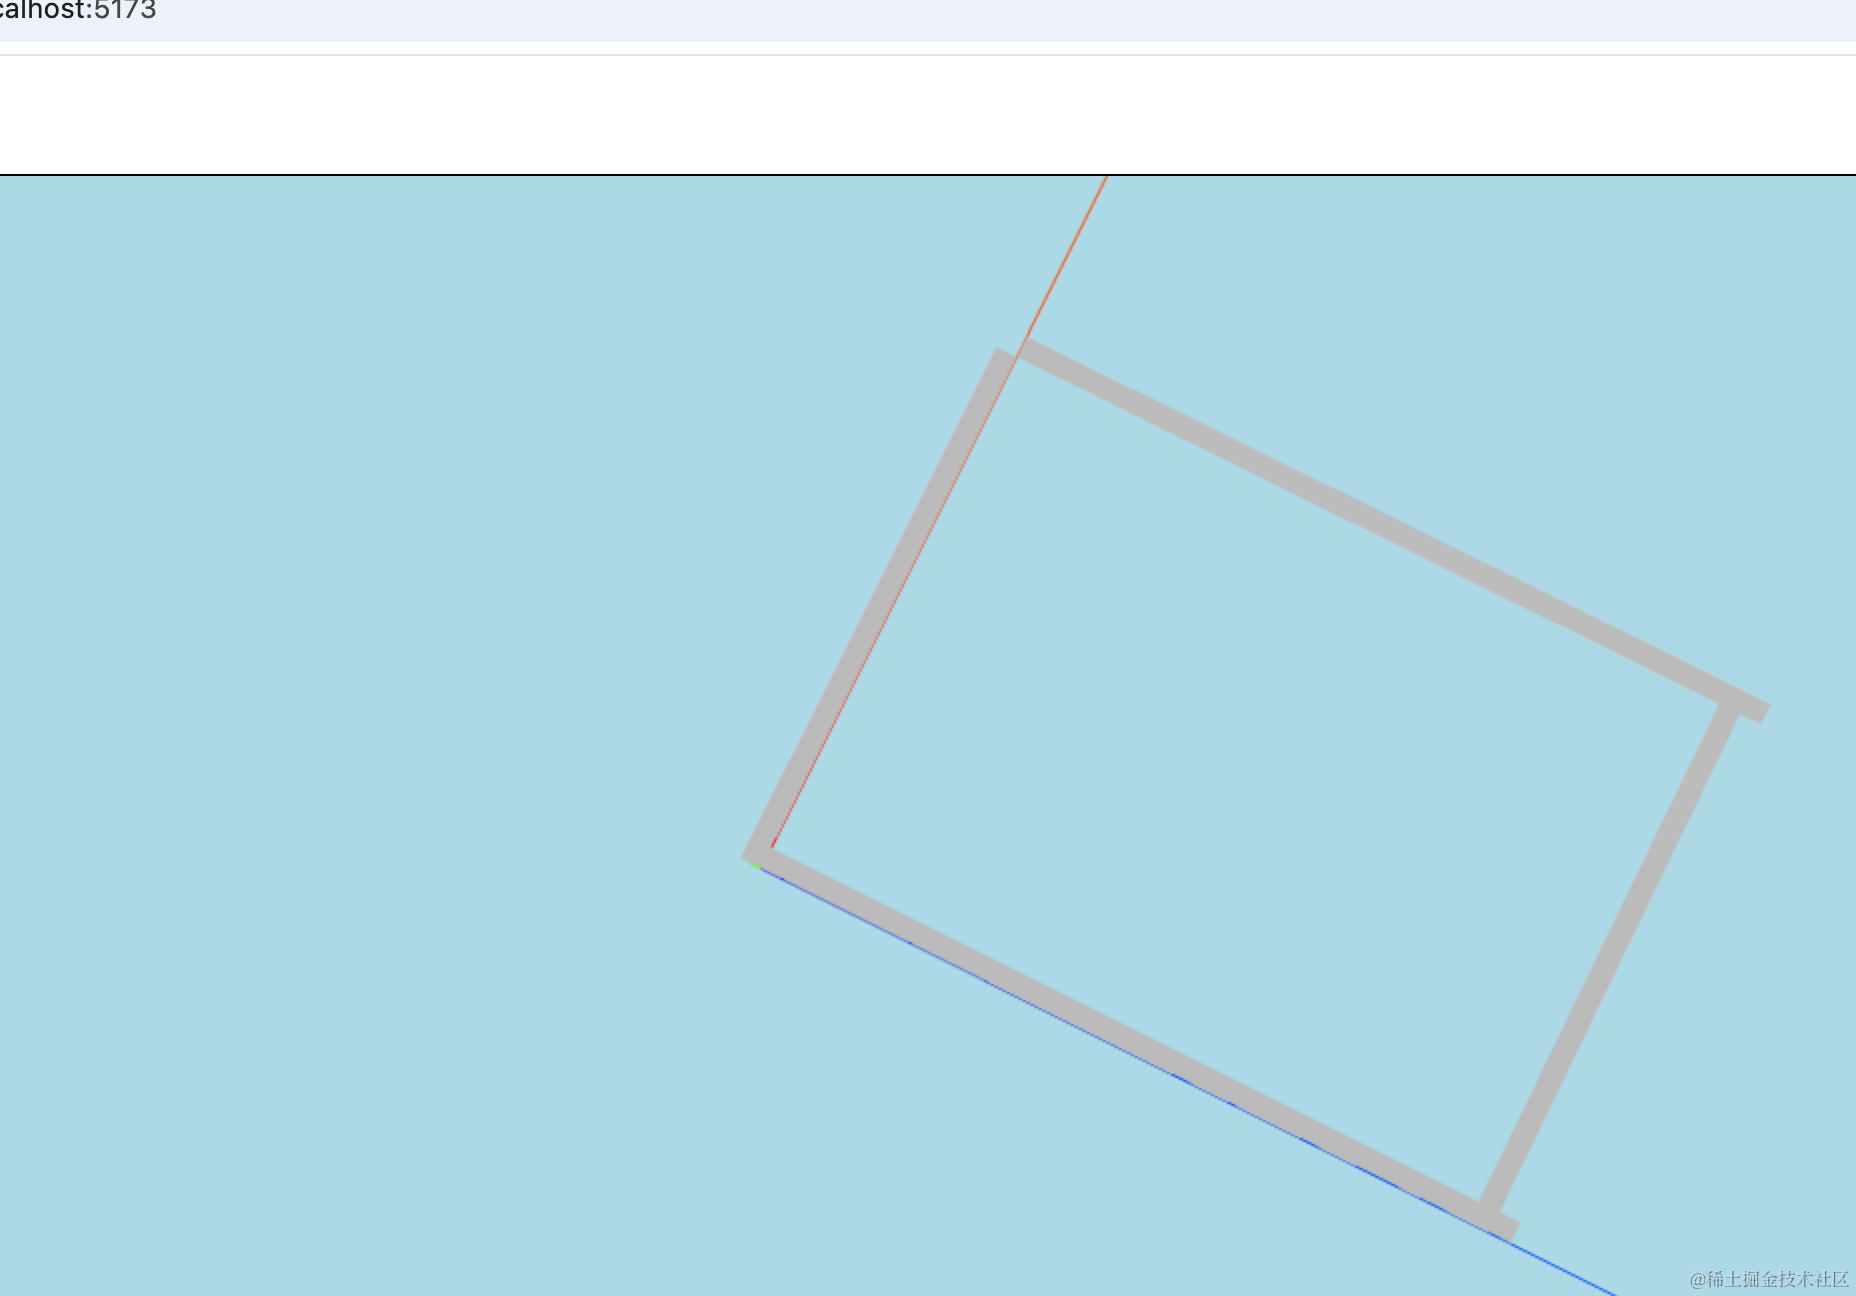
我们同样用包围盒计算中心点,让房子的中心移动到原点:
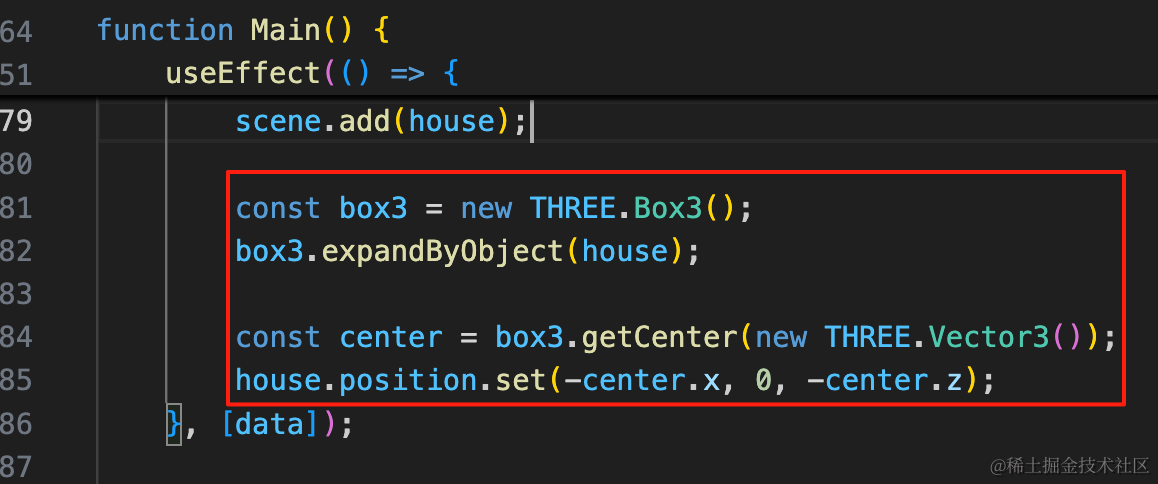
const box3 = new THREE.Box3();
box3.expandByObject(house);

const center = box3.getCenter(new THREE.Vector3());
house.position.set(-center.x, 0, -center.z);
然后旋转角度还要调一下。
绕 Y 轴旋转一定的角度,这里用 MathUtils 来做角度转弧度:
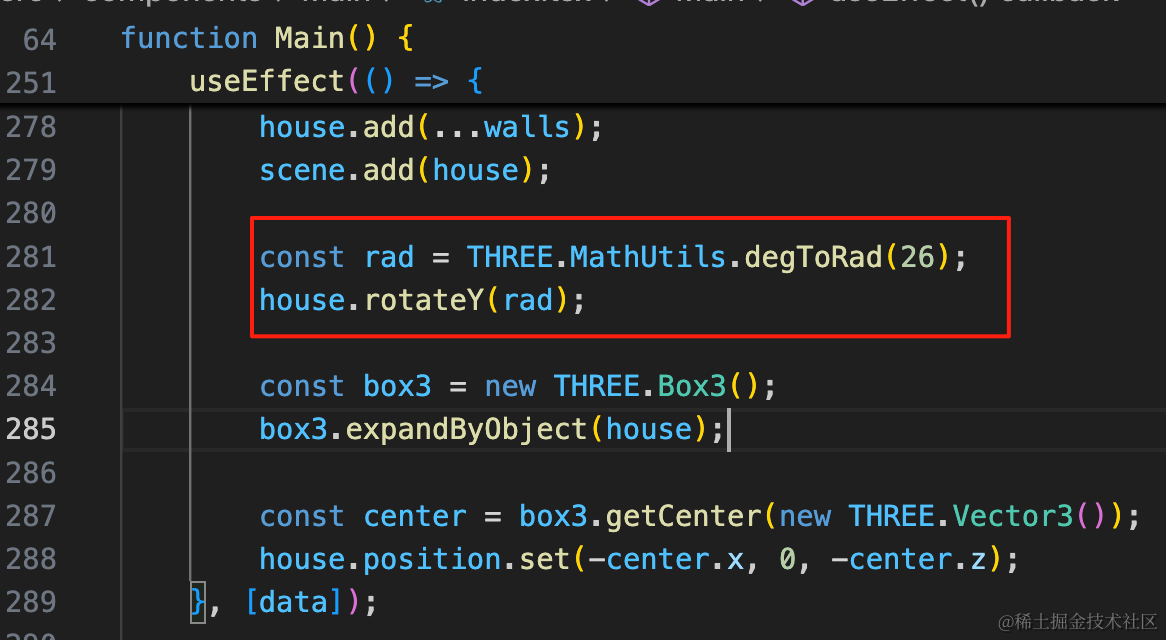
const rad = THREE.MathUtils.degToRad(26);
house.rotateY(rad);
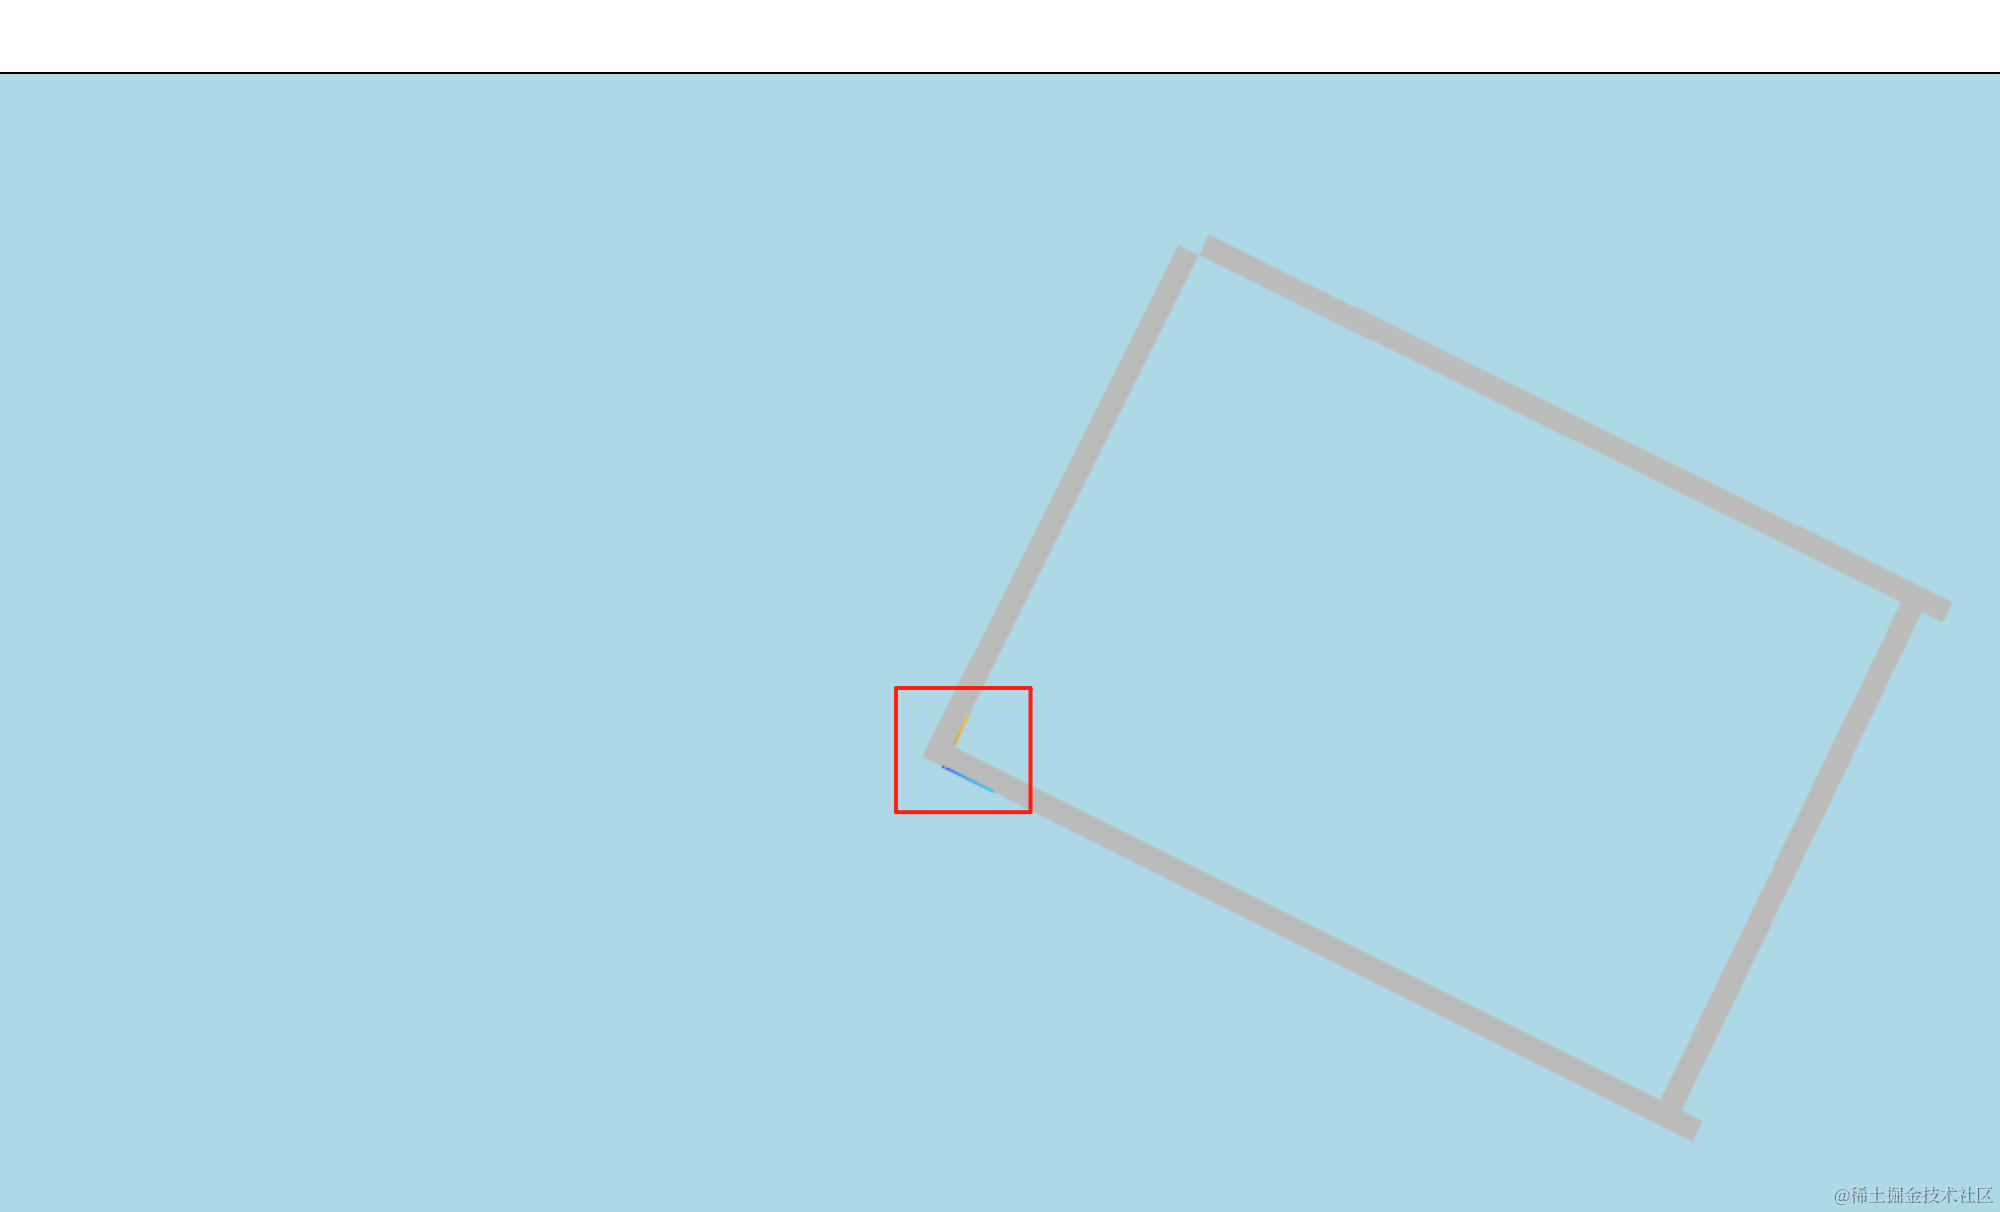
现在角度就对了。
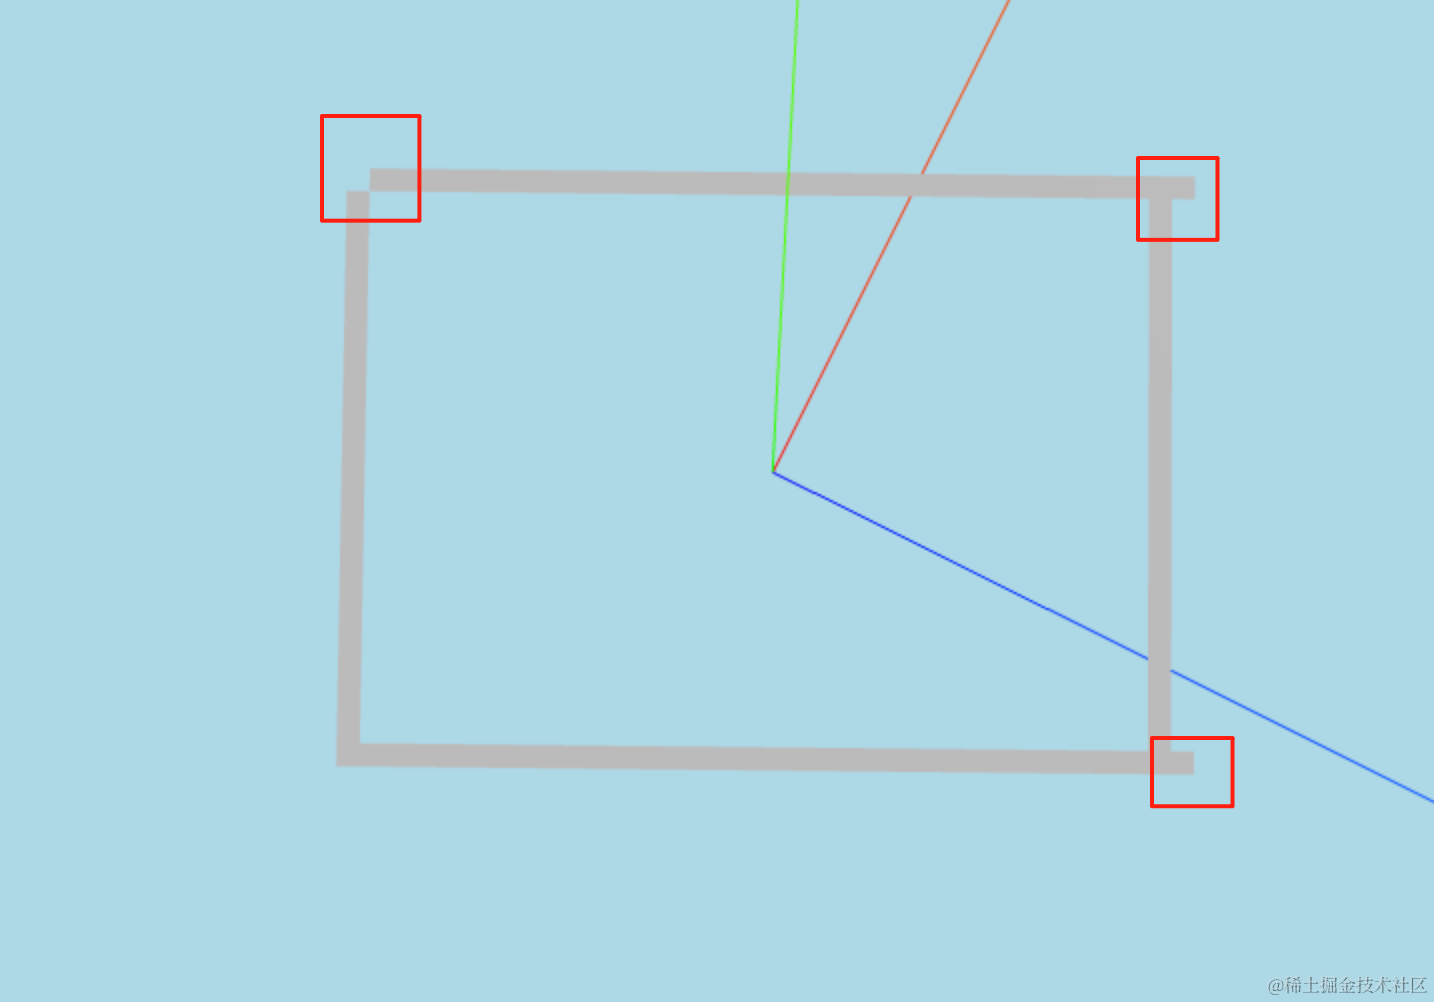
当然,这里有一些凸出来的地方,这个问题下节统一解决,这里先不管。
我们继续绘制地板:
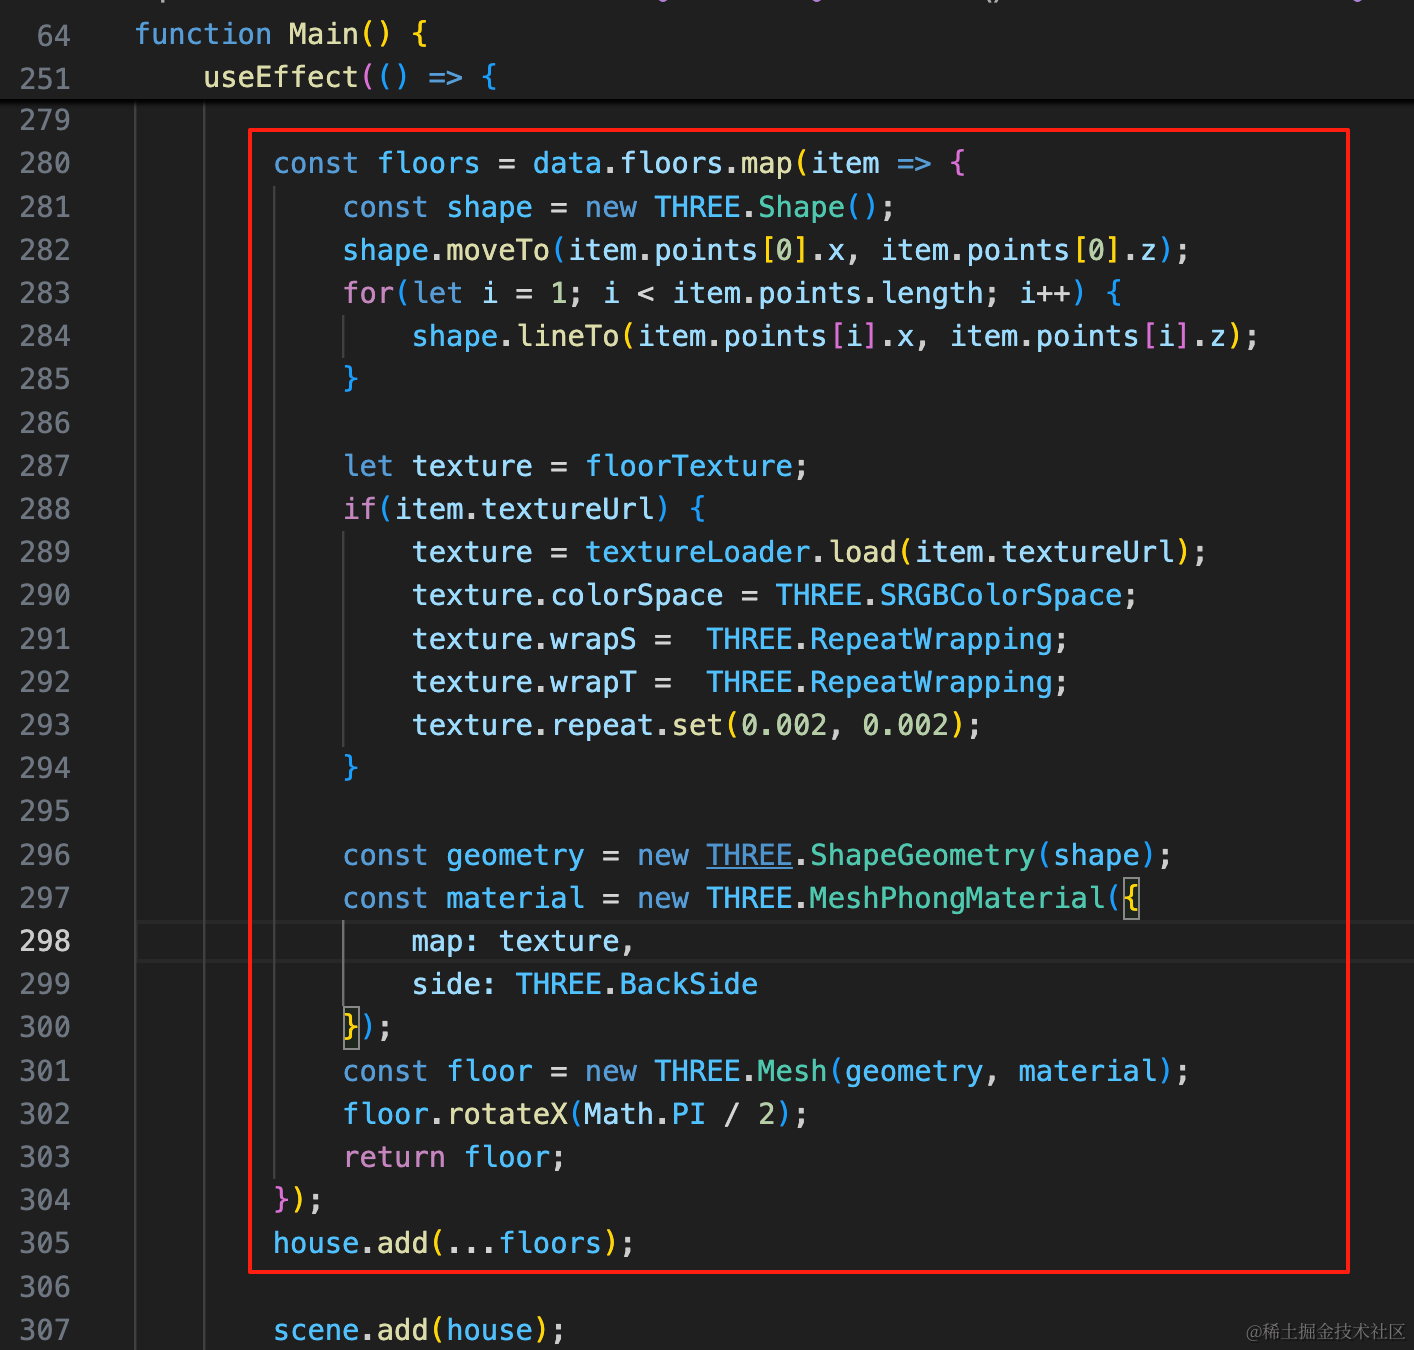
这部分就和前面 3D 场景里的一样了。
const floors = data.floors.map(item => {
    const shape = new THREE.Shape();
    shape.moveTo(item.points[0].x, item.points[0].z);
    for(let i = 1; i < item.points.length; i++) {
        shape.lineTo(item.points[i].x, item.points[i].z);
    }

    let texture = floorTexture;
    if(item.textureUrl) {
        texture = textureLoader.load(item.textureUrl);
        texture.colorSpace = THREE.SRGBColorSpace;
        texture.wrapS =  THREE.RepeatWrapping;
        texture.wrapT =  THREE.RepeatWrapping;
        texture.repeat.set(0.002, 0.002);
    }

    const geometry = new THREE.ShapeGeometry(shape);
    const material = new THREE.MeshPhongMaterial({
        map: texture,
        side: THREE.BackSide
    });
    const floor = new THREE.Mesh(geometry, material);
    floor.rotateX(Math.PI / 2);
    return floor;
});
house.add(...floors);
可以看到,绘制出来了。
但绘制的有一点误差,这个下节统一解决。
我们切换到另一个户型:
整体户型的墙、地板也都绘制出来了。
不过也是以为之前绘制的问题,这里有点不准。
先不着急继续绘制门窗,我们下节统一把这个问题解决一下。
案例代码上传了小册仓库
总结
这节我们实现了 2D 平面的绘制。
同一份数据,使用 2D 平面绘制,把 ExtrudeGeometry 换成 ShapeGeometry 来绘制就可以了。
用包围盒计算了大小,调整房子中心位置到坐标原点,然后用 MathUtils 做了角度转弧度,之后旋转了下。
这样整体户型就画出来了,不过因为绘制的有点问题,看起来有误差,下节我们统一解决。