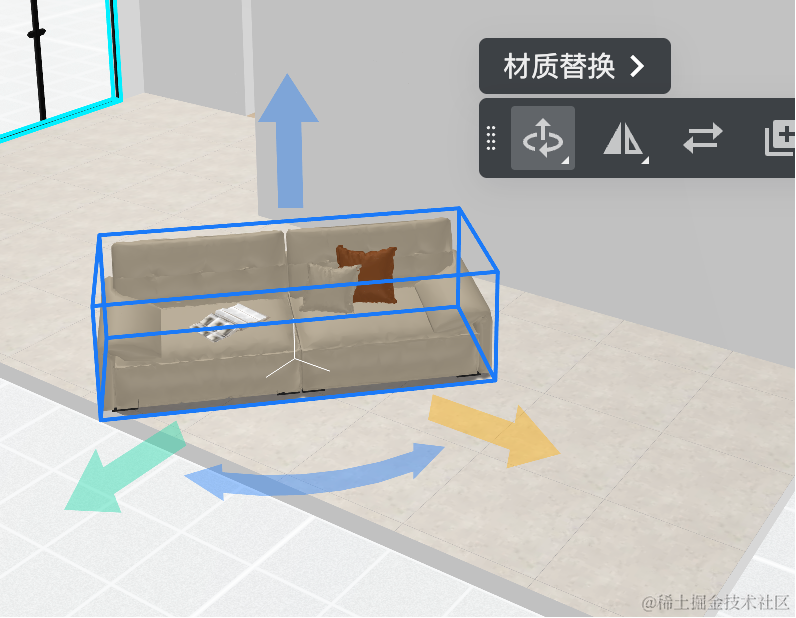
之前做酷家乐项目的时候,我们是用的 TransformControls 来做的平移、旋转操作:
需要先切换模式,才能做平移、旋转。
确实不是那么方便。
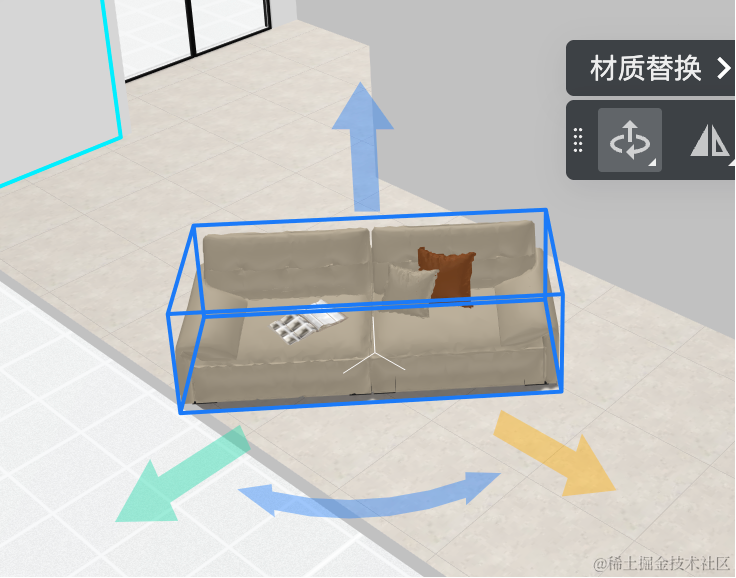
而酷家乐用的是自己封装的控制器:
平移、旋转都在一个控件里,方便很多。
这节开始我们就来自己实现一下这个控制器。
创建项目:
npx create-vite my-transform-controls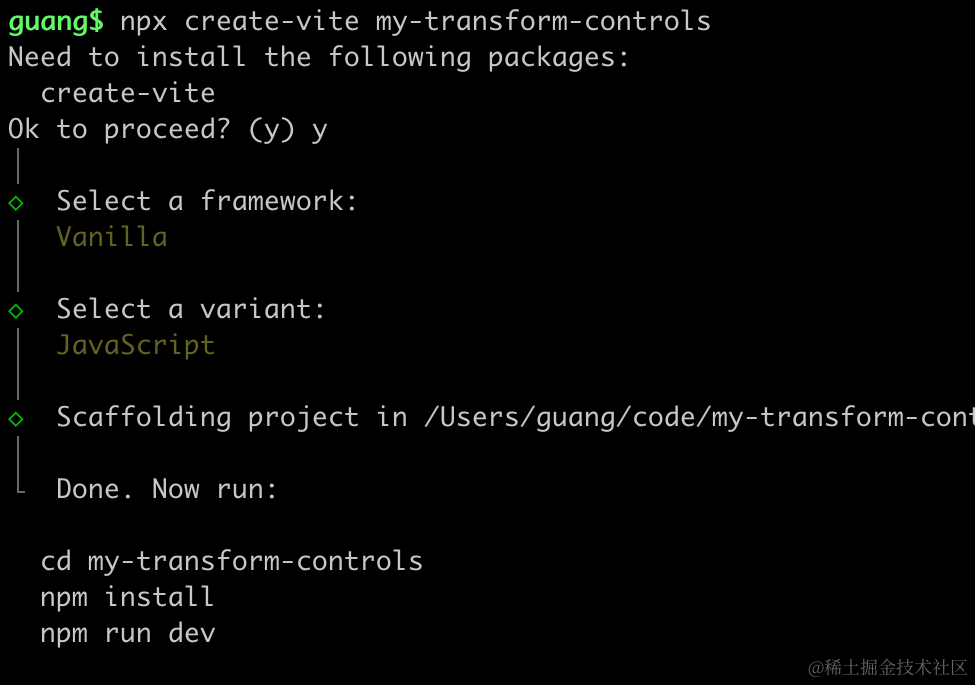
创建项目,进入项目,安装依赖:
pnpm install
pnpm install --save three
pnpm install --save-dev @types/three
改下 src/main.js
import './style.css';
import * as THREE from 'three';
import {
    OrbitControls
} from 'three/addons/controls/OrbitControls.js';
import mesh from './mesh.js';

const scene = new THREE.Scene();

scene.add(mesh);

const light = new THREE.DirectionalLight(0xffffff);
light.position.set(500, 300, 600);
scene.add(light);

const light2 = new THREE.AmbientLight();
scene.add(light2);

const axesHelper = new THREE.AxesHelper(1000);
scene.add(axesHelper);

const width = window.innerWidth;
const height = window.innerHeight;

const camera = new THREE.PerspectiveCamera(60, width / height, 1, 10000);
camera.position.set(500, 400, 600);
camera.lookAt(0, 0, 0);

const renderer = new THREE.WebGLRenderer({
  antialias: true
});
renderer.setSize(width, height)

function render() {
    renderer.render(scene, camera);
    requestAnimationFrame(render);
}

render();

document.body.append(renderer.domElement);

const controls = new OrbitControls(camera, renderer.domElement);
创建 Scene、Light、Camera、Renderer
改下 style.css
body {
    margin: 0;
}
找一个沙发的模型:
https://sketchfab.com/3d-models/sofa-3230-a13c1053ff894d4fa0a6aeb1bb90e8fc
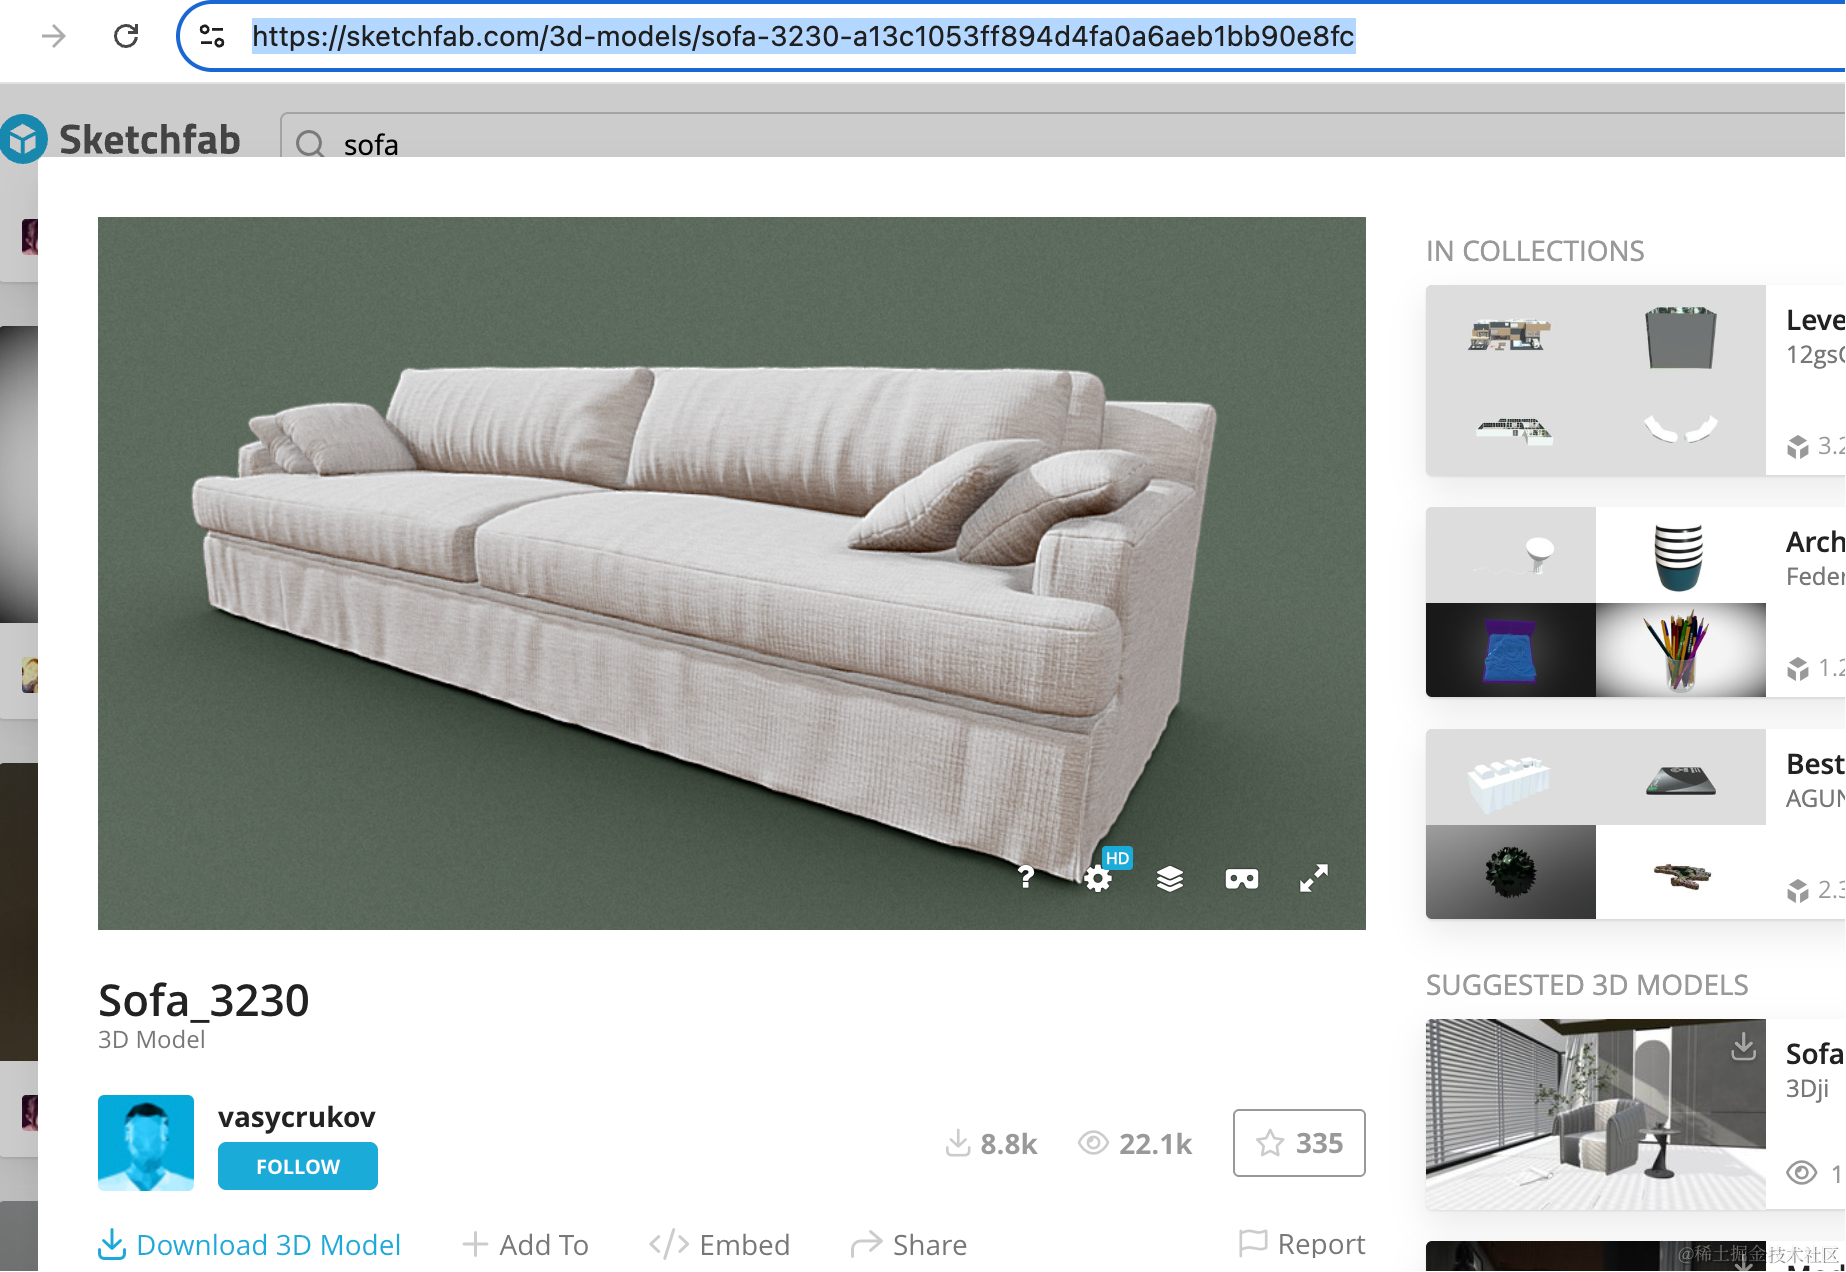
下载下来放 public 目录:
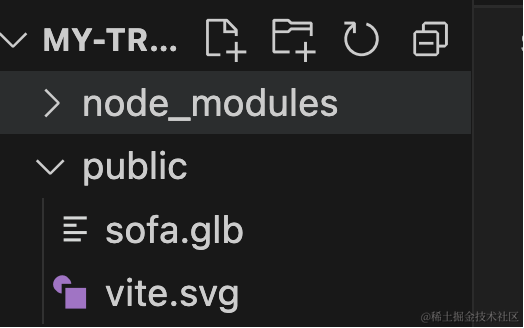
然后创建 mesh.js
import * as THREE from 'three';
import { GLTFLoader } from 'three/addons/loaders/GLTFLoader.js';

const loader = new GLTFLoader();

const mesh = new THREE.Group();

export const loadPromise = loader.loadAsync("./sofa.glb");

loadPromise.then(gltf => {
    mesh.add(gltf.scene);

    gltf.scene.scale.setScalar(150);
})

export default mesh;
跑一下:
npm run dev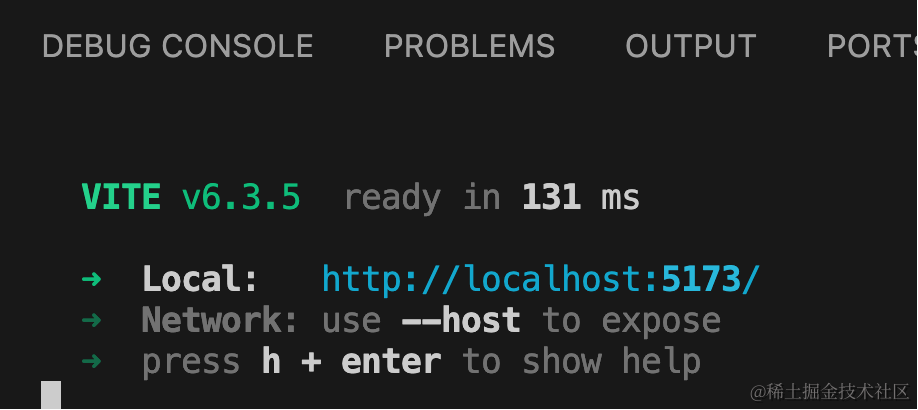
我们先把这些框和箭头画出来:
创建 MyTransformControls.js
class MyTransformControls {

    constructor() {
        this.obj = null;
    }

    attach(obj) {
        this.obj = obj;
    }

    detach() {
        this.obj = null;
    }
}

export default MyTransformControls;
有 attach 和 detach 方法。
在 main.js 里调用下:
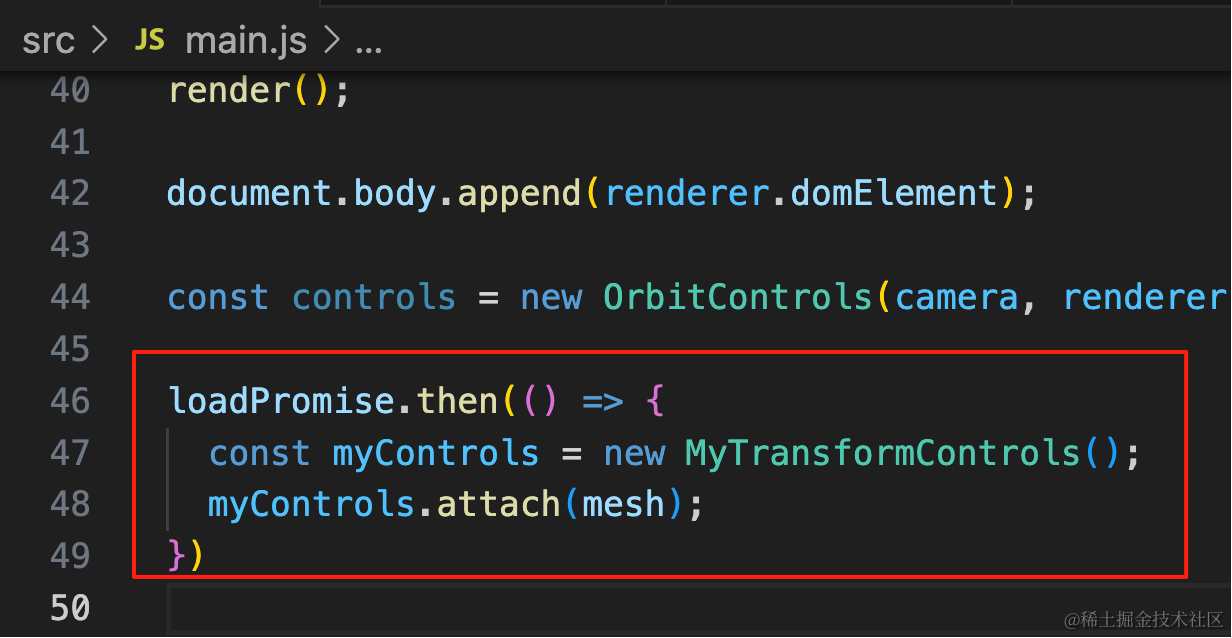
loadPromise.then(() => {
  const myControls = new MyTransformControls();
  myControls.attach(mesh);
})
attach 的时候,我们要给这个 obj 加上箭头和边框:
先拿到包围盒:
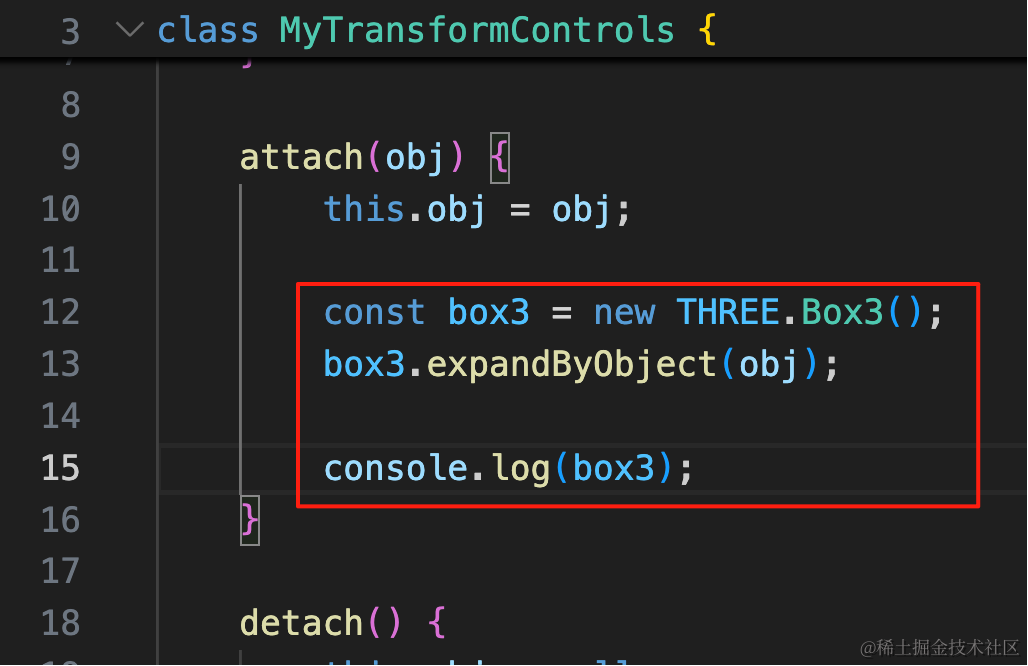
const box3 = new THREE.Box3();
box3.expandByObject(obj);

console.log(box3);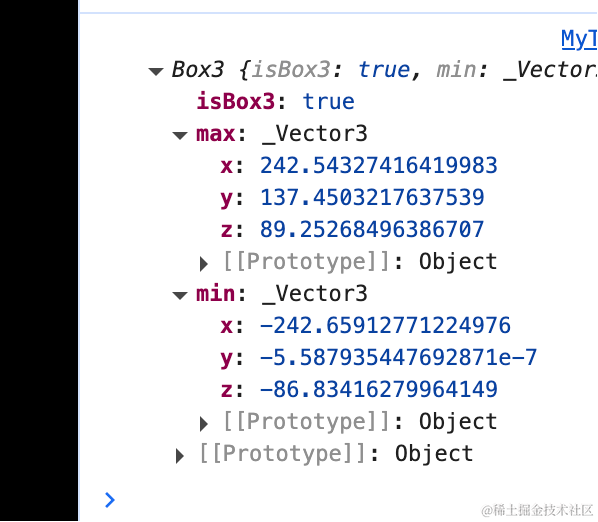
我们拿到 Box3 的 size、center,可以用 BoxGeometry、EdgesGeometry 加 LineSegments 画出框:
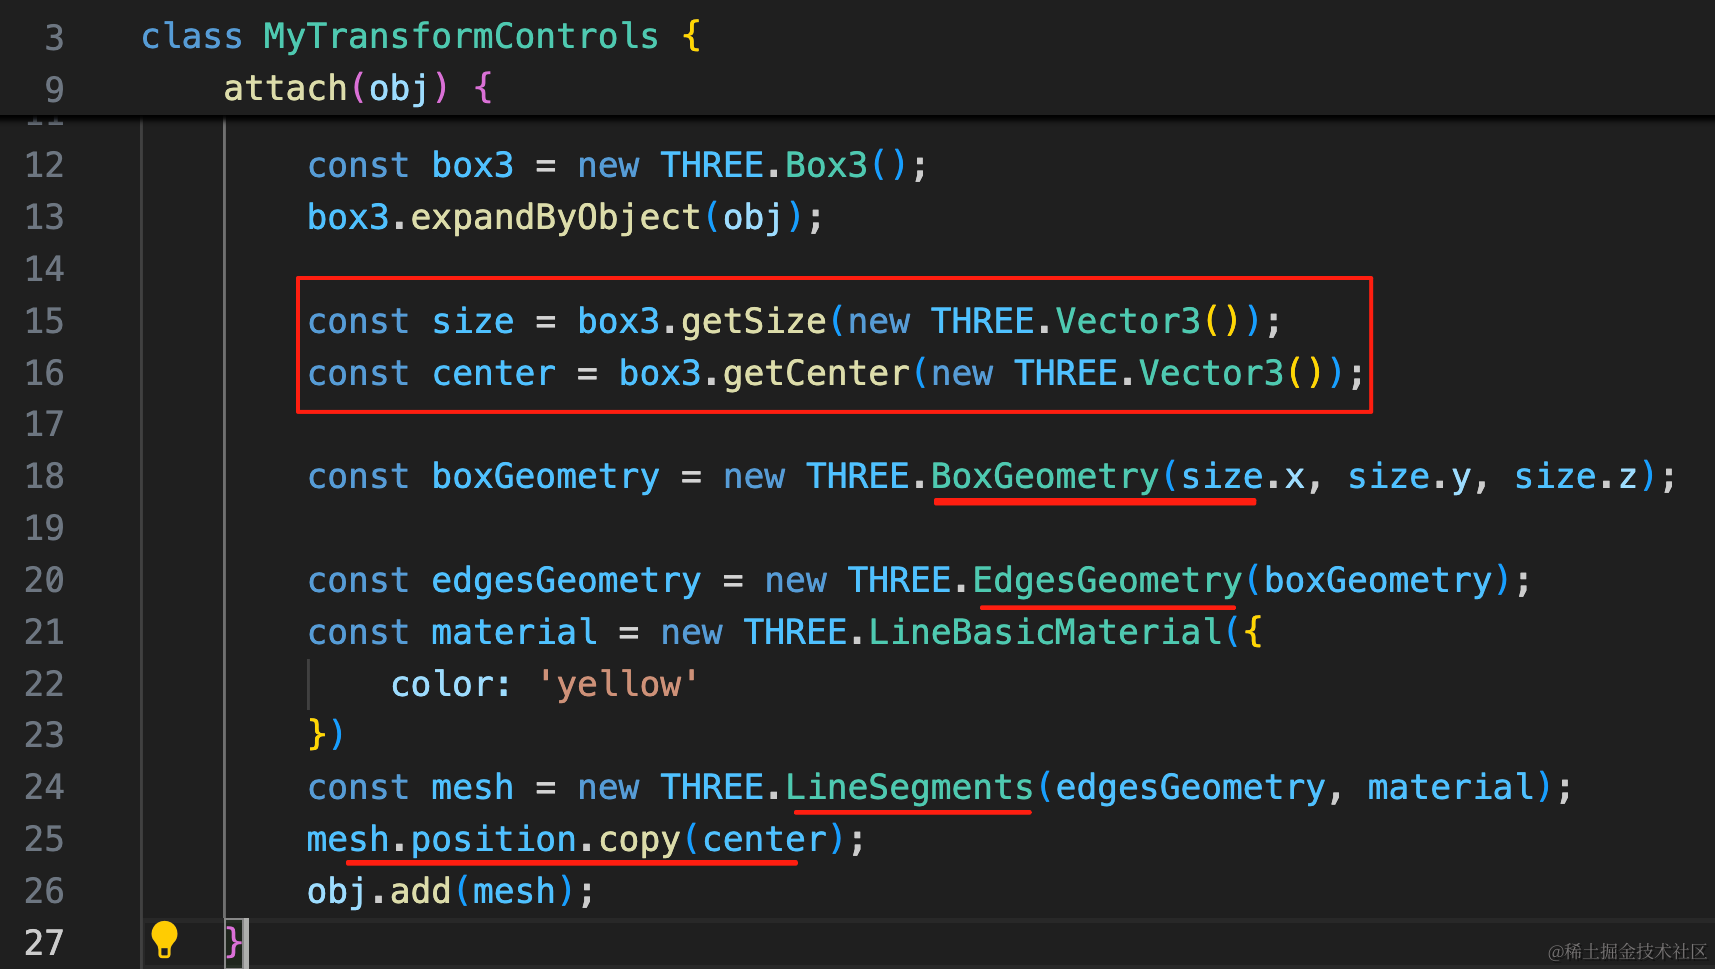
这里要设置 position 为包围盒的 center
const size = box3.getSize(new THREE.Vector3());
const center = box3.getCenter(new THREE.Vector3());

const boxGeometry = new THREE.BoxGeometry(size.x, size.y, size.z);

const edgesGeometry = new THREE.EdgesGeometry(boxGeometry);
const material = new THREE.LineBasicMaterial({
    color: 'yellow'
})
const mesh = new THREE.LineSegments(edgesGeometry, material);
mesh.position.copy(center);
obj.add(mesh);
线比较细,酷家乐这个线挺粗的:
如果要设置 lineWidth,就要用 LineGeometry 的 api,指定一些点。
注释掉那些代码,我们用 LineGeometry 的方式写一下:
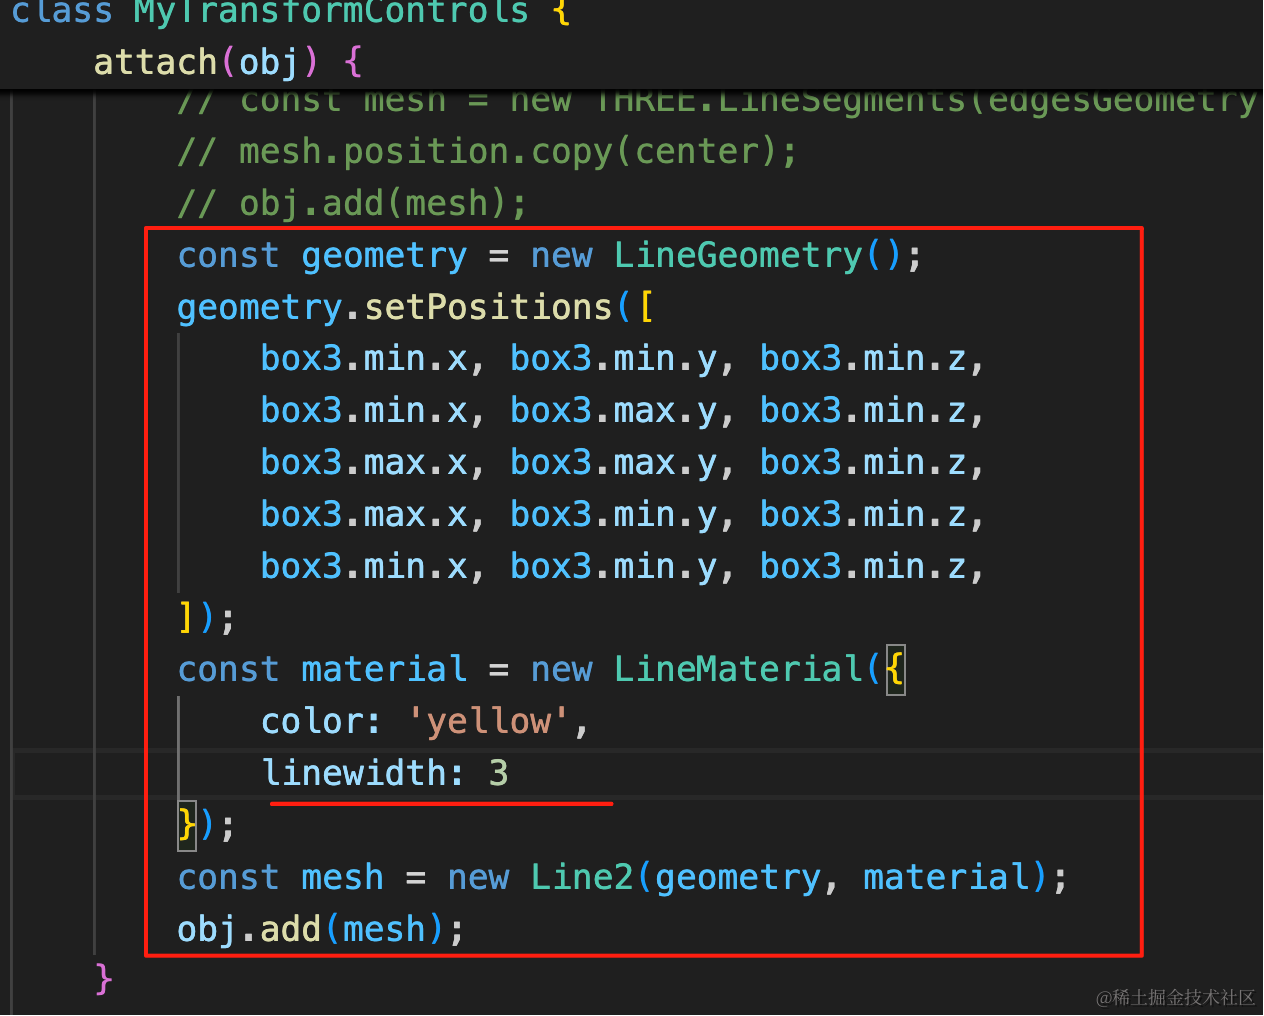
const geometry = new LineGeometry();
geometry.setPositions([
    box3.min.x, box3.min.y, box3.min.z,
    box3.min.x, box3.max.y, box3.min.z,
    box3.max.x, box3.max.y, box3.min.z,
    box3.max.x, box3.min.y, box3.min.z,
    box3.min.x, box3.min.y, box3.min.z,
]);
const material = new LineMaterial({
    color: 'yellow',
    linewidth: 3
});
const mesh = new Line2(geometry, material);
obj.add(mesh);
用 setPositions 指定一堆坐标,或者用 setFromPoints 也可以。
首先指定了 4 个点,连起来是这样的:
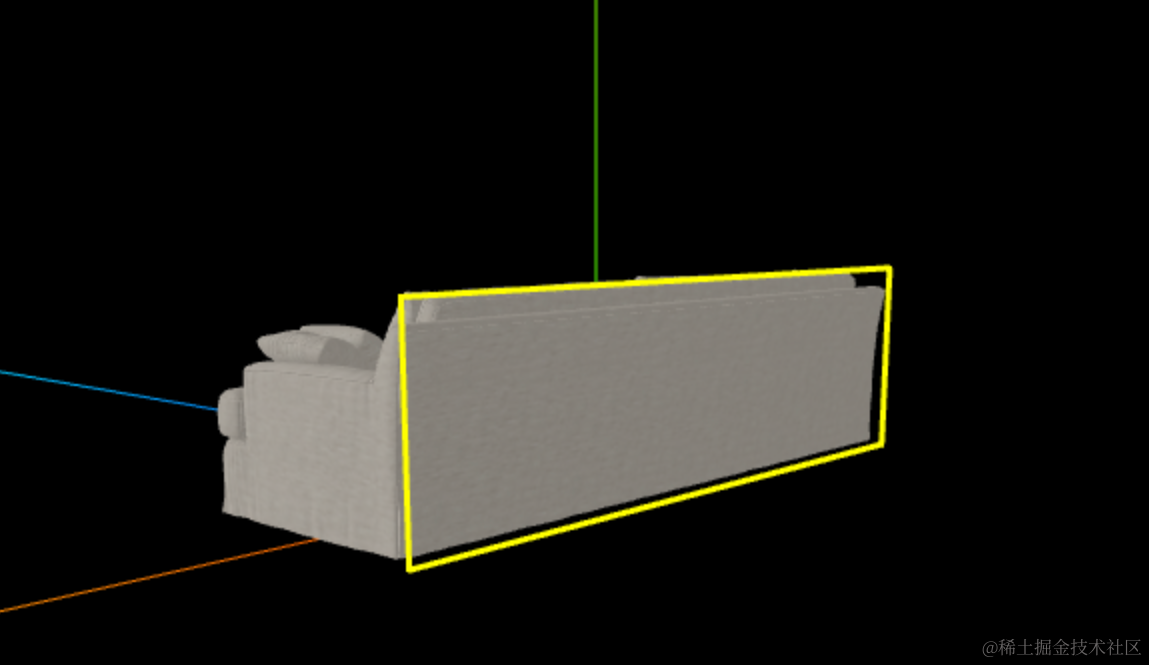
可以看到 lineWidth 生效了。
接下来继续把剩下的点也连起来。
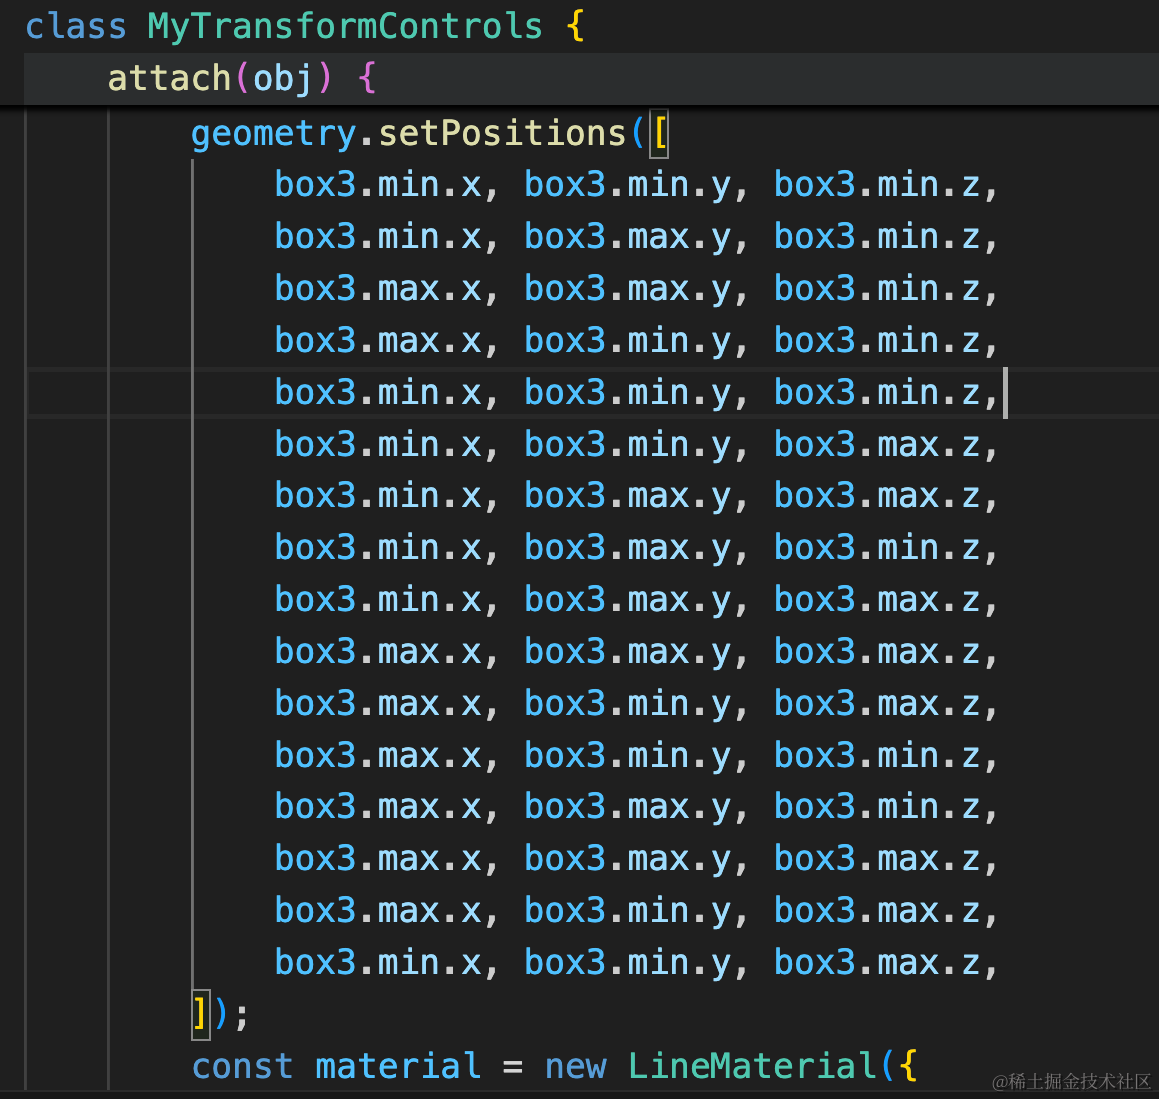
geometry.setPositions([
    box3.min.x, box3.min.y, box3.min.z,
    box3.min.x, box3.max.y, box3.min.z,
    box3.max.x, box3.max.y, box3.min.z,
    box3.max.x, box3.min.y, box3.min.z,
    box3.min.x, box3.min.y, box3.min.z,
    box3.min.x, box3.min.y, box3.max.z,
    box3.min.x, box3.max.y, box3.max.z,
    box3.min.x, box3.max.y, box3.min.z,
    box3.min.x, box3.max.y, box3.max.z,
    box3.max.x, box3.max.y, box3.max.z,
    box3.max.x, box3.min.y, box3.max.z,
    box3.max.x, box3.min.y, box3.min.z,
    box3.max.x, box3.max.y, box3.min.z,
    box3.max.x, box3.max.y, box3.max.z,
    box3.max.x, box3.min.y, box3.max.z,
    box3.min.x, box3.min.y, box3.max.z,
]);
不用管细节了,总之依次连起来就行:
案例代码上传了小册仓库
总结
这节我们开始实现酷家乐同款的控制器,它可以同时对目标对象做平移、旋转,而用 TransformControls 需要先切换模式才能平移或者旋转。
我们先画了线框,用 Box3 包围盒拿到 size、center、min、max 等信息,可以用 EdgesGeometry + Line 画线框,但是这样的太细了。
我们想设置 lineWidth,所以用的 LineGeometry + LineMaterial + Line2 画的线框。
用 lineGeometry.setPositions 单独设置的每个点的坐标。
我们封装了一个 MyTransformControls 的类,在 attach 的时候把它加到目标对象上。
画完线框,下节我们继续画箭头部分。