上节实现了拖拽:
这节把旋转实现一下。
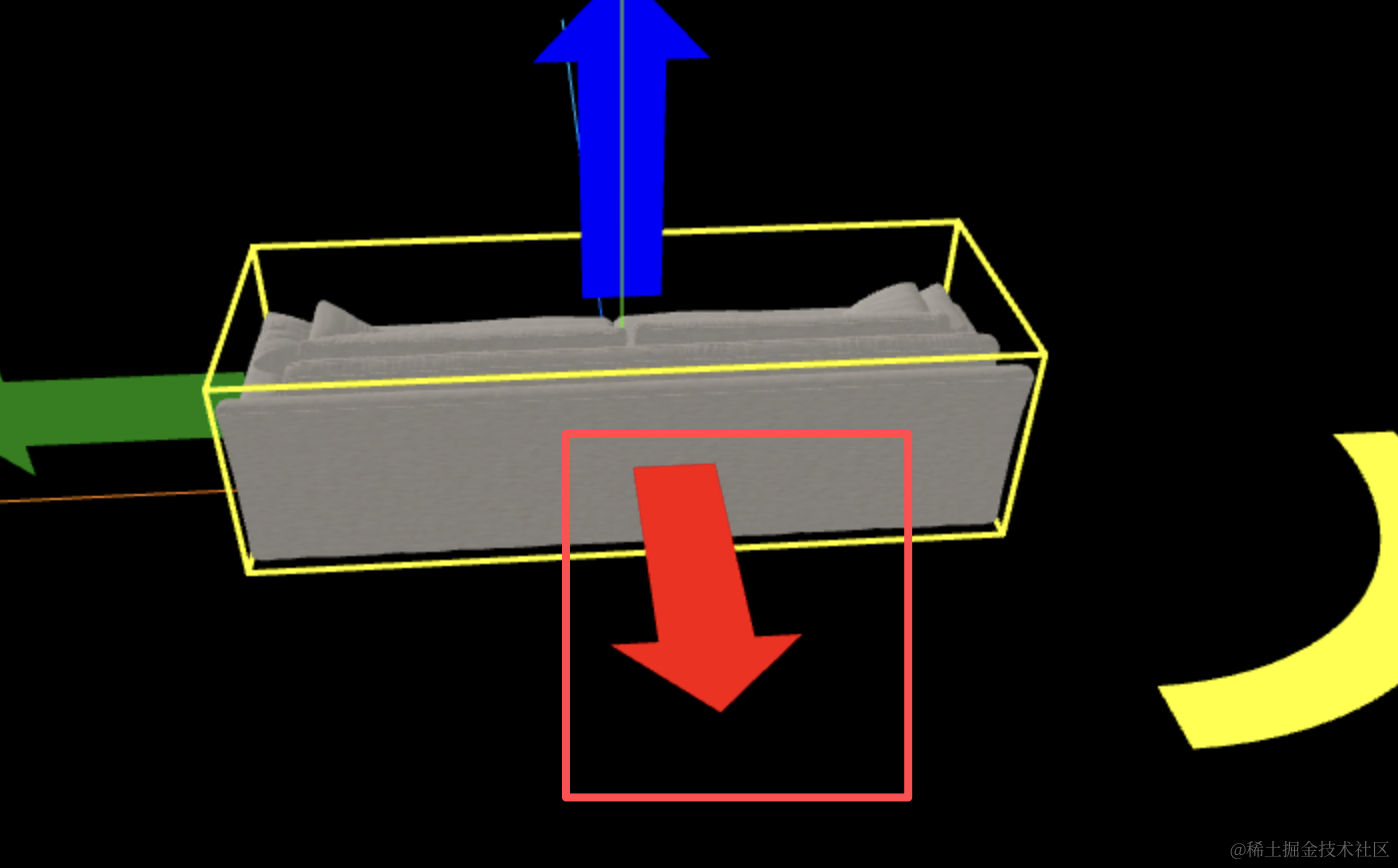
就是这个:
画一下:
先画两个圆弧看下效果。
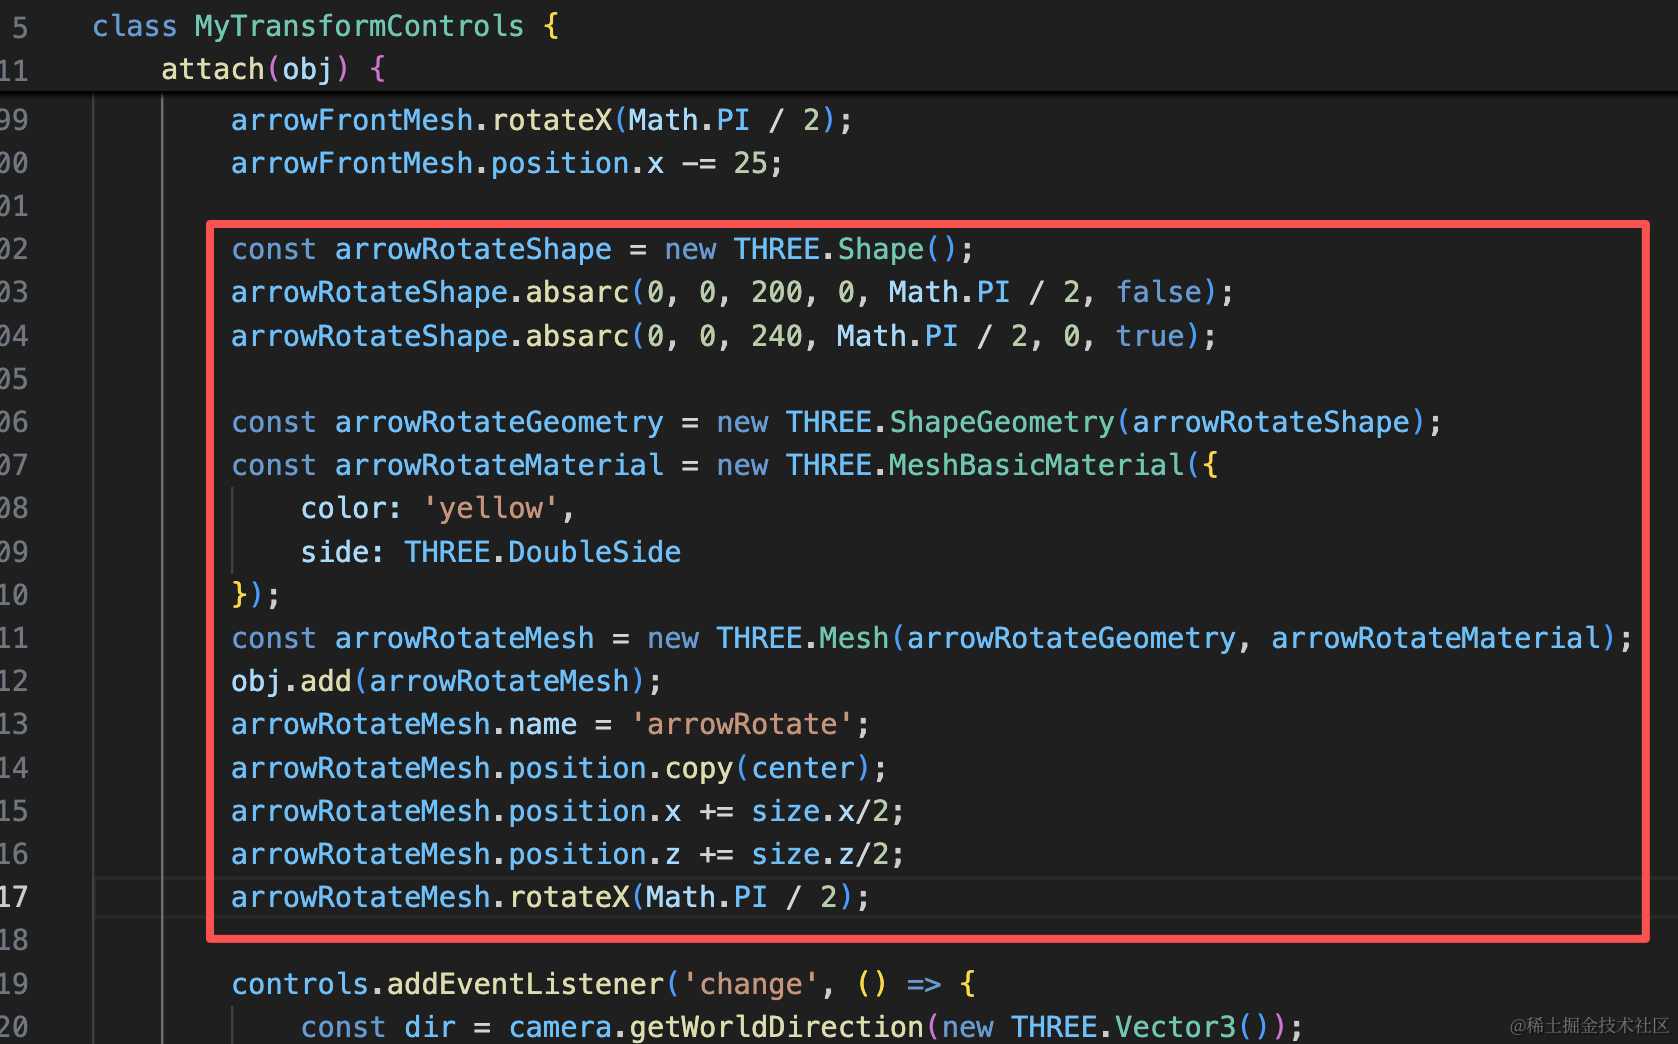
这里一个顺时针,一个逆时针:
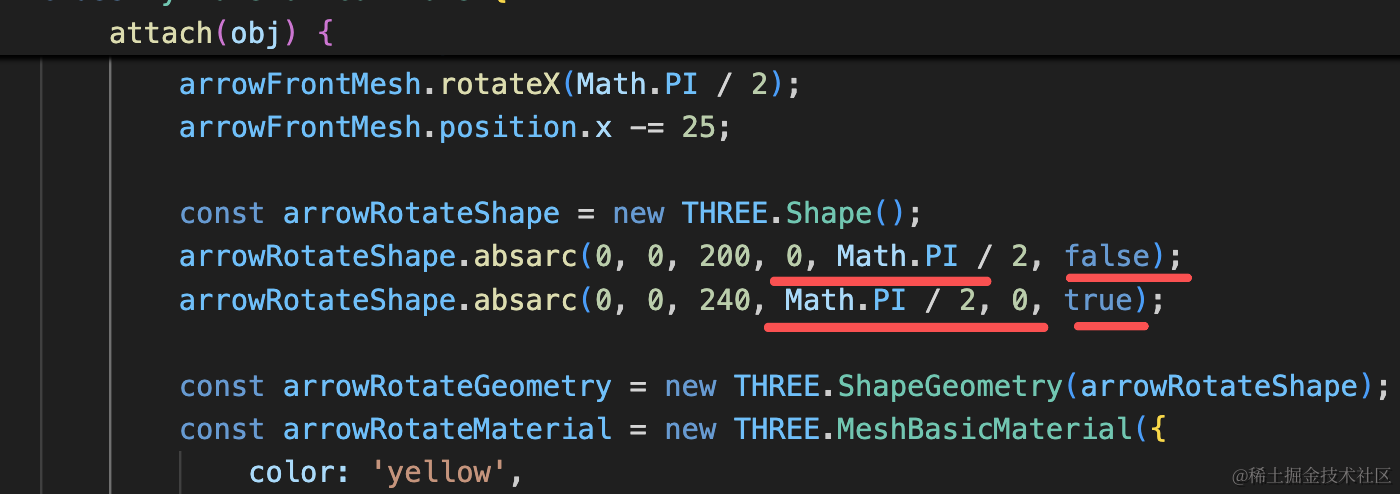
const arrowRotateShape = new THREE.Shape();
arrowRotateShape.absarc(0, 0, 200, 0, Math.PI / 2, false);
arrowRotateShape.absarc(0, 0, 240, Math.PI / 2, 0, true);

const arrowRotateGeometry = new THREE.ShapeGeometry(arrowRotateShape);
const arrowRotateMaterial = new THREE.MeshBasicMaterial({
    color: 'yellow',
    side: THREE.DoubleSide
});
const arrowRotateMesh = new THREE.Mesh(arrowRotateGeometry, arrowRotateMaterial);
obj.add(arrowRotateMesh);
arrowRotateMesh.name = 'arrowRotate';
arrowRotateMesh.position.copy(center);
arrowRotateMesh.position.x += size.x/2;
arrowRotateMesh.position.z += size.z/2;
arrowRotateMesh.rotateX(Math.PI / 2);
这样挺好的,不用画箭头了。
然后我们加上旋转的时候改变黄色箭头位置的功能:
这个判断和哪个轴的夹角呢?
可以是 z 轴。
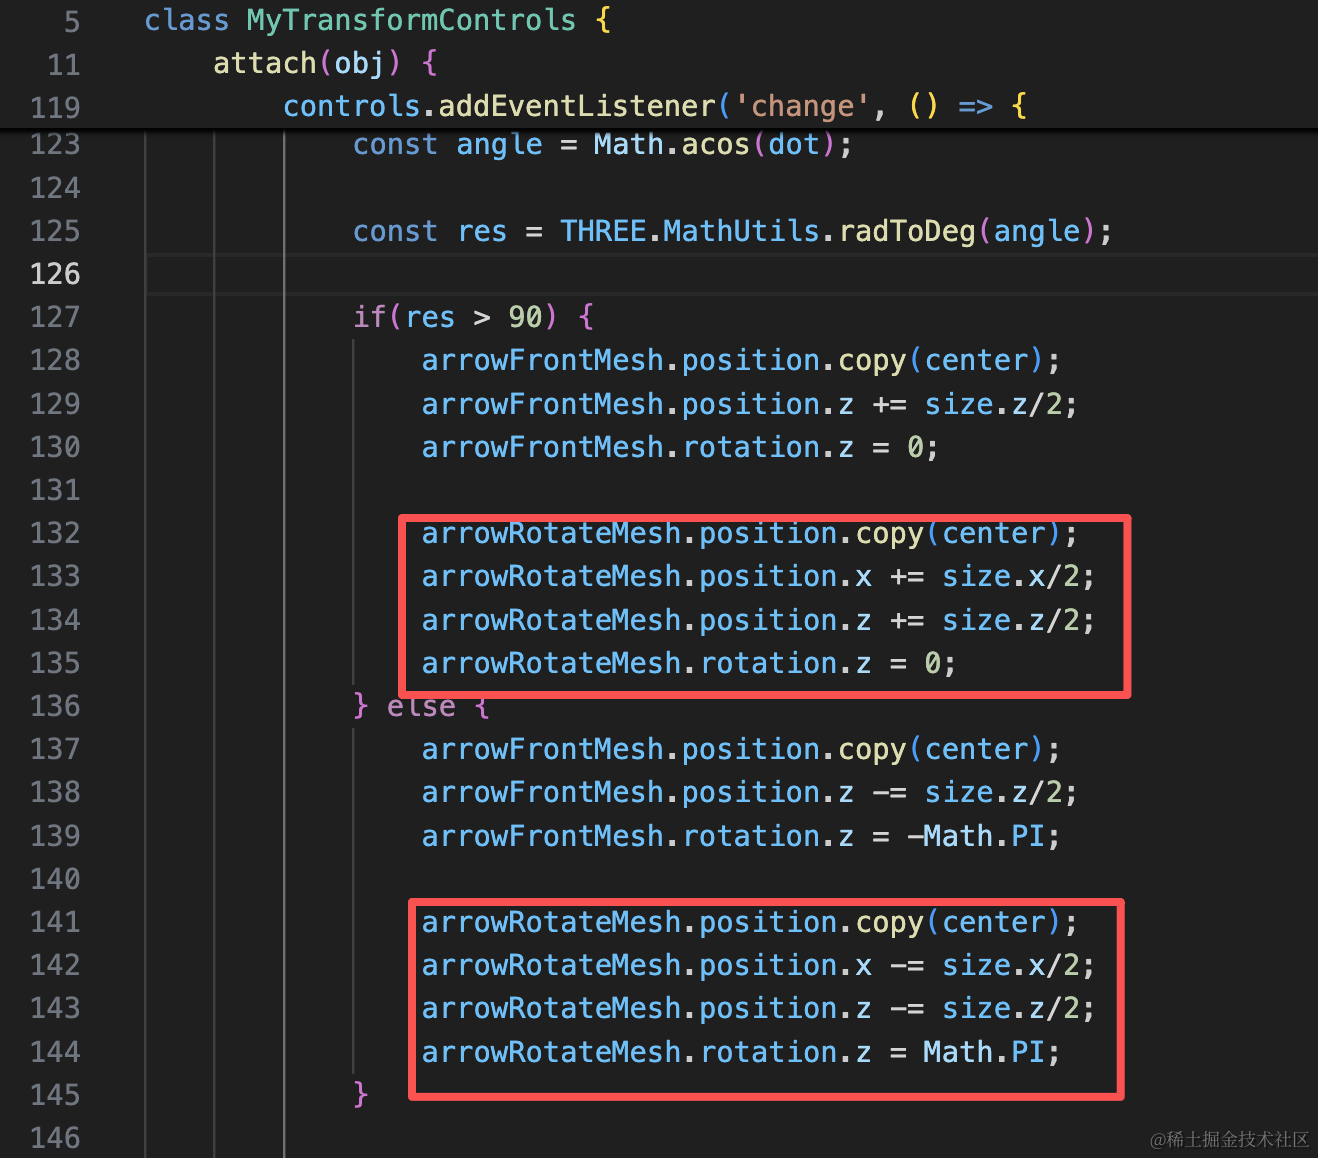
arrowRotateMesh.position.copy(center);
arrowRotateMesh.position.x += size.x/2;
arrowRotateMesh.position.z += size.z/2;
arrowRotateMesh.rotation.z = 0;arrowRotateMesh.position.copy(center);
arrowRotateMesh.position.x -= size.x/2;
arrowRotateMesh.position.z -= size.z/2;
arrowRotateMesh.rotation.z = Math.PI;试下效果:

这样就实现了和红绿箭头一样的,跟随镜头移动的效果了。
此外,这个红色箭头的位置没有修改全:
 每次都要改一下这个:
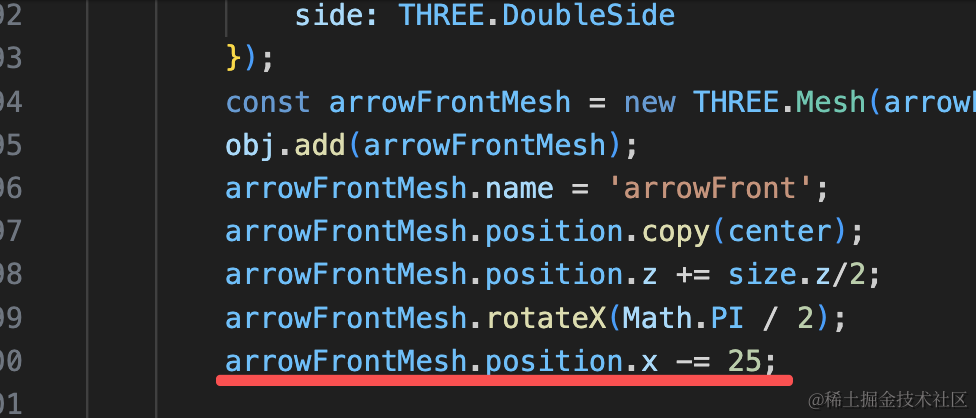 但一边是加,一边是减:

arrowFrontMesh.position.x -= 25;arrowFrontMesh.position.x += 25;
这样,两边就都在正中间了。
案例代码上传了小册仓库
总结
这节我们把黄色的旋转箭头画了出来。
用 absarc 画的,并且做了跟随镜头方向改变位置的功能。
下节我们加上拖拽旋转的功能。