这节我们继续练习生成几何体的 API,用它来盖个房子。
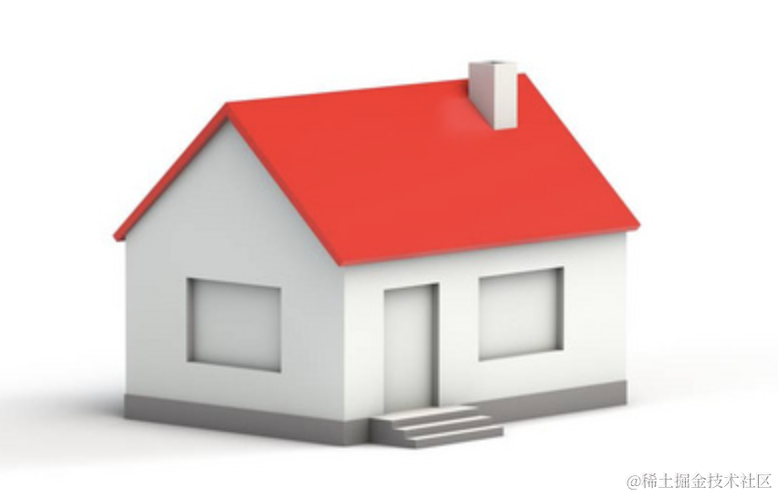
分析下这个房子需要哪几种几何体呢?
屋顶可以由平行四边形拉伸而成,用 ExtrudeGeometry
四面墙壁可以先用 Shape 画出形状,里面有几个内孔 holes,然后用 ExtrudeGeometry 拉伸而成。
地基可以直接用 BoxGeometry
台阶用 Shape 画出形状,通过 ExtrudeGeometry 拉伸而成。
思路理清了,那我们就动手画吧。
mkdir house
cd house
npm init -y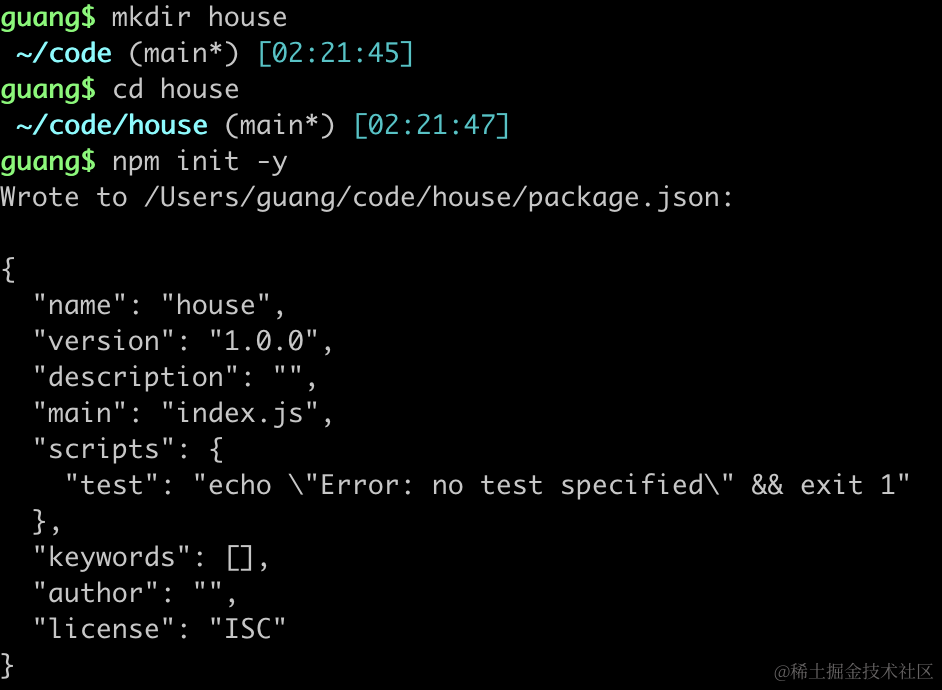
安装类型包:
npm install --save-dev @types/three创建 index.html
<!DOCTYPE html>
<html lang="en">
<head>
    <meta charset="UTF-8">
    <meta name="viewport" content="width=device-width, initial-scale=1.0">
    <title>Document</title>
    <style>
        body {
            margin: 0;
        }
    </style>
</head>
<body>
    <script type="importmap">
    {
        "imports": {
            "three": "https://esm.sh/three@0.174.0/build/three.module.js",
            "three/addons/": "https://esm.sh/three@0.174.0/examples/jsm/"
        }
    }
    </script>
    <script type="module" src="./index.js"></script>
</body>
</html>
还有 index.js
import * as THREE from 'three';
import {
    OrbitControls
} from 'three/addons/controls/OrbitControls.js';
import house from './house.js';

const scene = new THREE.Scene();

scene.add(house);

const directionLight = new THREE.DirectionalLight(0xffffff);
directionLight.position.set(3000, 3000, 3000);
scene.add(directionLight);

const ambientLight = new THREE.AmbientLight();
scene.add(ambientLight);

const axesHelper = new THREE.AxesHelper(20000);
scene.add(axesHelper);

const width = window.innerWidth;
const height = window.innerHeight;

const camera = new THREE.PerspectiveCamera(60, width / height, 1, 10000);
camera.position.set(3000, 3000, 3000);
camera.lookAt(0, 0, 0);

const renderer = new THREE.WebGLRenderer();
renderer.setSize(width, height)

function render() {
    renderer.render(scene, camera);
    requestAnimationFrame(render);
}

render();

document.body.append(renderer.domElement);

const controls = new OrbitControls(camera, renderer.domElement);
创建 Scene、Light、Camera、Renderer
这里我们创建了一个平行光、一个环境光。
房子会比较大,所以相机和光源都设置在了 3000、3000、3000 的位置。
接下来写下 house.js
import * as THREE from 'three';
import foundation from './foundation.js';

const house = new THREE.Group();

house.add(foundation);

export default house;
foundation.js
import * as THREE from 'three';
const geometry = new THREE.BoxGeometry(4000, 300, 3000);
const material = new THREE.MeshLambertMaterial({
color: new THREE.Color('grey')
});
const foundation = new THREE.Mesh(geometry, material);
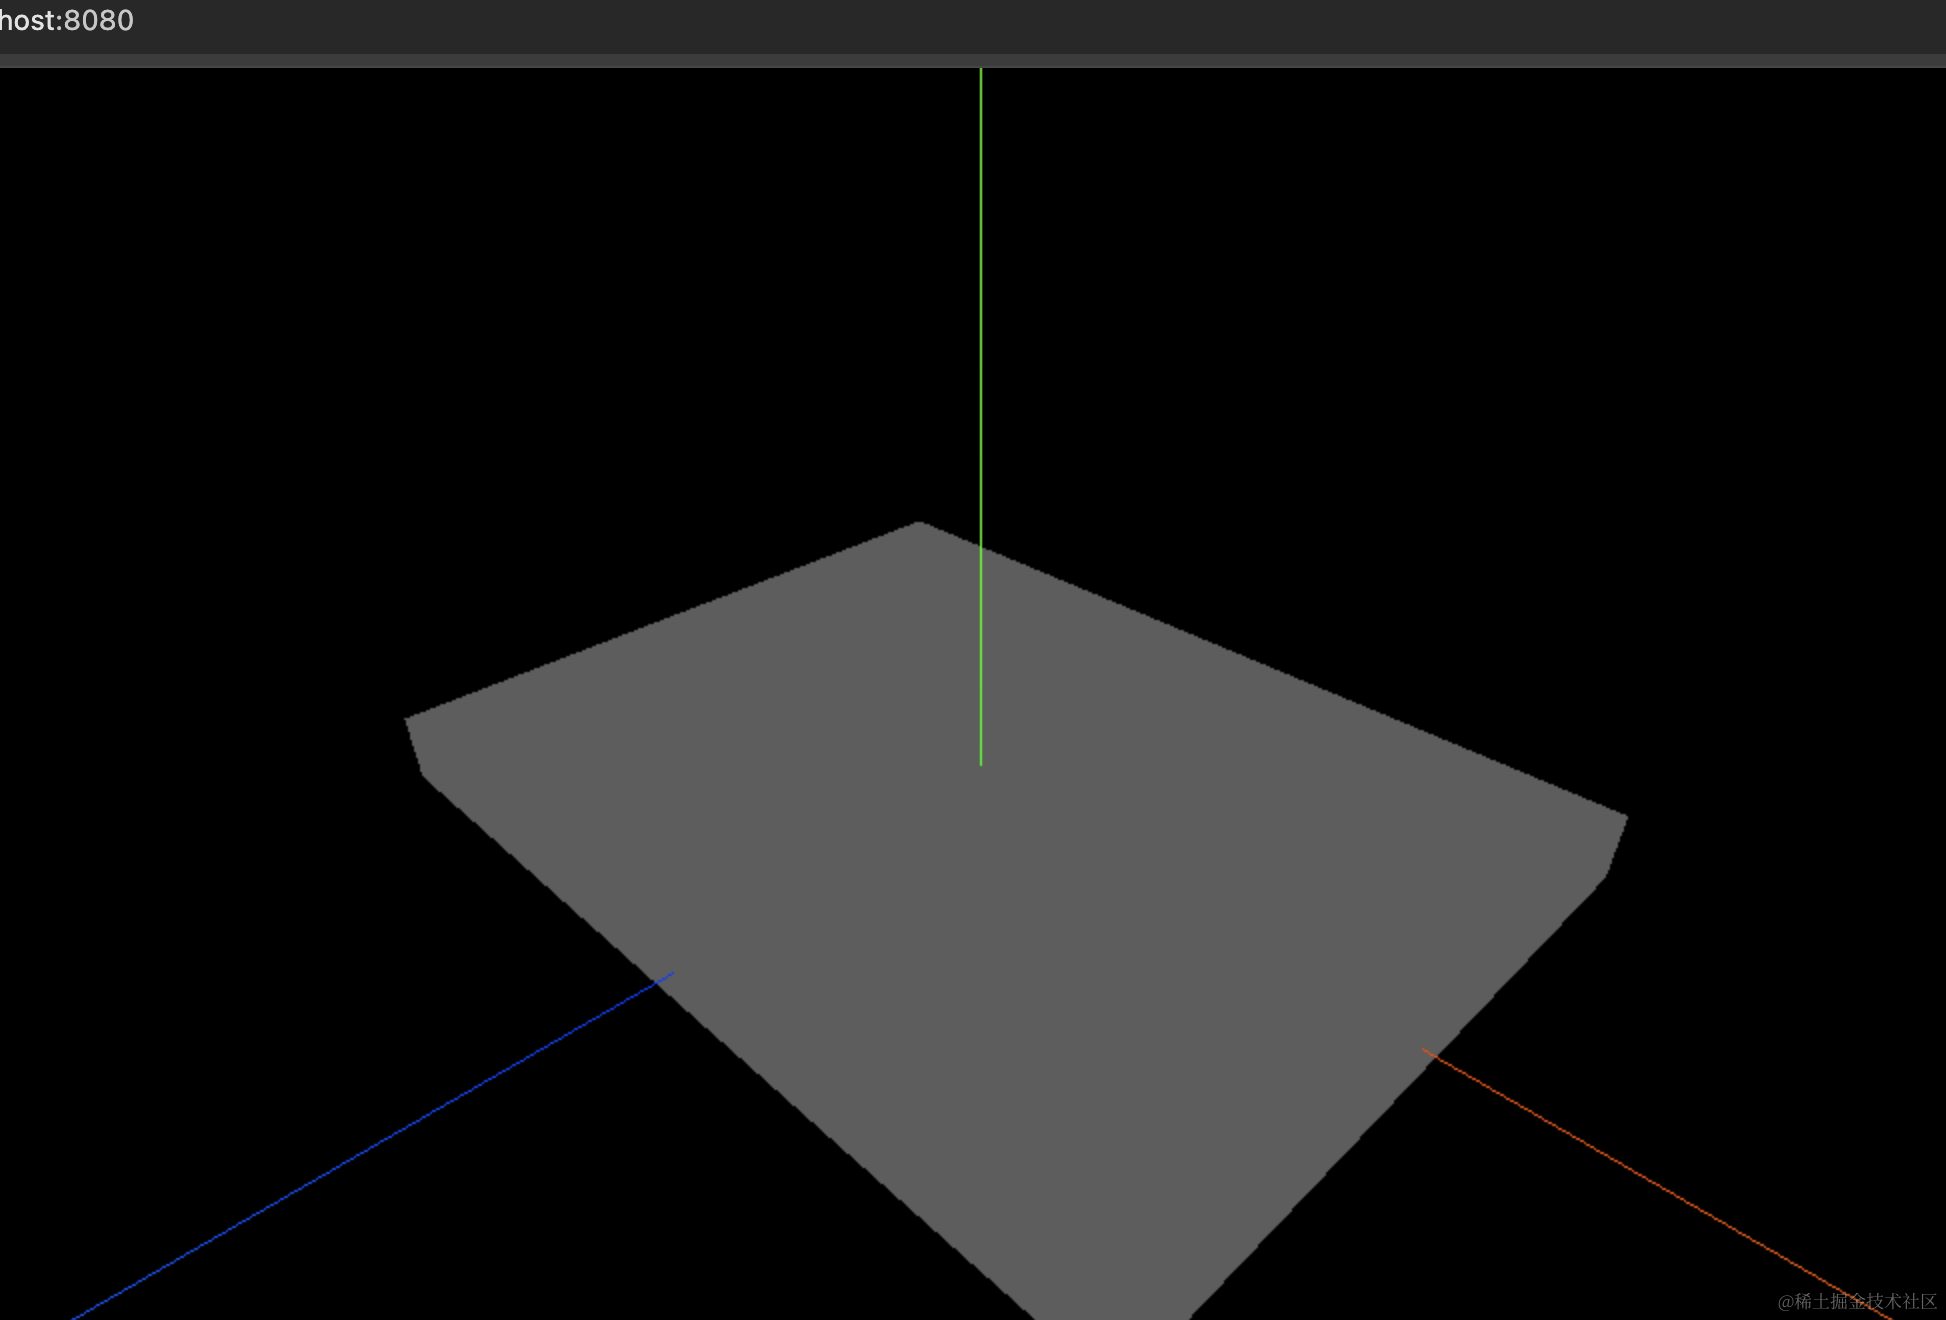
export default foundation;我们用 Group 来添加一组物体,首先用 BoxGeometry 创建了地基。
长(x轴) 4000、宽(z轴) 3000,高(y轴)300
看下效果:

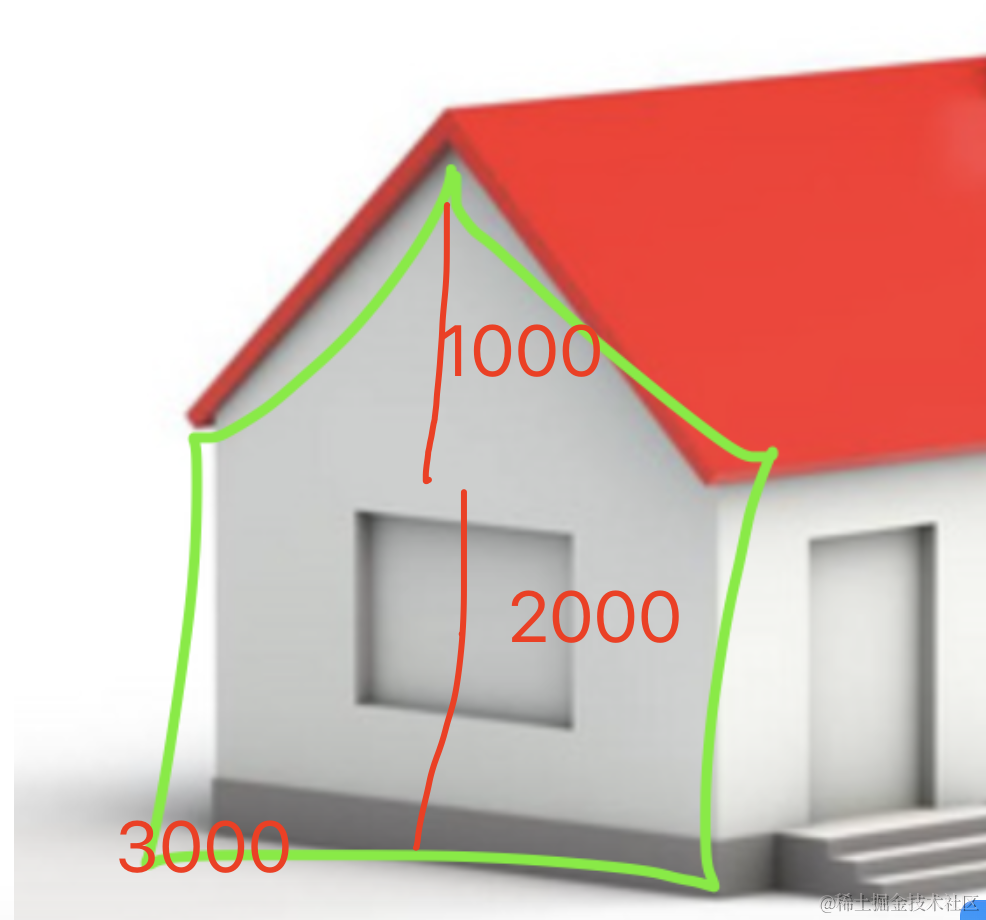
接下来画侧面的墙壁:
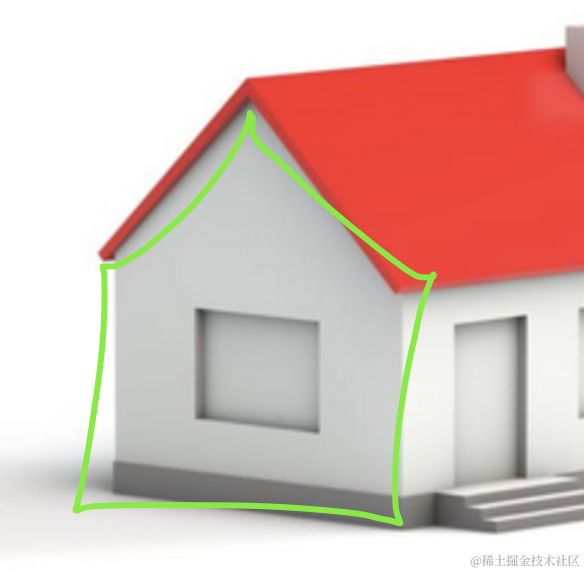
这个形状,然后中间有个洞
side-wall.js
import * as THREE from 'three';
const shape = new THREE.Shape();
shape.moveTo(0, 0);
shape.lineTo(0, 2000);
shape.lineTo(-1500, 3000);
shape.lineTo(-3000, 2000);
shape.lineTo(-3000, 0);
const geometry = new THREE.ExtrudeGeometry(shape, {
depth: 100
});
const material = new THREE.MeshLambertMaterial({
color: new THREE.Color('lightgrey')
});
const sideWall = new THREE.Mesh(geometry, material);
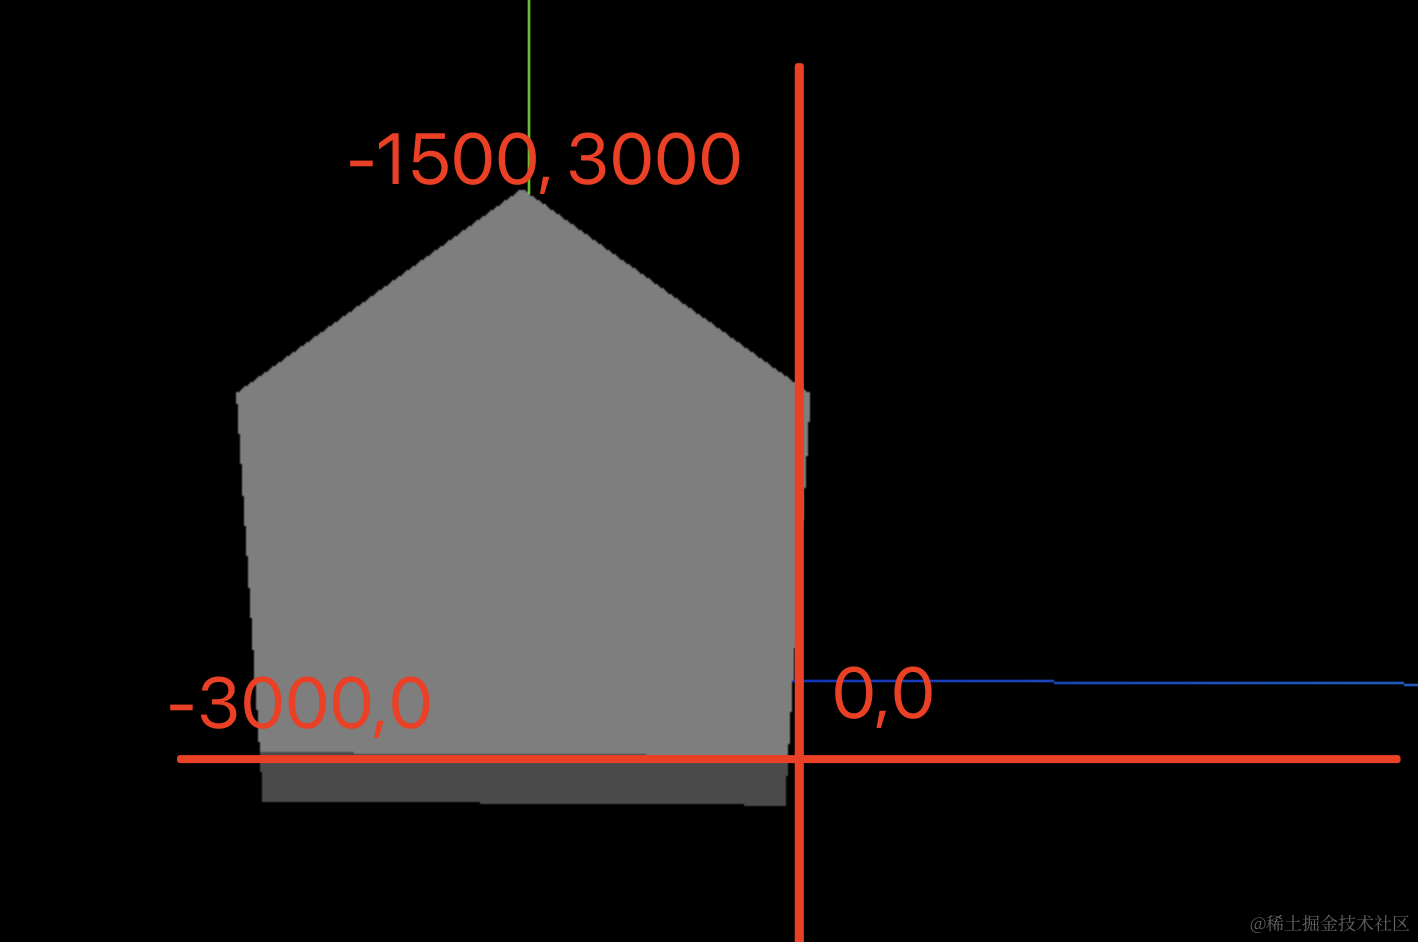
export default sideWall用 Shape 画出形状,具体位置根据宽 3000,高 3000 算就行。
然后用 ExtrudeGeometry 拉伸下
看下效果:
大小合适,就是位置不对,我们改一下:
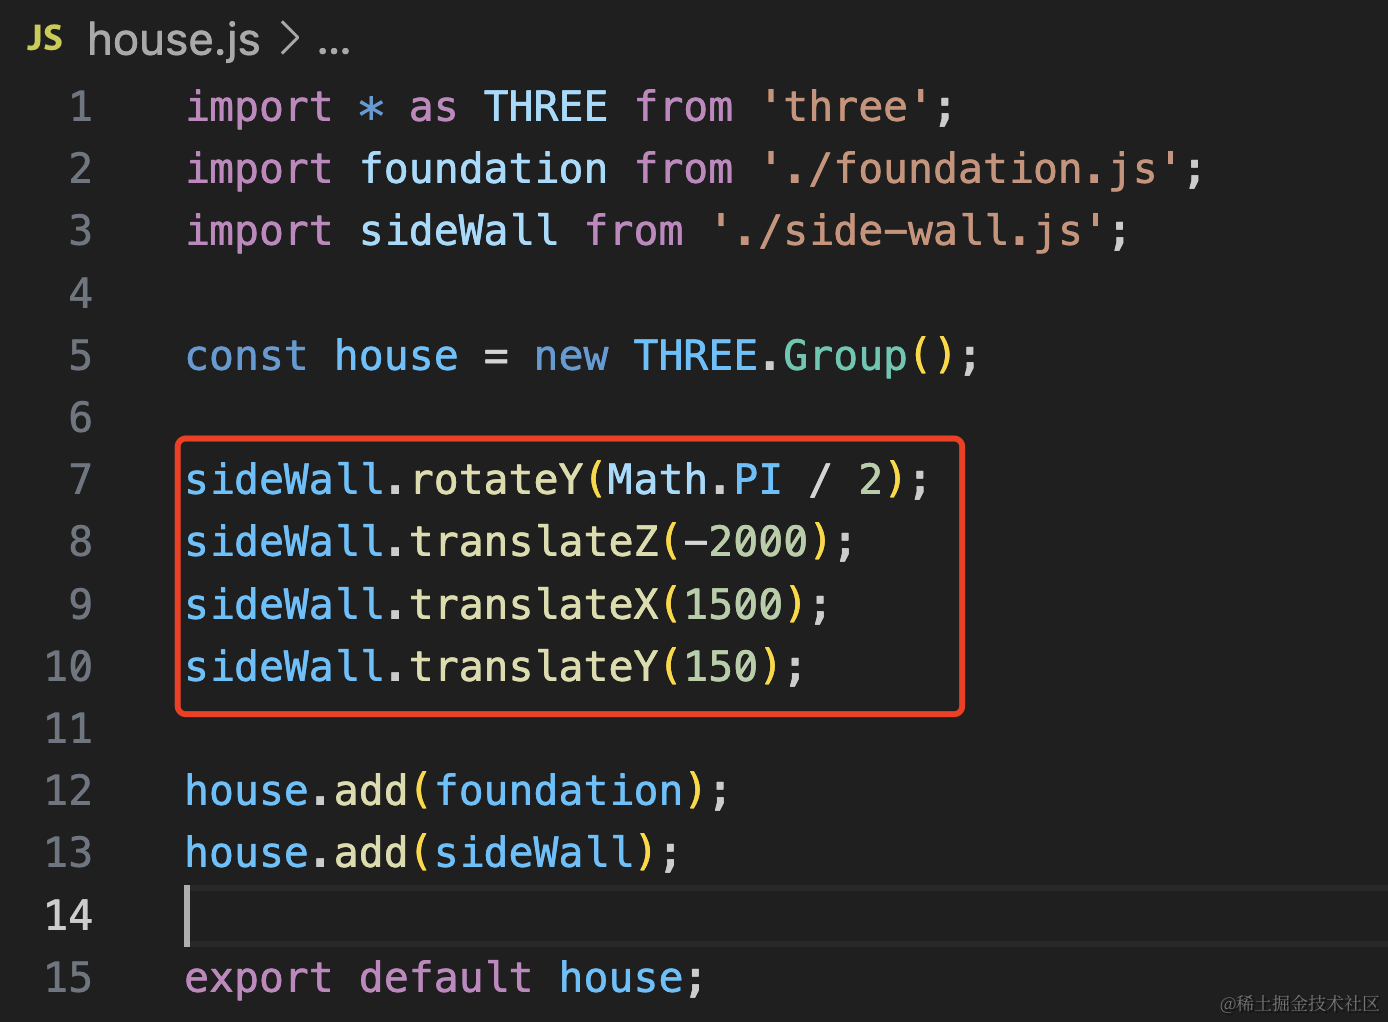
这些数值不用算,边调边看效果就行。
sideWall.rotateY(Math.PI / 2);
sideWall.translateZ(-2000);
sideWall.translateX(1500);
sideWall.translateY(150);
然后再 clone 一个另一边的墙:
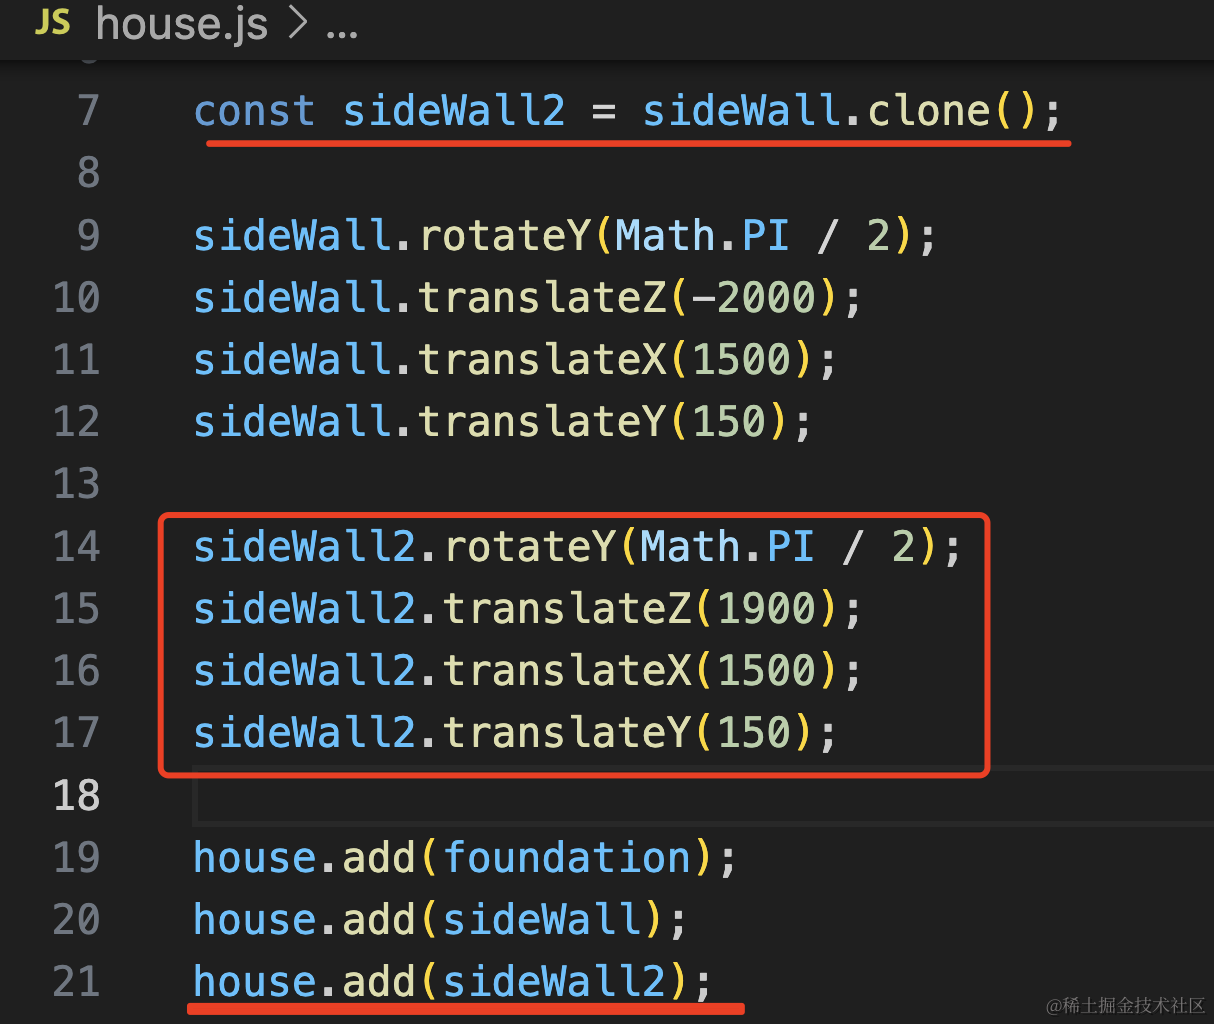
const sideWall2 = sideWall.clone();
sideWall.rotateY(Math.PI / 2);
sideWall.translateZ(-2000);
sideWall.translateX(1500);
sideWall.translateY(150);
sideWall2.rotateY(Math.PI / 2);
sideWall2.translateZ(1900);
sideWall2.translateX(1500);
sideWall2.translateY(150);
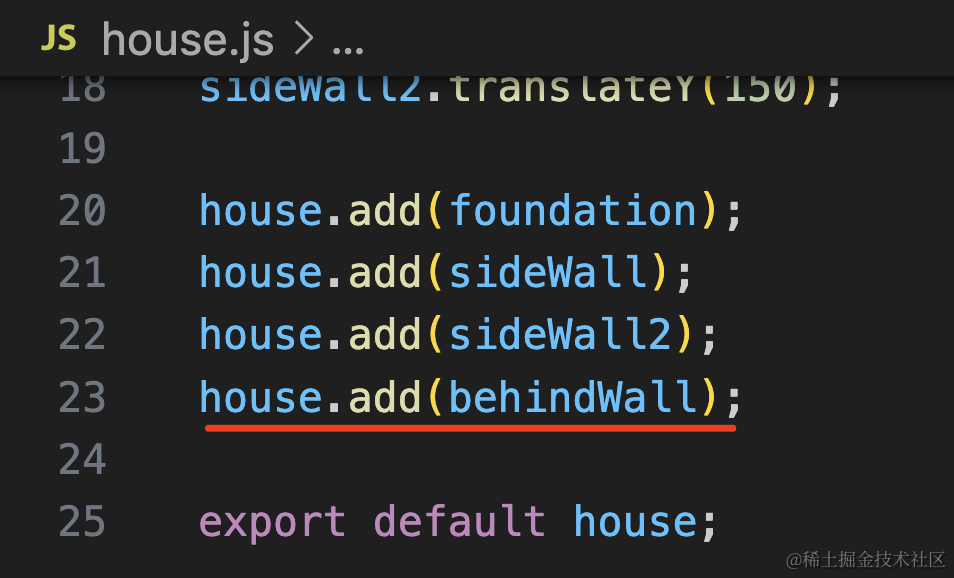
house.add(foundation);
house.add(sideWall);
house.add(sideWall2);
严丝合缝的,没啥问题。
然后我们来抠窗户:
大概算下位置,结合可视化调。
x 是 0 到 -3000,我们左右留 400,那就是 -400 和 -2600
y 是 0 到 2000,我们上下留 400,那就是 400 到 1600

const windowPath = new THREE.Path();
windowPath.moveTo(-600, 400);
windowPath.lineTo(-600, 1600);
windowPath.lineTo(-2400, 1600);
windowPath.lineTo(-2400, 400);
shape.holes.push(windowPath);
看下效果:

大小差不多。
然后来画前后的墙:
后墙不用留窗户,直接用 BoxGeometry 就行:
创建 behind-wall.js
import * as THREE from 'three';

const geometry = new THREE.BoxGeometry(4000, 2000, 100);
const material = new THREE.MeshLambertMaterial({
    color: new THREE.Color('lightgrey')
});
const behindWall = new THREE.Mesh(geometry, material);
behindWall.translateY(1150);
behindWall.translateZ(-1450);

export default behindWall;
宽高、位置,可视化调一下就行。

看下严丝合缝就行:
然后来画前面的墙:
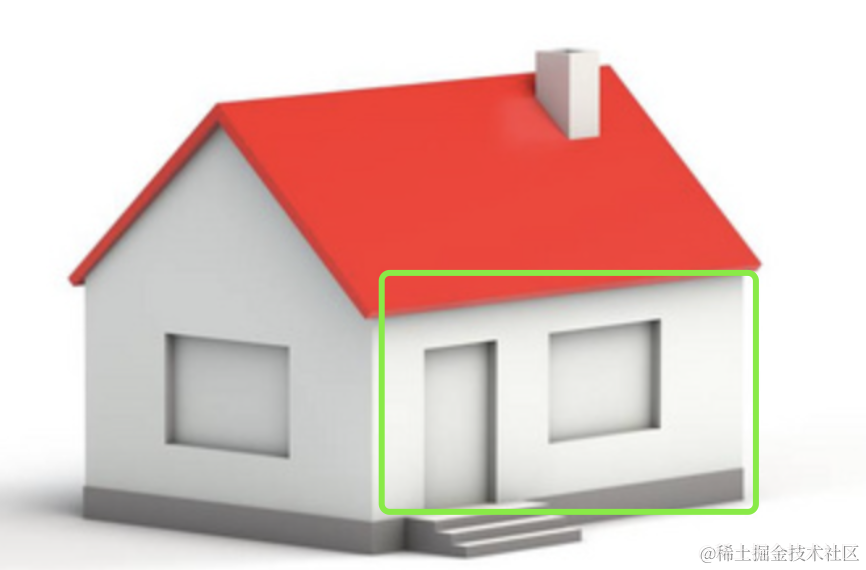
这里也要用 Shape + ExtrudeGeometry,抠两个洞。
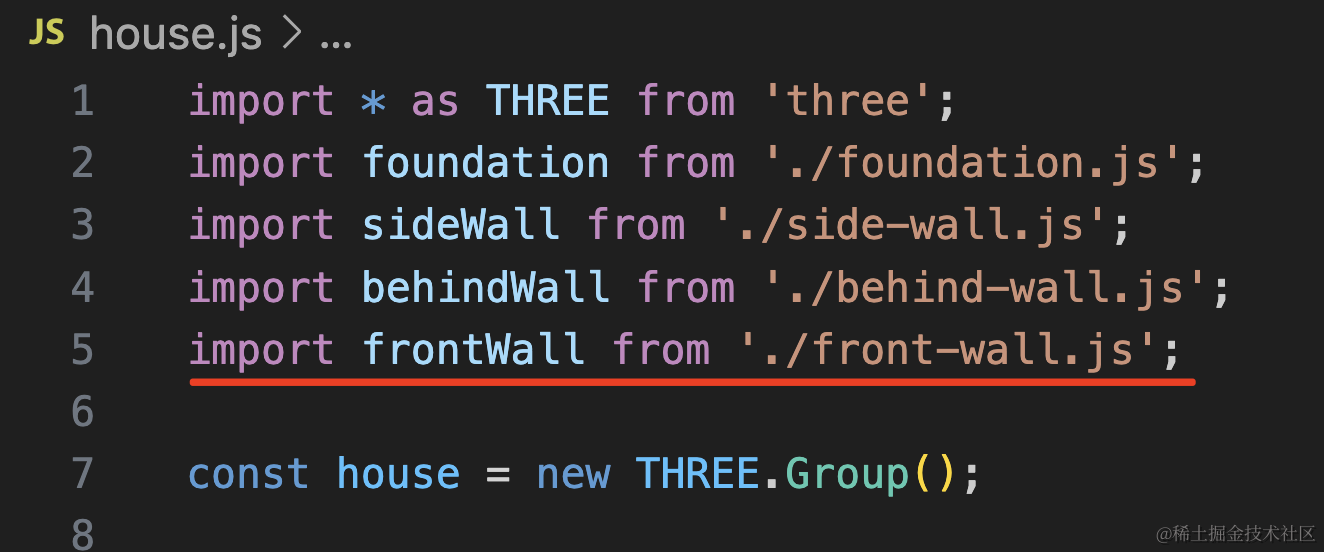
创建 front-wall.js
import * as THREE from 'three';

const shape = new THREE.Shape();
shape.moveTo(0, 0);
shape.lineTo(4000, 0);
shape.lineTo(4000, 2000);
shape.lineTo(0, 2000);

const geometry = new THREE.ExtrudeGeometry(shape, {
    depth: 100
});
const material = new THREE.MeshLambertMaterial({
    color: new THREE.Color('lightgrey')
});

const frontWall = new THREE.Mesh(geometry, material);

export default frontWall;
长 4000,高 2000,画出来 Shape 之后用 ExtrudeGeometry 拉伸 100 的厚度
引入试一下:
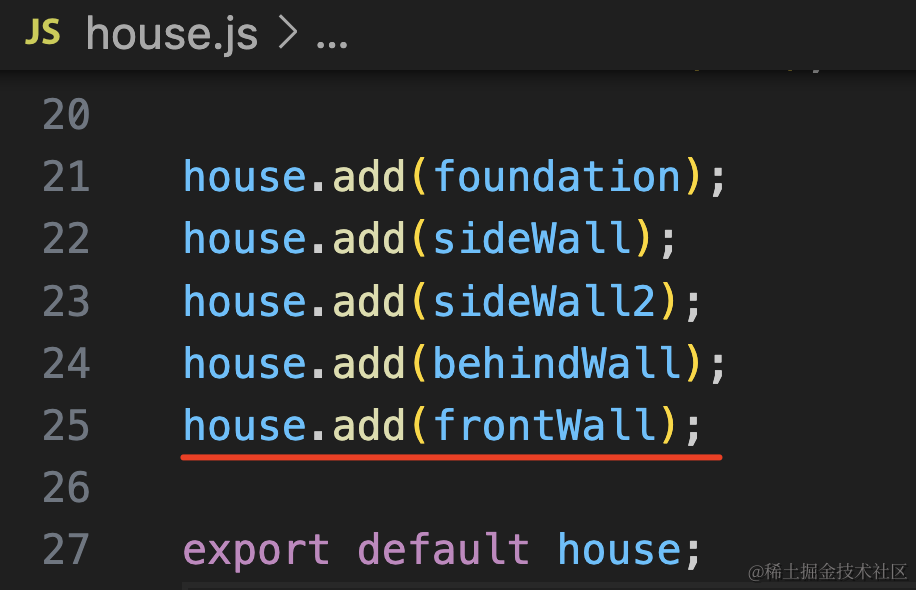
大小正好。
来调下位置:
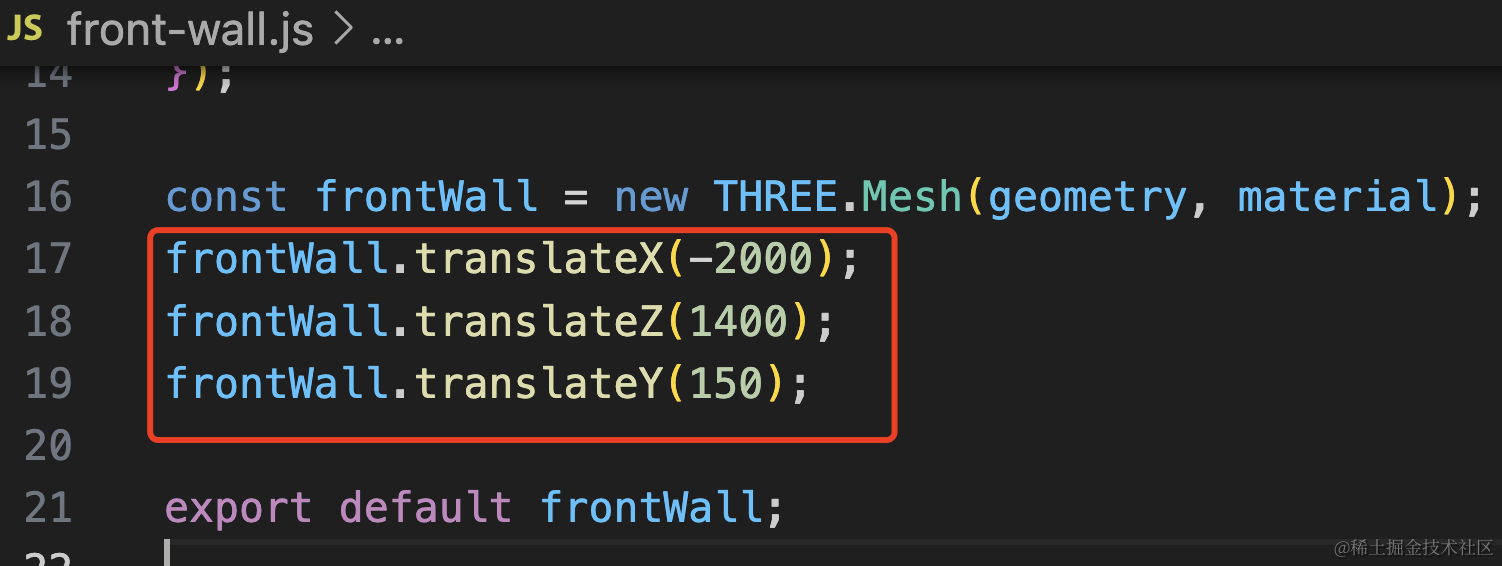
frontWall.translateX(-2000);
frontWall.translateZ(1400);
frontWall.translateY(150);
位置调好了,接下来抠出门窗的洞。
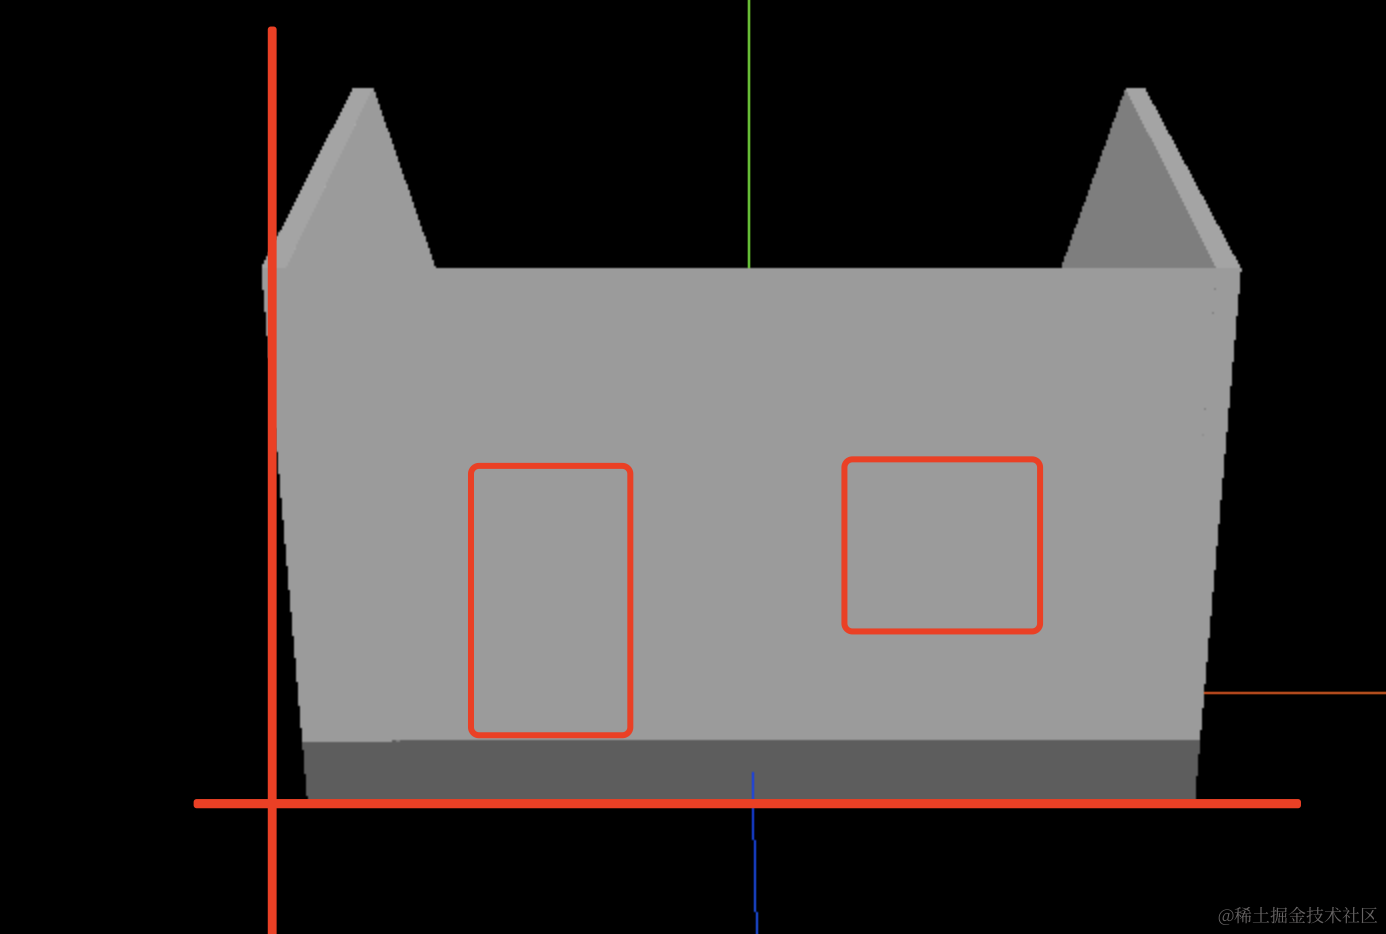
一共是长 4000,高 2000
大概算一下门窗的位置。
来抠洞:
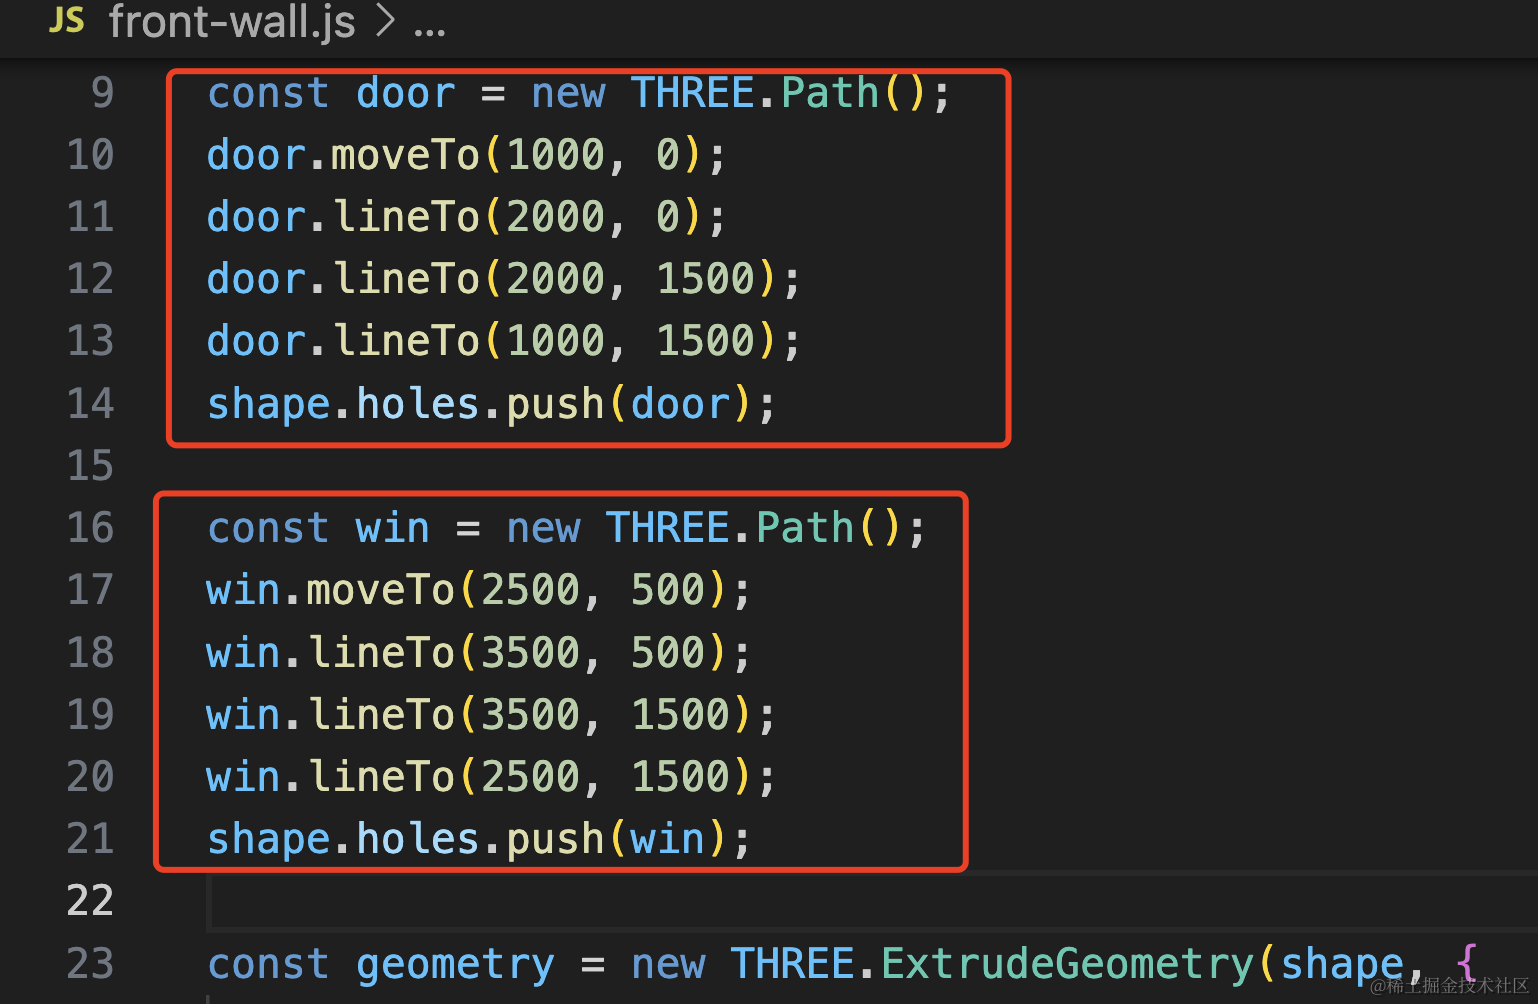
const door = new THREE.Path();
door.moveTo(1000, 0);
door.lineTo(2000, 0);
door.lineTo(2000, 1500);
door.lineTo(1000, 1500);
shape.holes.push(door);

const win = new THREE.Path();
win.moveTo(2500, 500);
win.lineTo(3500, 500);
win.lineTo(3500, 1500);
win.lineTo(2500, 1500);
shape.holes.push(win);
位置差不多。
接下来画两个屋顶,其实画一个,然后另一个旋转 180 度就好了。
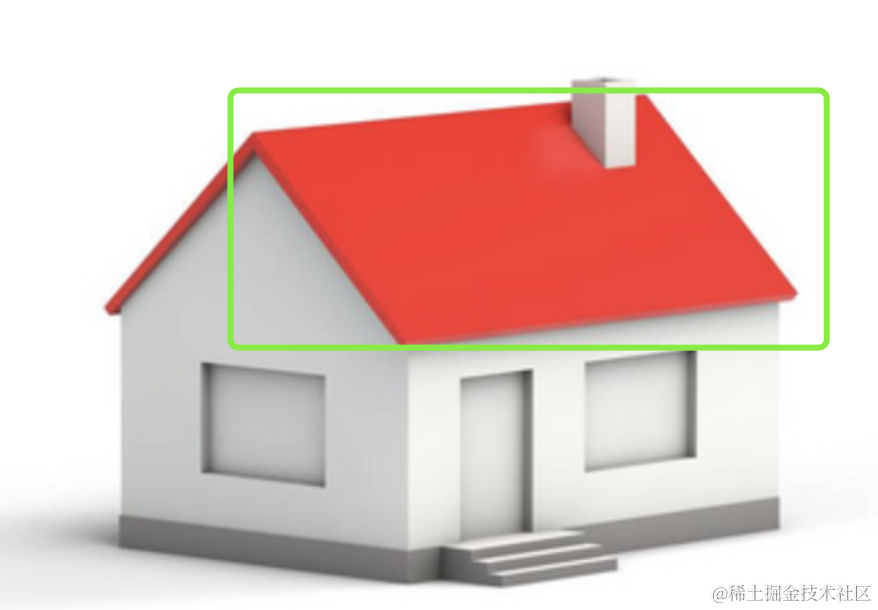
屋顶可以先用 Shape 画个平行四边形,然后用 ExtrudeGeometry 拉伸。
其实用 BoxGeometry 也可以,有重合也没啥问题。
创建 roof.js
import * as THREE from 'three';
import { GUI } from 'three/addons/libs/lil-gui.module.min.js';

const geometry = new THREE.BoxGeometry(4200, 2000, 100);
const material = new THREE.MeshLambertMaterial({
    color: new THREE.Color('red')
});

const roof = new THREE.Mesh(geometry, material);

const obj = {
    rotateX: 0,
    width: 2000
}
const gui = new GUI();
gui.add(roof.position, 'y').min(-10000).max(10000).step(100);
gui.add(roof.position, 'z').min(-10000).max(10000).step(100);
gui.addColor(roof.material, 'color');
gui.add(obj, 'rotateX').min(0).max(180).step(0.1).onChange(value => {
    roof.rotation.x = value / 180 * Math.PI;
});
gui.add(obj, 'width').min(1000).max(5000).step(100).onChange(value => {
    roof.geometry = new THREE.BoxGeometry(4200, value, 100);
});


export default roof;
因为屋顶的位置、宽度、旋转角度比较难算出来,我们就不自己算了,直接用 GUI 来可视化调试。
角度要转换为弧度才可以,也就是 / 180 * Math.PI
这样调一个合适的值就可以了。
之前设置墙壁位置的时候,也可以用 dat.gui 来可视化调试。
差不多调到这样:
然后把数值更新到代码里。
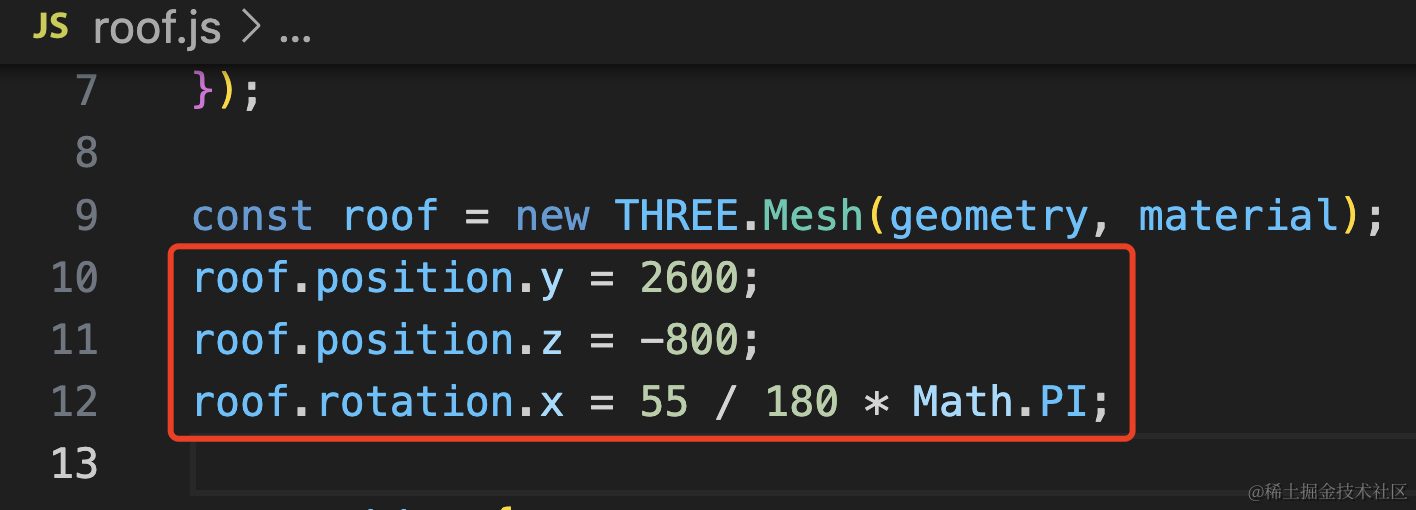
roof.position.y = 2600;
roof.position.z = -800;
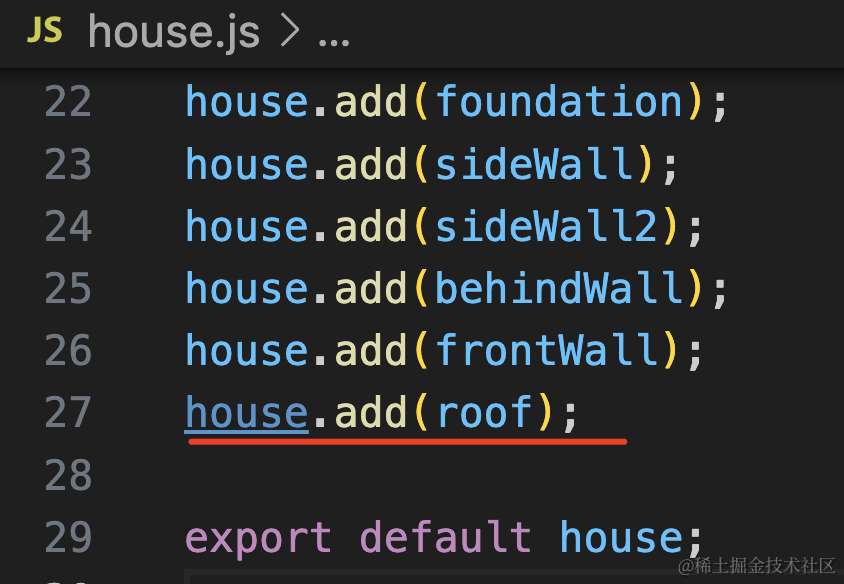
roof.rotation.x = 55 / 180 * Math.PI;然后 clone 一个屋顶,z 值设置为相反,再调下角度就可以了。
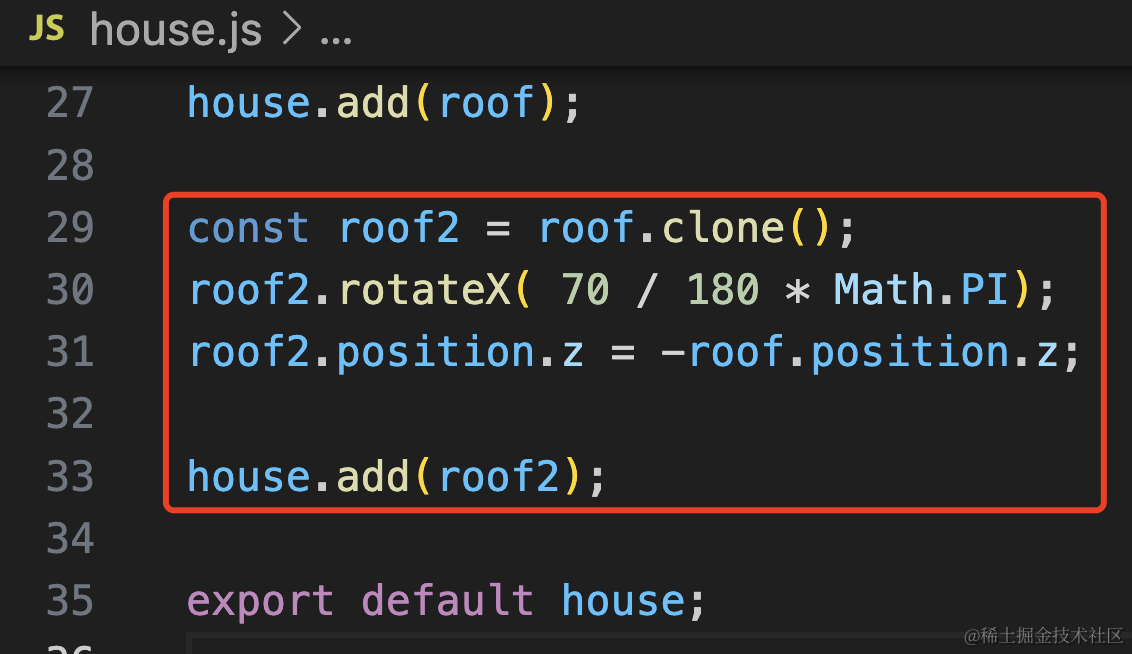
const roof2 = roof.clone();
roof2.rotateX( 70 / 180 * Math.PI);
roof2.position.z = -roof.position.z;

house.add(roof2);
这样屋顶就做好了。
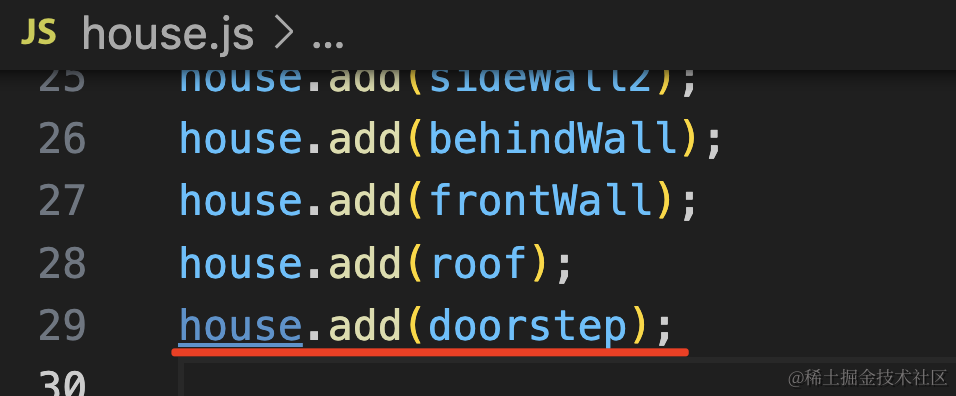
最后,还有一个台阶:
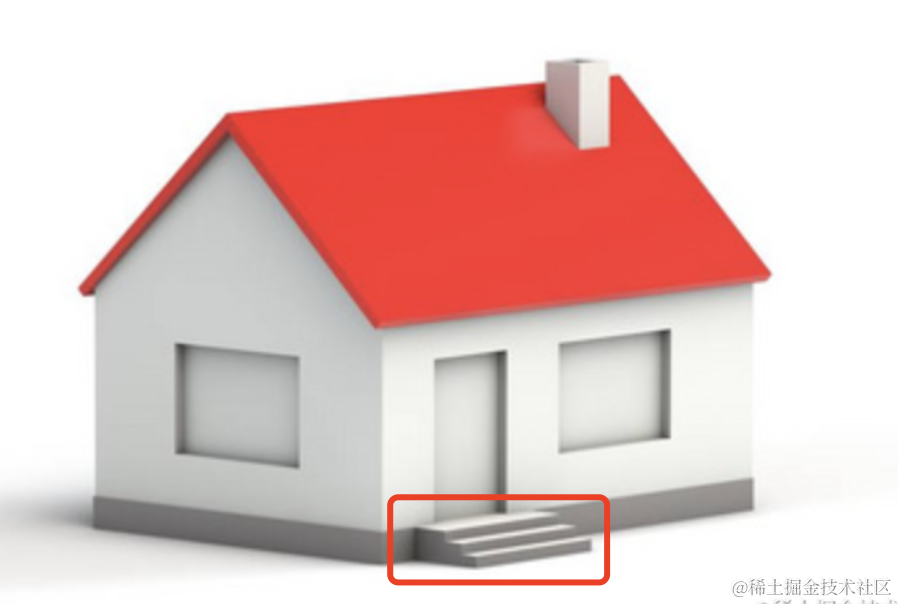
这个也是用 Shape + ExtrudeGeometry 来做。
创建 doorstep.js
import * as THREE from 'three';

const shape = new THREE.Shape();
shape.moveTo(0, 0);
shape.lineTo(200, 0);
shape.lineTo(200, -100);
shape.lineTo(400, -100);
shape.lineTo(400, -200);
shape.lineTo(600, -200);
shape.lineTo(600, -300);
shape.lineTo(0, -300);

const geometry = new THREE.ExtrudeGeometry(shape, {
    depth: 1000
});
const material = new THREE.MeshLambertMaterial({
    color: new THREE.Color('grey')
});

const doorstep = new THREE.Mesh(geometry, material);
doorstep.rotateY(-Math.PI / 2);
doorstep.position.z = 1500;
doorstep.position.y = 150;

export default doorstep;
按照每一级台阶高度是 100,宽度是 200 来画就行。
最后调整下位置和旋转角度。
看下效果:
这样,台阶就做好了。
你可能发现门的地面位置一直在闪烁:
这是因为地基和墙面重合了,渲染器不知道哪个在上,哪个在下,所以就闪烁了。
这种让地基稍微往上移动一点,错开就好了。
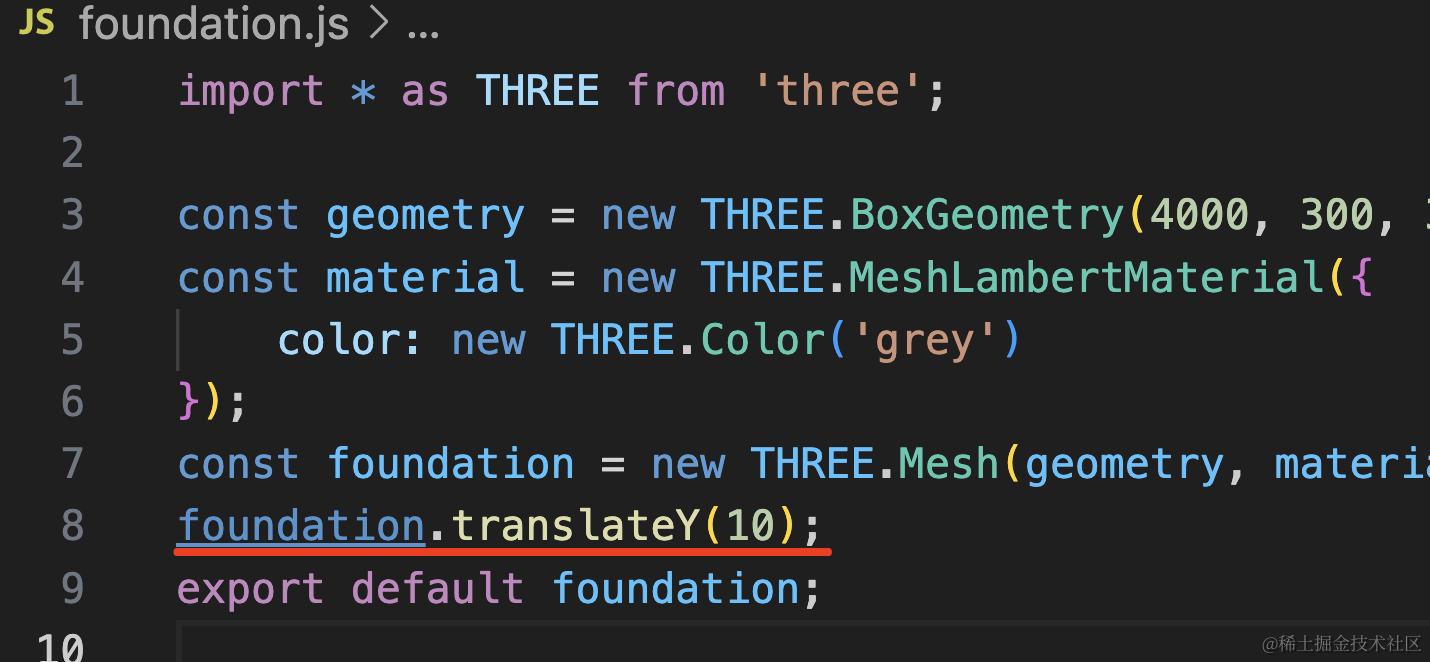
foundation.translateY(10);
这样就不会闪烁了。
最后,我们把 AxesHelper 去掉,调解下相机位置:
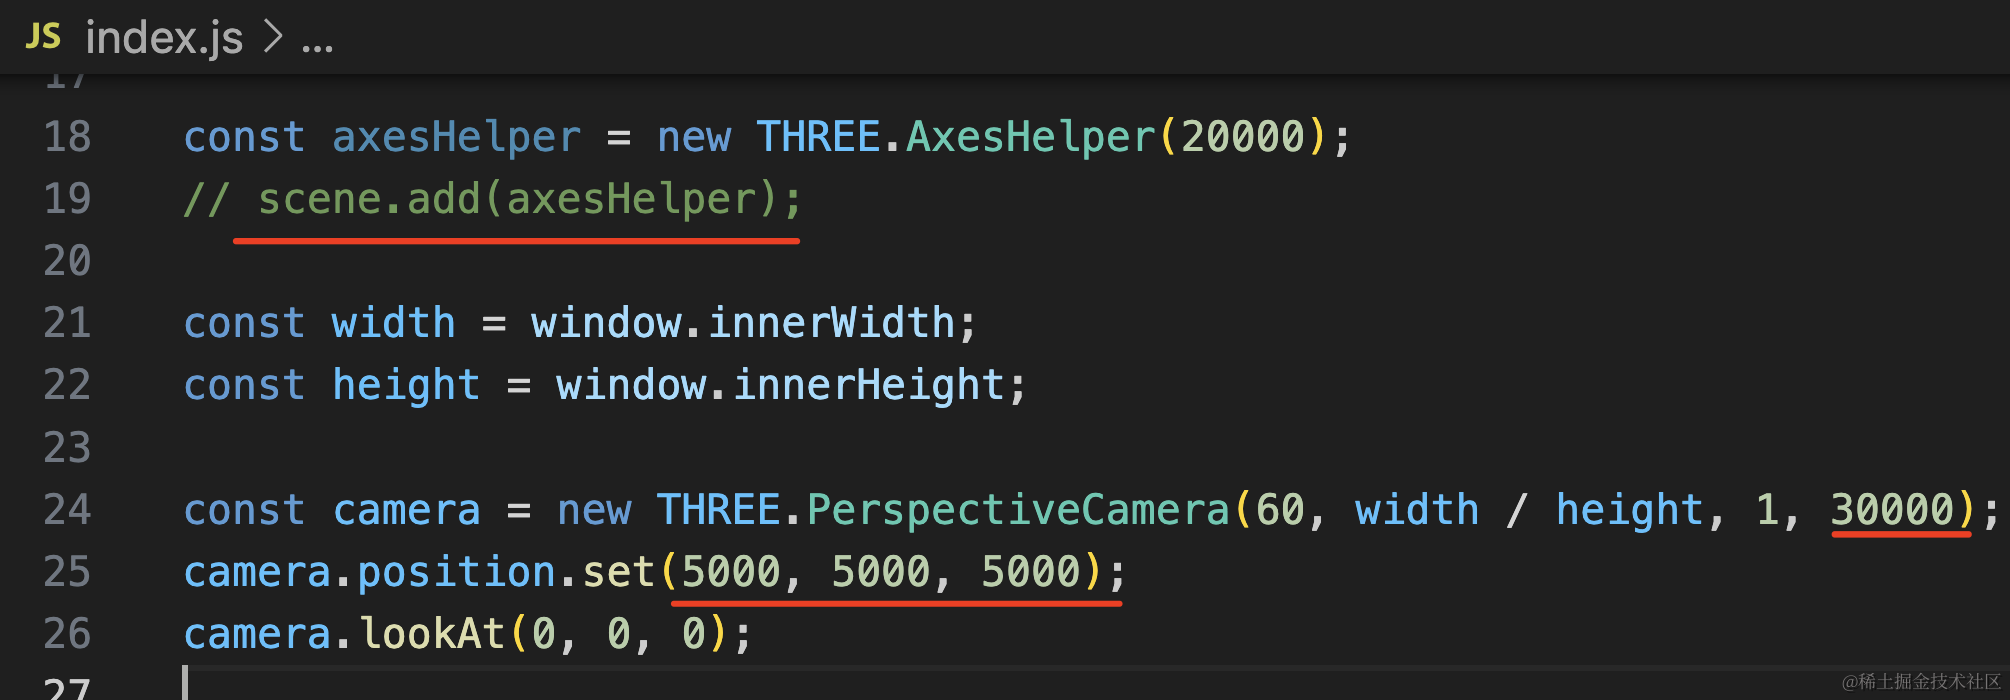
然后把视椎体的远裁截面设置的大一点,不然经常被截掉一部分。
这样,我们房子的雏形就完成了。
案例代码上传了小册仓库。
总结
这节我们用前面学的生成几何体的 API 画了一个房子。
主要是用 Shape 画出形状,然后用 ExtrudeGeometry 来拉伸成几何体。通过 shape.holes 来挖洞。
位置的调节、旋转角度的调节是比较麻烦的,我们可以计算,也可以用 dat.gui 来可视化调试,两者结合。
当然,现在的房子还是比较简陋的,下节我们继续完善。