这节我们继续完善房子的场景,给它加上更多东西。
首先,我们给墙、房顶、地基加上纹理贴图:
从网上搜了几个无缝的纹理贴图:
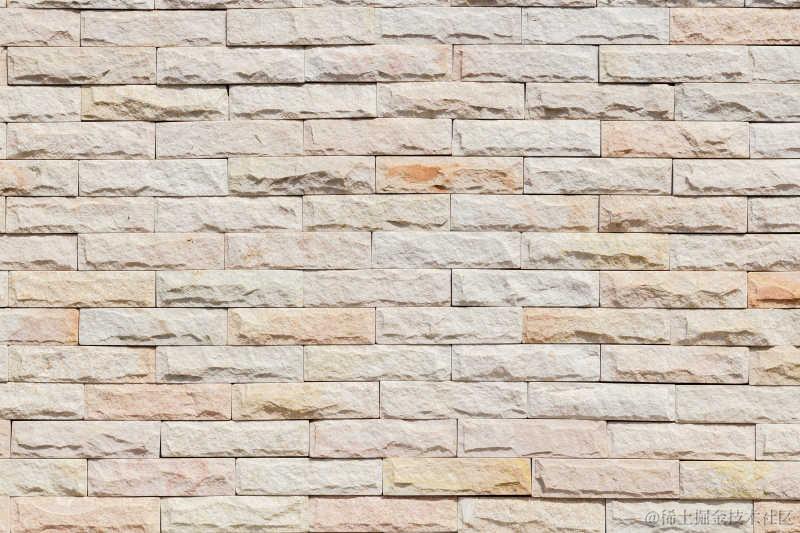
砖墙:
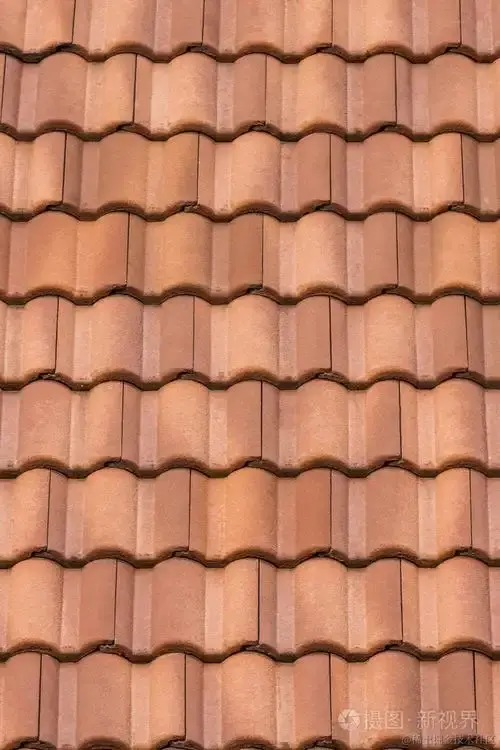
瓦片:
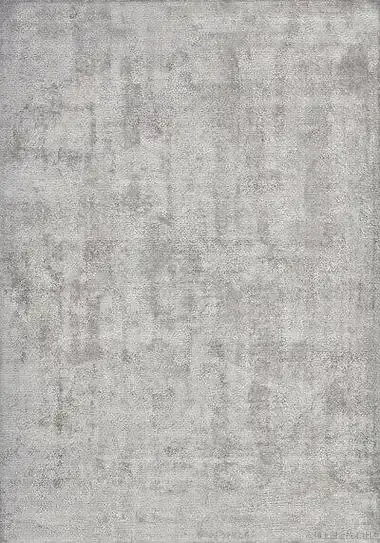
水泥地基:
然后在代码里加载下:
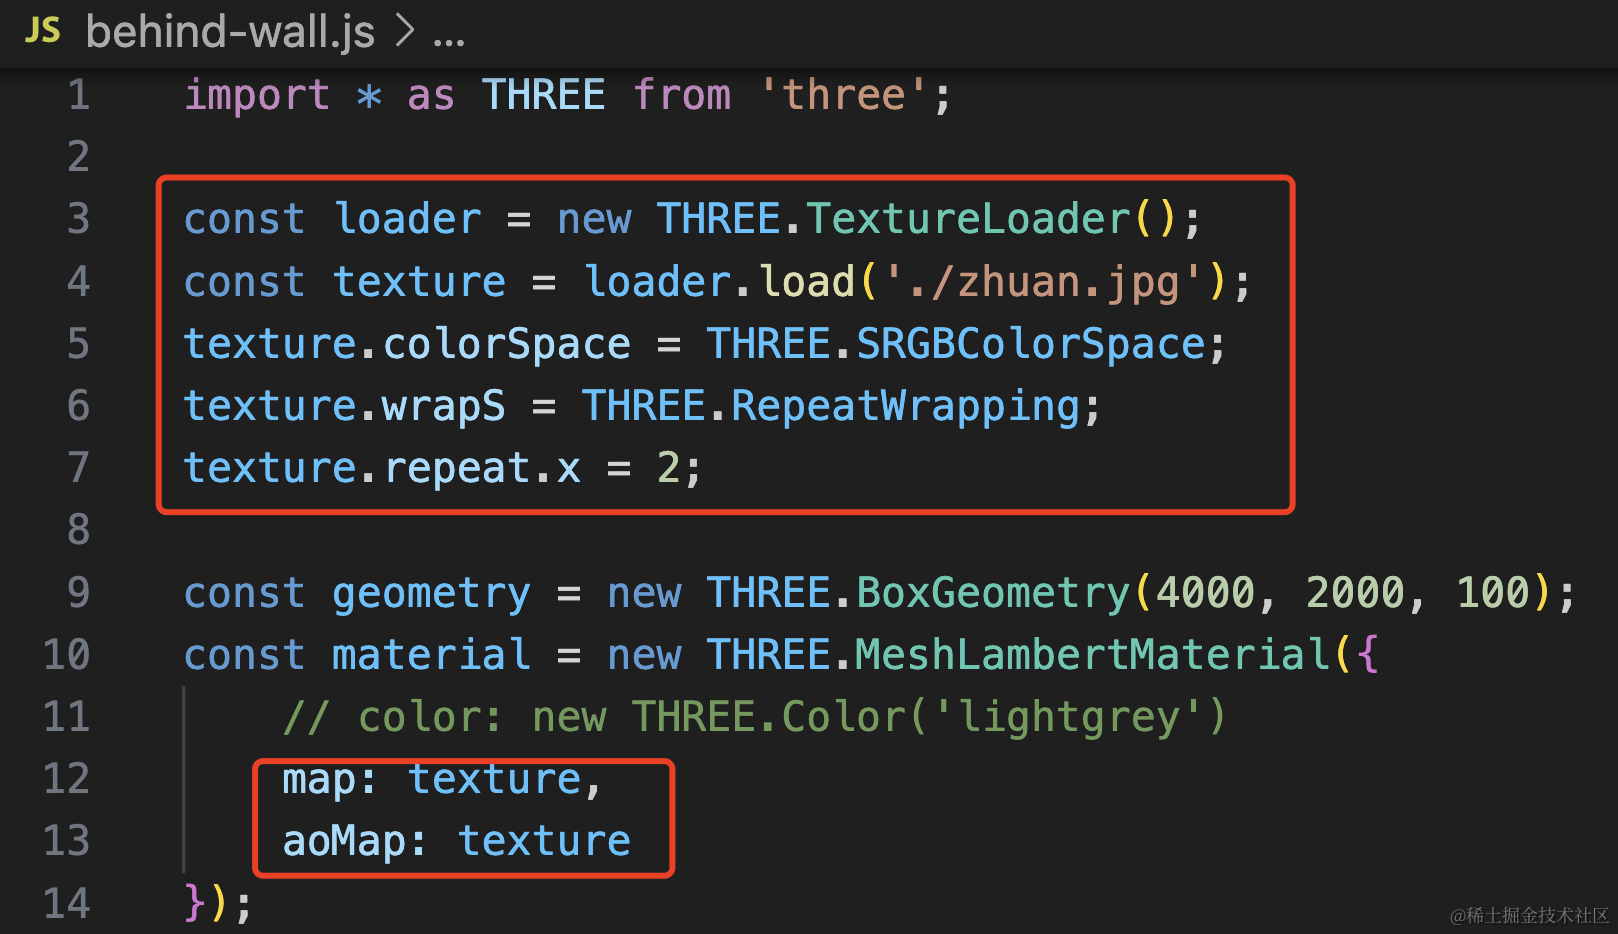
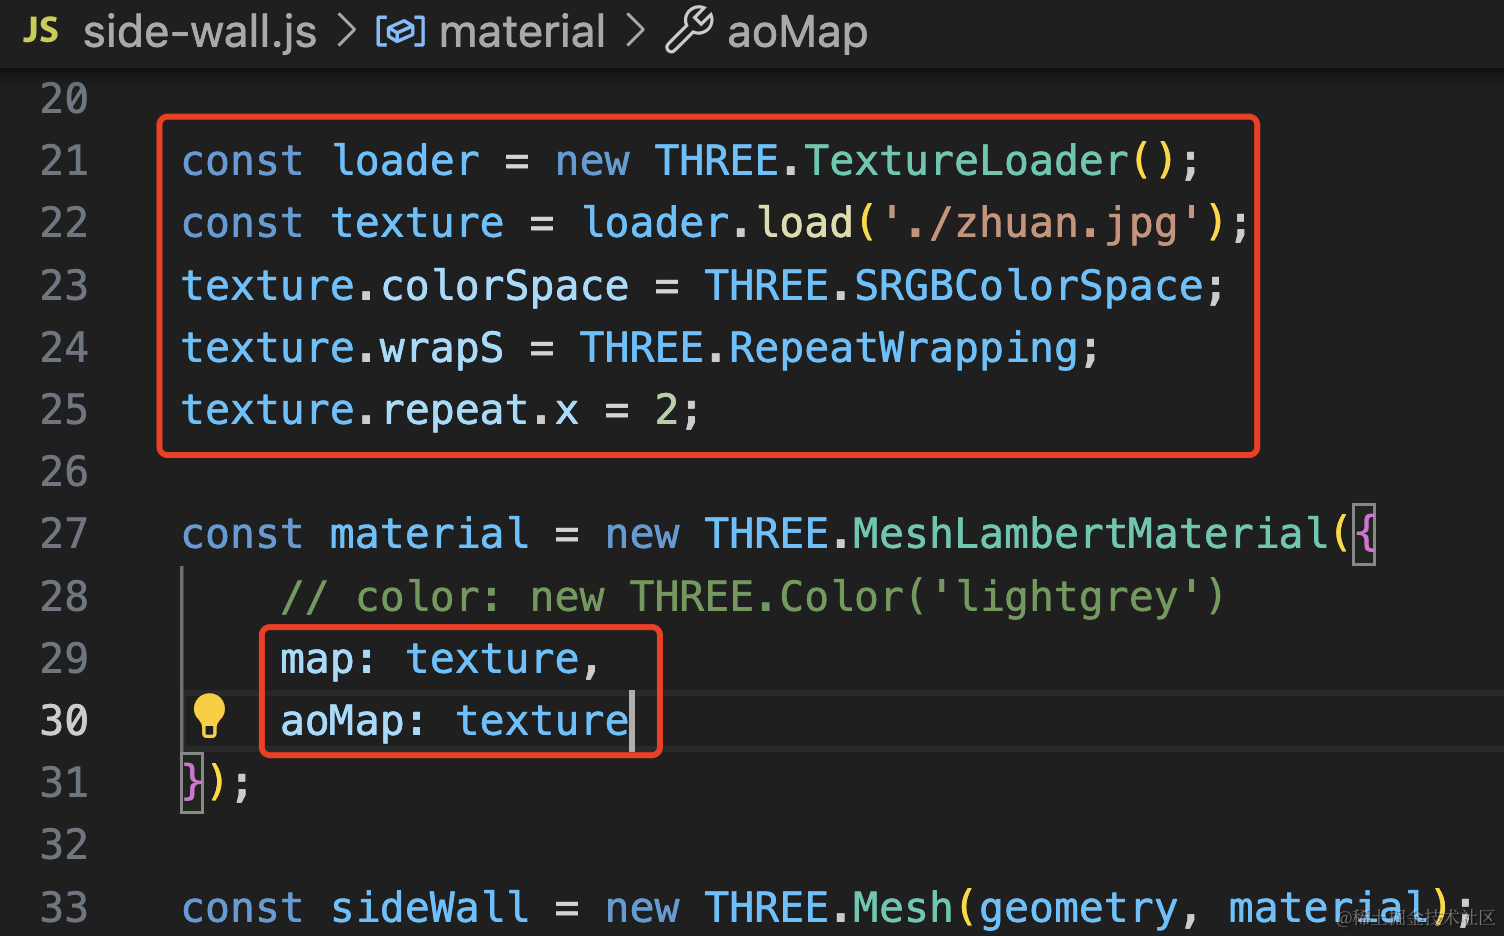
const loader = new THREE.TextureLoader();
const texture = loader.load('./zhuan.jpg');
texture.colorSpace = THREE.SRGBColorSpace;
texture.wrapS = THREE.RepeatWrapping;
texture.repeat.x = 2;

const geometry = new THREE.BoxGeometry(4000, 2000, 100);
const material = new THREE.MeshLambertMaterial({
    // color: new THREE.Color('lightgrey')
    map: texture,
    aoMap: texture
});
这里我们设置水平方向重复 2 次。
设置 texture.repeat.x 就需要同时设置 texture.wrapS 为 RepeatWrapping
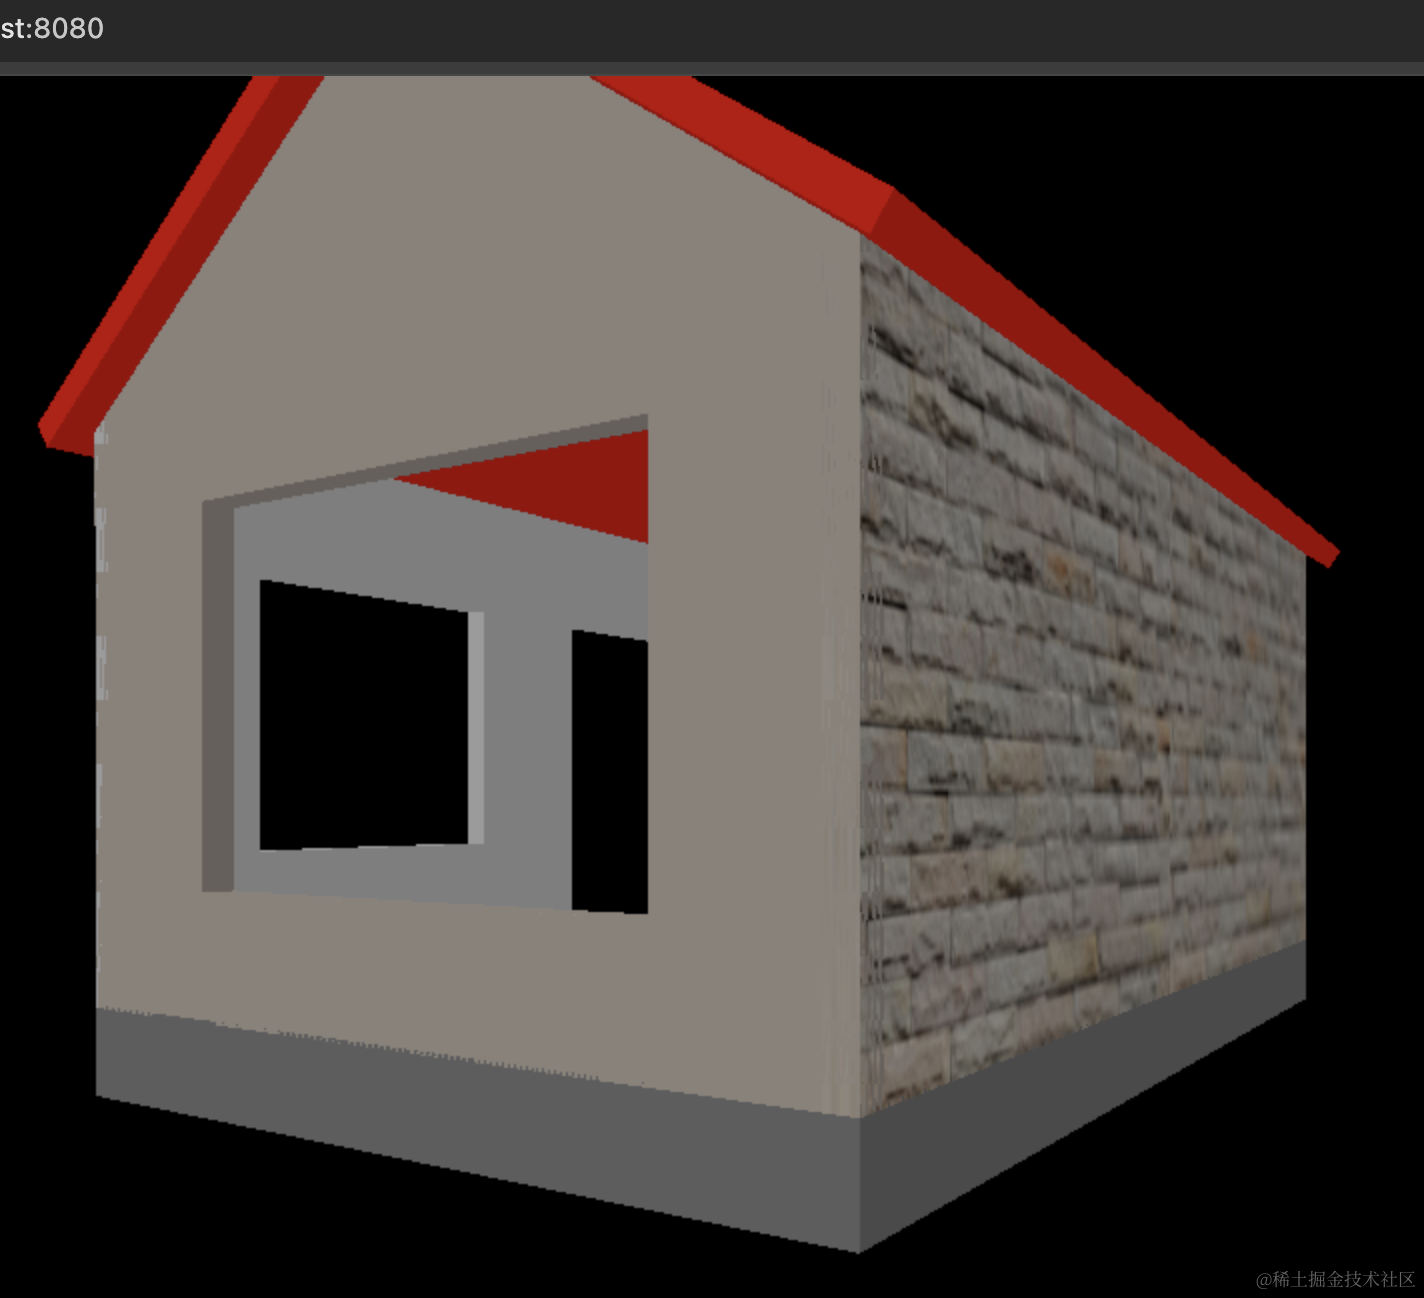
看下效果:

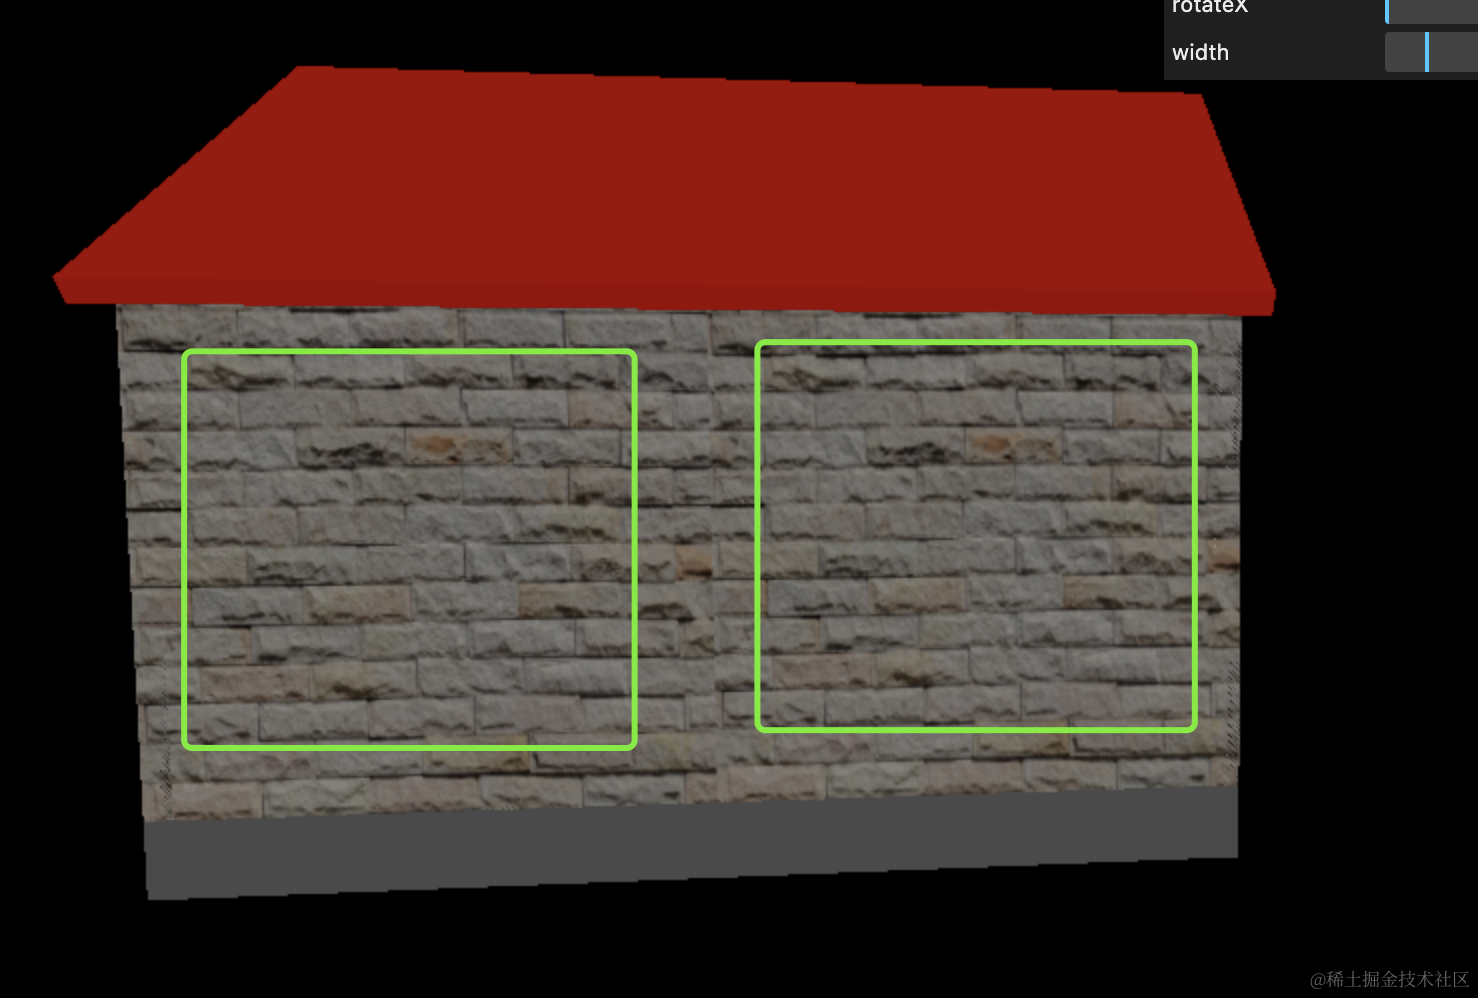
没啥问题,然后再来设置侧面的墙:
一模一样的代码。
但你会发现它并没有达到预期的效果:
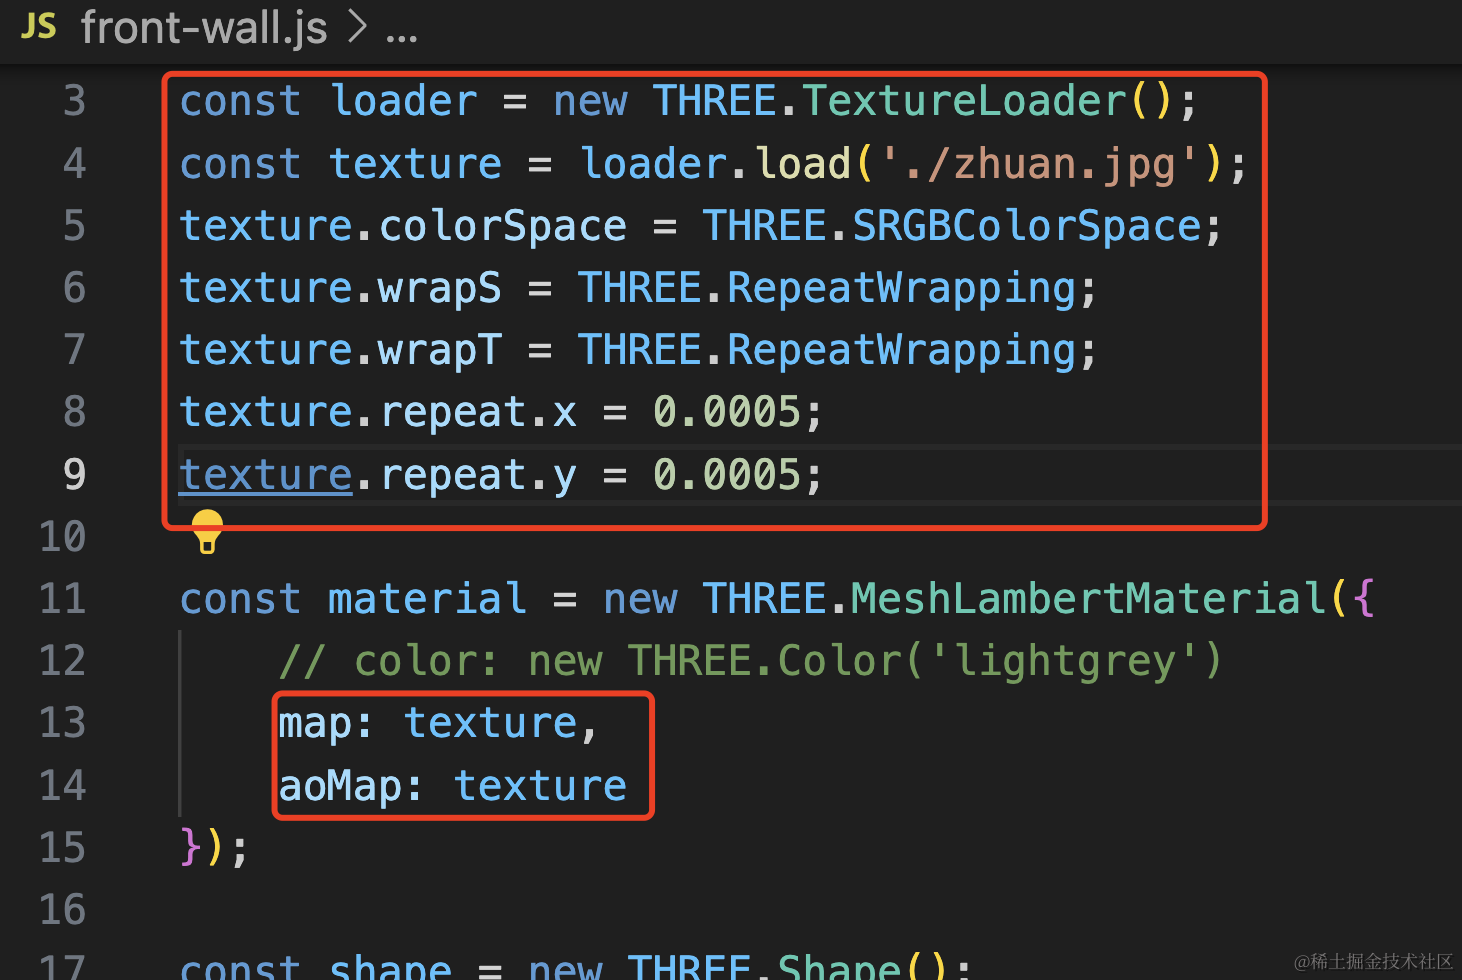
这时候你把 repeat.x 和 repeat.y 设置为一个很小的数:
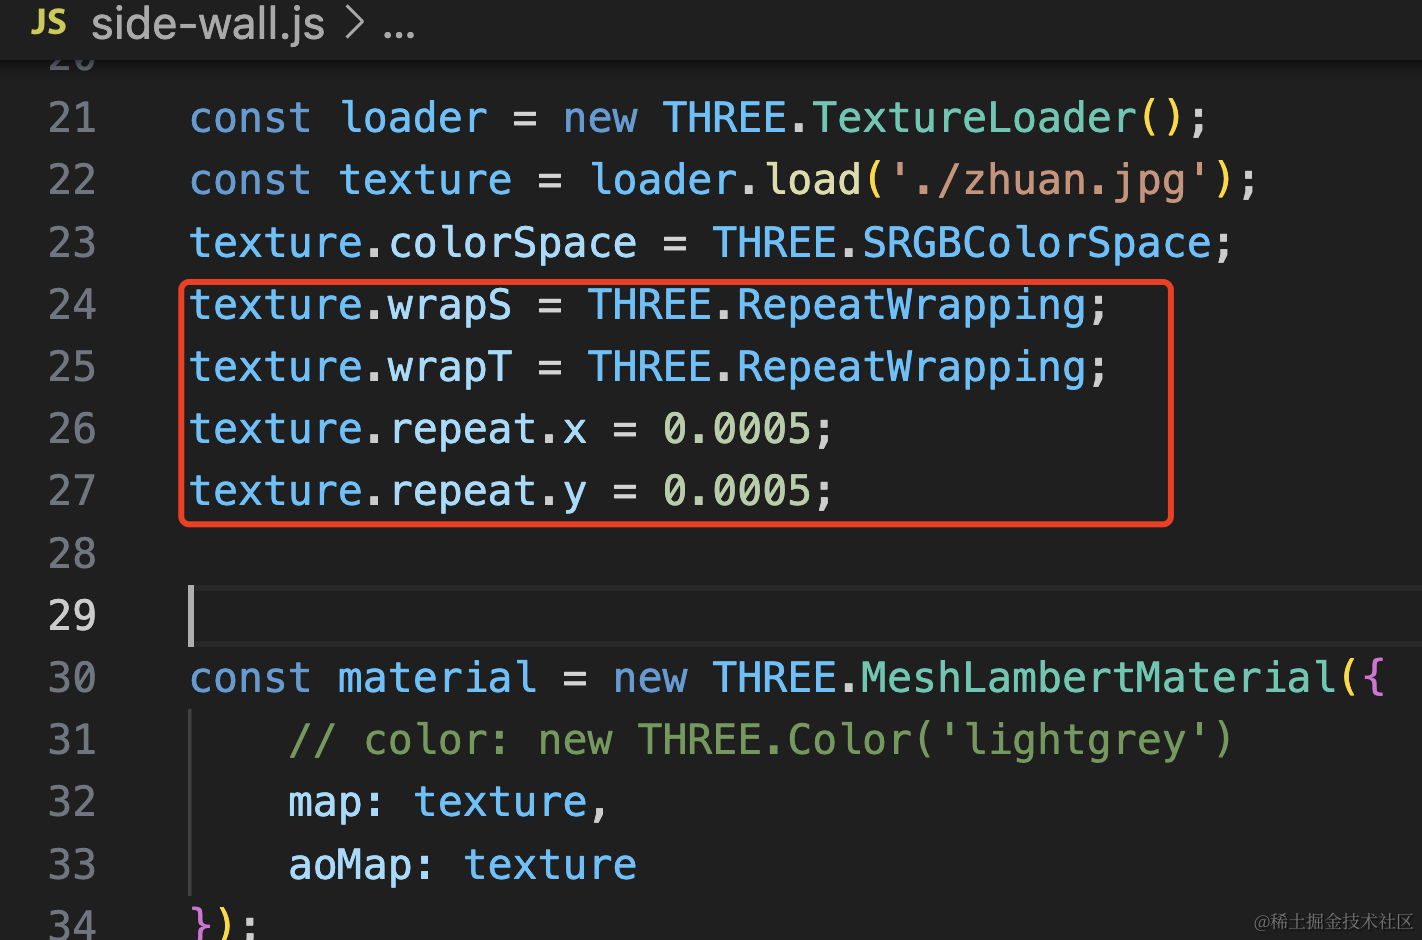
texture.wrapS = THREE.RepeatWrapping;
texture.wrapT = THREE.RepeatWrapping;
texture.repeat.x = 0.0005;
texture.repeat.y = 0.0005;
这样就好了:
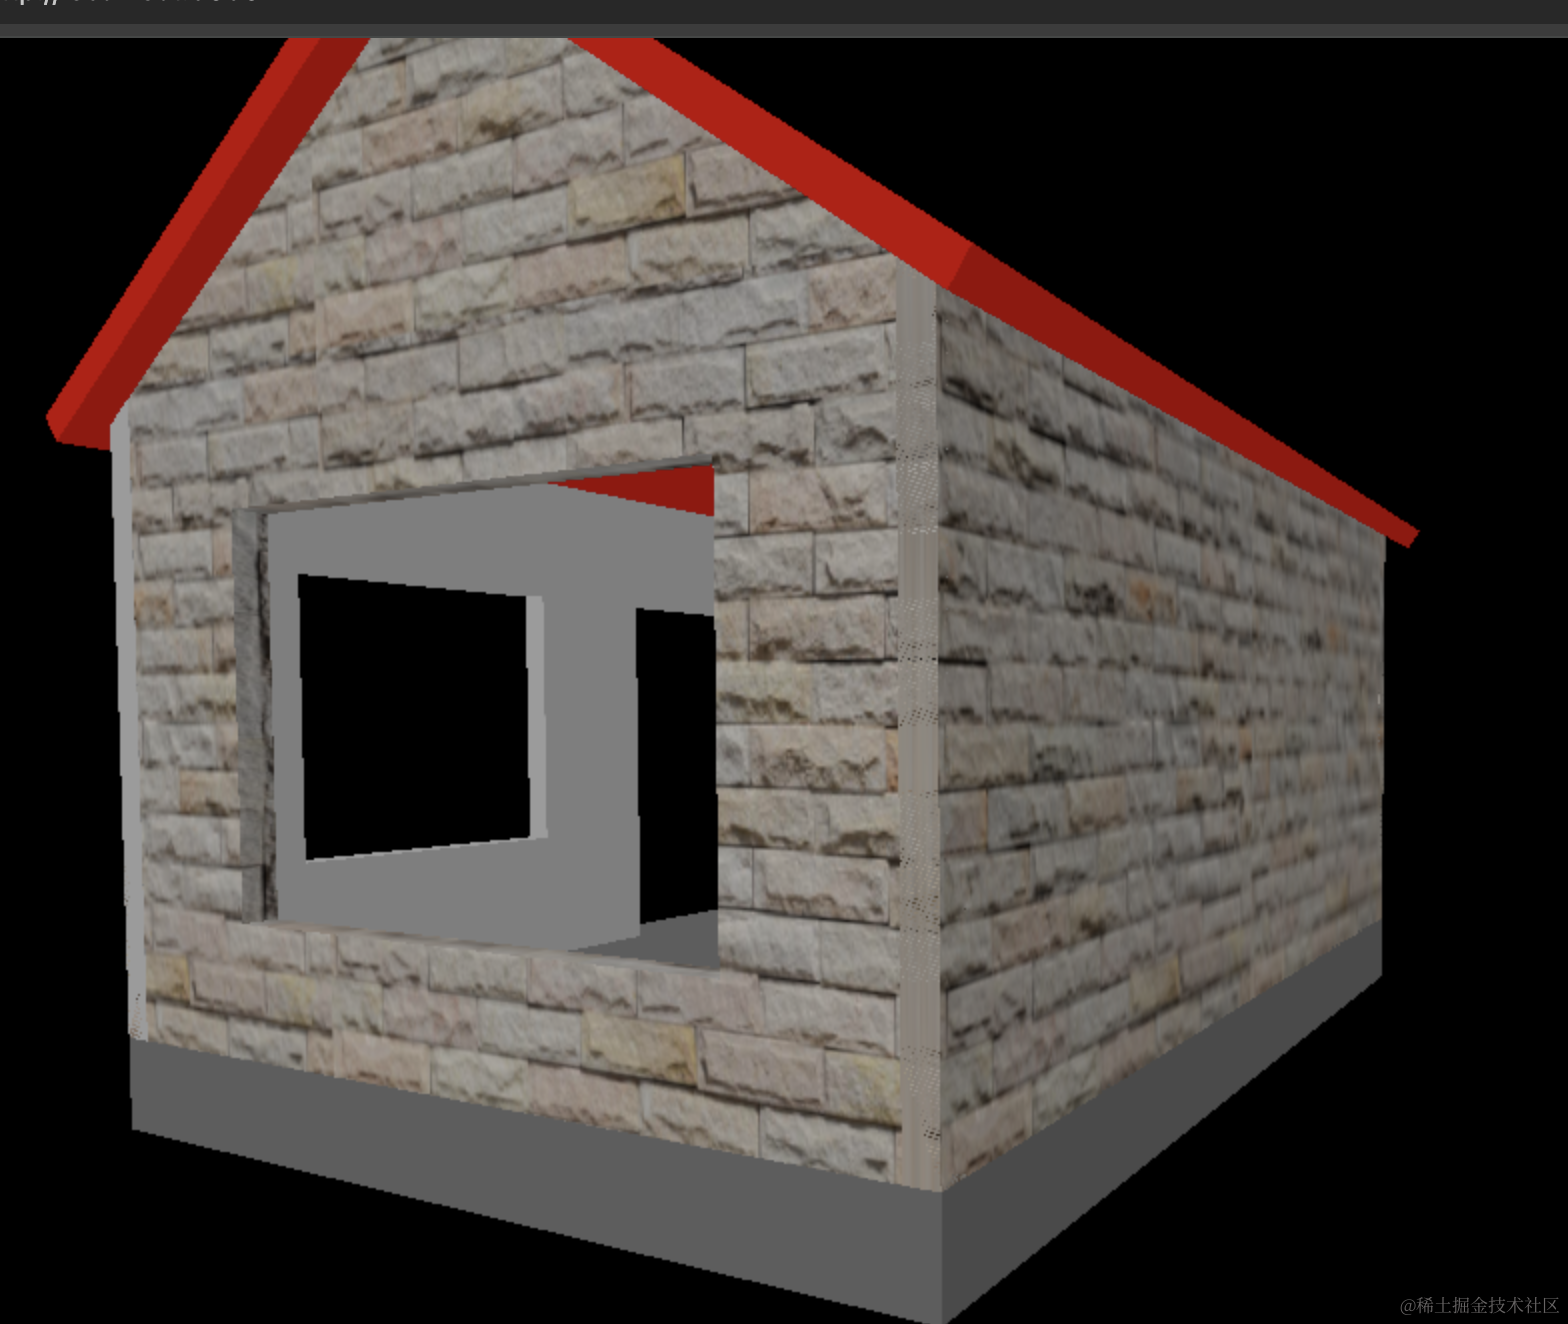
为什么呢?
repeat 次数不应该是大于 1 的数么?
看下网格模型的 uv 就知道了。
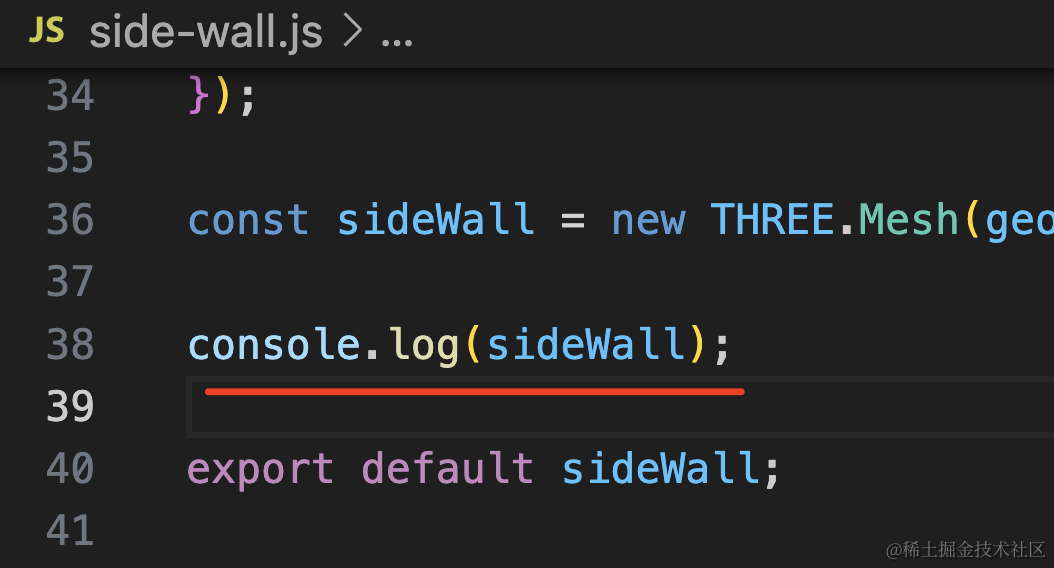
我们打印下 bindWall 和 sideWall 的网格模型:
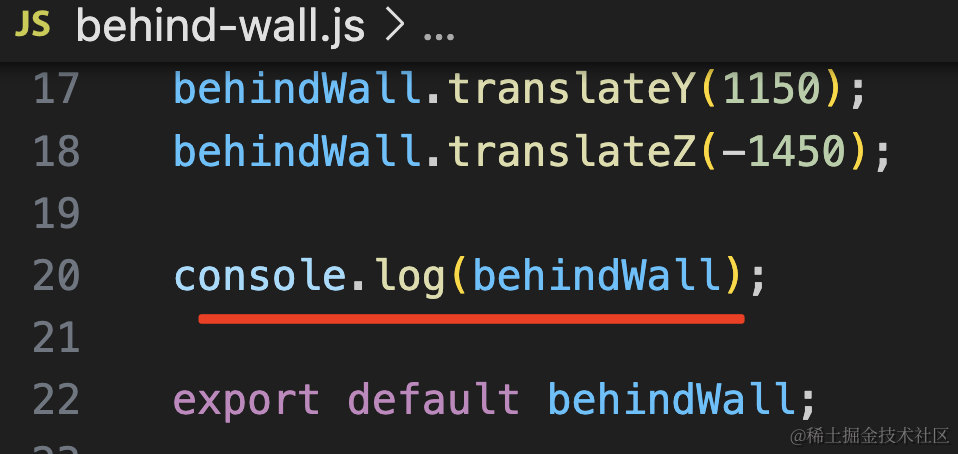
首先是 bindWall,看下 geomety.attributes.uv
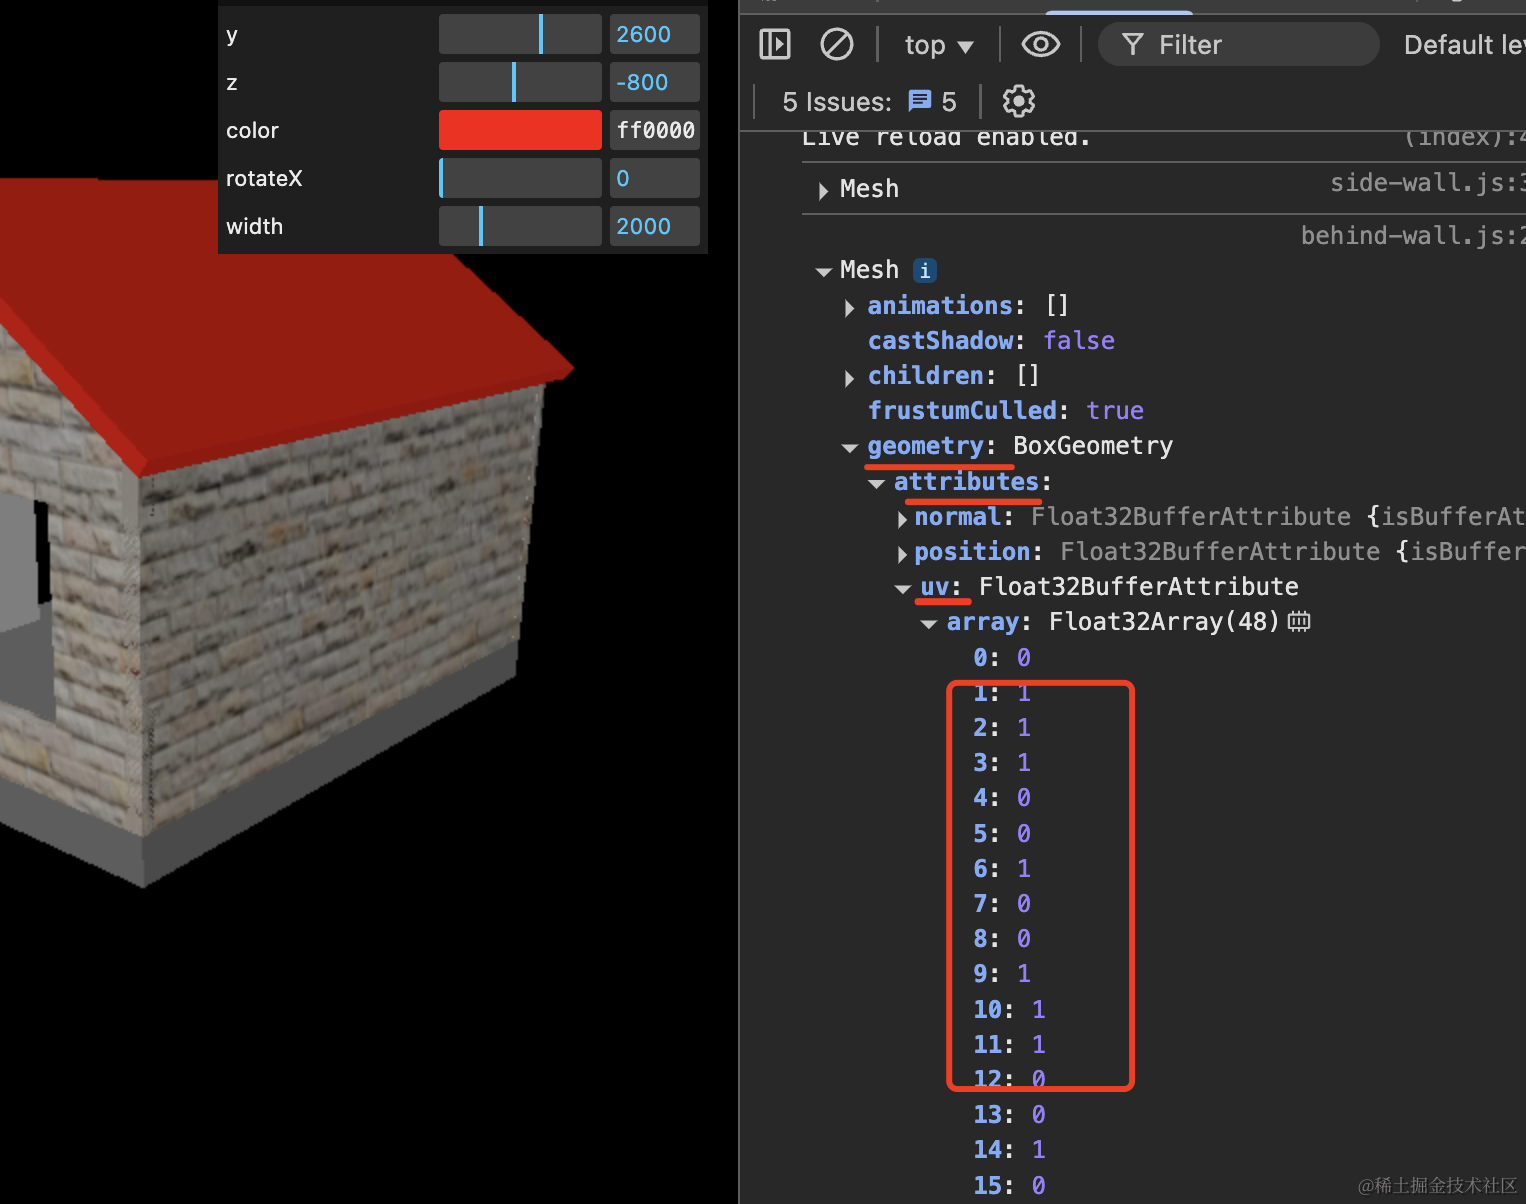
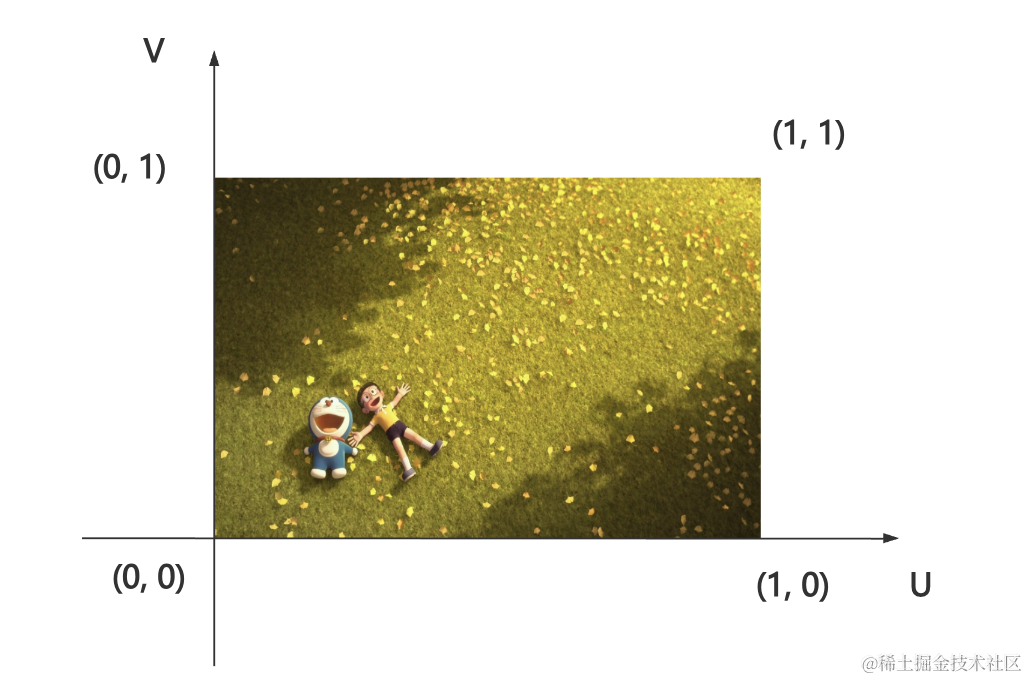
因为它是 BoxGeometry,默认 uv 坐标就是从 0,0 到 1,1 的坐标,通过这个来映射纹理贴图上对应位置的颜色。
设置 repeat.x 为 2,那就是水平重复两次
但你看下 sideWall 的 uv 坐标:
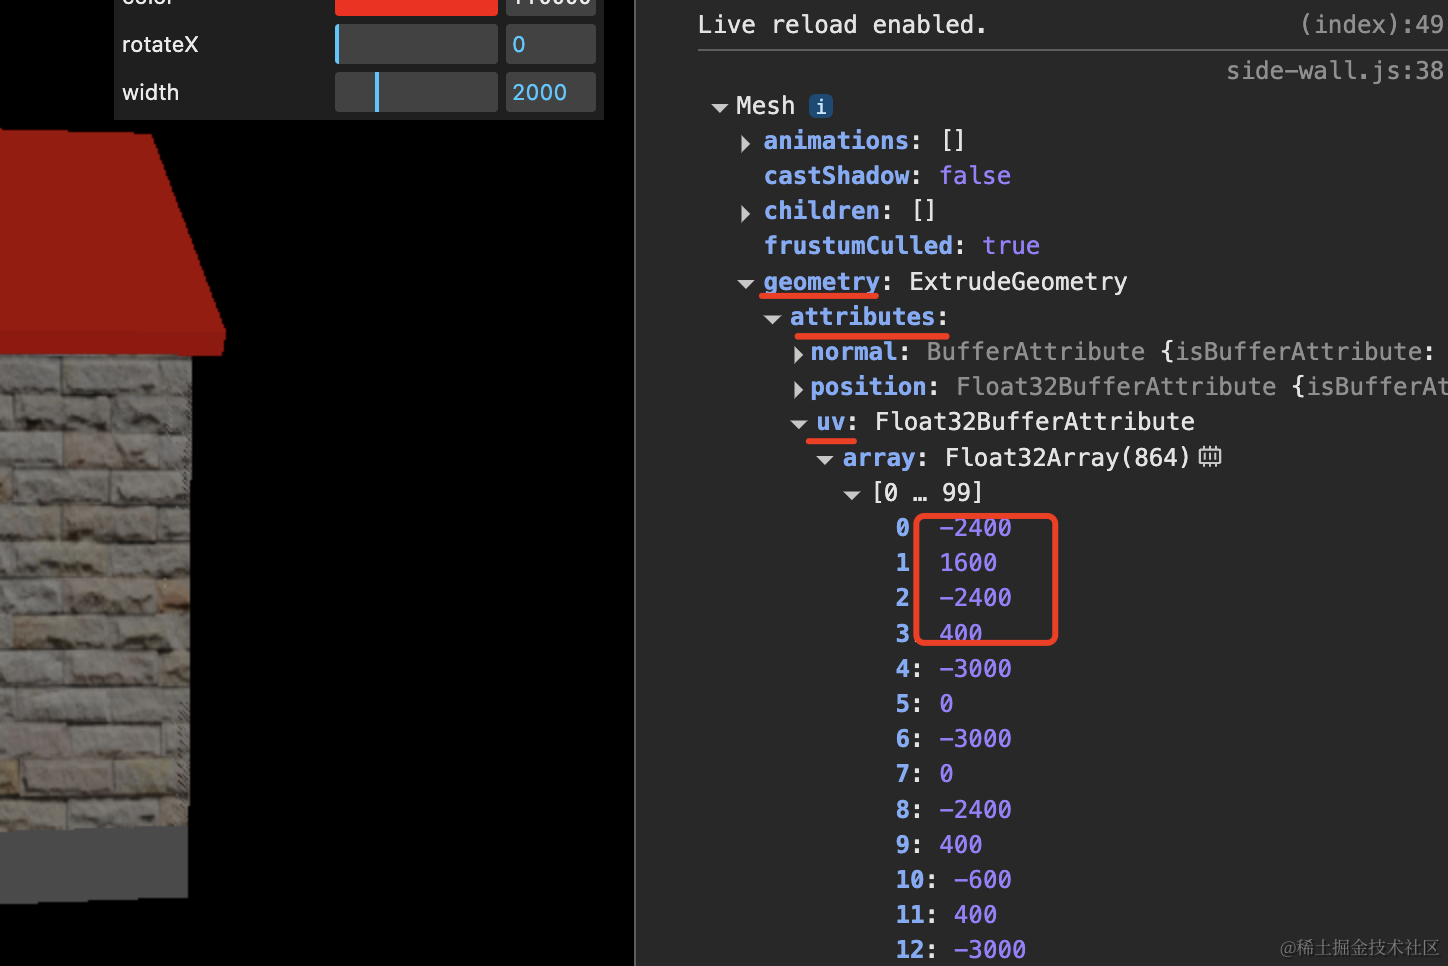
是好几千的值。
因为它是拉伸出来的,不像内置的几何体比如 BoxGeometry 那样有设置好的 uv 坐标。
这种就要把它 repeat 设置为 0.0001 之类的才可以。
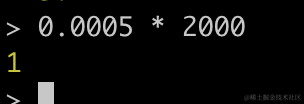
总之,就是乘积差不多是 1,那就是相当于正常的重复一次了。
比如我们设置的 0.0005,它乘以 2000 是不是正好是 1
就是这样的规律,以后遇到 ExtrudeGeometry 等生成的几何体纹理贴图不生效,就这样设置一个很小的 repeat。
然后你会发现墙边的位置有闪烁的问题:
这个我们之前遇到过:
这类问题的名字叫做深度冲突。
也就是说当两个物体重合之后,渲染器不知道哪个在上面,哪个在下面。
一种解决方案是前面那样,让一个物体有一点偏移,不完全重合就好了。
另一种解决方案是在渲染器里设置一下:

这个选项是开启深度缓冲区,专门用来解决深度冲突的问题。
const renderer = new THREE.WebGLRenderer({
    logarithmicDepthBuffer: true
});
现在就完全不会闪烁了:
我们把之前设置的地基的偏移去掉:
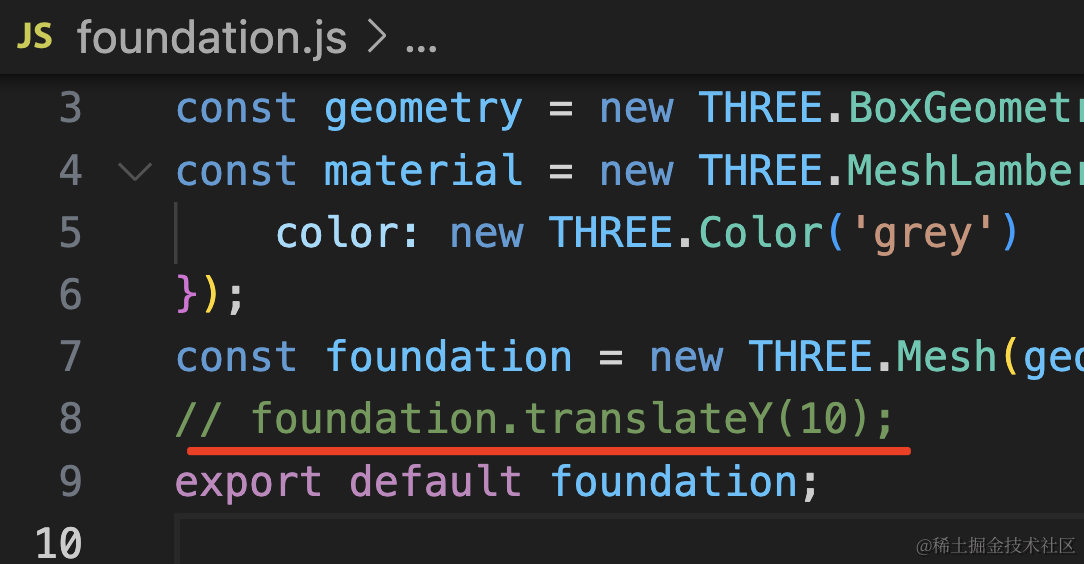
这里也不会闪烁了:

当然,如果你想明确地基的面在上面,那还是要设置下偏移。这里我们还是要保留偏移。
然后我们继续设置 frontWall 的纹理贴图:
和前面代码一样。
看下效果:
现在,4 面的墙就都设置好了。
然后来设置屋顶的纹理贴图:
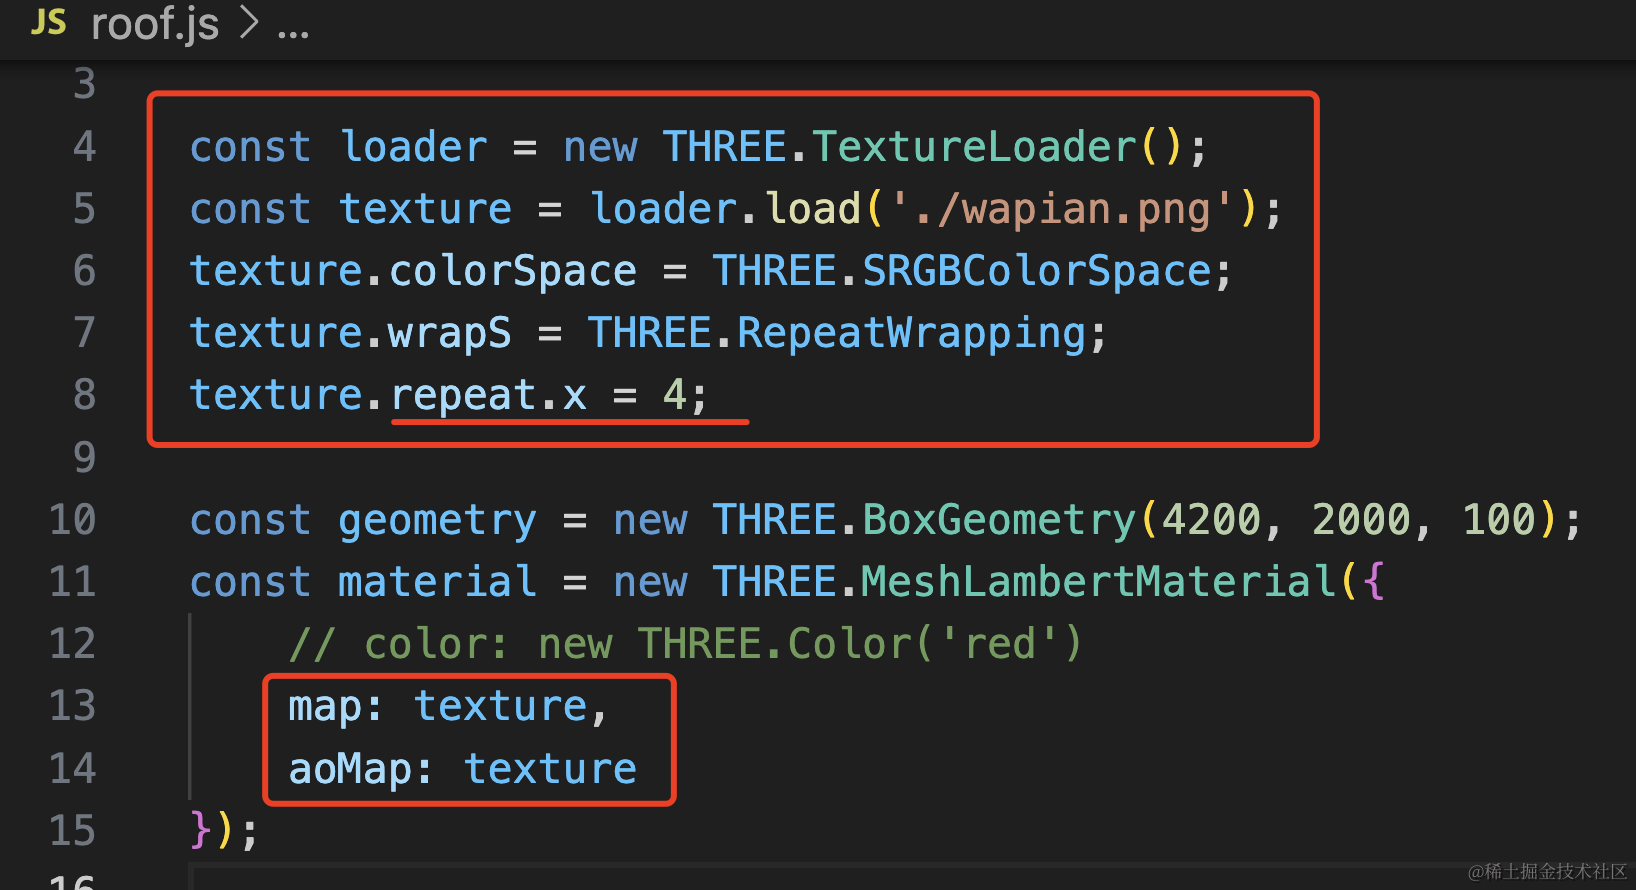
BoxGeometry 的贴图设置比较简单,水平重复 4 次就行。
const loader = new THREE.TextureLoader();
const texture = loader.load('./wapian.png');
texture.colorSpace = THREE.SRGBColorSpace;
texture.wrapS = THREE.RepeatWrapping;
texture.repeat.x = 4;

const geometry = new THREE.BoxGeometry(4200, 2000, 100);
const material = new THREE.MeshLambertMaterial({
    // color: new THREE.Color('red')
    map: texture,
    aoMap: texture
});
这样,瓦片就设置好了:
然后再来设置地基和台阶的水泥纹理贴图:
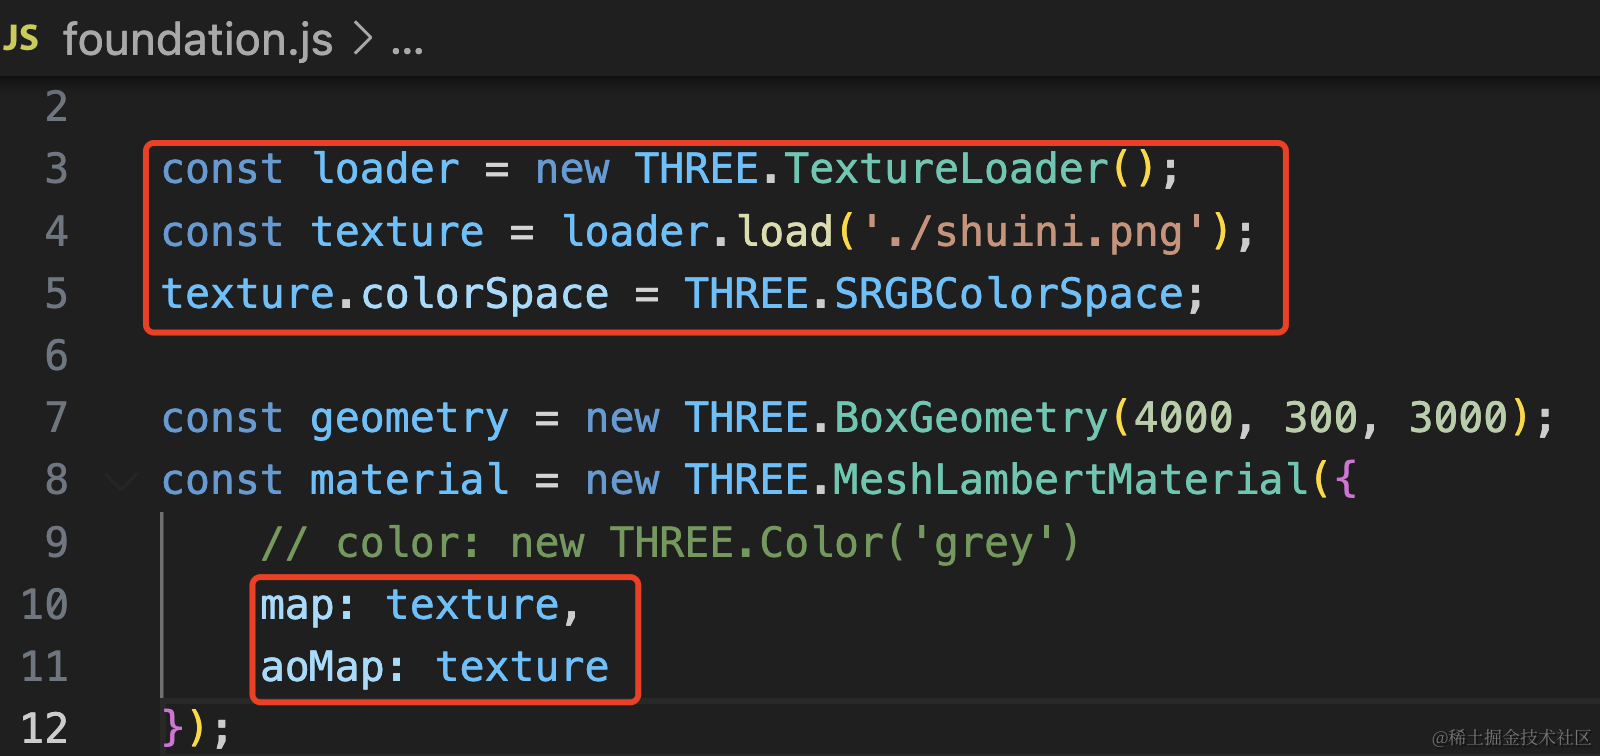
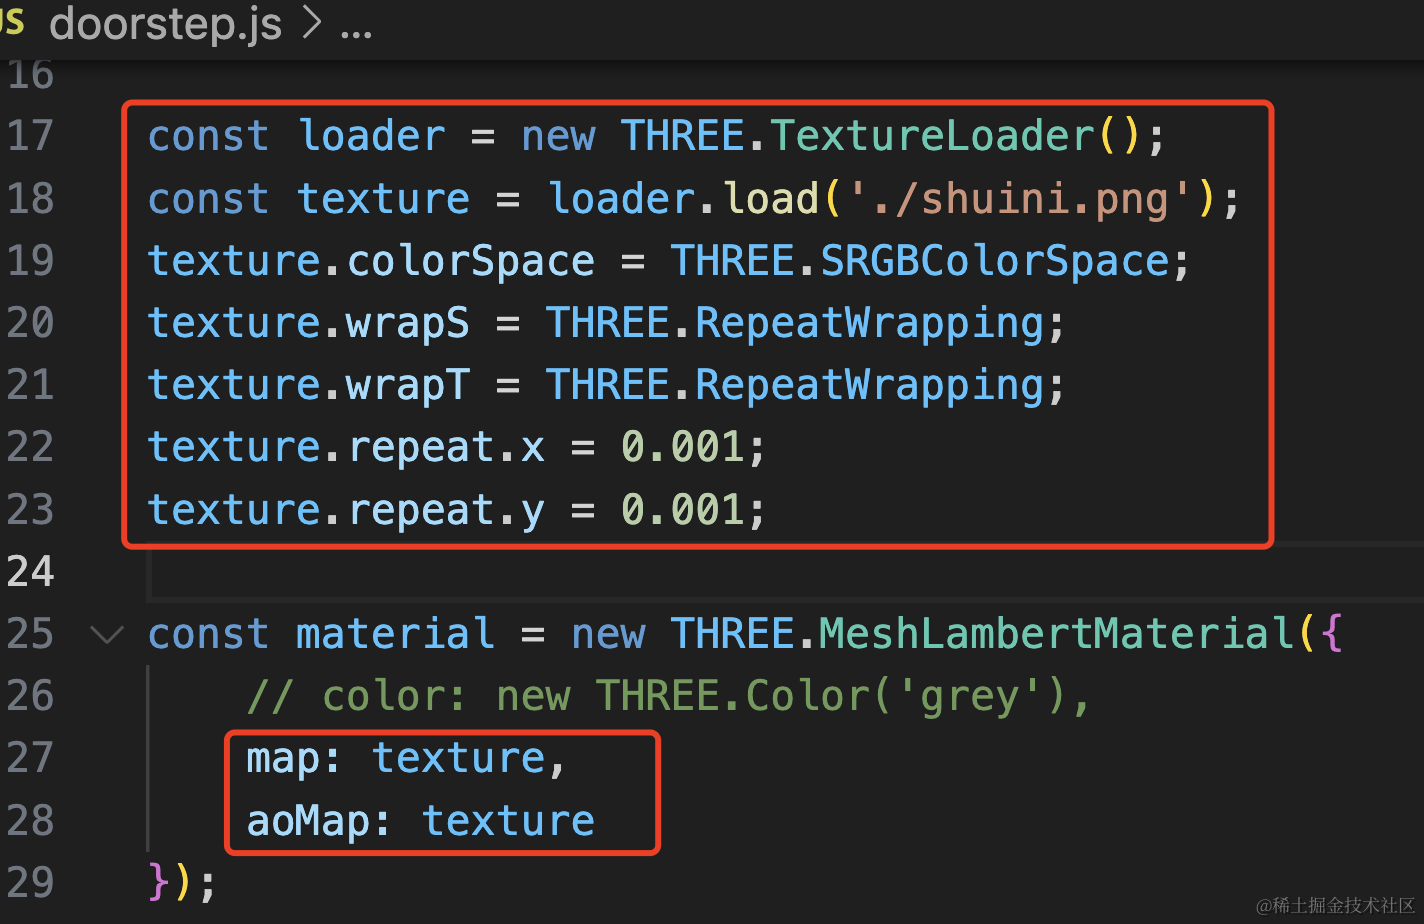
const loader = new THREE.TextureLoader();
const texture = loader.load('./shuini.png');
texture.colorSpace = THREE.SRGBColorSpace;

const geometry = new THREE.BoxGeometry(4000, 300, 3000);
const material = new THREE.MeshLambertMaterial({
    // color: new THREE.Color('grey')
    map: texture,
    aoMap: texture
});
const loader = new THREE.TextureLoader();
const texture = loader.load('./shuini.png');
texture.colorSpace = THREE.SRGBColorSpace;
texture.wrapS = THREE.RepeatWrapping;
texture.wrapT = THREE.RepeatWrapping;
texture.repeat.x = 0.001;
texture.repeat.y = 0.001;
const material = new THREE.MeshLambertMaterial({
// color: new THREE.Color('grey'),
map: texture,
aoMap: texture
});这里一个是 BoxGeometry,一个是 ExtrudeGeometry,所以 texture.repeat 的设置不一样。

这样,水泥的贴图就设置好了。
这里为啥没画窗户呢?
因为玻璃的材质我们还没学,等后面学了再补上。
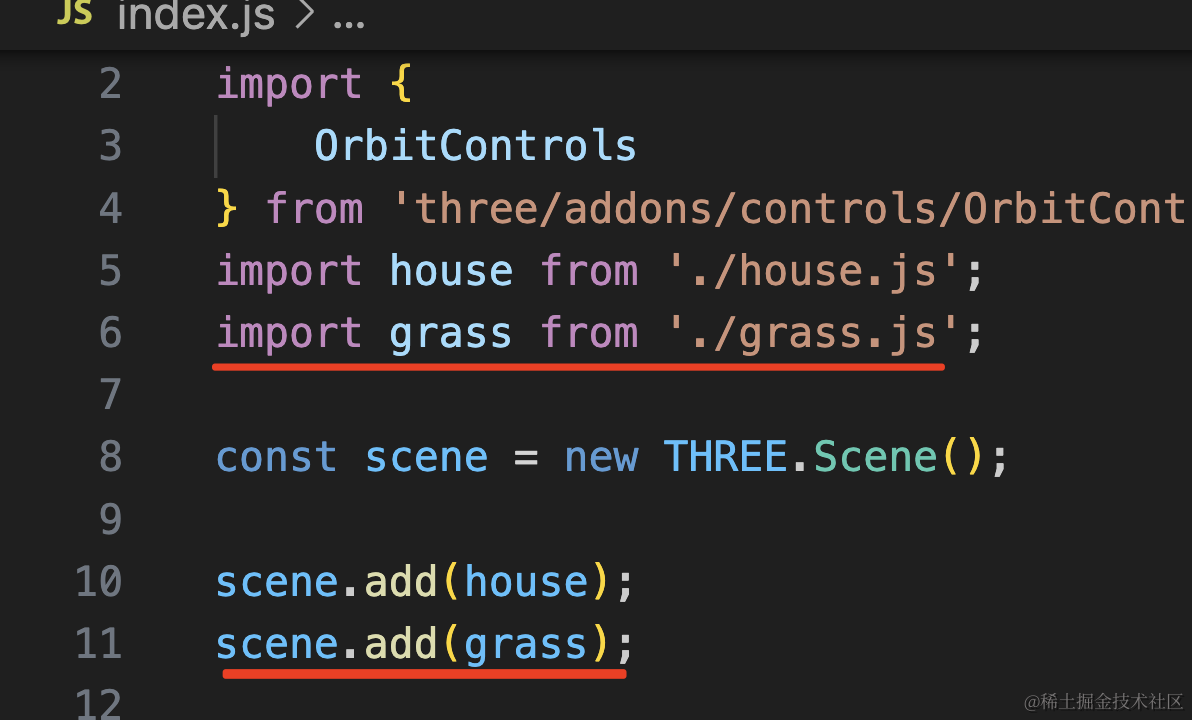
只有一个房子太单调了,我们给它加上草地。
这个用 PlaneGeometry 设置纹理贴图来做。
创建 grass.js
import * as THREE from 'three';

const geometry = new THREE.PlaneGeometry(100000, 100000);
const material = new THREE.MeshLambertMaterial({
    color: new THREE.Color('green')
});

const grass = new THREE.Mesh(geometry, material);
grass.rotateX( -Math.PI / 2);
grass.position.y = -150;

export default grass;
创建 PlaneGeometry,调整下位置。
添加到场景中:
然后找个纹理贴图:
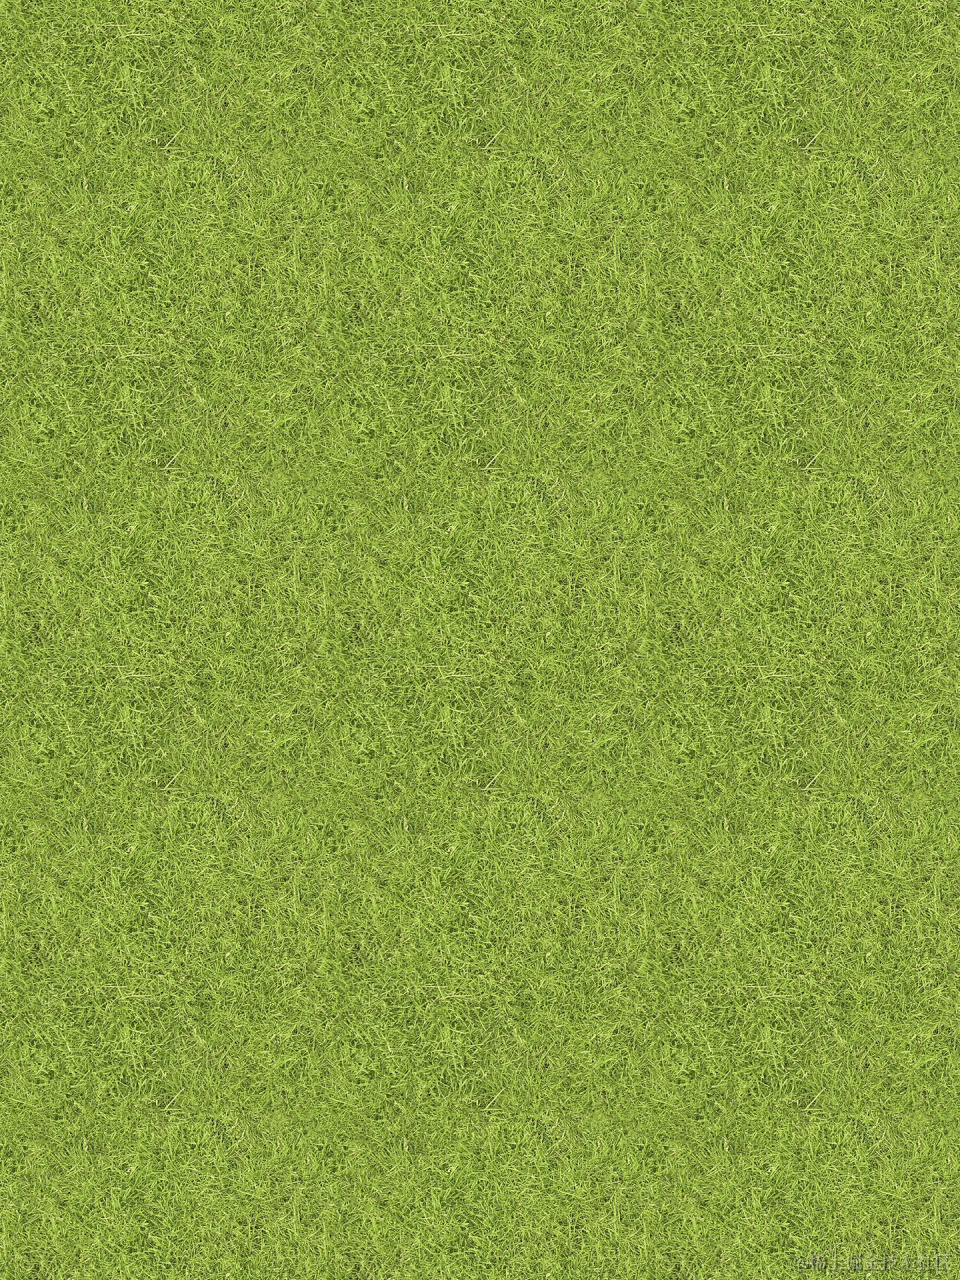
加载纹理,设置水平竖直的重复:
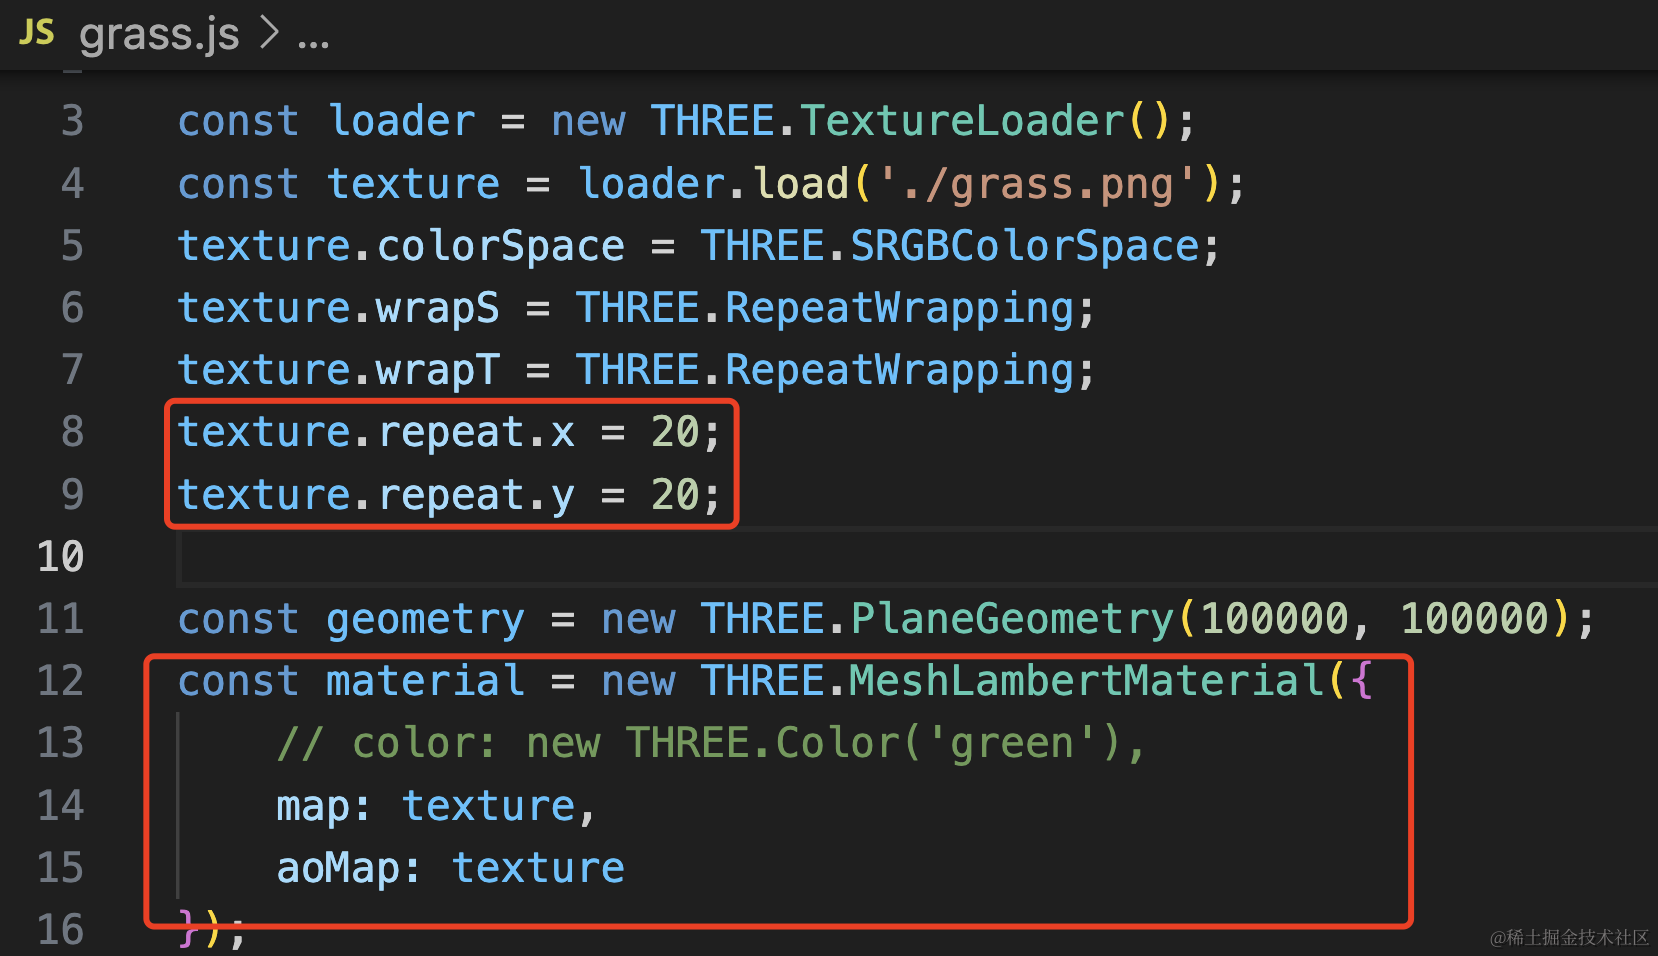
const loader = new THREE.TextureLoader();
const texture = loader.load('./grass.png');
texture.colorSpace = THREE.SRGBColorSpace;
texture.wrapS = THREE.RepeatWrapping;
texture.wrapT = THREE.RepeatWrapping;
texture.repeat.x = 20;
texture.repeat.y = 20;

const geometry = new THREE.PlaneGeometry(100000, 100000);
const material = new THREE.MeshLambertMaterial({
    // color: new THREE.Color('green'),
    map: texture,
    aoMap: texture
});
我们再改一下天空的颜色:
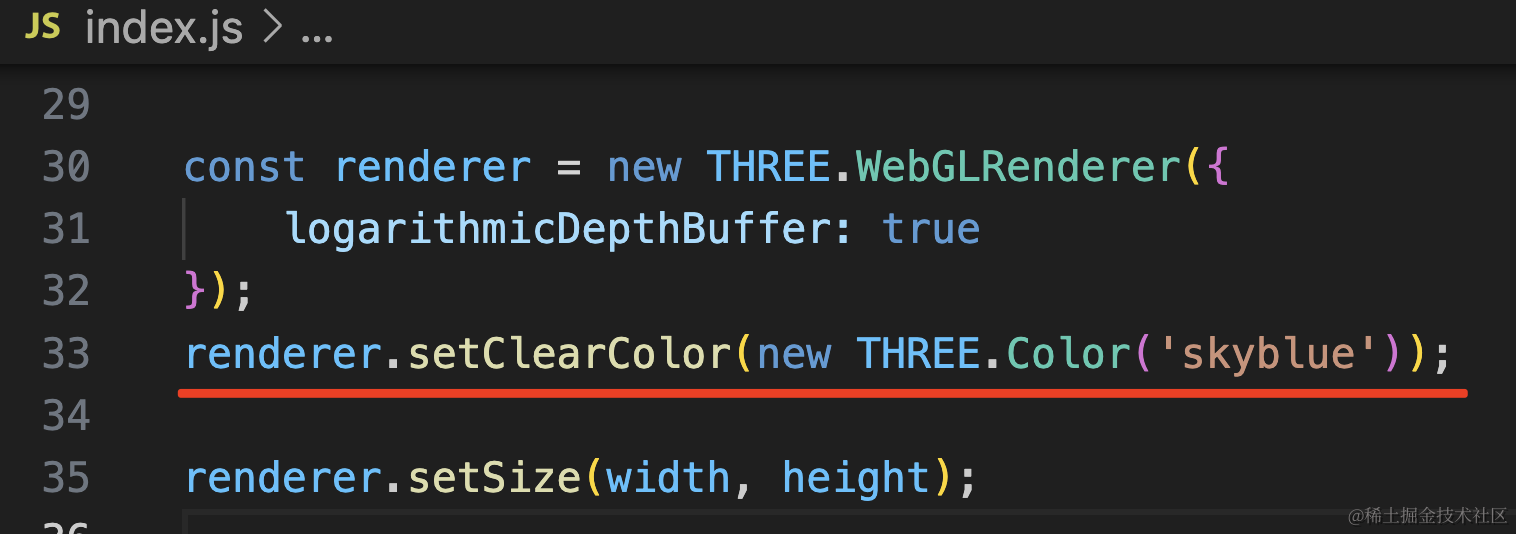
renderer.setClearColor(new THREE.Color('skyblue'));
现在草地和天际线的过渡太生硬了,我们加一点雾。
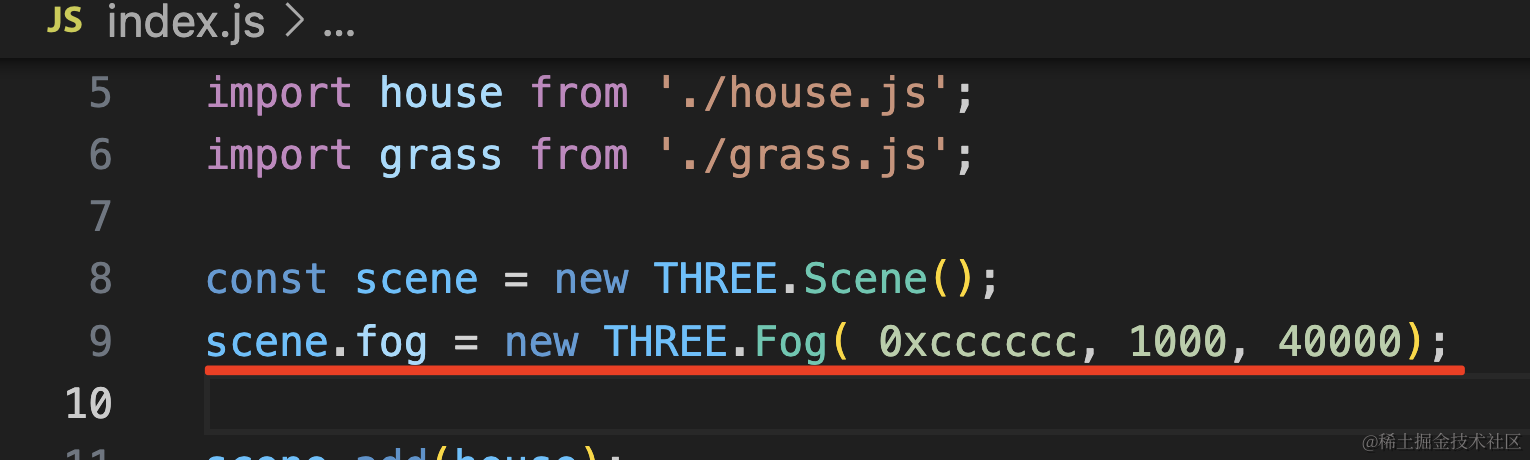
Fog 是 Three.js 提供的 api,设置在 scene.fog 上,可以设置什么颜色,从哪到哪的范围内起雾,雾是线性加深的。
用 dat.gui 调试下这几个参数试试:
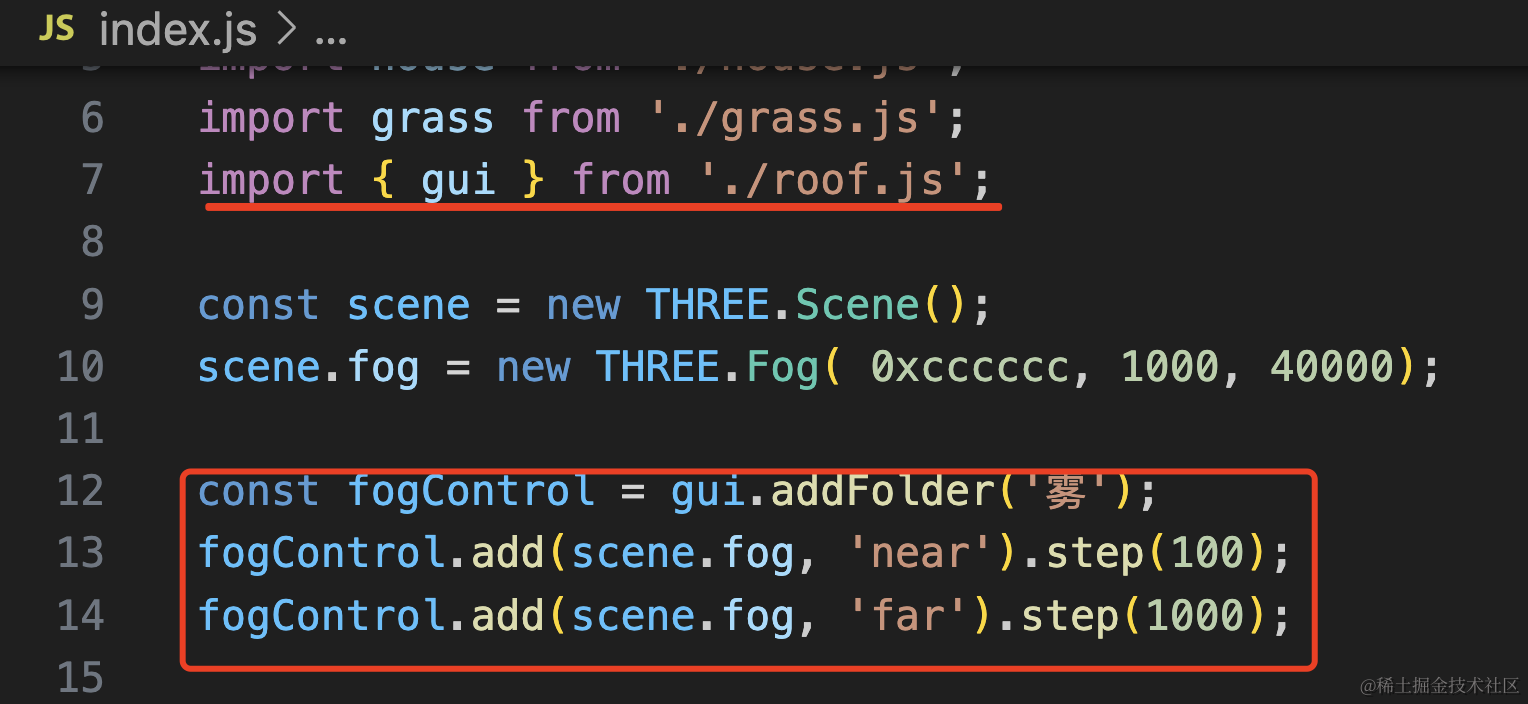
import { gui } from './roof.js';

const scene = new THREE.Scene();
scene.fog = new THREE.Fog( 0xcccccc, 1000, 40000);

const fogControl = gui.addFolder('雾');
fogControl.add(scene.fog, 'near').step(100);
fogControl.add(scene.fog, 'far').step(1000);
注意,我们之前创建了一个 GUI 实例,这里要用同一个:
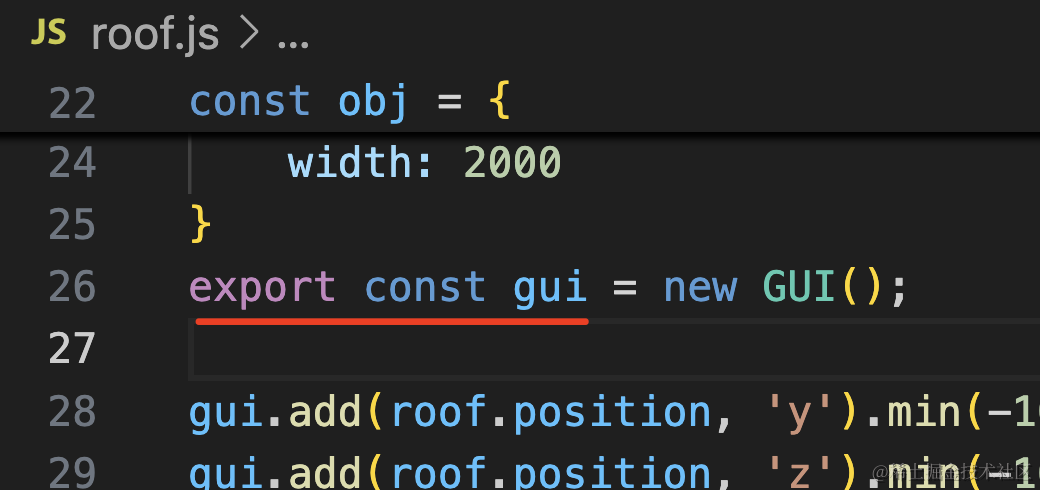
所以在那里加个 export 导出 GUI 实例。
可视化的调试,找到一个合适的雾的范围。
最后,我们来做个相机动画。
前面我们做过穿梭隧道的相机动画:

那个可以从曲线上取点来确定 camera.position 和 lookAt
现在如果我们要让相机不断围着房子旋转呢?
也就是这样:
如何确定相机位置呢?
这是一个数学问题,我们确定了相机离目标旋转的半径,然后通过 sin、cos 求 x、z 坐标就好了,y 坐标也就是高度固定。
也就是这样:
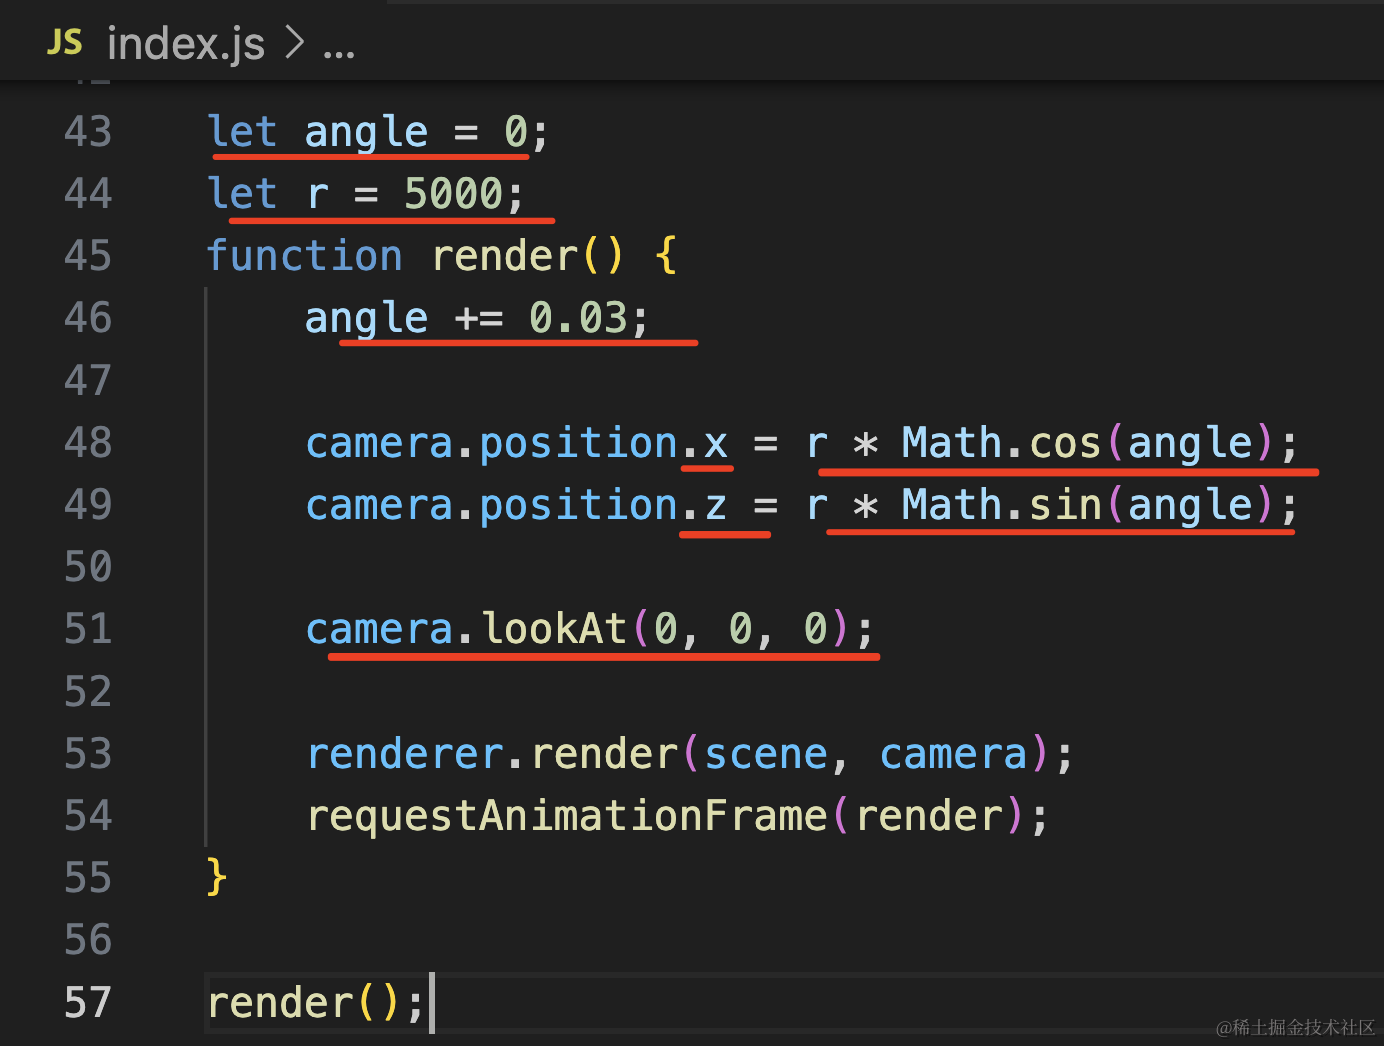
let angle = 0;
let r = 5000;
function render() {
    angle += 0.03;

    camera.position.x = r * Math.cos(angle);
    camera.position.z = r * Math.sin(angle);

    camera.lookAt(0, 0, 0);

    renderer.render(scene, camera);
    requestAnimationFrame(render);
}
看下效果:

但只是这样太单调了,我们可以让相机每转一圈,随机修改下相机转的半径和高度。
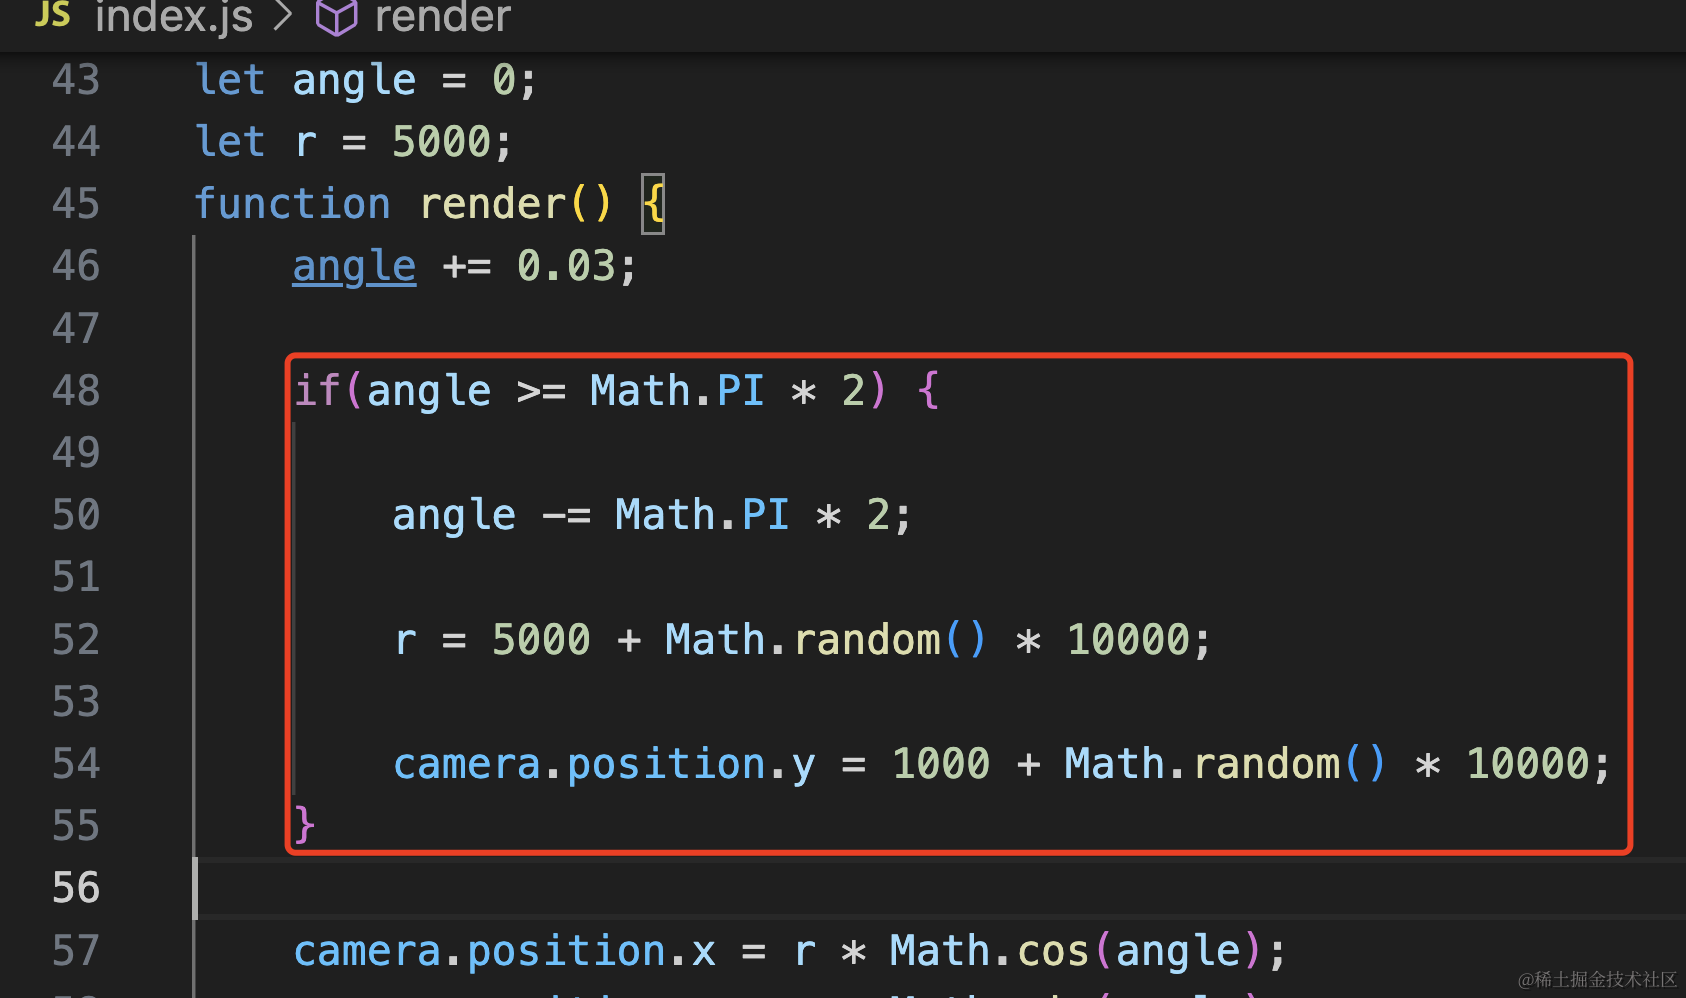
if(angle >= Math.PI * 2) {

    angle -= Math.PI * 2;

    r = 5000 + Math.random() * 10000;

    camera.position.y = 1000 + Math.random() * 10000;
}
角度加到 360 度的时候,就减去 360 度,重新累加。
然后每转一圈都修改 r 和 camera.position.y 为一个随机值。
看下效果:
可以看到,每转一圈都是一个随机的新角度。
当然,这里相机转的有点快,调成每次渲染转 0.01 就可以了。
案例代码上传了小册仓库。
总结
这节我们给房子贴上了纹理贴图、加上了草地、设置了天空和雾,又做了相机动画。
纹理贴图要注意的是 ExtrudeGeometry 这种生成的几何体,uv 坐标会很大,要设置 texture.repeat 为很小的值,比如 0.0005 这种,原则就是和 uv 坐标相乘等于 1
草地用的 PlaneGeometry,天空是直接用 renderer.setClearColor,雾是设置在 scene.fog 的,可以用 dat.gui 可视化调试。
相机动画这次我们做了圆周运动,确定一个半径,然后用 sin、cos 求 x、z 坐标就可以了,y 坐标固定,这样就是一个旋转的相机动画。
这个盖房子的实战,我们练习了很多东西:
- 曲线和生成几何体
- 纹理贴图
- 相机动画
- dat.gui 可视化调试
还处理了模型闪烁也就是深度冲突问题,可以让物体有一点微小的偏移,也可以开启 renderer 的 logarithmicDepthBuffer 深度缓冲区选项。
这个小实战还是比较综合的练习了前面学的东西,接下来我们继续学习 Three.js 的其他部分吧。