上节画了佛光的粒子:
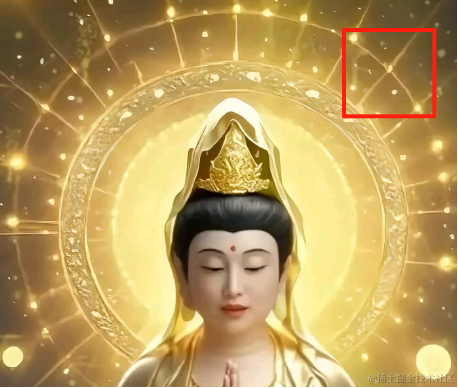
这节我们把后面的圆环画一下:
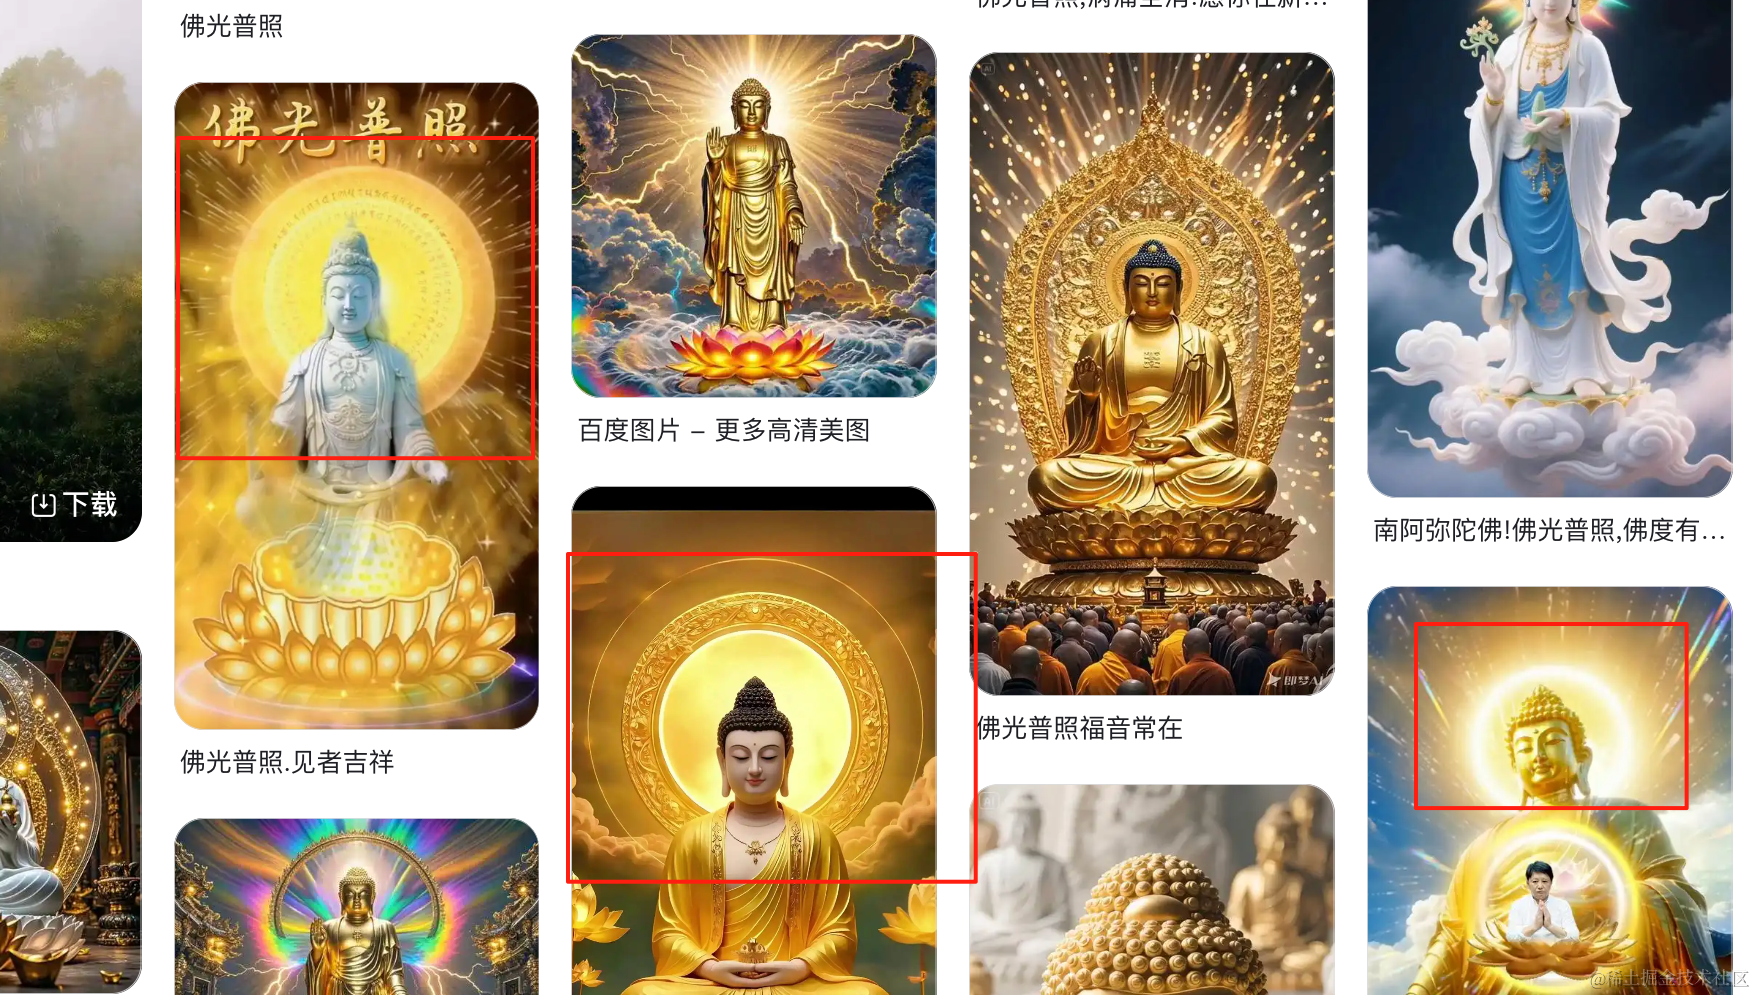
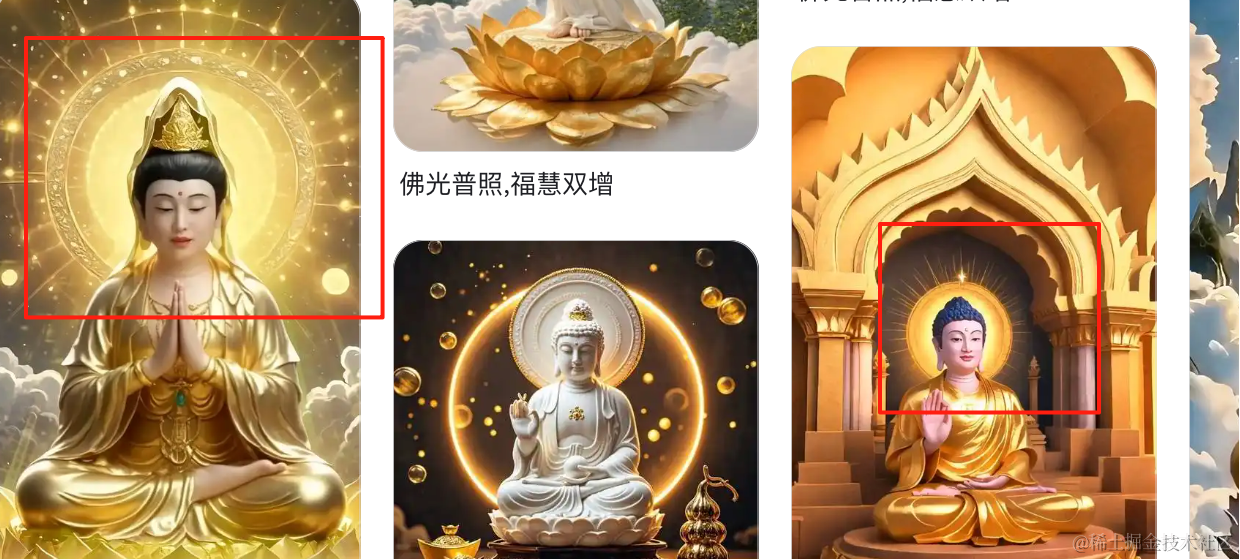
当然,这个没有标准,怎么画都行,我们综合一下。
和我们之前画的云雷纹差不多:
这只不过图案不一样。
创建 halo.js
import * as THREE from 'three';
import { Line2, LineGeometry, LineMaterial } from 'three/examples/jsm/Addons.js';
import { loadPromise } from './mesh';

const group = new THREE.Group();

const arc1 = new THREE.EllipseCurve(0, 0, 130 , 130, 0, Math.PI * 2);
const pointsArr1 = arc1.getPoints(50);
const geometry1 = new LineGeometry();
geometry1.setFromPoints(pointsArr1);
const material1 = new LineMaterial({
    color: new THREE.Color('gold'),
    linewidth: 10
});
const line1 = new Line2(geometry1, material1);
group.add(line1);

loadPromise.then((gltf) => {
    const box3 = new THREE.Box3();
    box3.expandByObject(gltf.scene);

    const size = box3.getSize(new THREE.Vector3());

    group.position.y = size.y * 2 / 3;
    group.position.z = -size.z / 2;
})

export default group;
先画一个大的圆环。
因为要设置 lineWidth,这里得用 LineGEometry、LineMaterial、Line2 的 api
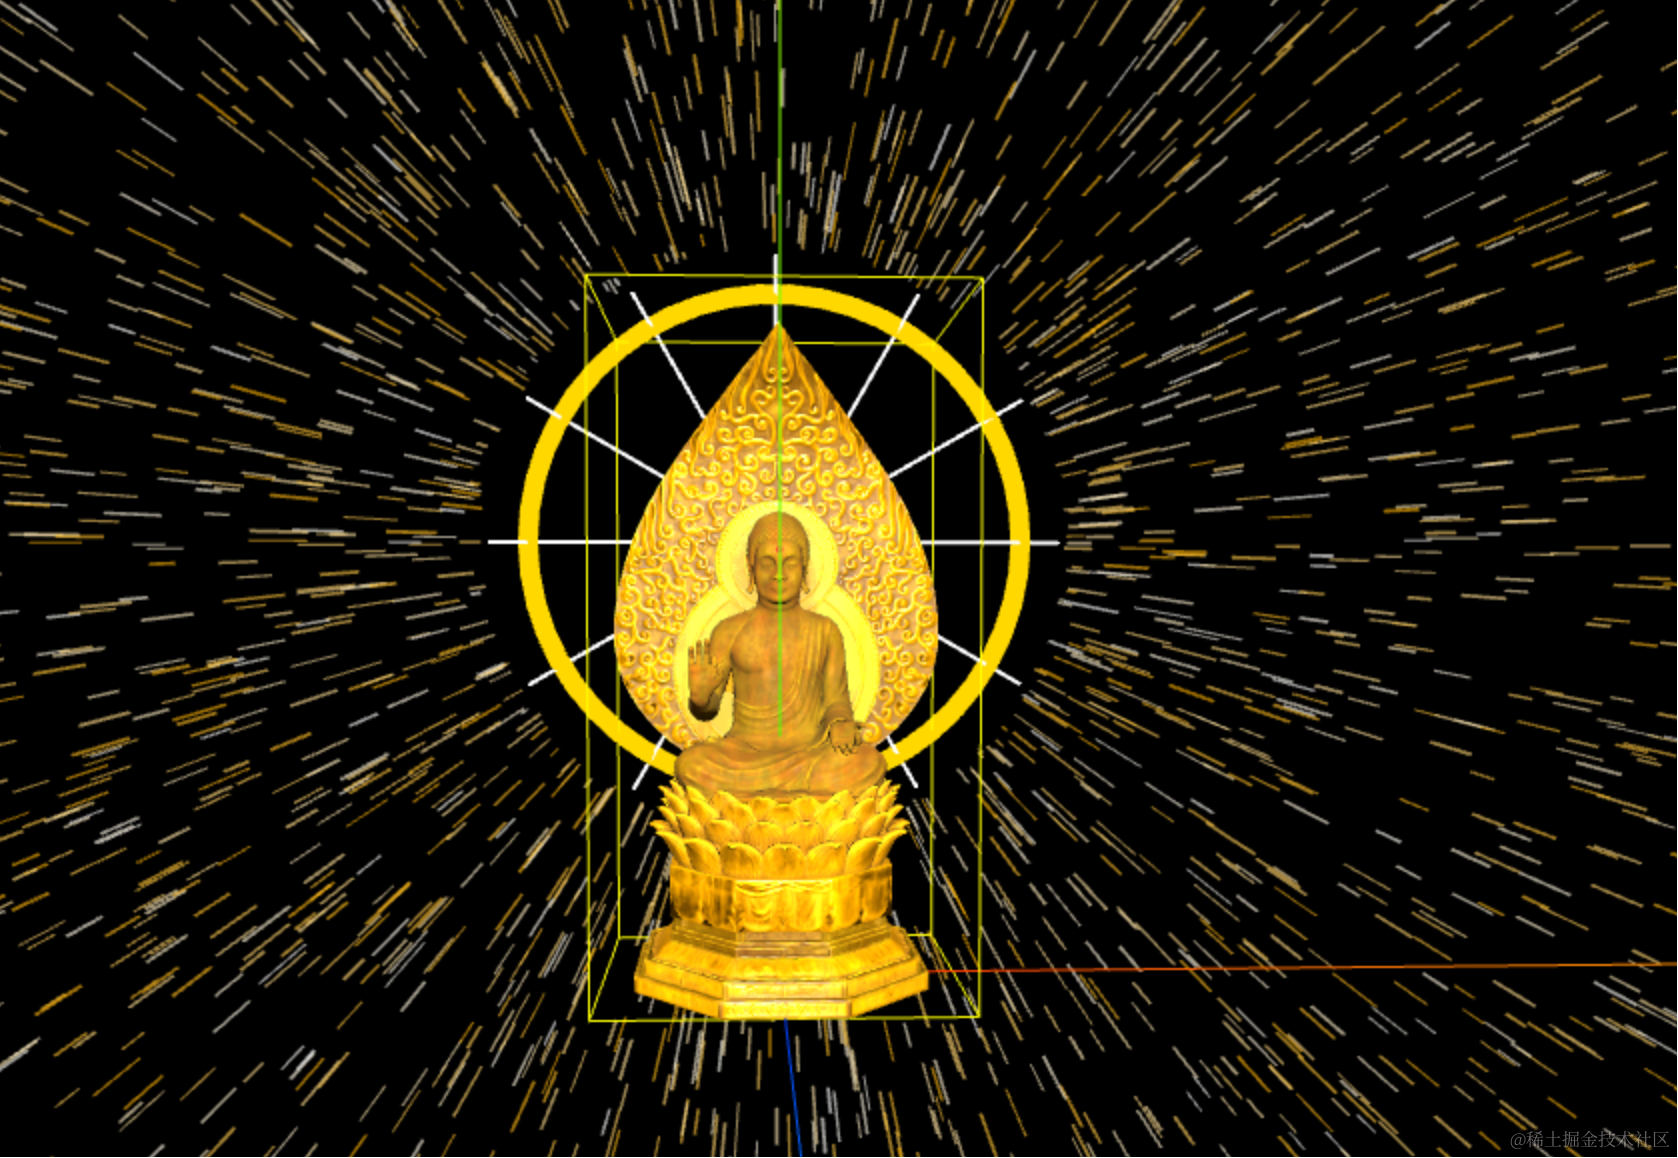
然后等模型加载完,调到佛祖三分之二高的位置。
引入下看效果:

然后再画一圈线:
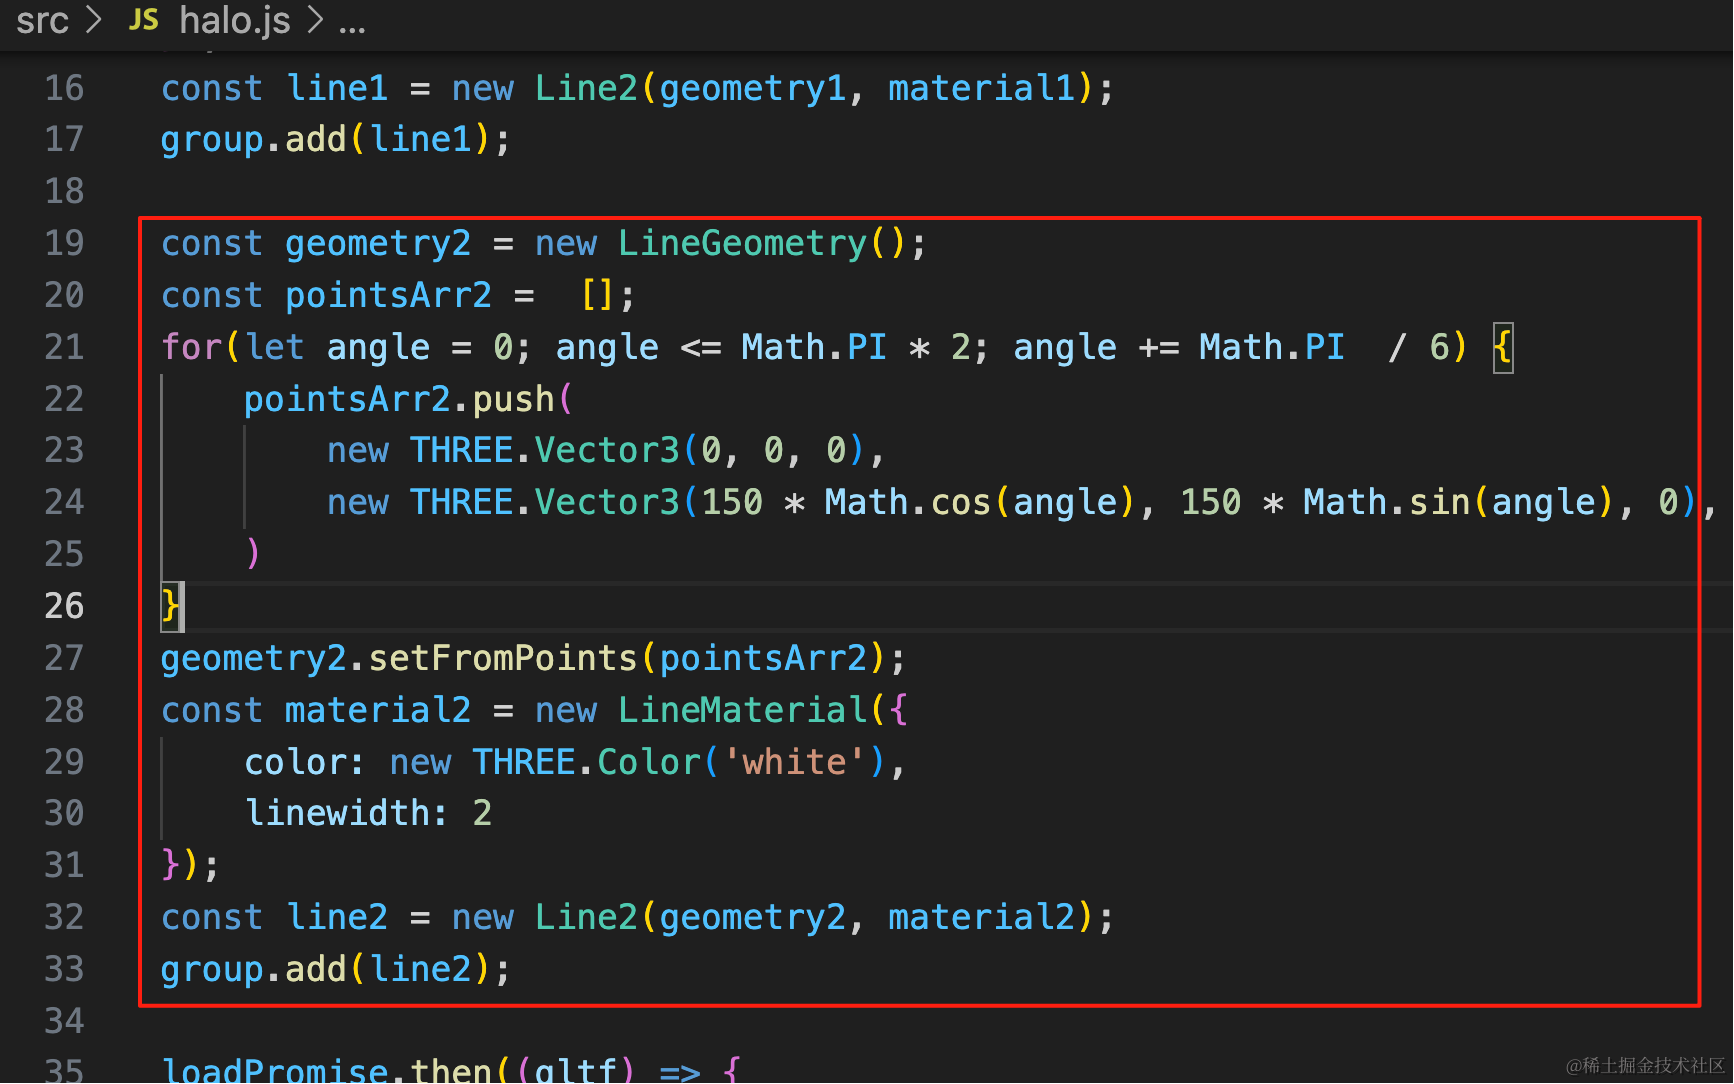
const geometry2 = new LineGeometry();
const pointsArr2 =  [];
for(let angle = 0; angle <= Math.PI * 2; angle += Math.PI  / 6) {
    pointsArr2.push(
        new THREE.Vector3(0, 0, 0),
        new THREE.Vector3(150 * Math.cos(angle), 150 * Math.sin(angle), 0),
    )
}
geometry2.setFromPoints(pointsArr2);
const material2 = new LineMaterial({
    color: new THREE.Color('white'),
    linewidth: 2
});
const line2 = new Line2(geometry2, material2);
group.add(line2);
这里要设置 LineWidth,所以也是用 Line2
然后多加几圈圆圈:
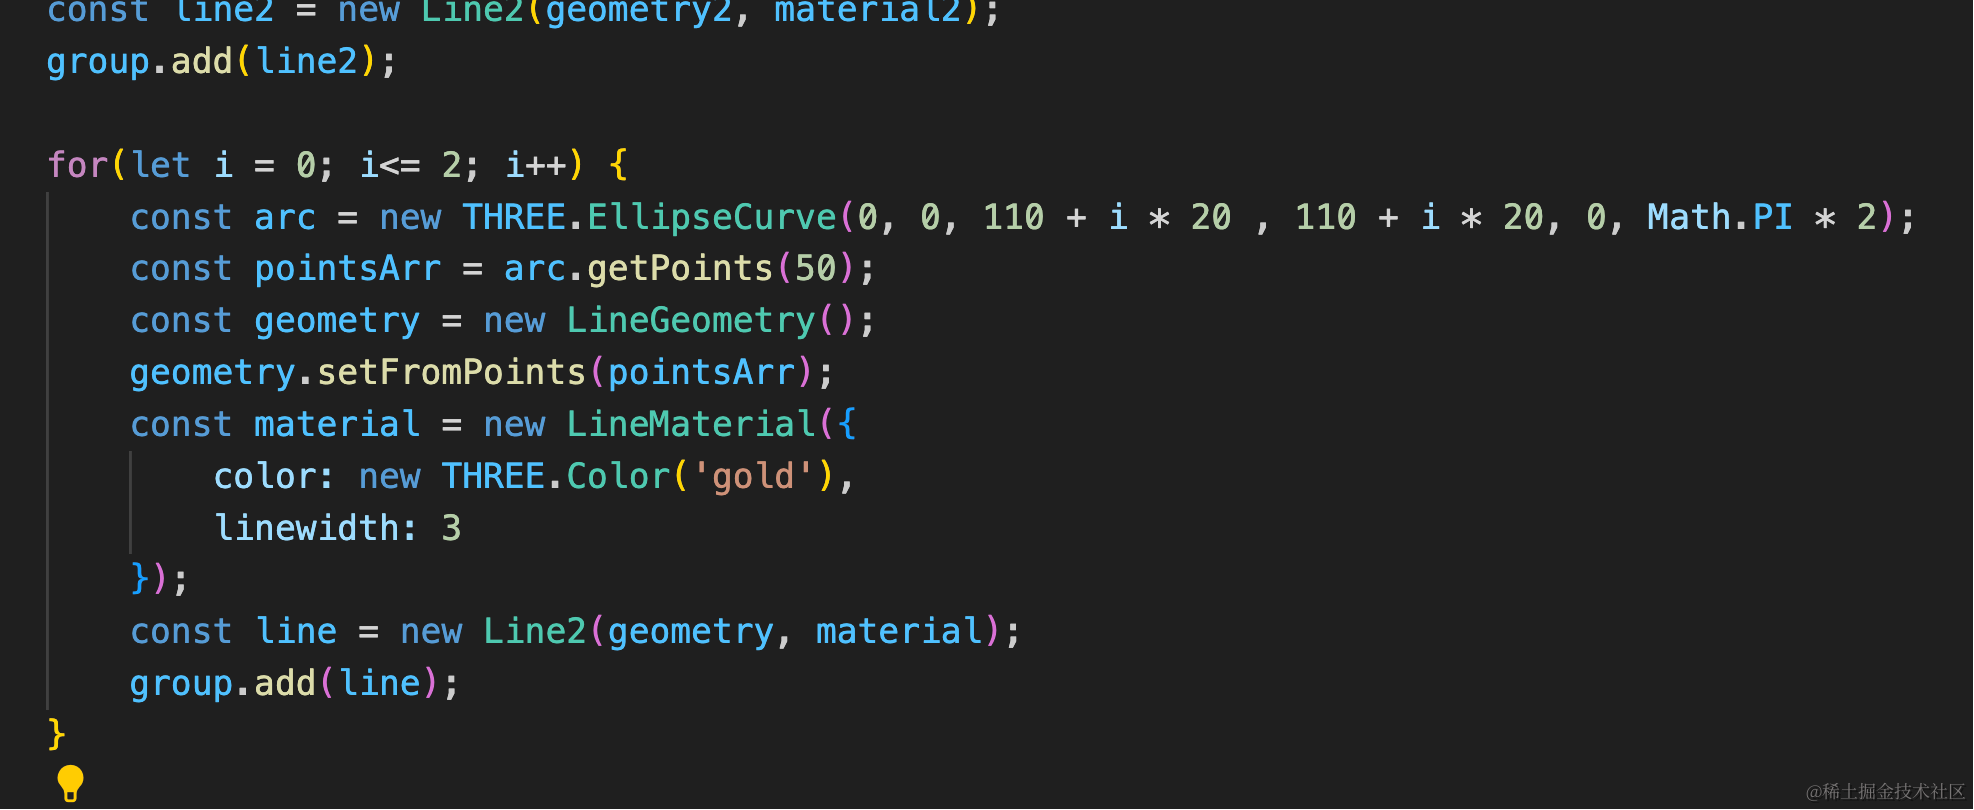
for(let i = 0; i<= 2; i++) {
    const arc = new THREE.EllipseCurve(0, 0, 110 + i * 20 , 110 + i * 20, 0, Math.PI * 2);
    const pointsArr = arc.getPoints(50);
    const geometry = new LineGeometry();
    geometry.setFromPoints(pointsArr);
    const material = new LineMaterial({
        color: new THREE.Color('gold'),
        linewidth: 3
    });
    const line = new Line2(geometry, material);
    group.add(line);
}
110、130、150 三个圆圈,宽度为 3

最后加一个最里面的圆:

const circleGeometry = new THREE.CircleGeometry(110);
const circleMaterial = new THREE.MeshBasicMaterial({
    color: '#faeb6c'
});
const circle = new THREE.Mesh(circleGeometry, circleMaterial);
circle.position.z = 1;
group.add(circle);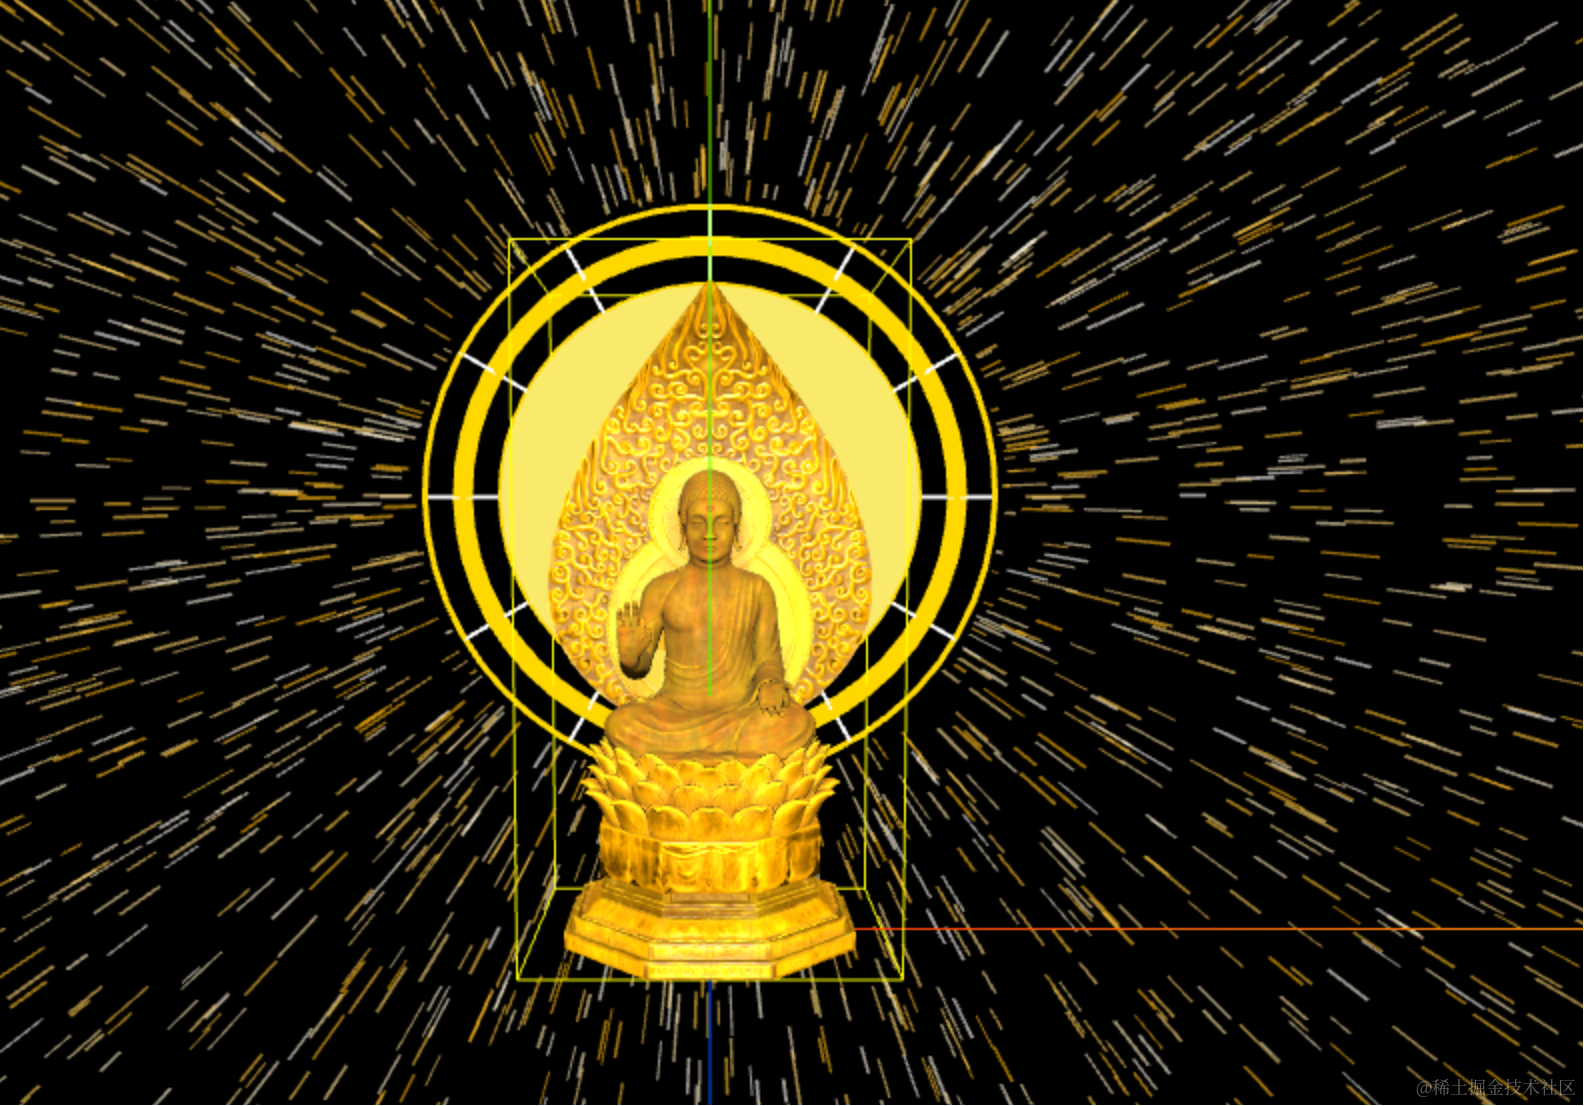
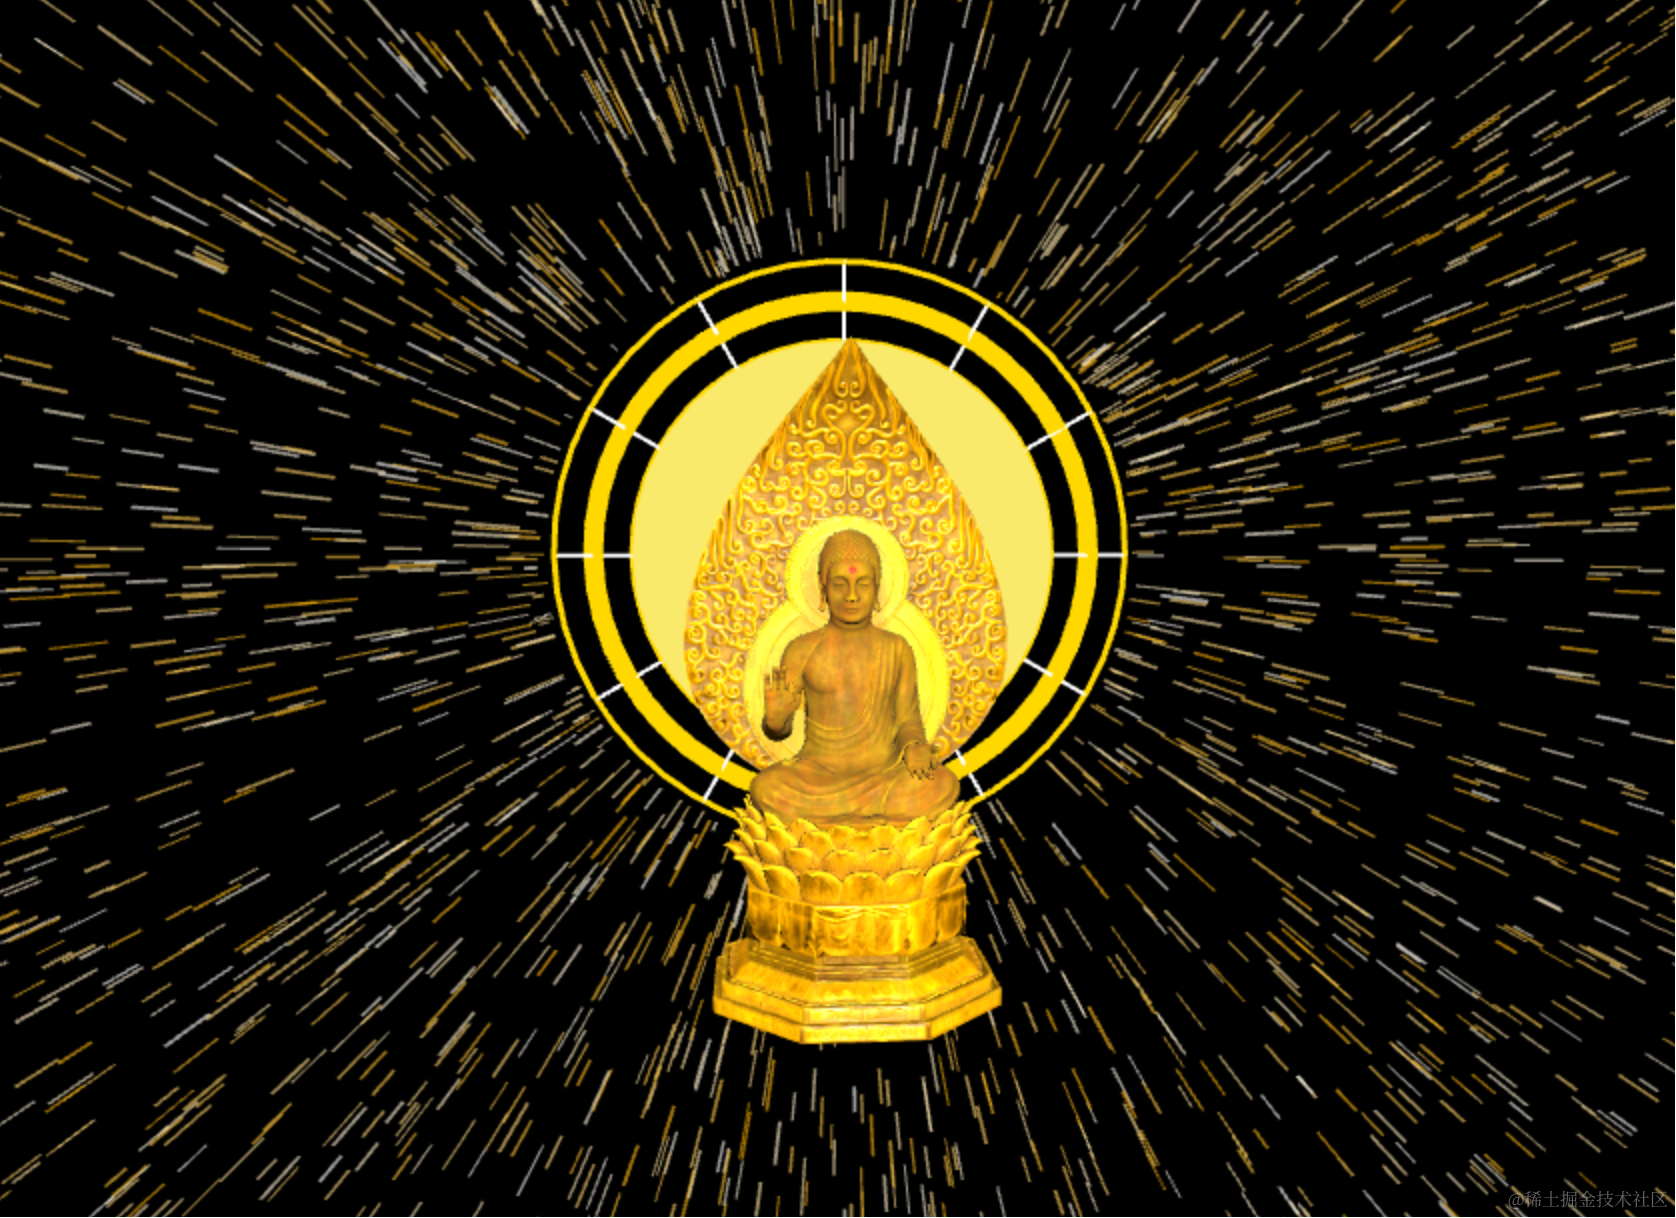
去掉包围盒和 AxesHelper
给这个光环加一个转动的动画:
用 gsap:
pnpm install --save-dev gsap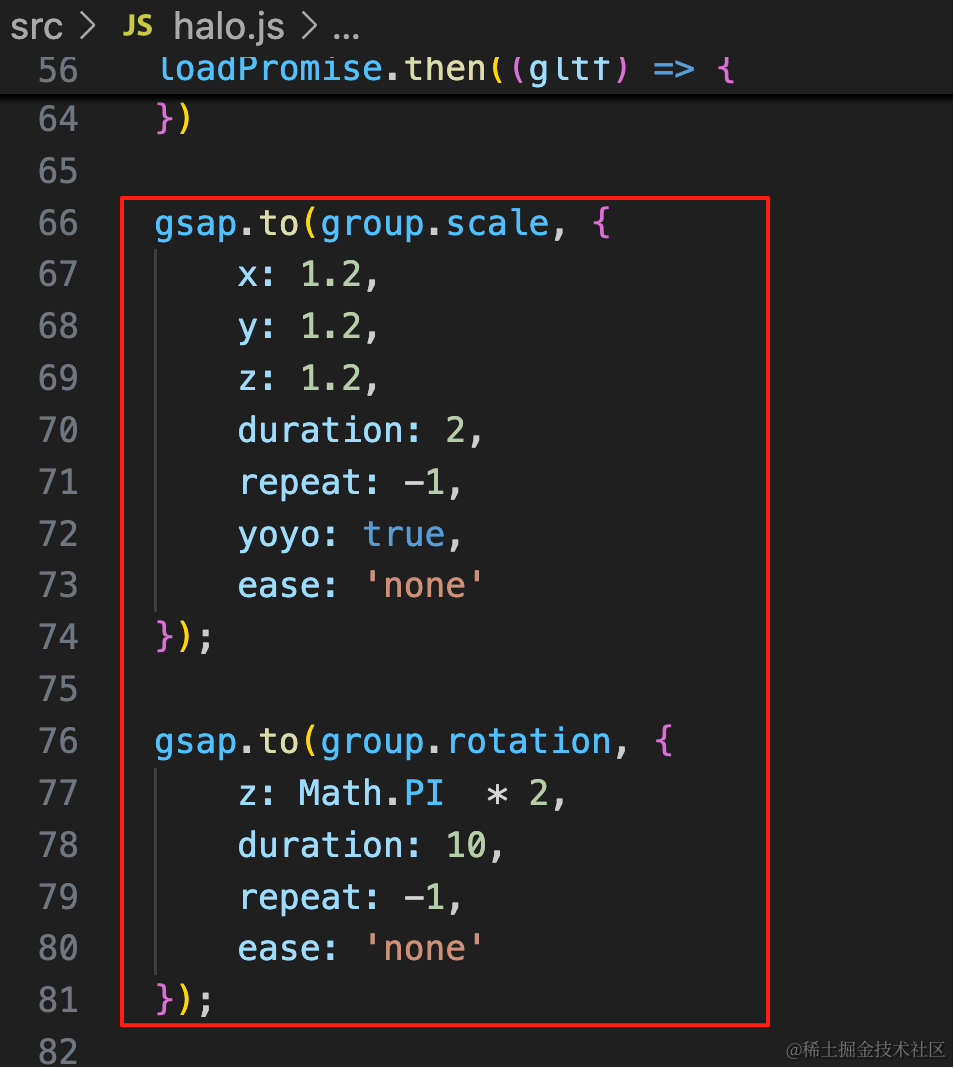
不断旋转,并且scale 在 1 到 1.2 之间循环往复,yoyo 是悠悠球那种循环往复的动画效果。
gsap.to(group.scale, {
    x: 1.2,
    y: 1.2,
    z: 1.2,
    duration: 2,
    repeat: -1,
    yoyo: true,
    ease: 'none'
});

gsap.to(group.rotation, {
    z: Math.PI  * 2,
    duration: 10,
    repeat: -1,
    ease: 'none'
});
然后加上一圈 卍,不然有点单调
这个要用 SpriteText
pnpm install --save three-spritetext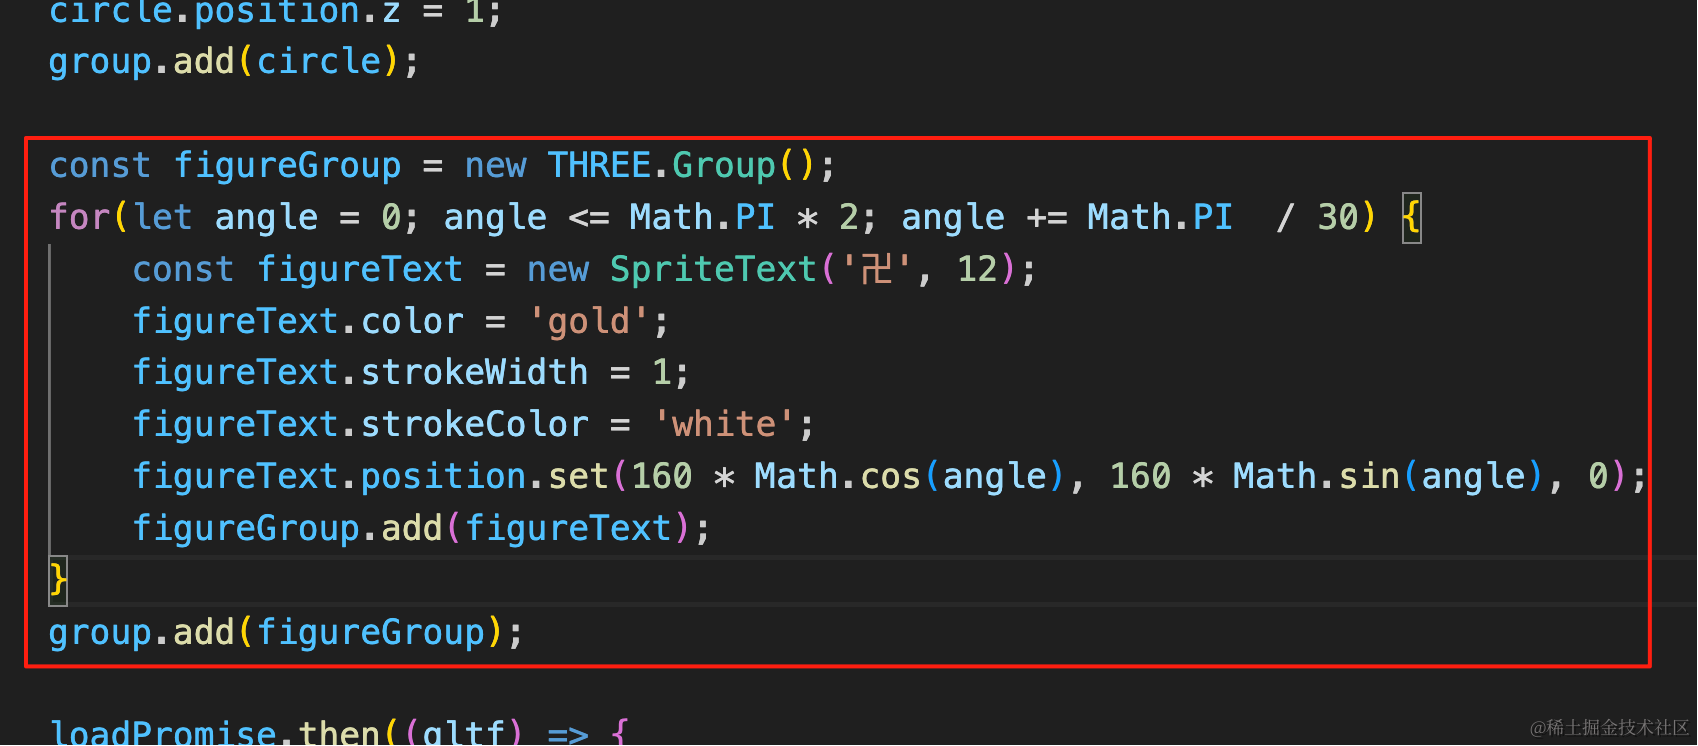
const figureGroup = new THREE.Group();
for(let angle = 0; angle <= Math.PI * 2; angle += Math.PI / 30) {
const figureText = new SpriteText('卍', 12);
figureText.color = 'gold';
figureText.strokeWidth = 1;
figureText.strokeColor = 'white';
figureText.position.set(160 * Math.cos(angle), 160 * Math.sin(angle), 0);
figureGroup.add(figureText);
}
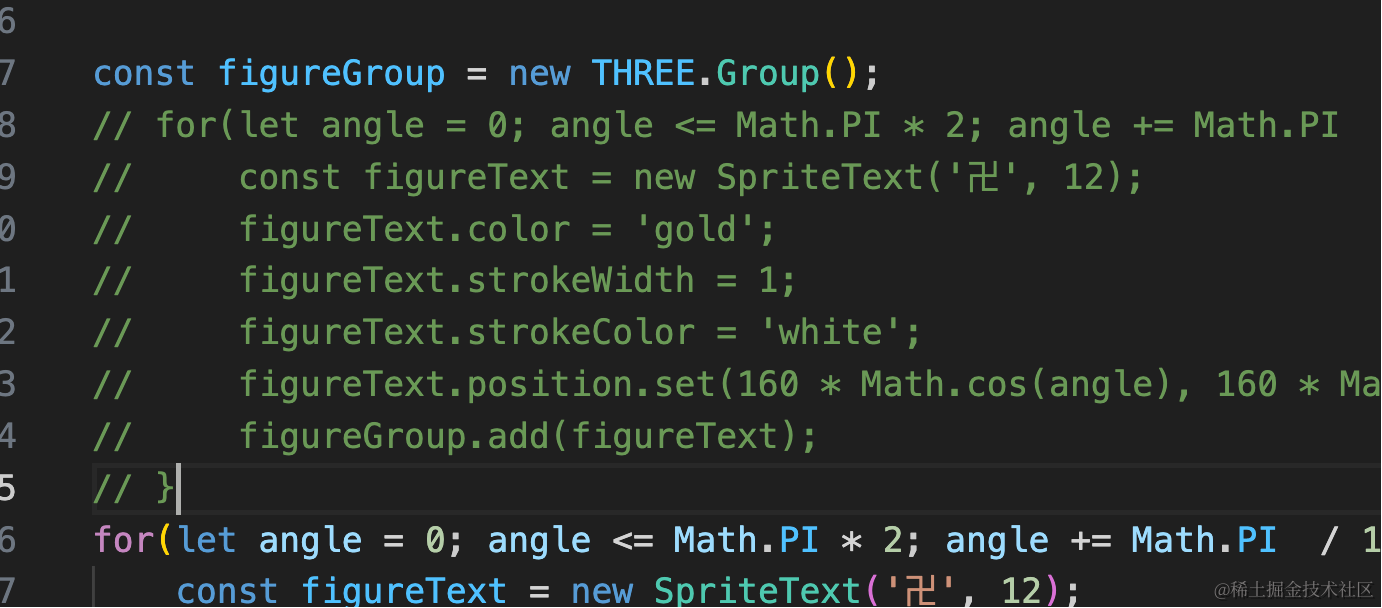
group.add(figureGroup);再加两圈数量少点的:
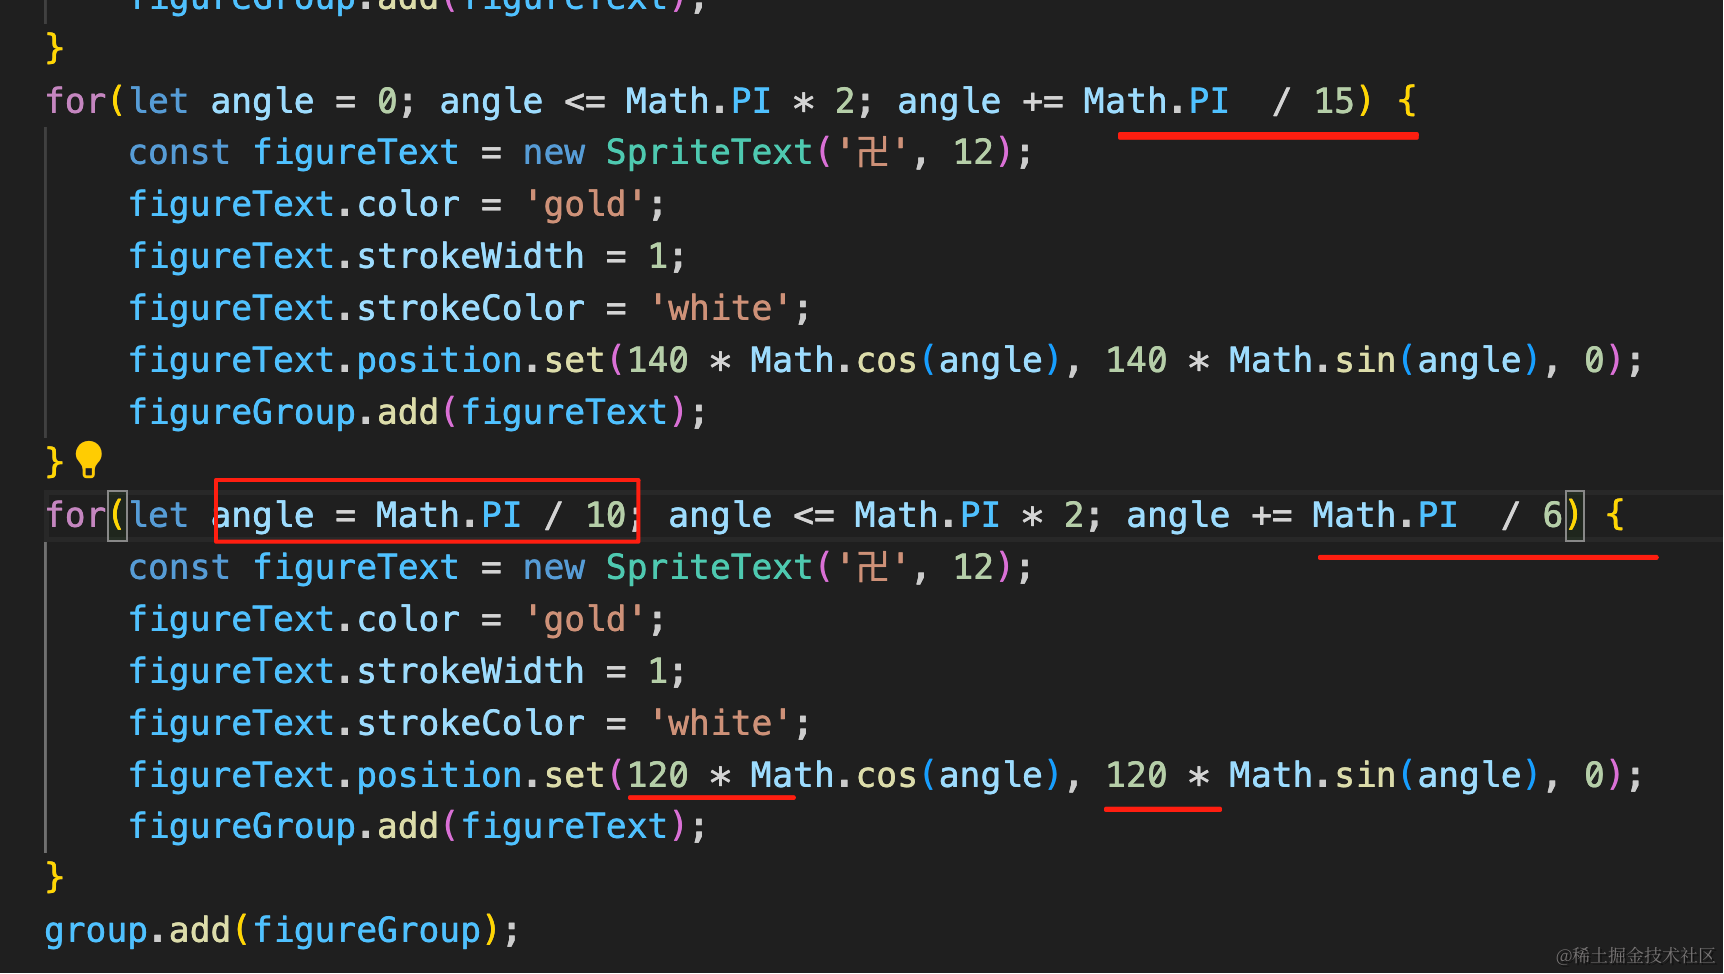
数量、半径不一样,内圈那个开始角度也调一下,不然文字正好在线上
for(let angle = 0; angle <= Math.PI * 2; angle += Math.PI  / 15) {
    const figureText = new SpriteText('卍', 12);
    figureText.color = 'gold';
    figureText.strokeWidth = 1;
    figureText.strokeColor = 'white';
    figureText.position.set(140 * Math.cos(angle), 140 * Math.sin(angle), 0);
    figureGroup.add(figureText);
}
for(let angle = Math.PI / 10; angle <= Math.PI * 2; angle += Math.PI  / 6) {
    const figureText = new SpriteText('卍', 12);
    figureText.color = 'gold';
    figureText.strokeWidth = 1;
    figureText.strokeColor = 'white';
    figureText.position.set(120 * Math.cos(angle), 120 * Math.sin(angle), 0);
    figureGroup.add(figureText);
}
有点乱,去掉最外面一圈。
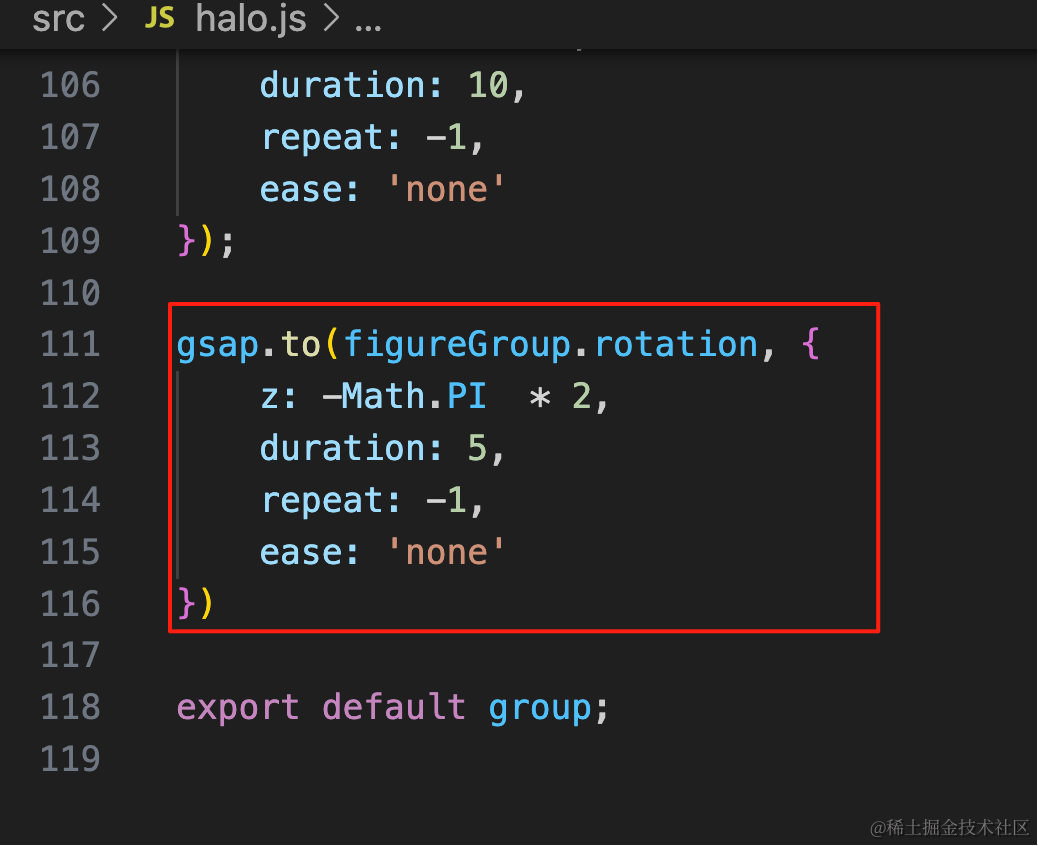
让它做反向运动:
gsap.to(figureGroup.rotation, {
    z: -Math.PI  * 2,
    duration: 5,
    repeat: -1,
    ease: 'none'
})
最后加一个透明度变化的动画,那种渐隐渐现的效果:
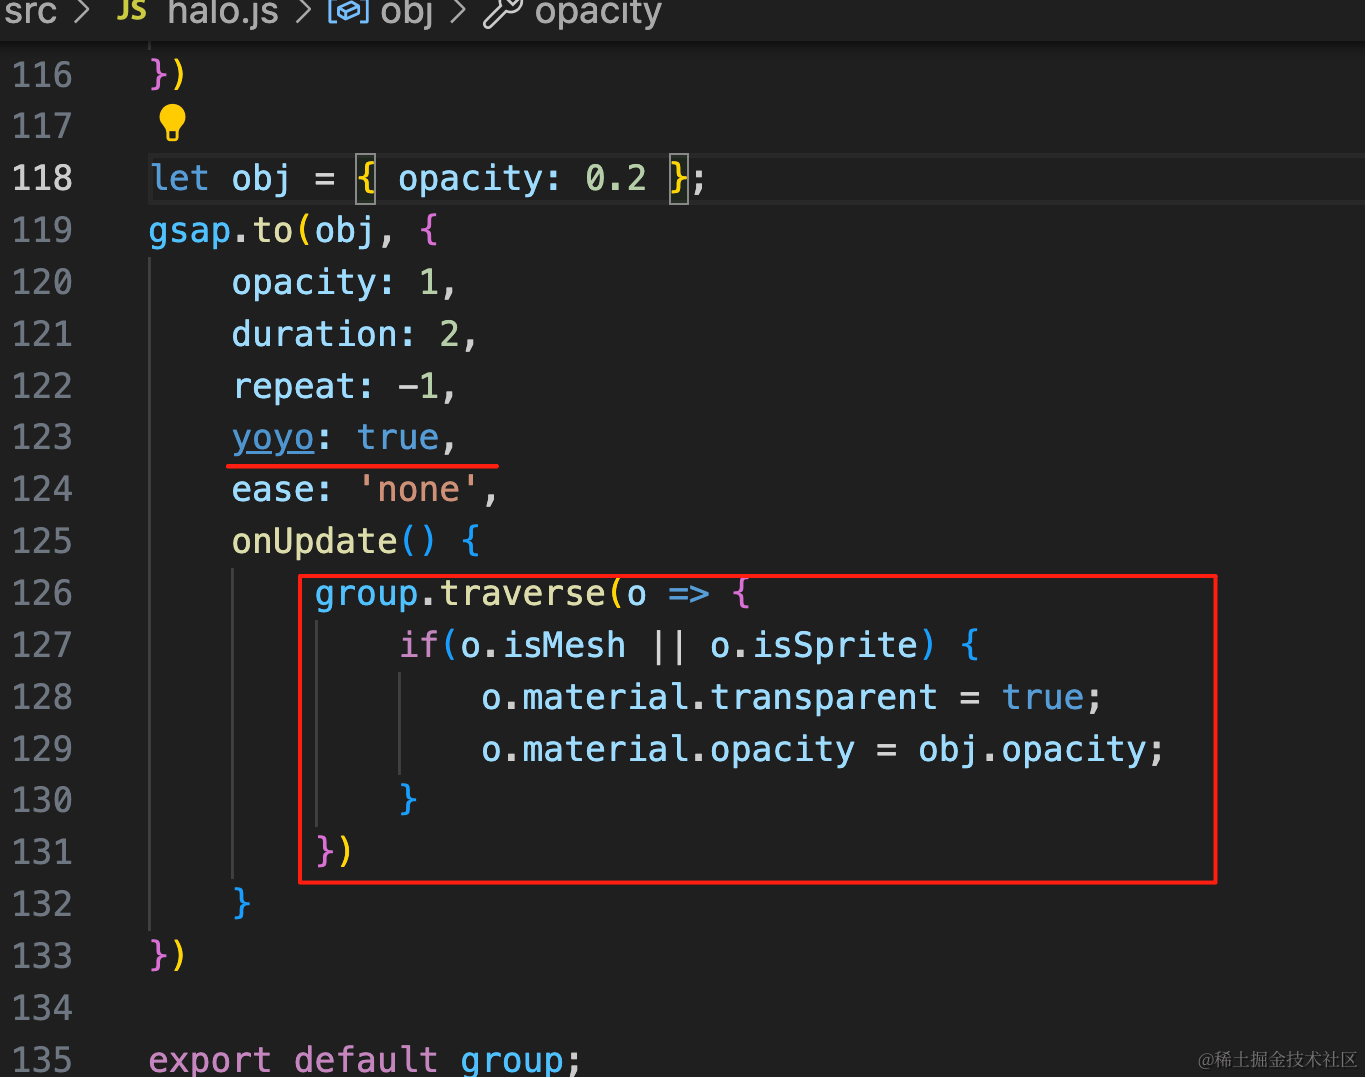
let obj = { opacity: 0.2 };
gsap.to(obj, {
    opacity: 1,
    duration: 2,
    repeat: -1,
    yoyo: true,
    ease: 'none',
    onUpdate() {
        group.traverse(o => {
            if(o.isMesh || o.isSprite) {
                o.material.transparent = true;
                o.material.opacity = obj.opacity;
            }
        })
    }
})
透明度从 0.2 到 1 变化,遍历所有对象修改透明度。
佛光的光线太长了,我们调整下轨迹的时间:

大小是 1 到 3,轨迹时长是 1 到 5s,一次 500 个
startSize: new IntervalValue(1, 3),emissionOverTime: new ConstantValue(500),rendererEmitterSettings: {
startLength: new IntervalValue(1,5)
},
案例代码上传了小册仓库
总结
这节我们加上了外面的光环。
画设置 lineWidth 的线需要用 LineGeometry、LineMaterial、Line2 的 api
我们分别用 Line、Circle、SpriteText 画了一圈圈光环和文字。
最后用 gasp 做了 scale、opacity、rotation 的动画。
下节我们继续来加上底座的部分。