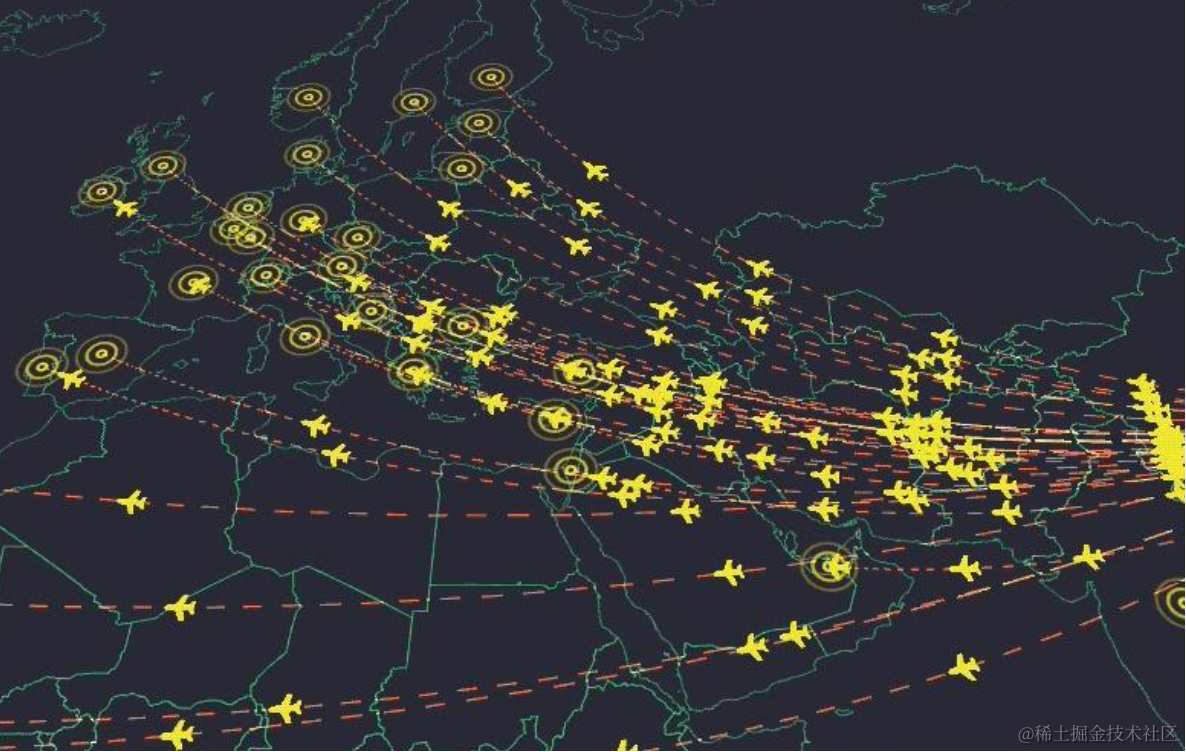
上节实现了飞机飞线动画:

这节加上这个落地点的涟漪动画:
其实这个也很简单:

就是画一圈圈的宽度不一的曲线,然后不断改变 scale 就好了。
我们画一下:
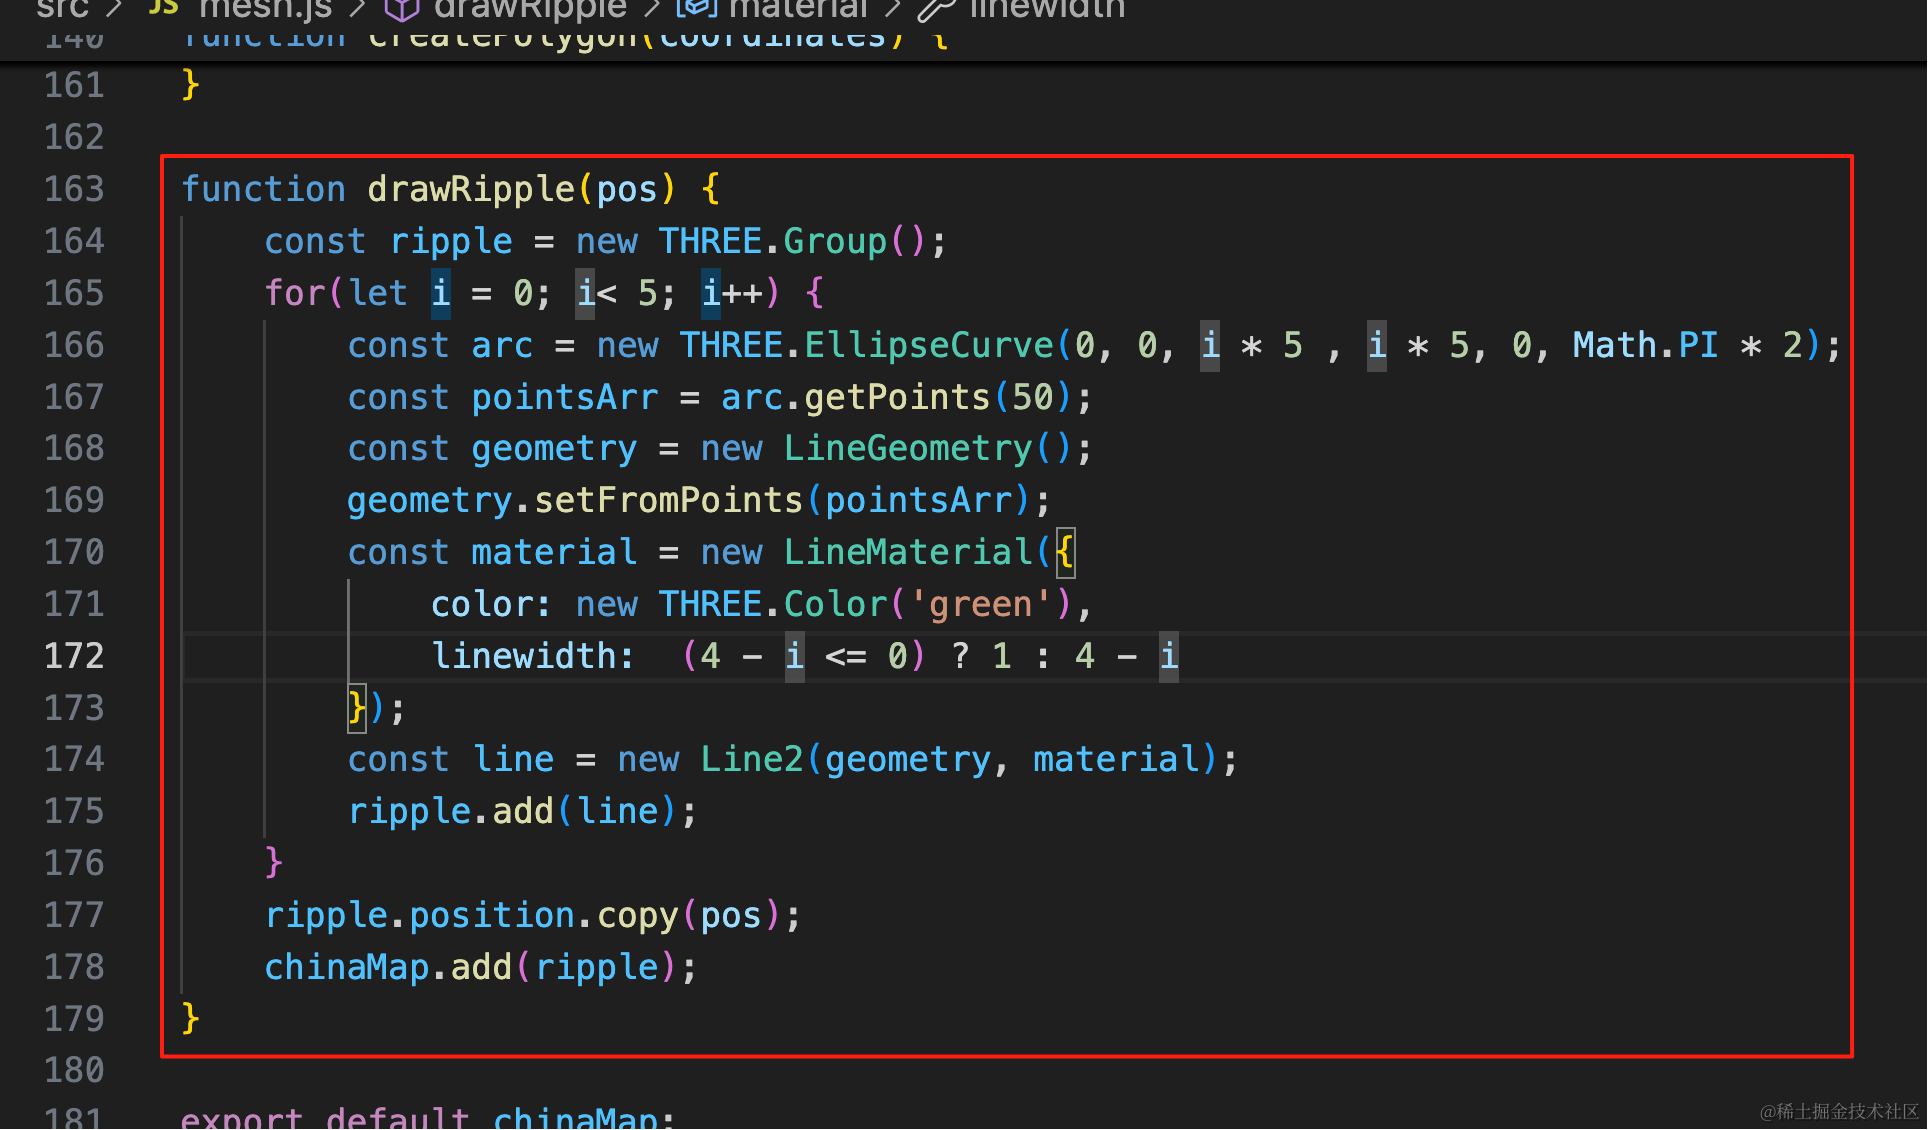
在目标位置画一个 5 圈的圆圈,lineWidth 分别是 4、3、2、1、1
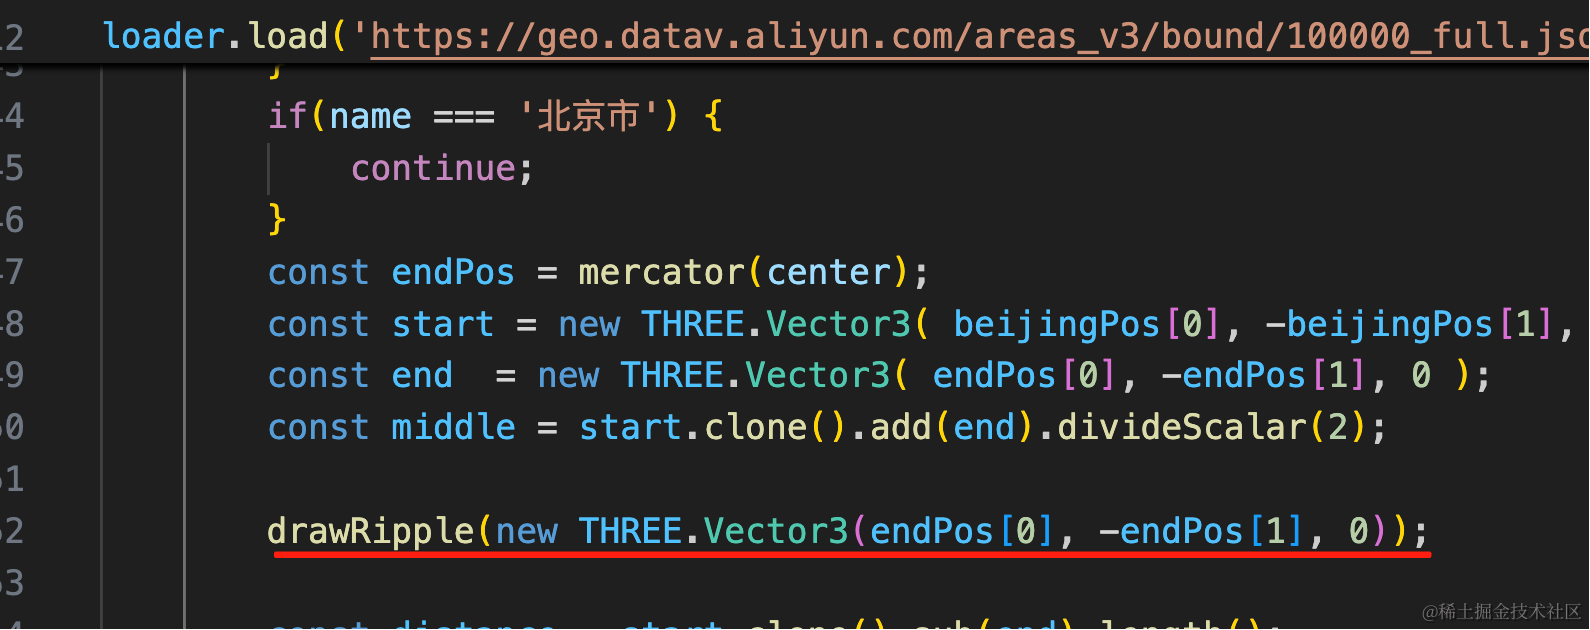
drawRipple(new THREE.Vector3(endPos[0], -endPos[1], 0));function drawRipple(pos) {
const ripple = new THREE.Group();
for(let i = 0; i< 5; i++) {
const arc = new THREE.EllipseCurve(0, 0, i * 5 , i * 5, 0, Math.PI * 2);
const pointsArr = arc.getPoints(50);
const geometry = new LineGeometry();
geometry.setFromPoints(pointsArr);
const material = new LineMaterial({
color: new THREE.Color('green'),
linewidth: (4 - i <= 0) ? 1 : 4 - i
});
const line = new Line2(geometry, material);
ripple.add(line);
}
ripple.position.copy(pos);
chinaMap.add(ripple);
}
然后让它动起来,改变 scale:
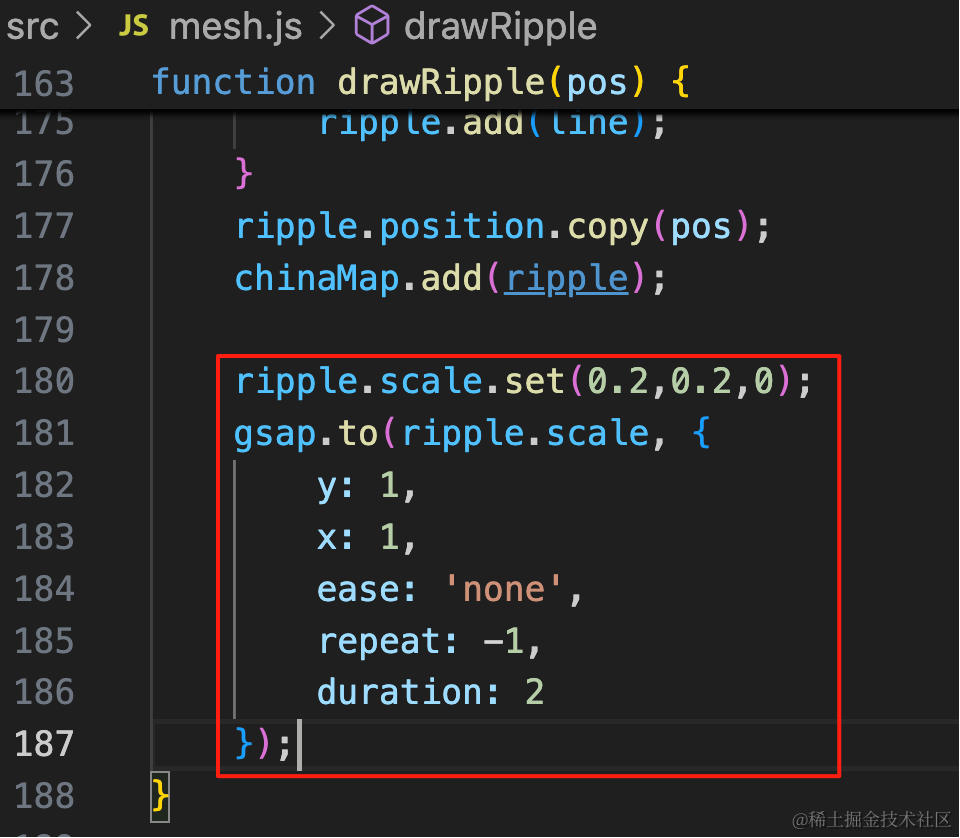
ripple.scale.set(0.2,0.2,0);
gsap.to(ripple.scale, {
    y: 1,
    x: 1,
    ease: 'none',
    repeat: -1,
    duration: 2
});
scale 从 0.2 到 1 变化。
终点的涟漪动画完成!
再加一个起点的动画:
我们在起点放一个悬浮的倒立圆锥:
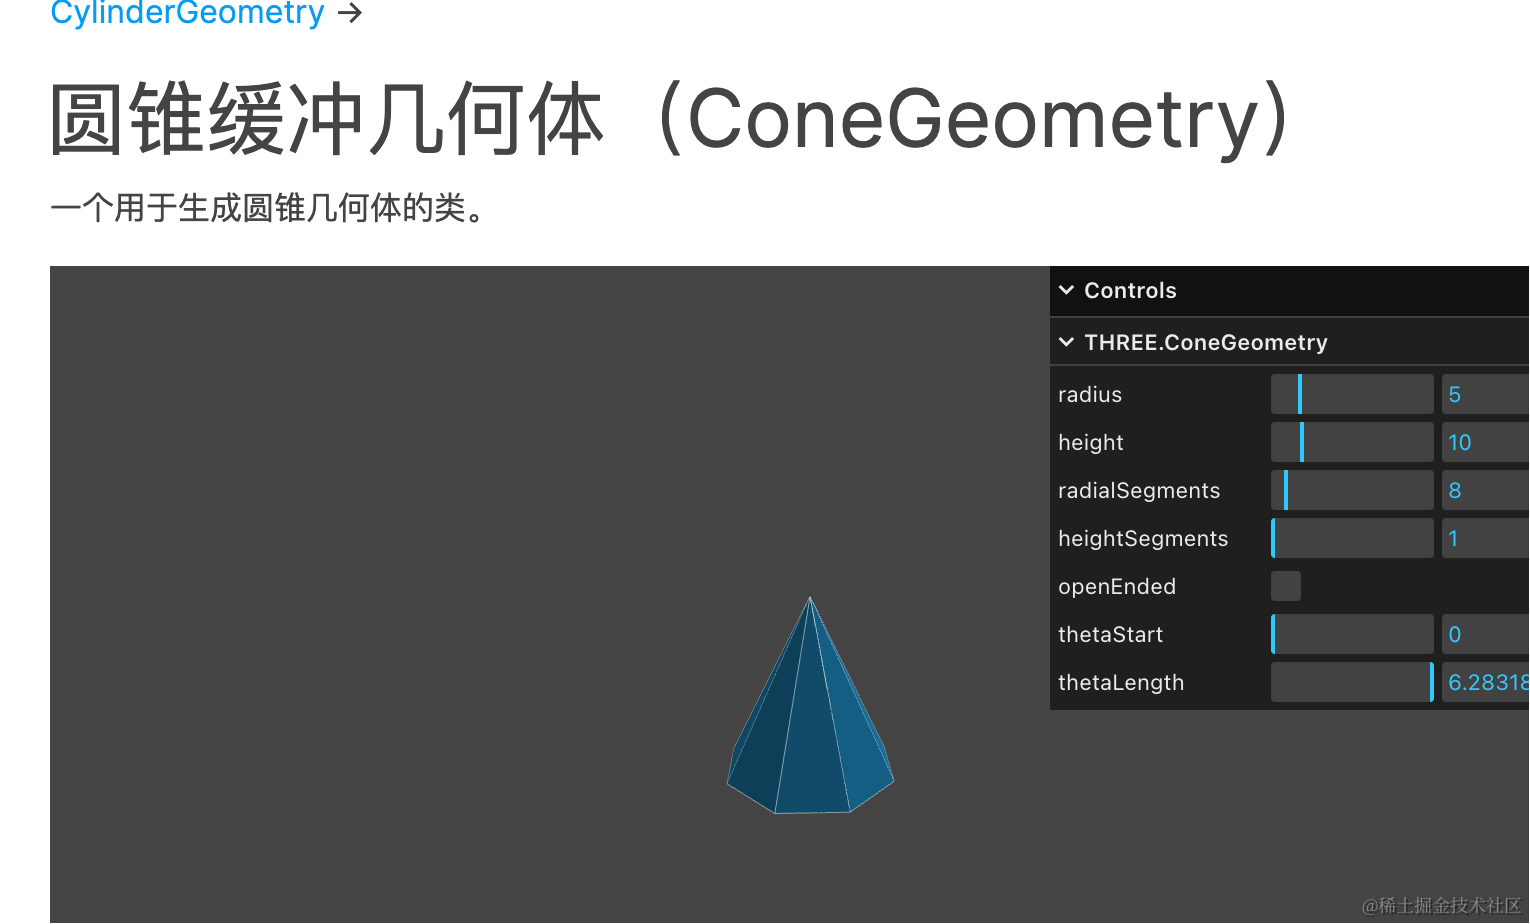
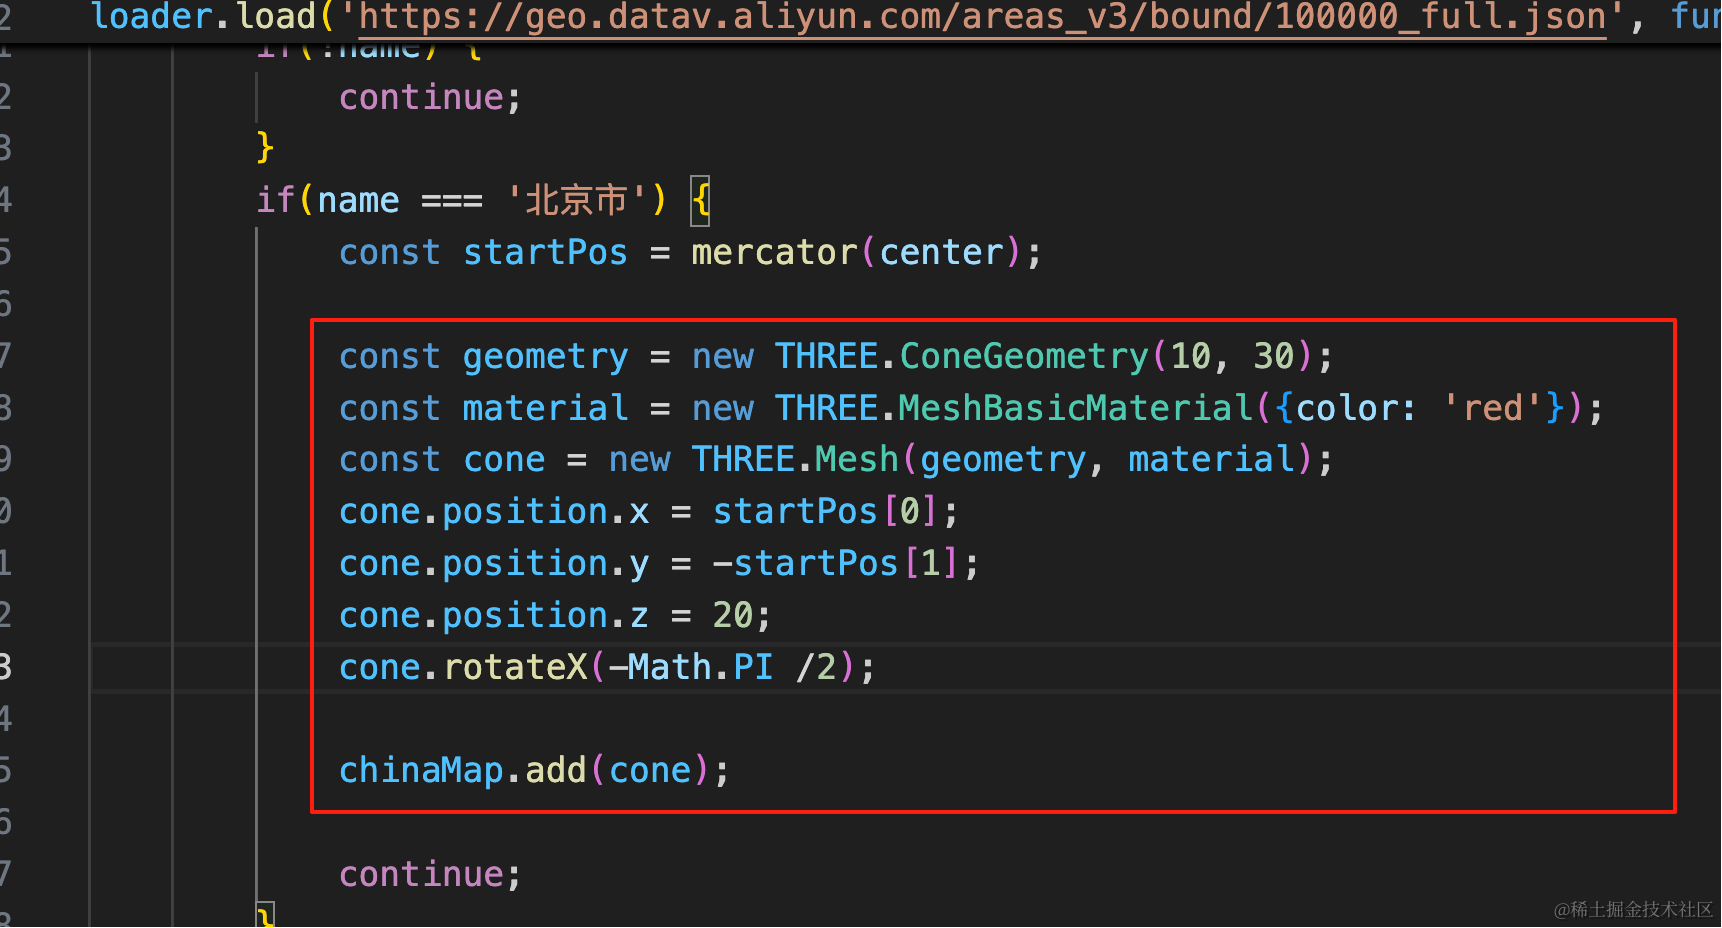
const geometry = new THREE.ConeGeometry(10, 30);
const material = new THREE.MeshBasicMaterial({color: 'red'});
const cone = new THREE.Mesh(geometry, material);
cone.position.x = startPos[0];
cone.position.y = -startPos[1];
cone.position.z = 20;
cone.rotateX(-Math.PI /2);

chinaMap.add(cone);
画一个红色的圆锥,设置下位置、旋转角度。
然后让它动起来,上下悬浮运动:
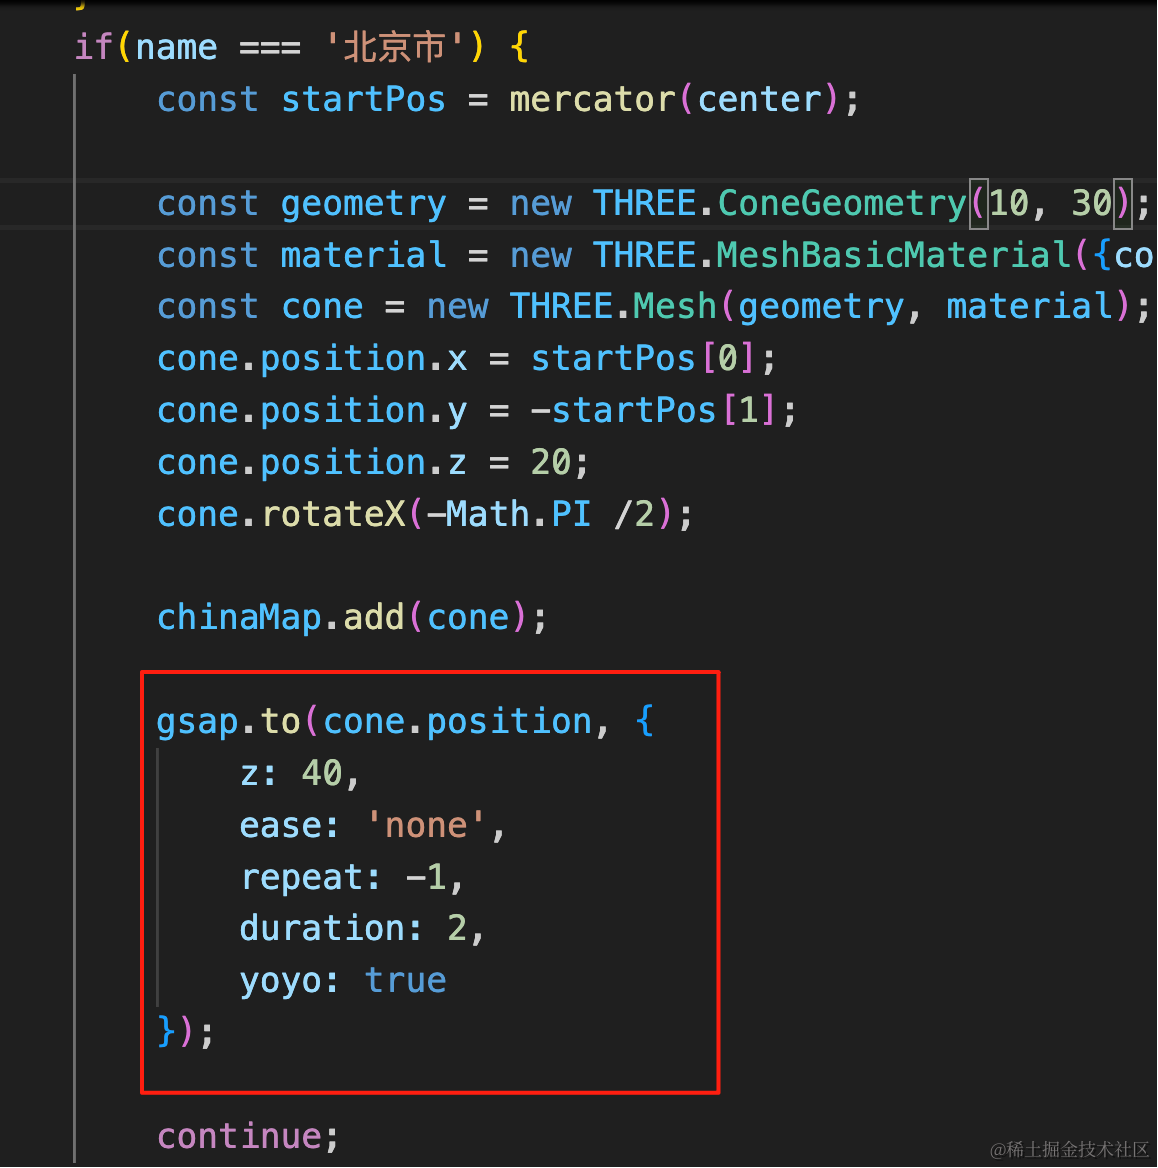
gsap.to(cone.position, {
    z: 40,
    ease: 'none',
    repeat: -1,
    duration: 2,
    yoyo: true
});
上下反复做 z 的位置的变化。

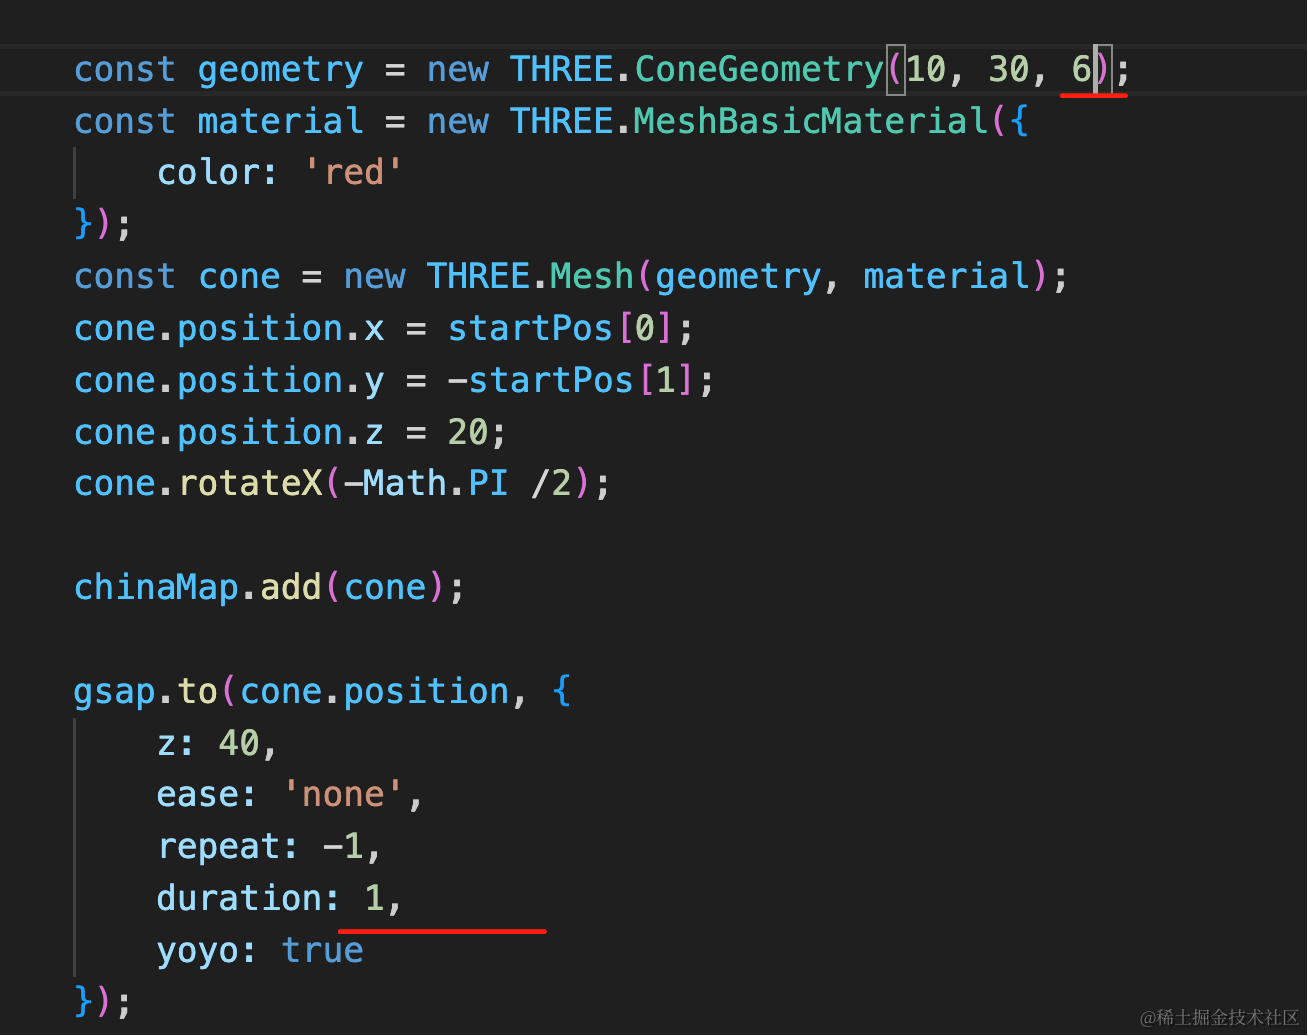
改成 1s,然后圆的分段改成 6:
地图旋转一下:
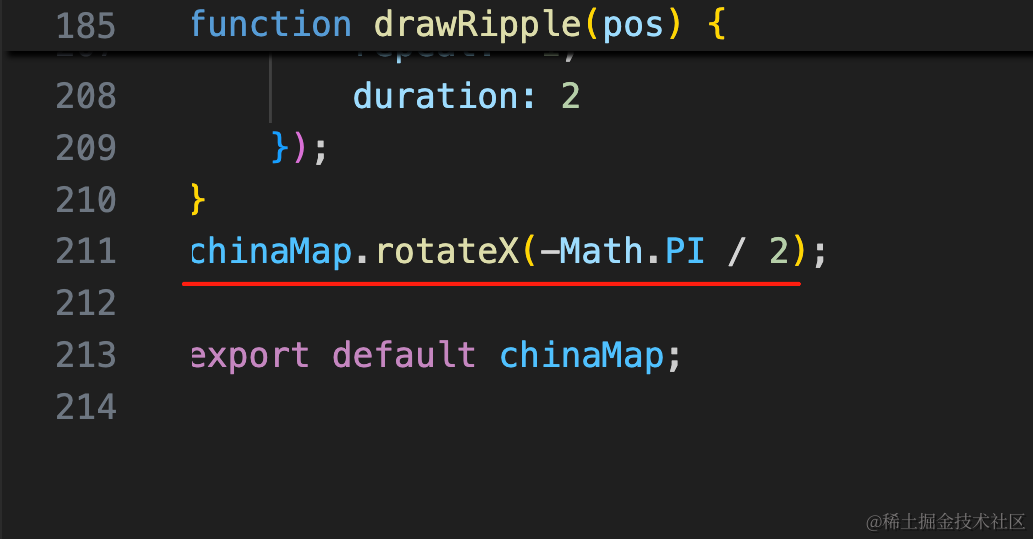
chinaMap.rotateX(-Math.PI / 2);
顺便调一下相机角度:
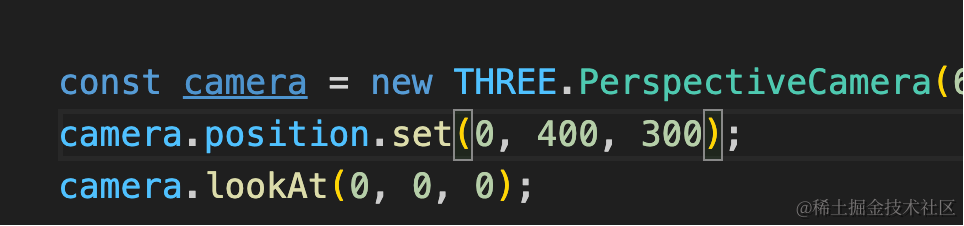
看下最终效果:
案例代码上传了小册仓库
总结
这节我们给地图飞线加上了起点和终点的动画。
终点是画了几个圆圈,做 scale 的动画,实现涟漪效果。
起点画了一个倒立的圆锥,做上下的 position 的动画。
在地图可视化相关的项目里,曲线 api 和 gsap 动画都是很常用的。