前面我们用过很多 Light 了,这节来系统过一下。
灯光 Light 靠肉眼是不容易看出差别的,所以我们要借助 Helper。
这节我们会顺便过一遍常用的 Helper。
在Three.js 文档搜索下 Light:

一共有 6 种灯光:
- AmbientLight:环境光,均匀照亮场景种所有物体
- DirectionalLight:平行光,平行的光线,比如太阳光
- PointLight:点光源,从一个点发射的光源,比如灯泡
- SpotLight:聚光灯,照射出一个圆锥体,比如手电筒,舞台的灯光
- HemisphereLight:半球光,两种颜色的光,比如天空颜色、地面颜色相互叠加
- RectAreaLight:矩形平面光,类似窗户、LED 灯管等从一个面发光的效果
我们写代码试一下:
mkdir light-helper
cd light-helper
npm init -y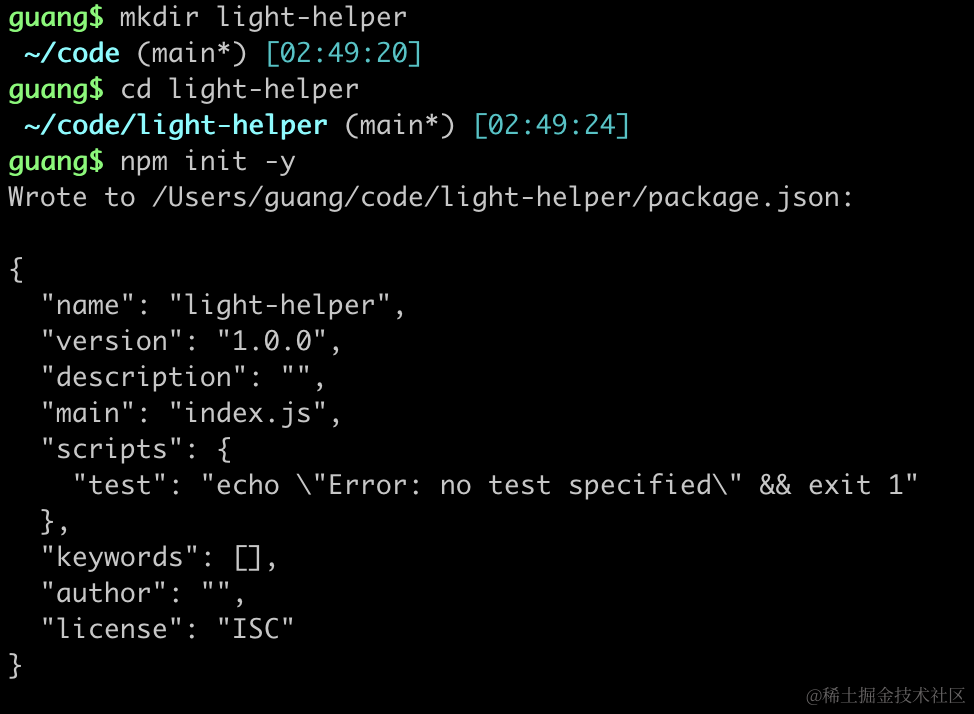
进入项目,安装 ts 类型:
npm install --save-dev @types/three创建 index.html
<!DOCTYPE html>
<html lang="en">
<head>
    <meta charset="UTF-8">
    <meta name="viewport" content="width=device-width, initial-scale=1.0">
    <title>Document</title>
    <style>
        body {
            margin: 0;
        }
    </style>
</head>
<body>
    <script type="importmap">
    {
        "imports": {
            "three": "https://esm.sh/three@0.174.0/build/three.module.js",
            "three/addons/": "https://esm.sh/three@0.174.0/examples/jsm/"
        }
    }
    </script>
    <script type="module" src="./index.js"></script>
</body>
</html>
index.js
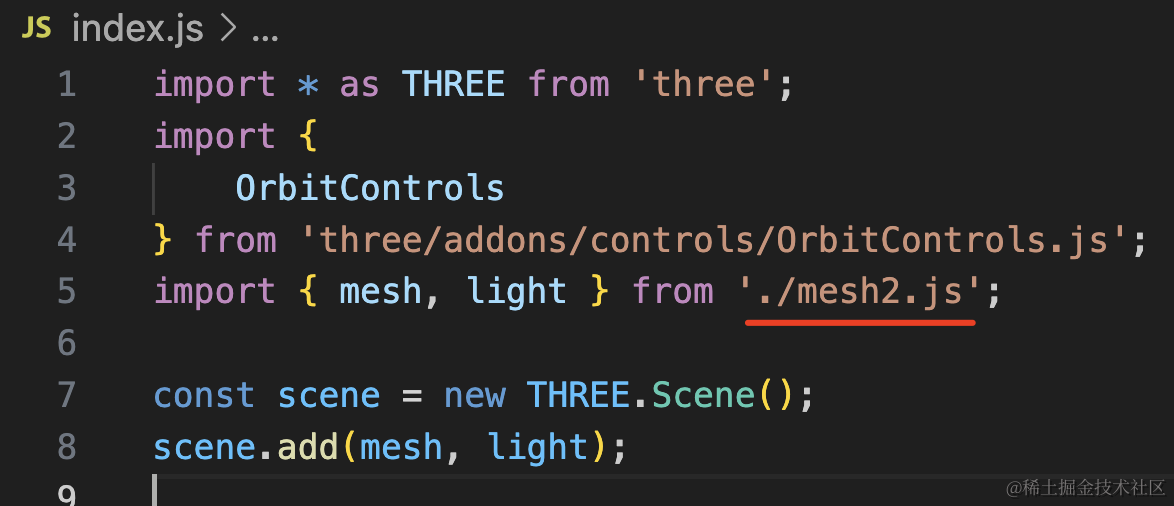
import * as THREE from 'three';
import {
    OrbitControls
} from 'three/addons/controls/OrbitControls.js';
import { mesh, light } from './mesh.js';

const scene = new THREE.Scene();
scene.add(mesh, light);

const axesHelper = new THREE.AxesHelper(1000);
scene.add(axesHelper);

const width = window.innerWidth;
const height = window.innerHeight;

const camera = new THREE.PerspectiveCamera(60, width / height, 1, 10000);
camera.position.set(200, 800, 800);
camera.lookAt(0, 0, 0);

const renderer = new THREE.WebGLRenderer();
renderer.setSize(width, height)

function render() {
    renderer.render(scene, camera);
    requestAnimationFrame(render);
}

render();

document.body.append(renderer.domElement);

const controls = new OrbitControls(camera, renderer.domElement);
创建 Scene、Camera、Renderer。
light 和 mesh 放到单独的文件里写。
DirectionalLight 平行光
创建 mesh.js
import * as THREE from 'three';

const planeGeometry = new THREE.PlaneGeometry(1000, 1000);
const planeMaterial = new THREE.MeshLambertMaterial({
    color: new THREE.Color('skyblue')
});

const plane = new THREE.Mesh(planeGeometry, planeMaterial);
plane.rotateX(- Math.PI / 2);
plane.position.y = -50;

const boxGeometry = new THREE.BoxGeometry(100, 100, 100);
const boxMaterial = new THREE.MeshLambertMaterial({
    color: new THREE.Color('orange')
});
const box = new THREE.Mesh(boxGeometry, boxMaterial);

const box2 = box.clone();
box2.position.x = 200;

export const mesh = new THREE.Group();
mesh.add(plane);
mesh.add(box);
mesh.add(box2);

export const light = new THREE.DirectionalLight(0xffffff);
light.position.set(400, 500, 300);
light.lookAt(0, 0, 0);
我们创建了一个平面,上面有两个立方体,然后添加了一个平行光。
我们用的 MeshLambertMaterial,漫反射材质。
跑下看看效果:
npx live-server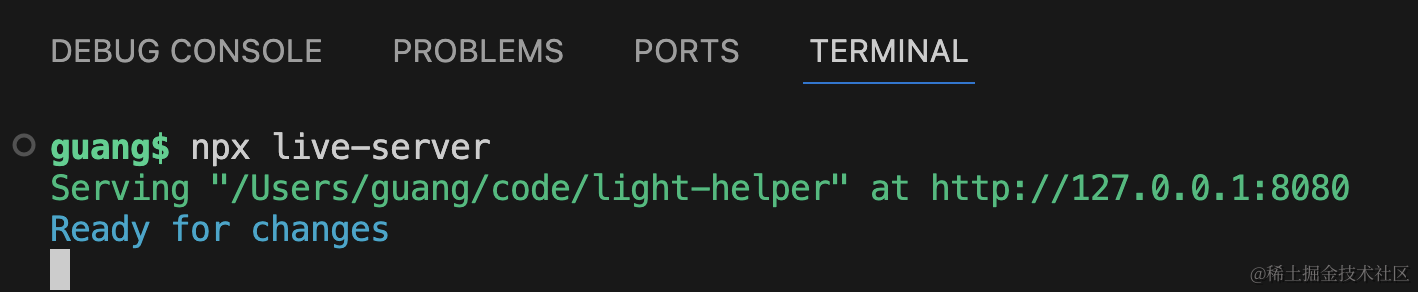
可以看到,有一面是有光的。
那这个平行光具体是怎么传播的呢?
这时就可以用 DirectionalLightHelper 了。
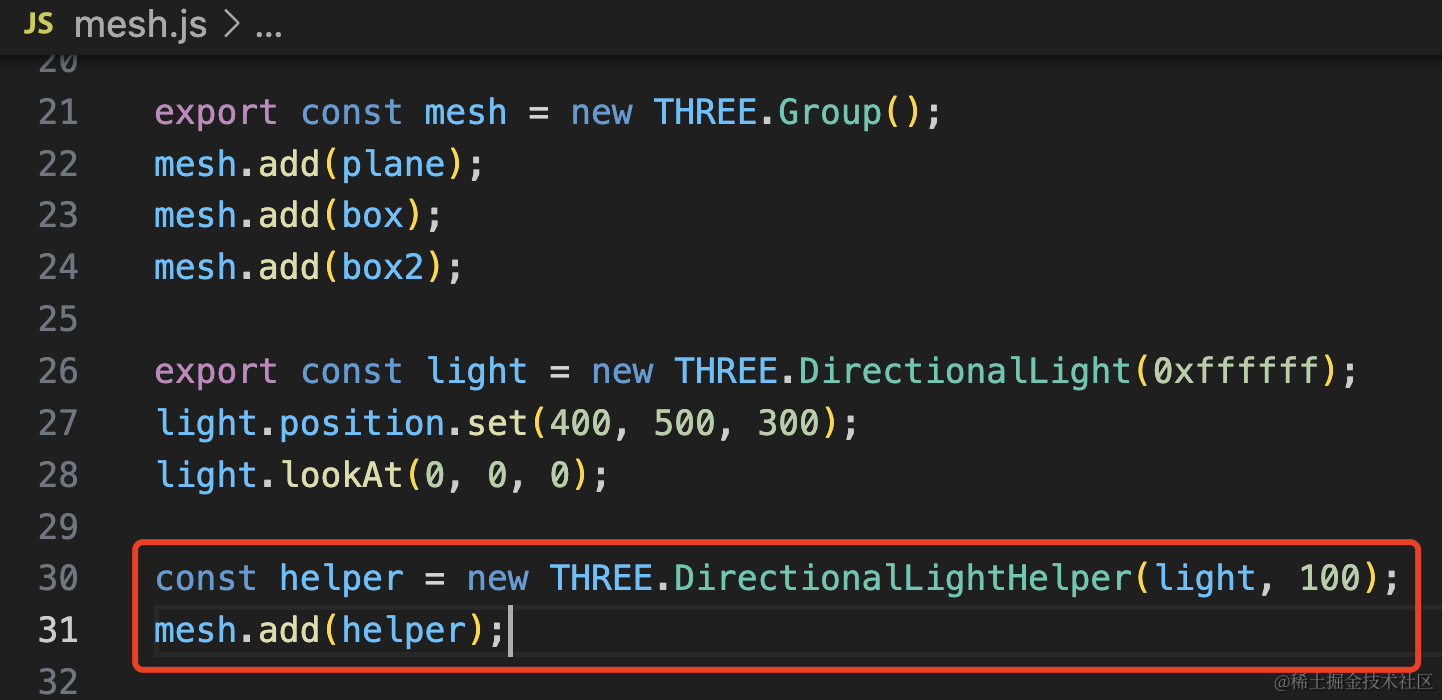
const helper = new THREE.DirectionalLightHelper(light, 100);
mesh.add(helper);
看下效果:
光就是从那个平面垂直的方向照过来的。
这个正方形框的边长就是 DirectionalLightHelper 的第二个参数。
其实这种 Helper 的实现原理也很容易想到,就是确定几个顶点之后,用线模型 Line 连起来就好了。
然后我们用 dat.gui 来调试下参数试试。
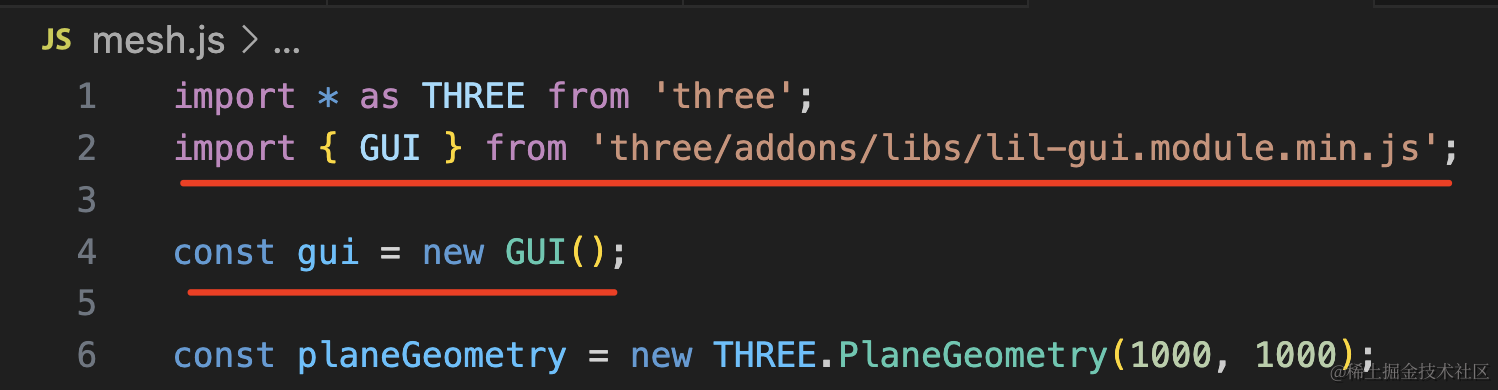
import { GUI } from 'three/addons/libs/lil-gui.module.min.js';
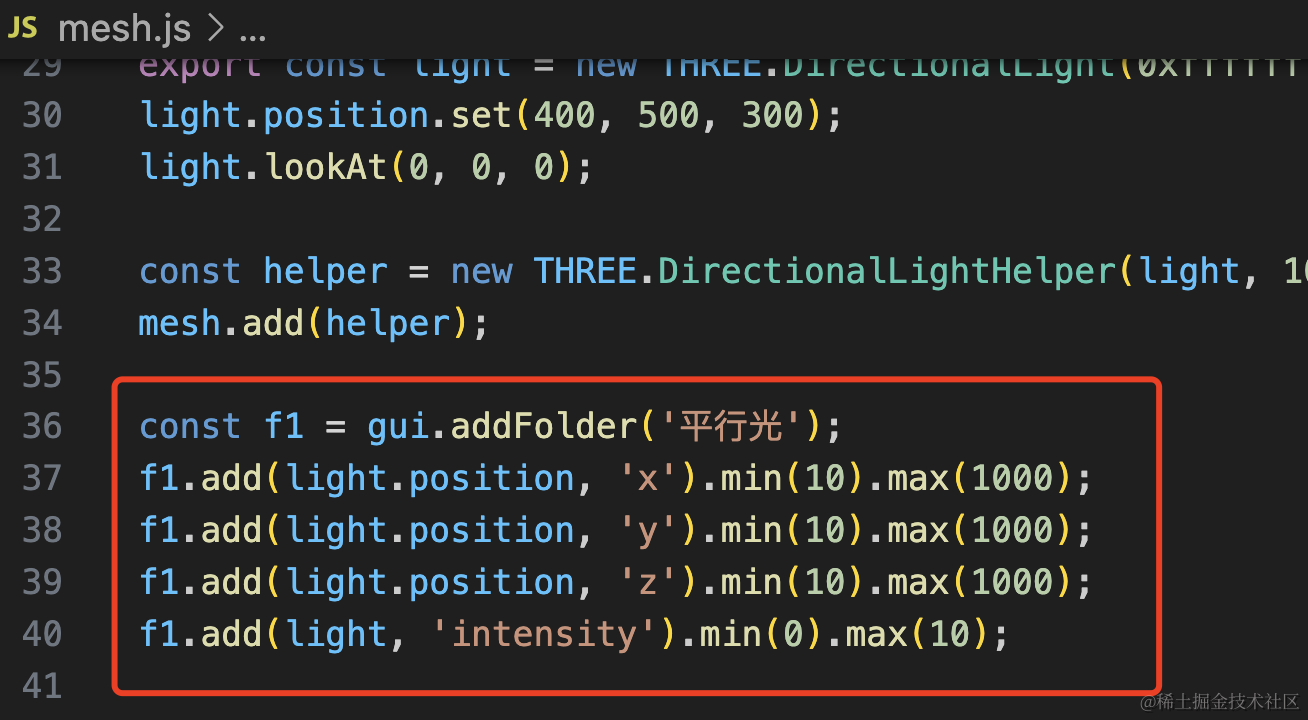
const gui = new GUI();const f1 = gui.addFolder('平行光');
f1.add(light.position, 'x').min(10).max(1000);
f1.add(light.position, 'y').min(10).max(1000);
f1.add(light.position, 'z').min(10).max(1000);
f1.add(light, 'intensity').min(0).max(10);调节 position 和光照强度 intensity
试一下:

可以看到光源位置 position 光照强度 intensity 对物体的影响。
平行光还是很容易理解的。
太阳光因为离地球太远,可以认为是平行光,所以我们一般用平行光来实现太阳光。
PointLight 点光源
接下来试一下点光源 PointLight
创建 mesh2.js
import * as THREE from 'three';
import { GUI } from 'three/addons/libs/lil-gui.module.min.js';

const gui = new GUI();

const planeGeometry = new THREE.PlaneGeometry(1000, 1000);
const planeMaterial = new THREE.MeshLambertMaterial({
    color: new THREE.Color('skyblue')
});

const plane = new THREE.Mesh(planeGeometry, planeMaterial);
plane.rotateX(- Math.PI / 2);
plane.position.y = -50;

const boxGeometry = new THREE.BoxGeometry(100, 100, 100);
const boxMaterial = new THREE.MeshLambertMaterial({
    color: new THREE.Color('orange')
});
const box = new THREE.Mesh(boxGeometry, boxMaterial);

const box2 = box.clone();
box2.position.x = 200;

export const mesh = new THREE.Group();
mesh.add(plane);
mesh.add(box);
mesh.add(box2);

export const light = new THREE.PointLight(0xffffff, 1000000);
light.position.set(400, 500, 300);
light.lookAt(0, 0, 0);

const helper = new THREE.PointLightHelper(light, 100);
mesh.add(helper);

const f1 = gui.addFolder('点光源');
f1.add(light.position, 'x').min(10).max(1000);
f1.add(light.position, 'y').min(10).max(1000);
f1.add(light.position, 'z').min(10).max(1000);
f1.add(light, 'intensity');
平面和立方体都一样,只是我们换了个 Light:
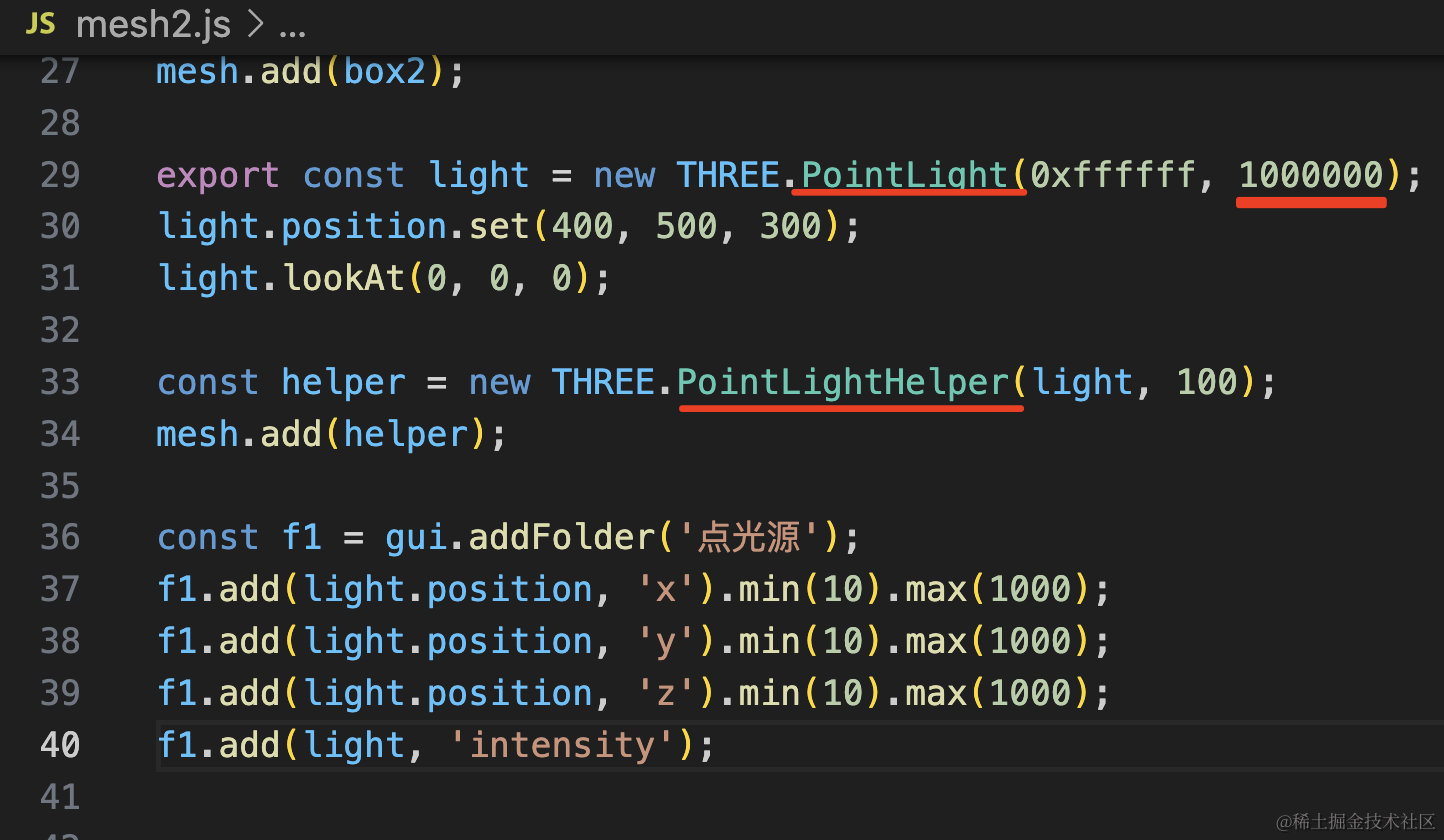
helper 也换成 PointLightHelper
点光源的光照强度一般都比较大,我们设置个 100w
引入跑一下:

可以看到这个点光源的位置被可视化出来了,我们设置 size 100 就是设置了这个网格模型的大小
调节点光源的位置,可以明显看到一个从某个点发散的光线的效果
然后我们再调节下光照强度
点光源强度的数值比较大,我们直接加个 0 去掉个 0 看下变化。
可以看到点光源强度变化对光照效果的影响。
AmbientLight 环境光
不管是平行光还是点光源,它都是一个方向的,背光的那面看不到
但有时候我们希望背光那面也能看到。
这种就可以再加一个环境光了。
我们直接在前面代码基础上改:
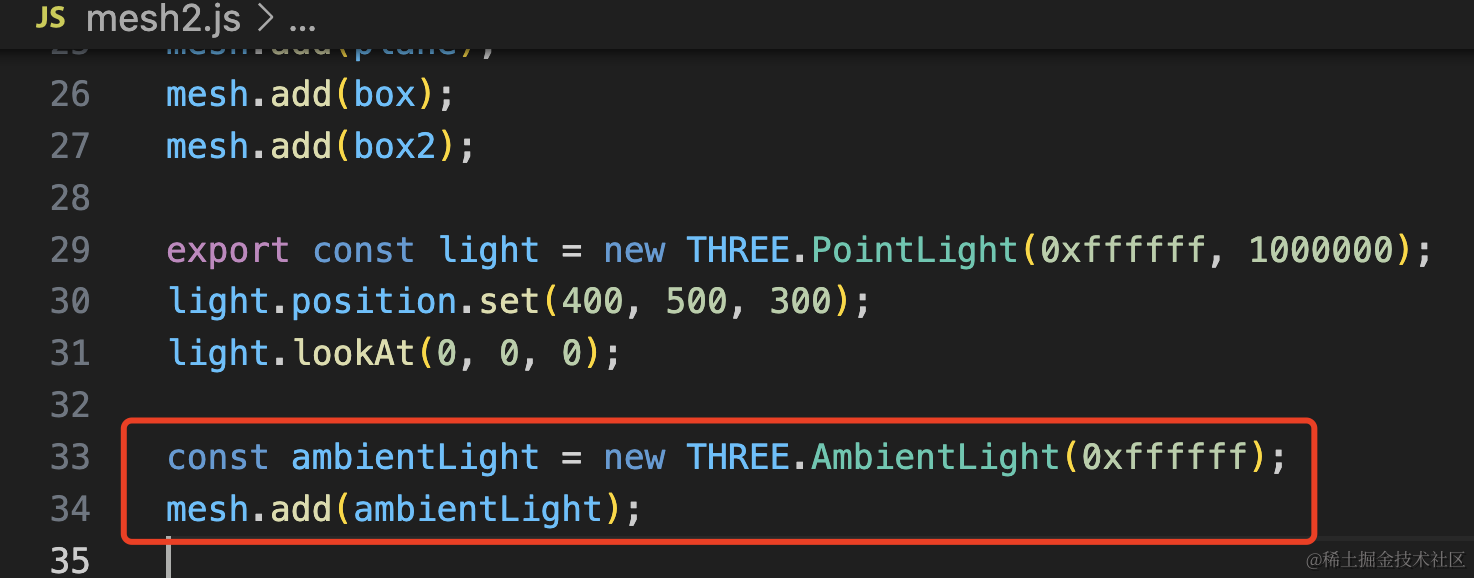
const ambientLight = new THREE.AmbientLight(0xffffff);
mesh.add(ambientLight);
可以看到,背面也可见了,因为环境光会对所有物体都加一个均匀的光照效果。
一般都是环境光结合点光源、平行光来一起用
这样向光的那一面有高亮效果,背面也是可见的
SpotLight 聚光灯
接下来学一个和点光源类似的聚光灯 SpotLight。
创建 mesh3.js
import * as THREE from 'three';
import { GUI } from 'three/addons/libs/lil-gui.module.min.js';
const gui = new GUI();
const planeGeometry = new THREE.PlaneGeometry(1000, 1000);
const planeMaterial = new THREE.MeshLambertMaterial({
color: new THREE.Color('skyblue')
});
const plane = new THREE.Mesh(planeGeometry, planeMaterial);
plane.rotateX(- Math.PI / 2);
plane.position.y = -50;
const boxGeometry = new THREE.BoxGeometry(100, 100, 100);
const boxMaterial = new THREE.MeshLambertMaterial({
color: new THREE.Color('orange')
});
const box = new THREE.Mesh(boxGeometry, boxMaterial);
const box2 = box.clone();
box2.position.x = 200;
export const mesh = new THREE.Group();
mesh.add(plane);
mesh.add(box);
mesh.add(box2);
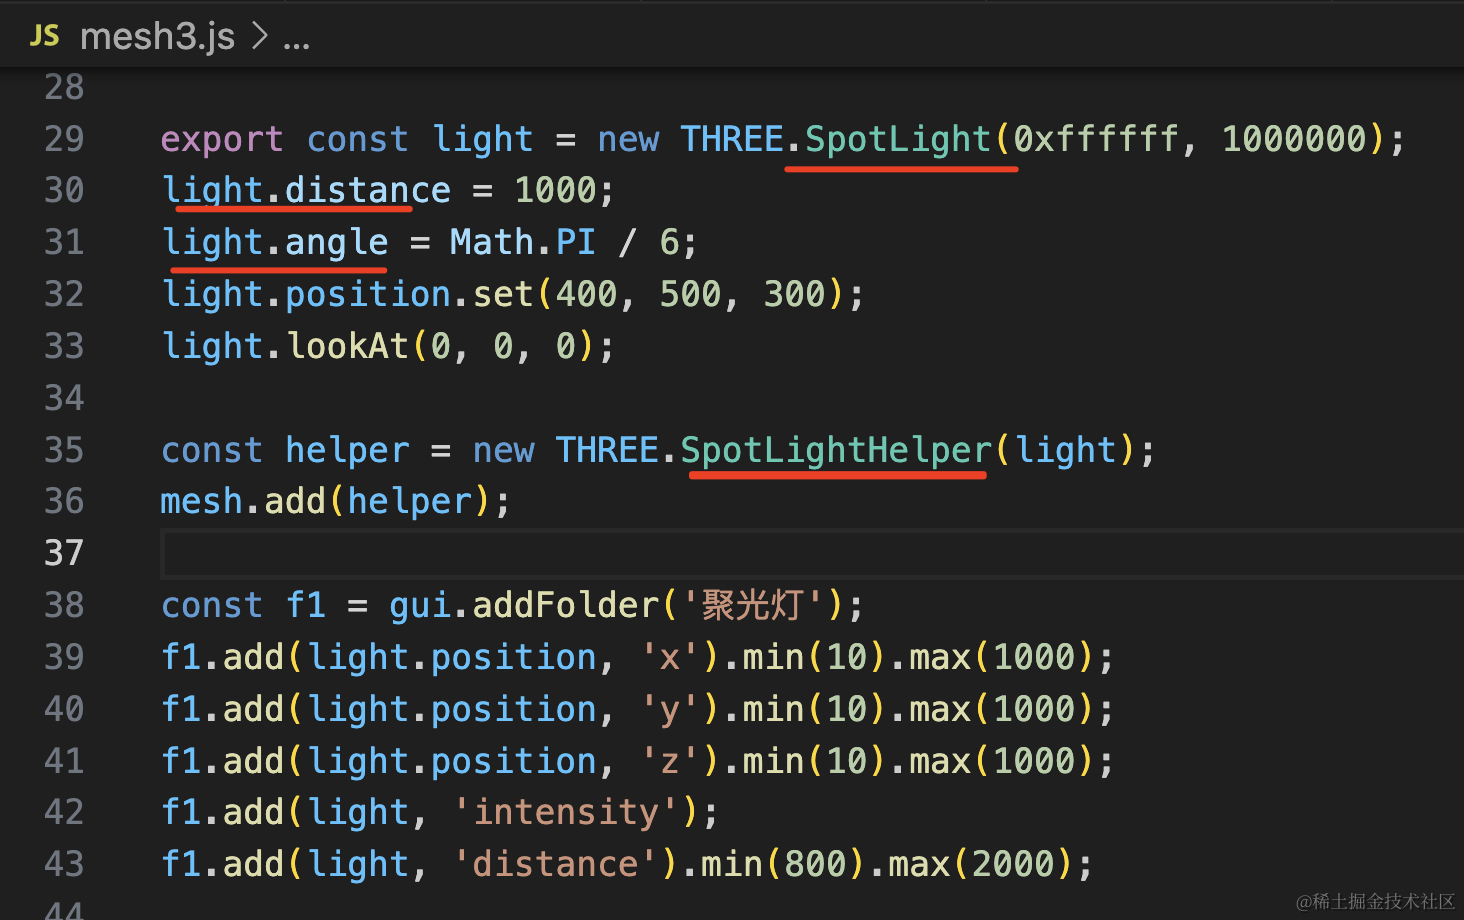
export const light = new THREE.SpotLight(0xffffff, 1000000);
light.distance = 1000;
light.angle = Math.PI / 6;
light.position.set(400, 500, 300);
light.lookAt(0, 0, 0);
const helper = new THREE.SpotLightHelper(light);
mesh.add(helper);
const f1 = gui.addFolder('聚光灯');
function onChange() {
helper.update();
}
f1.add(light.position, 'x').min(10).max(1000).onChange(onChange);
f1.add(light.position, 'y').min(10).max(1000).onChange(onChange);
f1.add(light.position, 'z').min(10).max(1000).onChange(onChange);
f1.add(light, 'angle', {
'30': Math.PI / 6,
'60': Math.PI / 3,
}).onChange(onChange);
f1.add(light, 'intensity');
f1.add(light, 'distance').min(800).max(2000).onChange(onChange);
这里物体也和前面一样,换了下光源。
在 index.js 引入:

看下效果:
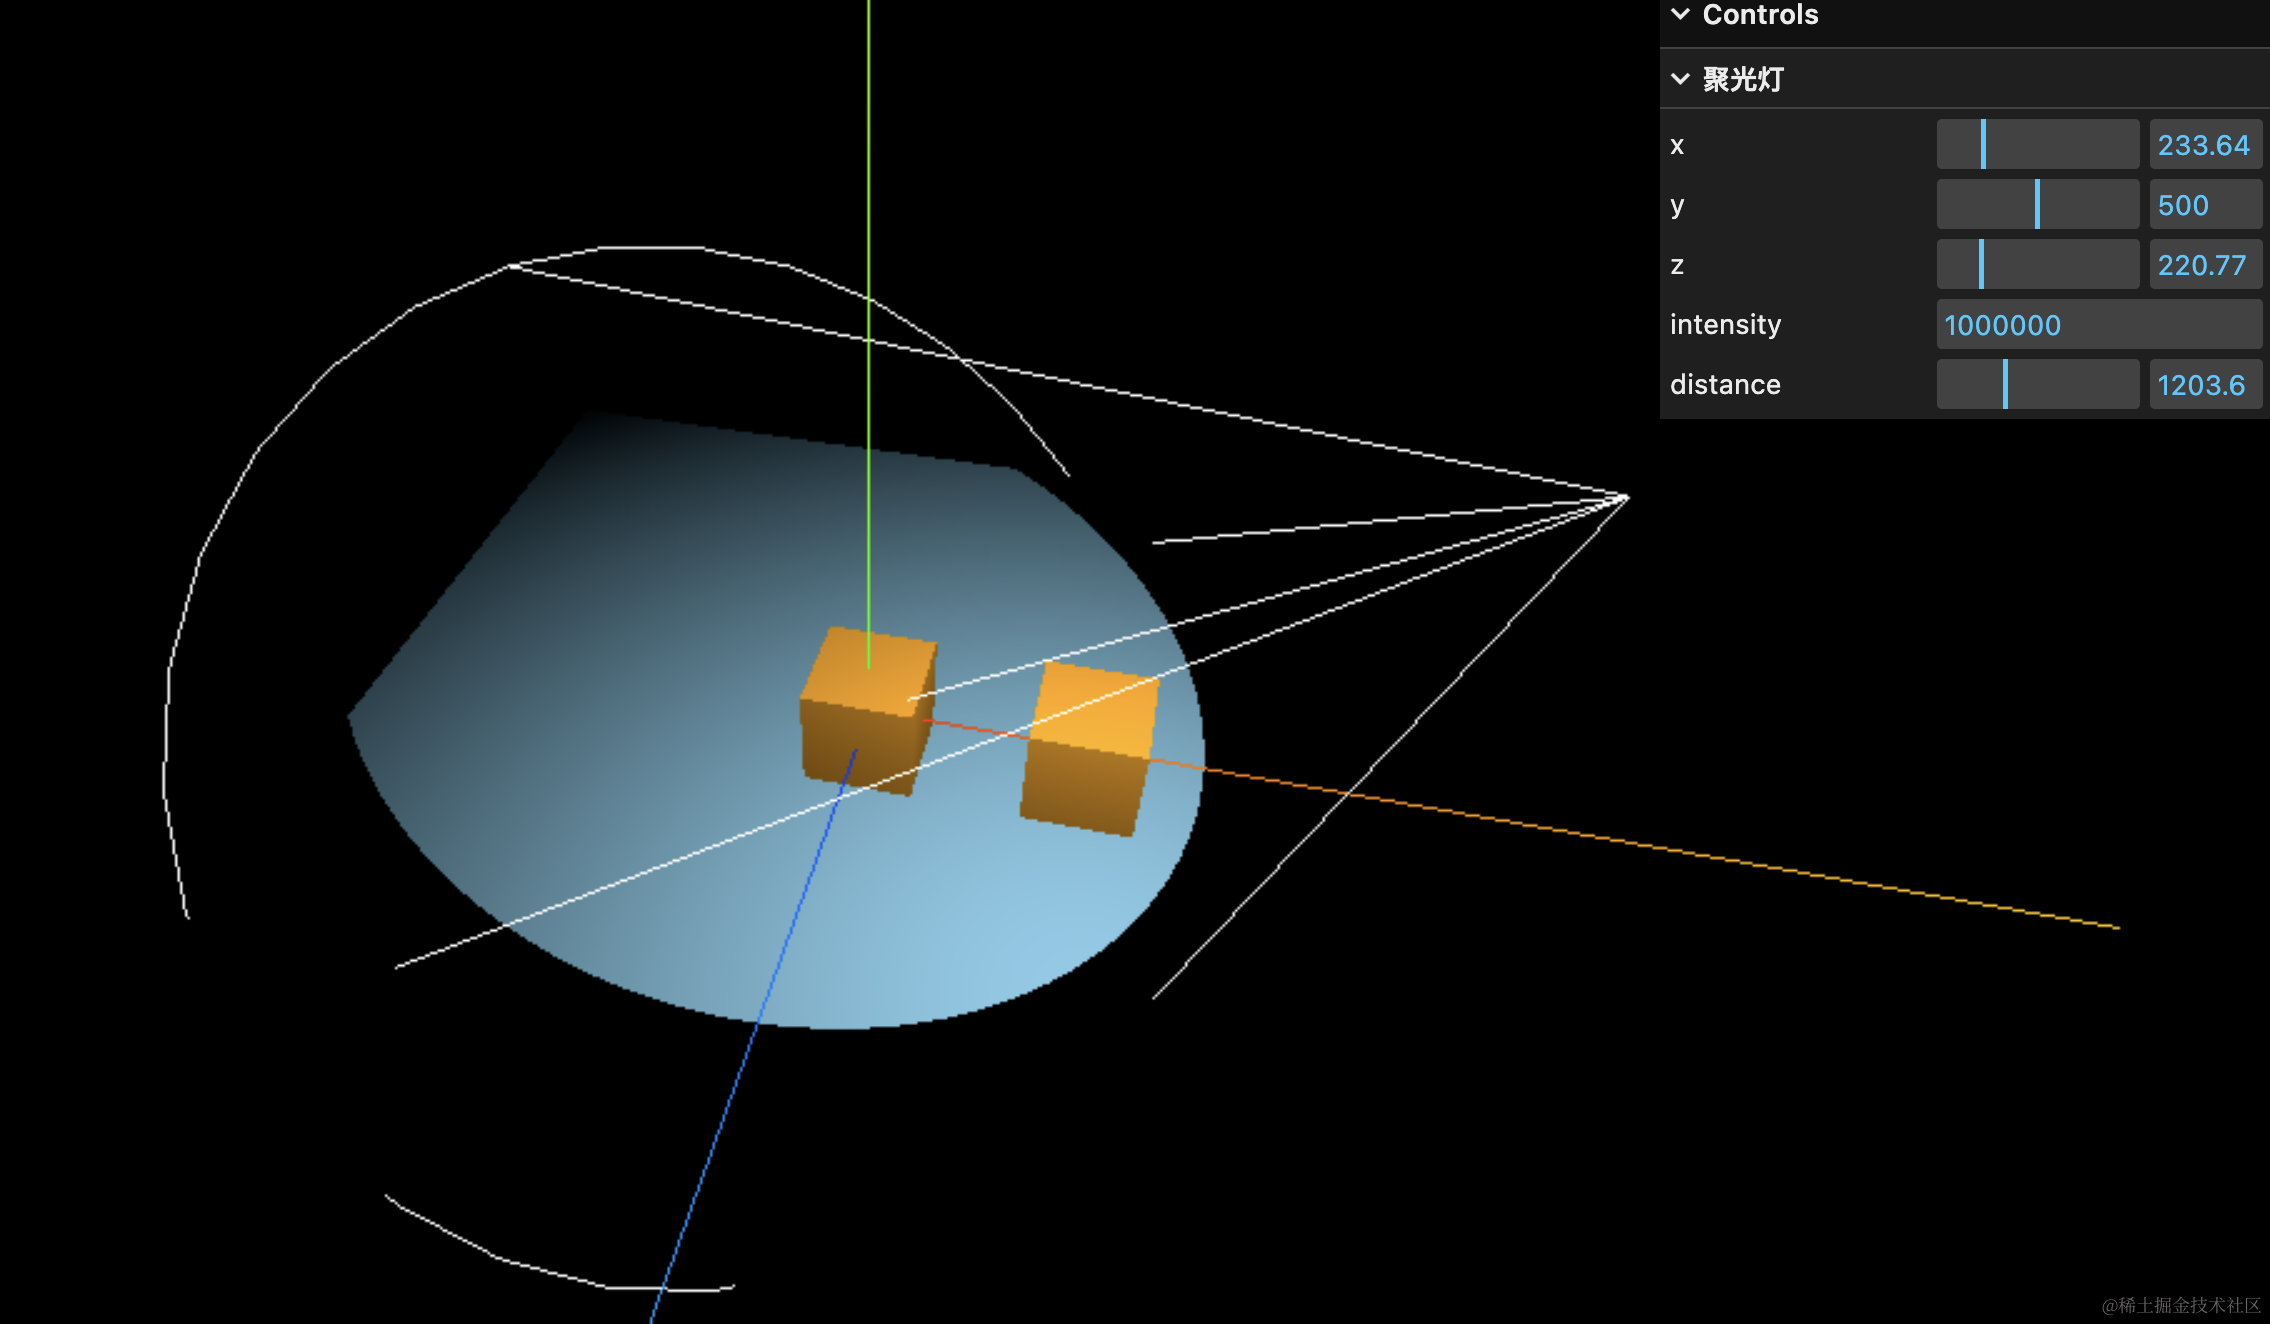
可以看到,它像个手电筒一样,有一个照射的范围,而不是和点光源一样完全发散。
调节下 position
调节下 distance
调节下 angle
光照强度和点光源一样,数值都比较大。

案例代码上传了小册仓库。
总结
这节我们过了一遍常用的灯光 Light:
- DirectionalLight:平行光,光线都是平行的,一般用来实现太阳光
- PointLight:点光源,从一个点发散的光源,类似灯泡
- AmbientLight:环境光,均匀照射所有物体的光源,用来调亮整个场景
- SpotLight:聚光灯,比较聚拢的光源,类似手电筒的效果,可以设置 angle 和 distance
我们结合 dat.gui 来可视化调节了下这些 Light 的参数,并且用各自的 Helper 来可视化展示了光源的位置,光线传播方向。
这样,我们就可以更直观的感受到各种 Light 的区别了。
除了这些常用的 Light,还有两种不常用的,下节我们继续学习。