上节还剩了两种灯光,还有各种 Helper,这节我们继续:
HemisphereLight 半球光
创建 mesh4.js
import * as THREE from 'three';
import { GUI } from 'three/addons/libs/lil-gui.module.min.js';
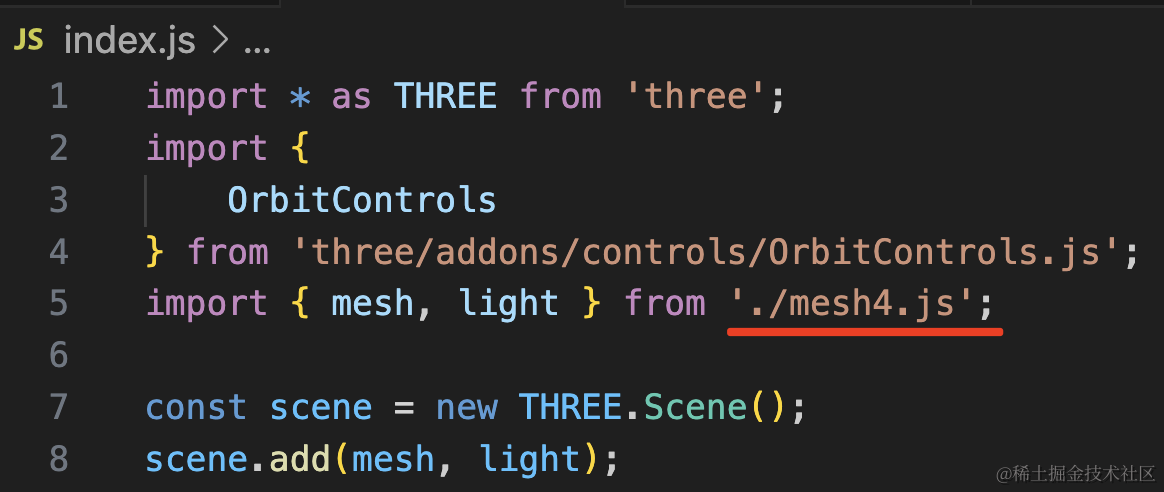
const gui = new GUI();
const planeGeometry = new THREE.PlaneGeometry(1000, 1000);
const planeMaterial = new THREE.MeshLambertMaterial({
color: new THREE.Color('white')
});
const plane = new THREE.Mesh(planeGeometry, planeMaterial);
plane.rotateX(- Math.PI / 2);
plane.position.y = -50;
const boxGeometry = new THREE.BoxGeometry(100, 100, 100);
const boxMaterial = new THREE.MeshLambertMaterial({
color: new THREE.Color('white')
});
const box = new THREE.Mesh(boxGeometry, boxMaterial);
const box2 = box.clone();
box2.position.x = 200;
export const mesh = new THREE.Group();
mesh.add(plane);
mesh.add(box);
mesh.add(box2);
export const light = new THREE.PointLight(0xffffff, 1000000);
light.position.set(400, 500, 300);
light.lookAt(0, 0, 0);这里两个立方体设置了白色,然后加了点光源。
看下效果:
设置成白色是因为半球光有两种颜色,白色更容易看效果。
换成半球光:
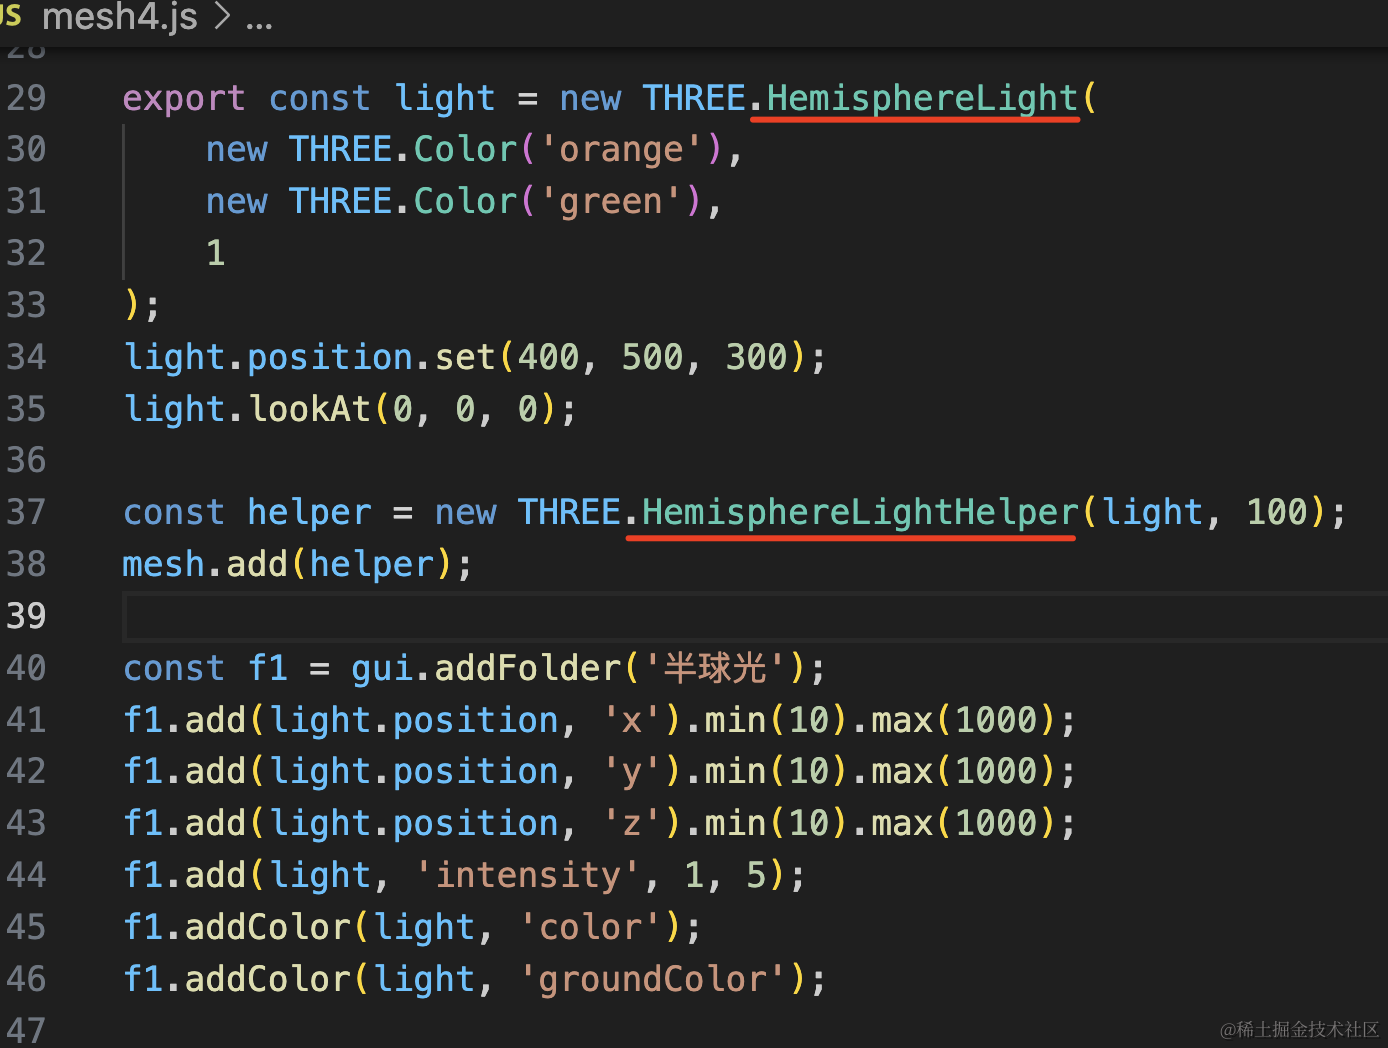
export const light = new THREE.HemisphereLight(
    new THREE.Color('orange'),
    new THREE.Color('green'),
    1
);
light.position.set(400, 500, 300);
light.lookAt(0, 0, 0);

const helper = new THREE.HemisphereLightHelper(light, 100);
mesh.add(helper);

const f1 = gui.addFolder('半球光');
f1.add(light.position, 'x').min(10).max(1000);
f1.add(light.position, 'y').min(10).max(1000);
f1.add(light.position, 'z').min(10).max(1000);
f1.add(light, 'intensity', 1, 5);
f1.addColor(light, 'color');
f1.addColor(light, 'groundColor');
GUI 控件的取值范围可以用 min、max 方法,也可以在第三四个参数传入。
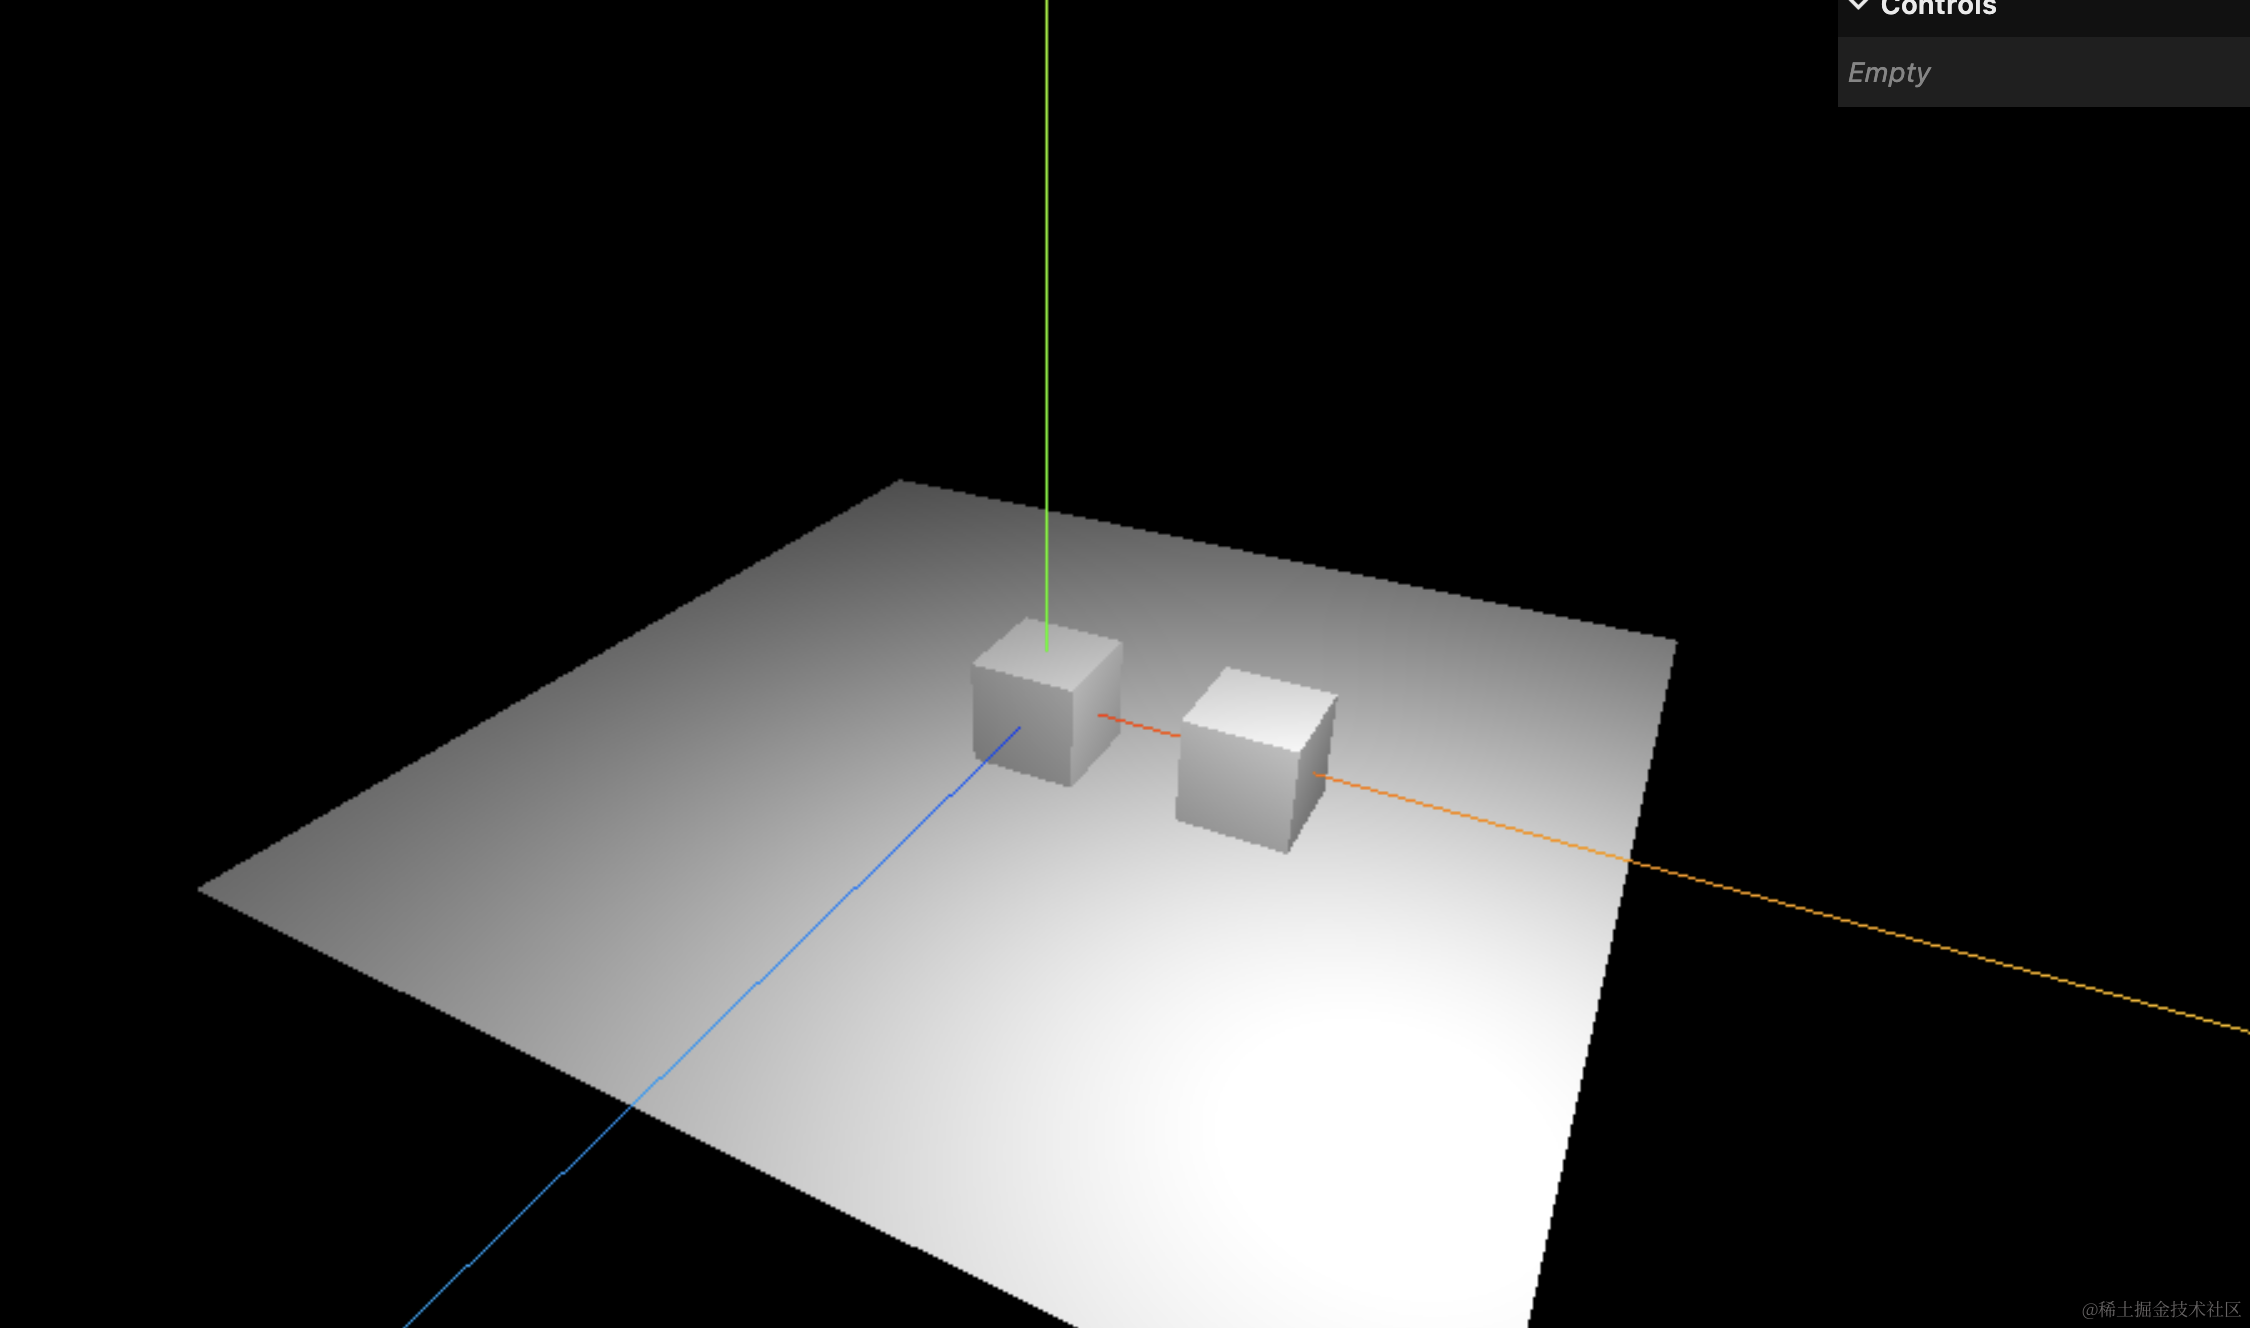
半球光要传入两个颜色,天空颜色、地面颜色,它是一种从两个方向向中间照射的效果,会有个渐变。
看下就知道了:
正面看,它和平行光一样:
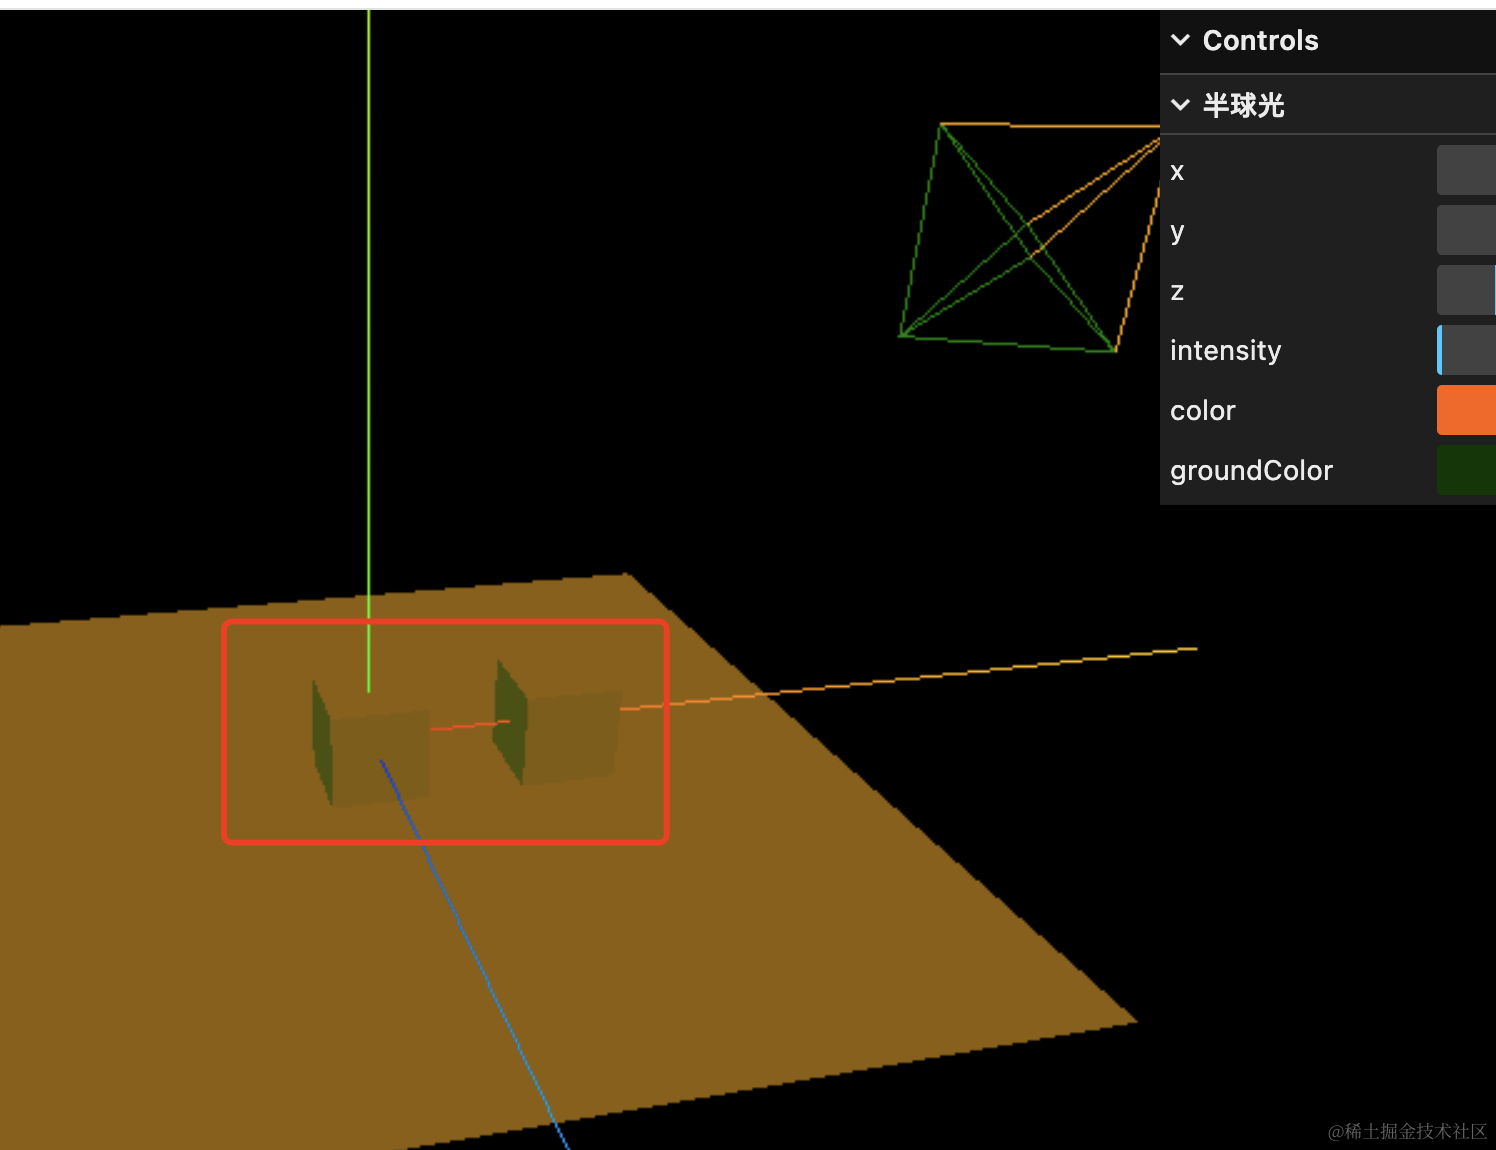
这种效果一般用来模拟室外,比如天空比较亮、地面比较暗,这样两种光线相互影响的效果。
我们设置了橙色和绿色,但你可以看出来,并不是单纯的橙色、绿色,显示的颜色是两种叠加的效果。
RectAreaLight 矩形平面光
不管是点光源、还是平行光,他们都不是从一个面发出的光线。
有的时候,我们需要这种从一个面发光的效果,比如灯管,或者窗户透过的光。
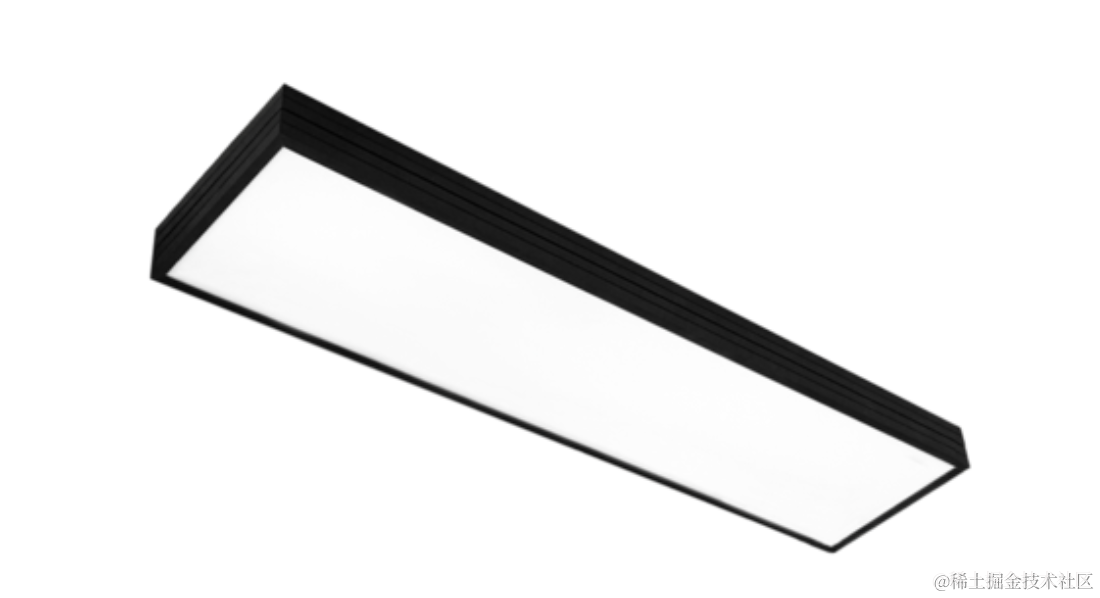
这种就可以用矩形平面光 RectAreaLight。
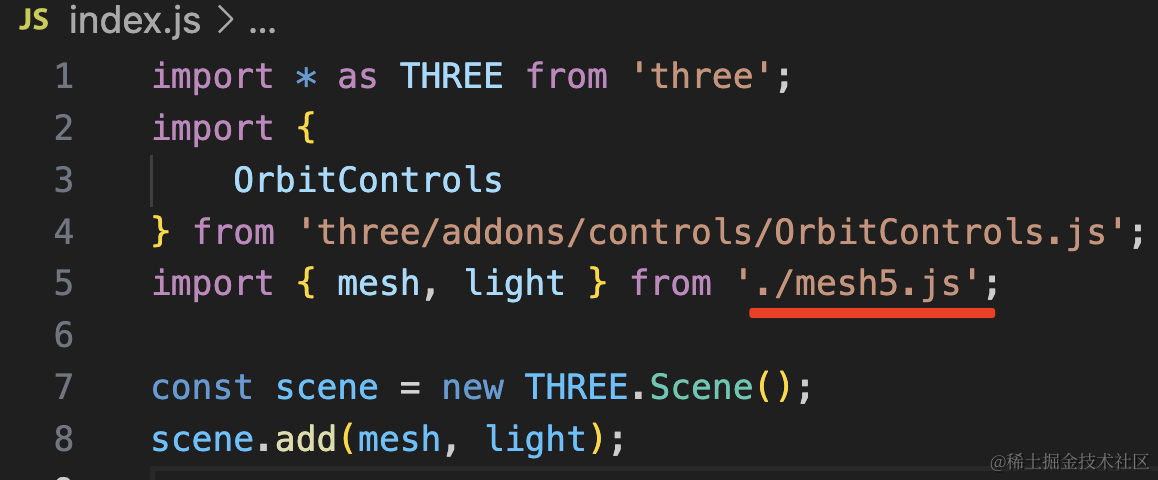
创建 mesh5.js
import * as THREE from 'three';
import { GUI } from 'three/addons/libs/lil-gui.module.min.js';
import { RectAreaLightHelper } from 'three/addons/helpers/RectAreaLightHelper.js';

const gui = new GUI();

const planeGeometry = new THREE.PlaneGeometry(1000, 1000);
const planeMaterial = new THREE.MeshStandardMaterial({
    color: new THREE.Color('white')
});

const plane = new THREE.Mesh(planeGeometry, planeMaterial);
plane.rotateX(- Math.PI / 2);
plane.position.y = -50;

const boxGeometry = new THREE.BoxGeometry(100, 100, 100);
const boxMaterial = new THREE.MeshStandardMaterial({
    color: new THREE.Color('white')
});
const box = new THREE.Mesh(boxGeometry, boxMaterial);

const box2 = box.clone();
box2.position.x = 200;

export const mesh = new THREE.Group();
mesh.add(plane);
mesh.add(box);
mesh.add(box2);

export const light = new THREE.RectAreaLight( new THREE.Color('red'), 20,  100, 100 );
light.position.set(400, 500, 300);
light.lookAt(0, 0, 0);

const helper = new RectAreaLightHelper(light);
mesh.add(helper);

const f1 = gui.addFolder('矩形平面光');
f1.add(light.position, 'x').min(10).max(1000);
f1.add(light.position, 'y').min(10).max(1000);
f1.add(light.position, 'z').min(10).max(1000);
f1.add(light, 'intensity', 0, 100);
f1.addColor(light, 'color');
创建 RectAreaLight,指定颜色、光照强度、矩形大小。
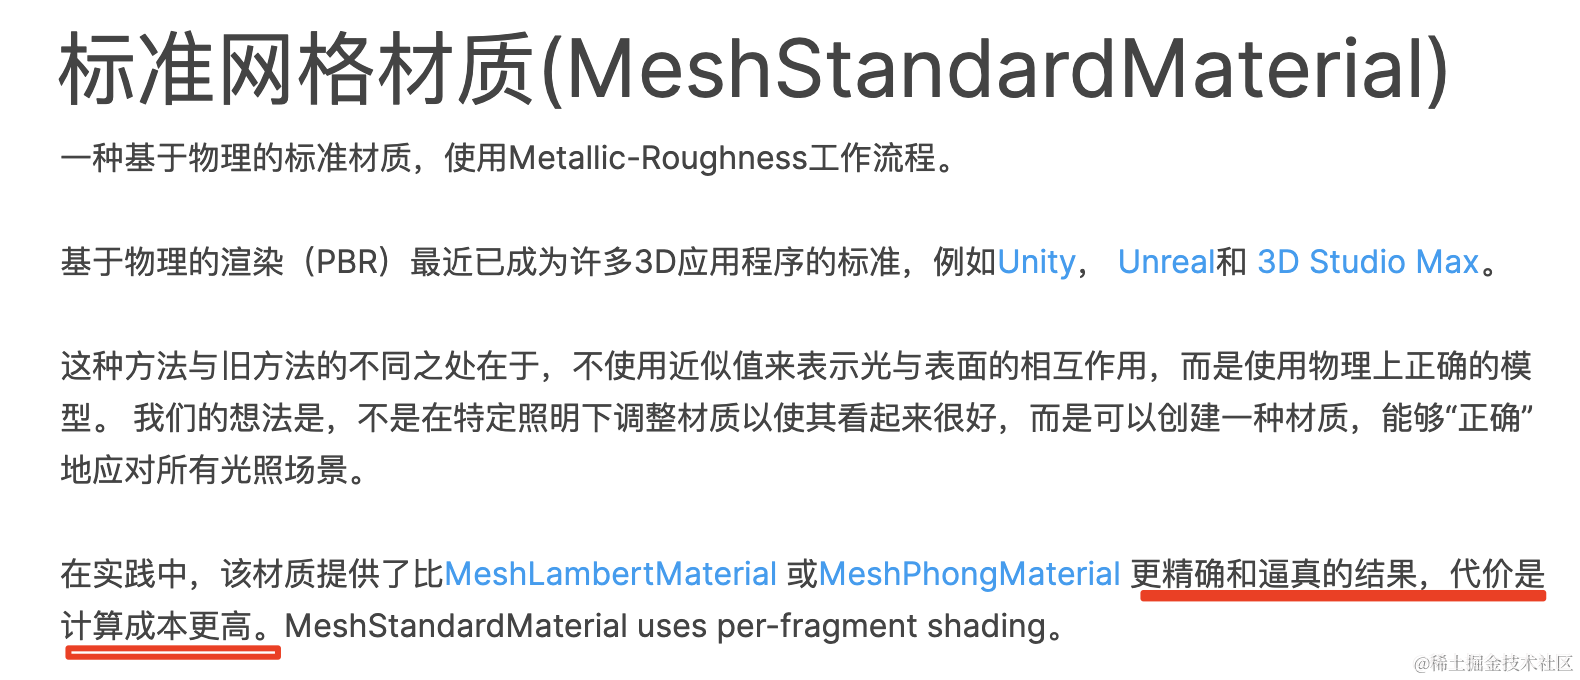
这里要注意的是,RectAreaLight 只对 MeshStandardMaterial 生效,所以我们要把材质换成这个。
这是一种基于物理计算的材质,我们后面会讲,这里你只要知道它效果更逼真,但是计算成本更高就好了:
看下效果:
把它转过来就可以看到那个矩形平面光的 helper,就像灯管一样。
我们调下参数试试:
调节位置,能看出是一个矩形的灯管在移动的感觉。
调节下灯光强度,这个用来做舞台的灯光就很不错。
这样,我们 Light 就过了一遍了,接下来再来过一下常用 Helper
GridHelper 坐标格辅助对象
GridHelper 是坐标格辅助对象,就是在 XZ 平面上的铺一层网格。
我们写一下:
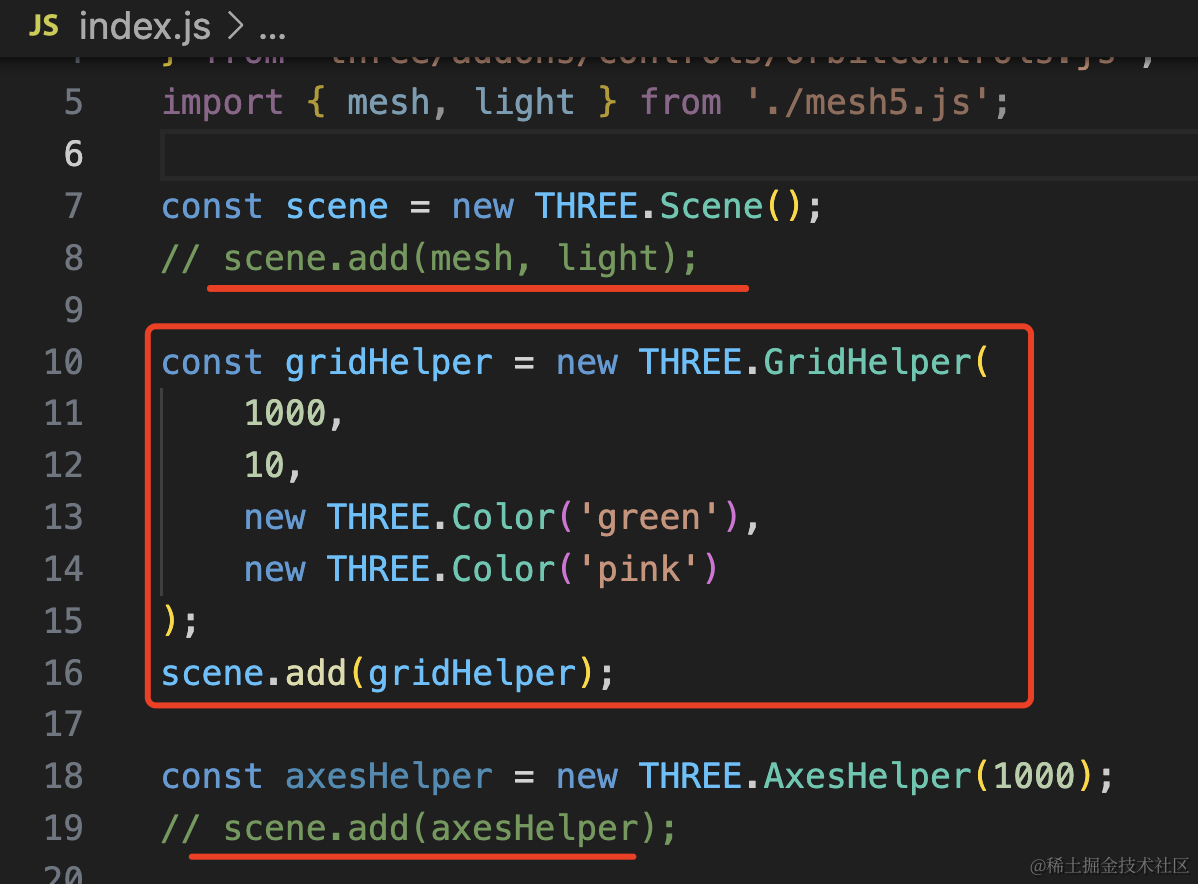
去掉 AxesHelper 和引入的 mesh。
const gridHelper = new THREE.GridHelper(
    1000,
    10,
    new THREE.Color('green'),
    new THREE.Color('pink')
);
scene.add(gridHelper);
1000 * 1000 的大小,水平和竖直分了 10 份,每个小格子就是 100 * 100 的
看下效果:
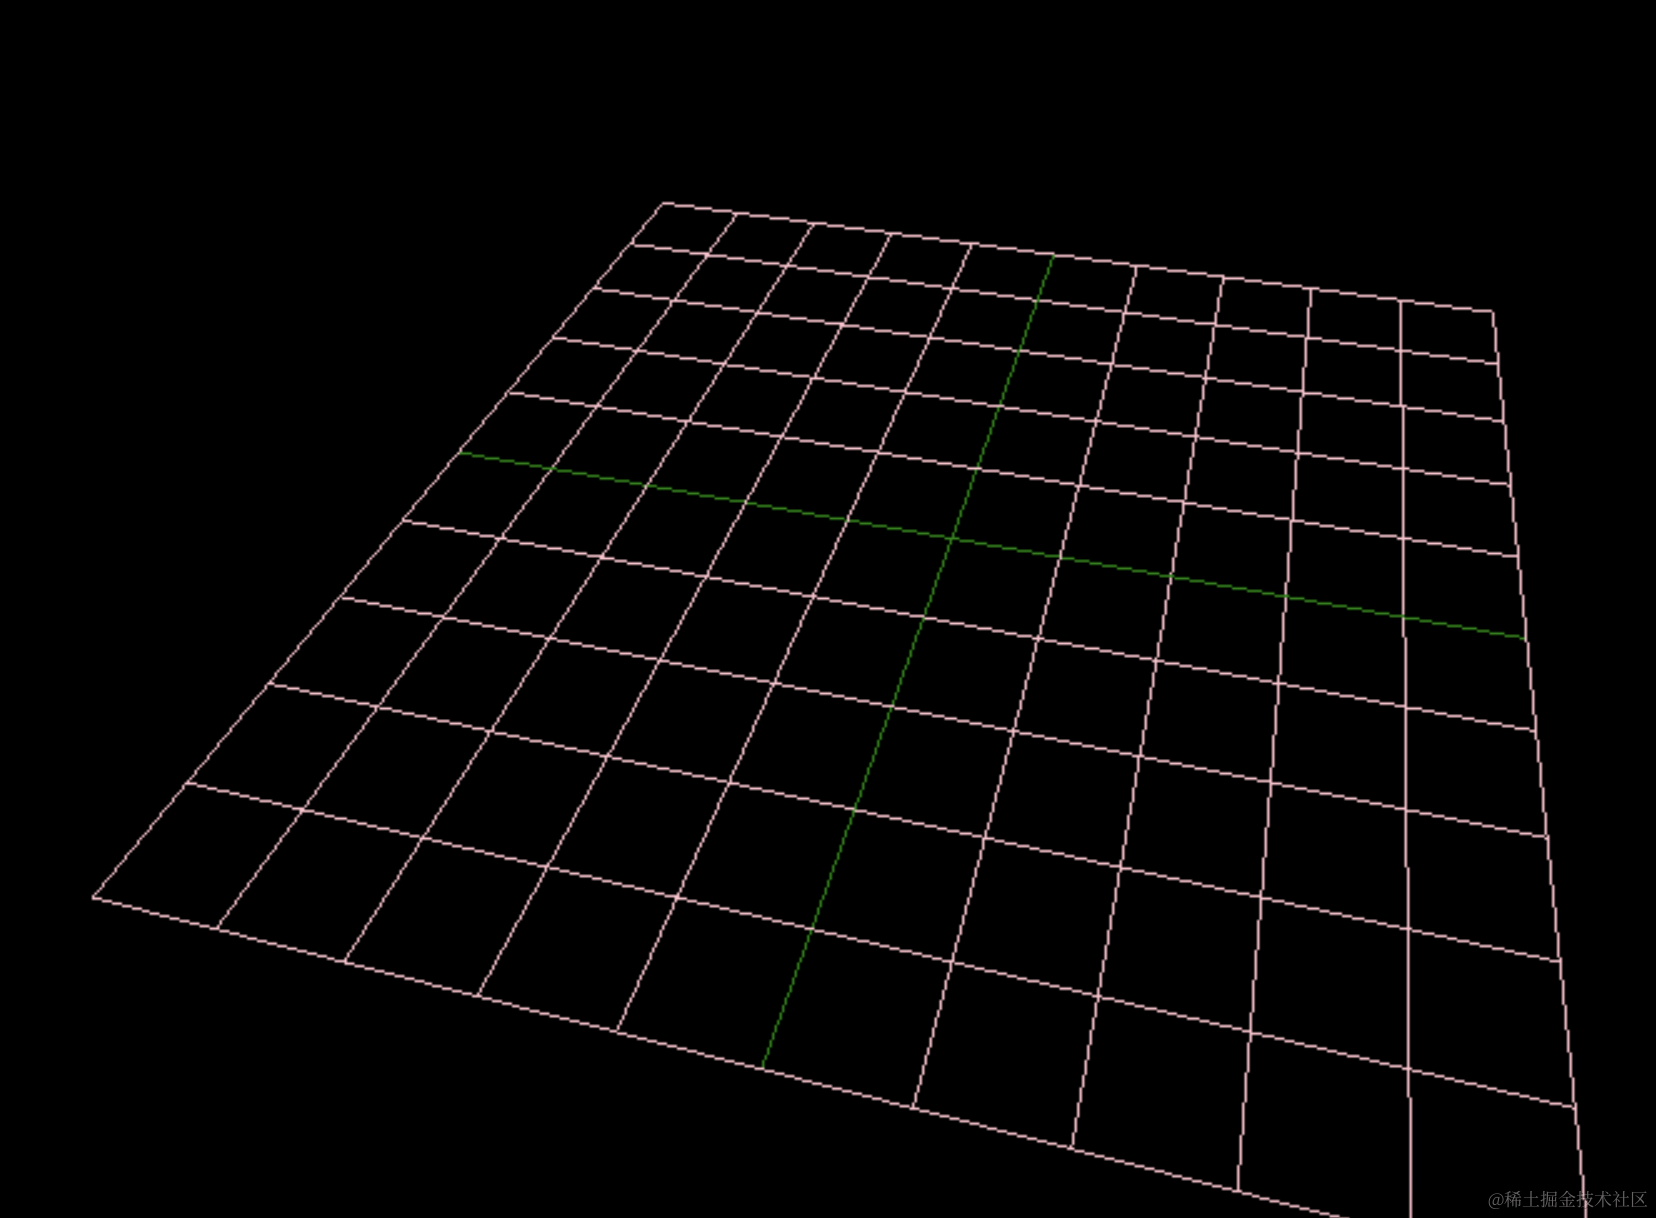
可以看到,就像地面一样,并且还可以通过格子来大概确定坐标。
这样我们在添加物体的时候,可以通过 GridHelper 来大概确定物体基于地面的位置。
CameraHelper 相机辅助对象
CameraHelper 我们前面用过,就是用来可视化视椎体的:

ArrowHelper 箭头辅助对象
当你需要标识方向的时候,可以用 ArrowHelper 画个箭头。
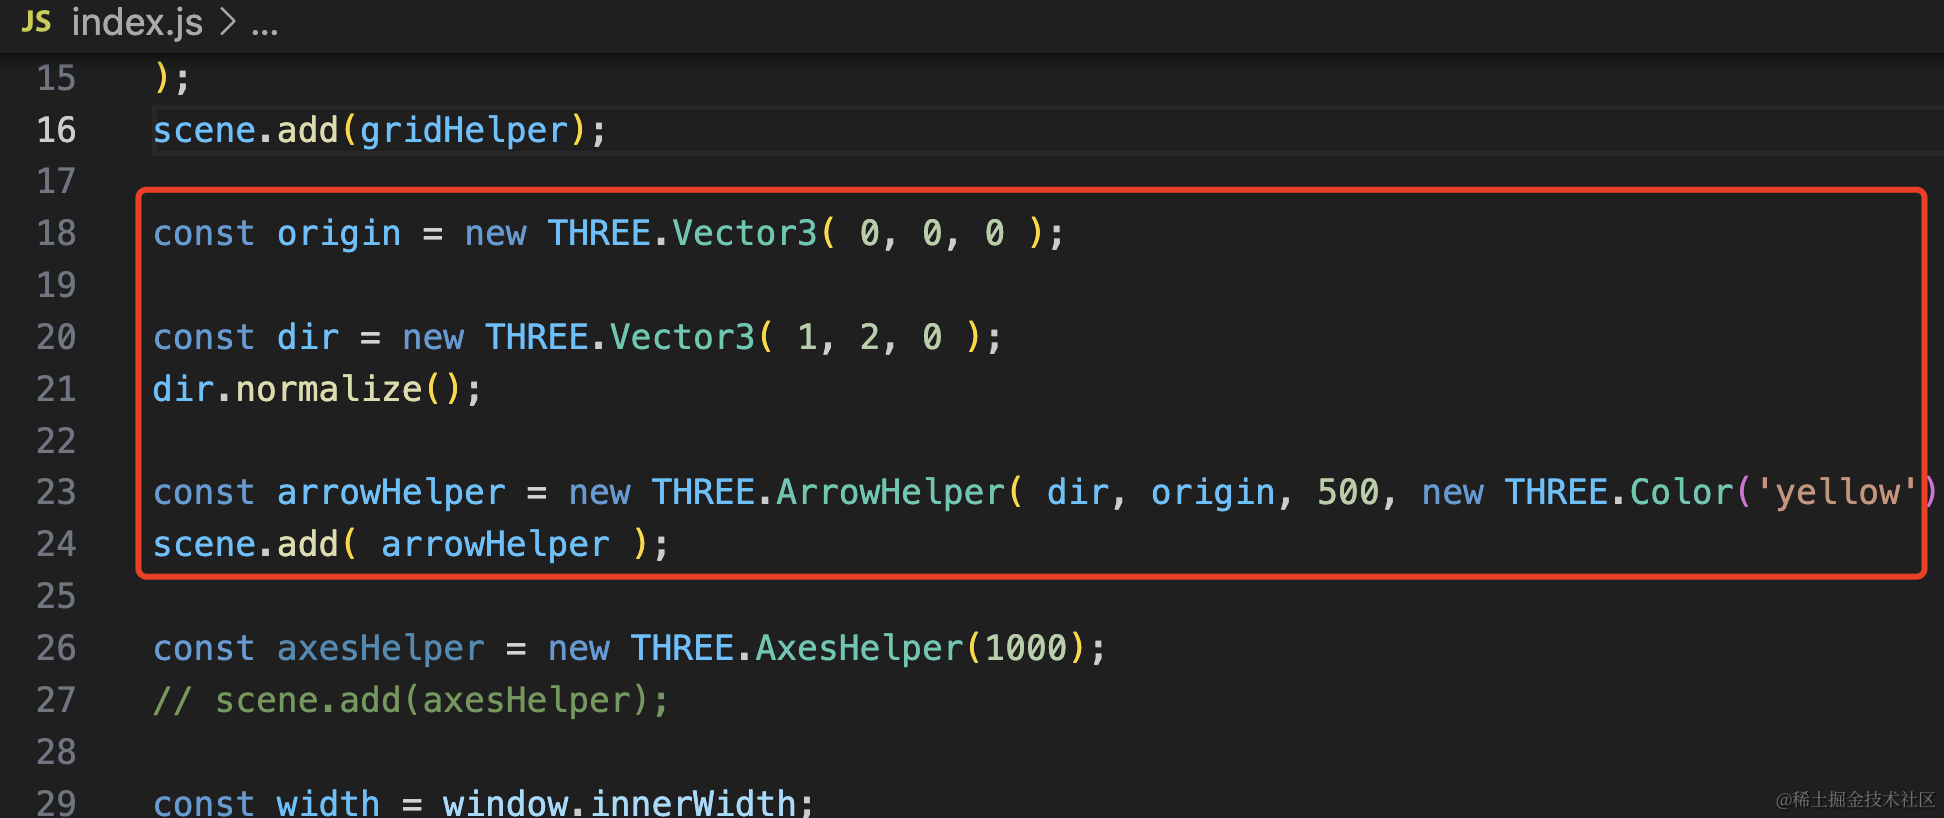
const origin = new THREE.Vector3( 0, 0, 0 );

const dir = new THREE.Vector3( 1, 2, 0 );
dir.normalize();

const arrowHelper = new THREE.ArrowHelper( dir, origin, 500, new THREE.Color('yellow') );
scene.add( arrowHelper );
origin 是起点,dir 是方向,这里用 nomalize 方法把它变为长度为 1 的单位向量。
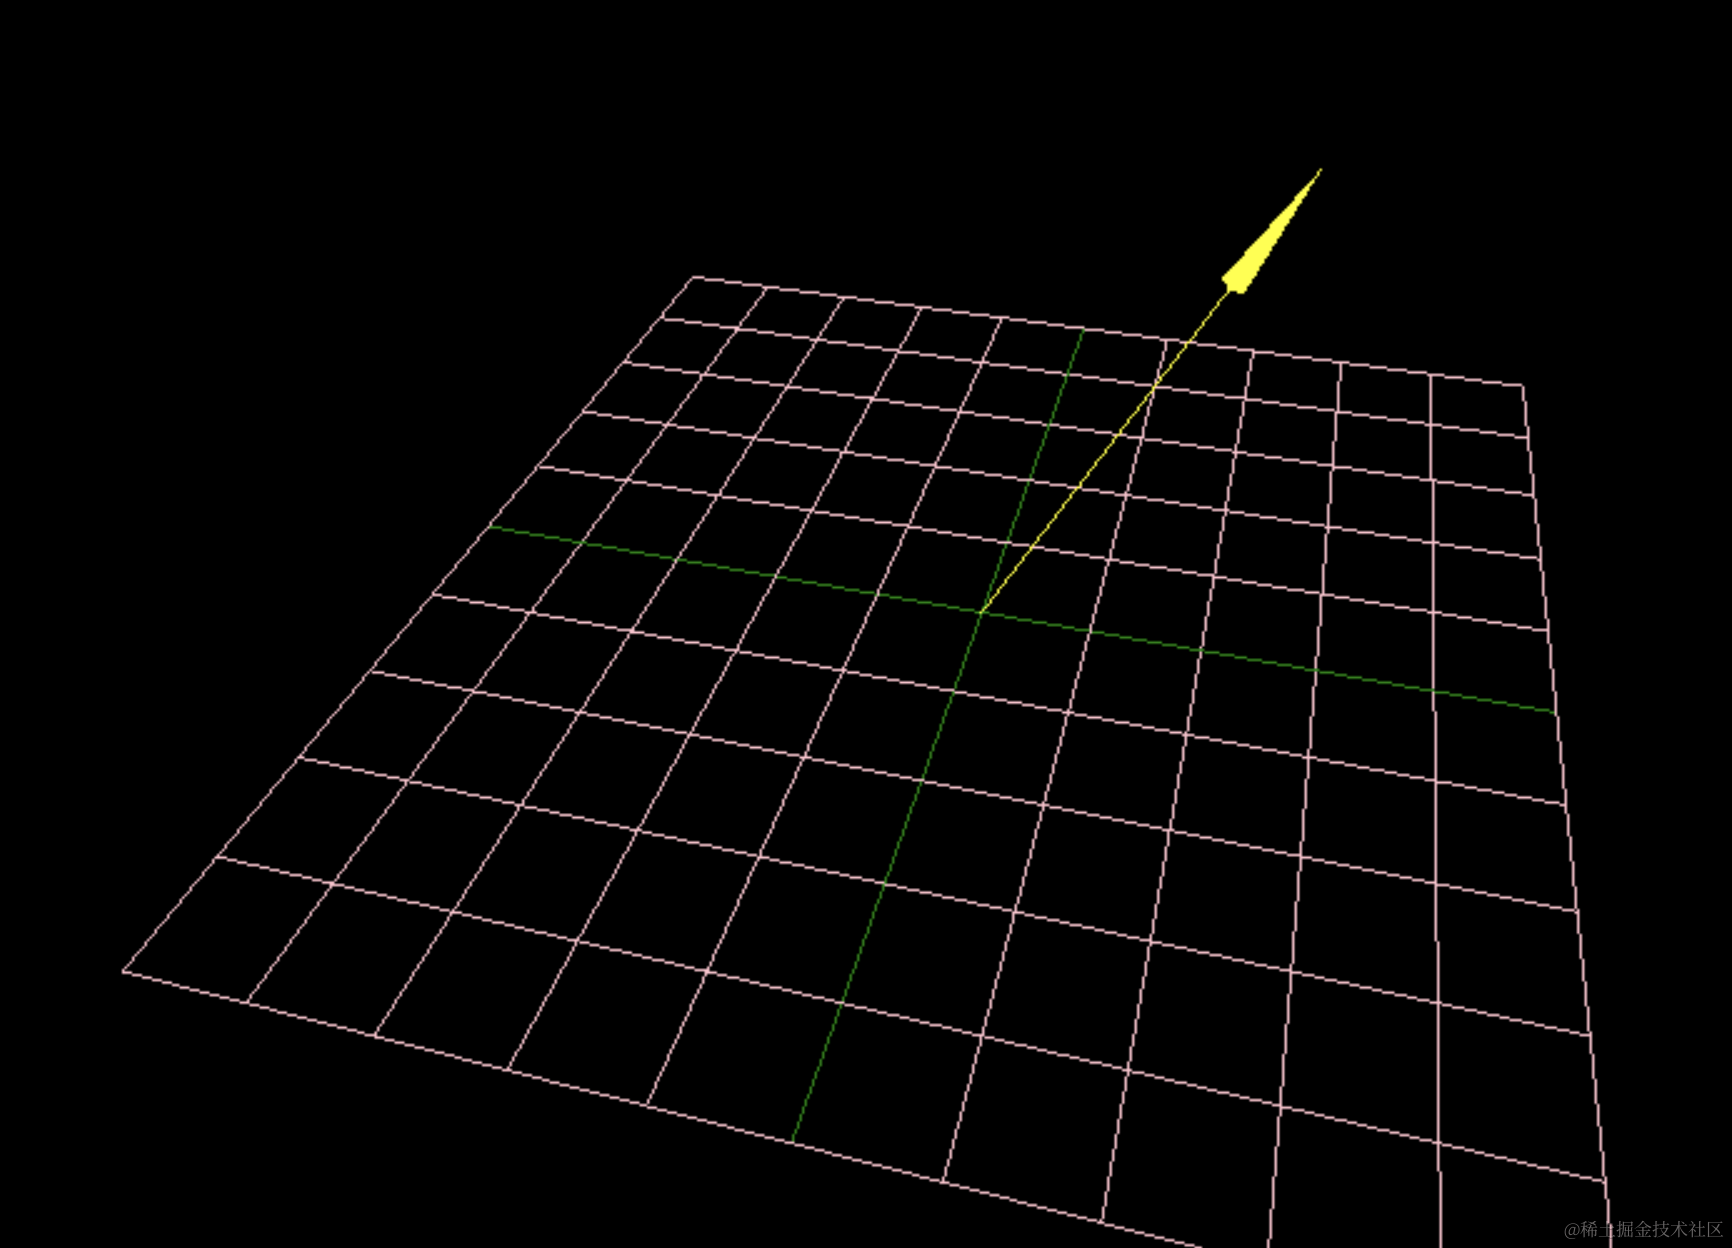
我们做一些编辑器需求的时候,需要标识移动方向,就可以用这个。
PolarGridHelper 极坐标格辅助对象
前面的 GridHelper 是在二维坐标系中画网格。
有的时候我们需要极坐标系,也就是转多少度这种,这时候就可以用 PolarGridHelper 了。
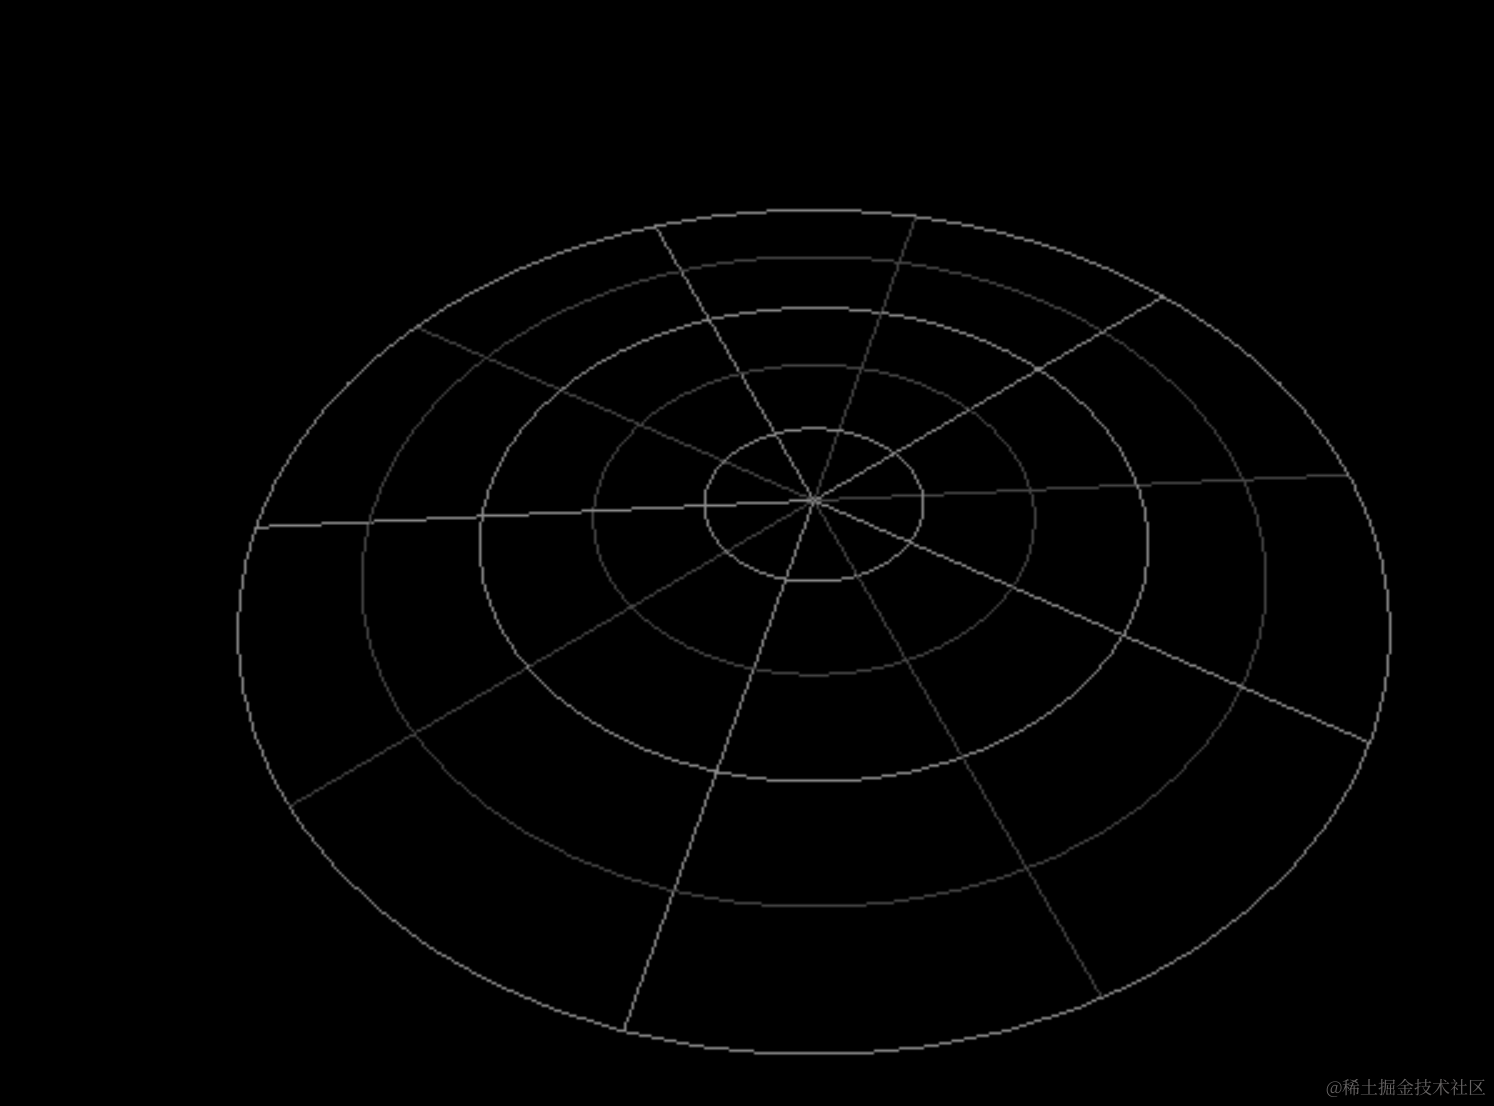
const helper = new THREE.PolarGridHelper( 500, 10, 5, 64 );
scene.add( helper );
把其余 helper 注释掉,添加 PolarGridHelper。
第一个参数是半径,第二个参数是画多少直线,第三个参数是画多少圆圈,第四个参数就是圆的分段数了。
看下效果:
改下参数试试:
const helper = new THREE.PolarGridHelper( 500, 5, 20, 8 );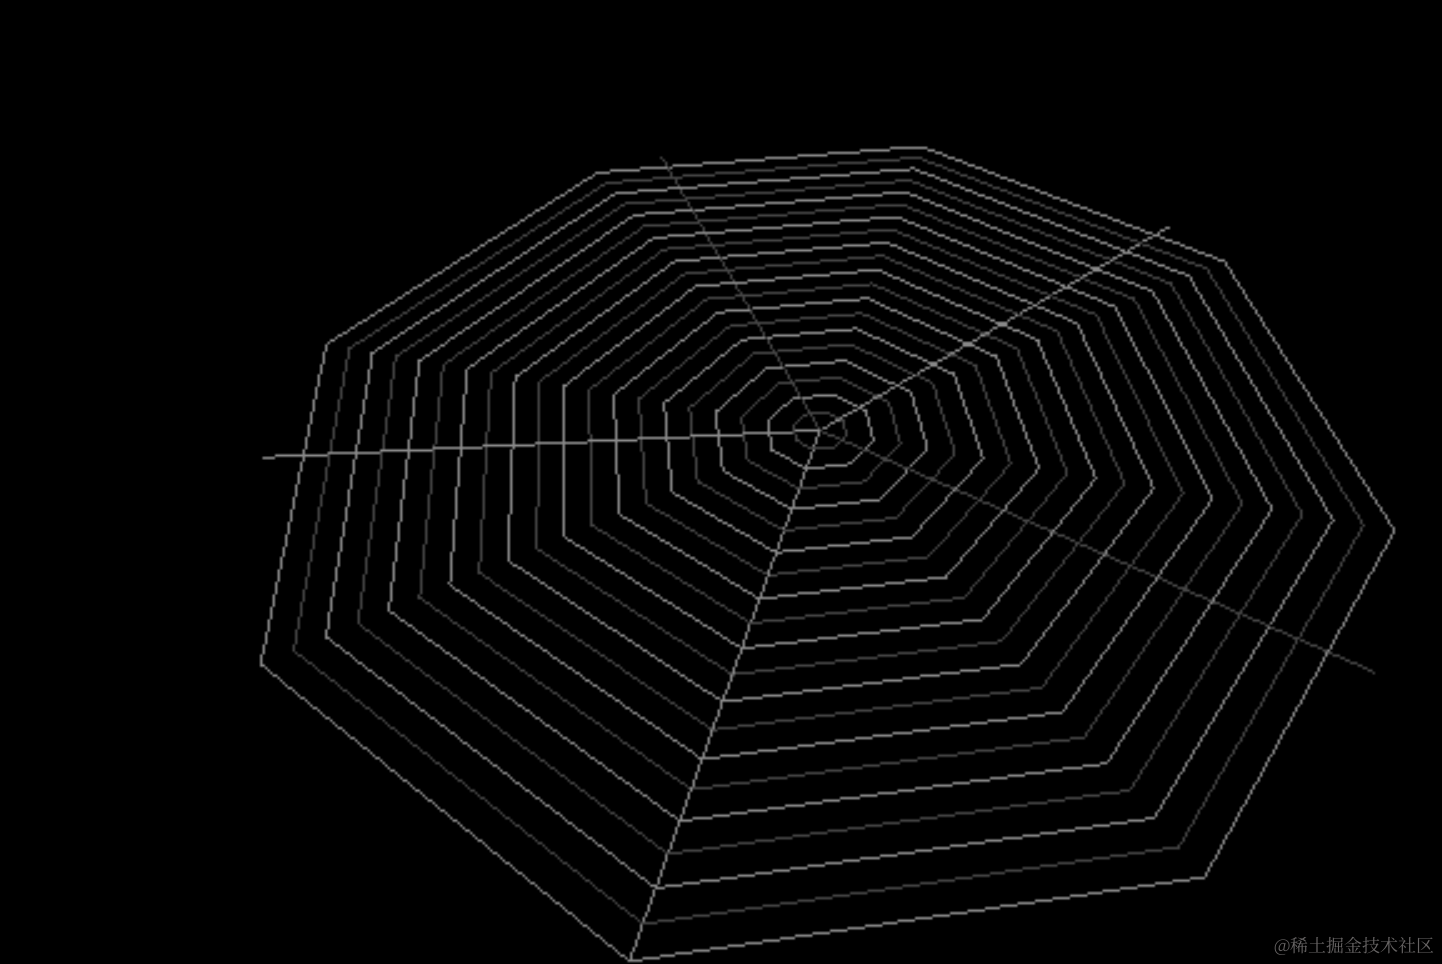
案例代码上传了小册仓库。
总结
这节我们过了剩下的两种灯光还有一些 Helper:
- HemisphereLight:半球光,天空到地面两种颜色的灯光
- RectAreaLight:矩形平面光,从一个矩形平面发出的光,比如灯管、窗户透过的光
- GridHelper:坐标格辅助对象,可以用来标识地面
- CameraHelper:相机辅助对象,用来可视化视椎体
- ArrowHelper:箭头辅助对象,画个箭头来标识方向
- PolarGridHelper:极坐标格辅助对象,用来标识角度
当然,Helper 还有一些,那些需要一些前置知识,比如骨骼动画的 Helper,等我们用到再讲。
至此,6 种灯光 Light 和常用的 Helper 我们就过了一遍了。