前面学了如何在网页里实现滚动控制 3D 场景变化:
这节我们来做个综合点的实战:星系 3D 科普网站。
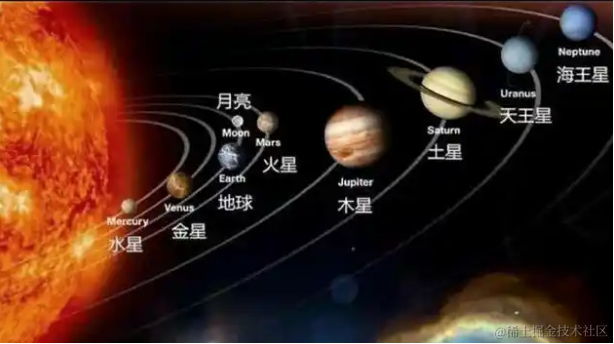
就是介绍太阳系每个星球的网站。
滚动每一屏,会把相机移动到不同星球旁边,左边出现文字介绍。
创建项目:
npx create-vite solar-system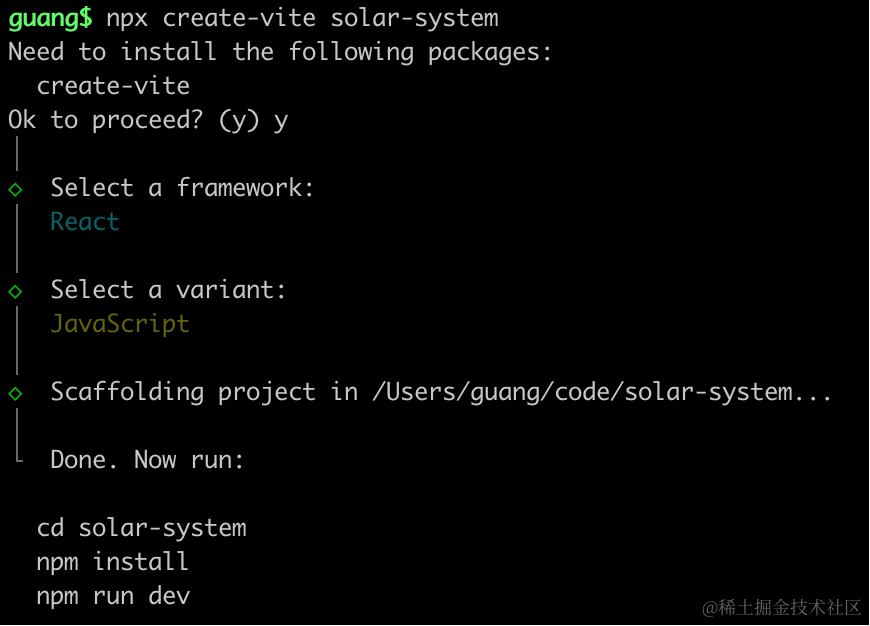
用 react + three.js 来写,因为要写 div + css 部分。
进入项目,安装依赖:
pnpm install
pnpm install --save three
pnpm install --save-dev @types/three
去掉 StrictMode 和 index.css
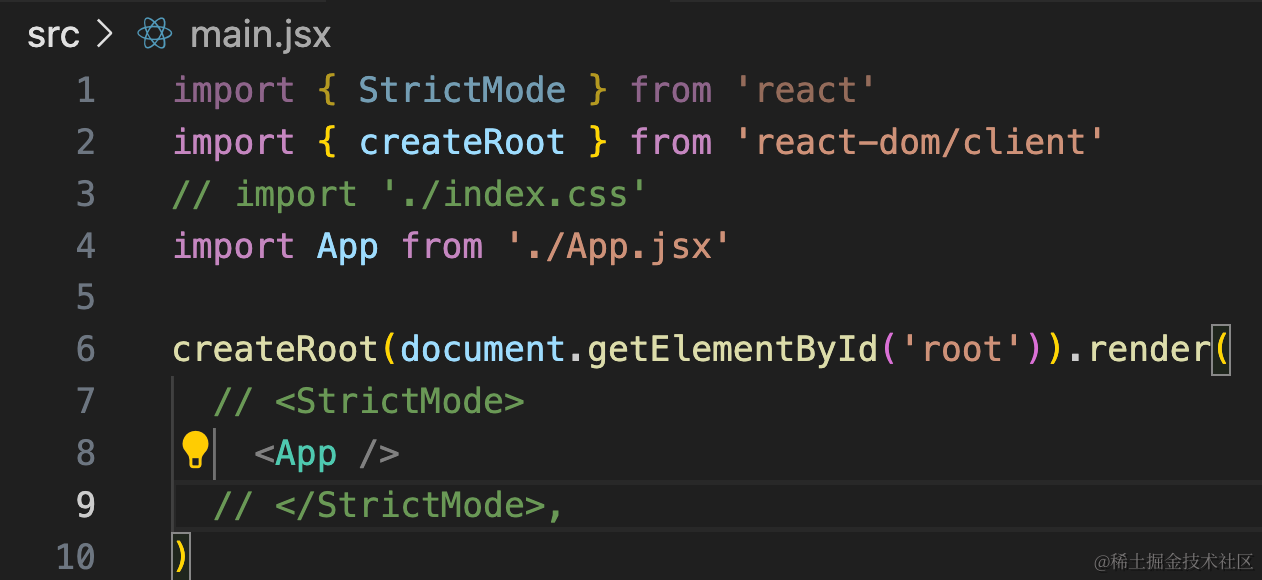
然后改一下 App.jsx
import { useEffect, useRef, useState } from 'react';
import { init } from './3d-init'
import './App.css'

function App() {

  useEffect(() => {
    const dom = document.getElementById('content');
    const { scene } = init(dom);

    return () => {
      dom.innerHTML = '';
    }
  }, []);

  return <div>
    <div id="main">
      <div id="content">
      </div>
    </div>
  </div>
}

export default App
在 App.css 写下样式:
body {
  margin: 0;
}
然后来初始化 3d 场景:
创建 3d-init.js
import * as THREE from 'three';
import {
    OrbitControls
} from 'three/addons/controls/OrbitControls.js';
import mesh from './mesh';

export function init(dom) {

    const scene = new THREE.Scene();
    scene.add(mesh);

    const axesHelper = new THREE.AxesHelper(500);
    scene.add(axesHelper);

    const directionalLight = new THREE.DirectionalLight(0xffffff);
    directionalLight.position.set(500, 400, 300);
    scene.add(directionalLight);

    const ambientLight = new THREE.AmbientLight(0xffffff);
    scene.add(ambientLight);

    const width = window.innerWidth;
    const height = window.innerHeight;

    const camera = new THREE.PerspectiveCamera(60, width / height, 1, 10000);
    camera.position.set(0, 500, 500);
    camera.lookAt(0, 0, 0);

    const renderer = new THREE.WebGLRenderer({
        antialias: true
    });
    renderer.setSize(width, height);

    function render(time) {
        renderer.render(scene, camera);
        requestAnimationFrame(render);
    }

    render();

    dom.append(renderer.domElement);

    window.onresize = function () {
        const width = window.innerWidth;
        const height = window.innerHeight;

        renderer.setSize(width,height);

        camera.aspect = width / height;
        camera.updateProjectionMatrix();
    };

    const controls = new OrbitControls(camera, renderer.domElement);

    return {
        scene,
        renderer,
        controls
    }
}
创建 mesh.js
import * as THREE from 'three';

const group = new THREE.Group();

const geometry = new THREE.BoxGeometry(100, 100, 100);
const material = new THREE.MeshLambertMaterial({
    color: 'orange'
});
const mesh = new THREE.Mesh(geometry, material);

group.add(mesh);

export default group;
我们先跑起来看下:
npm run dev
然后我们把星系的部分写一下。
太阳系从内到外有八大行星:
水星、金星、地球、火星、木星、土星、天王星、海王星
先不管大小,画 9 个球:
import * as THREE from 'three';

const group = new THREE.Group();

for(let i = 0; i< 9; i++ ) {
    const geometry = new THREE.SphereGeometry(20);
    const material = new THREE.MeshPhongMaterial({
        color: 'lightblue'
    });
    const planet = new THREE.Mesh(geometry, material);
    group.add(planet);
    planet.position.x = i * 100;
}

export default group;
然后分别设置不同的大小。
太阳系最小的是水星,它的半径为 10,就可以算出其余的八个星球的半径:
- 水星:10
- 太阳:2851.2
- 木星:286.5
- 土星:238.6
- 天王星:104
- 海王星:101
- 地球:26.1
- 金星:24.8
- 火星:13.9
太阳有点太大了,我们把数量级再缩小 10 倍
import * as THREE from 'three';

const data = [
    {
        name: '太阳',
        radius: 285.1
    },
    {
        name: '水星',
        radius: 1
    },
    {
        name: '金星',
        radius: 2.48
    },
    {
        name: '地球',
        radius: 2.61
    },
    {
        name: '火星',
        radius: 1.39
    },
    {
        name: '木星',
        radius: 28.65
    },
    {
        name: '土星',
        radius: 23.86
    },
    {
        name: '天王星',
        radius: 10.4
    },
    {
        name: '海王星',
        radius: 10.1
    }
]

const group = new THREE.Group();

data.forEach((item, index) => {
    const geometry = new THREE.SphereGeometry(item.radius);
    const material = new THREE.MeshPhongMaterial({
        color: 'lightblue'
    });
    const planet = new THREE.Mesh(geometry, material);
    group.add(planet);
    planet.position.x = index * 400;
})

export default group;
按照这个半径画出来。
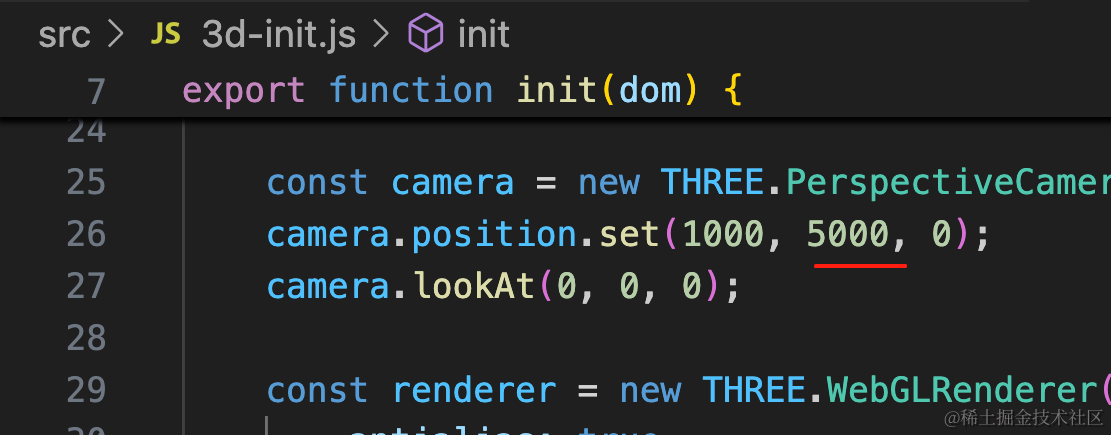
改一下相机位置:
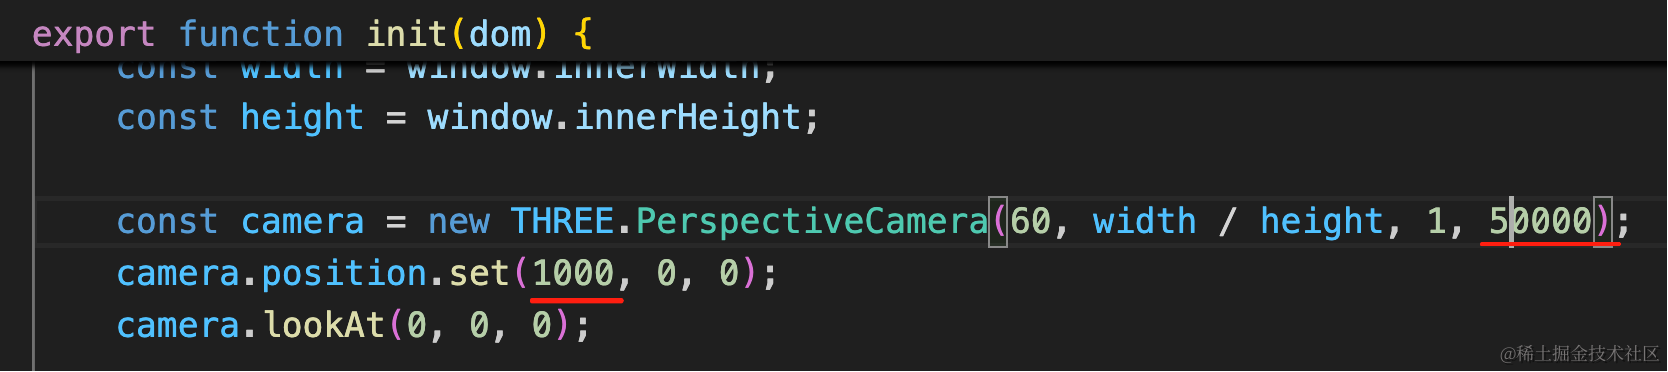
范围也放大一下
从水星外往太阳的方向看
真实的星球比例大小就是这样的。
每个星球的距离也不大一样,可以查一下真实的数据,等比例算一下
这里我们就不算真实的了,就假设间距一样大好了。
改成从上往下看的角度:

这样有的星球又太小,看不到。
我们把太小的给放大下:
import * as THREE from 'three';

const data = [
    {
        name: '太阳',
        radius: 1000,
        center: 0
    },
    {
        name: '水星',
        radius: 20
    },
    {
        name: '金星',
        radius: 34.8
    },
    {
        name: '地球',
        radius: 36.1
    },
    {
        name: '火星',
        radius: 23.9
    },
    {
        name: '木星',
        radius: 286.5
    },
    {
        name: '土星',
        radius: 238.6
    },
    {
        name: '天王星',
        radius: 104
    },
    {
        name: '海王星',
        radius: 101
    }
]

const group = new THREE.Group();

data.forEach((item, index) => {
    const geometry = new THREE.SphereGeometry(item.radius);
    const material = new THREE.MeshPhongMaterial({
        color: 'lightblue'
    });
    const planet = new THREE.Mesh(geometry, material);
    group.add(planet);
    planet.position.x = index * 700;
})

export default group;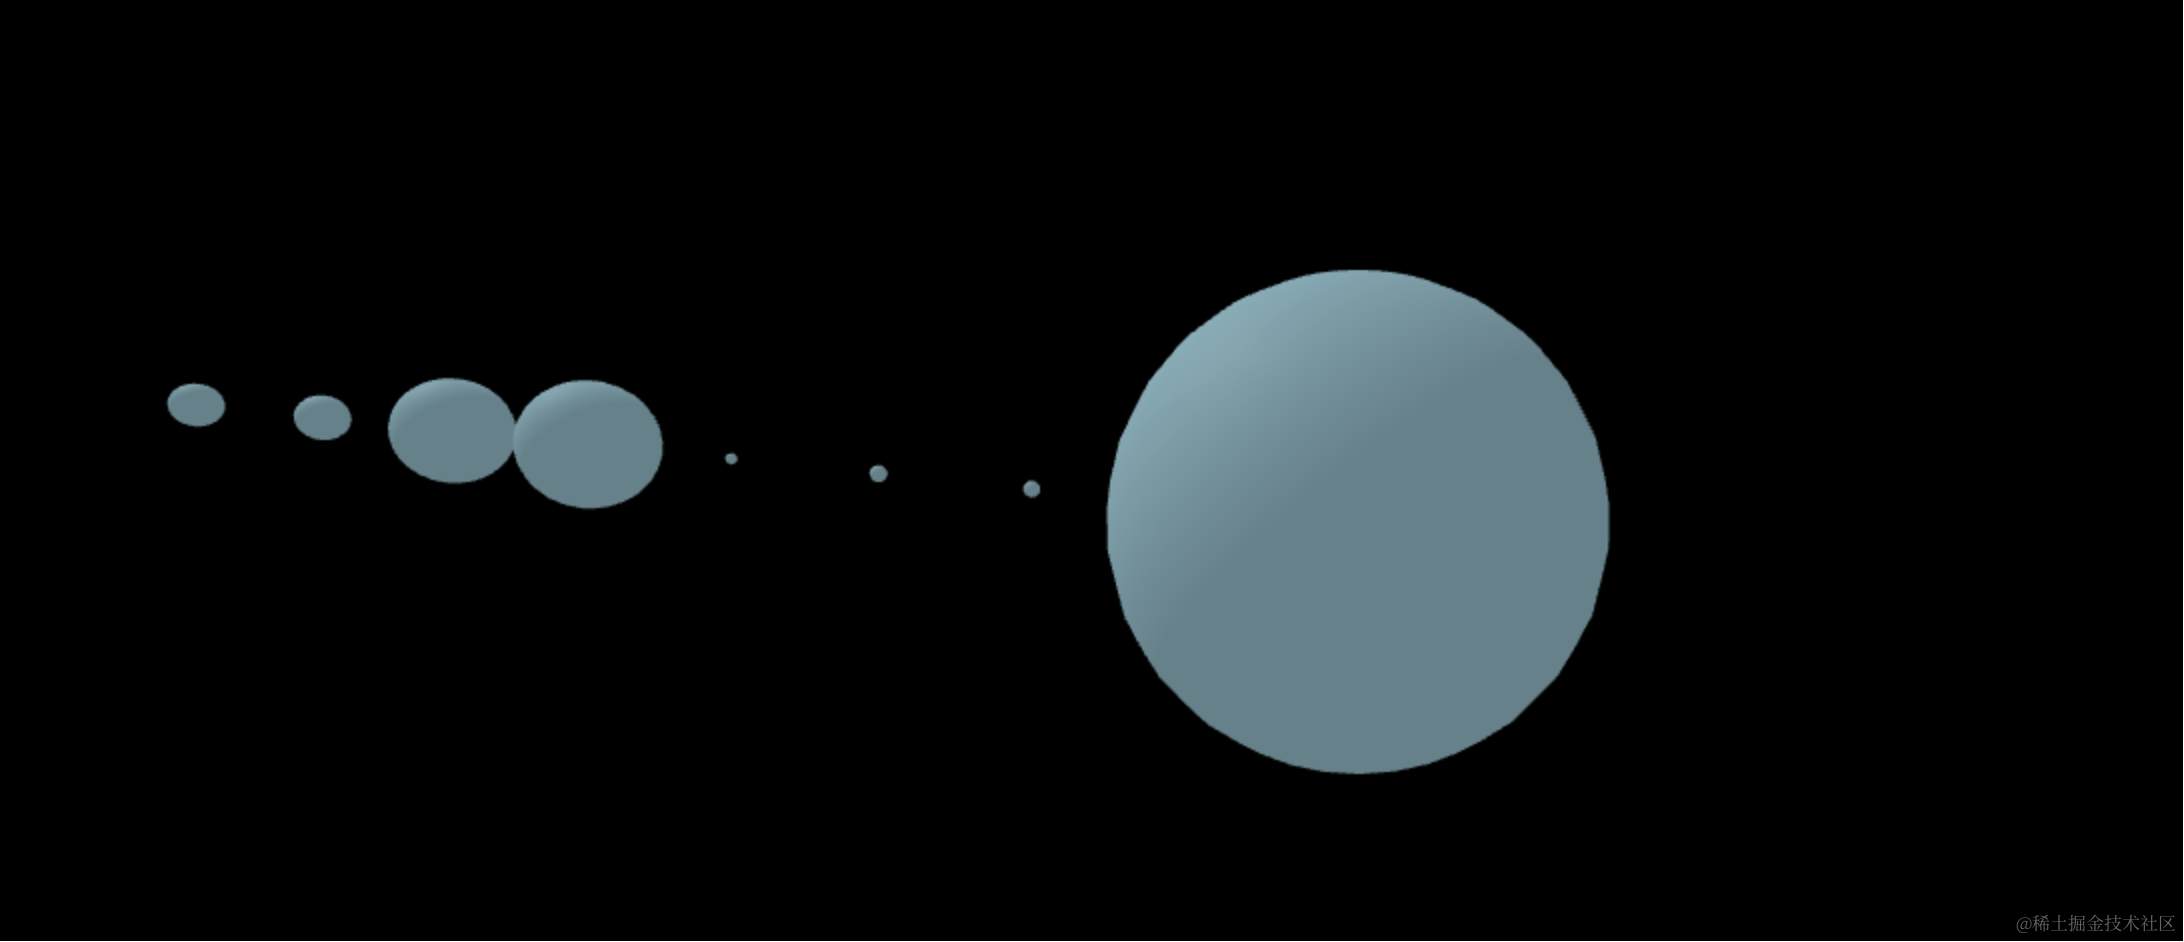
现在虽然和真实的有点差别,但都能看到了。
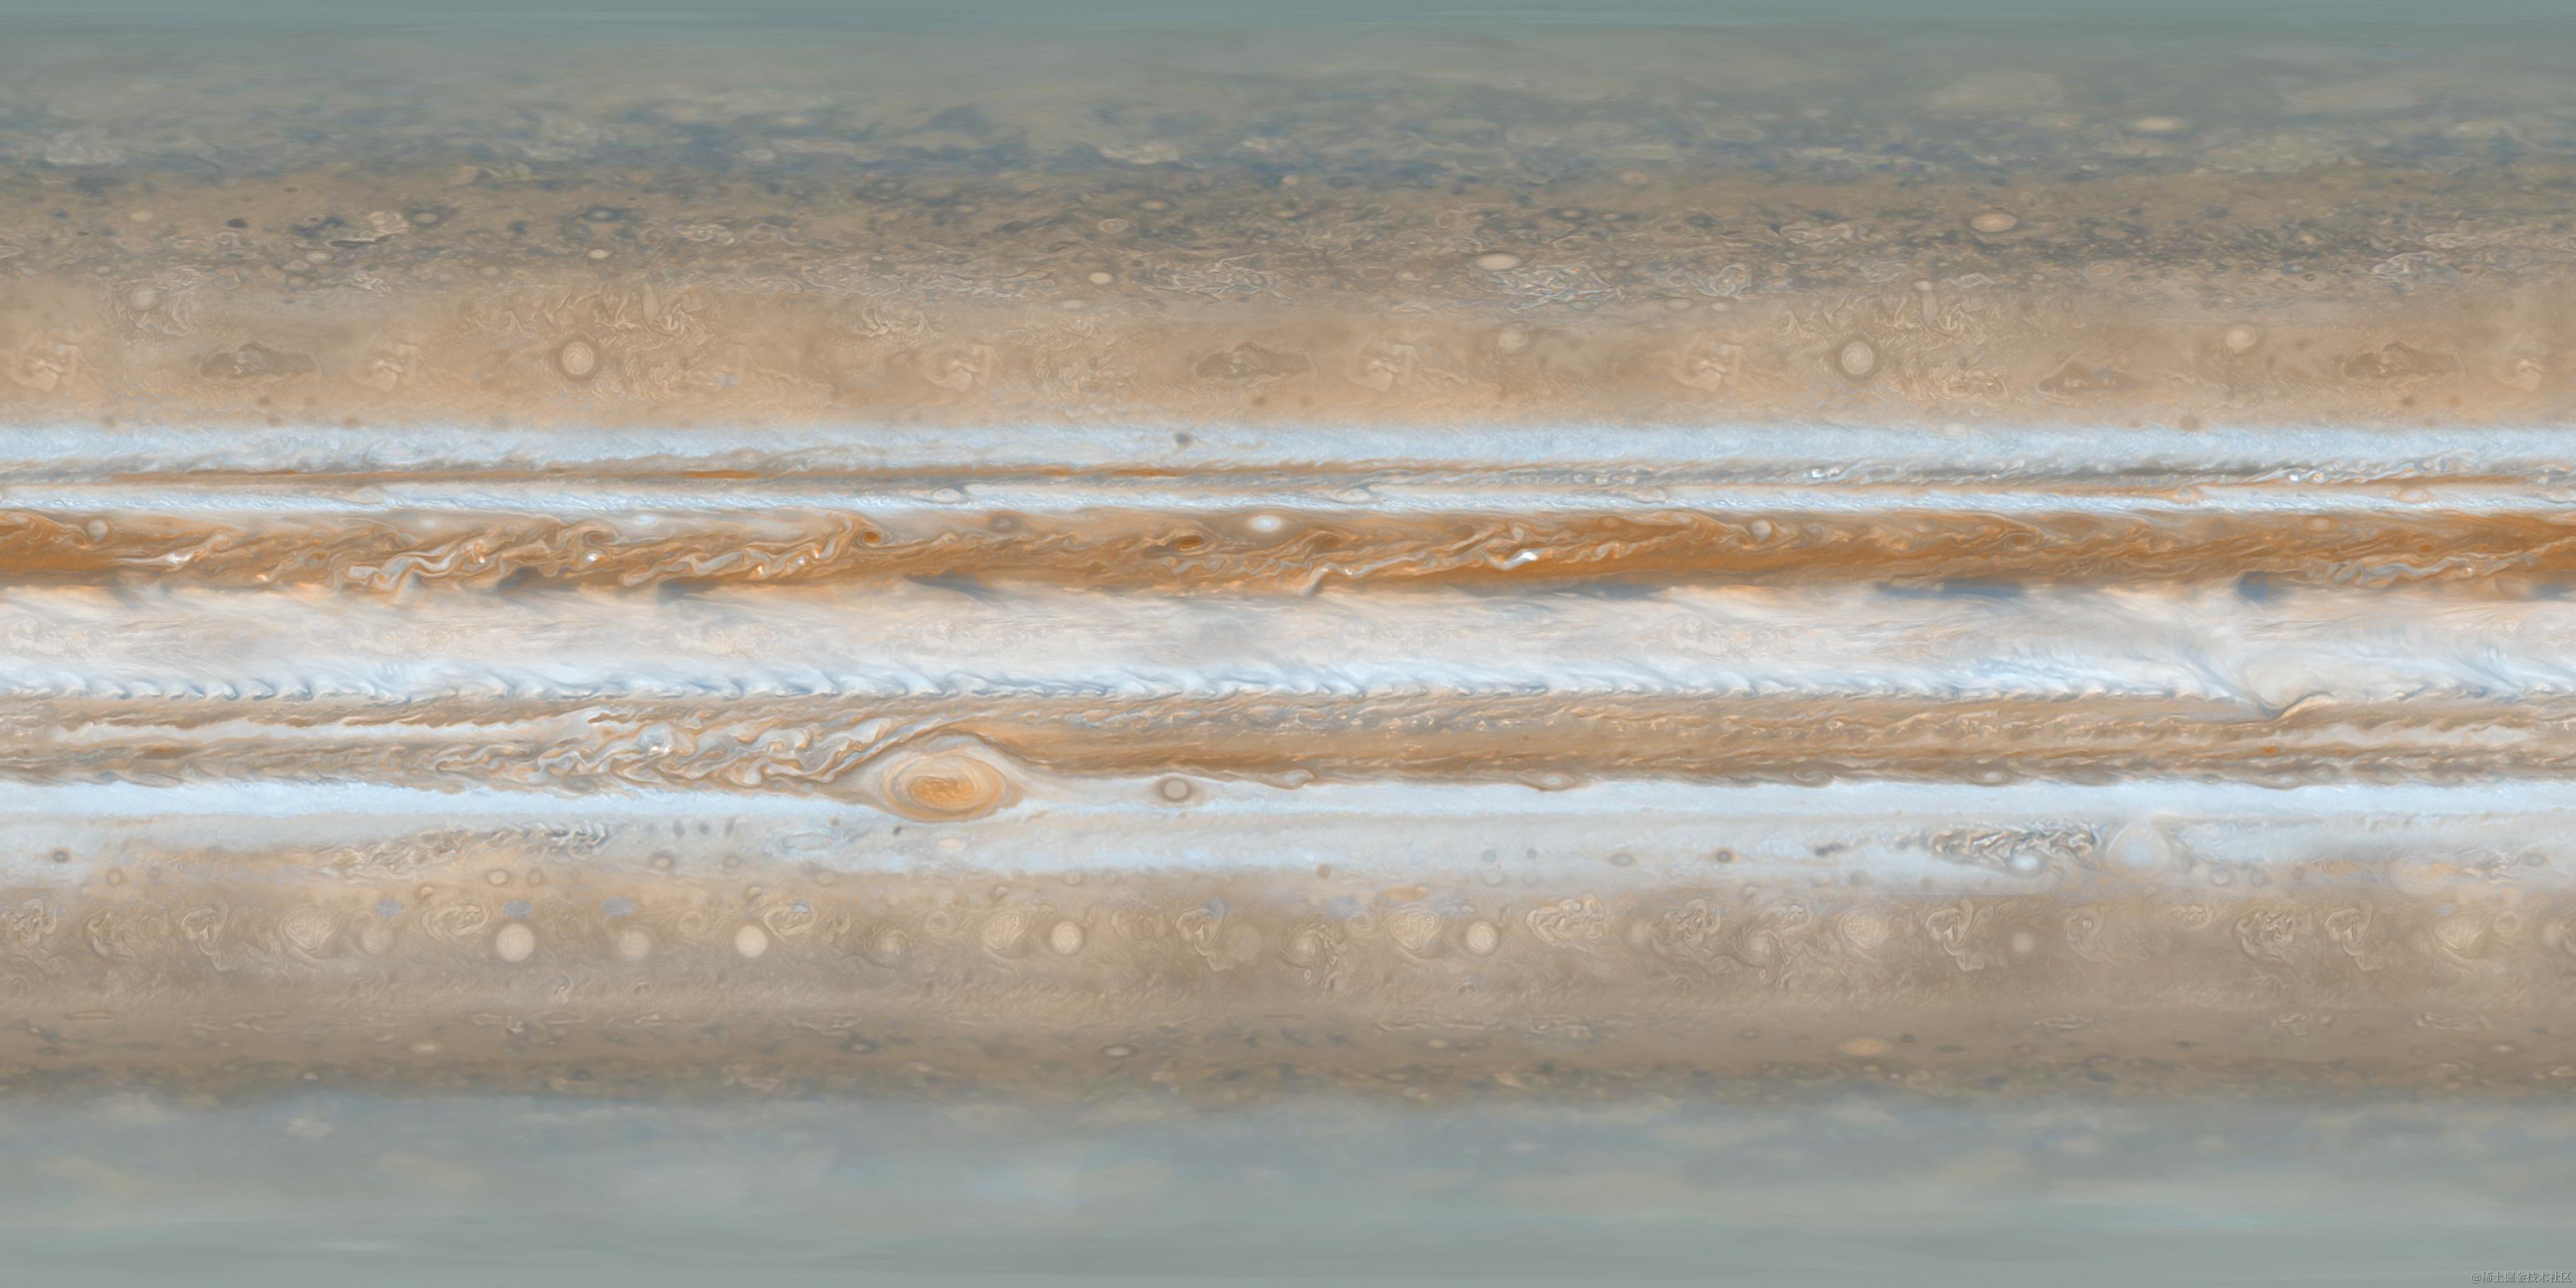
然后我们找下每个星球的纹理:
木星 jupiter.jpg
火星 mars.jpg

水星 mercury.jpg
海王星 neptune.jpg
土星 saturn.jpg
太阳 sun.jpg
天王星 uranus.jpg
金星 venus.jpg
地球 earth.jpg
把它们放到 public 目录下:
在代码里用一下:
import * as THREE from 'three';
import { texture } from 'three/tsl';
const data = [
{
name: '太阳',
radius: 1000,
texture: './sun.jpg'
},
{
name: '水星',
radius: 20,
texture: './mercury.jpg'
},
{
name: '金星',
radius: 34.8,
texture: './venus.jpg'
},
{
name: '地球',
radius: 36.1,
texture: './earth.jpg'
},
{
name: '火星',
radius: 23.9,
texture: './mars.jpg'
},
{
name: '木星',
radius: 286.5,
texture: './jupiter.jpg'
},
{
name: '土星',
radius: 238.6,
texture: './saturn.jpg'
},
{
name: '天王星',
radius: 104,
texture: './uranus.jpg'
},
{
name: '海王星',
radius: 101,
texture: './neptune.jpg'
}
]
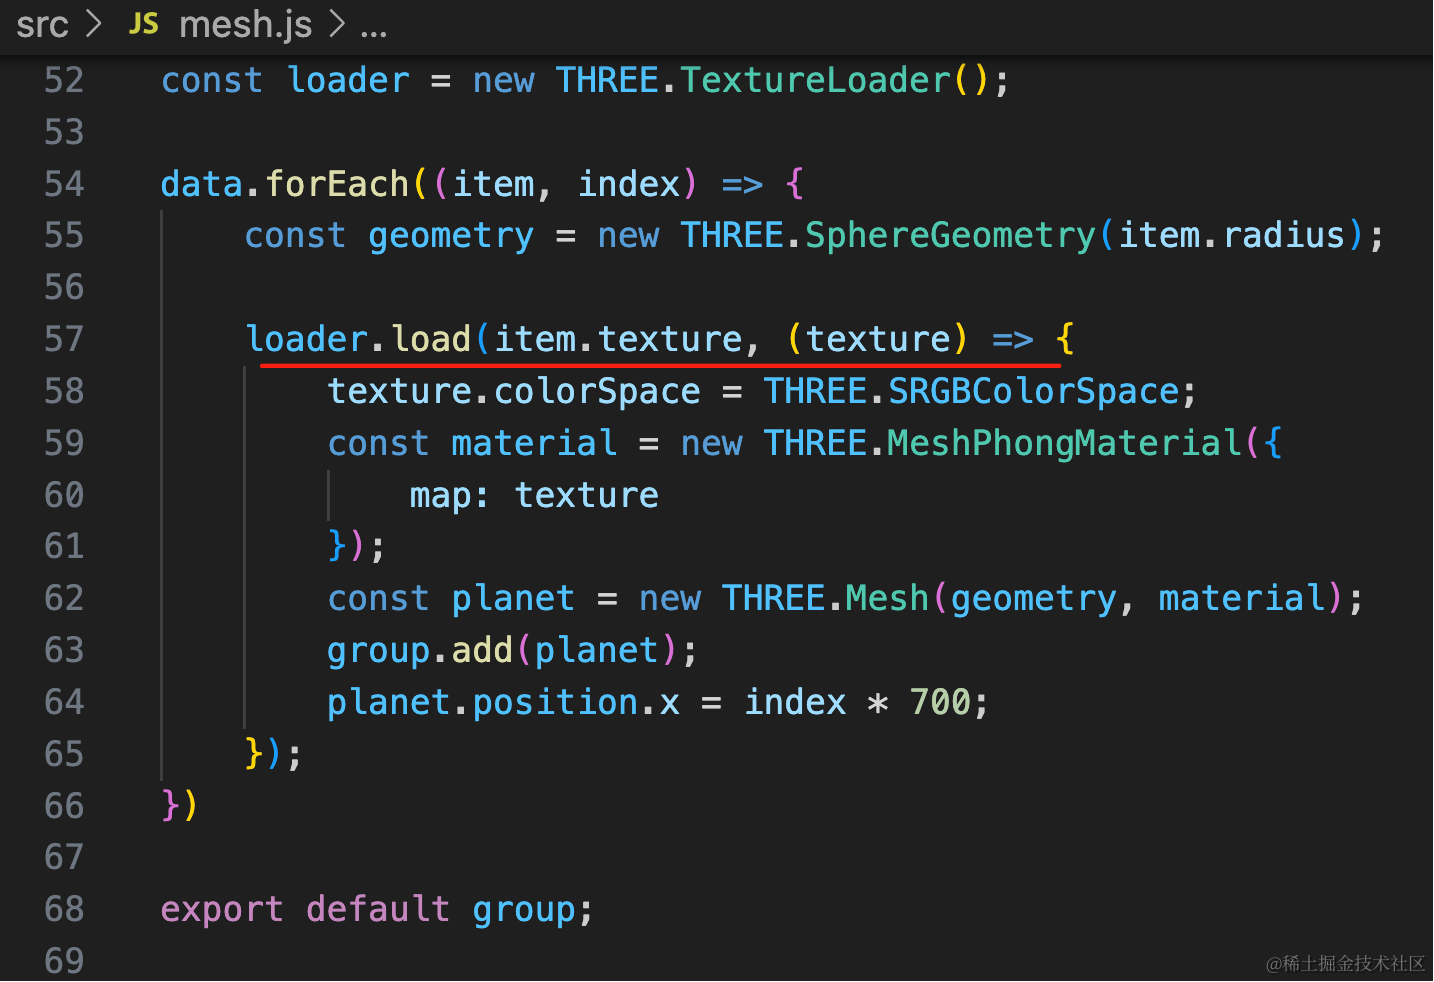
const group = new THREE.Group();
const loader = new THREE.TextureLoader();
data.forEach((item, index) => {
const geometry = new THREE.SphereGeometry(item.radius);
loader.load(item.texture, (texture) => {
texture.colorSpace = THREE.SRGBColorSpace;
const material = new THREE.MeshPhongMaterial({
map: texture
});
const planet = new THREE.Mesh(geometry, material);
group.add(planet);
planet.position.x = index * 700;
});
})
export default group;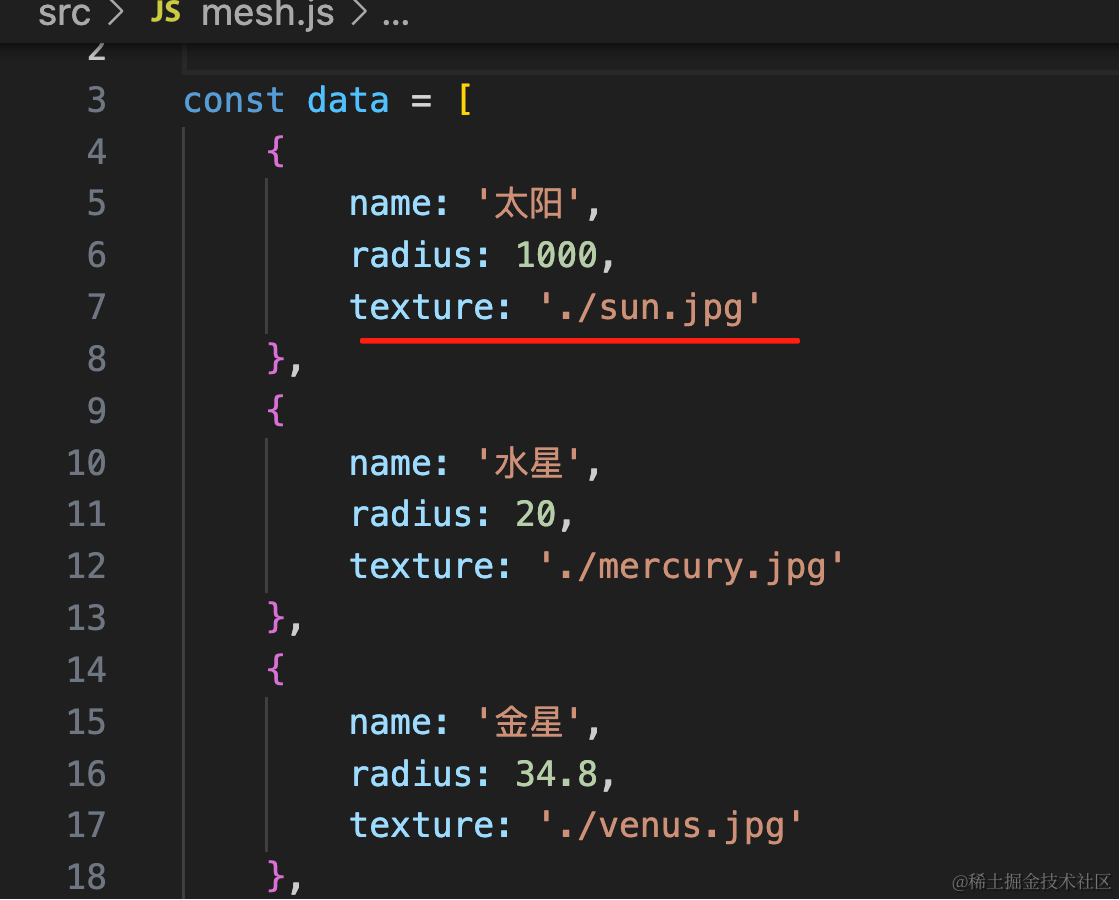
看下效果:
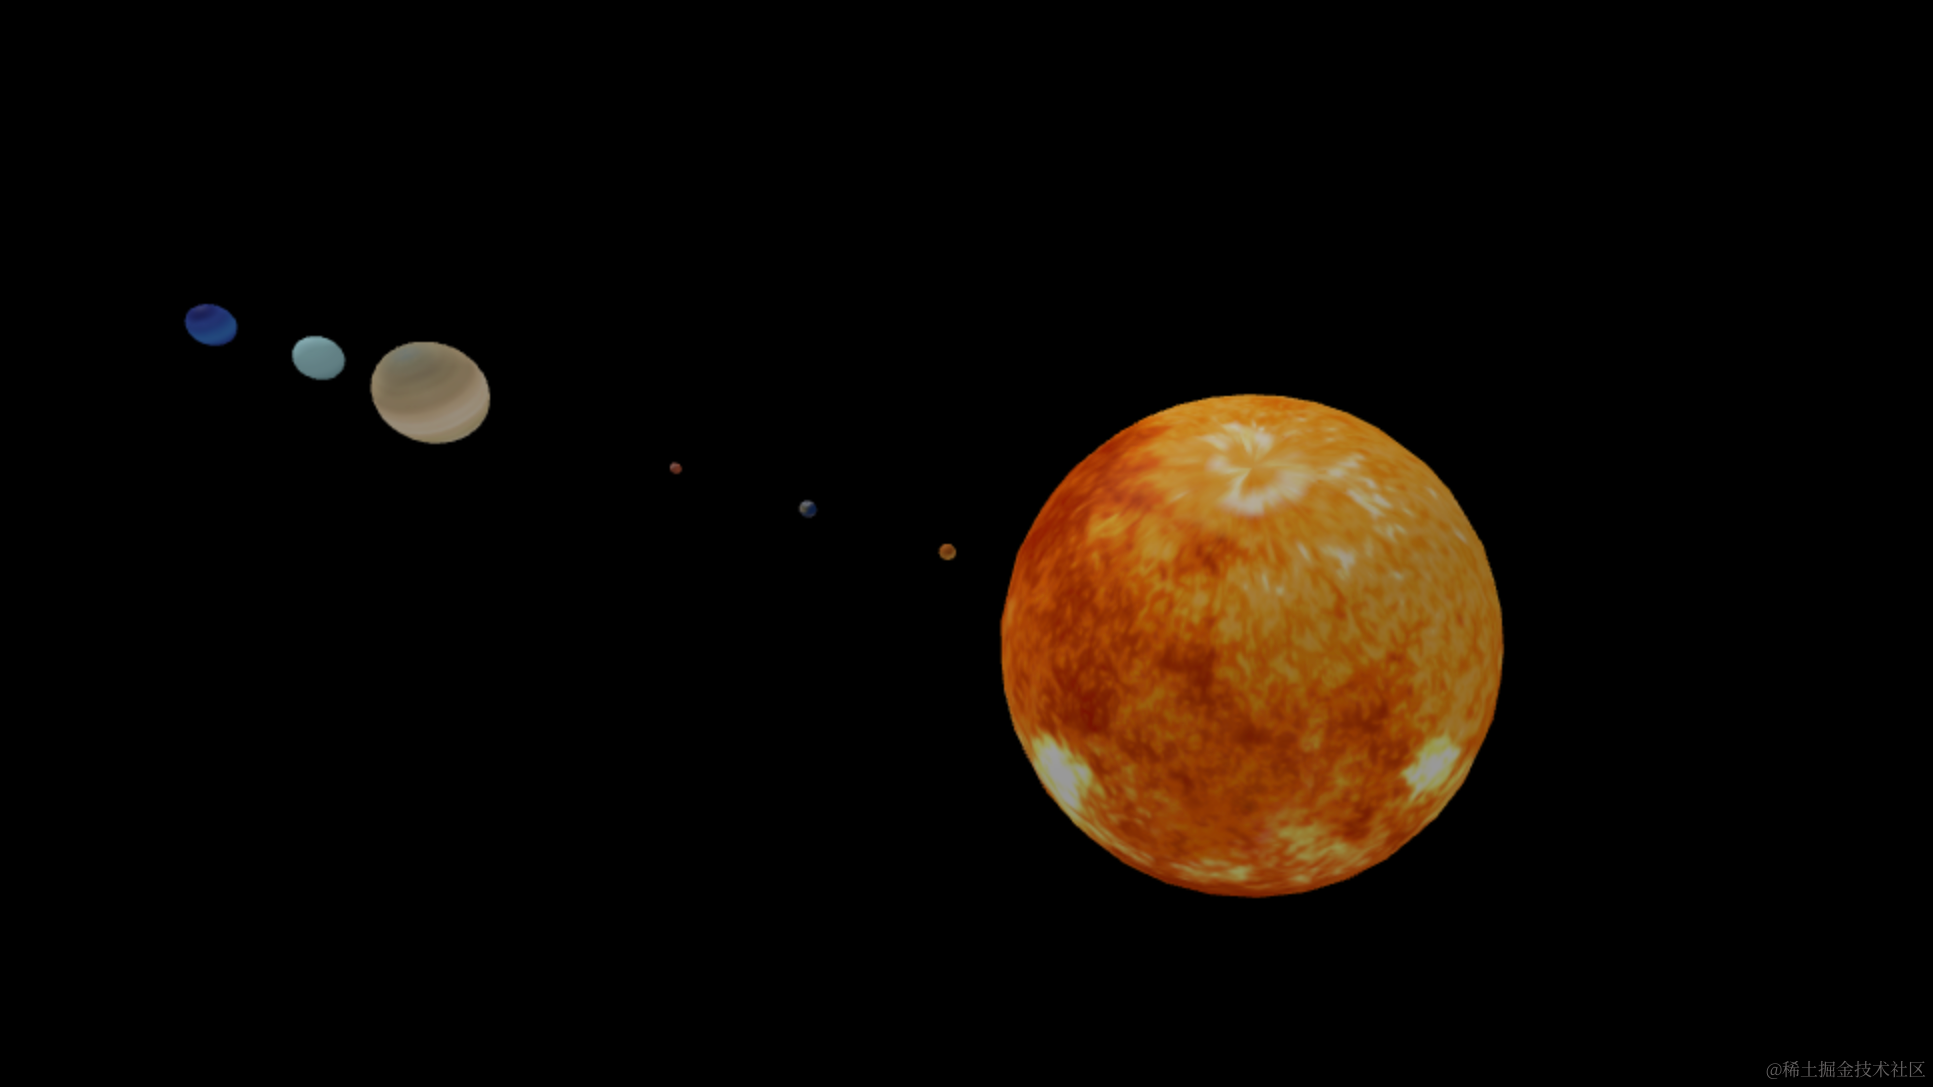
这样,9 个星球就画出来了。
案例代码上传了小册仓库
总结
这节我们开始做星系 3D 科普网站。
这节我们把 9 个星球画了出来,按照真实的大小比例,并且做了一些调整,不然差距太大。
然后分别给它们加上了不同的纹理图片。
下节我们把星轨画出来,并且加上公转、自传。