前面用表面采样器 Mesh 实现了点云效果:
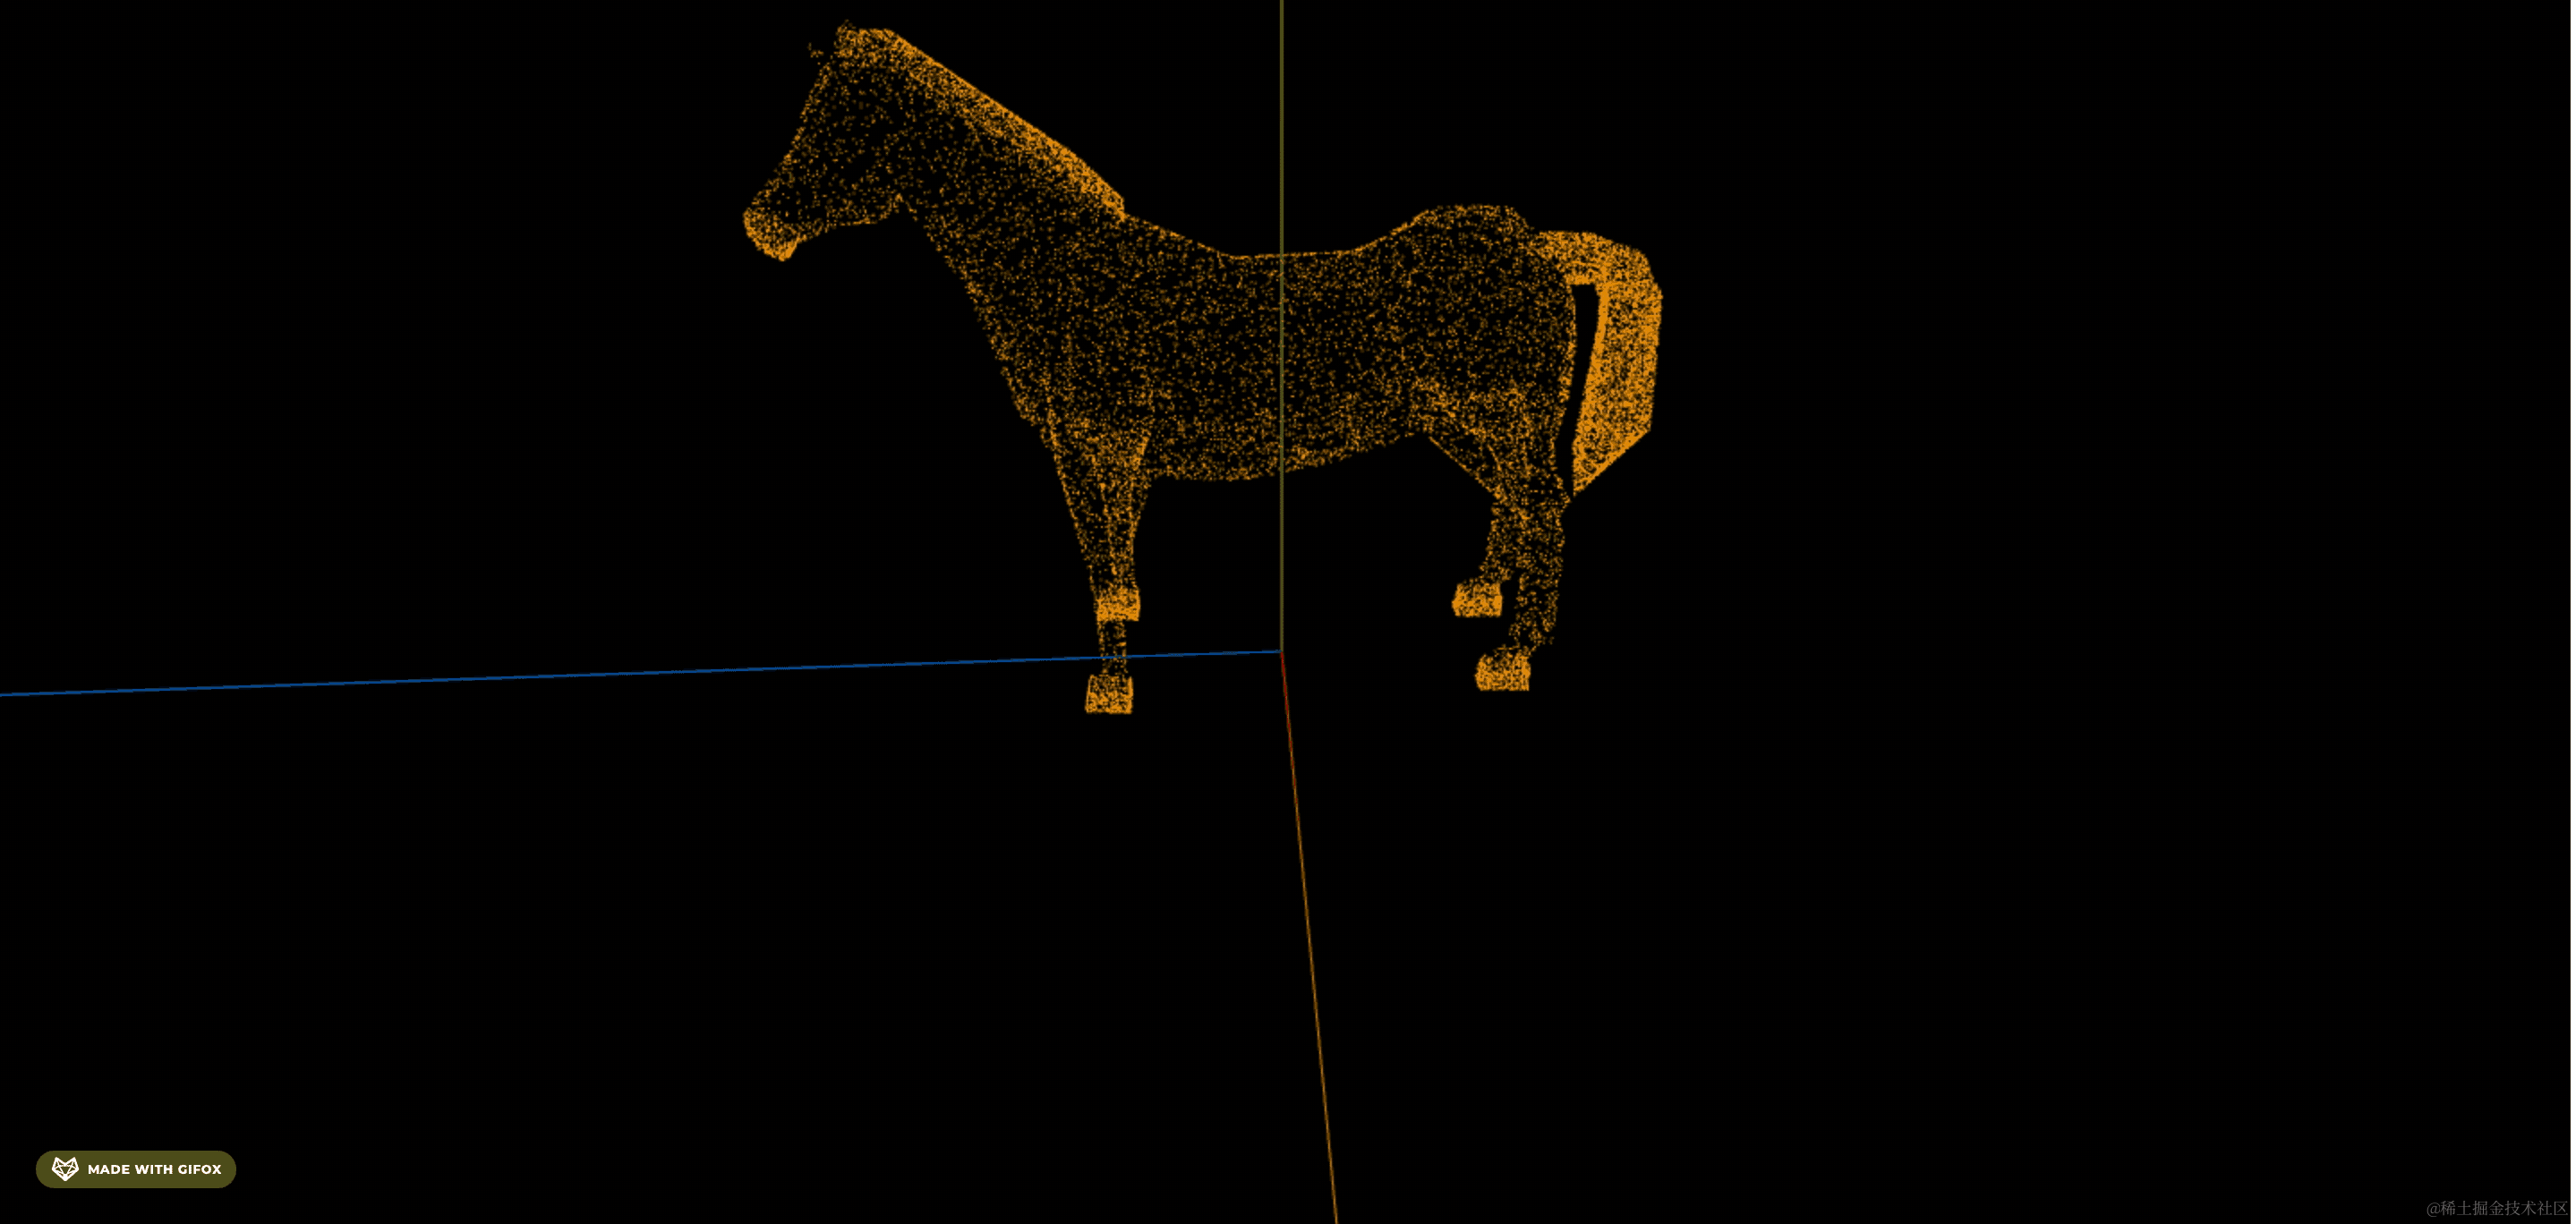
但并不是说这个是点云,一般点云是由大量的点的数据渲染出来的。
我们这个只是在物体表面通过采样点来实现的这种效果。
表面采样器可以用来做更多的效果
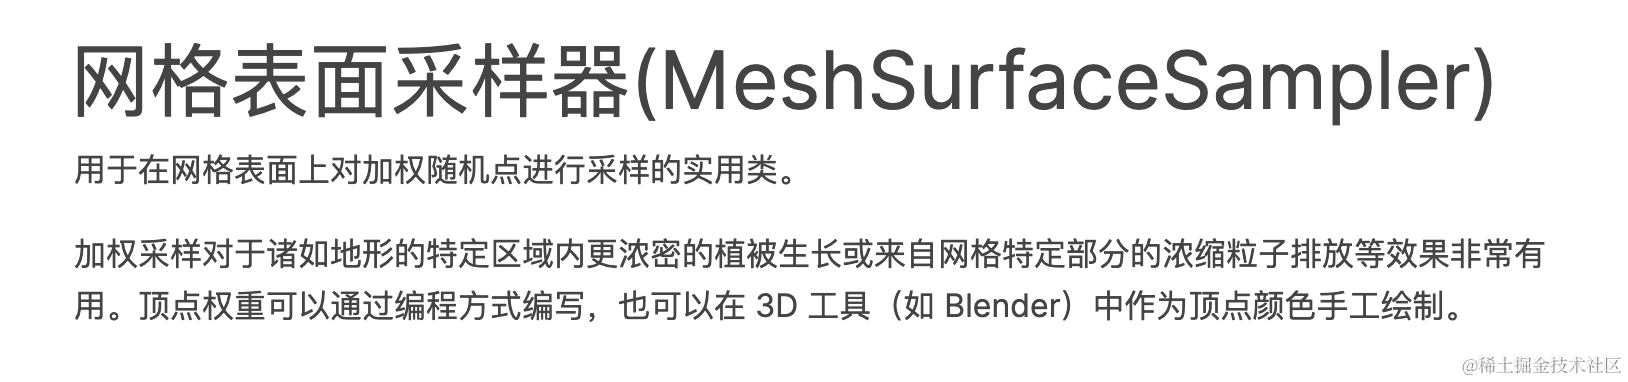
比如山坡上长满鲜花,这个位置是不是随机的?
那就可以用 MeshSurfaceSampler 在山坡表面采样,然后在采样位置种上鲜花。
比如这个官方的例子:
https://threejs.org/examples/#webgl_instancing_scatter

你想想如果自己实现在这个物体表面的随机位置找一些点,是不是很麻烦?
这种场景,用表面采样器就很适合。
我们来写一下:
npx create-vite point-cloud2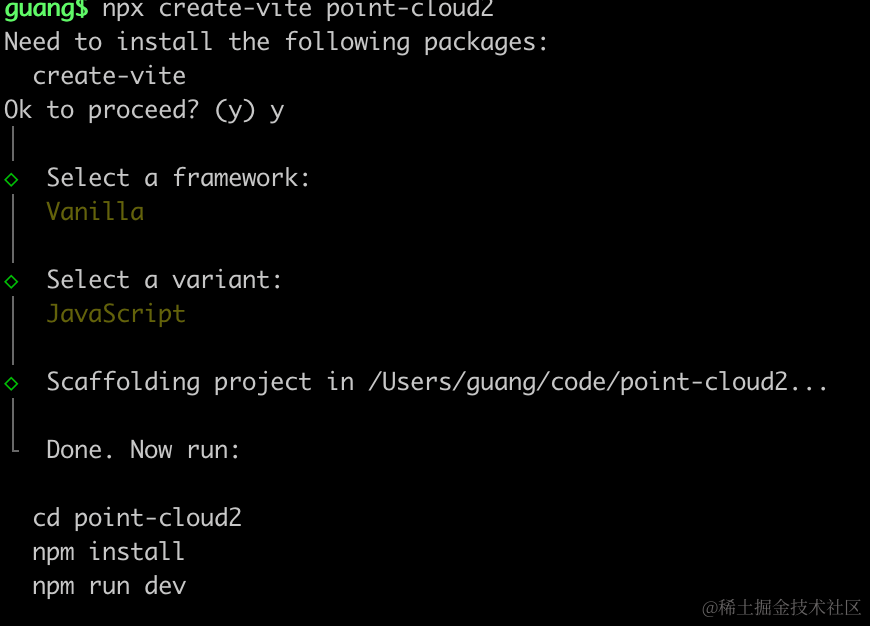
进入项目,安装依赖:
pnpm install
pnpm install --save three
pnpm install --save-dev @types/three
先写下基础代码:
改下 src/main.js
import './style.css';
import * as THREE from 'three';
import {
    OrbitControls
} from 'three/addons/controls/OrbitControls.js';
import mesh from './mesh.js';

const scene = new THREE.Scene();

scene.add(mesh);

const light = new THREE.DirectionalLight(0xffffff);
light.position.set(500, 300, 600);
scene.add(light);

const light2 = new THREE.AmbientLight();
scene.add(light2);

const axesHelper = new THREE.AxesHelper(1000);
scene.add(axesHelper);

const width = window.innerWidth;
const height = window.innerHeight;

const camera = new THREE.PerspectiveCamera(60, width / height, 1, 10000);
camera.position.set(0, 500, 500);
camera.lookAt(0, 0, 0);

const renderer = new THREE.WebGLRenderer({
  antialias: true
});
renderer.setSize(width, height)

function render() {
    renderer.render(scene, camera);
    requestAnimationFrame(render);
}

render();

document.body.append(renderer.domElement);

const controls = new OrbitControls(camera, renderer.domElement);
创建 Scene、Light、Camera、Renderer
改下 style.css
body {
    margin: 0;
}
然后创建 mesh.js
import * as THREE from 'three';
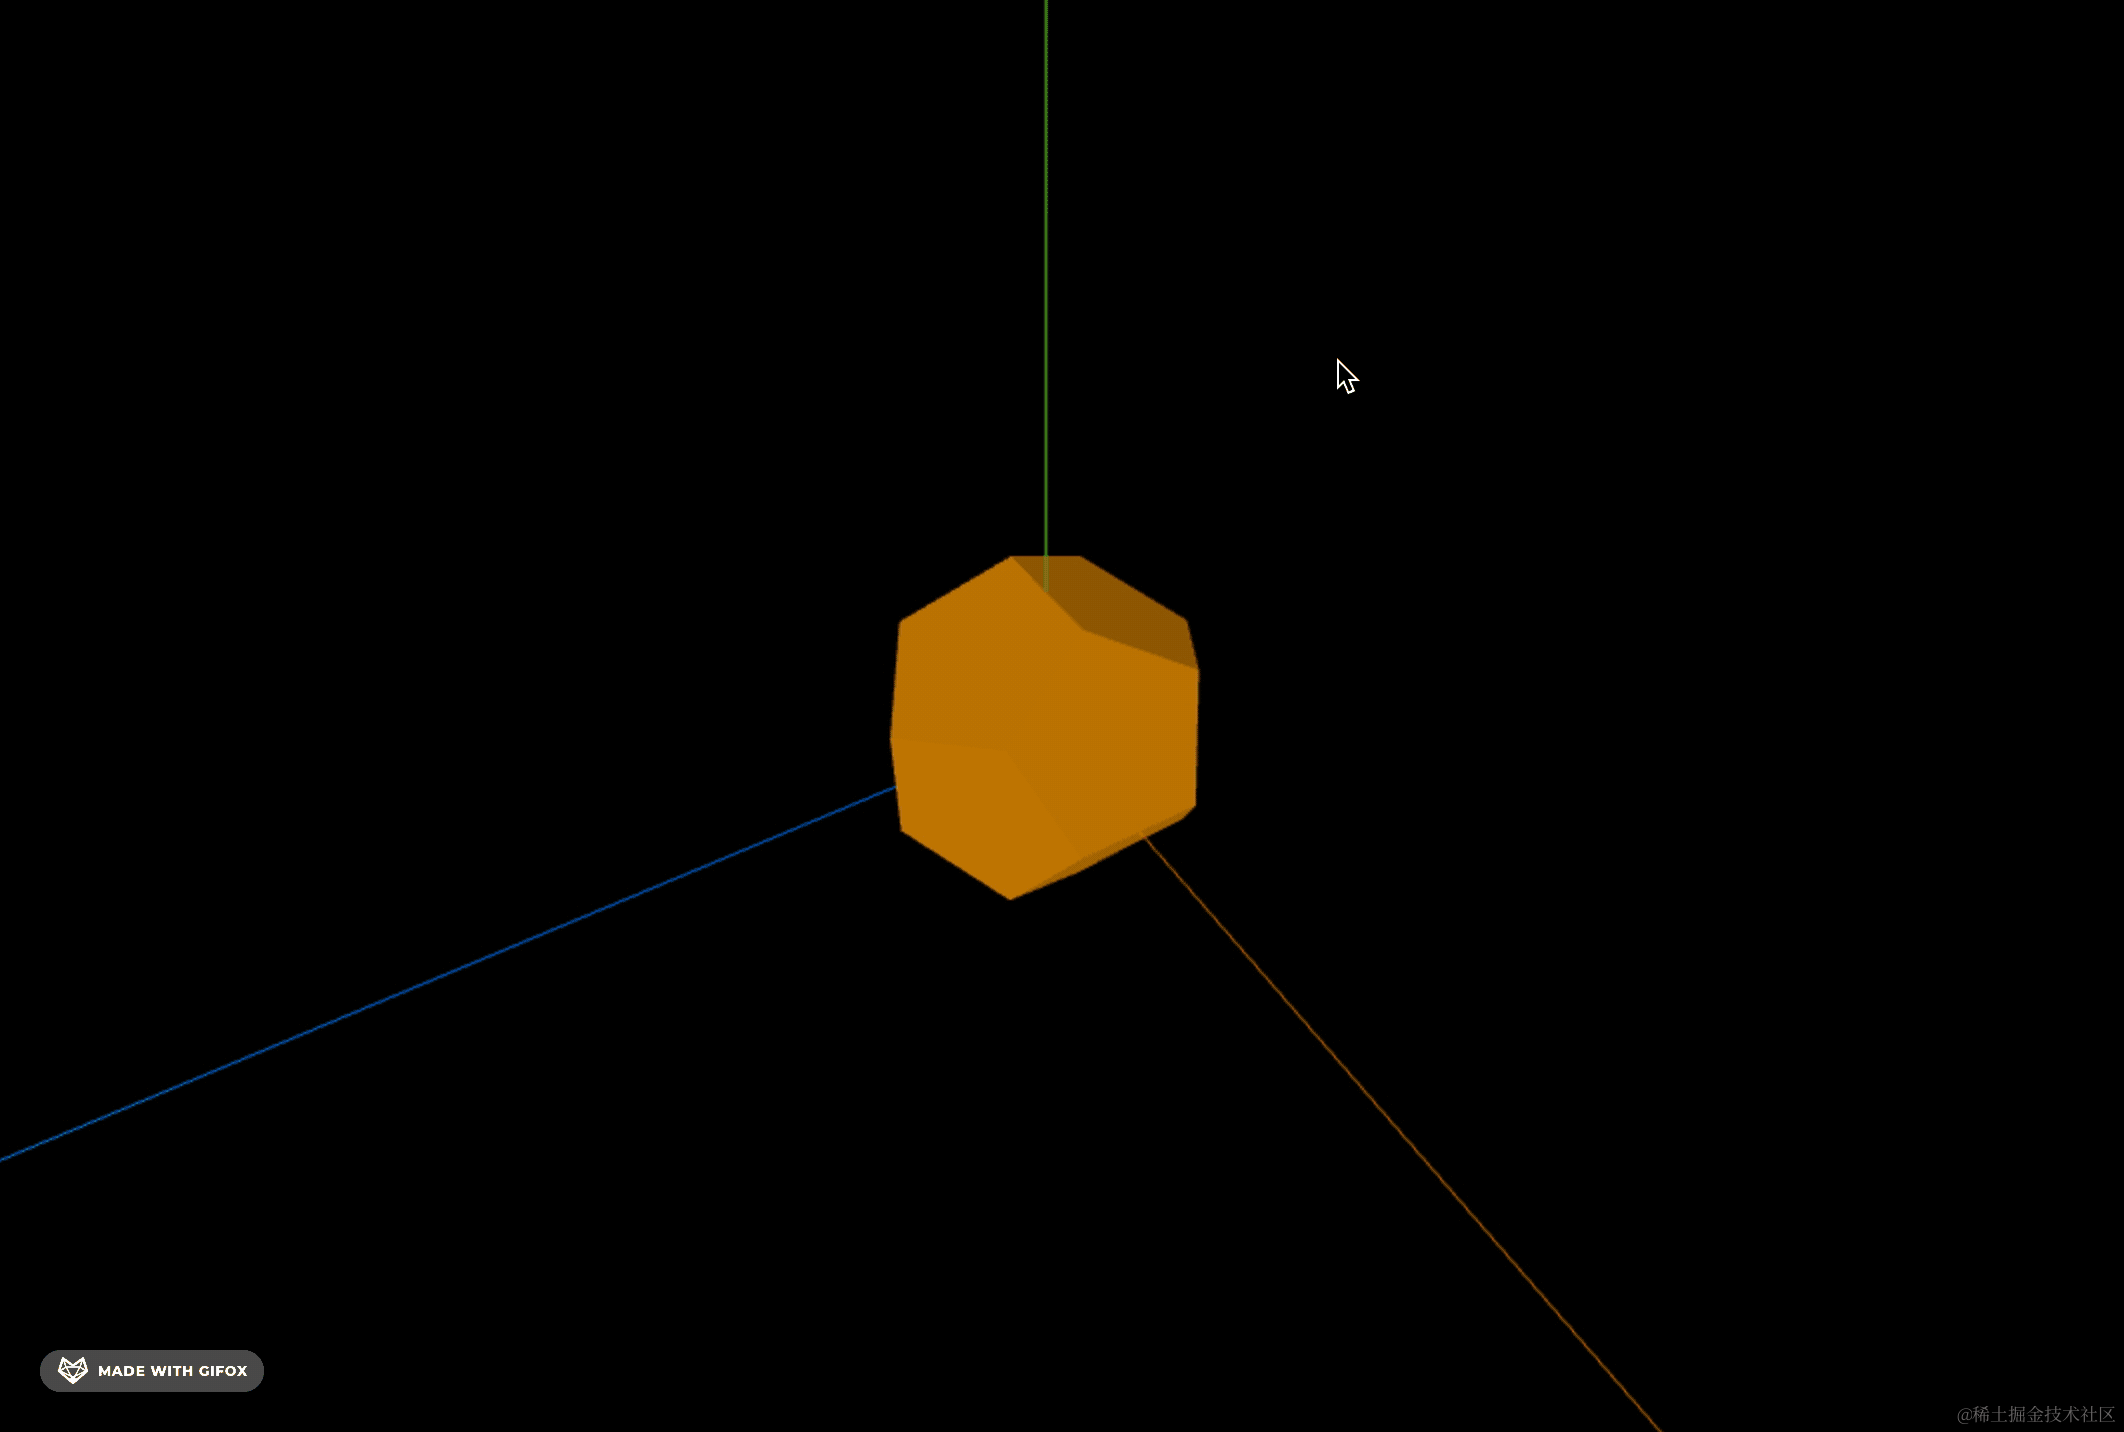
const geometry = new THREE.DodecahedronGeometry(100);
const material = new THREE.MeshPhongMaterial({
color: 'orange'
})
const mesh = new THREE.Mesh(geometry, material);
export default mesh;画个十二面缓冲几何体
跑一下:
npm run dev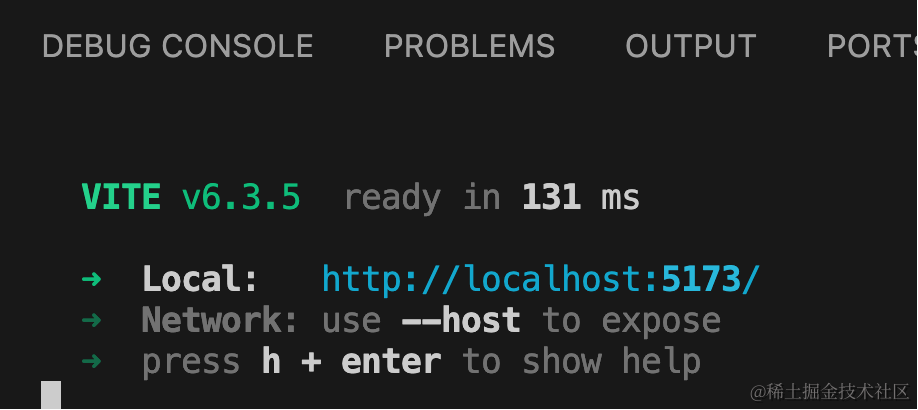
然后用 MeshSurfaceSampler 在表面采样 1000 个点:
const sampler = new MeshSurfaceSampler(mesh).build();

const vertices = [];
const position = new THREE.Vector3();
for (let i = 0; i < 1000; i++) {
    sampler.sample(position);
    vertices.push(position.x, position.y, position.z);
}

const bufferGeometry = new THREE.BufferGeometry();
bufferGeometry.setAttribute(
    'position',
    new THREE.Float32BufferAttribute(vertices, 3),
);
const pointMaterial = new THREE.PointsMaterial({
    size: 1,
    color: 'blue'
});
const pointCloud = new THREE.Points(bufferGeometry, pointMaterial);
mesh.add(pointCloud);
用点模型画出来。

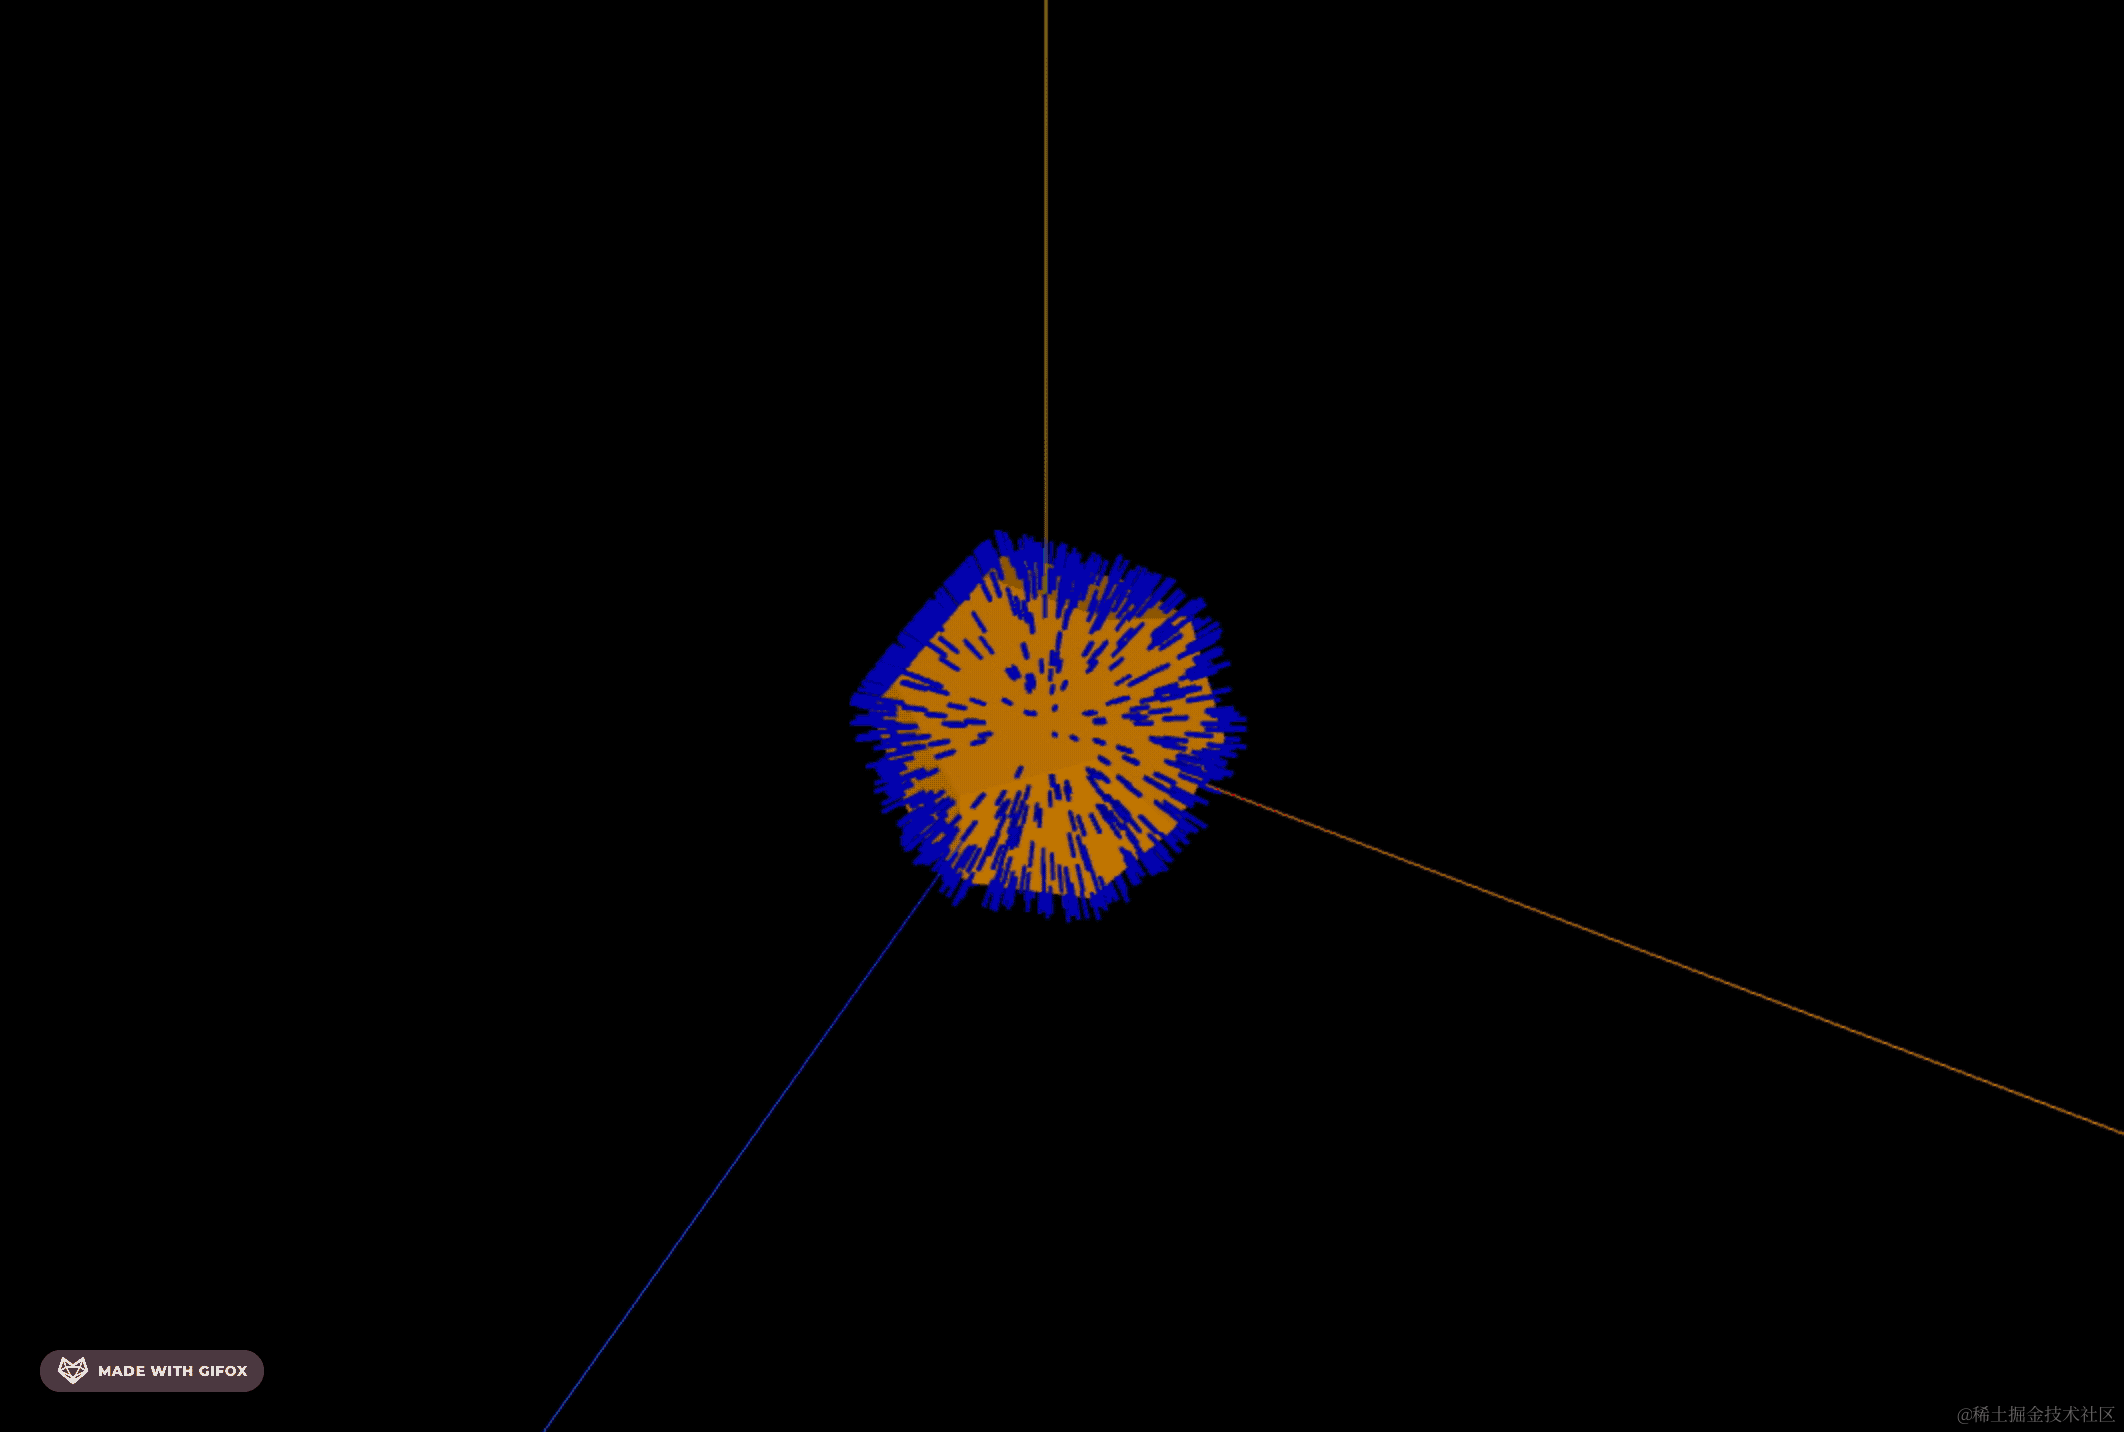
这里当然也可以不用点模型,而是直接在那些采样点的位置创建一些物体:

const cubeGeometry = new THREE.BoxGeometry(2, 2, 30);
const cubeMaterial = new THREE.MeshPhongMaterial({
    color: 'blue'
});

const cubesGroup = new THREE.Group();

for (let i = 0; i < vertices.length; i += 3) {
    const cube = new THREE.Mesh(cubeGeometry, cubeMaterial);
    const position = new THREE.Vector3(vertices[i], vertices[i + 1], vertices[i + 2]);
    cube.position.copy(position);

    cubesGroup.add(cube);
}

mesh.add(cubesGroup);
这里我们在每个采样点的位置创建一个立方体。
看下效果:
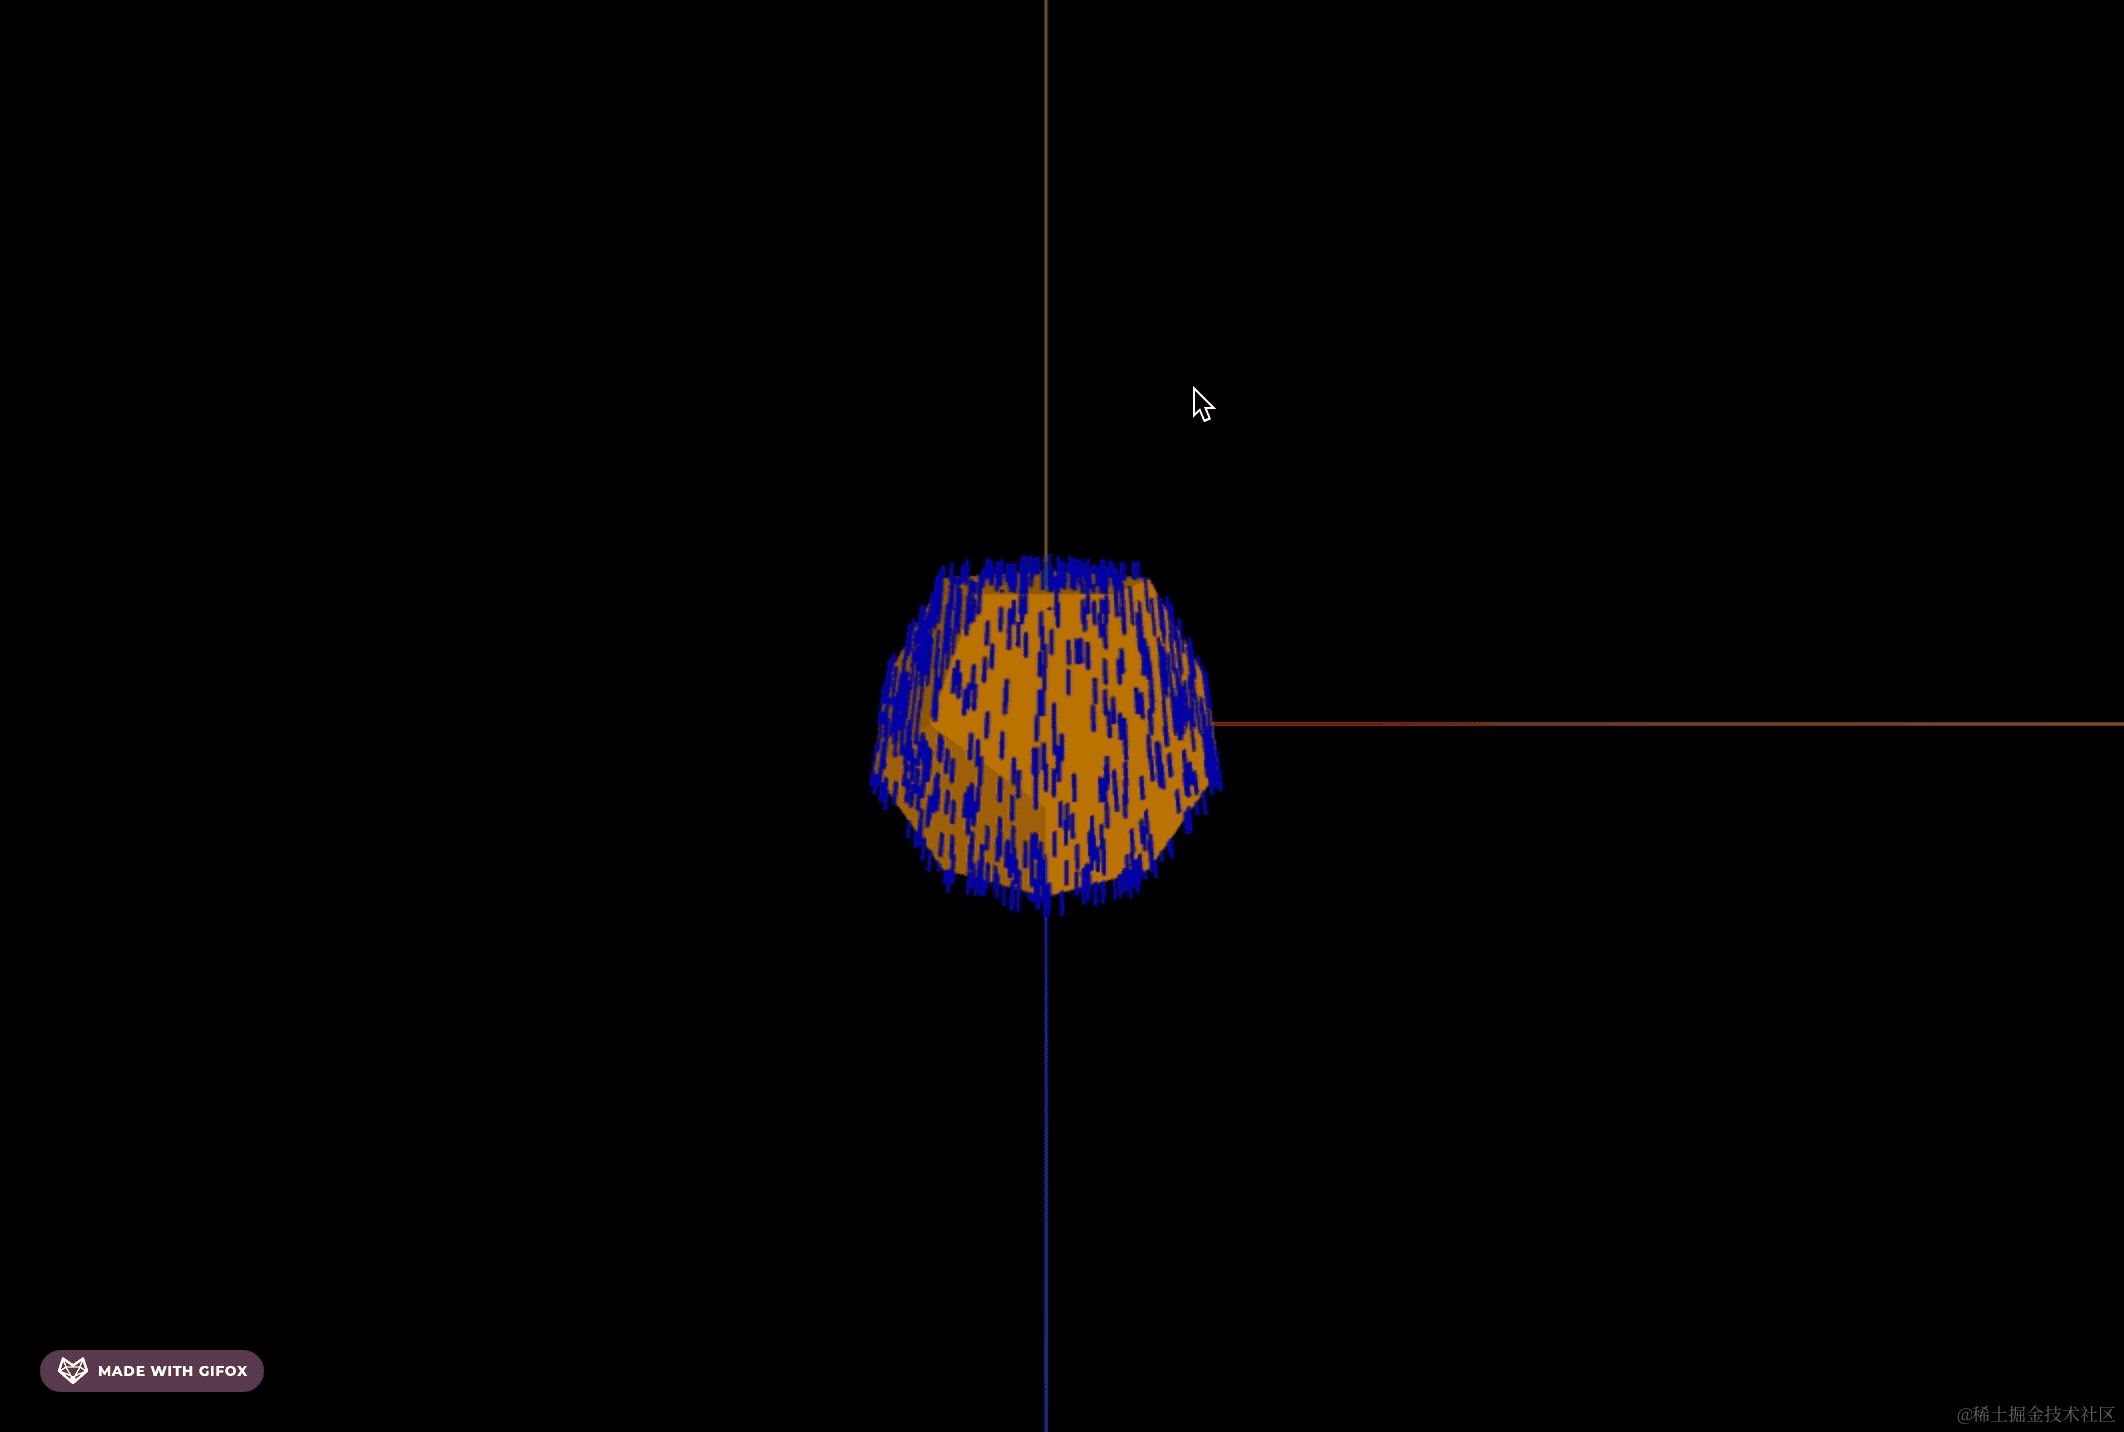
立方体是都绘制出来了,但是方向不是朝外的。
这里每个点的方向其实就是 0,0,0 到那个位置的向量的方向,也就是 verticles 数组里的每个向量。

const normal = position.clone().normalize();
cube.lookAt(normal);
这里我们把向量 normalize 归一化成单位向量,就是方向。
然后 cube.lookAt 这个方向向量,就是把立方体方向调成这个朝向。
这样我们就在采样点的位置画了一个个立方体。
案例代码上传了小册仓库
总结
前面我们用表面采样器实现过点云效果,但它其实更主要的作用是在采样点绘制一些物体,比如漫山遍野的鲜花。
这节我们在采样点画了一些立方体,要注意的是方向向量就是每个采样点向量的 normalize 的结果,让物体 lookAt 那个向量就可以了。
后面遇到需要在物体表面采样的需求,都可以用 MeshSurfaceSampler 来做。