3D 场景直接加载出来有点平平无奇,如果加上一个入场动画会体验更好:
比如上面是金铲铲的一个棋盘的入场动画。
是不是平平无奇的一个3D棋盘,加上入场动画后瞬间高大上了?
我们也来做一个入场动画。
之前我们做过一个穿梭隧道的效果:

穿梭时空隧道后进入 3D 场景,是不是也是一个不错的体验呢?
我们这节就来做这个入场动画。
npx create-vite tube-entry-animation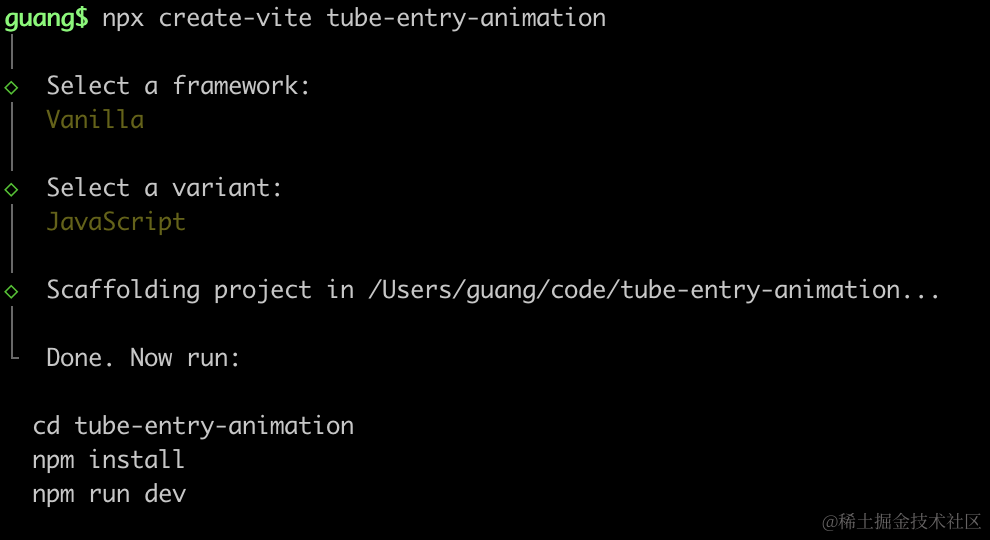
进入项目,安装依赖:
npm install
npm install --save three
npm install --save-dev @types/three
改下 src/main.js
import './style.css';
import * as THREE from 'three';
import {
    OrbitControls
} from 'three/addons/controls/OrbitControls.js';
import mesh from './mesh.js';

const scene = new THREE.Scene();

scene.add(mesh);

const directionLight = new THREE.DirectionalLight(0xffffff, 2);
directionLight.position.set(500, 400, 300);
scene.add(directionLight);

const ambientLight = new THREE.AmbientLight();
scene.add(ambientLight);

const width = window.innerWidth;
const height = window.innerHeight;

const helper = new THREE.AxesHelper(500);
// scene.add(helper);

const camera = new THREE.PerspectiveCamera(60, width / height, 0.1, 10000);
camera.position.set(200, 800, 800);
camera.lookAt(0, 0, 0);

const renderer = new THREE.WebGLRenderer();
renderer.setSize(width, height)

function render() {
    renderer.render(scene, camera);
    requestAnimationFrame(render);
}

render();

document.body.append(renderer.domElement);

const controls = new OrbitControls(camera, renderer.domElement);
创建 Scene、Light、Camera、Renderer。
改下 style.css
body {
  margin: 0;
}
然后创建 mesh.js
import * as THREE from 'three';

const planeGeometry = new THREE.PlaneGeometry(1000, 1000);
const planeMaterial = new THREE.MeshLambertMaterial({
    color: new THREE.Color('skyblue')
});

const plane = new THREE.Mesh(planeGeometry, planeMaterial);
plane.rotateX(- Math.PI / 2);
plane.position.y = -50;

const boxGeometry = new THREE.BoxGeometry(100, 100, 100);
const boxMaterial = new THREE.MeshLambertMaterial({
    color: new THREE.Color('orange')
});
const box = new THREE.Mesh(boxGeometry, boxMaterial);

const box2 = box.clone();
box2.position.x = 200;

const  mesh = new THREE.Group();
mesh.add(plane);
mesh.add(box);
mesh.add(box2);

export default mesh;
一个平面,上面放了两个立方体。
跑一下:
npm run dev
是这样的一个场景:
然后我们加一个入场动画用的管道:
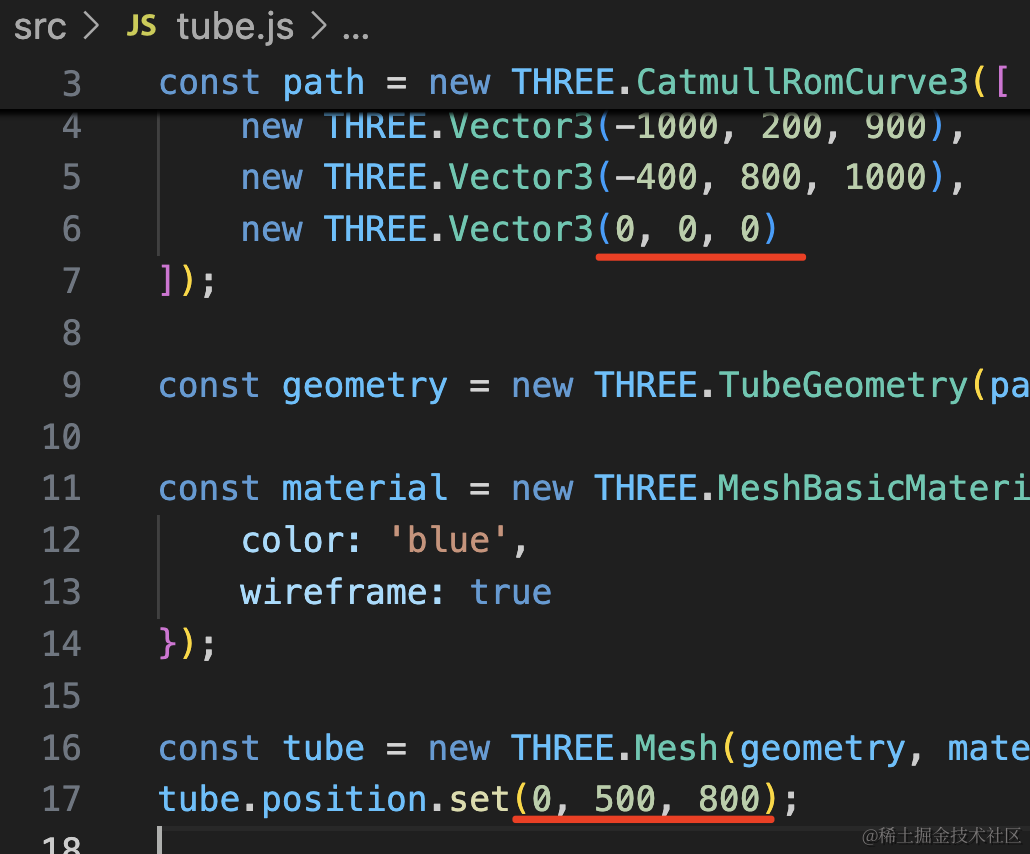
创建 src/tube.js
import * as THREE from 'three';
const path = new THREE.CatmullRomCurve3([
new THREE.Vector3(-1000, 200, 900),
new THREE.Vector3(-400, 800, 1000),
new THREE.Vector3(0, 0, 0)
]);
const geometry = new THREE.TubeGeometry(path, 100, 50, 30);
const material = new THREE.MeshBasicMaterial({
color: 'blue',
wireframe: true
});
const tube = new THREE.Mesh(geometry, material);
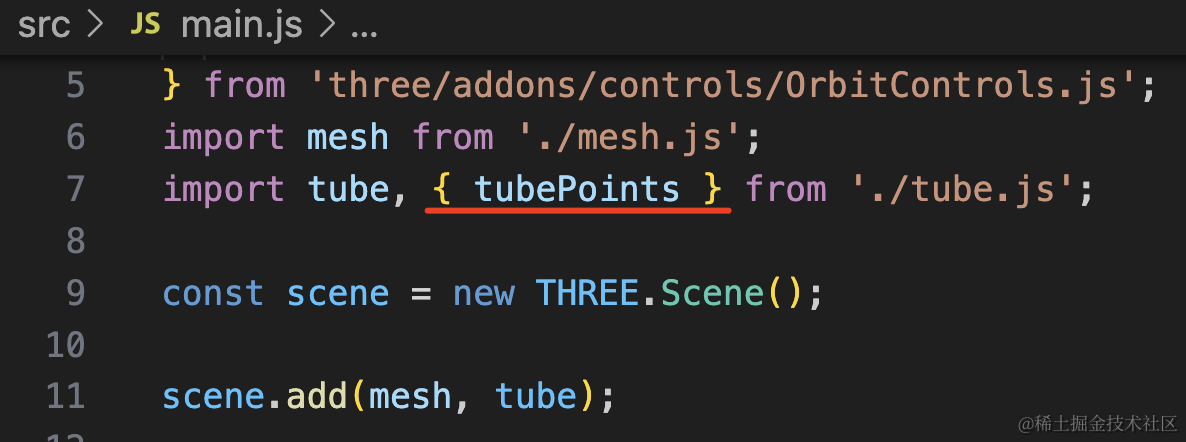
export const tubePoints = path.getSpacedPoints(1000);
export default tube;用三维样条曲线 + TubeGeometry 管道几何体创建一个管道。
注意,曲线的结束点一定是 0,0,0 这样管道出来相机才会正对着 3D 场景。
引入看下效果:
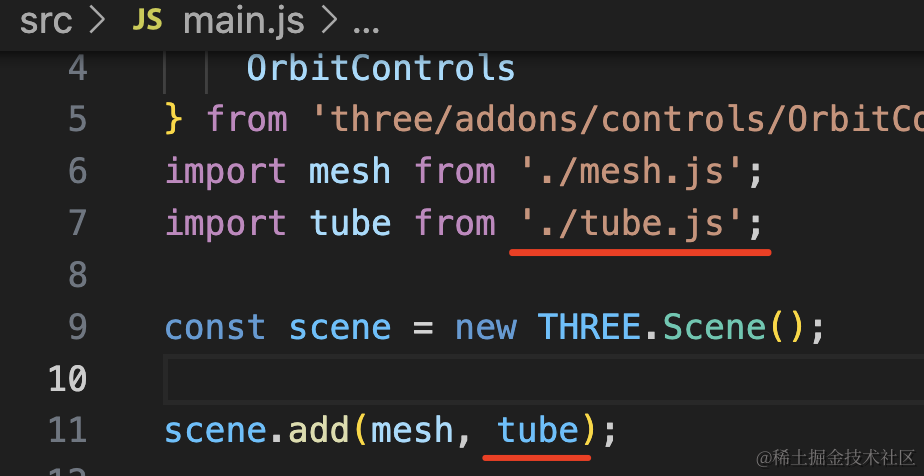
然后调一下位置:
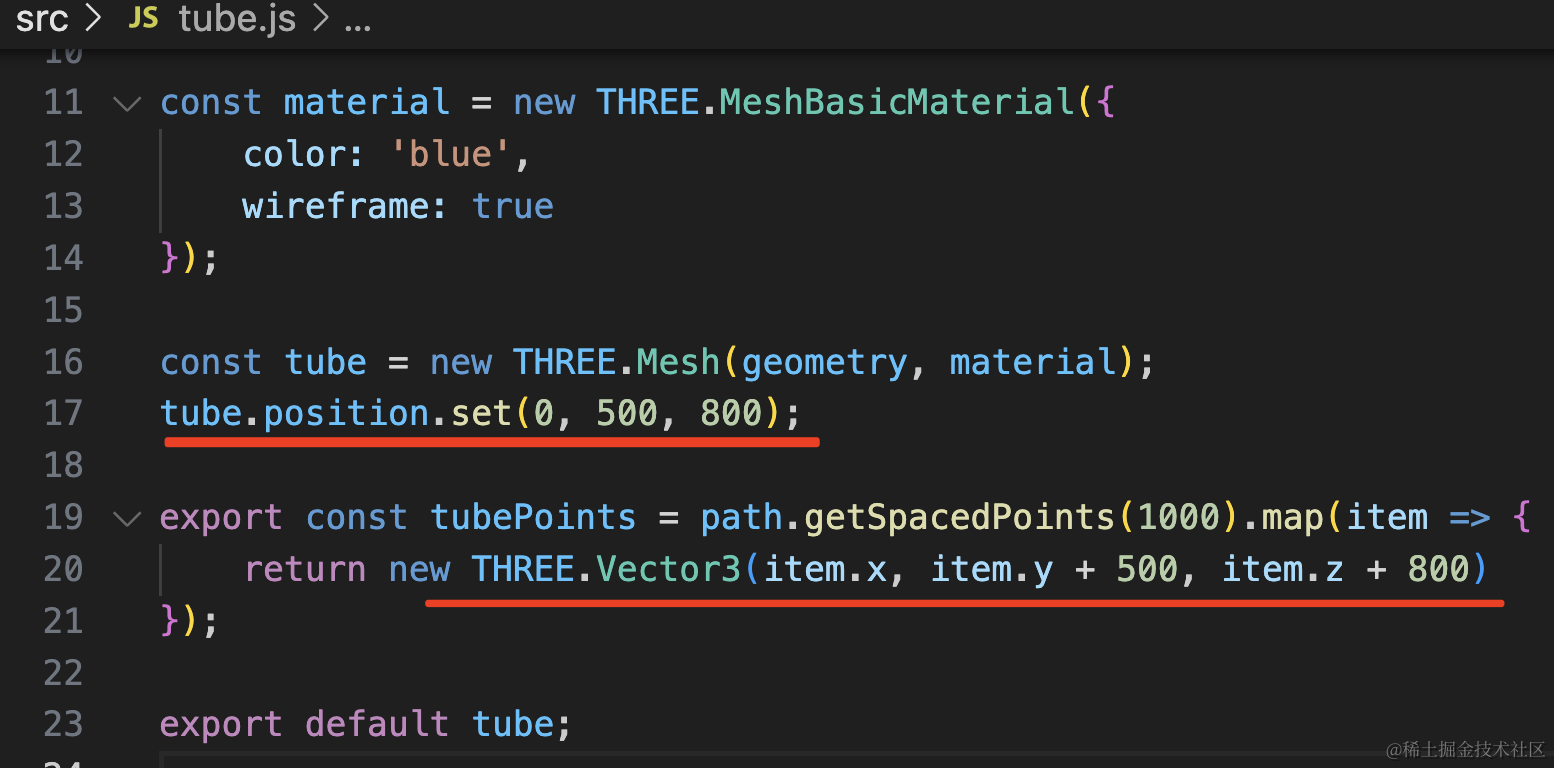
tube.position.set(0, 500, 800);

export const tubePoints = path.getSpacedPoints(1000).map(item => {
    return new THREE.Vector3(item.x, item.y + 500, item.z + 800)
});
管道位置变了,拿到的点也得改一下位置。

接下来做一下穿梭隧道的相机动画:
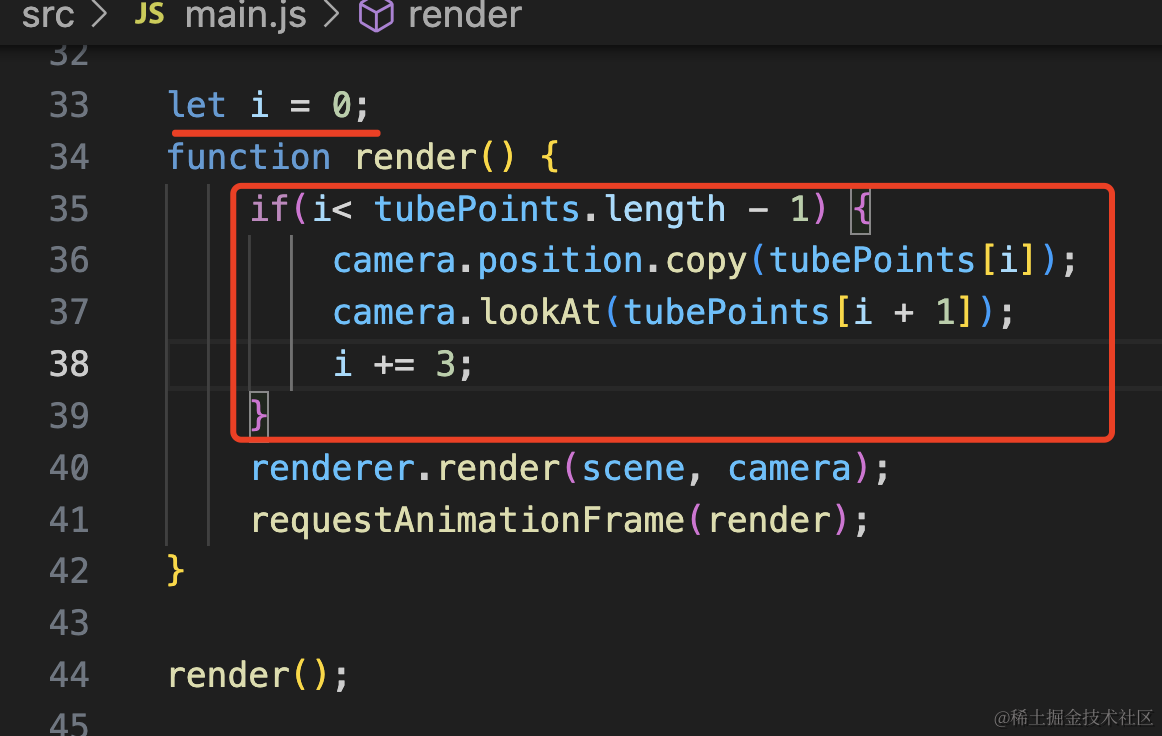
let i = 0;
function render() {
    if(i< tubePoints.length - 1) {
        camera.position.copy(tubePoints[i]);
        camera.lookAt(tubePoints[i + 1]);
        i += 3;
    }
    renderer.render(scene, camera);
    requestAnimationFrame(render);
}
就是修改 camera.position 和 lookAt 为曲线上的一个个点。
用 wireframe 渲染线框不是很好看,我们渲染下点模型:
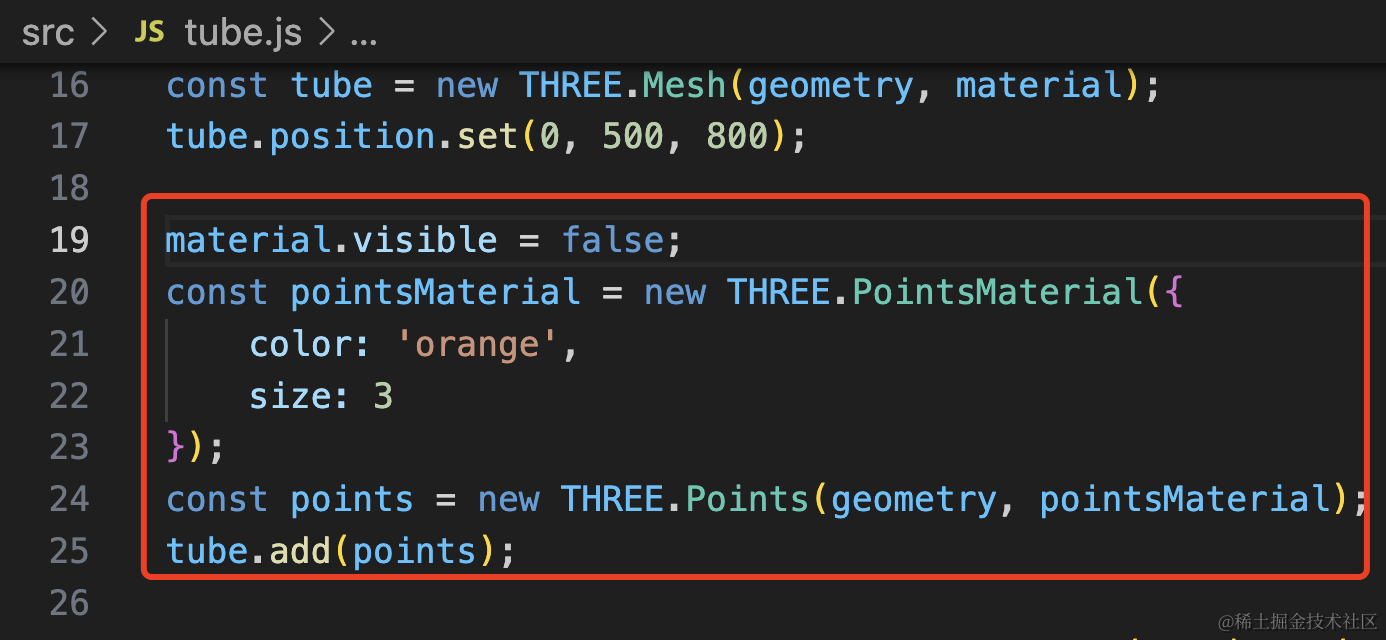
用 material.visible 设置 false 的属性把管道隐藏。
然后用同一个 geometry 渲染点模型。
material.visible = false;
const pointsMaterial = new THREE.PointsMaterial({
    color: 'orange',
    size: 3
});
const points = new THREE.Points(geometry, pointsMaterial);
tube.add(points);
好看多了。
但只是相机位置运动到展示 3D 场景的位置后,还是有点太单调了。
我们再用 Tween.js 给 3D 场景加一个旋转 rotation 的动画。
安装下 tweenjs
npm install --save @tweenjs/tween.js本来管道的出口位置是 0,0,0,但我们改了下位置,所以现在管道出口在 0,500,800
这个是初始位置,运动到目标相机位置,并且加上 rotaion 的变化:
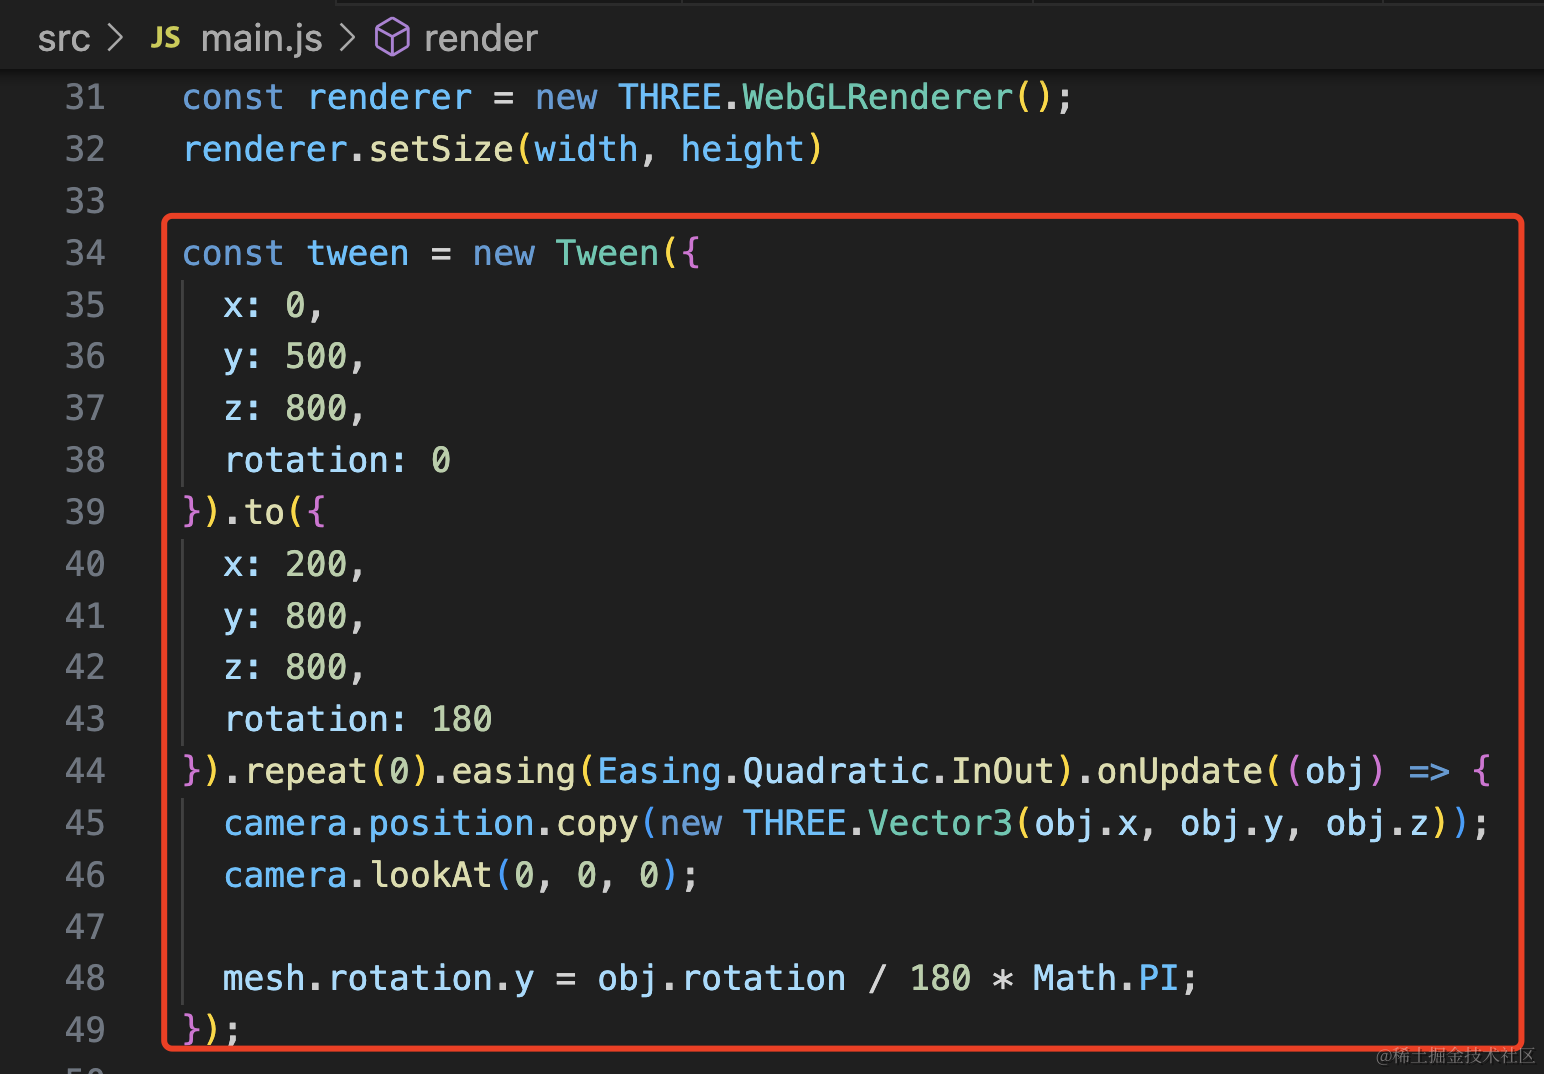
const tween = new Tween({
  x: 0,
  y: 500,
  z: 800,
  rotation: 0
}).to({
  x: 200,
  y: 800,
  z: 800,
  rotation: 180
}).repeat(0).easing(Easing.Quadratic.InOut).onUpdate((obj) => {
  camera.position.copy(new THREE.Vector3(obj.x, obj.y, obj.z));
  camera.lookAt(0, 0, 0);

  mesh.rotation.y = obj.rotation / 180 * Math.PI;
});
指定初始值和变化到的值,不重复,先加速后减速。
在 onUpdate 的时候修改相机位置、lookAt,还有 mesh.rotation
然后跑一下这个 tween.js 动画:

let started = false;
let i = 0;
function render(time) {
    if(i< tubePoints.length - 1) {
        camera.position.copy(tubePoints[i]);
        camera.lookAt(tubePoints[i + 1]);
        i += 4;
    } else {
      if(!started) {
        scene.remove(tube);
        tween.start();
        started = true;
      }
    }

    tween.update(time);
    renderer.render(scene, camera);
    requestAnimationFrame(render);
}
加一个 flag,当到达管道末尾的时候,把管道删除,然后开启动画。
每一帧都用 update 更新数值。

这样,入场动画就完成了。
相比直接展示这个 3D 场景,加一个入场动画是不是效果好很多呢?
这个入场动画可以加到任意 3D 场景上,比如之前的林海雪原:
案例代码上传了小册仓库。
总结
直接展示 3D 场景有些单调,我们可以在打开网页的时候加一个入场动画效果。
我们首先画了一个管道,用相机动画穿梭这个管道,最后相机到达 3D 场景的位置。
然后用 tween.js 来做场景的 ratation 和 camera.position 的缓动动画。
当然,这只是一个实现入场动画的思路,你完全可以做别的入场动画。
入场动画对于提升 3D 场景的体验,还是很有用的。