所有的几何体都是由顶点构成的,我们可以修改顶点坐标,让几何体变成另一种形状。
比如平面几何体可以通过修改顶点坐标变成山坡的形状:
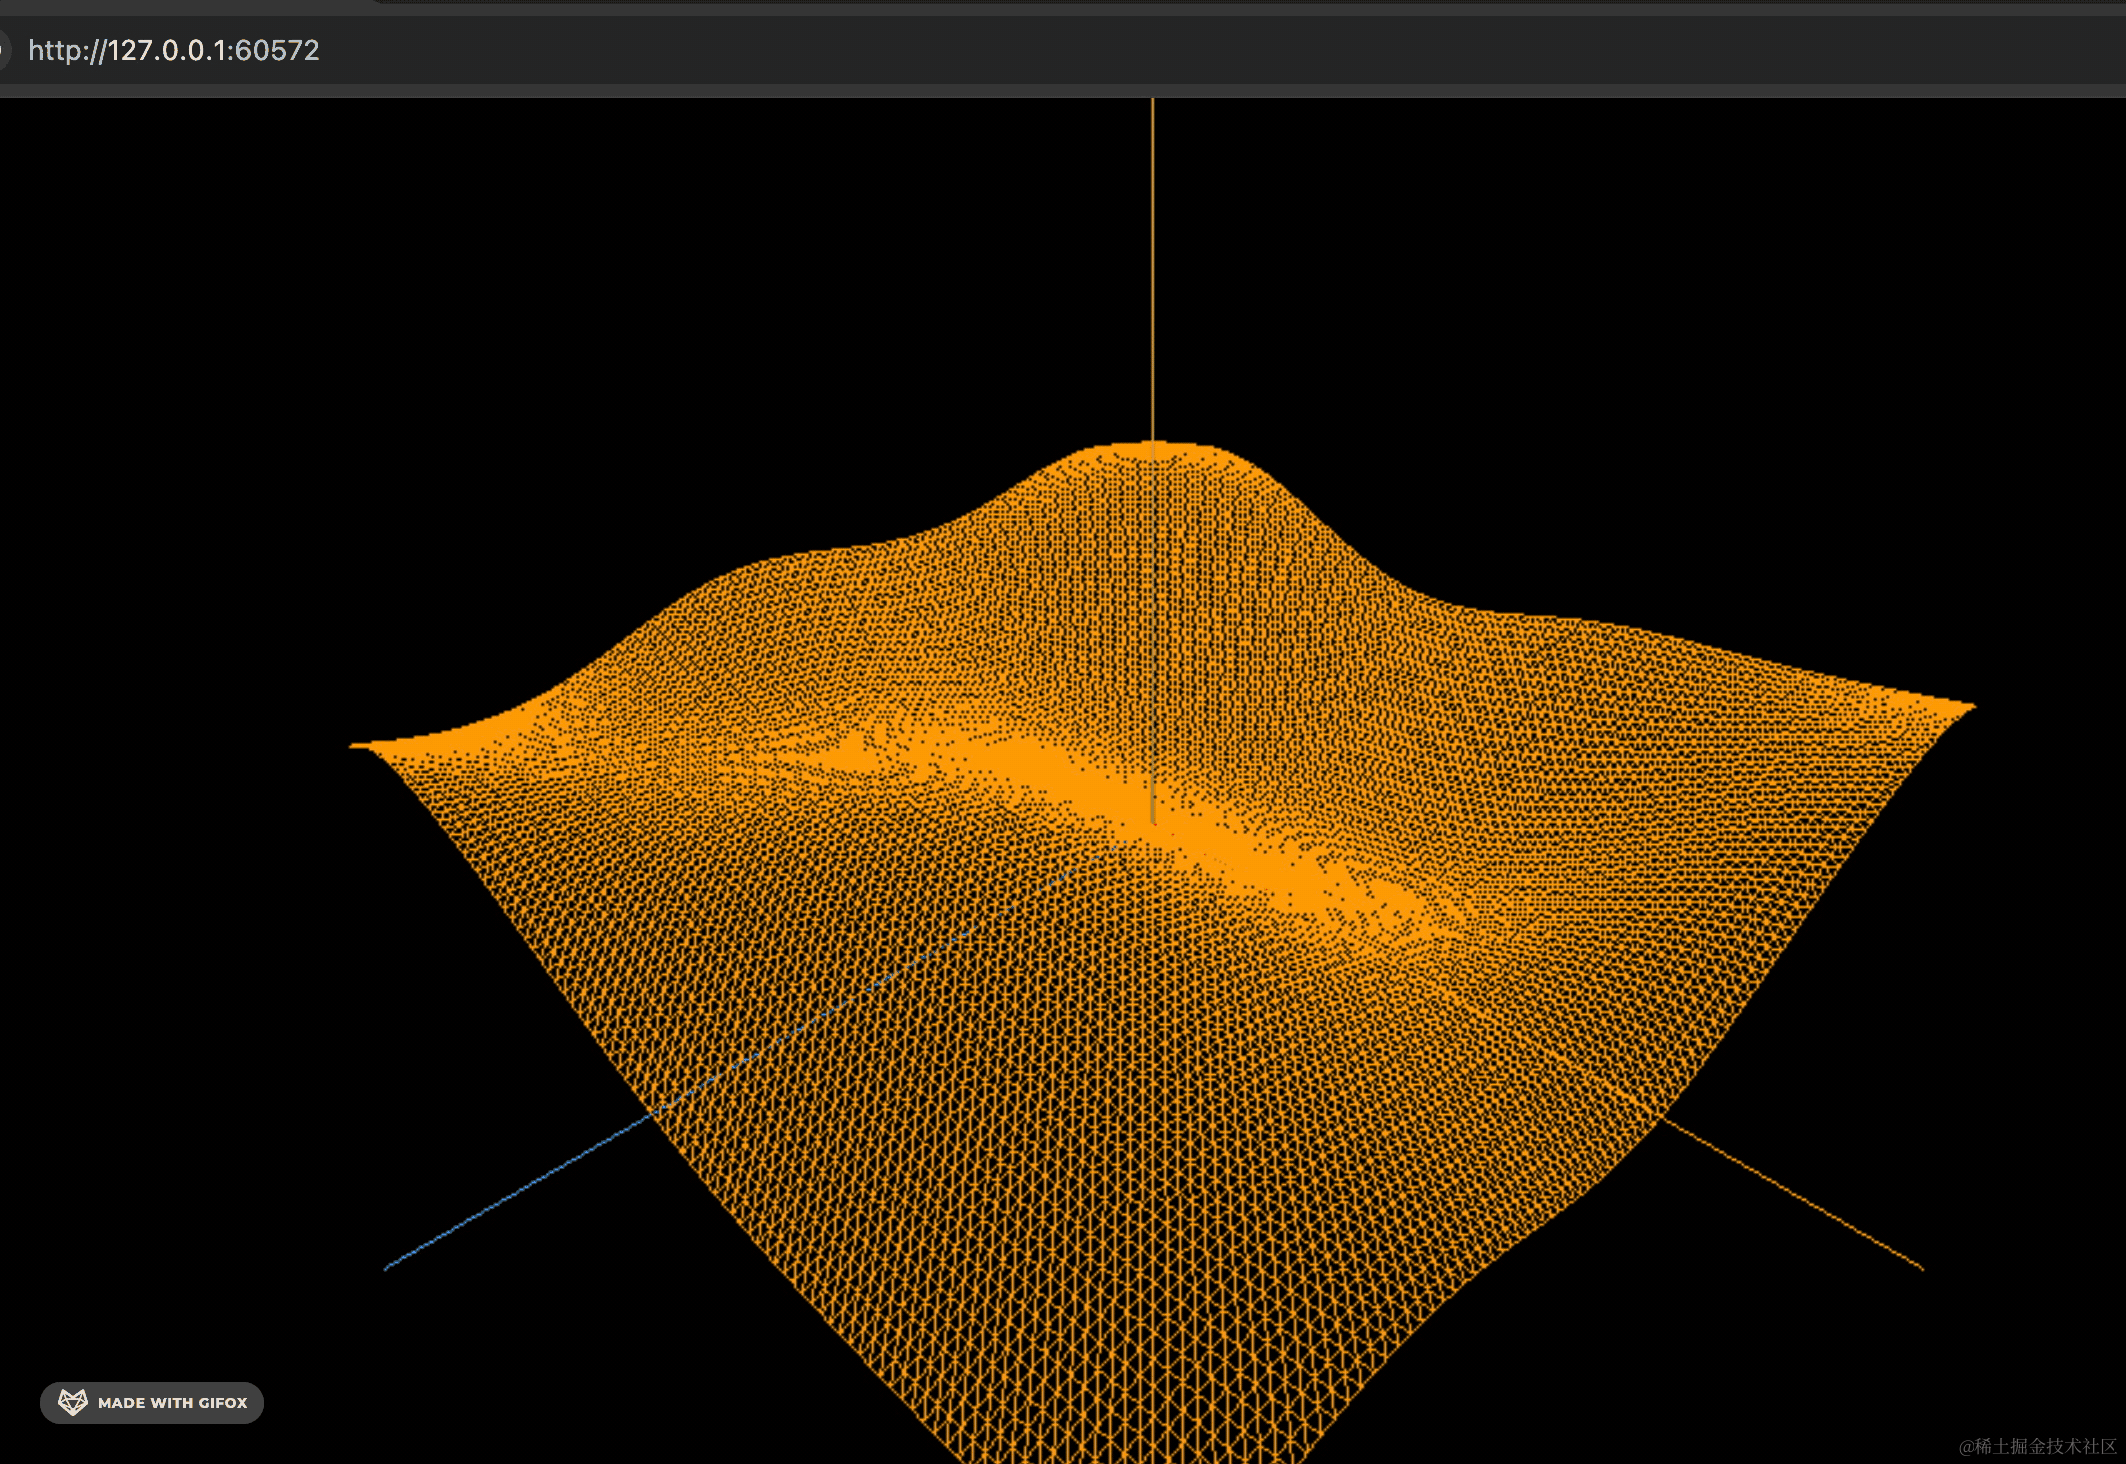
这种通过修改顶点坐标来改变几何体形状的动画,就叫做变形动画。
比如这只鸟:
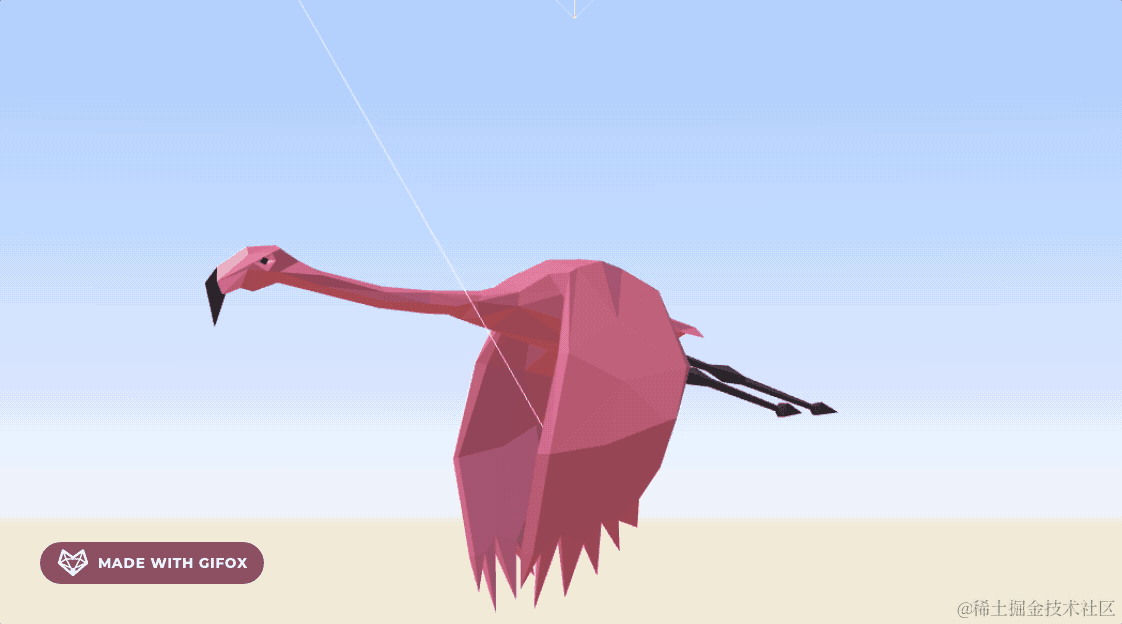
它翅膀的扇动就是一个变形动画。
也就是修改了翅膀的顶点位置实现的。
这节我们就来学一下 Three.js 如何定义变形动画:
npx create-vite morph-animation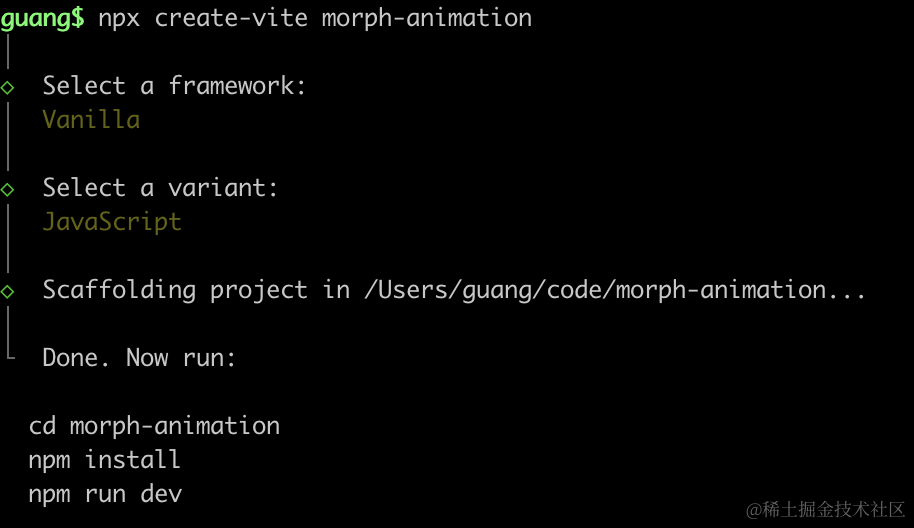
进入项目,安装依赖:
npm install
npm install --save three
npm install --save-dev @types/three
改下 src/main.js
import './style.css';
import * as THREE from 'three';
import {
    OrbitControls
} from 'three/addons/controls/OrbitControls.js';
import mesh from './mesh.js';

const scene = new THREE.Scene();

scene.add(mesh);

const directionLight = new THREE.DirectionalLight(0xffffff, 2);
directionLight.position.set(500, 400, 300);
scene.add(directionLight);

const ambientLight = new THREE.AmbientLight();
scene.add(ambientLight);

const width = window.innerWidth;
const height = window.innerHeight;

const helper = new THREE.AxesHelper(500);
// scene.add(helper);

const camera = new THREE.PerspectiveCamera(60, width / height, 0.1, 10000);
camera.position.set(200, 800, 800);
camera.lookAt(0, 0, 0);

const renderer = new THREE.WebGLRenderer();
renderer.setSize(width, height)

function render() {
    renderer.render(scene, camera);
    requestAnimationFrame(render);
}

render();

document.body.append(renderer.domElement);

const controls = new OrbitControls(camera, renderer.domElement);
创建 Scene、Light、Camera、Renderer。
改下 style.css
body {
  margin: 0;
}
然后创建 mesh.js
import * as THREE from 'three';

const geometry = new THREE.BoxGeometry(300, 300, 300);
const material = new  THREE.MeshLambertMaterial({
    color: 'orange'
});

const mesh = new THREE.Mesh(geometry, material);

export default mesh;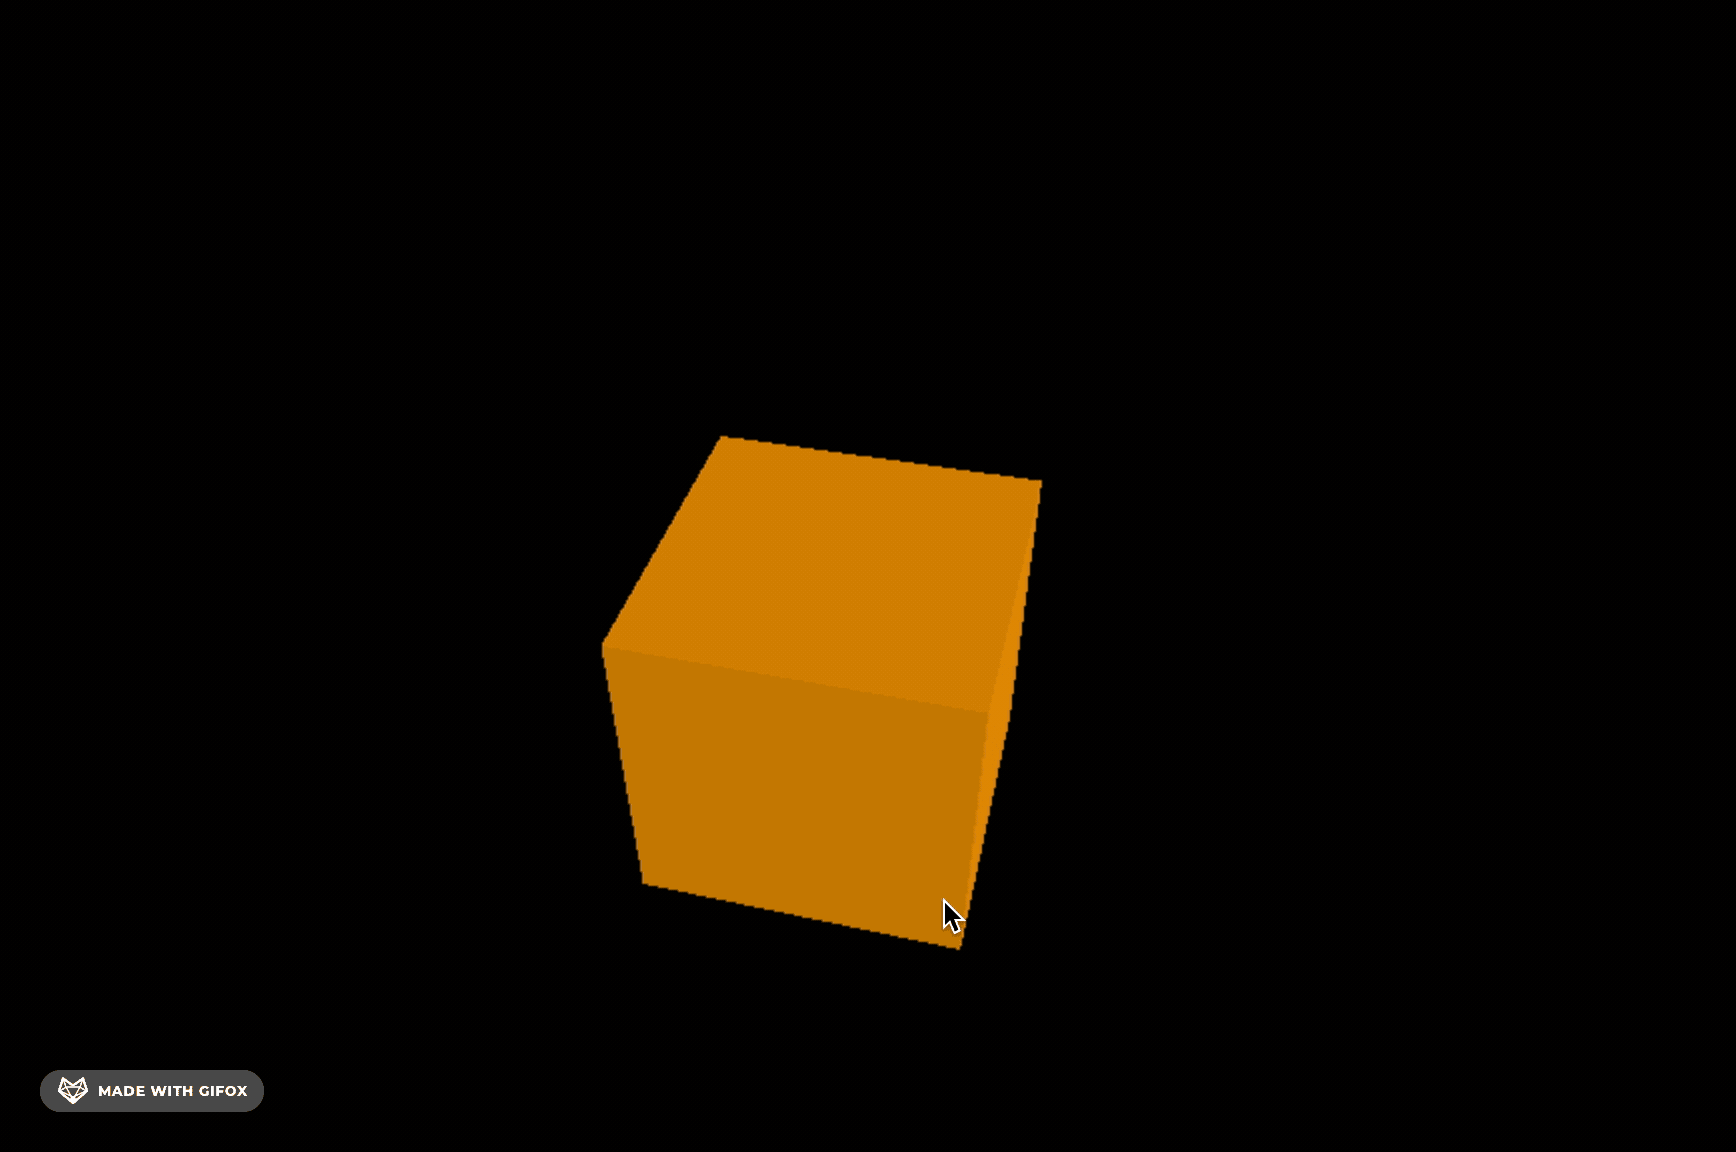
变形动画要指定变形目标的顶点:
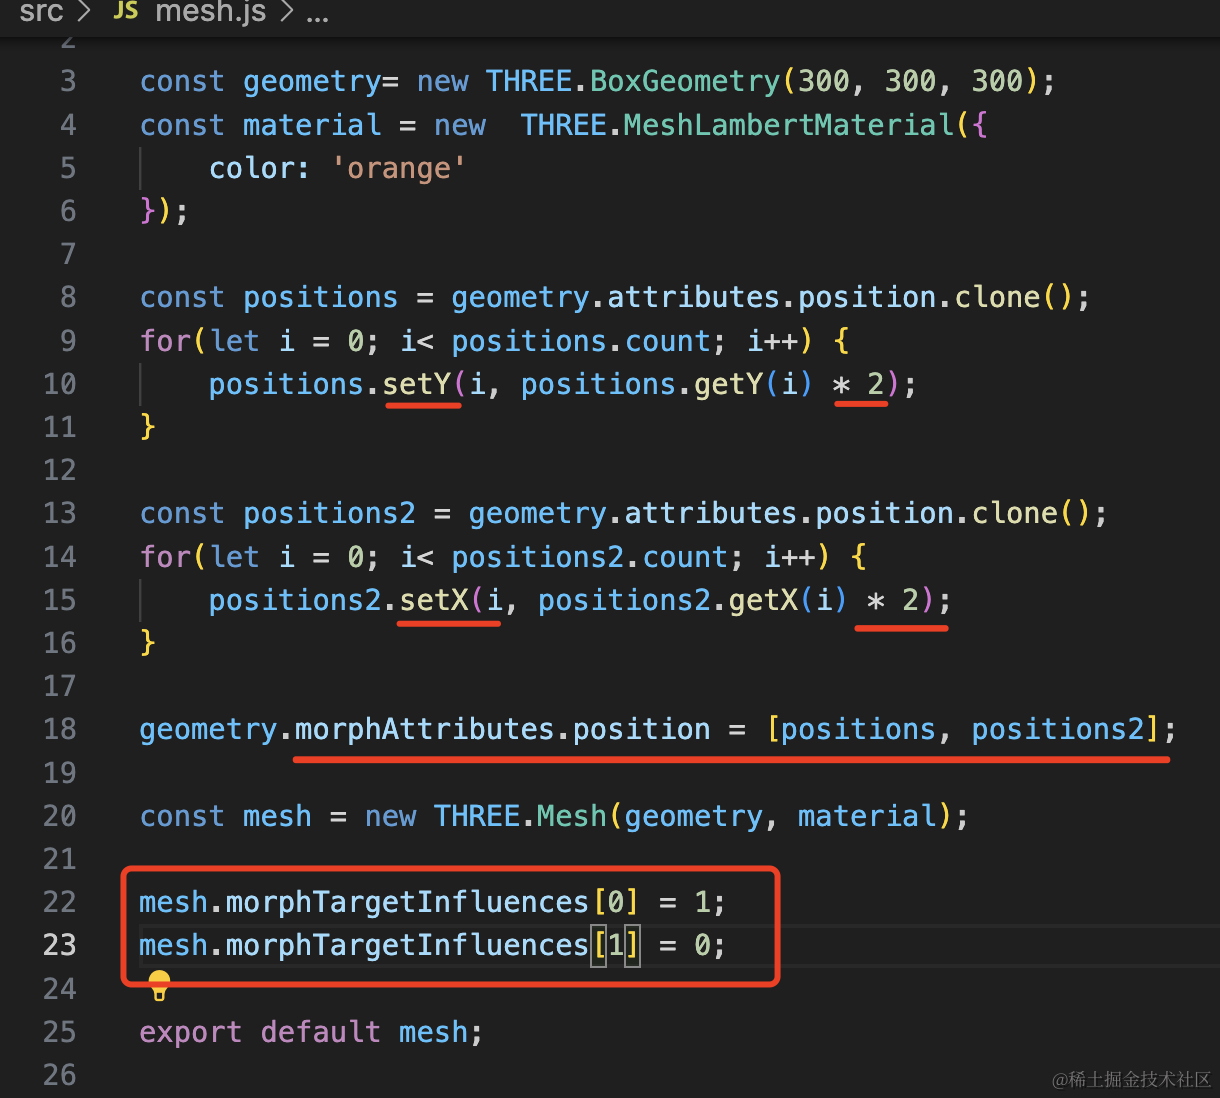
我们复制了 2 份顶点坐标 geometry.attributes.position
然后放到 geometry.morphAttributes.position 数组,这个是变形目标。
之后调整 mesh.morphTargetInfluences 影响因子。
比如让第一个变形目标影响 100%
const positions = geometry.attributes.position.clone();
for(let i = 0; i< positions.count; i++) {
    positions.setY(i, positions.getY(i) * 2);
}

const positions2 = geometry.attributes.position.clone();
for(let i = 0; i< positions2.count; i++) {
    positions2.setX(i, positions2.getX(i) * 2);
}

geometry.morphAttributes.position = [positions, positions2];

const mesh = new THREE.Mesh(geometry, material);

mesh.morphTargetInfluences[0] = 1;
mesh.morphTargetInfluences[1] = 0;
看下效果:
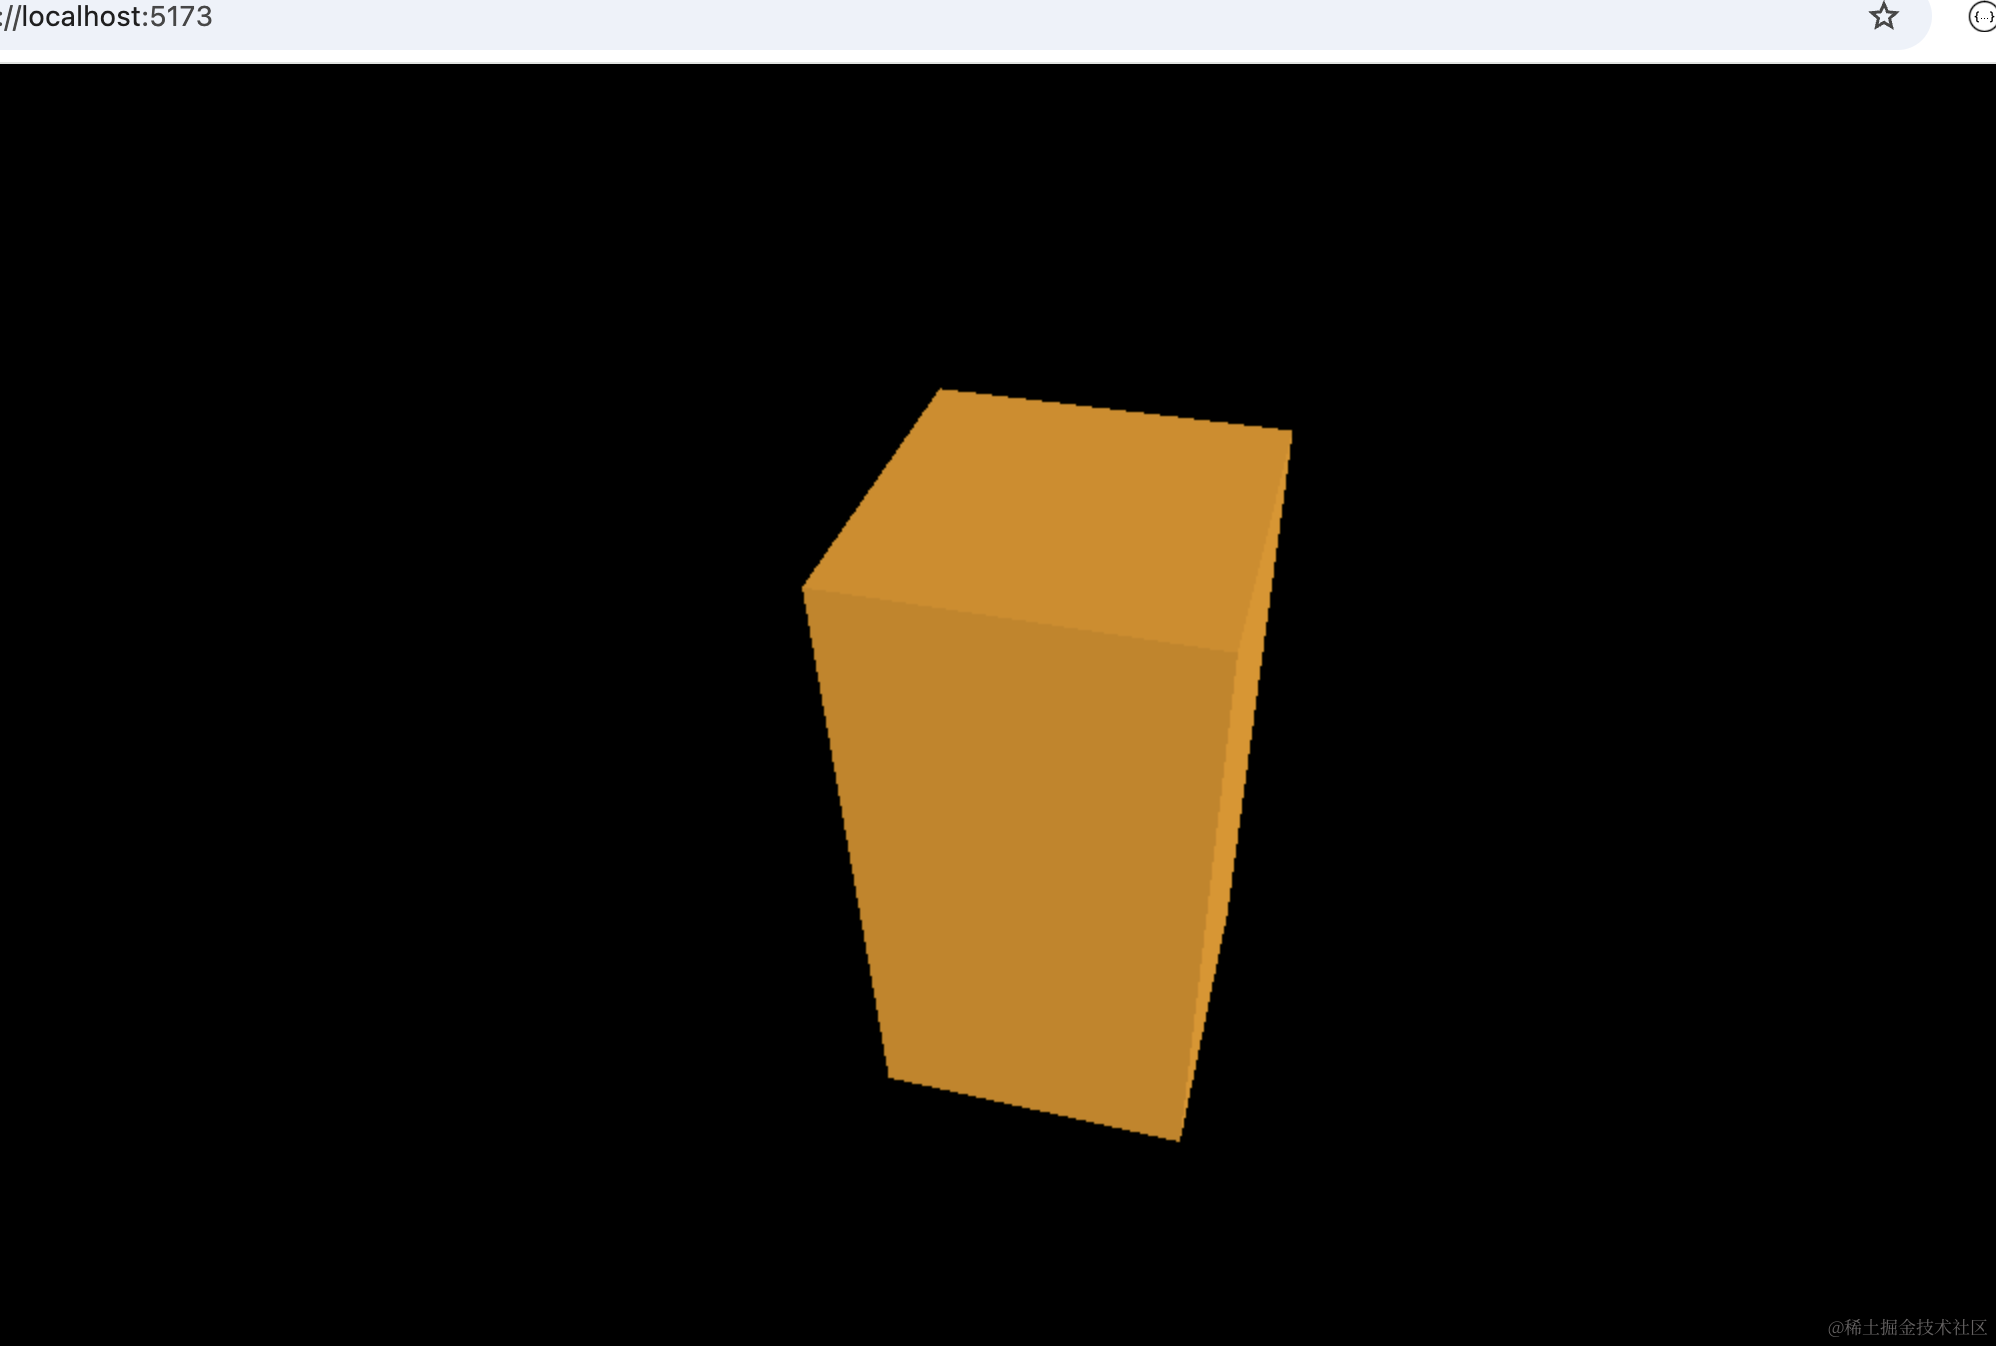
现在明显就是 y 变大了两倍的效果。
再让第二个变形目标的影响因子是 100%
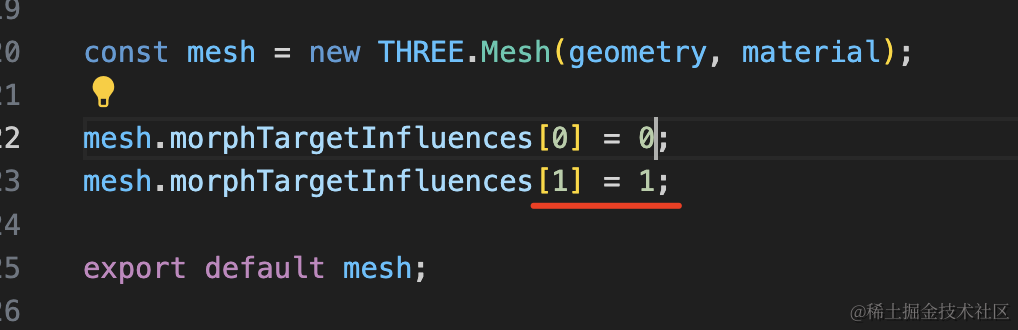
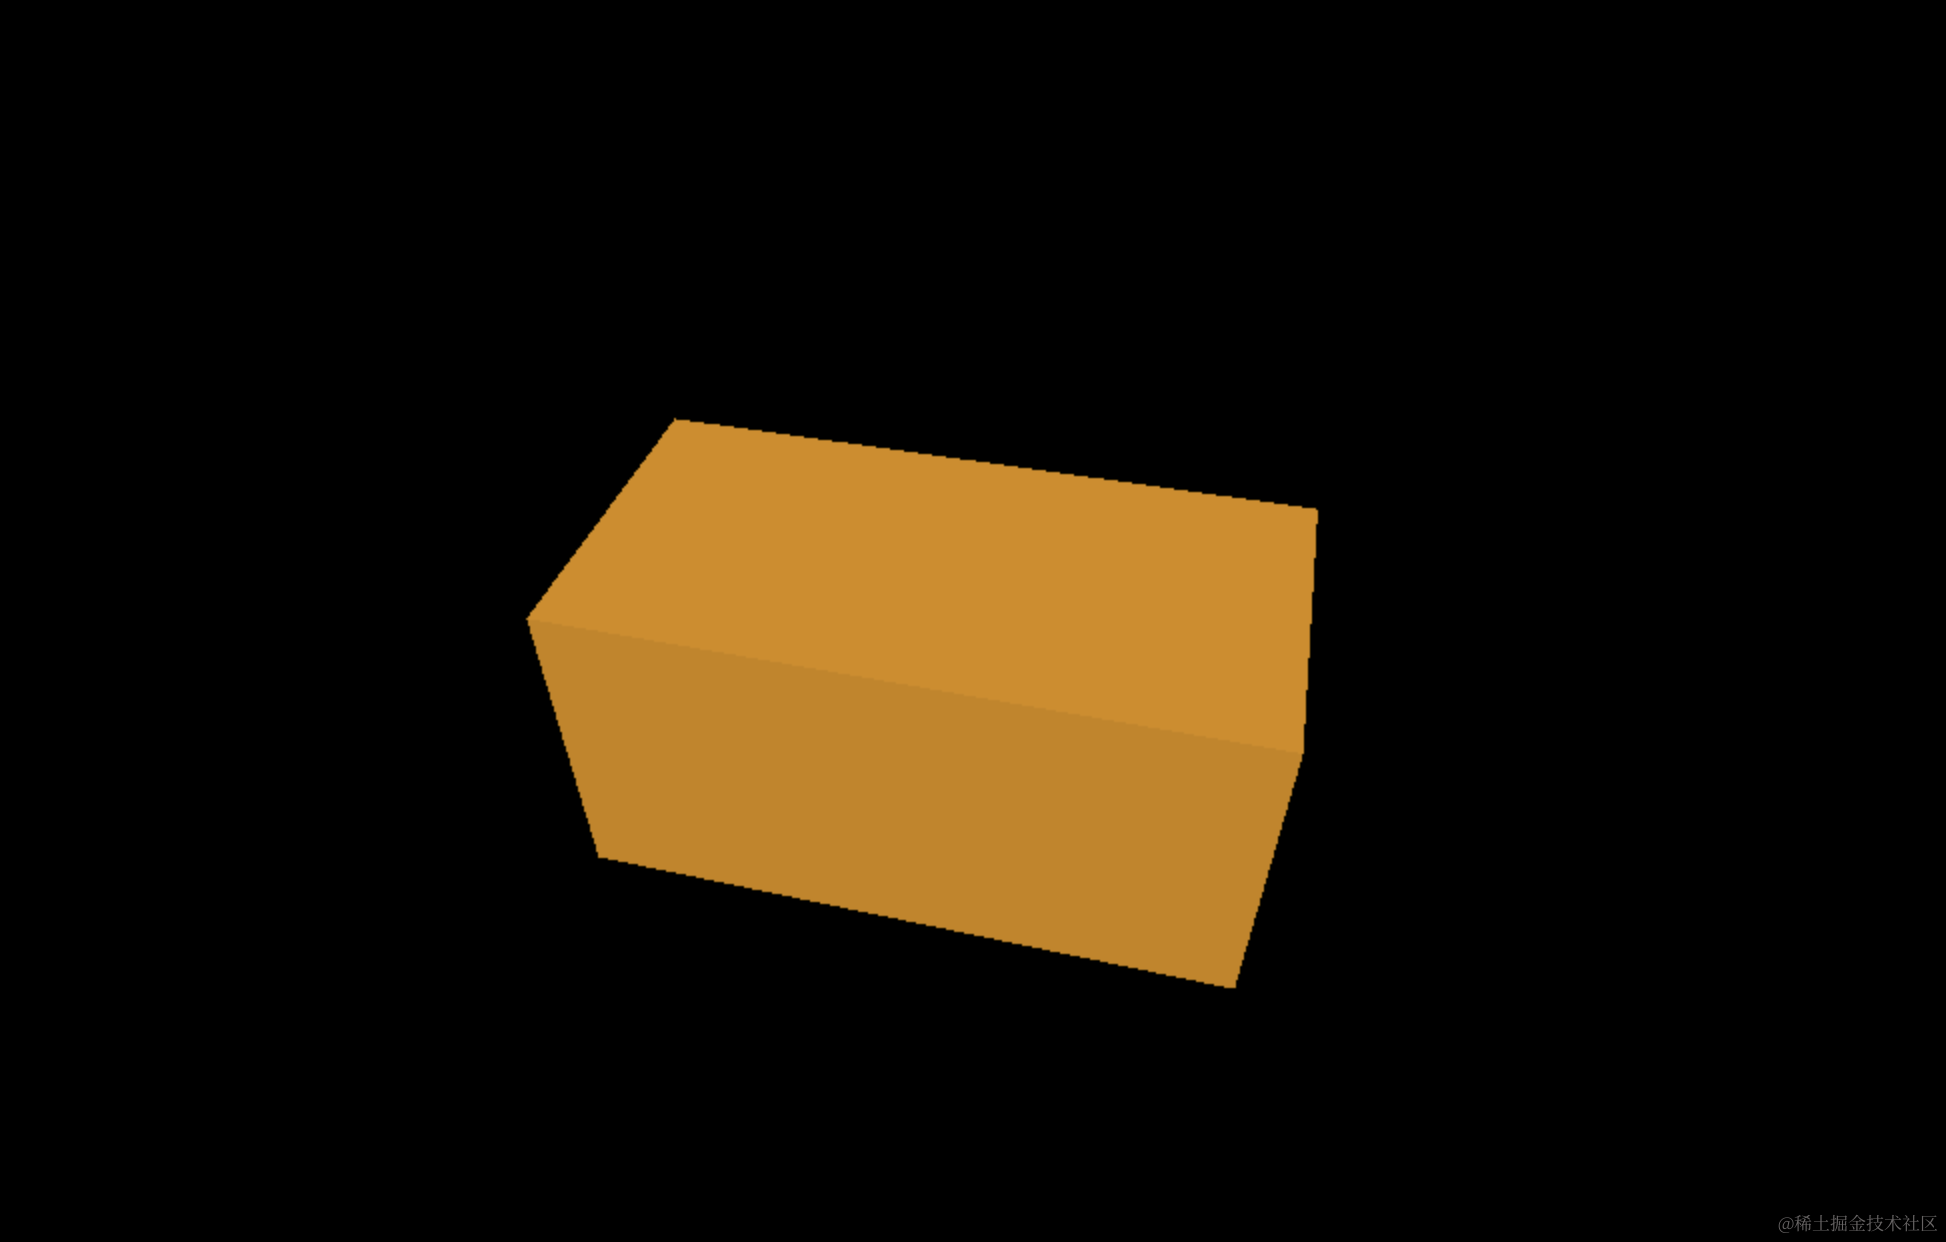
这样就是 x 变大了两杯的效果。
那如果影响因子都是 0.x 呢?
我们用 gui 调试下:
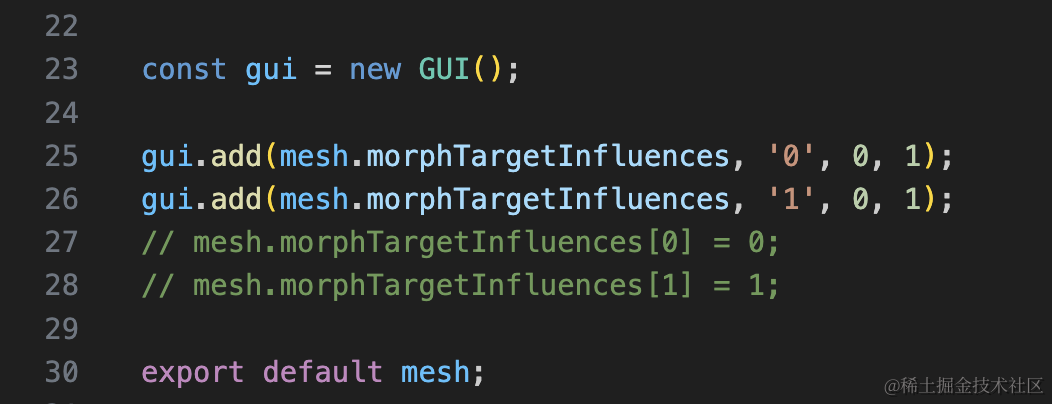
const gui = new GUI();

gui.add(mesh.morphTargetInfluences, '0', 0, 1);
gui.add(mesh.morphTargetInfluences, '1', 0, 1);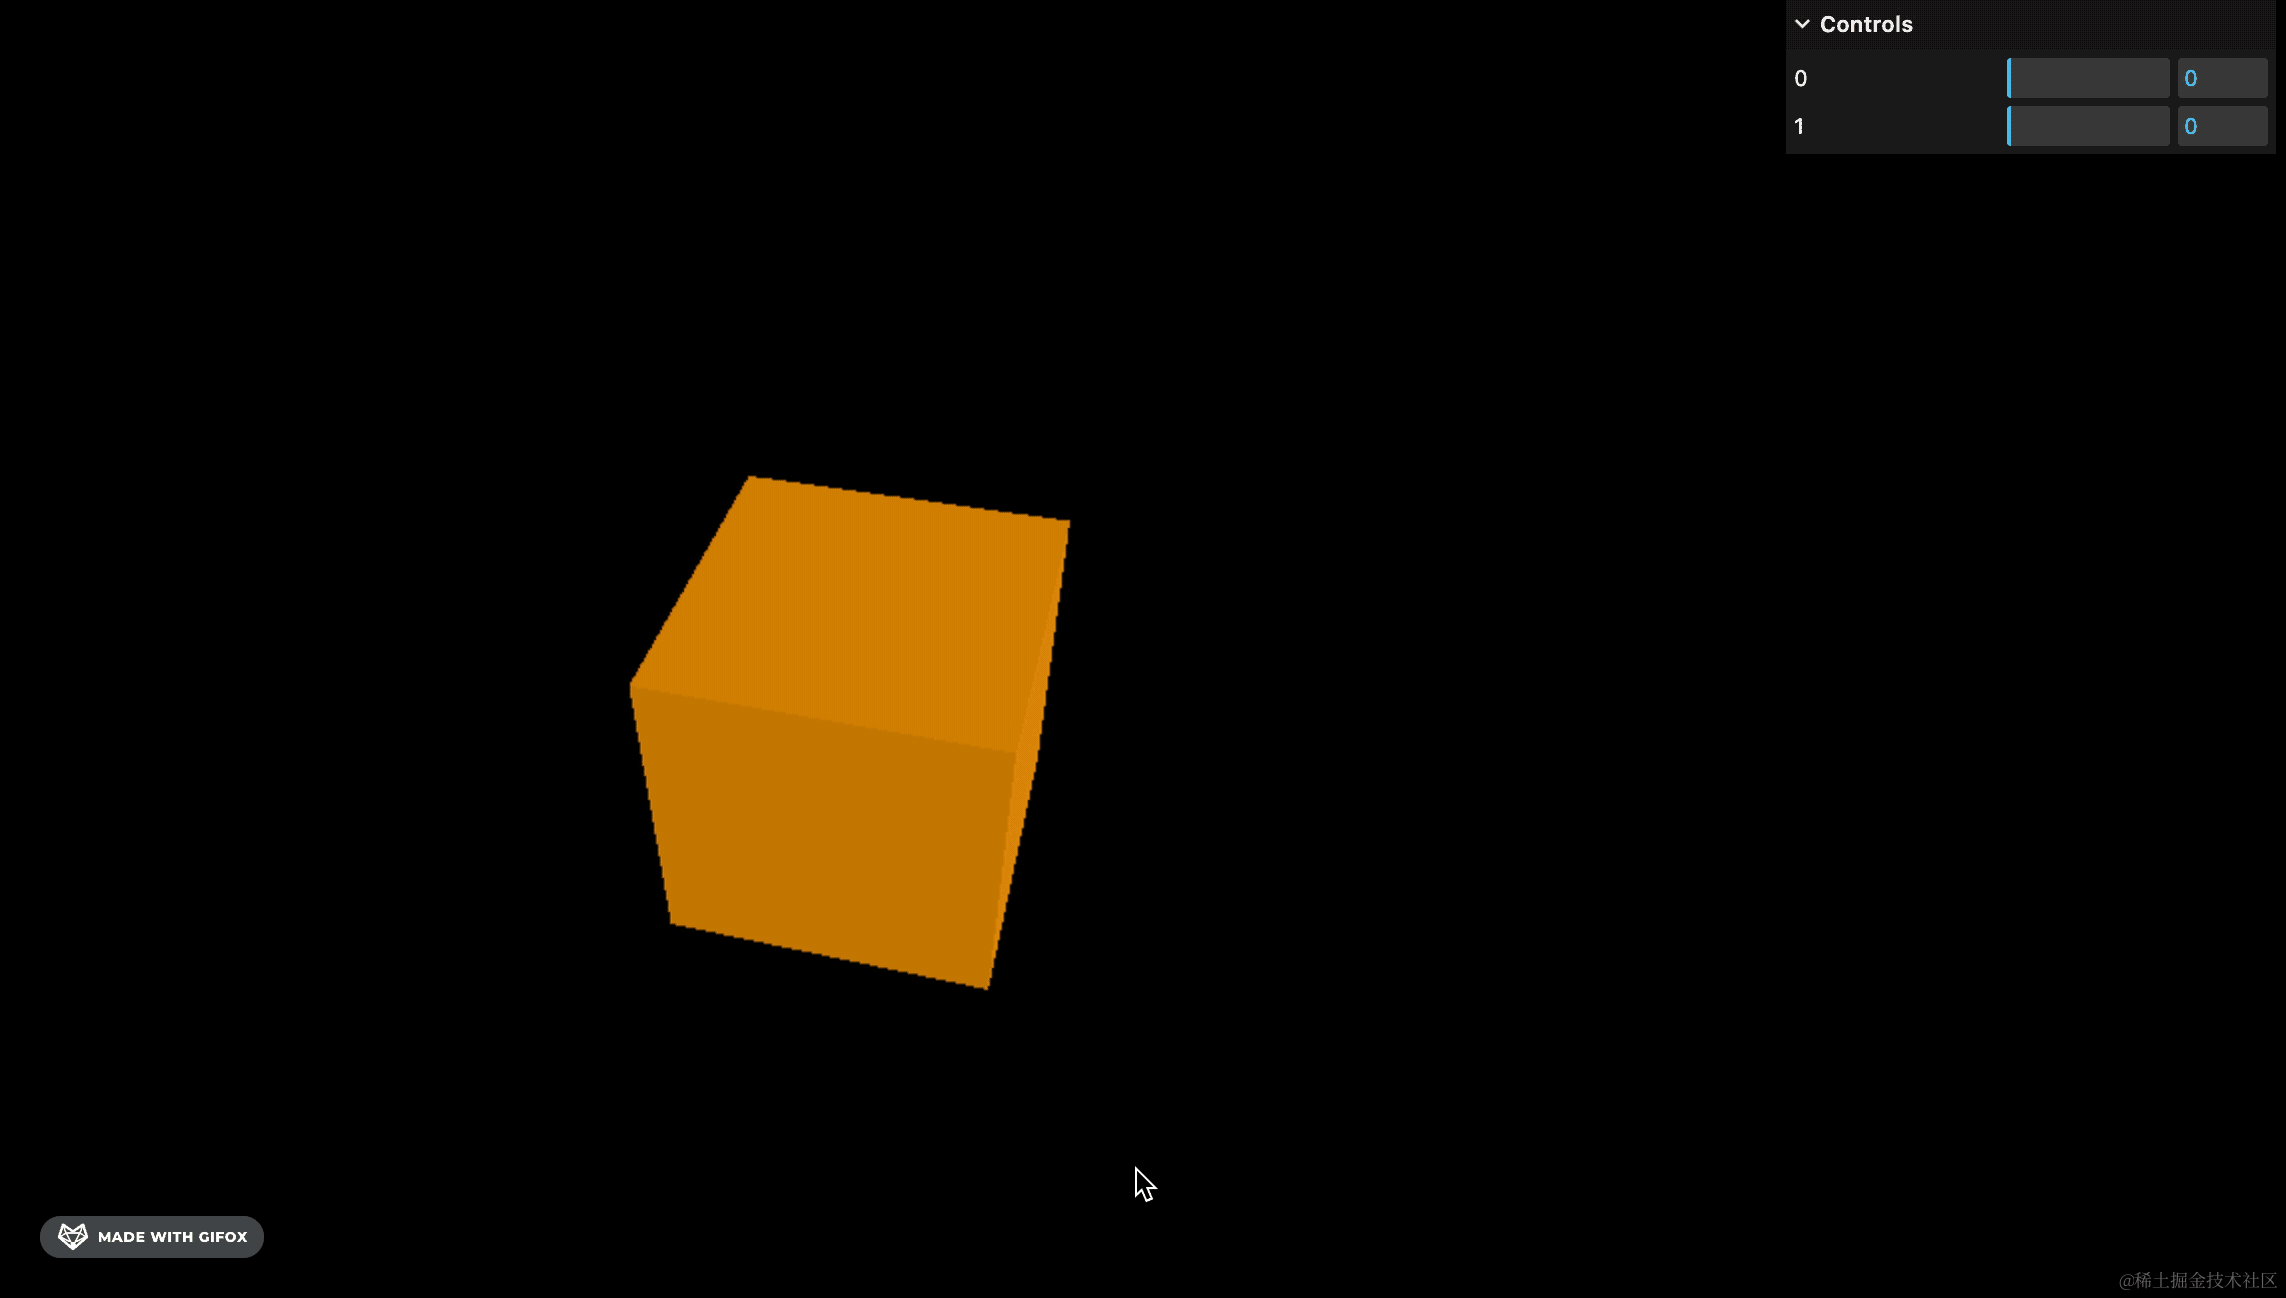
可以看到,这些变形效果可以同时生效。
我们可以用前面学的关键帧动画来实现这个变形动画:
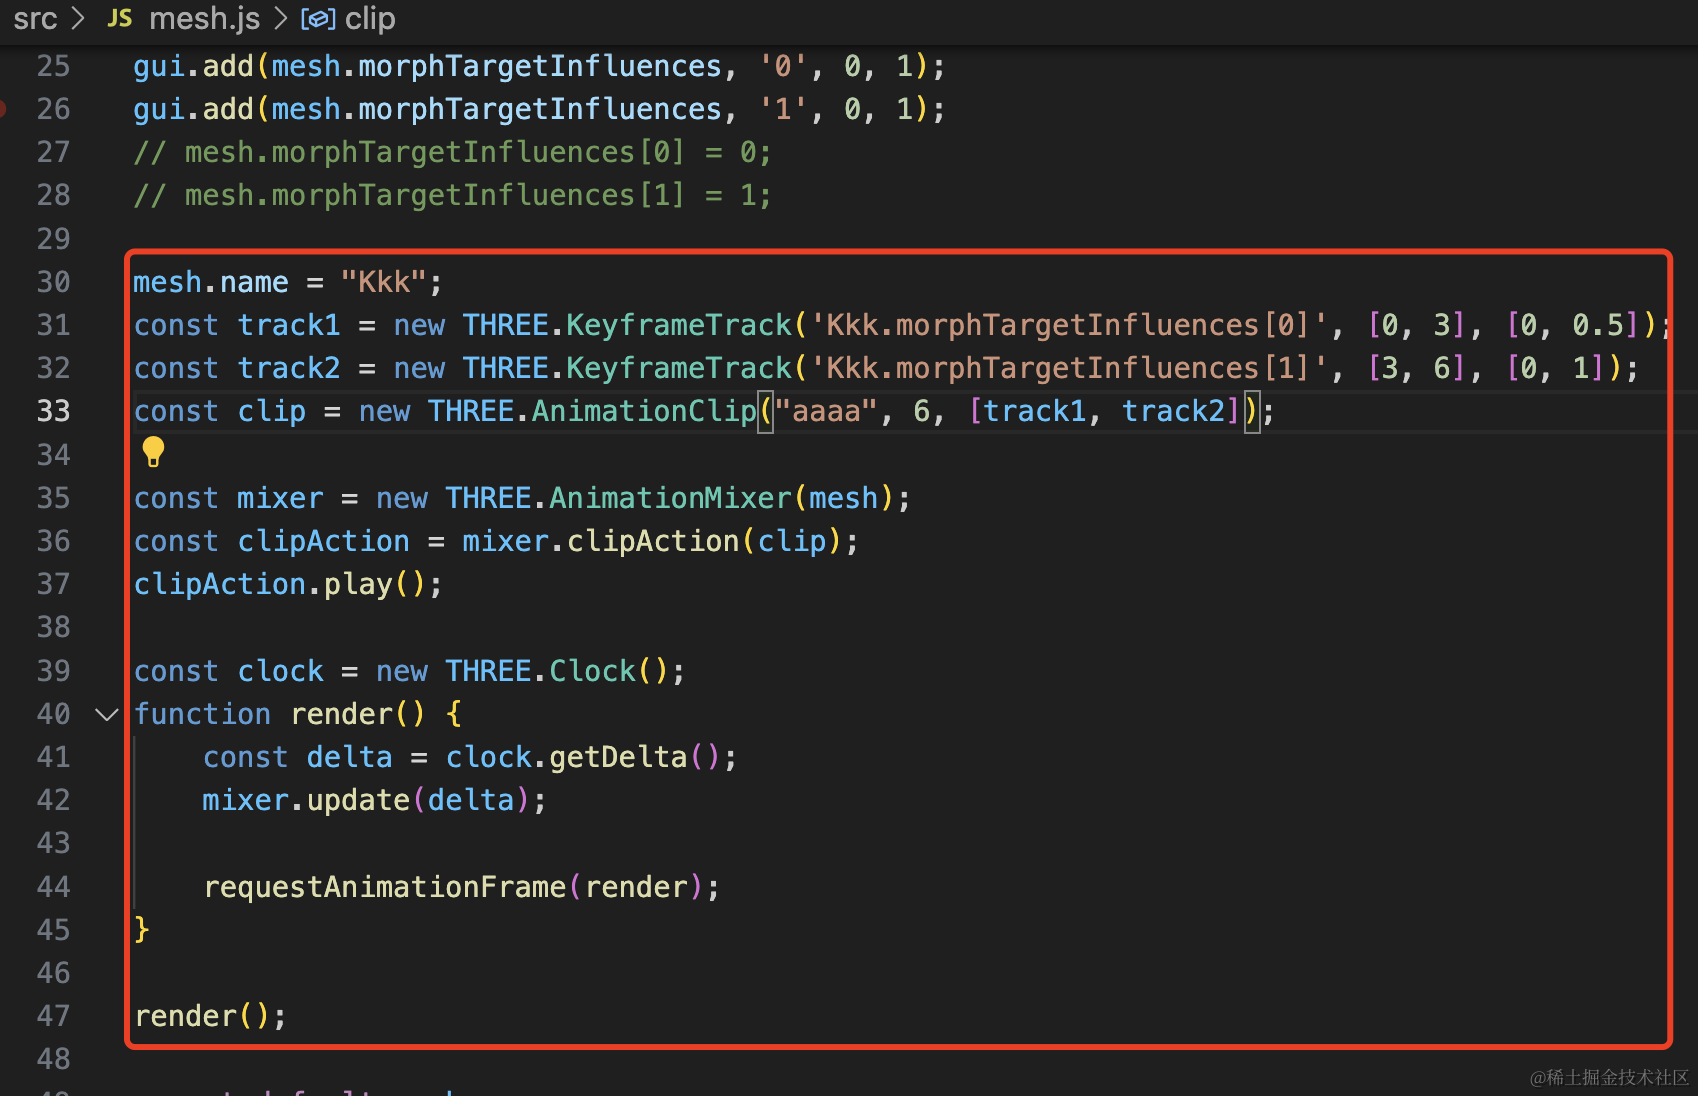
mesh.name = "Kkk";
const track1 = new THREE.KeyframeTrack('Kkk.morphTargetInfluences[0]', [0, 3], [0, 0.5]);
const track2 = new THREE.KeyframeTrack('Kkk.morphTargetInfluences[1]', [3, 6], [0, 1]);
const clip = new THREE.AnimationClip("aaaa", 6, [track1, track2]);

const mixer = new THREE.AnimationMixer(mesh);
const clipAction = mixer.clipAction(clip);
clipAction.play();

const clock = new THREE.Clock();
function render() {
    const delta = clock.getDelta();
    mixer.update(delta);

    requestAnimationFrame(render);
}

render();
定义两个 KeyframeTrack 关键帧属性变化,分别改变 morphTargetInfluences[0] 和 [1],定义在 0-3s 和 3-6s 里对应的值的变化。
然后用 AnimationClip 定义这个动画的名字、时长。
之后用 AnimationMixer 来播放这个关键帧动画,并在每次渲染循环里 update 更新数值。
看下效果:
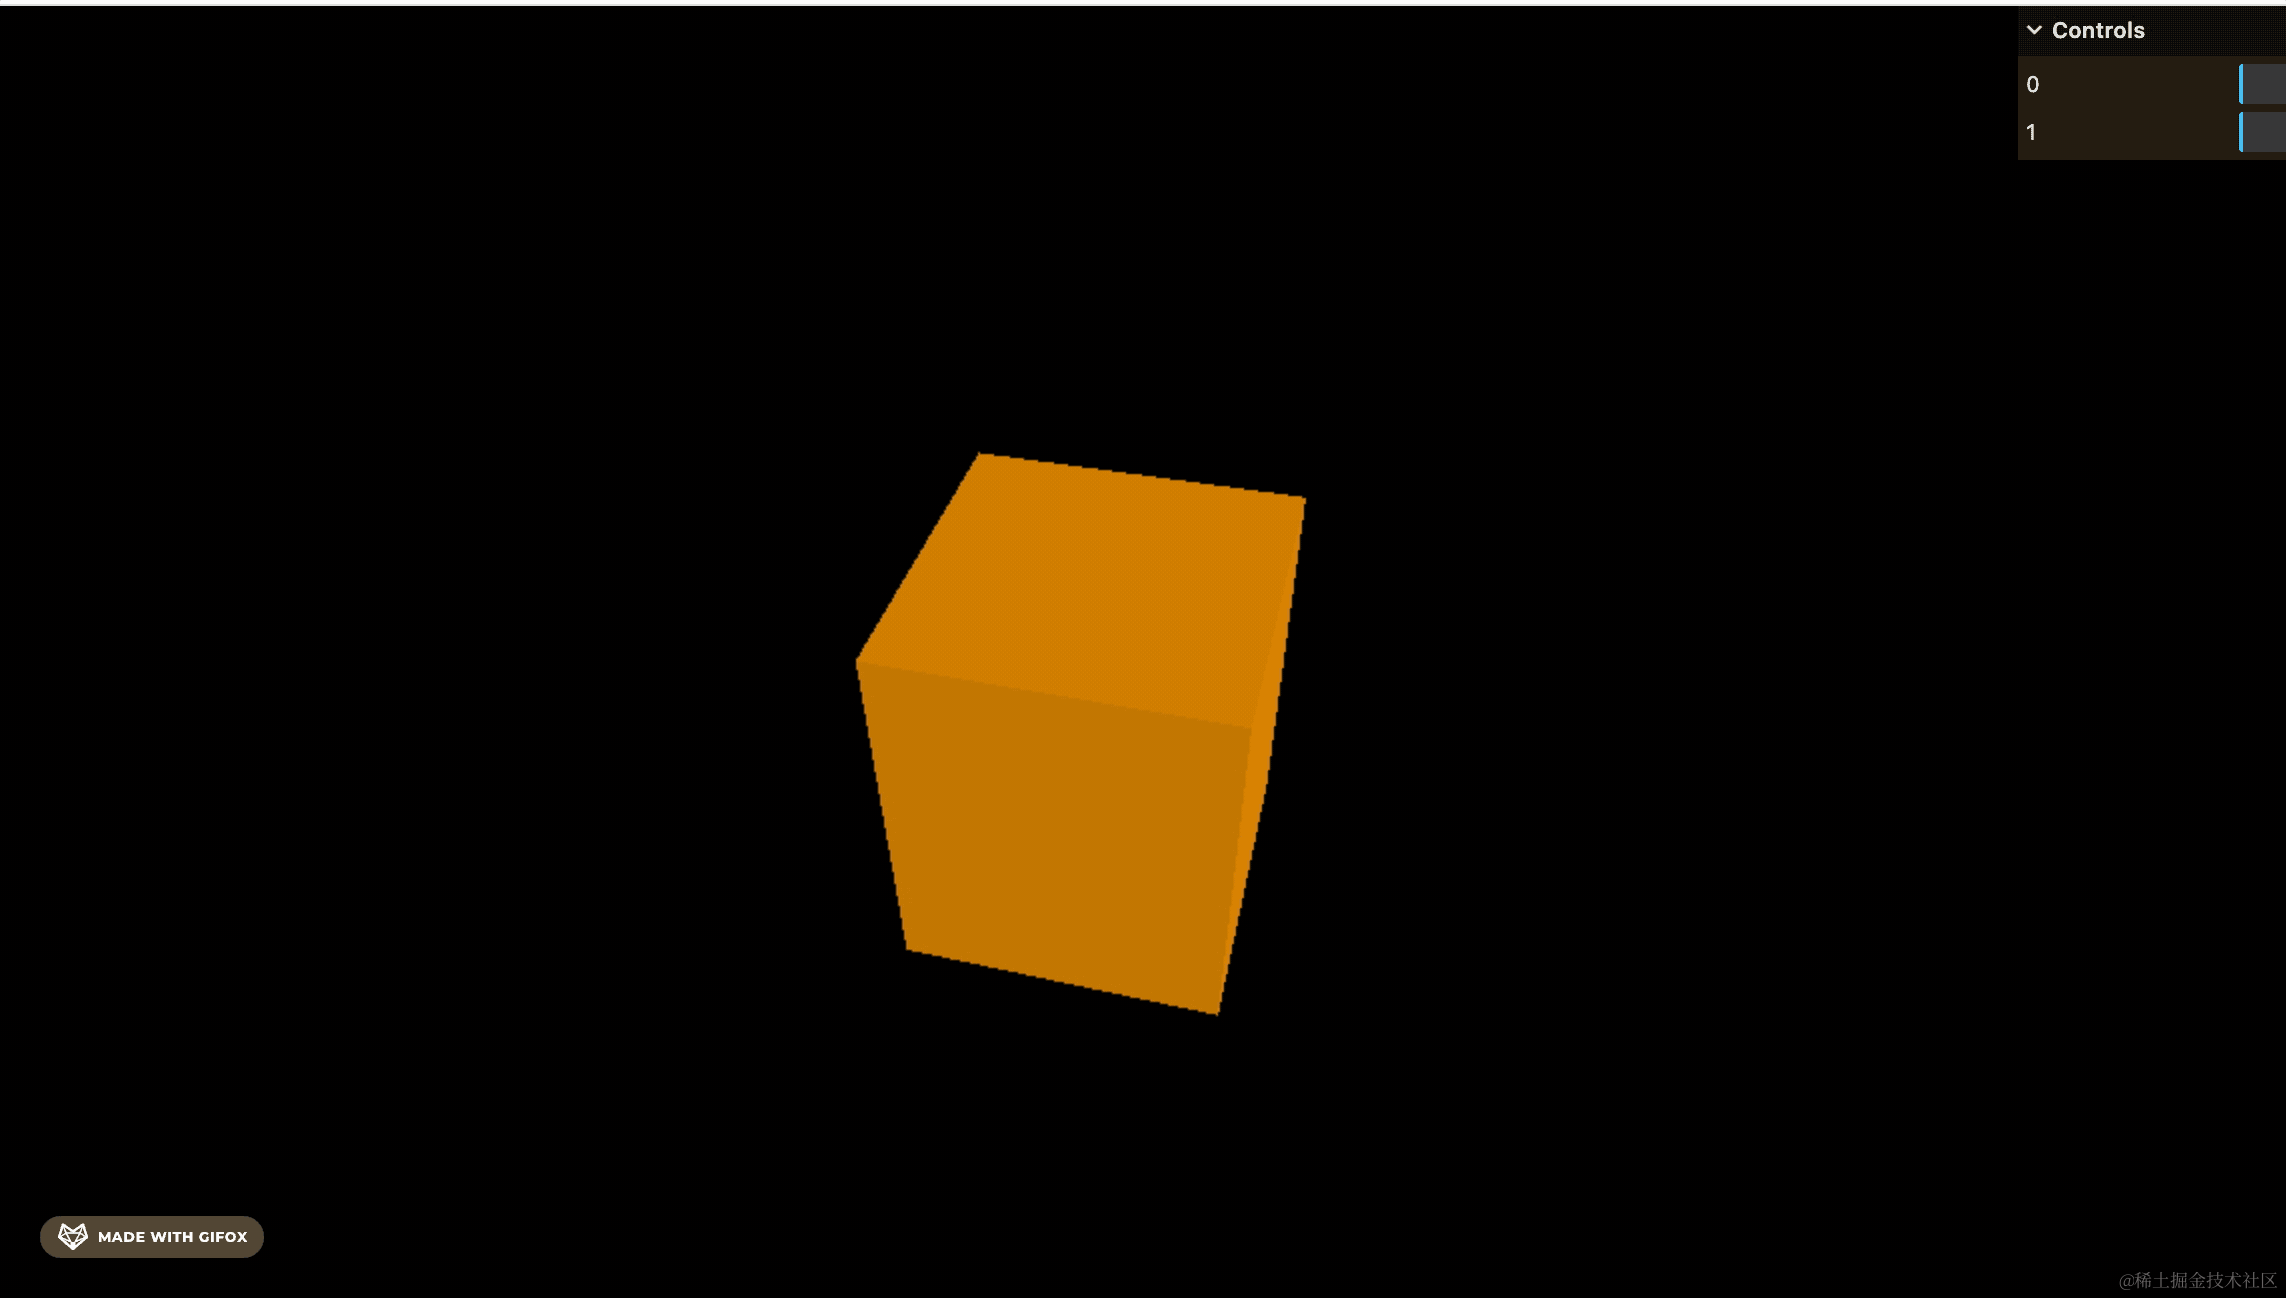
这样,我们就用关键帧动画播放了这个变形动画。
接下来我们播放一下模型里的变形动画:
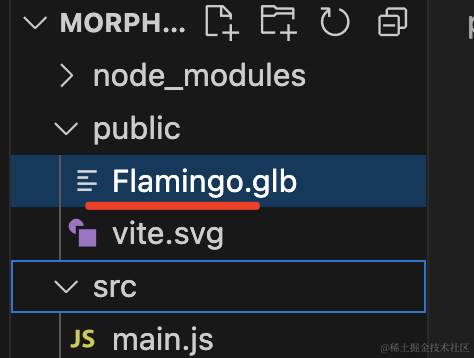
去 github 仓库里把这个 gltf 模型下载下来:
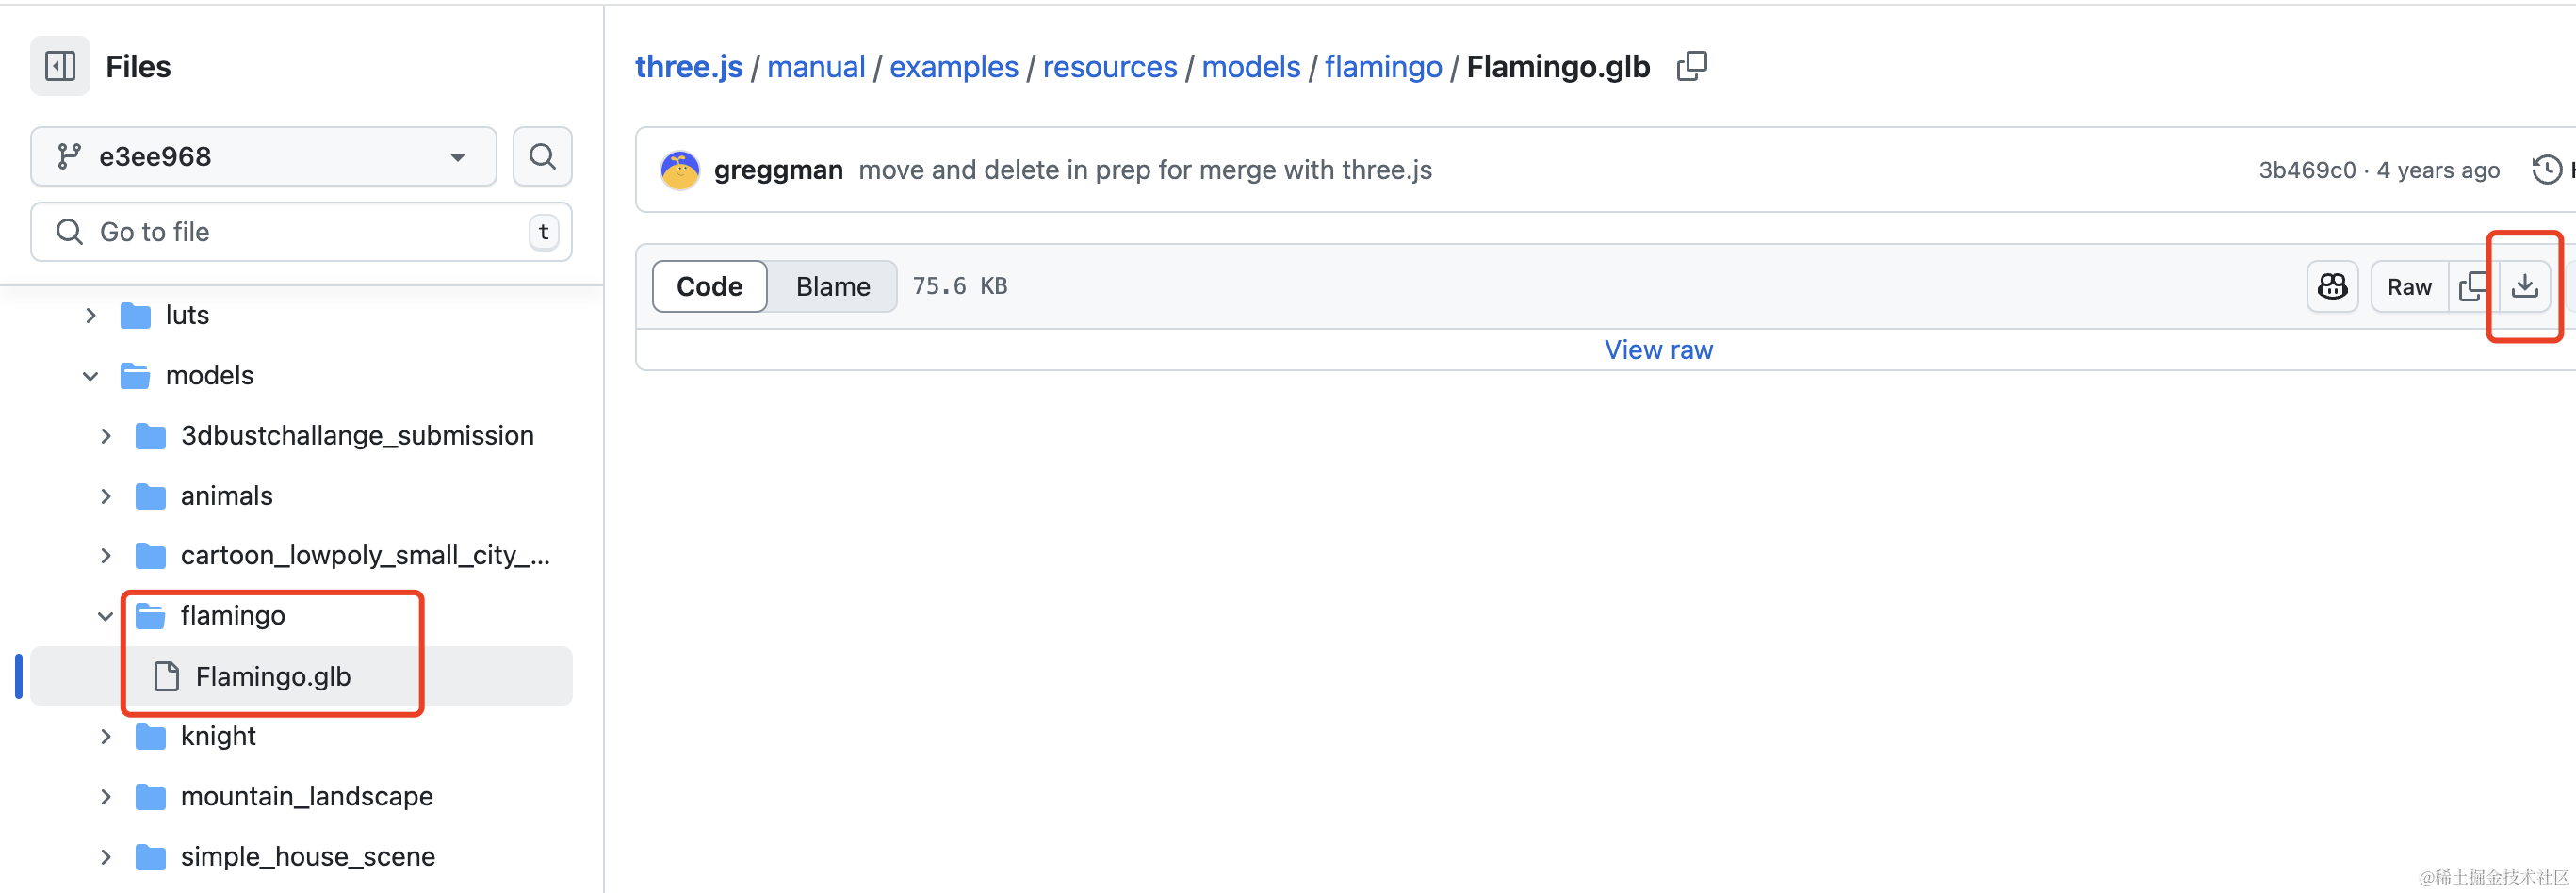
放在 public 目录下:
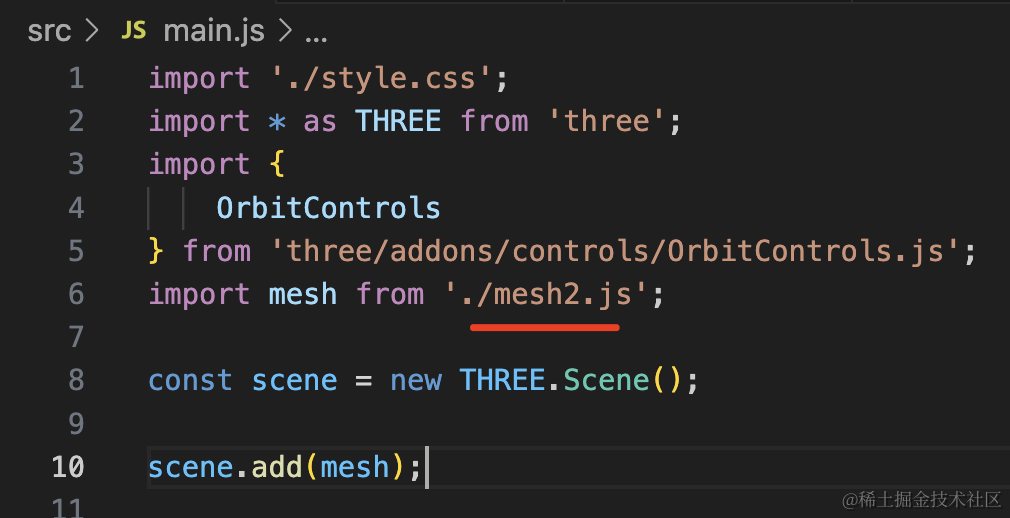
然后写下 mesh2.js
import * as THREE from 'three';
import { GLTFLoader } from 'three/addons/loaders/GLTFLoader.js';

const loader = new GLTFLoader();

const mesh = new THREE.Group();

loader.load("./Flamingo.glb", function (gltf) {
    console.log(gltf);
    mesh.add(gltf.scene);
    gltf.scene.scale.set(3, 3, 3);
})

export default mesh;
引入看一下:
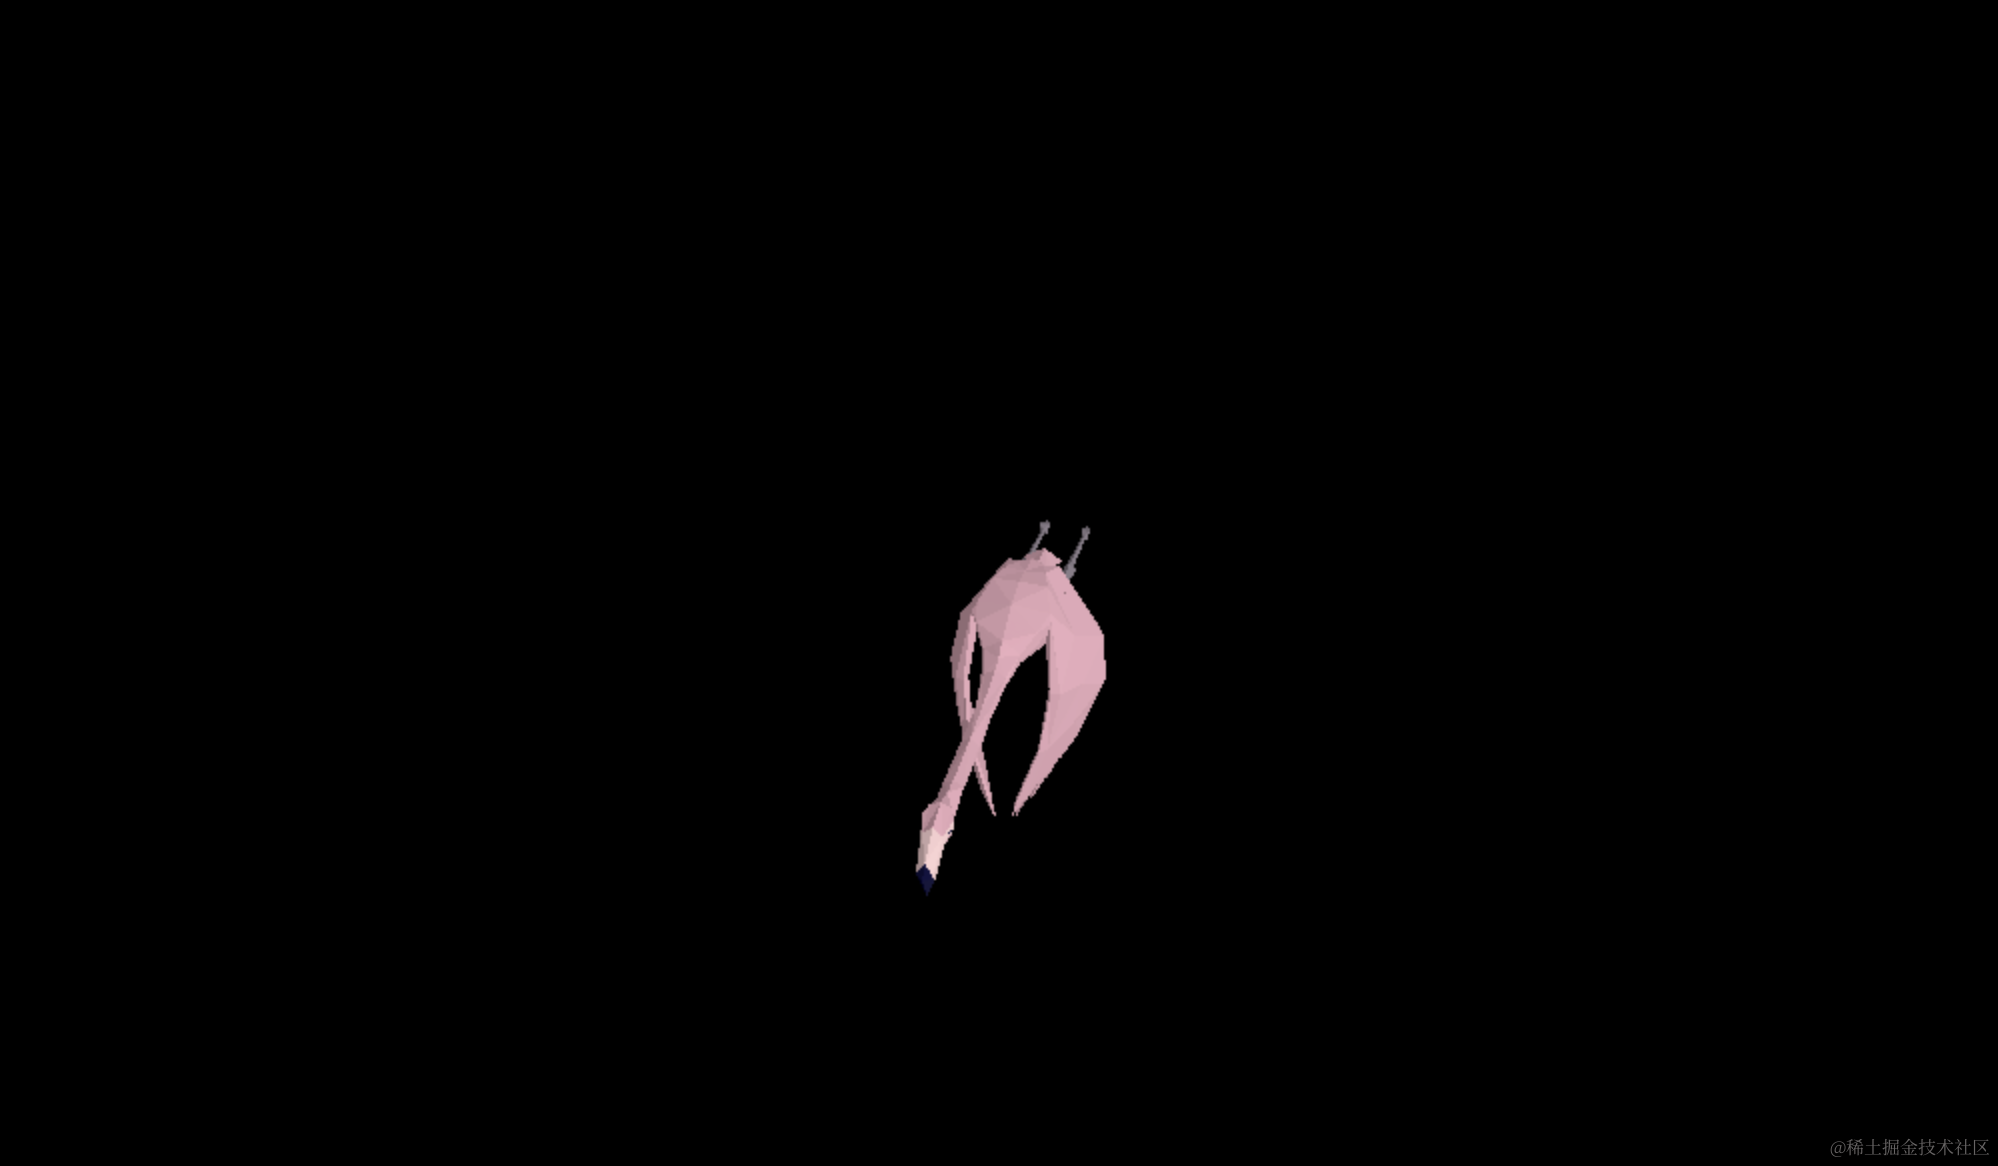
打开 devtools 看下:
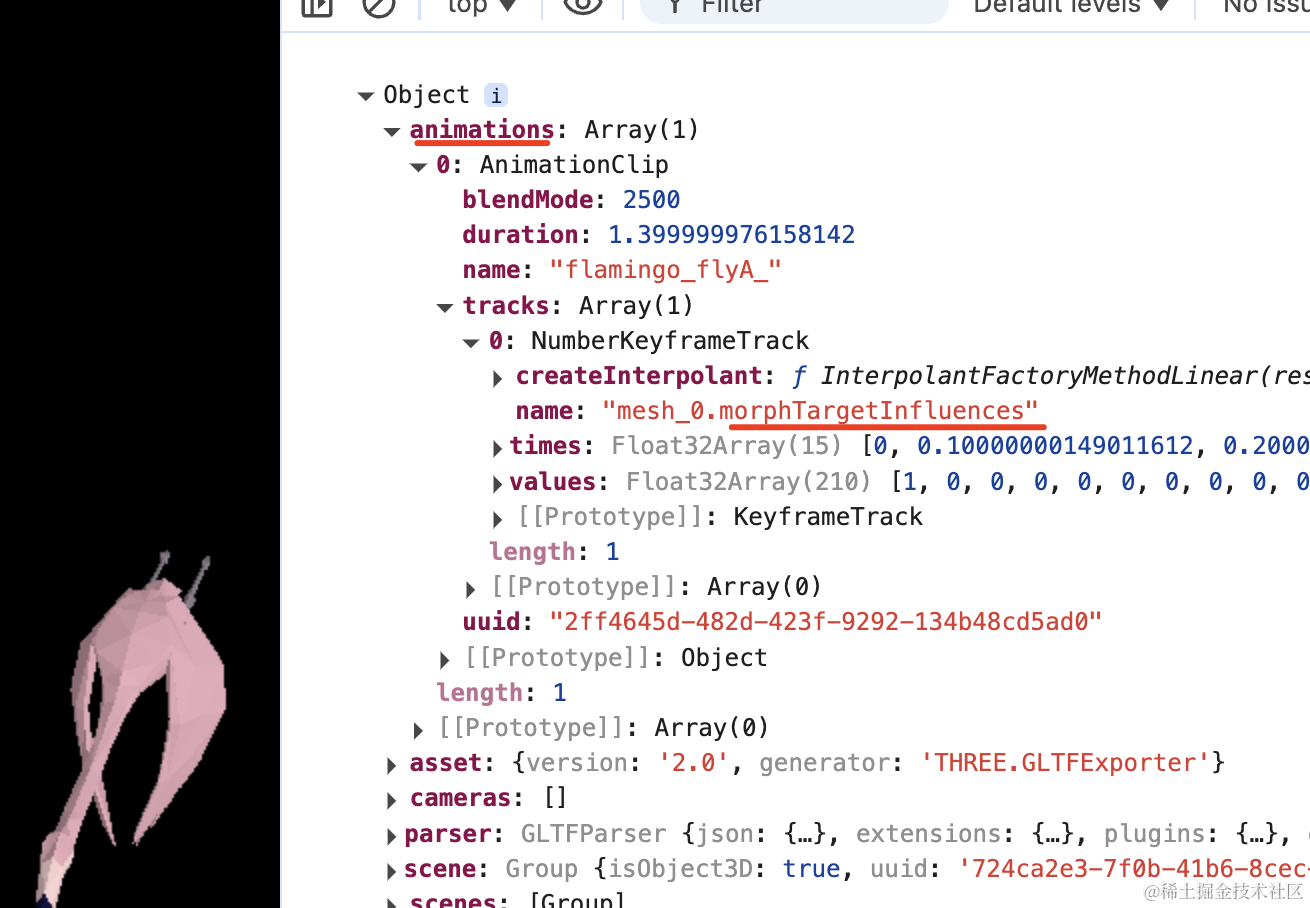
它有一个变形动画的关键帧动画。
我们播放一下:
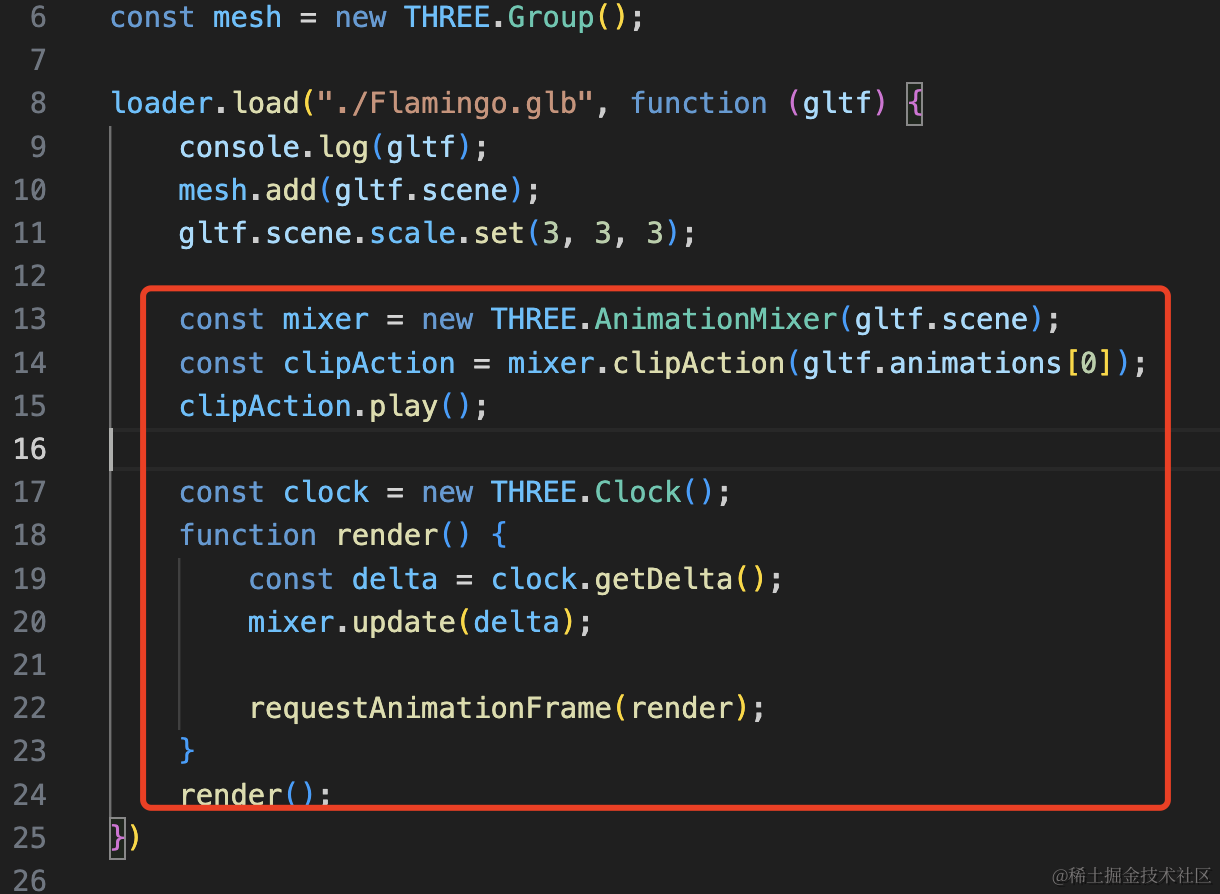
const mixer = new THREE.AnimationMixer(gltf.scene);
const clipAction = mixer.clipAction(gltf.animations[0]);
clipAction.play();

const clock = new THREE.Clock();
function render() {
    const delta = clock.getDelta();
    mixer.update(delta);

    requestAnimationFrame(render);
}
render();
用 AnmationMixer 动画播放器播放模型的第一个动画,并且每帧都 update 一下。
看下效果:
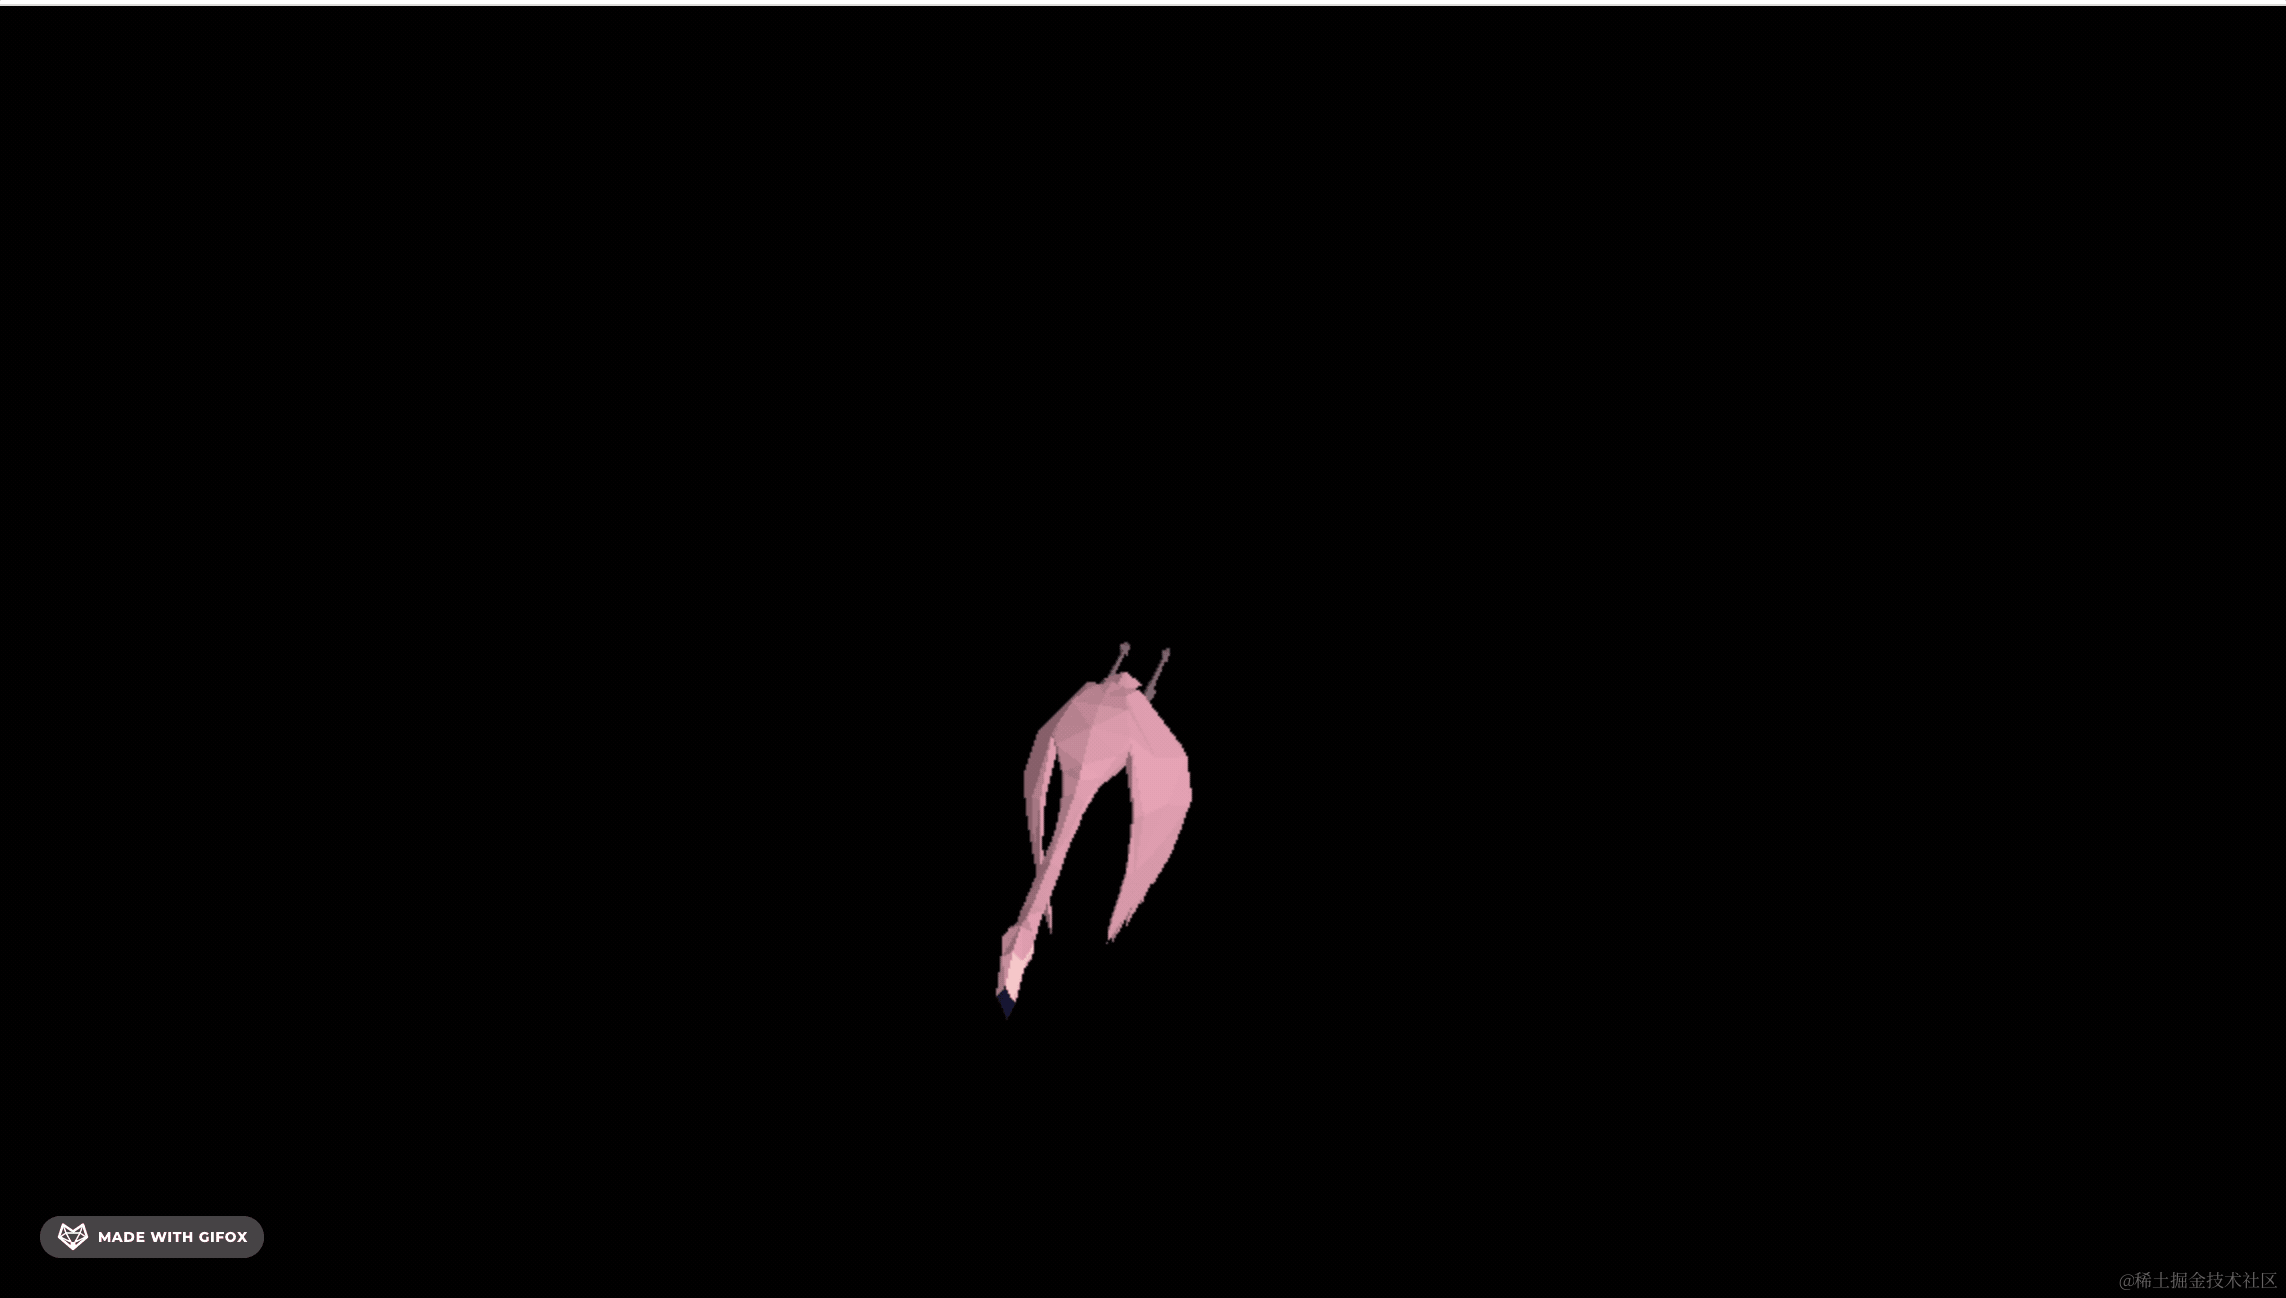
这样,我们就播放了模型上的变形动画。
案例代码上传了小册仓库。
总结
这节我们学了变形动画,
几何体是由顶点构成的,改变顶点的位置就可以变成另一种几何体,变形动画就是这样做的。
通过 geometry.morphAttributes.position 定义一些变形目标的顶点。
然后通过 mesh.morphTargetInfluences 调整每个变形目标的影响比重,就可以实现变形效果。
然后配合关键帧动画就可以播放这个变形动画。
很多模型自带了变形动画,可以和之前一样用 AnimationMixer 来播放。
变形动画本质上就是改变顶点的动画,它可以让几何体做各种形状的改变,实现复杂的变形效果。