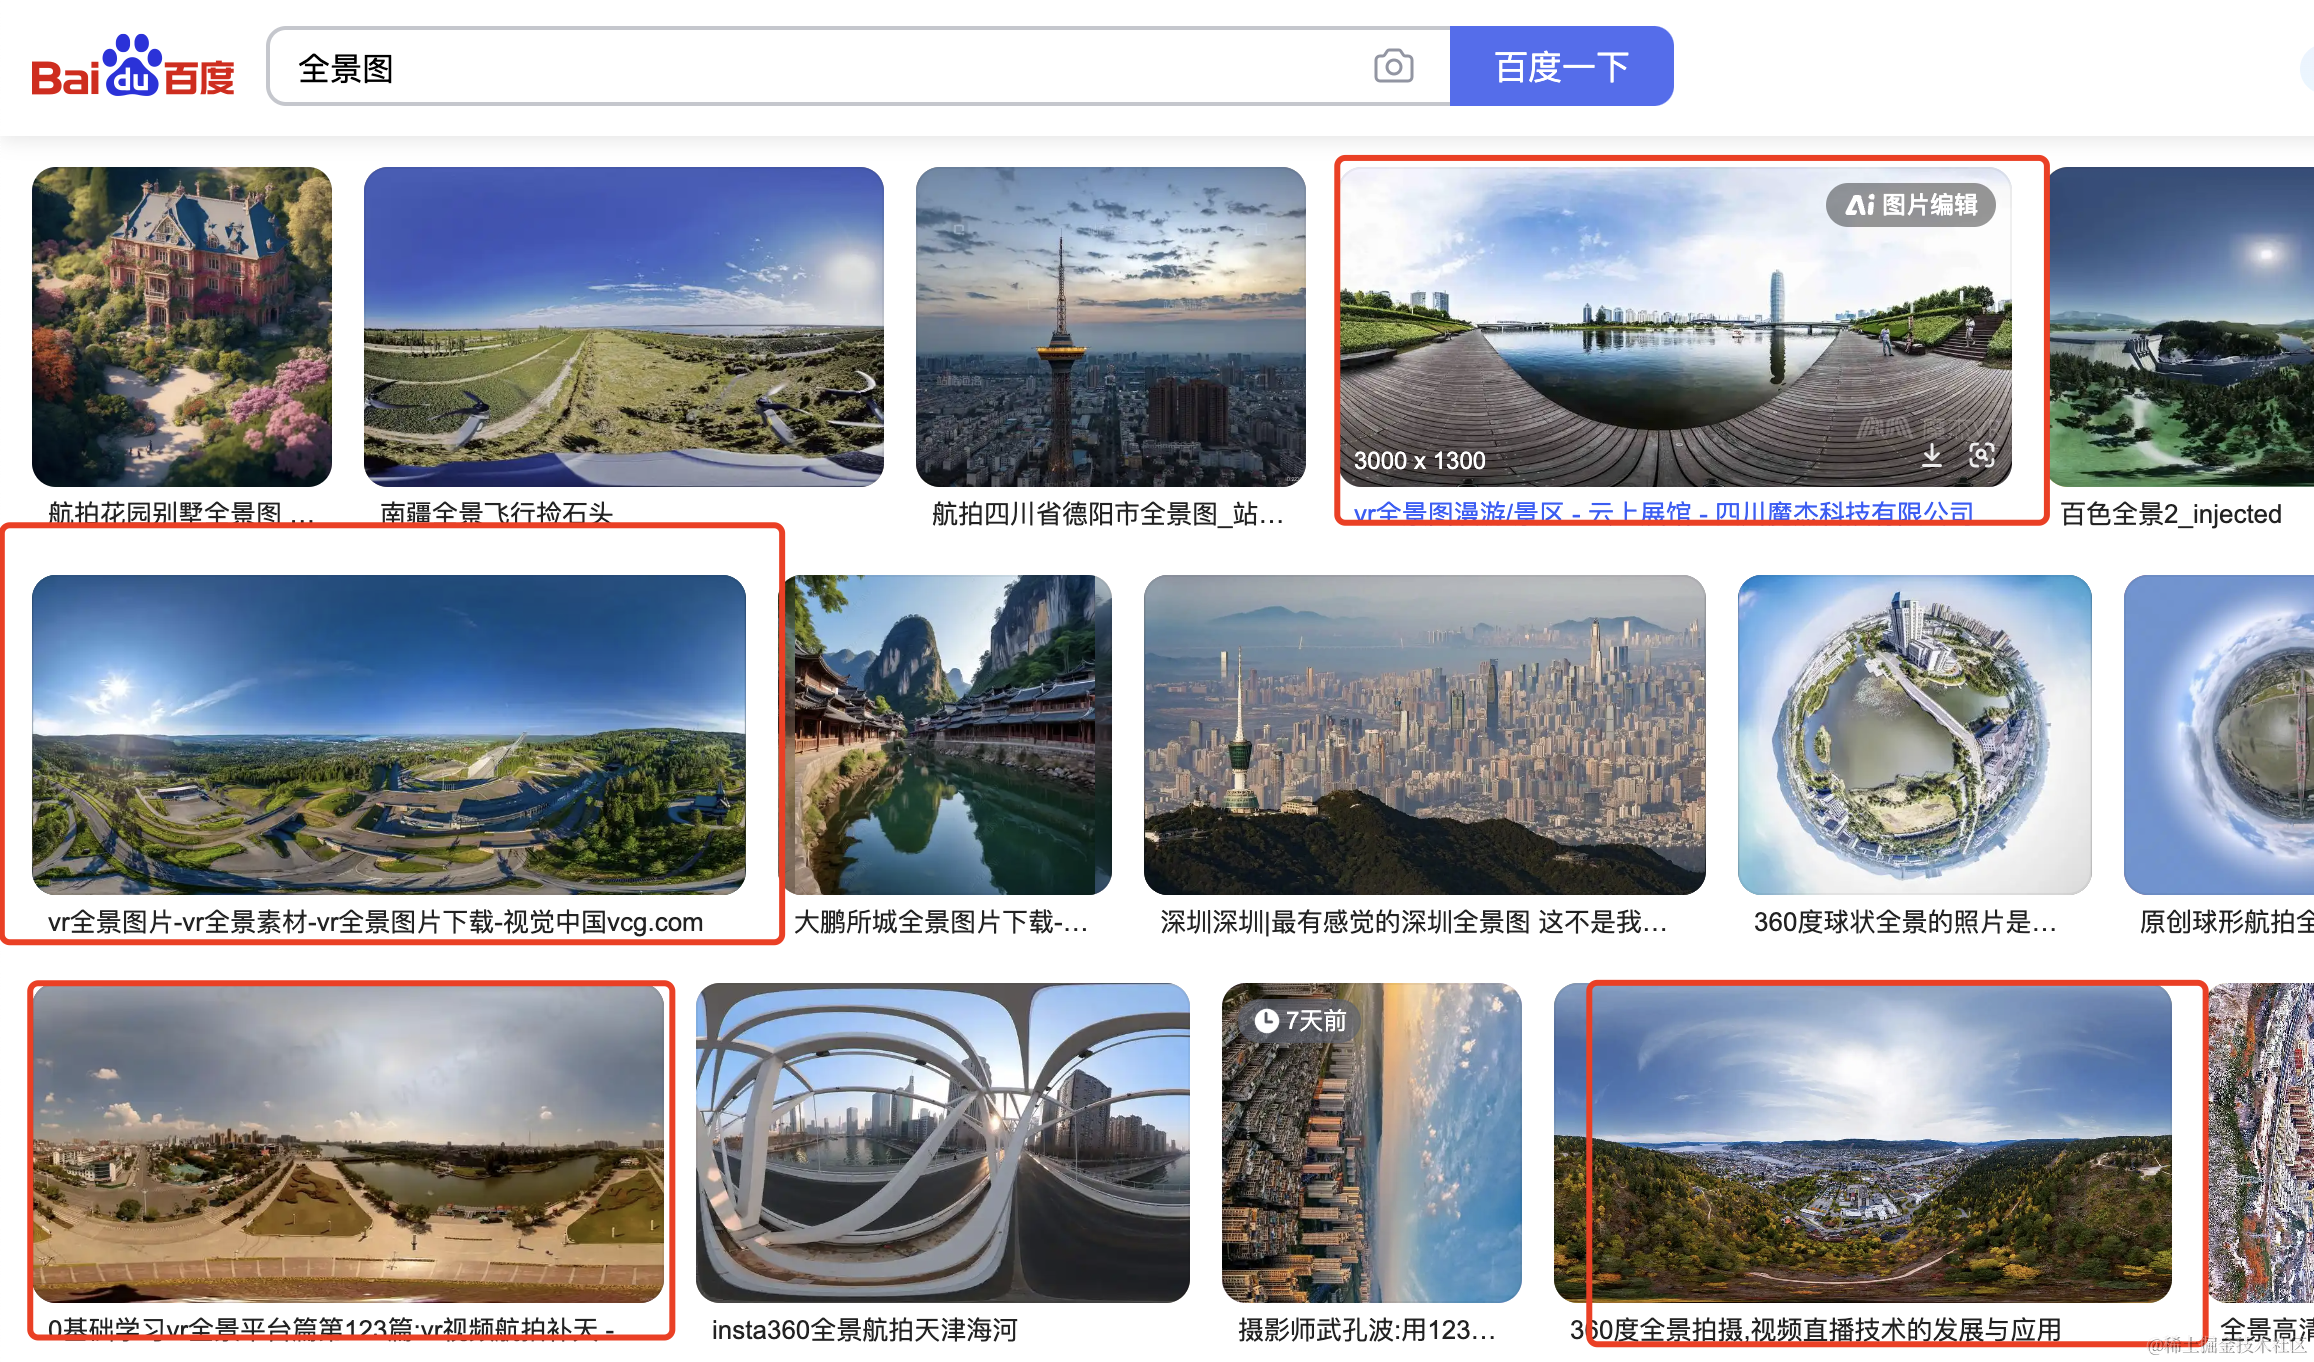
前面我们设置过好几次天空盒背景了。
我们是从网上找了一些全景图:
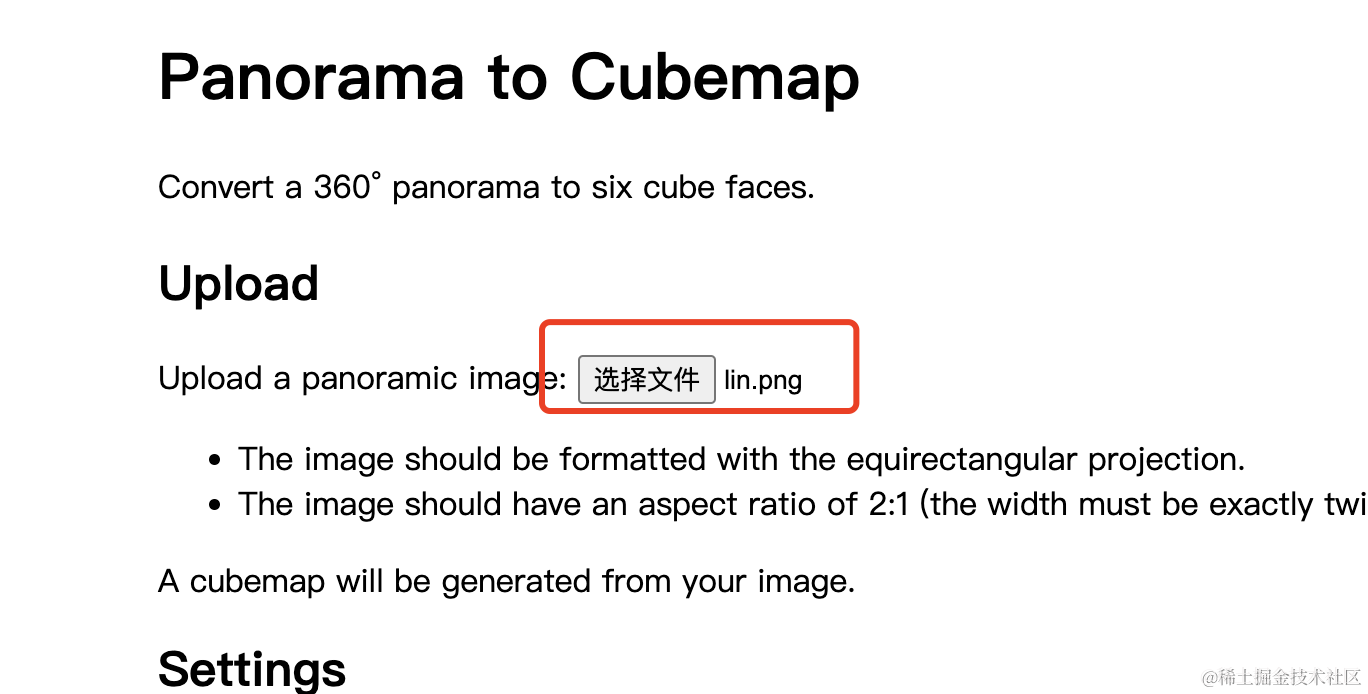
用工具分割成前后左右上下 6 张图片:

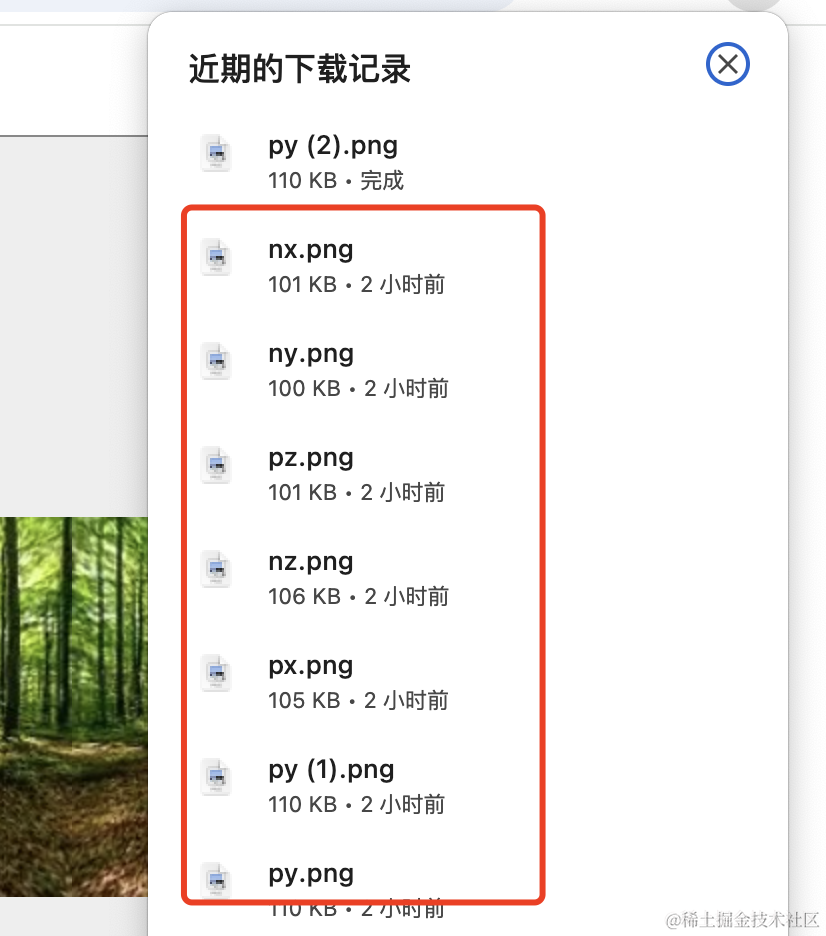
然后用 CubeTextureLoader 加载并在代码里使用的:

但其实设置全景图还有另一种方式,就是 HDR 文件。

它比 png、jpg 能存储更大的亮度范围,很适合用来做全景图。
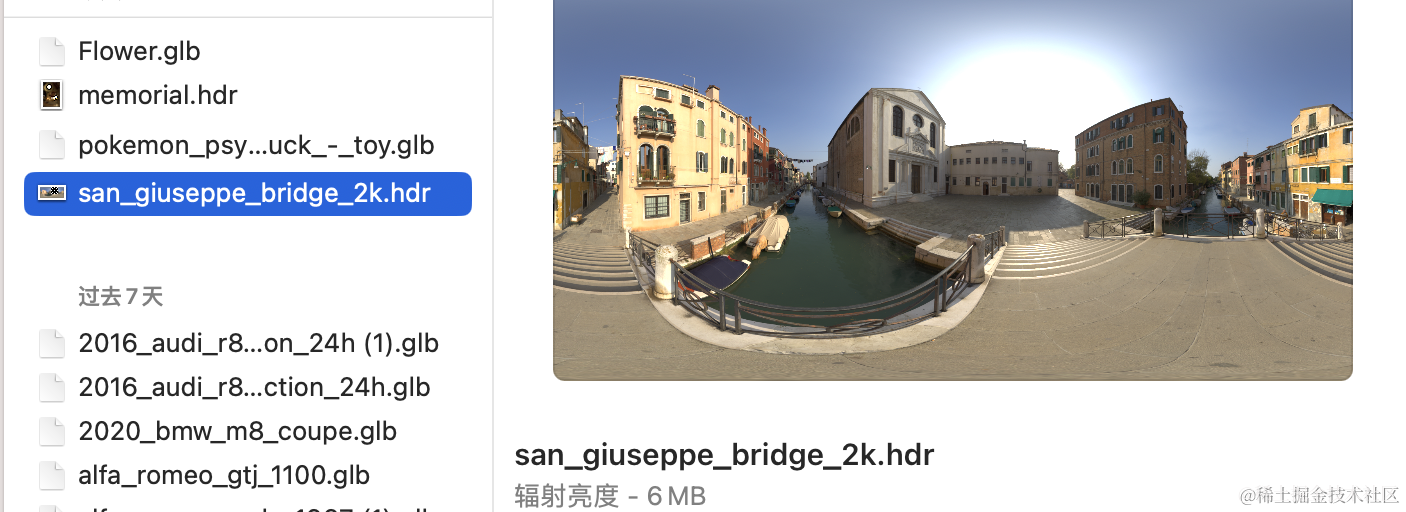
比如把 threejs 官方仓库的这个 hdr 文件下载下来:
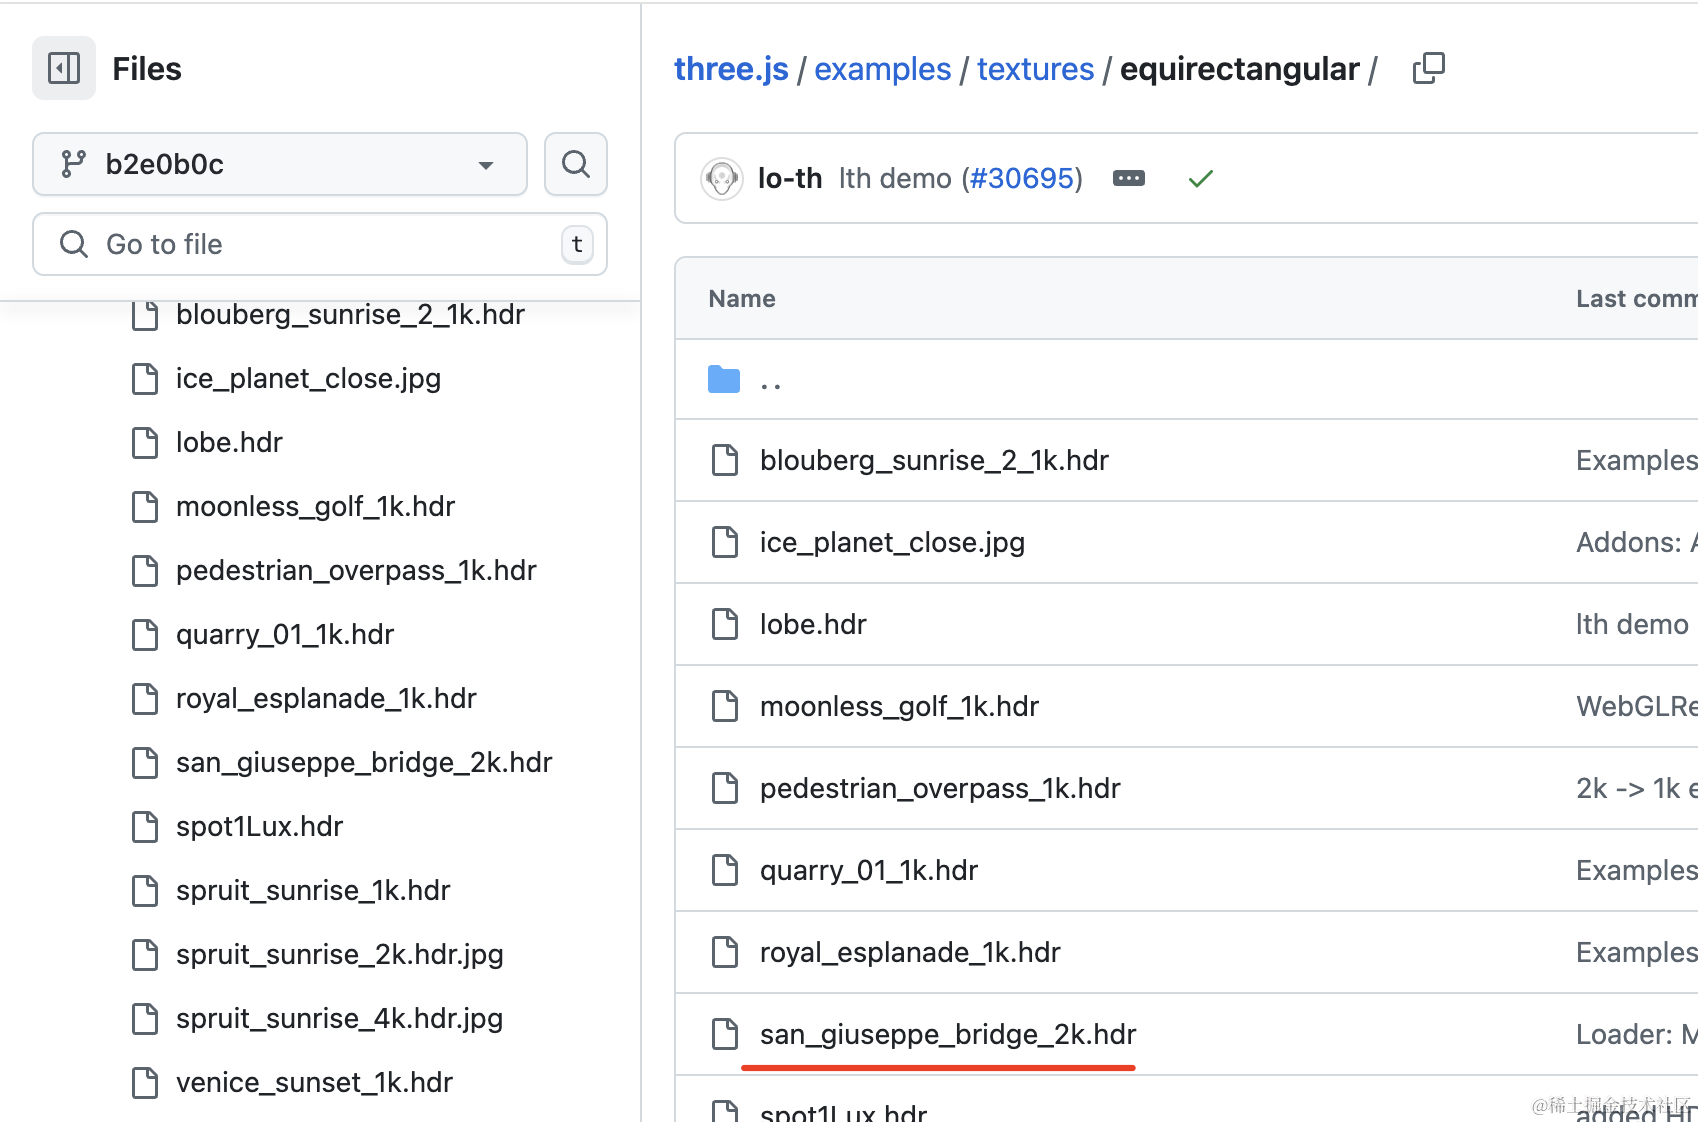
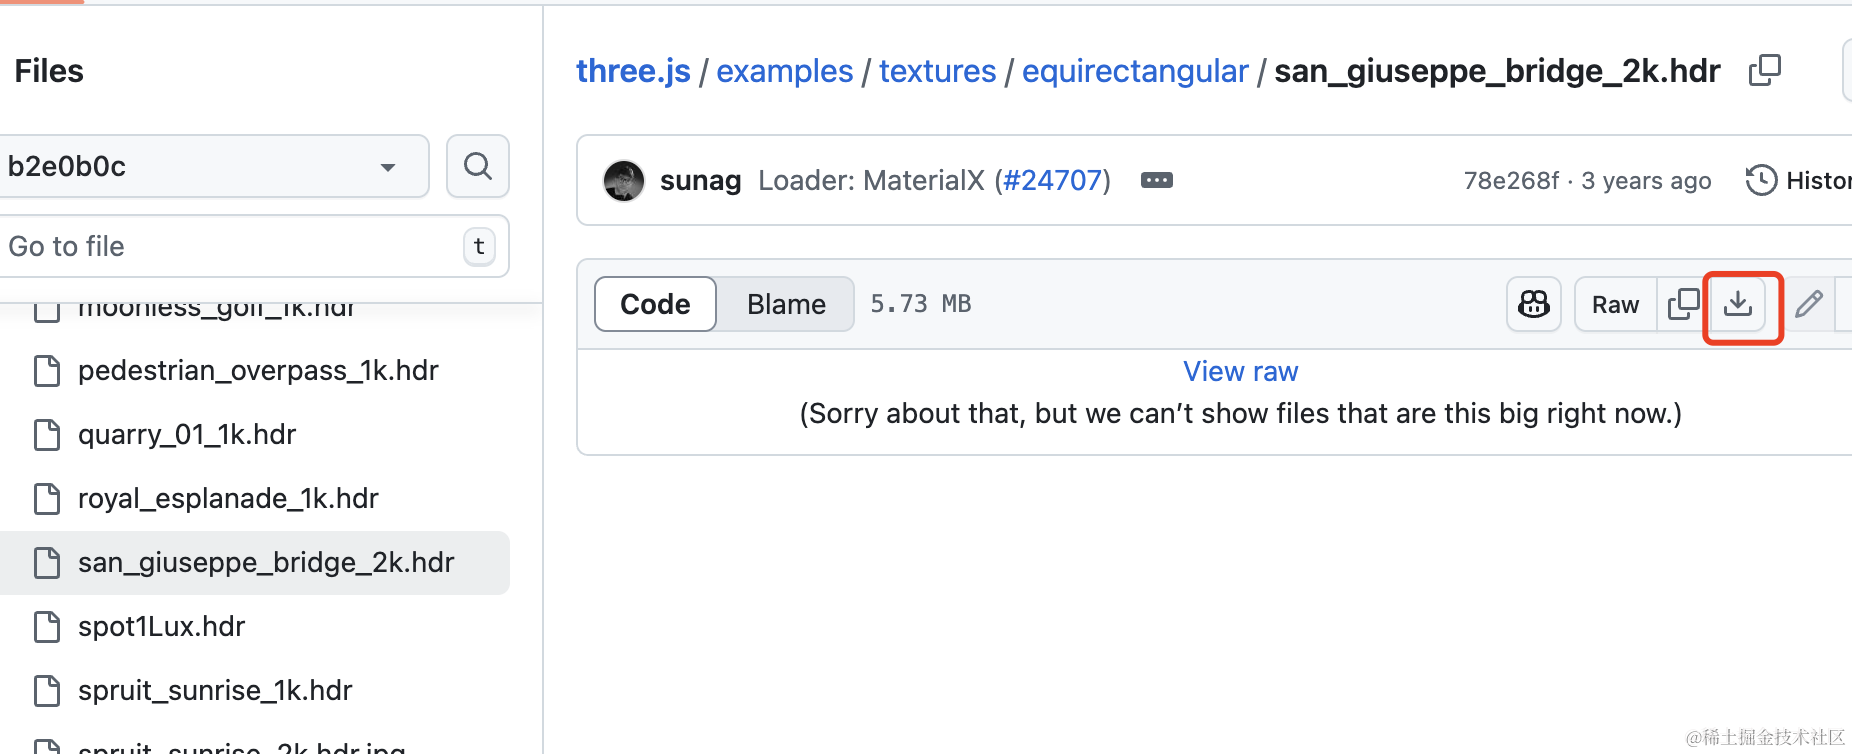
这明显也是一张全景图:
如何加载 hdr 文件作为全景图呢?
这就需要用到 RGBELoader 了。
我们来写下代码:
npx create-vite hdr-background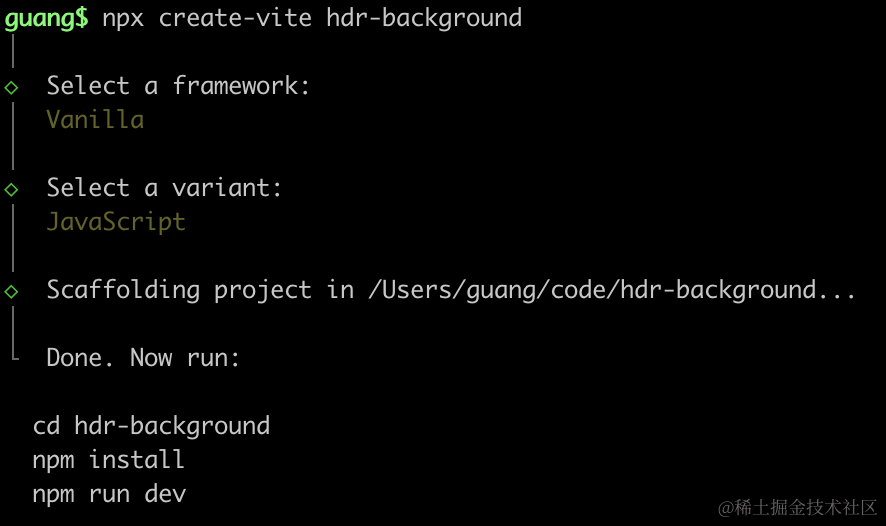
进入项目,安装依赖:
npm install
npm install --save three
npm install --save-dev @types/three
改下 src/main.js
import './style.css';
import * as THREE from 'three';
import {
    OrbitControls
} from 'three/addons/controls/OrbitControls.js';
import mesh from './mesh.js';

const scene = new THREE.Scene();
scene.add(mesh);

const directionLight = new THREE.DirectionalLight(0xffffff);
directionLight.position.set(500, 400, 300);
scene.add(directionLight);

const ambientLight = new THREE.AmbientLight();
scene.add(ambientLight);

const width = window.innerWidth;
const height = window.innerHeight;

const helper = new THREE.AxesHelper(500);
scene.add(helper);

const camera = new THREE.PerspectiveCamera(60, width / height, 0.1, 10000);
camera.position.set(300, 700, 300);
camera.lookAt(0, 0, 0);

const renderer = new THREE.WebGLRenderer({
  antialias: true
});
renderer.setSize(width, height)

function render(time) {
    renderer.render(scene, camera);
    requestAnimationFrame(render);
}

render();

document.body.append(renderer.domElement);

const controls = new OrbitControls(camera, renderer.domElement);

window.onresize = function () {
  const width = window.innerWidth;
  const height = window.innerHeight;

  renderer.setSize(width,height);

  camera.aspect = width / height;
  camera.updateProjectionMatrix();
};
创建 Scene、Light、Camera、Renderer。
改下 style.css
body {
  margin: 0;
}
先跑下:
npm run dev
然后我们加载下 hdr 文件:
把刚才的 pbr 文件复制到 public 目录下:

代码里加载下:
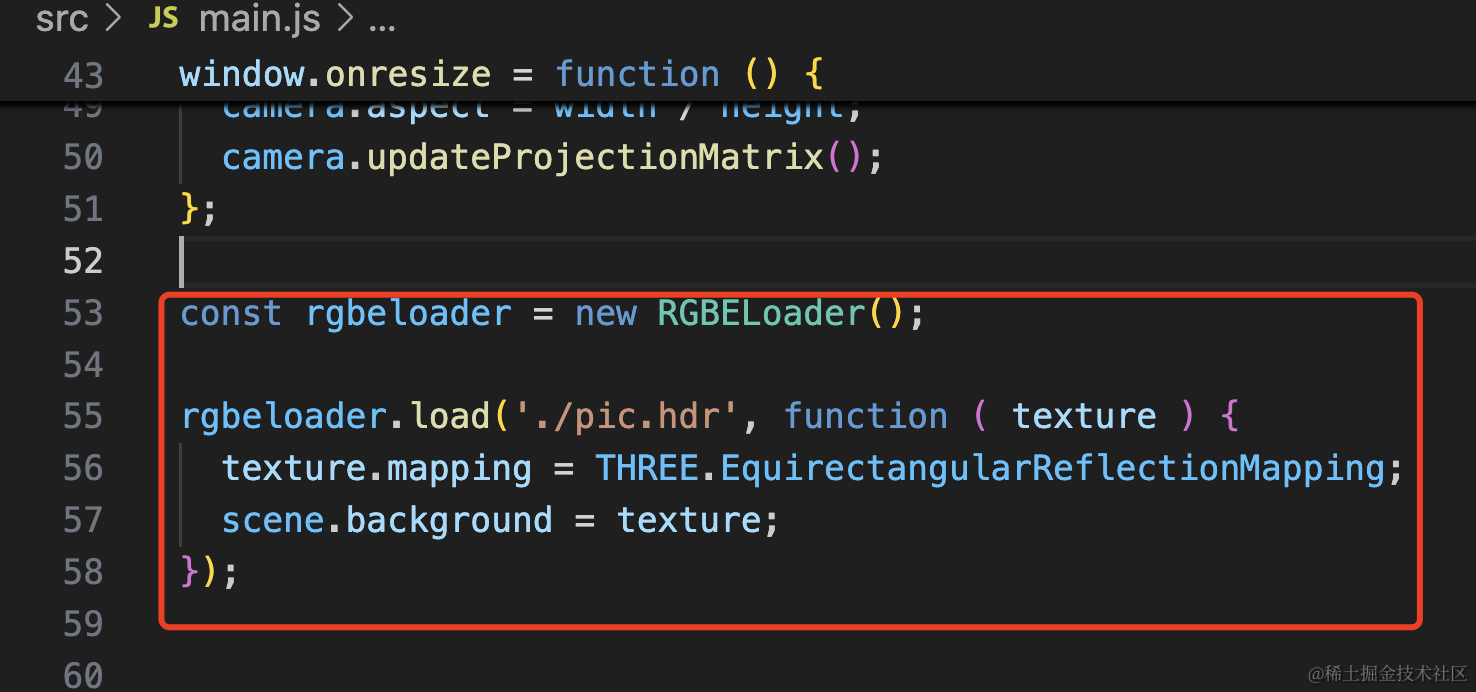
const rgbeloader = new RGBELoader();

rgbeloader.load('./pic.hdr', function ( texture ) {
  texture.mapping = THREE.EquirectangularReflectionMapping;
  scene.background = texture;
});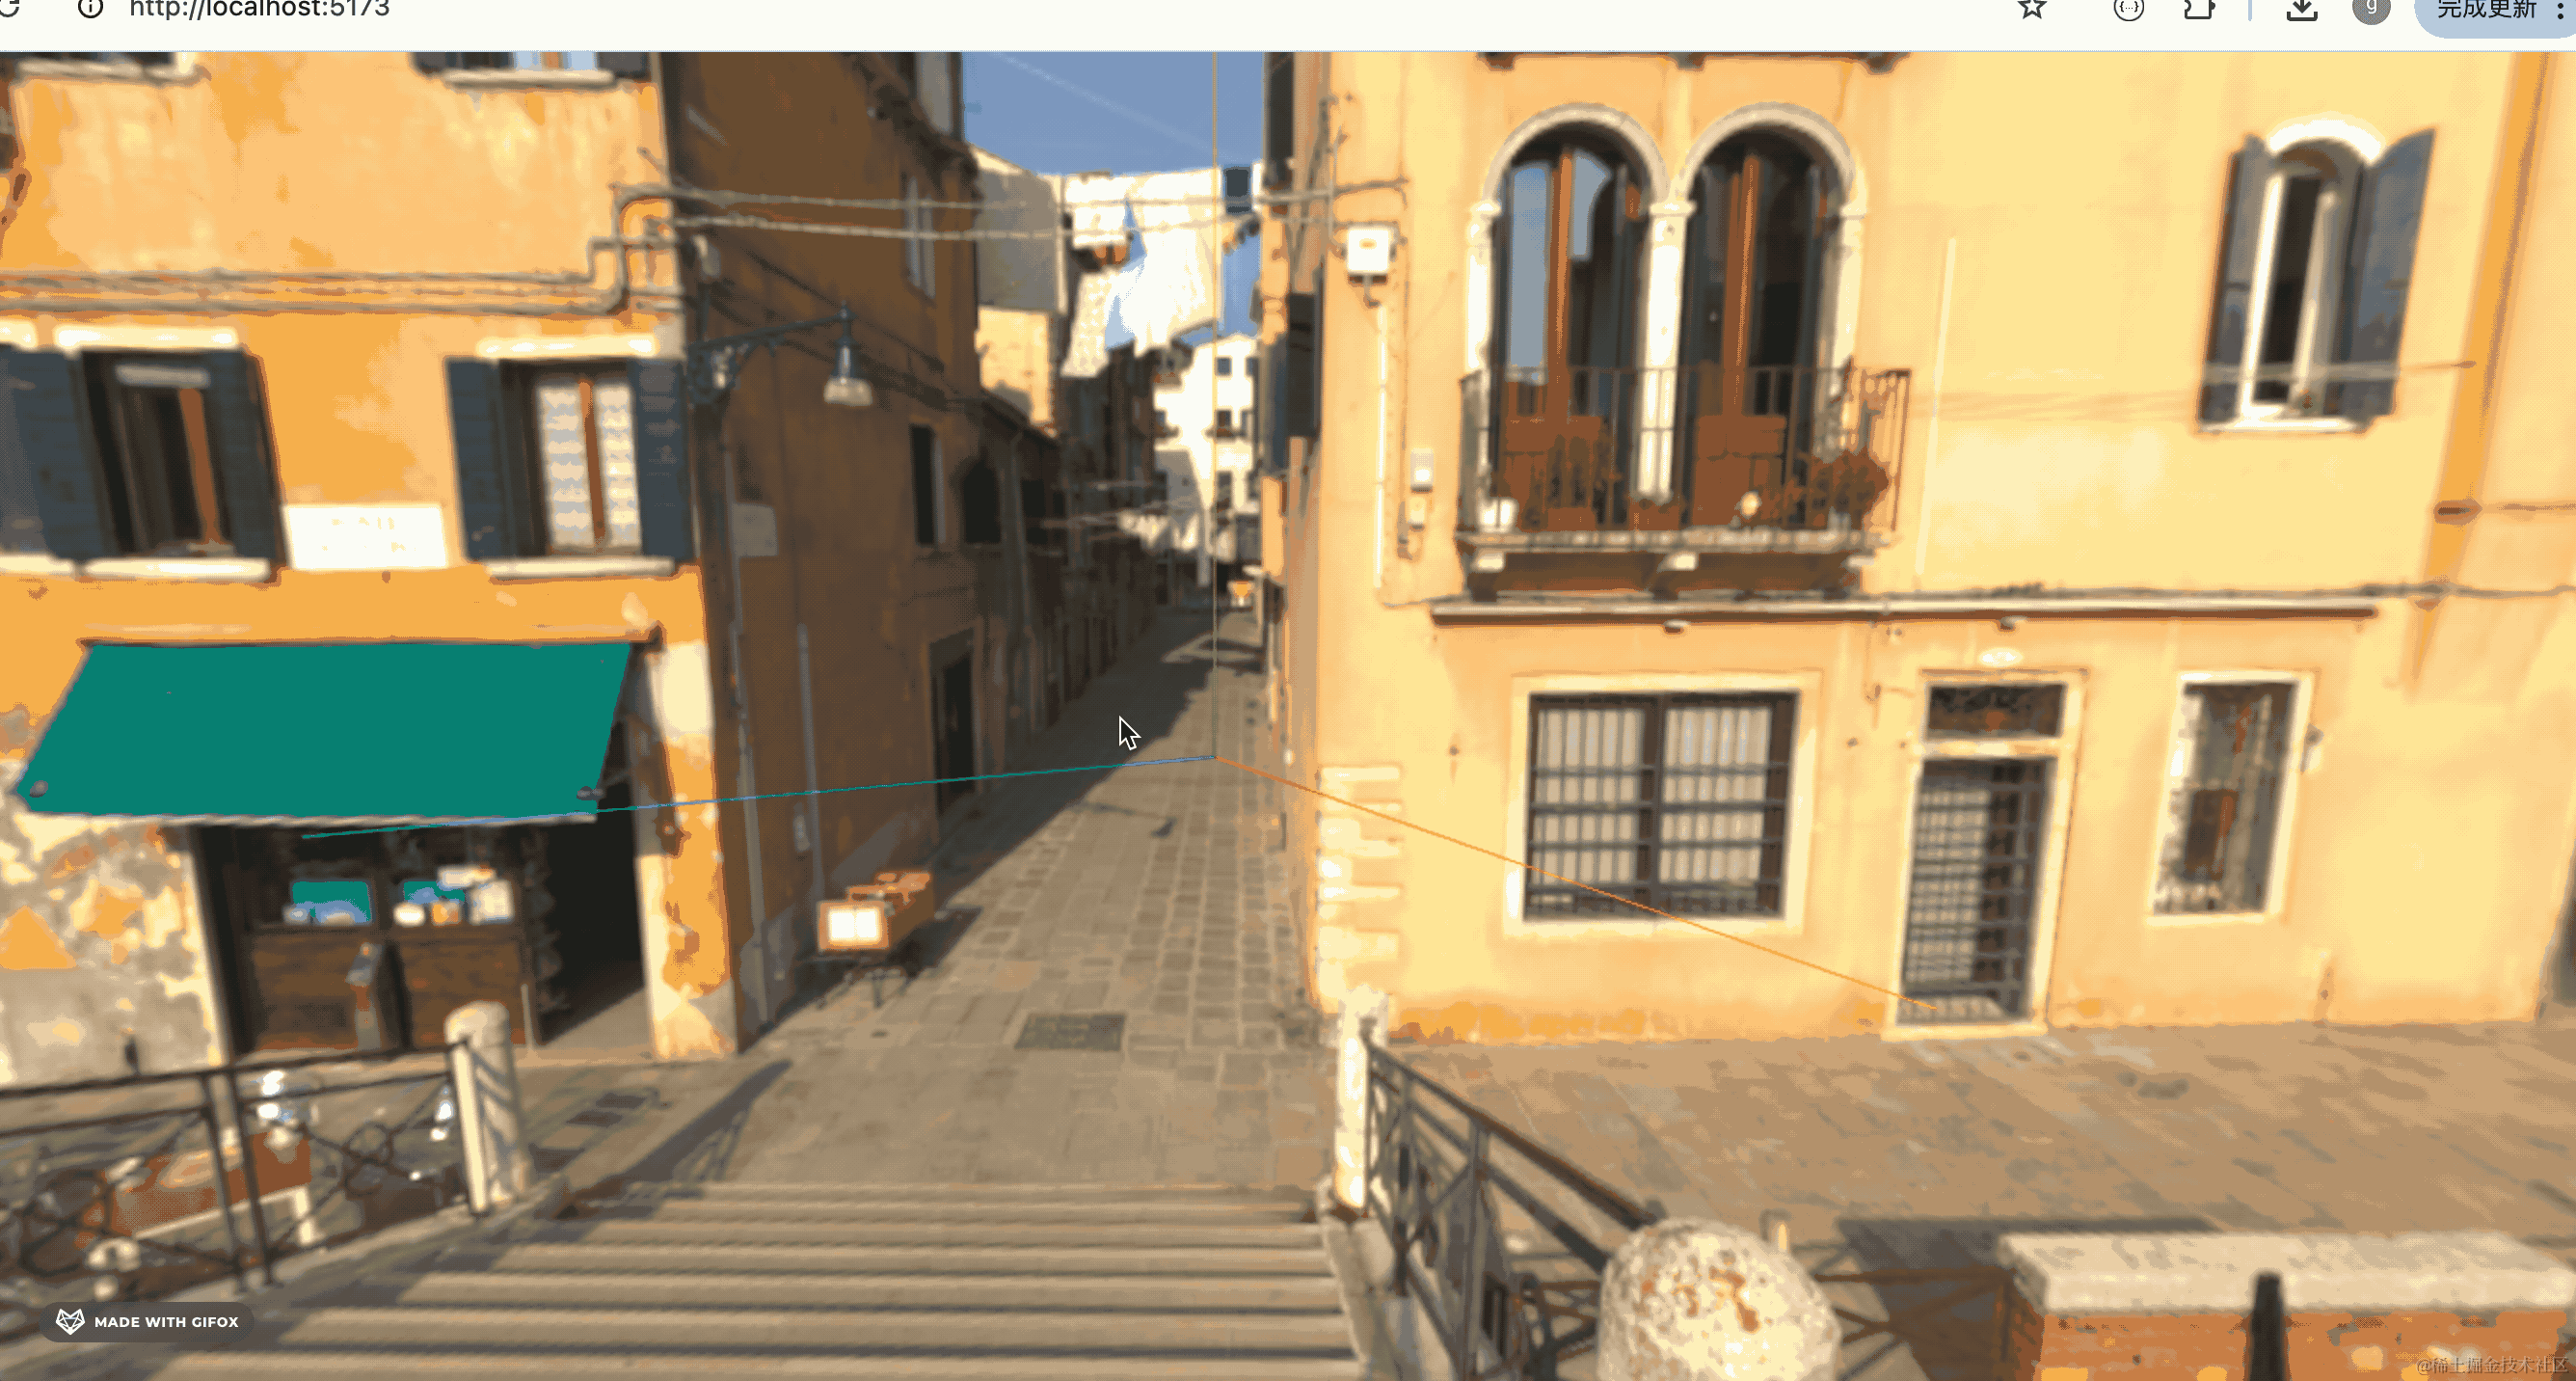
可以看到,现在的光线非常真实,相比之前用 CubeTextureLoader 加载 6 张图作为。
这就是 hdr 文件的好处。
这个 mapping 是指定如何解析这张图片的:
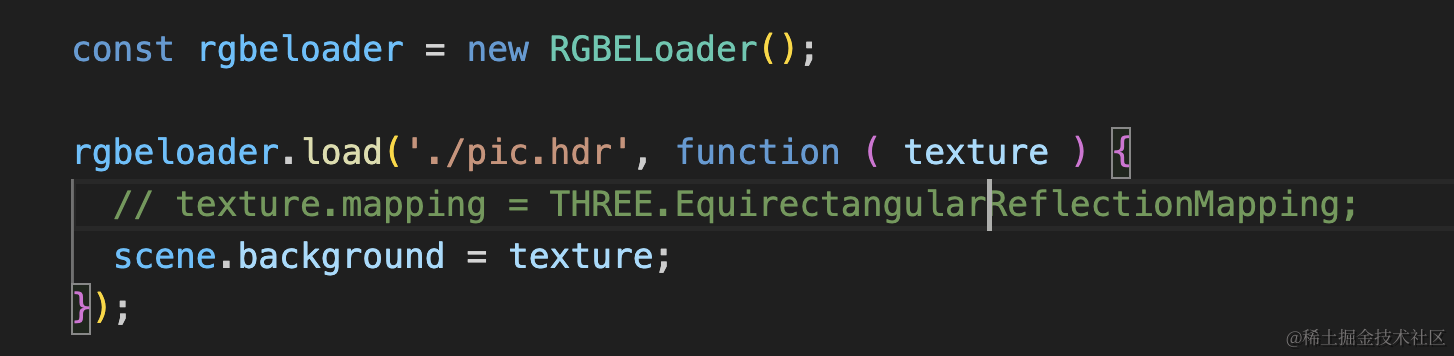
不指定就是这样:

其实之前的全景图也不是非得切割成天空盒的六张图再用,比如这张图片:
如果不切割成 6 张图,也可以直接用:
const textureLoader = new THREE.TextureLoader();

textureLoader.load('./pic.jpg', function ( texture ) {
  texture.mapping = THREE.EquirectangularReflectionMapping;
  scene.background = texture;
});
jpg 文件是没有 hdr 文件存储的亮度信息多的,全景图还是用 hdr 比较好。
案例代码上传了小册仓库。
总结
这节我们学了用 .hdr 文件作为全景图。
hdr 文件能够存储范围更广的亮度信息,作为全景图更加真实。
用 RGBELoader 加载之后,设置 mapping 为 EquirectangularReflectionMapping,然后作为 scene.background 就可以了。
当然,普通的 jpg 文件也不用分割成 6 张图后再用 CubeTextureLoader 加载,也可以用这种方式运行时分割。
后面做全景图的时候,尽量用 hdr 文件,会更加真实。