这节我们加上音乐频谱的可视化,之前我们做过这种:
这次我们做环状的。
也就是一圈同心圆,从内到外一共 21 圈,频率从高到低。
我们先把它们画出来:
我们先创建一个同心圆环看下效果:
创建 src/analyser.js
import * as THREE from 'three';

const shape = new THREE.Shape();
shape.absarc(0, 0, 200, 0, Math.PI * 2);

const path = new THREE.Path();
path.absarc(0, 0, 150, 0, Math.PI * 2);

shape.holes.push(path);

const geometry = new THREE.ExtrudeGeometry(shape, {
    depth: 300
});
const material = new THREE.MeshPhysicalMaterial({
    color: new THREE.Color('lightgreen')
});

const mesh = new THREE.Mesh(geometry, material);
mesh.rotateX(- Math.PI / 2);

export default mesh;
用 Shape 画一个圆,然后定义 holes 的孔。
之后用 ExtrudeGeometry 来拉伸成几何体。
看下效果:
这样圆环柱就做好了。
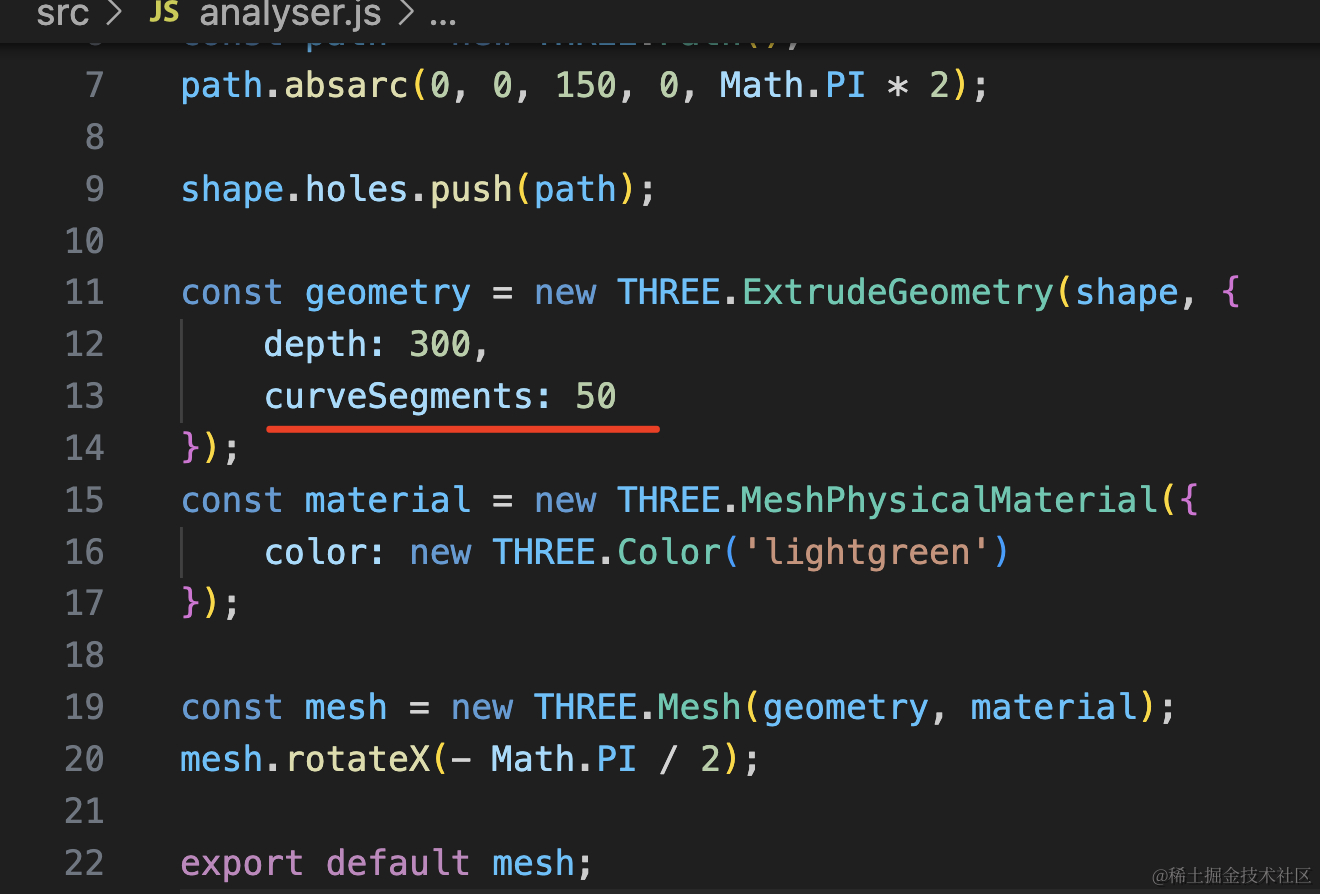
但是分段不够细致,看起来不够圆,调一下分段数:
好多了。
然后创建这样的 21 个同心圆环柱。
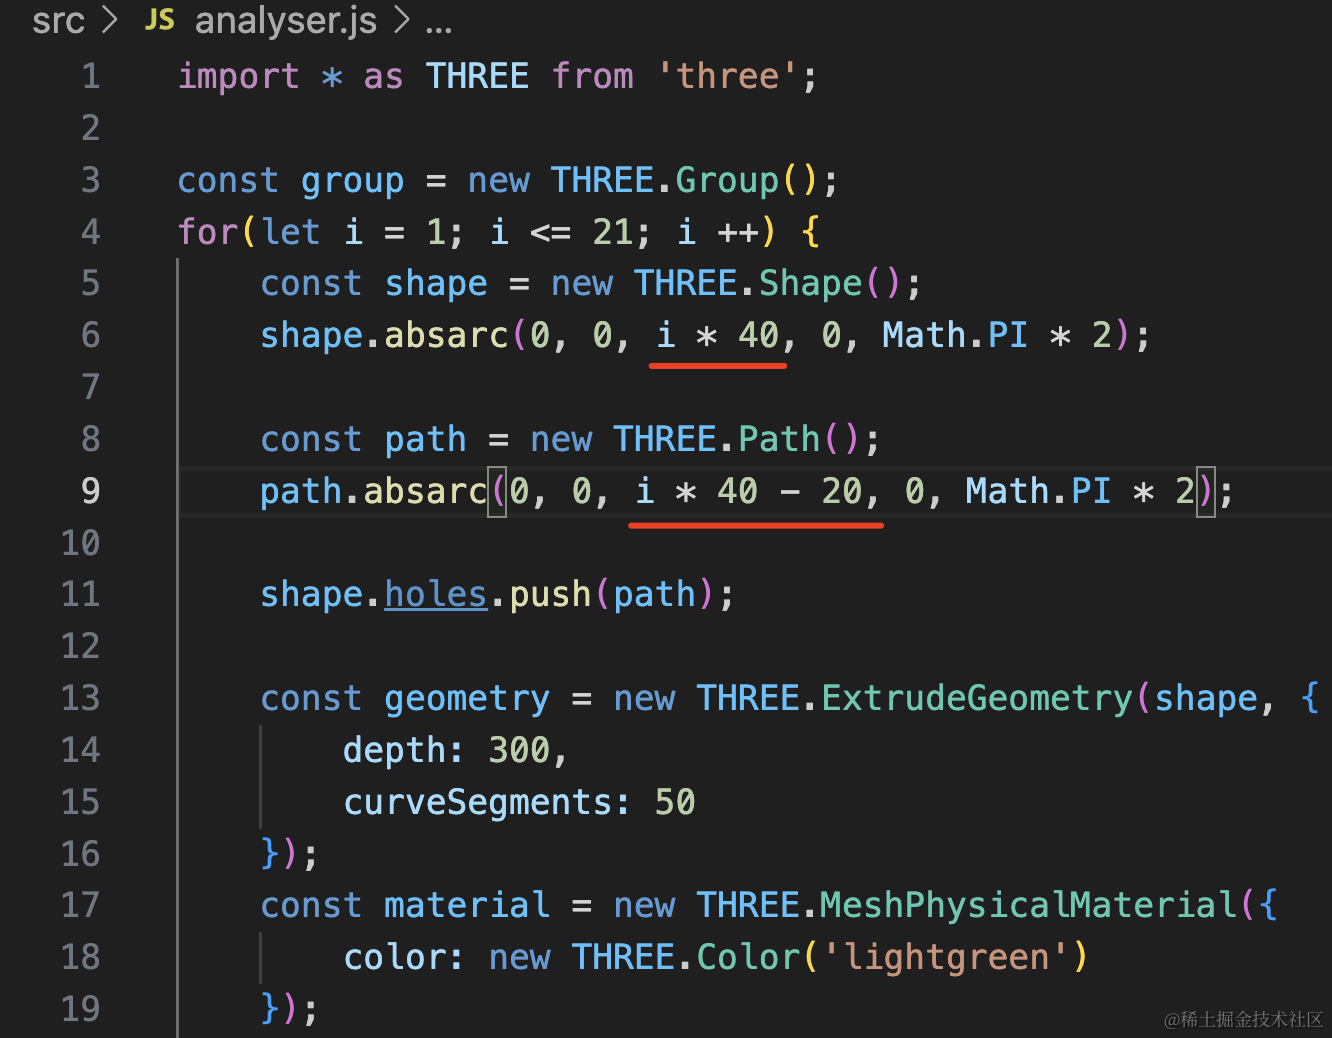
外圆半径 i * 50,内圆是 i * 50 - 20,也就是圆环宽度 20
import * as THREE from 'three';

const group = new THREE.Group();
for(let i = 1; i <= 21; i ++) {
    const shape = new THREE.Shape();
    shape.absarc(0, 0, i * 50, 0, Math.PI * 2);

    const path = new THREE.Path();
    path.absarc(0, 0, i * 50 - 20, 0, Math.PI * 2);

    shape.holes.push(path);

    const geometry = new THREE.ExtrudeGeometry(shape, {
        depth: 300,
        curveSegments: 50
    });
    const material = new THREE.MeshPhysicalMaterial({
        color: new THREE.Color('lightgreen')
    });

    const mesh = new THREE.Mesh(geometry, material);
    group.add(mesh);
}

group.rotateX(- Math.PI / 2);

export default group;
看下效果:
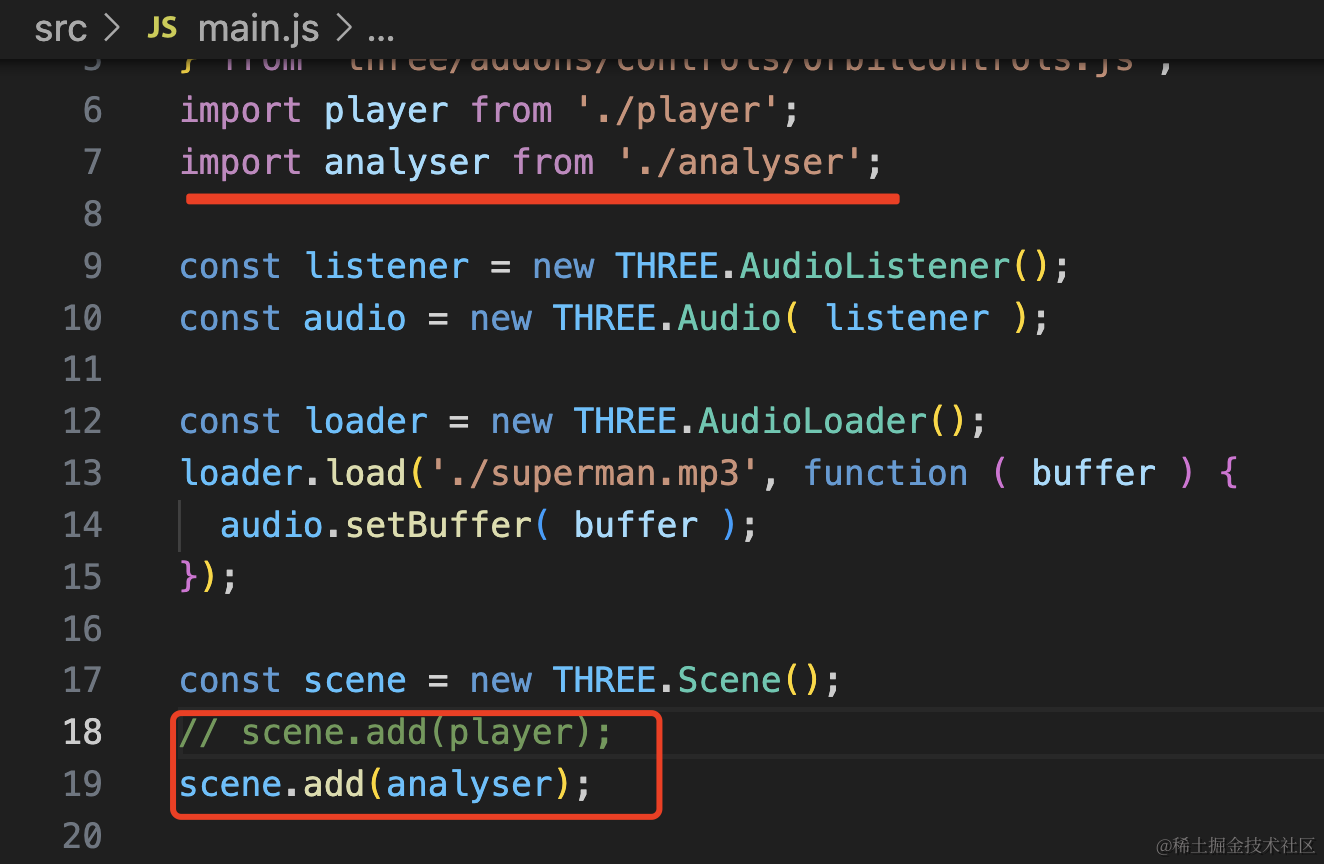
然后我们把播放暂停按钮展示出来:
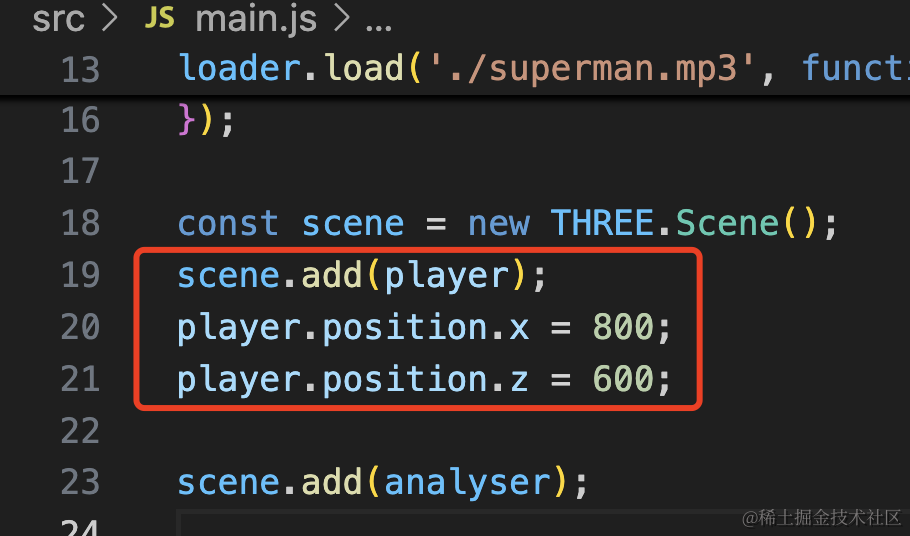
scene.add(player);
player.position.x = 800;
player.position.z = 600;
注释掉 AxesHelper,调一下相机位置:
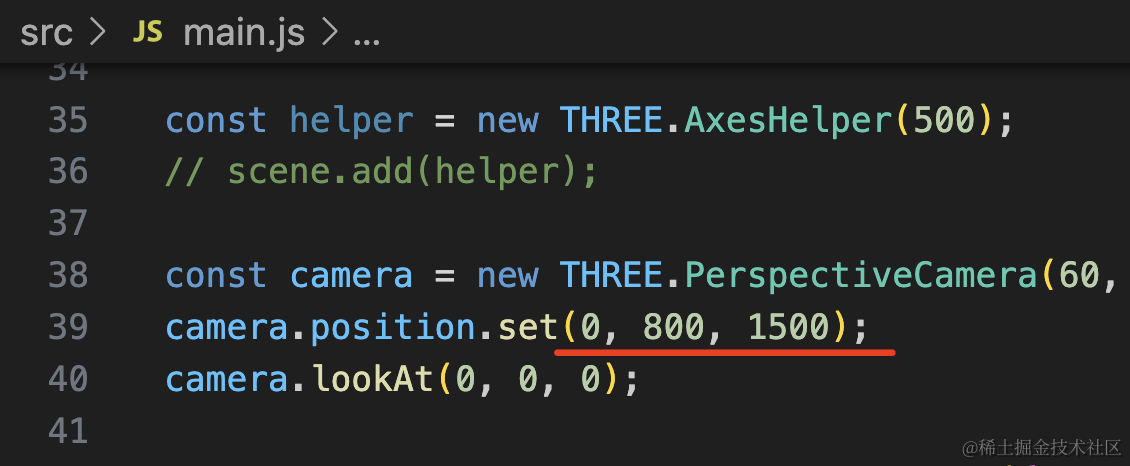
camera.position.set(0, 800, 1500);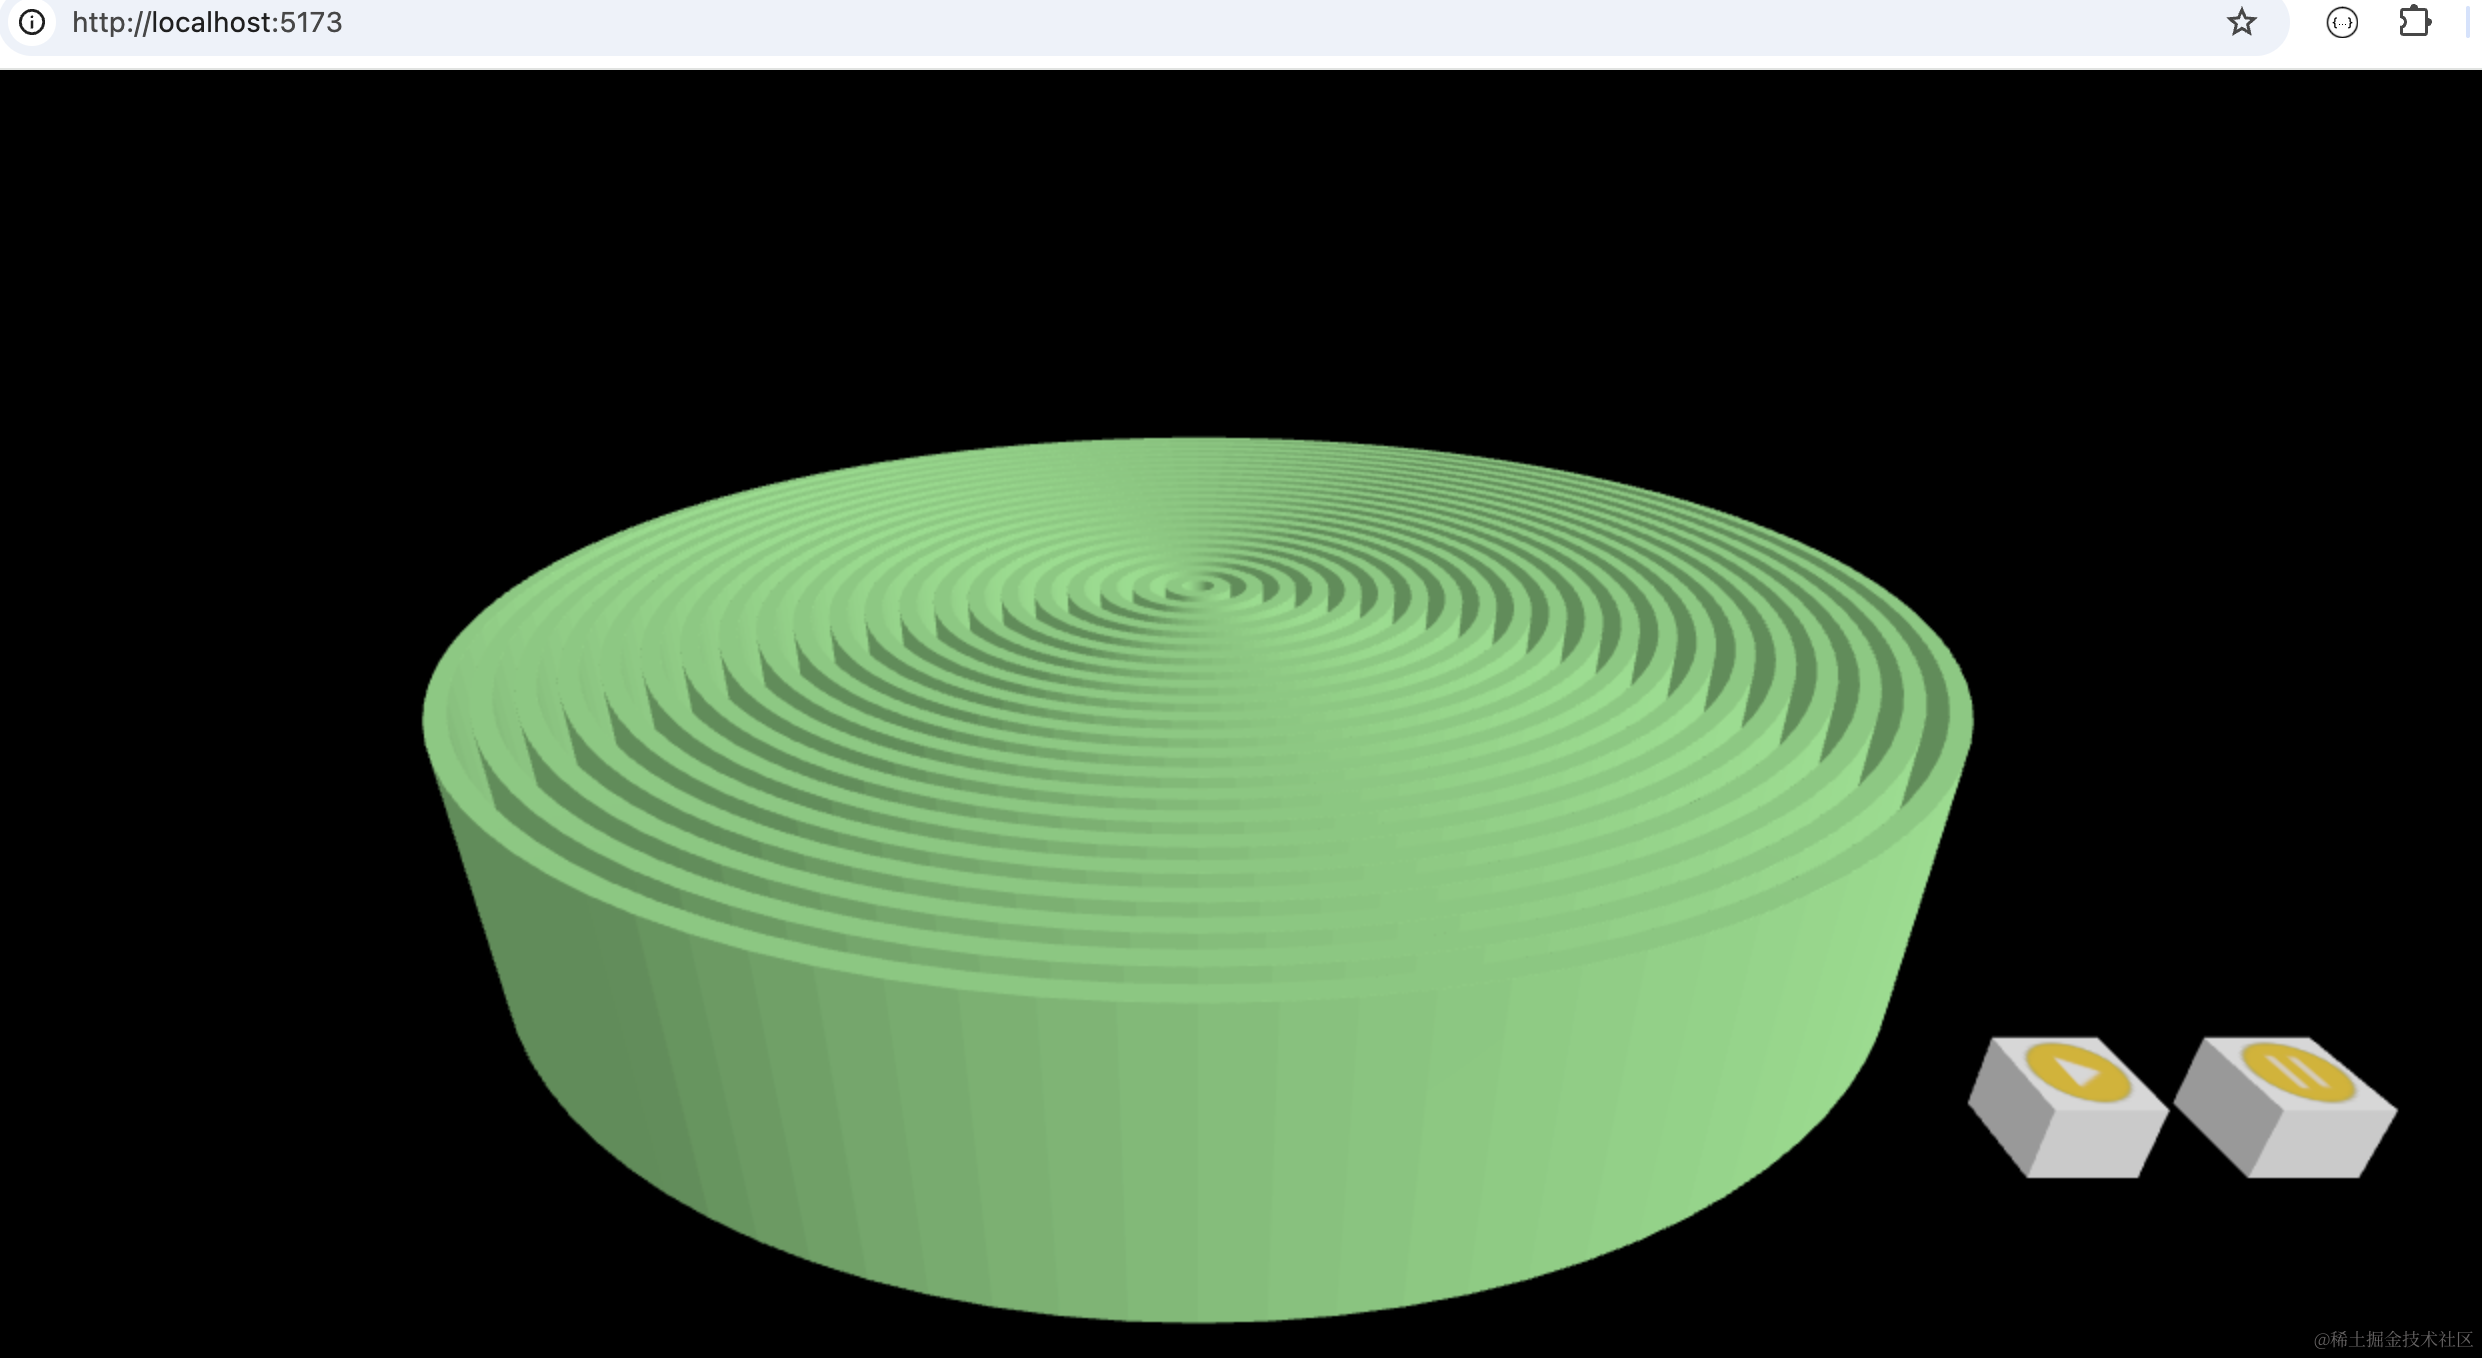
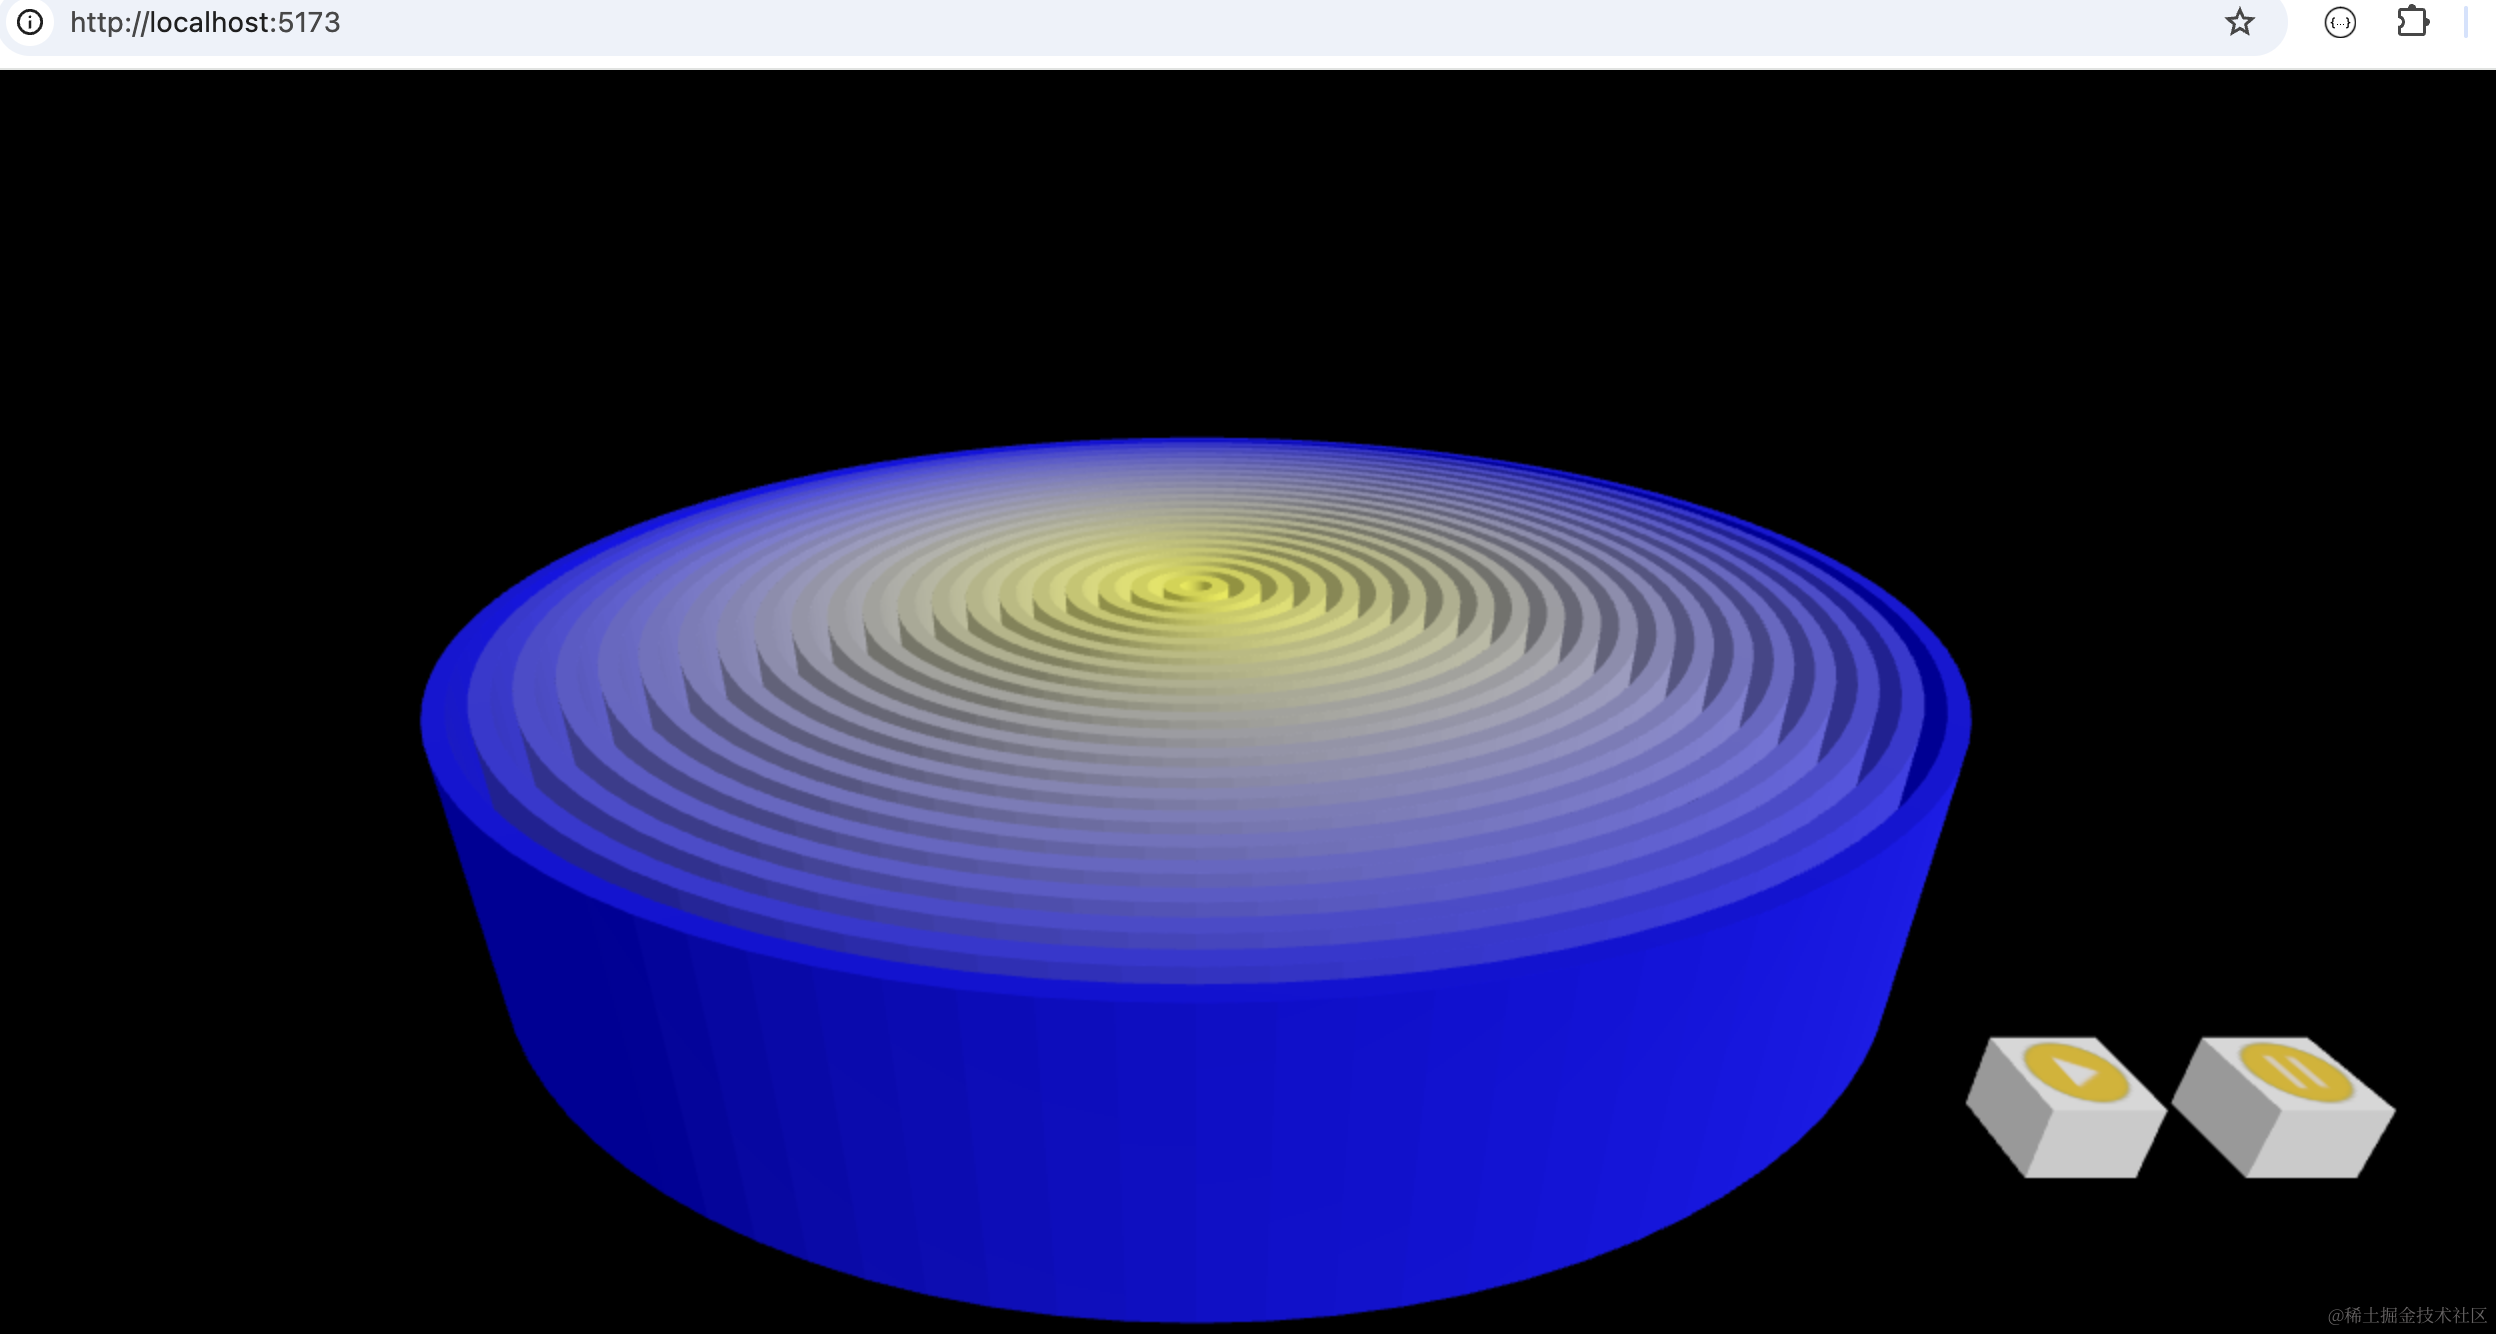
单一颜色不好看,我们用 color.lerp 设置下渐变色:
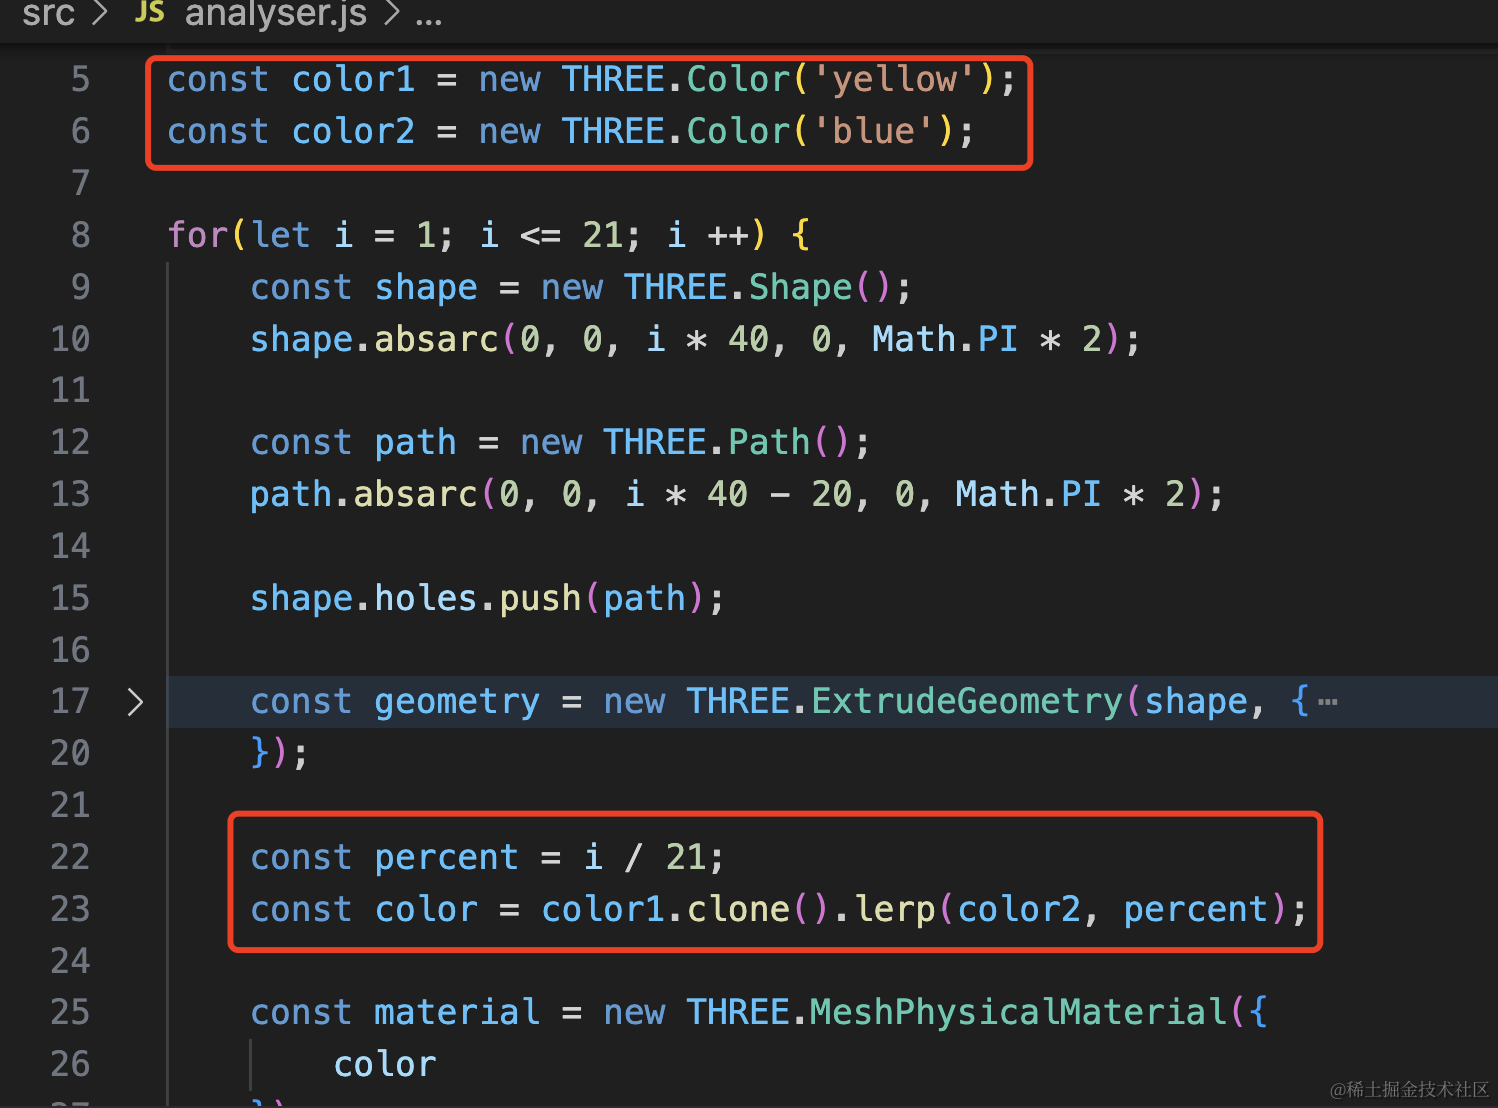
const color1 = new THREE.Color('yellow');
const color2 = new THREE.Color('blue');
const percent = i / 21;
const color = color1.clone().lerp(color2, percent);
const material = new THREE.MeshPhysicalMaterial({
color
});用 i / 21 计算百分比,根据百分比计算插值颜色。
然后让它动起来,这个我们之前写过,就是用 AudioAnalyser 拿到音频频谱数据,每 50 个分一组,然后修改几何体的高度或者 scale
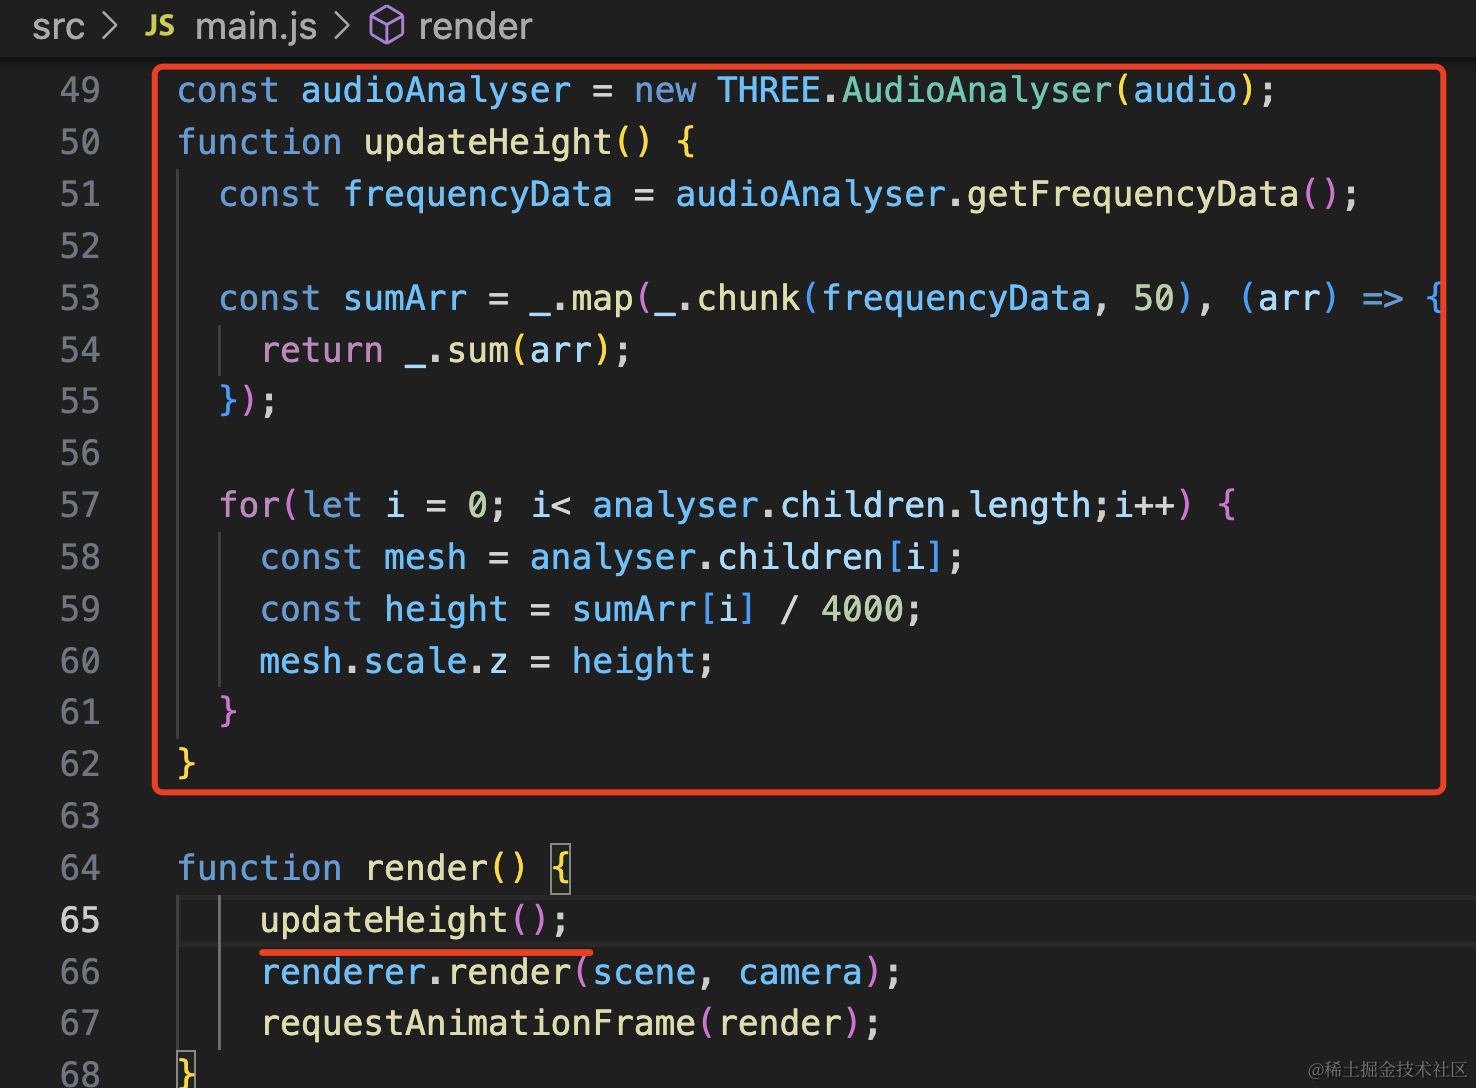
这里因为旋转过,所以是修改 scale.z
import _ from 'lodash-es';const audioAnalyser = new THREE.AudioAnalyser(audio);
function updateHeight() {
const frequencyData = audioAnalyser.getFrequencyData();
const sumArr = _.map(_.chunk(frequencyData, 50), (arr) => {
return _.sum(arr);
});
for(let i = 0; i< analyser.children.length;i++) {
const mesh = analyser.children[i];
const height = sumArr[i] / 4000;
mesh.scale.z = height;
}
}
function render() {
updateHeight();
renderer.render(scene, camera);
requestAnimationFrame(render);
}这里用到了 lodash,安装下:
npm install --save lodash-es看下效果:
这样,点击播放按钮的时候,就可以可视化的看到频谱的变化了。
案例代码上传了小册仓库。
总结
这节我们实现了音频频谱的可视化。
这次我们用的是环状的同心圆柱来展示的频谱,使用 Shape 配合 holes 实现了同心圆,然后用 ExtrudeGeometry 拉伸成几何体。
然后用 AudioAnalyser 拿到频谱数据分组求平均值后,修改同心圆柱的 scale.y
这样就实现了频谱的可视化,我们的音乐播放器体验更好了。