前面我们都是用轨道控制器 OrbitControls
那还有没有其他的控制器呢?
有的。
在 Three.js 文档里可以看到:
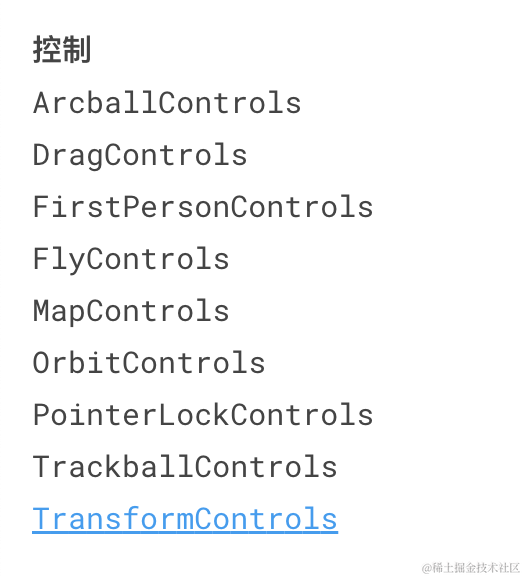
有这么多。
这节我们就把这些控制器都过一遍:
npx create-vite all-controls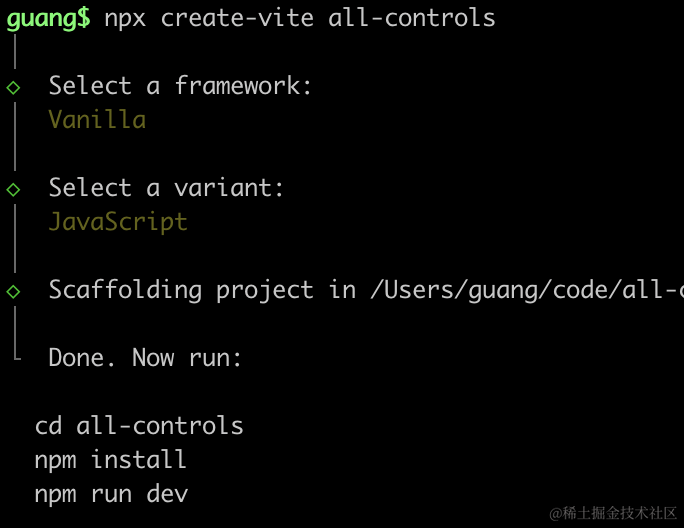
进入项目,安装依赖:
npm install
npm install --save three
npm install --save-dev @types/three
改下 src/main.js
import './style.css';
import * as THREE from 'three';
import {
    OrbitControls
} from 'three/addons/controls/OrbitControls.js';
import mesh from './mesh.js';

const scene = new THREE.Scene();
scene.add(mesh);

const directionLight = new THREE.DirectionalLight(0xffffff, 2);
directionLight.position.set(500, 400, 300);
scene.add(directionLight);

const ambientLight = new THREE.AmbientLight();
scene.add(ambientLight);

const width = window.innerWidth;
const height = window.innerHeight;

const helper = new THREE.AxesHelper(500);
// scene.add(helper);

const camera = new THREE.PerspectiveCamera(60, width / height, 0.1, 10000);
camera.position.set(500, 500, 500);
camera.lookAt(0, 0, 0);

const renderer = new THREE.WebGLRenderer({
  antialias: true
});
renderer.setSize(width, height)

function render() {
    renderer.render(scene, camera);
    requestAnimationFrame(render);
}

render();

document.body.append(renderer.domElement);

const controls = new OrbitControls(camera, renderer.domElement);
创建 Scene、Light、Camera、Renderer。
改下 style.css
body {
  margin: 0;
}
创建 mesh.js
import * as THREE from 'three';

const planeGeometry = new THREE.PlaneGeometry(1000, 1000);
const planeMaterial = new THREE.MeshLambertMaterial({
    color: new THREE.Color('skyblue')
});

const plane = new THREE.Mesh(planeGeometry, planeMaterial);
plane.rotateX(- Math.PI / 2);
plane.position.y = -50;

const boxGeometry = new THREE.BoxGeometry(100, 100, 100);
const boxMaterial = new THREE.MeshLambertMaterial({
    color: new THREE.Color('orange')
});
const box = new THREE.Mesh(boxGeometry, boxMaterial);
box.name = 'box';

const box2 = box.clone();
box2.position.x = 200;
box2.name = 'box2';

const  group = new THREE.Group();
group.add(plane);
group.add(box);
group.add(box2);

export default group;
这个场景是我们前面画过的,一个平面,两个立方体。
给两个立方体加一个 name,后面查找用。
跑起来看一下:
npm run dev

可以用 OrbitControls 做相机的旋转、放缩,物体的平移。
我们换别的控制器试一下:
DragControls
DragControls 是在 3D 场景内实现拖动交互的控制器。
用一下:
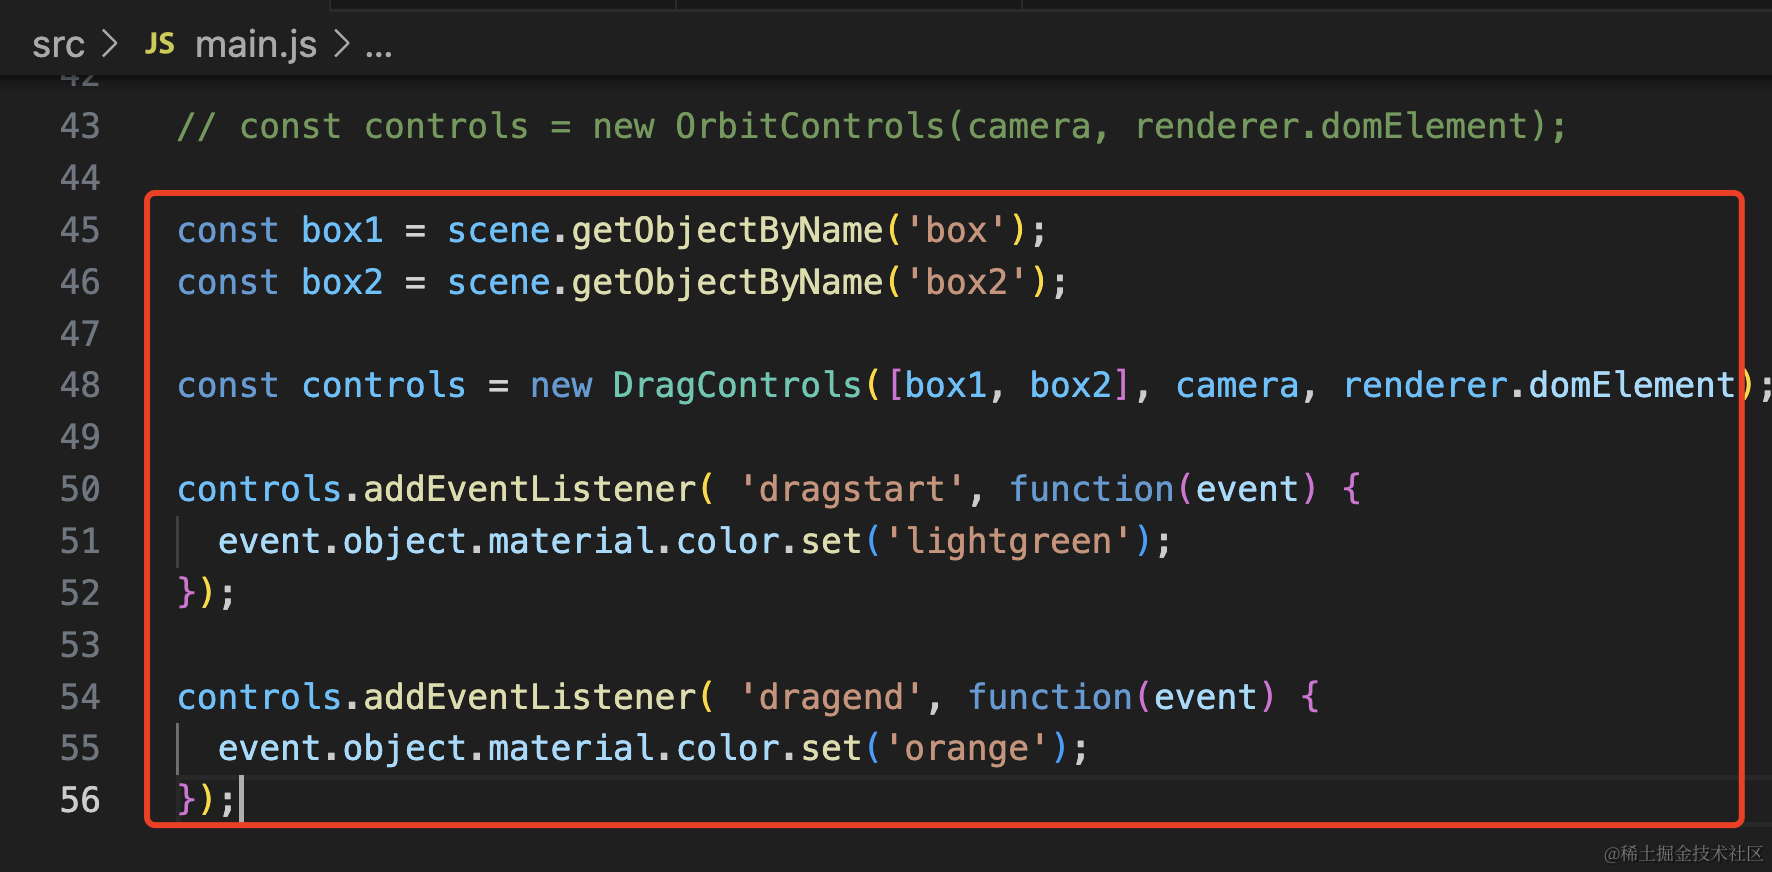
const box1 = scene.getObjectByName('box');
const box2 = scene.getObjectByName('box2');

const controls = new DragControls([box1, box2], camera, renderer.domElement);

controls.addEventListener( 'dragstart', function(event) {
	event.object.material.color.set('lightgreen');
});

controls.addEventListener( 'dragend', function(event) {
	event.object.material.color.set('orange');
});
现在就可以拖动这俩立方体了。
不过现在它俩材质,会相互影响。
创建的时候 clone 一下:

box2.material = box.material.clone();
这样就好了。
此外,它还实现了 hover 事件:
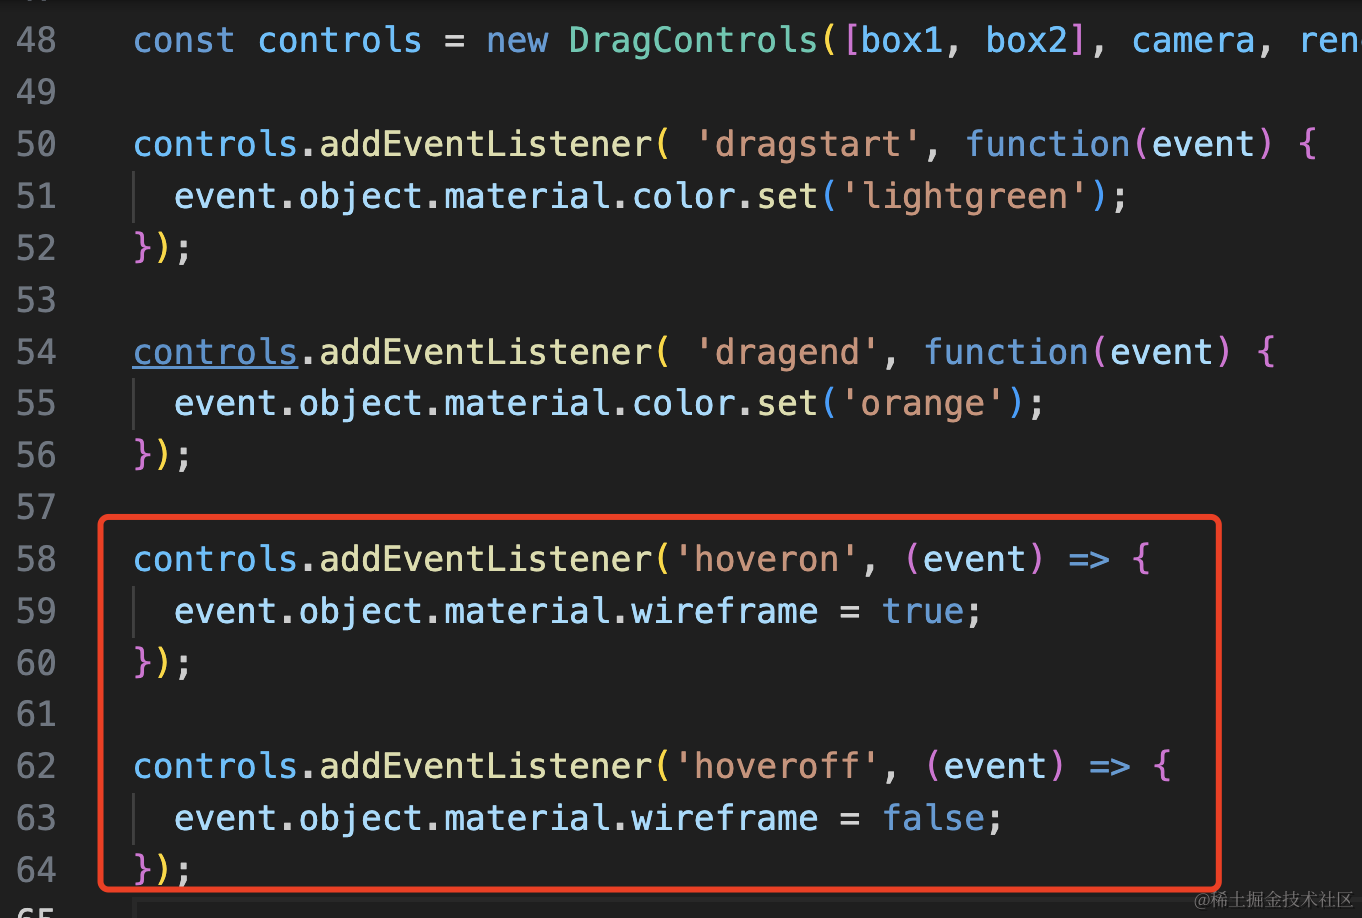
controls.addEventListener('hoveron', (event) => {
  event.object.material.wireframe = true;
});

controls.addEventListener('hoveroff', (event) => {
  event.object.material.wireframe = false;
});
FlyControls
飞行控制器,相机有一种飞行的效果,可以通过键盘上下左右键控制往哪边转,然后按住左键前进,按住右键后退。
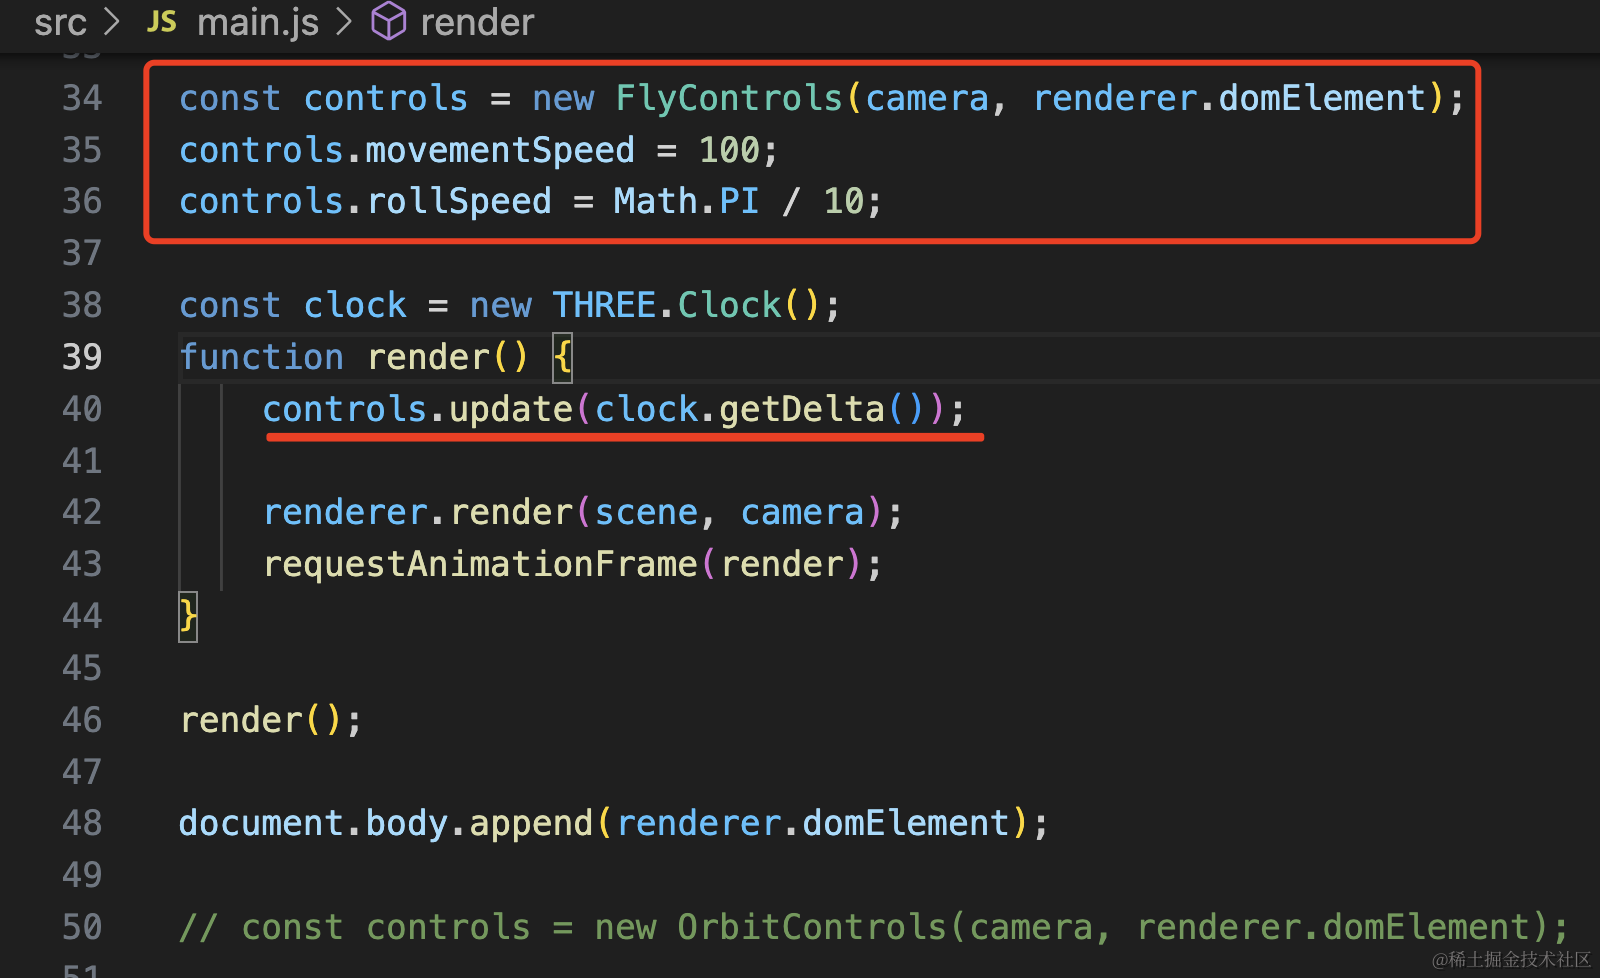
const controls = new FlyControls(camera, renderer.domElement);
controls.movementSpeed = 100;
controls.rollSpeed = Math.PI / 10;

const clock = new THREE.Clock();
function render() {
    controls.update(clock.getDelta());

    renderer.render(scene, camera);
    requestAnimationFrame(render);
}
movementSpeed 是调节移动速度,rollSpeed 是方向旋转速度。
在渲染循环里调用下 update,传入每帧渲染间隔 clock.getDelta
试下效果:
操作方式是这样的:
-
鼠标向左/按←键:向左旋转
-
鼠标向右/按→键:向左旋转
-
鼠标向上/按↑键:向上旋转
-
鼠标向下/按↓键:向下旋转
-
按住鼠标左键:向前
-
按住鼠标右键:向后
有一种飞行的感觉。
FirstPersonControls
FirstPersonControls 和 FlyControls 差不多,都是通过鼠标键盘控制前进、旋转。
但 FlyControls 是飞行,所以可以旋转超过 90 度。
而 FirstPersonControls 是行走,所以向上向下不能旋转超过 90 度。
其余的差不多。
换成 FirstPersonControls:
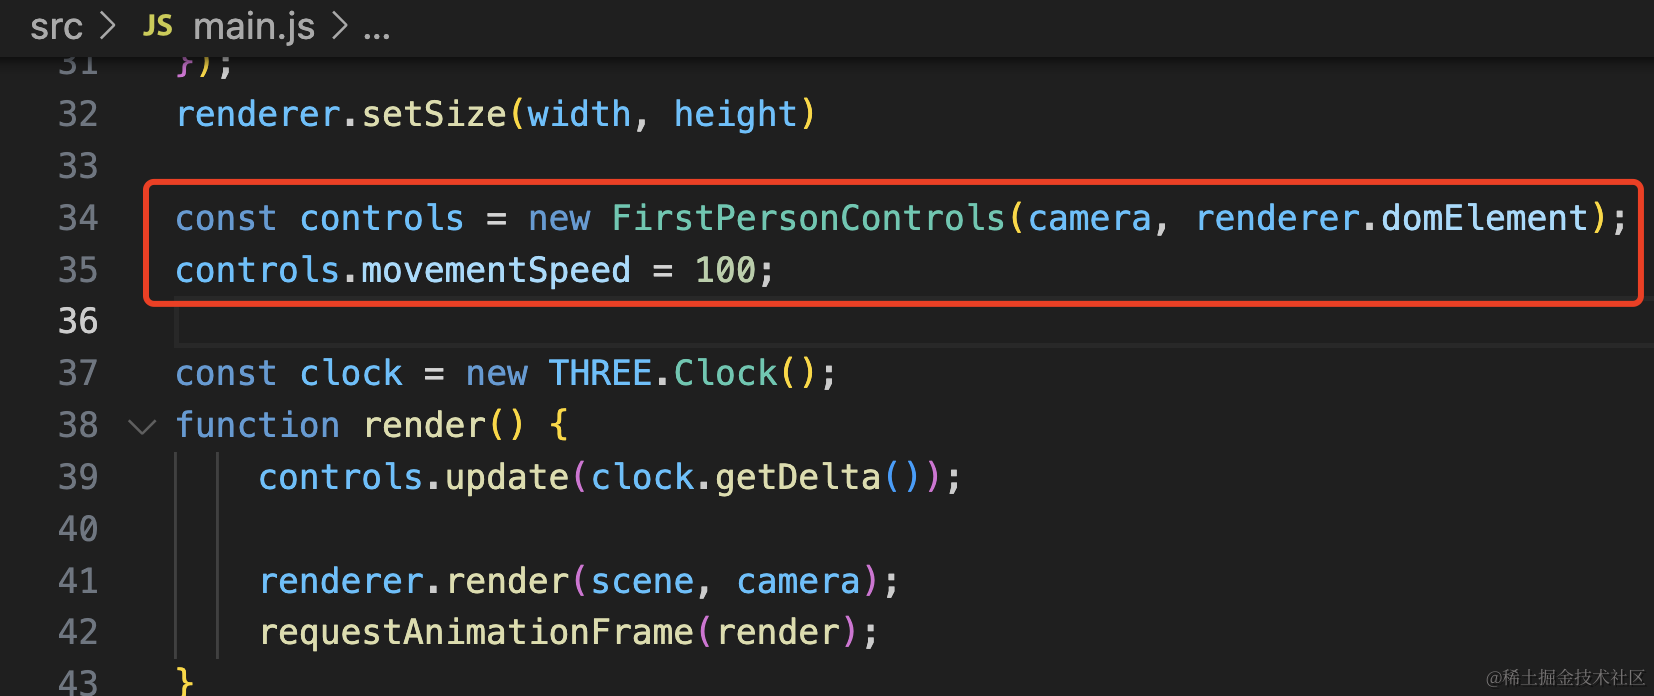
const controls = new FirstPersonControls(camera, renderer.domElement);
controls.movementSpeed = 100;
TransformControls
变换控制器,可以用来改变物体的 position、scale、rotation。
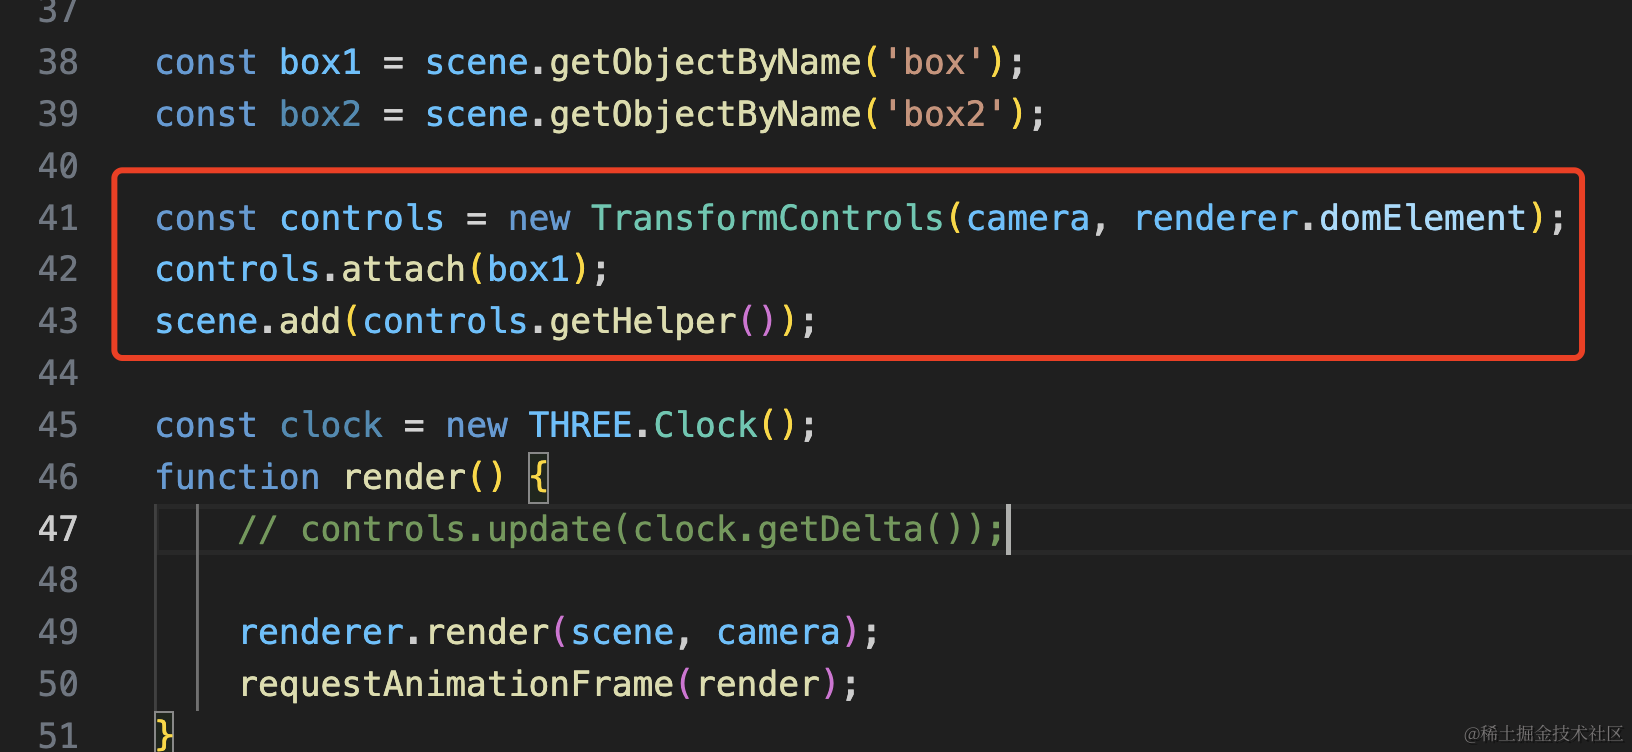
const box1 = scene.getObjectByName('box');
const box2 = scene.getObjectByName('box2');

const controls = new TransformControls(camera, renderer.domElement);
controls.attach(box1);
scene.add(controls.getHelper());
试下效果:
按住颜色方向的箭头,可以在 x(红)、y(绿)、z(蓝) 方向移动。
当然,也可以禁用掉某个方向的箭头:
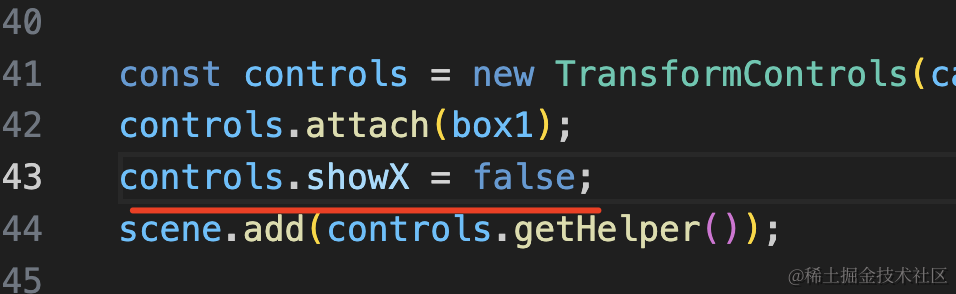
controls.showX = false;比如禁用掉 x 轴的箭头。
这样就只能在 YZ 平面移动了
大家可能注意到这里有个方块:
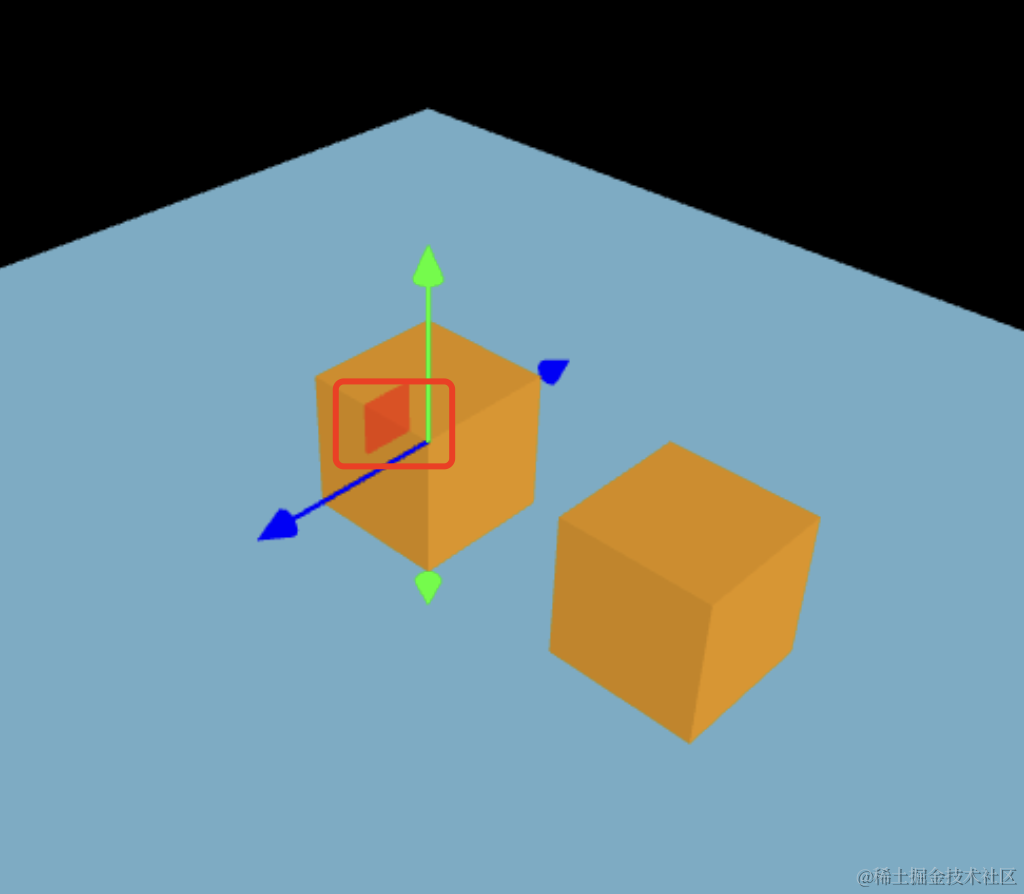
按住这个方块就是在 YZ 平面移动的意思。

此外,他还可以修改物体的 scale 和 rotation
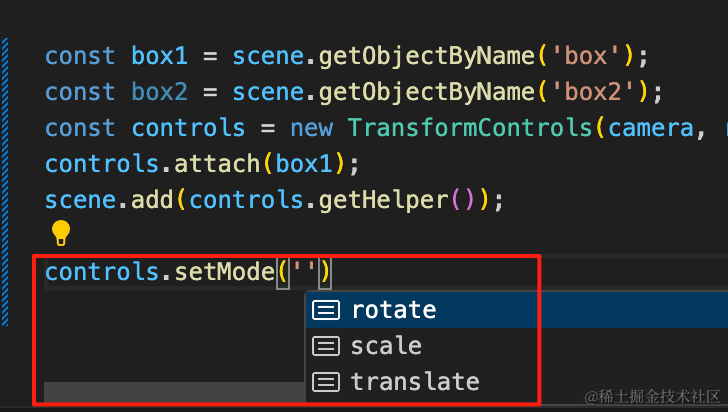
controls.setMode('scale')默认 mode 是 translate,分别修改为 rotate 和 scale 试试:
这样就是修改旋转角度和缩放了
MapControls
这个和 OrbitControls 一样,只不过默认操作方式不一样。
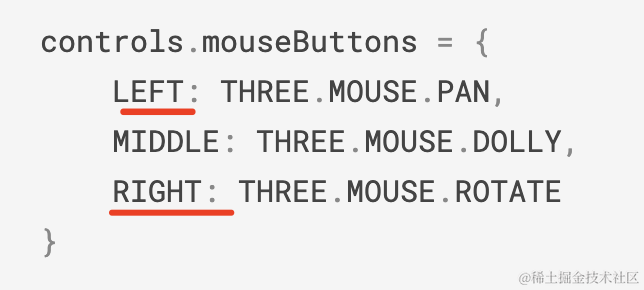
它默认是左键平移,右键旋转,和 OrbitControls 正好相反。
为啥叫 MapControls 呢,因为看地图的时候,基本都是这种交互。
我们用一下:
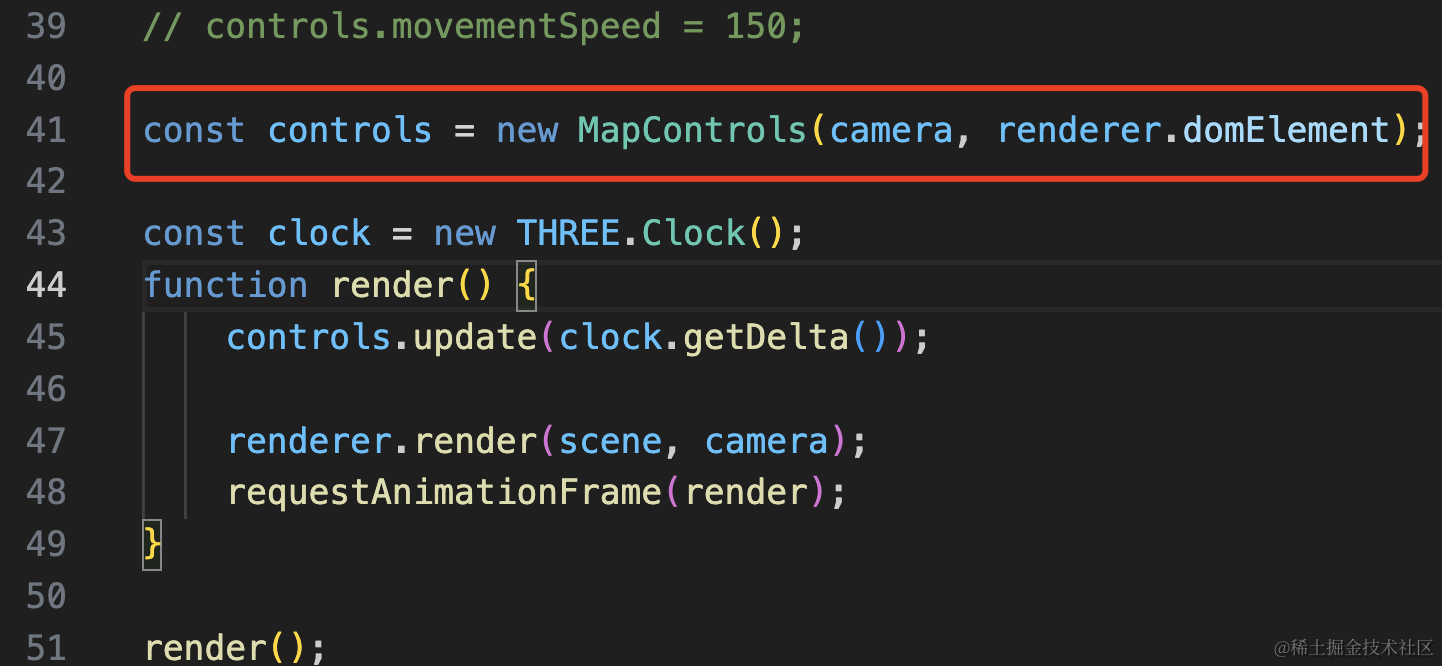
const controls = new MapControls(camera, renderer.domElement);
只是左键右键和 OrbitControls 有区别,其余一样。
案例代码上传了小册仓库。
总结
这节我们过了一遍各种控制器:
- FlyControls:飞行控制器,通过上下左右键和鼠标来控制前进后退、方向旋转
- FirstPersonControls:类似飞行控制器,但是上下角度不能超过 90 度
- MapControls: 和 OrbitControls 一样,但是左键平移,右键旋转
- TransformControls:用来移动、缩放、旋转场景中的物体
- DragControls:用来拖动场景中的物体
不同场景下需要不同的交互方式,需要不同的控制器。