这节我们正式开始写 Three.js Editor。
先来写下布局:
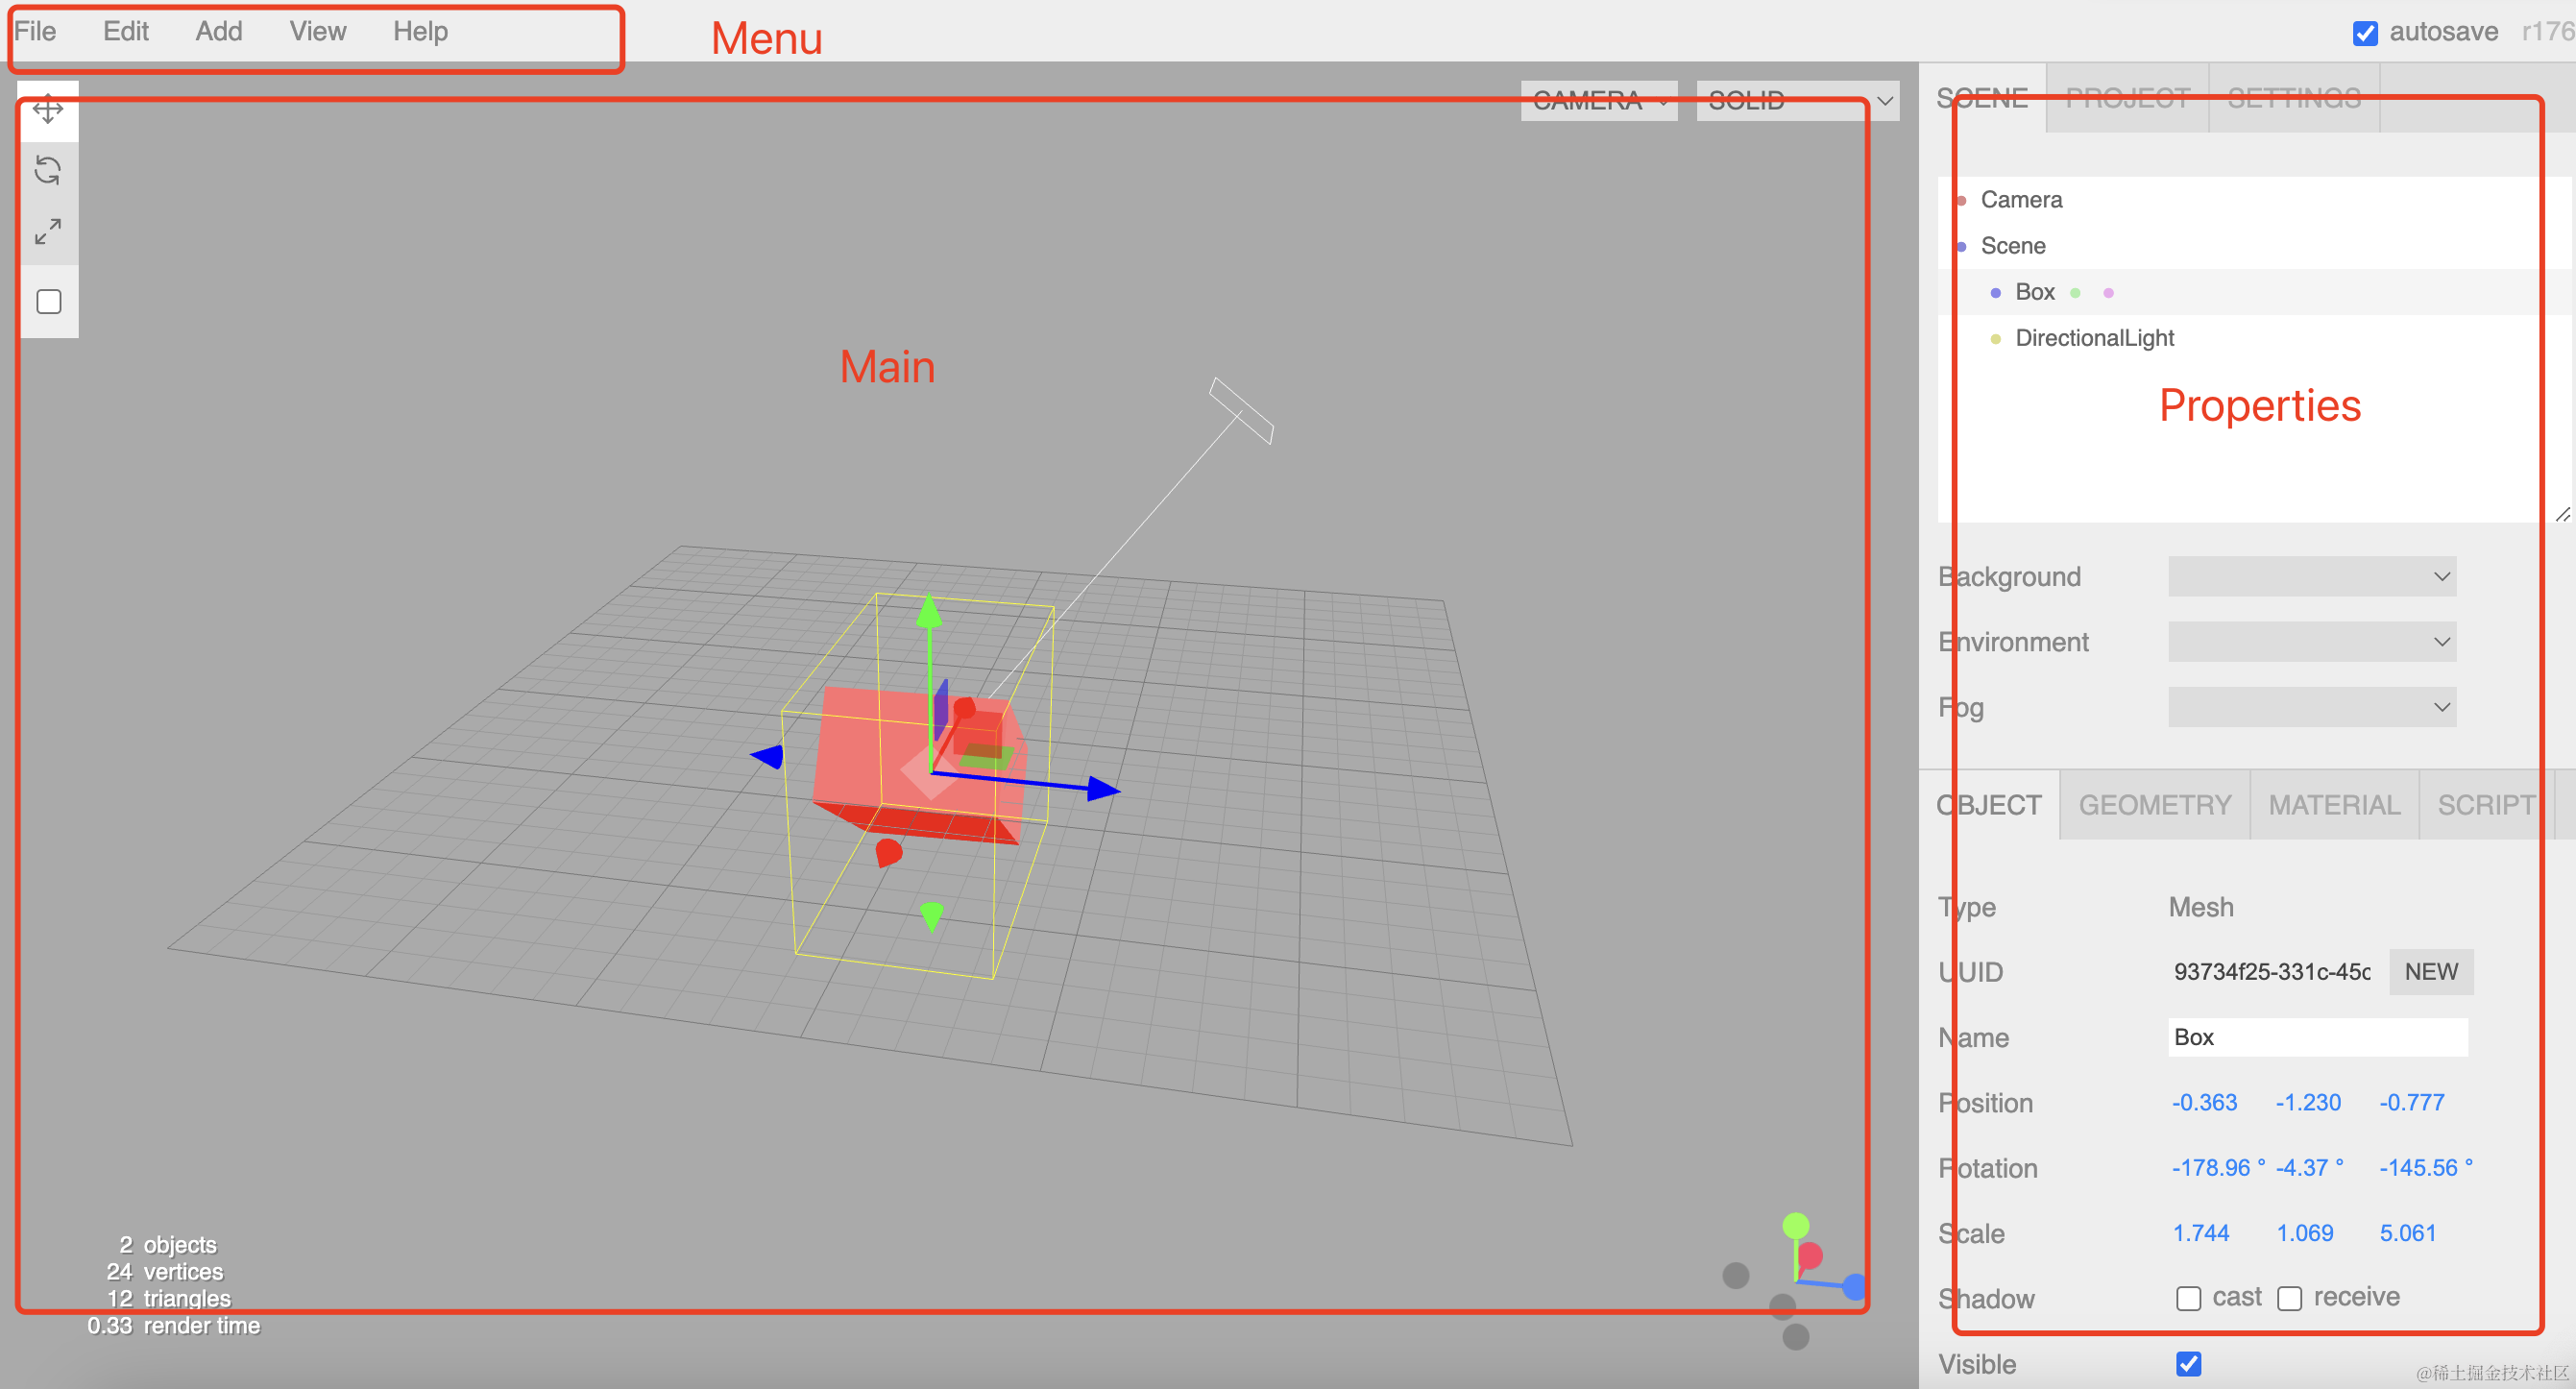
我们分为 3 个组件,上面是 Menu、左边是 Main,右边是 Properties
这里要选一个前端框架和 Three.js 结合。
我们用 React,当然你用 vue 来写也一样的。
创建项目:
npx create-vite threejs-editor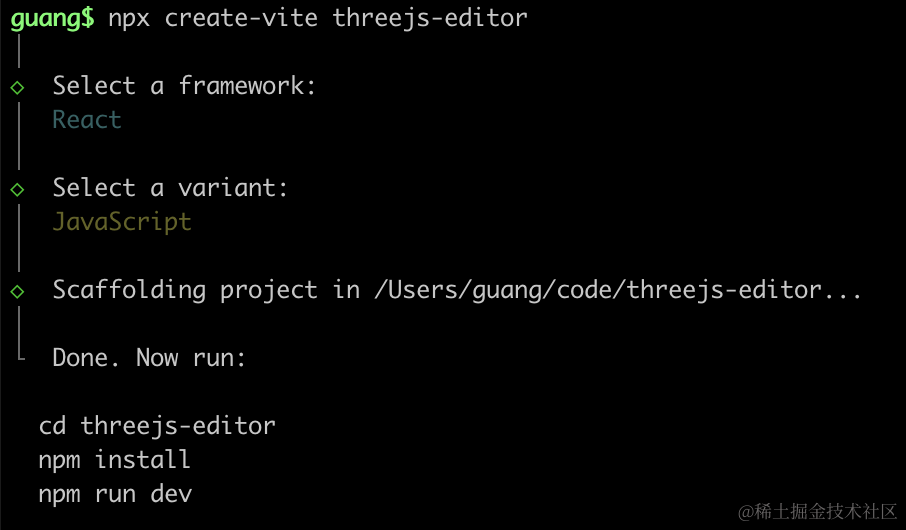
选择 react、javascript
进入项目,安装依赖和 three.js:
npm install
npm install --save three
npm install --save-dev @types/three
然后我们安装 ant design 组件库:
npm install --save antd改下 src/App.jsx
import './App.scss'
import Menu from './components/Menu';
import Main from './components/Main';
import Properties from './components/Properties';

function App() {
  return <div className='wrap'>
    <Menu />
    <div className='editor'>
      <Main/>
      <Properties/>
    </div>
  </div>
}

export default App
这里拆分出了 Menu、Main、Properties 这三个组件,放在 components 目录下。
我们用 scss 来写样式。
安装下 sass
npm install --save-dev sass改下 src/App.scss
body {
  margin: 0;
}
创建三个组件:
src/components/Main/index.jsx
function Main() {
    return <div className="Main">Main</div>
}

export default Main;
src/components/Menu/index.jsx
function Menu() {
    return <div className="Menu">Menu</div>
}

export default Menu;
src/components/Properties/index.jsx
function Properties() {
return <div className="Properties">Properties</div>
}
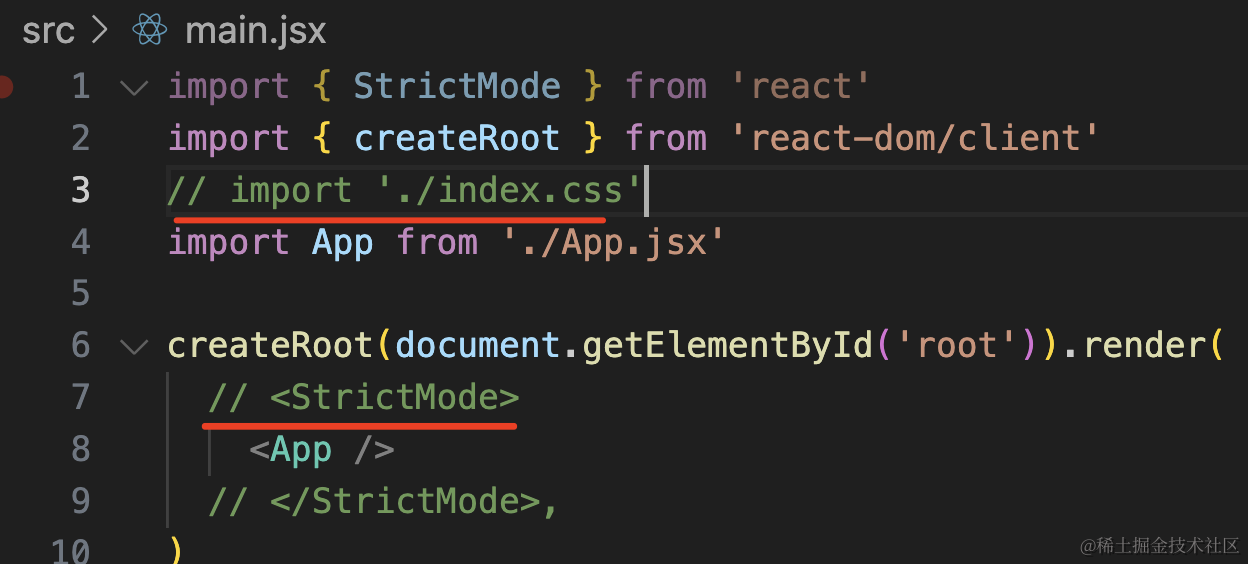
export default Properties;然后在 main.jsx 里去掉 index.css 和 StrictMode
跑一下:
npm run dev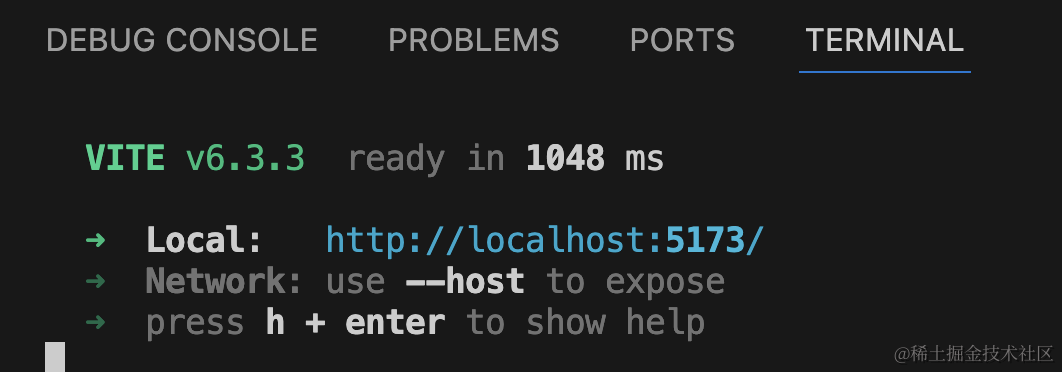
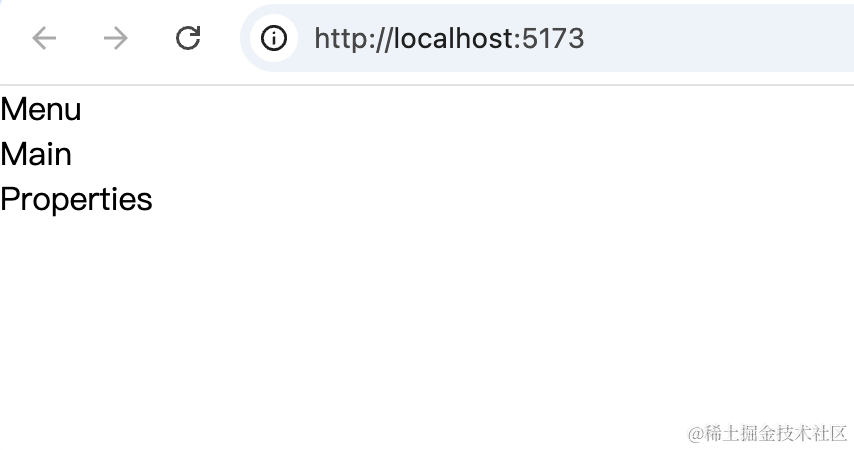
这样,组件就渲染出来了。
然后我们来改下样式。
改下 components/Menu/index.jsx
import './index.scss';
function Menu() {
return <div className='Menu'>Menu</div>
}
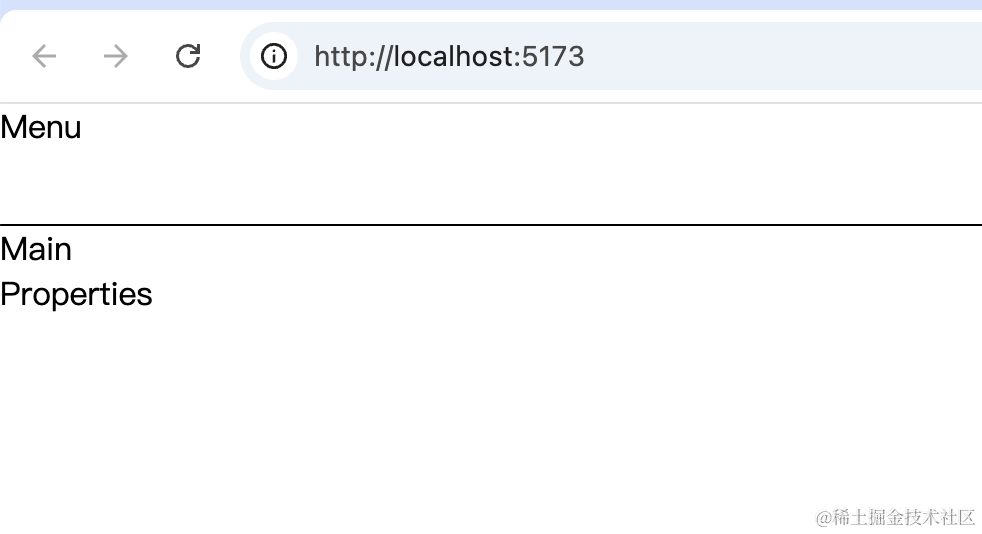
export default Menu;创建 components/Menu/index.scss
.Menu {
    height: 60px;
    border-bottom: 1px solid #000;
}
看下效果:
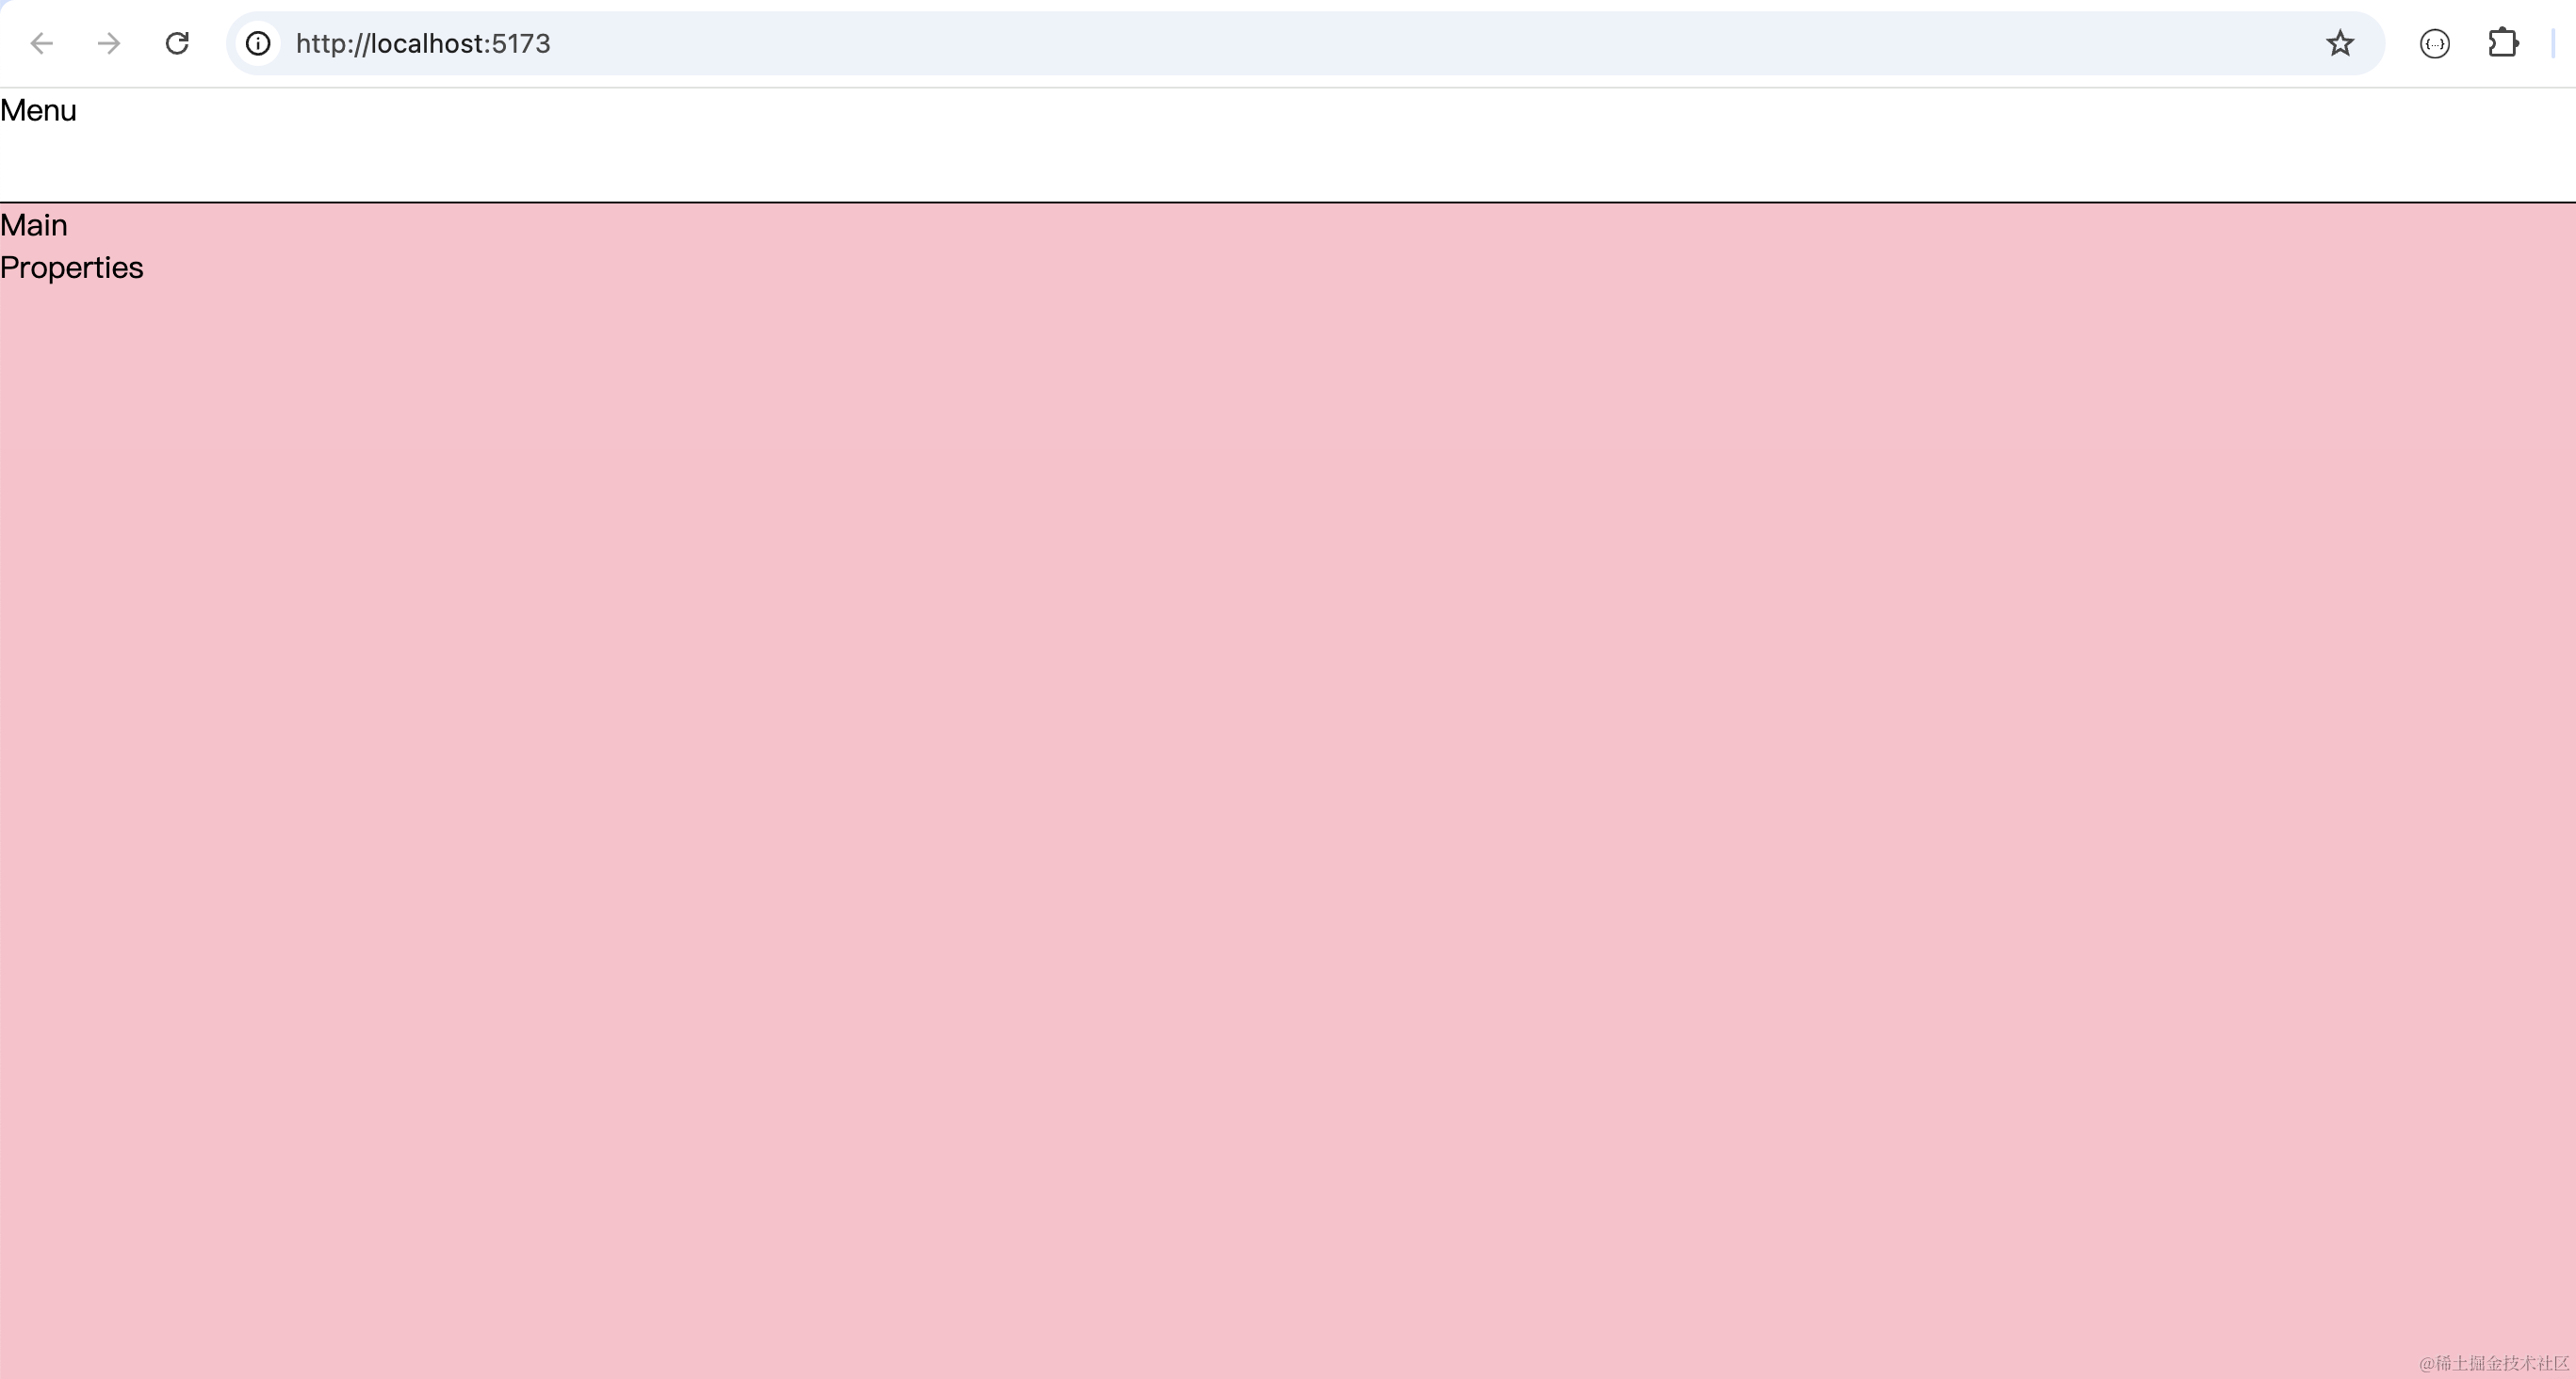
然后改下 src/App.scss
body {
  margin: 0;
}
.wrap {
  height: 100vh;
  display: flex;
  flex-direction: column;
}

.editor {
  flex: 1;
  background: pink;
}
整体是 100vh 也就是窗口高度,然后竖直方向 flex 布局,下面部分是 flex:1
看下效果:
这样,上下的布局就做好了。
继续来写左右布局:
.editor {
  flex: 1;

  display: flex;
  flex-direction: row;

  .Main {
    width: 1000px;
    border-right: 1px solid #000;
  }

  .Properties {
    flex: 1;
  }
}
整体横向 flex 布局
Main 部分是固定宽度,Properties 设置 flex 1
这样,我们就实现了弹性布局:
上面固定,下面自适应高度。
左边固定,右边自适应宽度。
案例代码上传了小册仓库
总结
这节我们做了项目的搭建和基于 flex 的自适应布局的编写。
我们选用了 React、Vite、antd 的技术栈来结合 Three.js 做项目。
布局做好了,下节来引入 Three.js 写 3D 的场景。