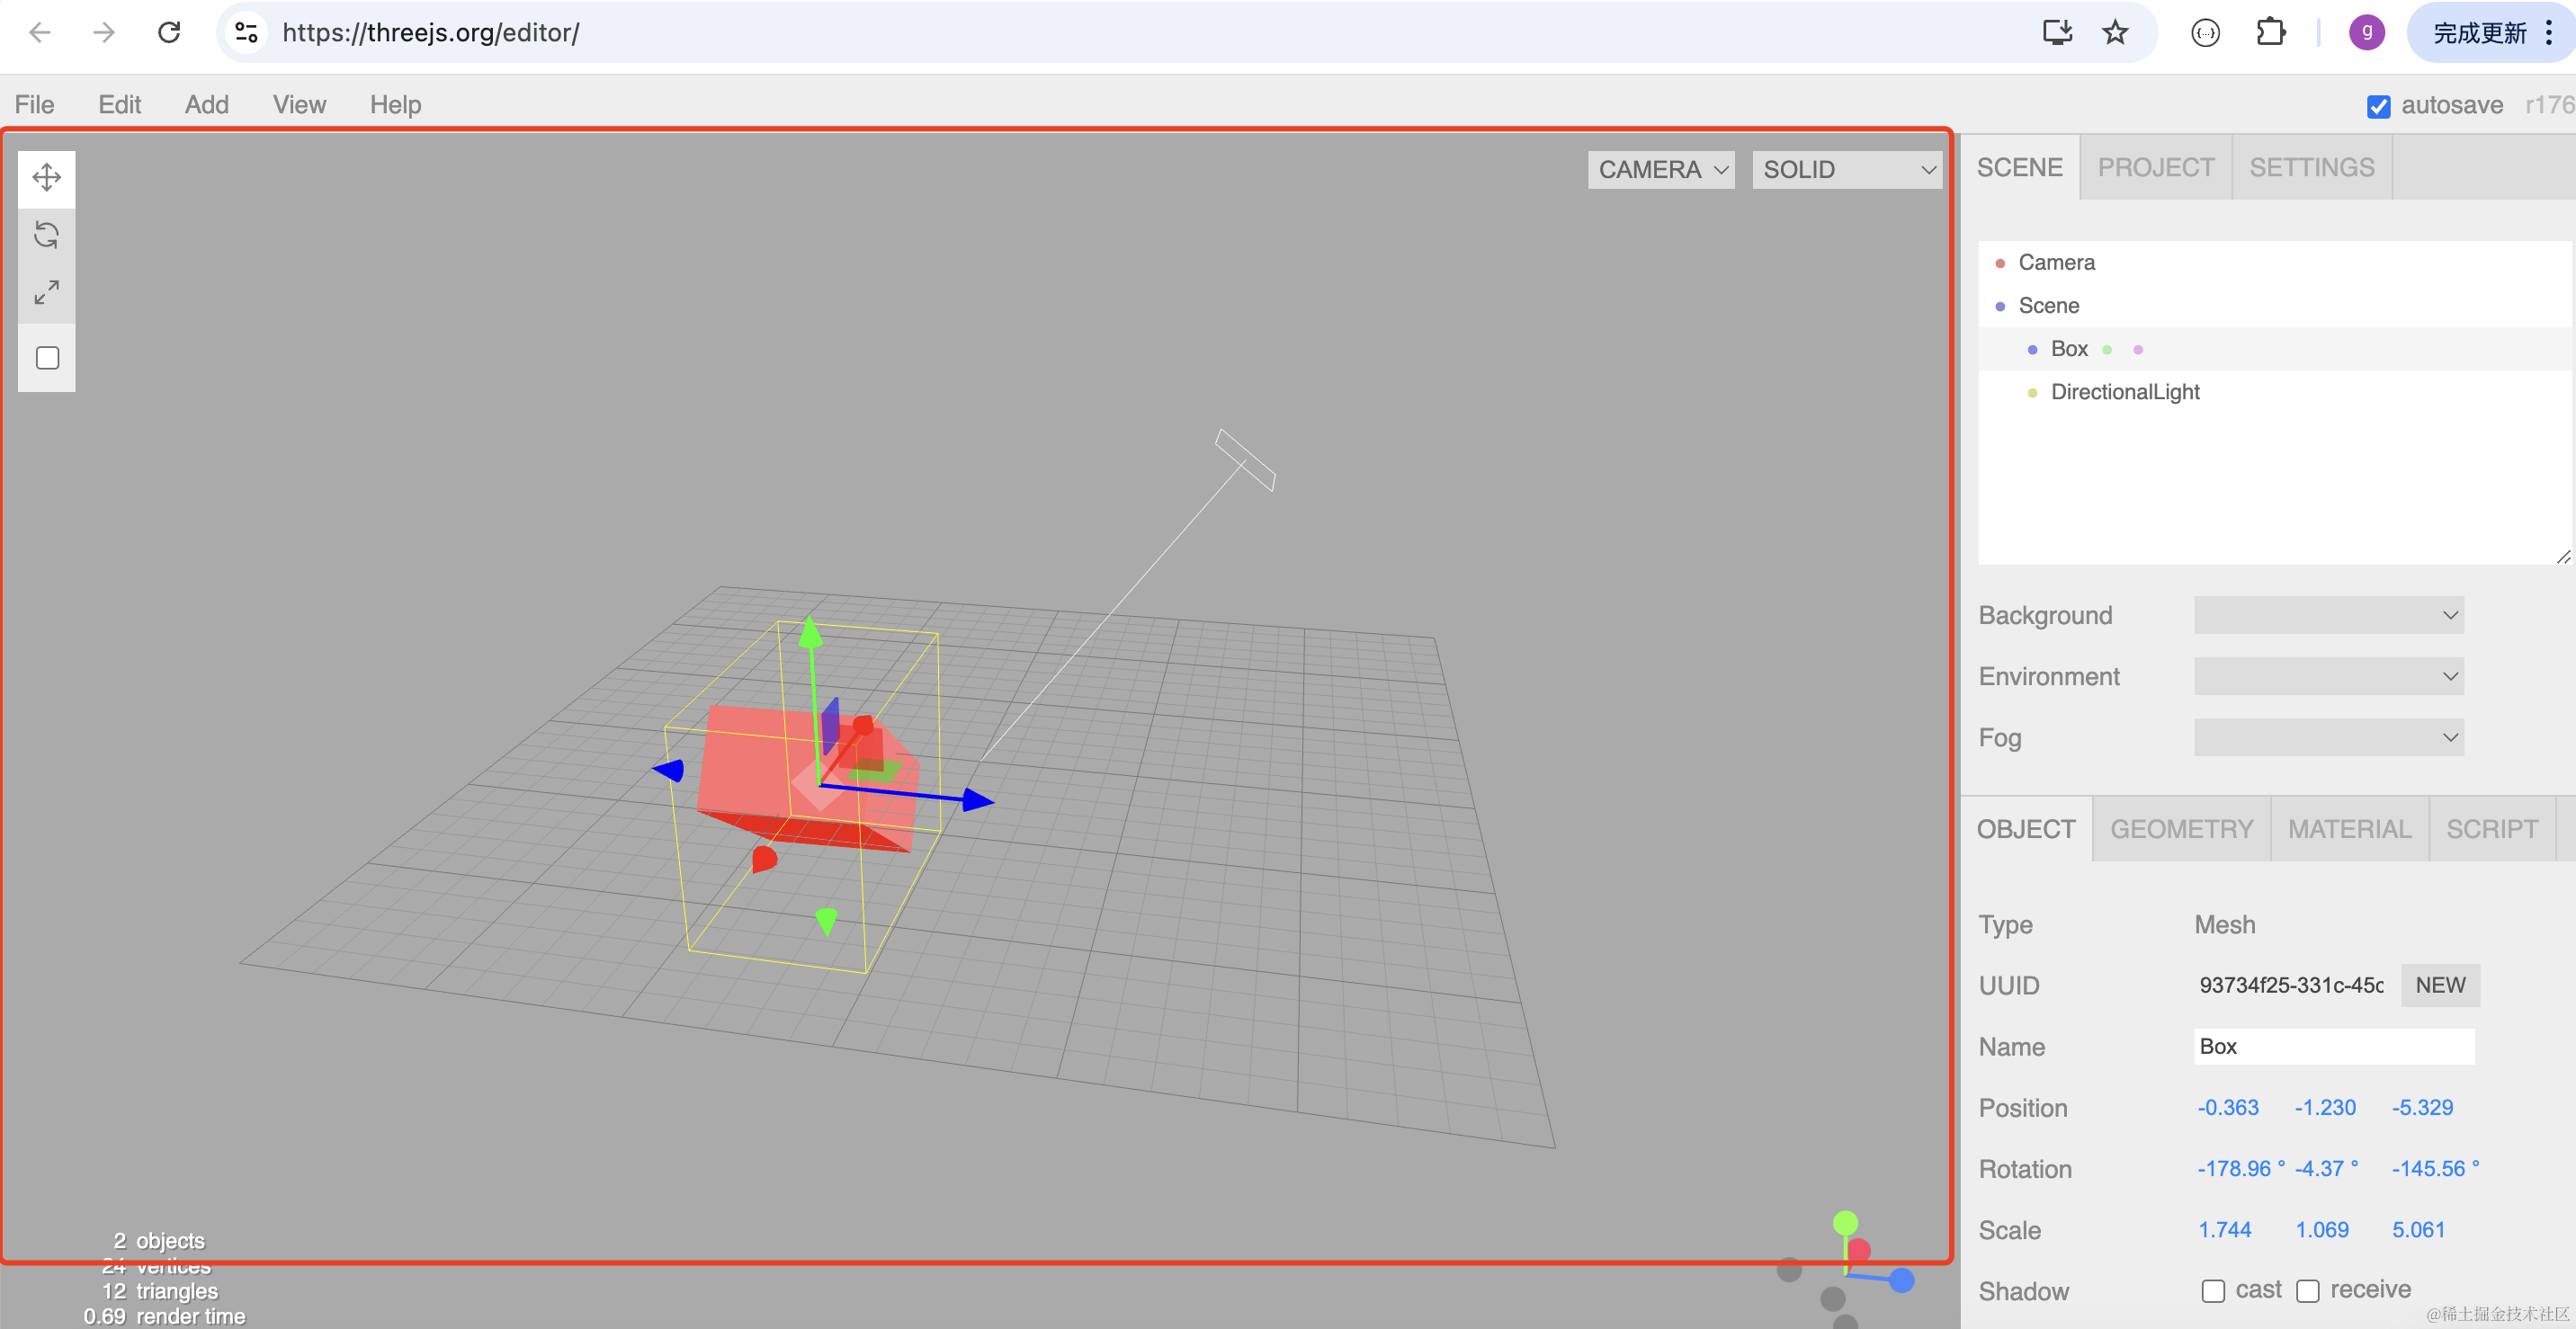
这节我们来写 3D 场景部分,也就是左边这块:
前面讲过,Three.js 就是在某个 dom 元素下挂载渲染出的 canvas 就好了。
之后的渲染都在这个 canvas 上,和前端框架的渲染不冲突。
改下 components/Main/index.jsx
import { useEffect } from "react";
import { init } from "./init";

function Main() {

    useEffect(() => {
        const dom = document.getElementById('threejs-container');
        const { scene } = init(dom);

        return () => {
          dom.innerHTML = '';
        }
      }, []);

    return <div className="Main" id="threejs-container"></div>
}

export default Main;
我们在 useEffect 里拿到 dom 元素,传给 init 方法来做初始化。
当组件销毁的时候,把 innerHTML 清空,也就是销毁 threejs 的 canvas。
然后写一下 Main/init.js
import * as THREE from 'three';
import {
    OrbitControls
} from 'three/addons/controls/OrbitControls.js';

export function init(dom) {
    const scene = new THREE.Scene();

    const axesHelper = new THREE.AxesHelper(500);
    scene.add(axesHelper);

    const directionalLight = new THREE.DirectionalLight(0xffffff);
    directionalLight.position.set(500, 400, 300);
    scene.add(directionalLight);

    const ambientLight = new THREE.AmbientLight(0xffffff);
    scene.add(ambientLight);

    const width = 1000;
    const height = window.innerHeight - 60;

    const camera = new THREE.PerspectiveCamera(60, width / height, 1, 10000);
    camera.position.set(500, 500, 500);
    camera.lookAt(0, 0, 0);

    const renderer = new THREE.WebGLRenderer({
        antialias: true
    });
    renderer.setSize(width, height);


    function render(time) {
        renderer.render(scene, camera);
        requestAnimationFrame(render);
    }

    render();

    dom.append(renderer.domElement);

    window.onresize = function () {
        const width = 1000;
        const height = window.innerHeight - 60;

        renderer.setSize(width,height);

        camera.aspect = width / height;
        camera.updateProjectionMatrix();
    };

    const controls = new OrbitControls(camera, renderer.domElement);

    return {
        scene
    }
}
和前面一样,创建 Scene、Camera、Renderer、OrbitControls
区别是现在 renderer.domElement 挂载到传入的 dom 元素上。
然后 resize 的时候计算宽高是宽度固定 1000,高度是窗口高度减 60(上面的部分的高度)
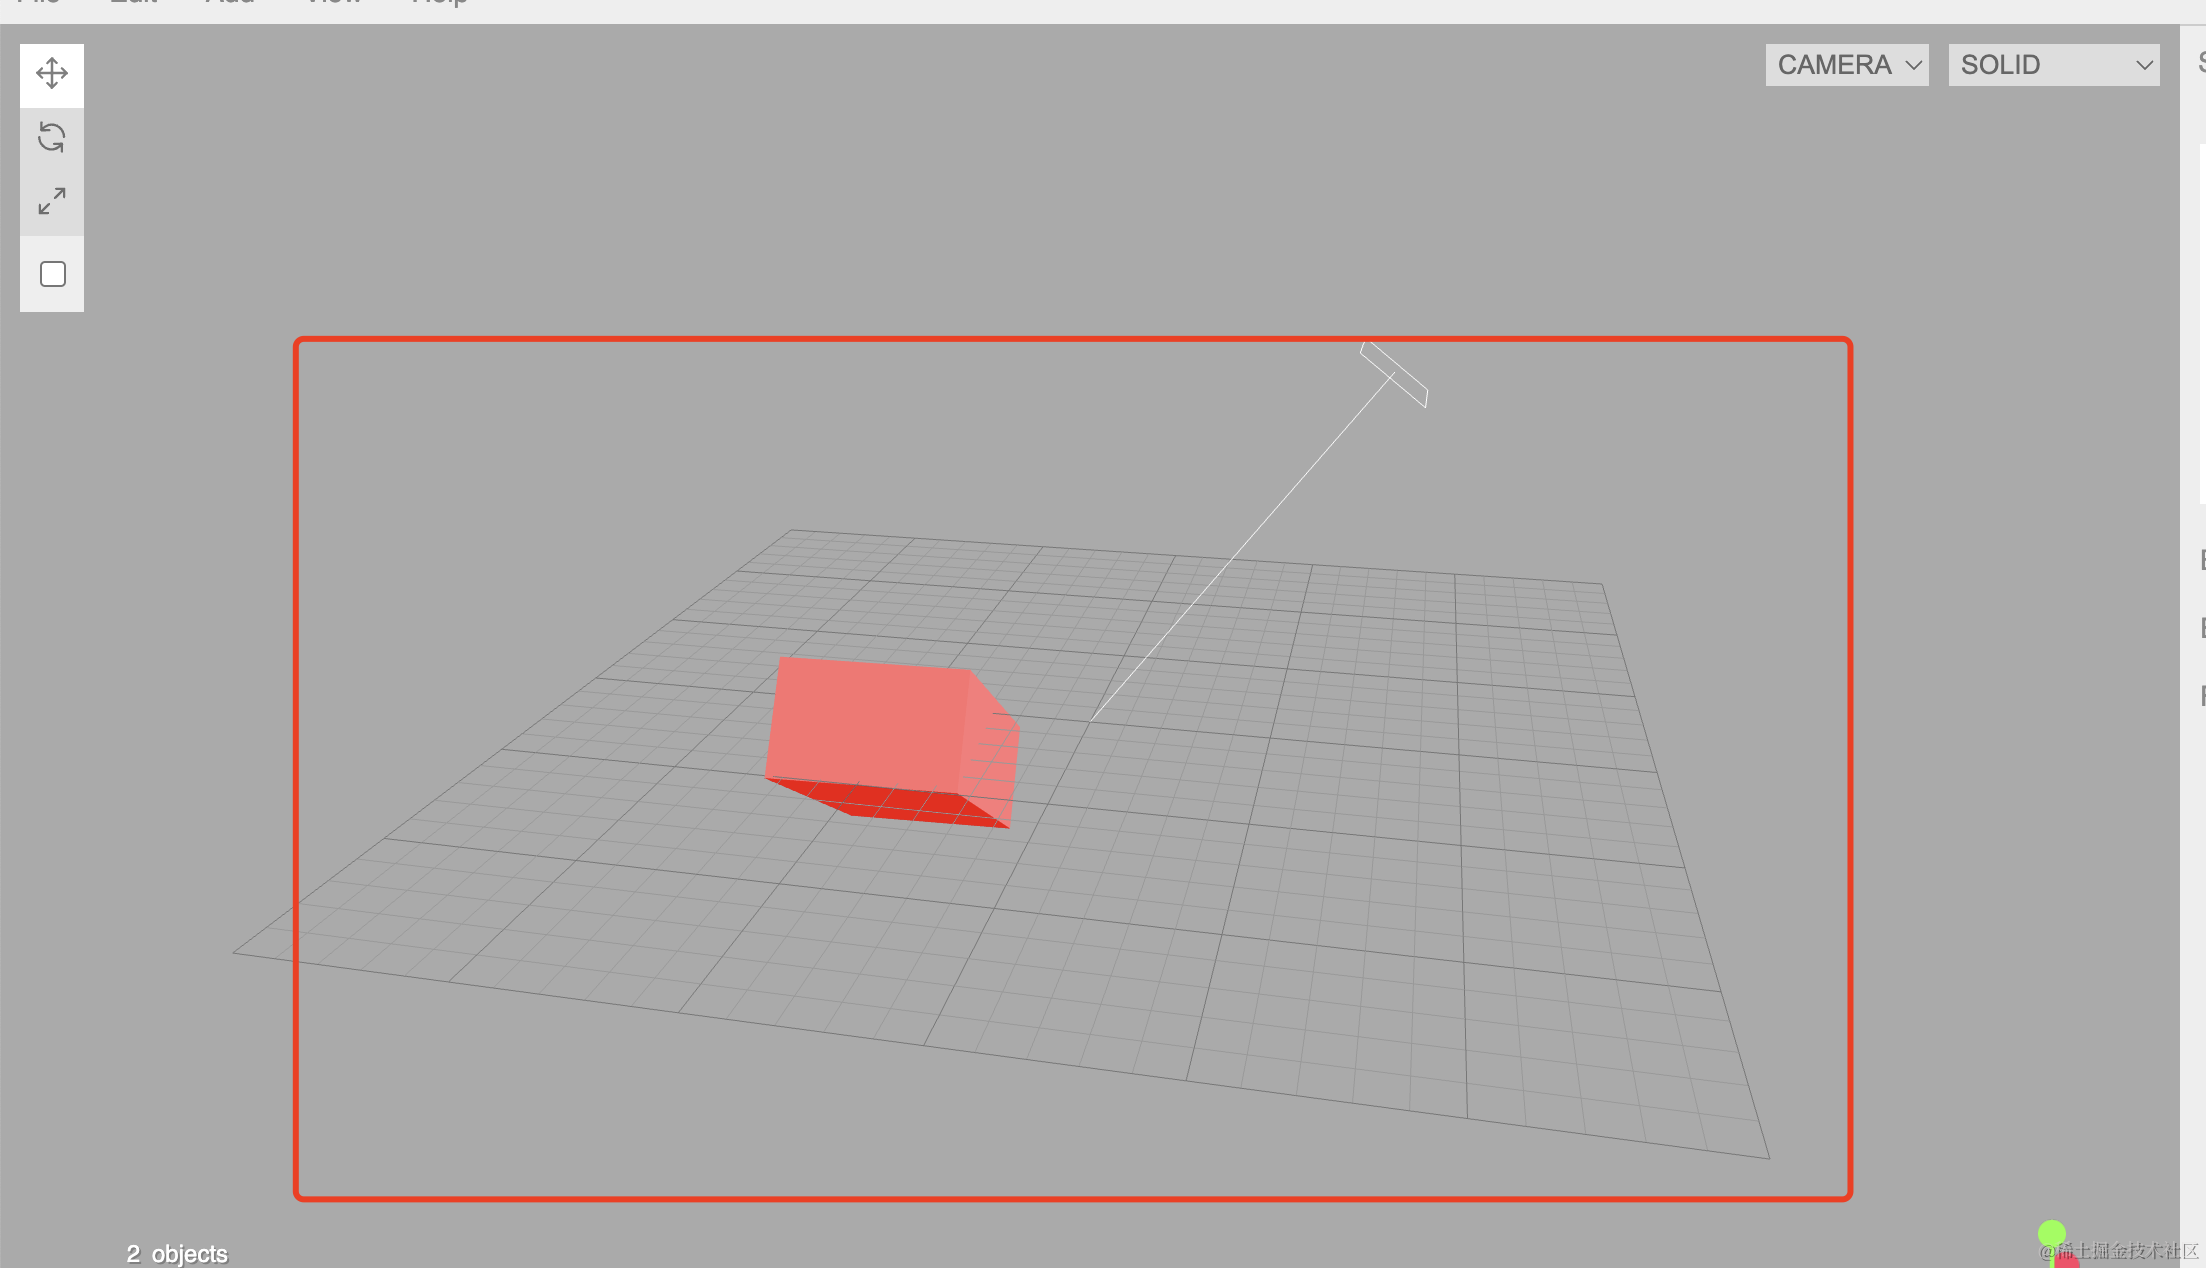
看下效果:
这样 three.js 部分的初始化就完成了。
并且 resize 也能正确处理:
然后我们加一下 GridHelper:
// scene.add(axesHelper);
const gridHeper = new THREE.GridHelper(1000);
scene.add(gridHeper);
接下来加上添加物体的逻辑:
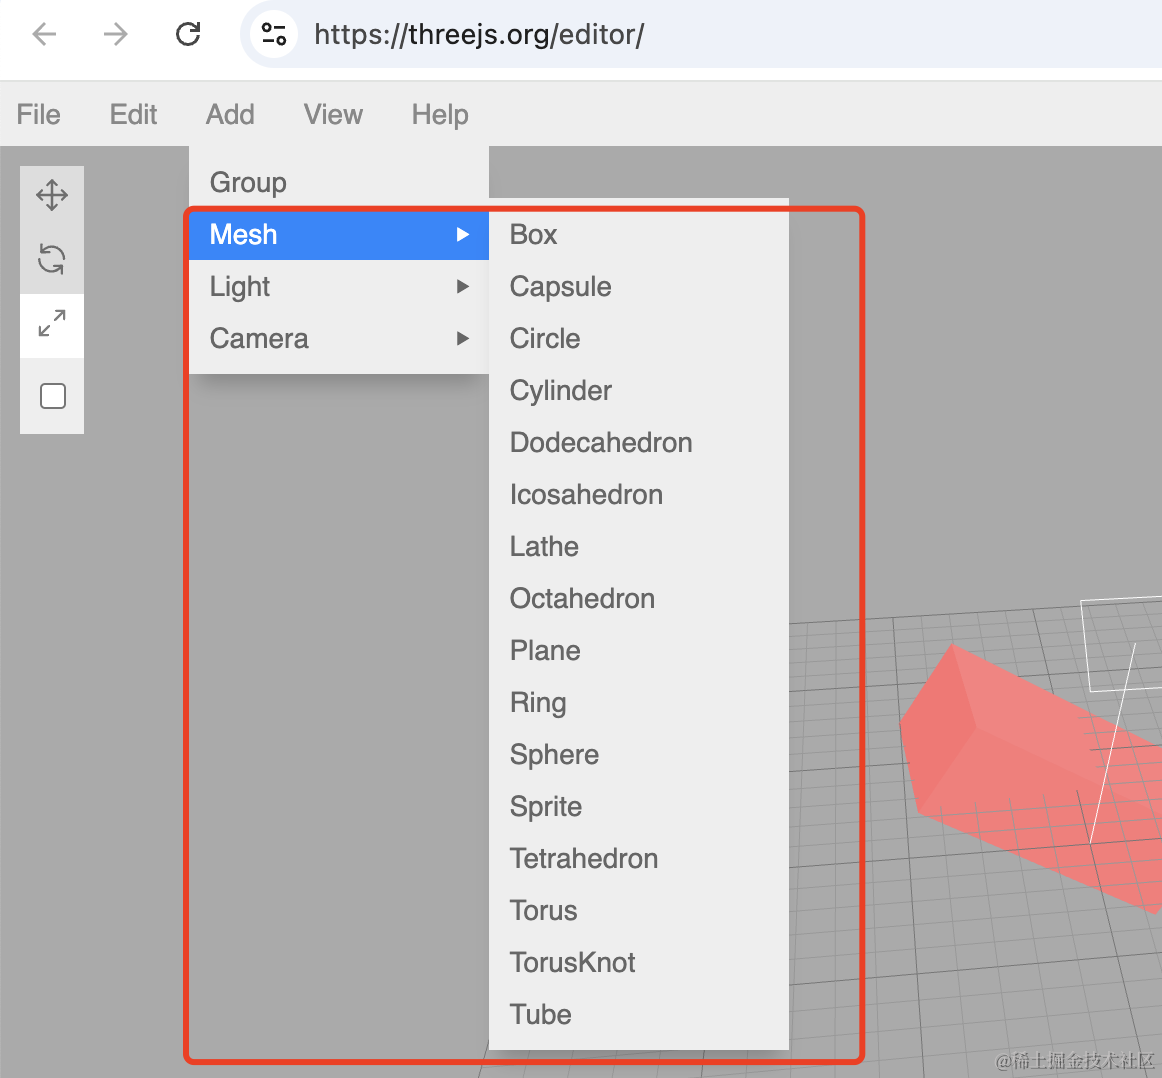
首先,得把布局写出来。
这个直接用 antd 的 Menu 组件来写就行:
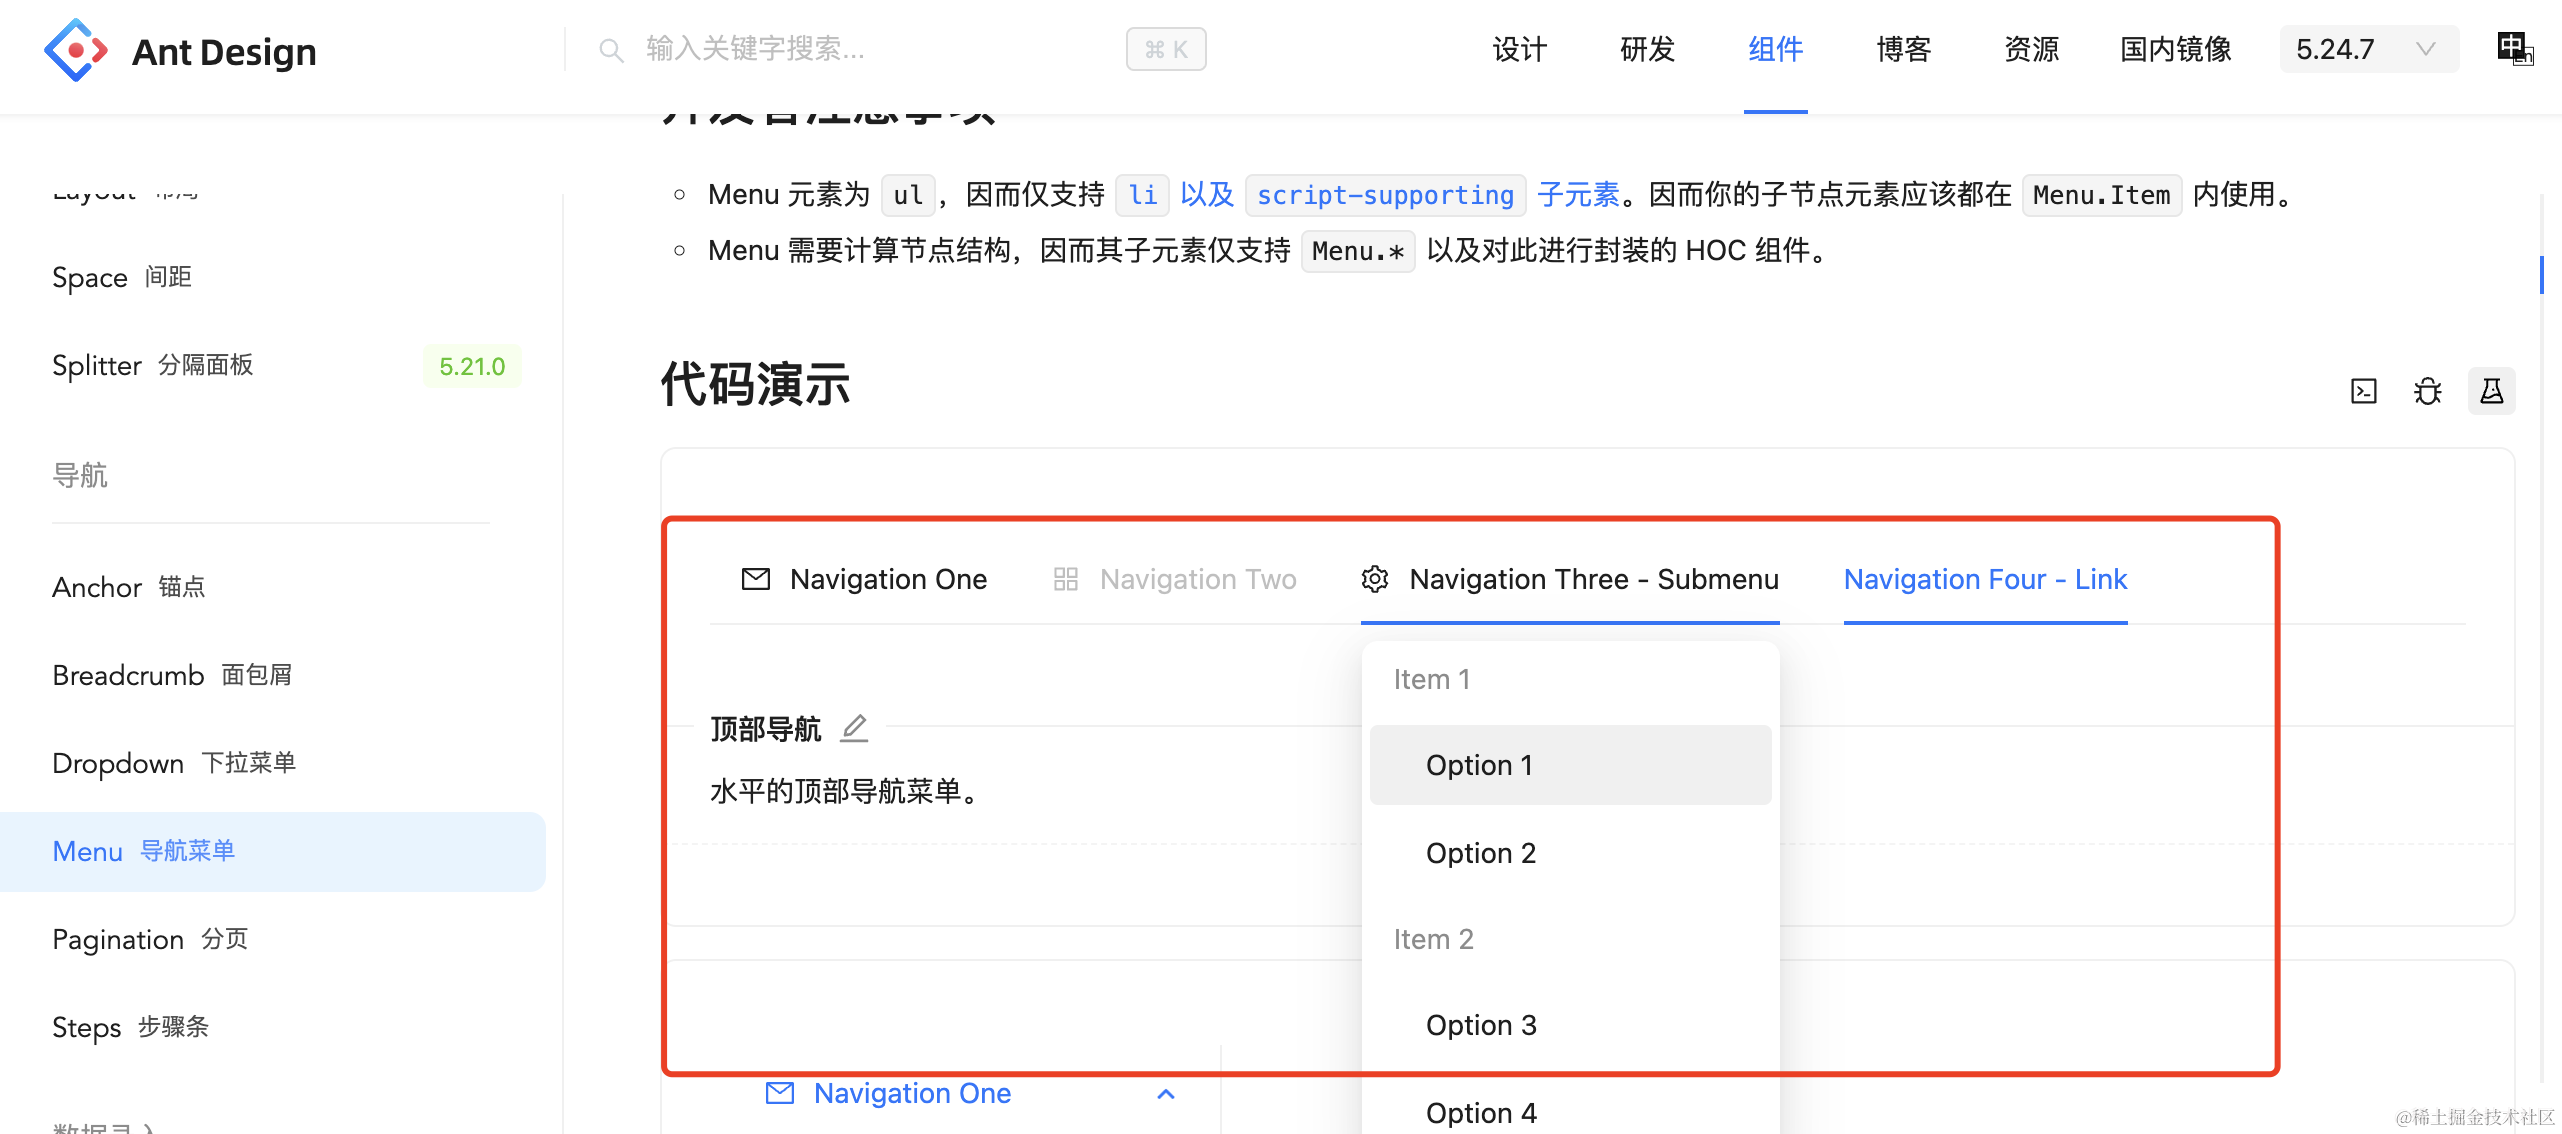
npm install --save antd改下 components/Menu/index.jsx
import './index.scss';
import { Menu as AntdMenu } from 'antd';

const items = [
  {
    label: 'Add',
    key: 'add',
    children: [
      {
        type: 'group',
        label: 'Mesh',
        children: [
          { label: '立方体', key: 'Box' },
          { label: '圆柱', key: 'Cylinder' },
        ],
      },
      {
        type: 'group',
        label: 'Light',
        children: [
          { label: '点光源', key: 'PointLight' },
          { label: '平行光', key: 'DirectionalLight' },
        ],
      },
    ],
  }
];

function Menu() {

    function handleClick(e) {
        alert(e.key)
    }

    return <div className='Menu'>
        <AntdMenu mode="horizontal" onClick={handleClick} style={{height: 60}} items={items} />
    </div>
}

export default Menu;
然后我们怎么在这里点击菜单项的时候在 3D 场景里添加一个物体呢?
可以在全局用一个 json 来管理所有的 mesh、light 等。
渲染 3D 场景的时候根据这个 json 来渲染。
这样这边改了 json,那边再次渲染的时候就渲染出来了。
我们用 zustand 来做全局状态管理:
npm install --save zustand这是 react 的一个状态管理库,你用 vue 的话也有类似的。
它的用法超级简单,比如看官网这个例子:
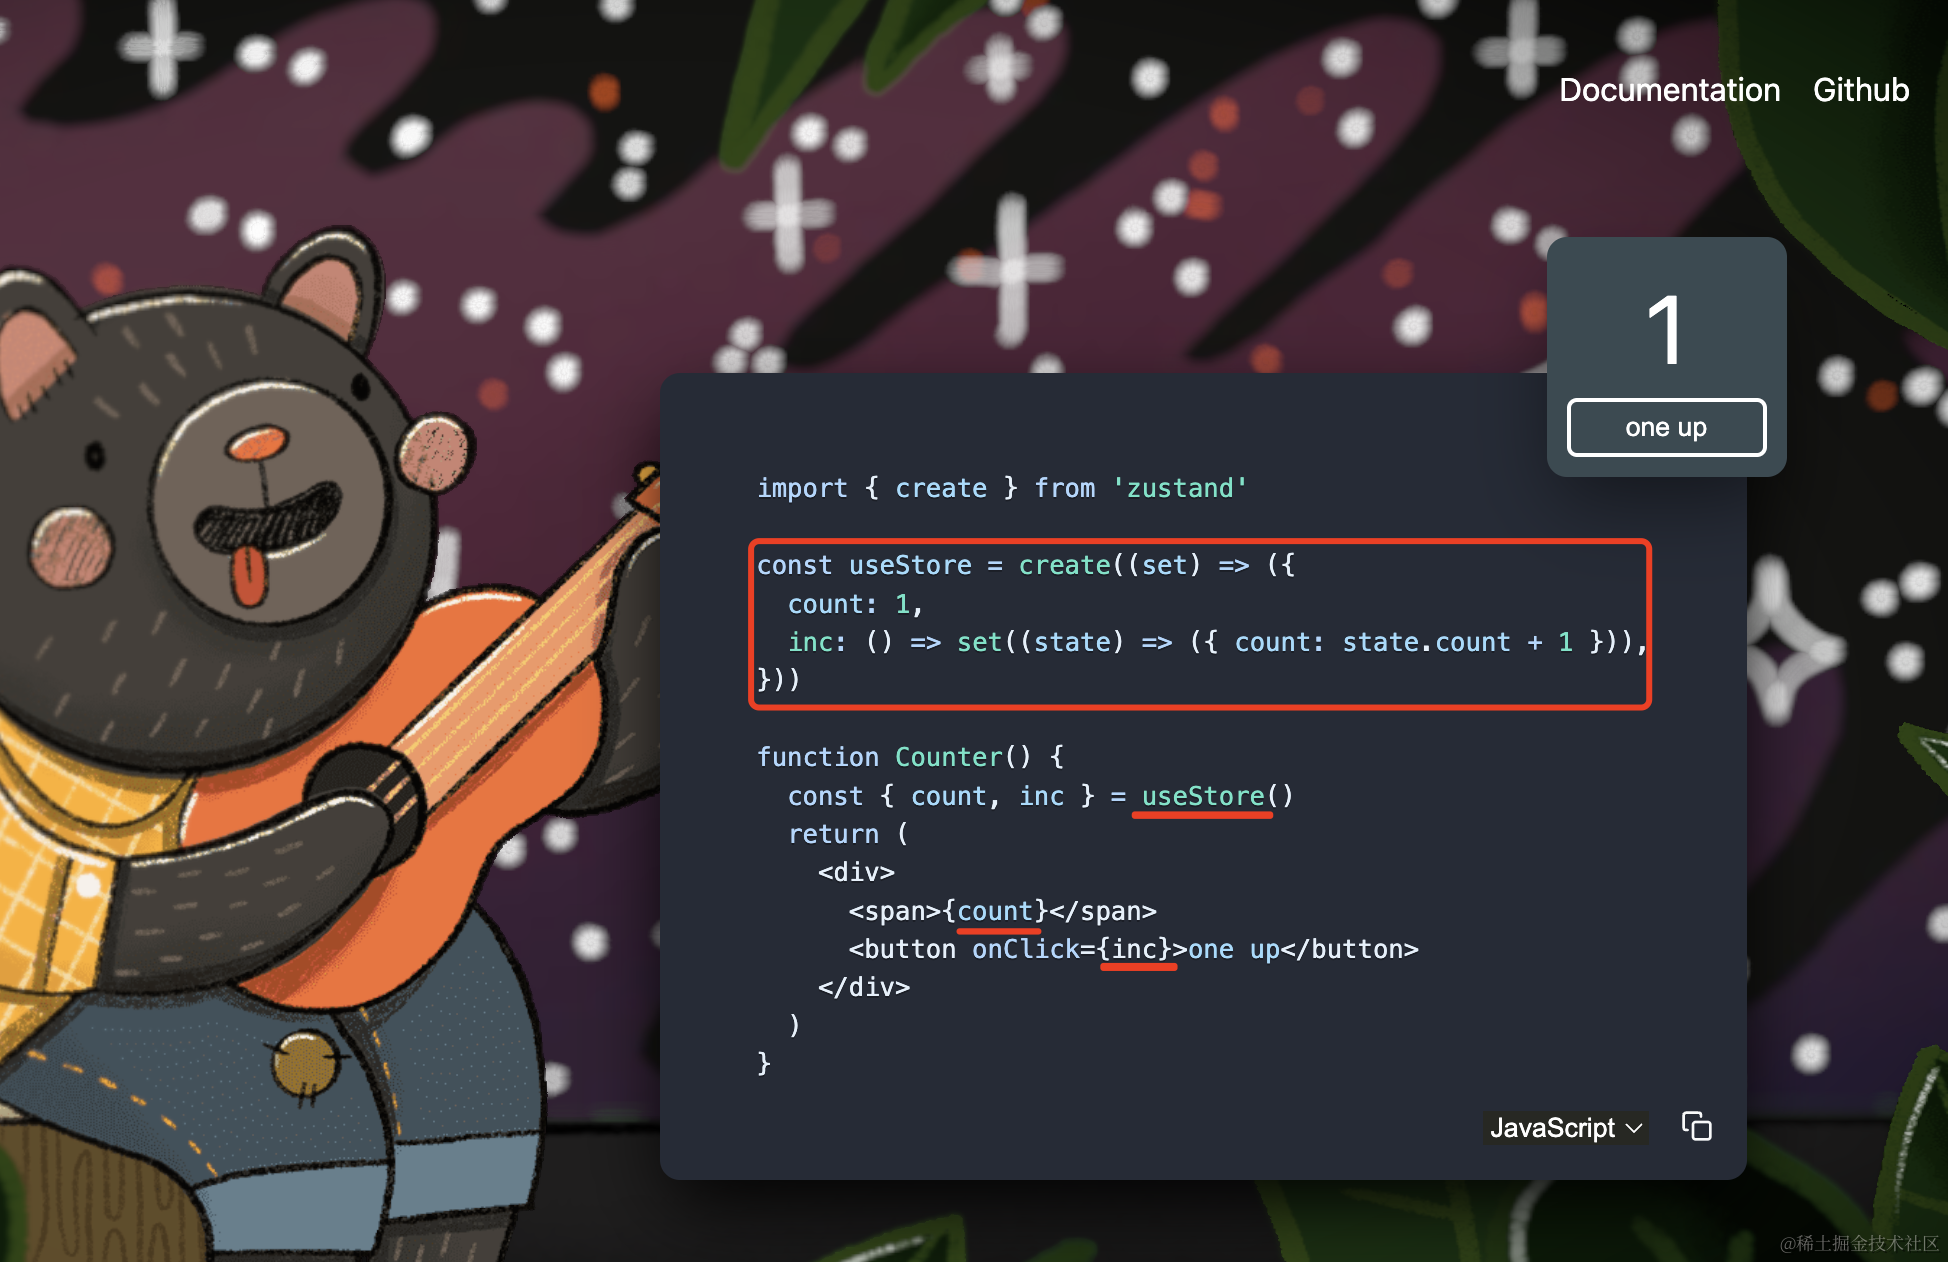
用 create 方法创建一个 store,里面有属性方法,方法里通过 set 来设置属性。
然后组件里就可以用从这个 store 里取属性和方法了。
这样就实现了一个简单的计数器的功能:
我们也写一下这个 store:
src/store/index.js
import { create } from "zustand";
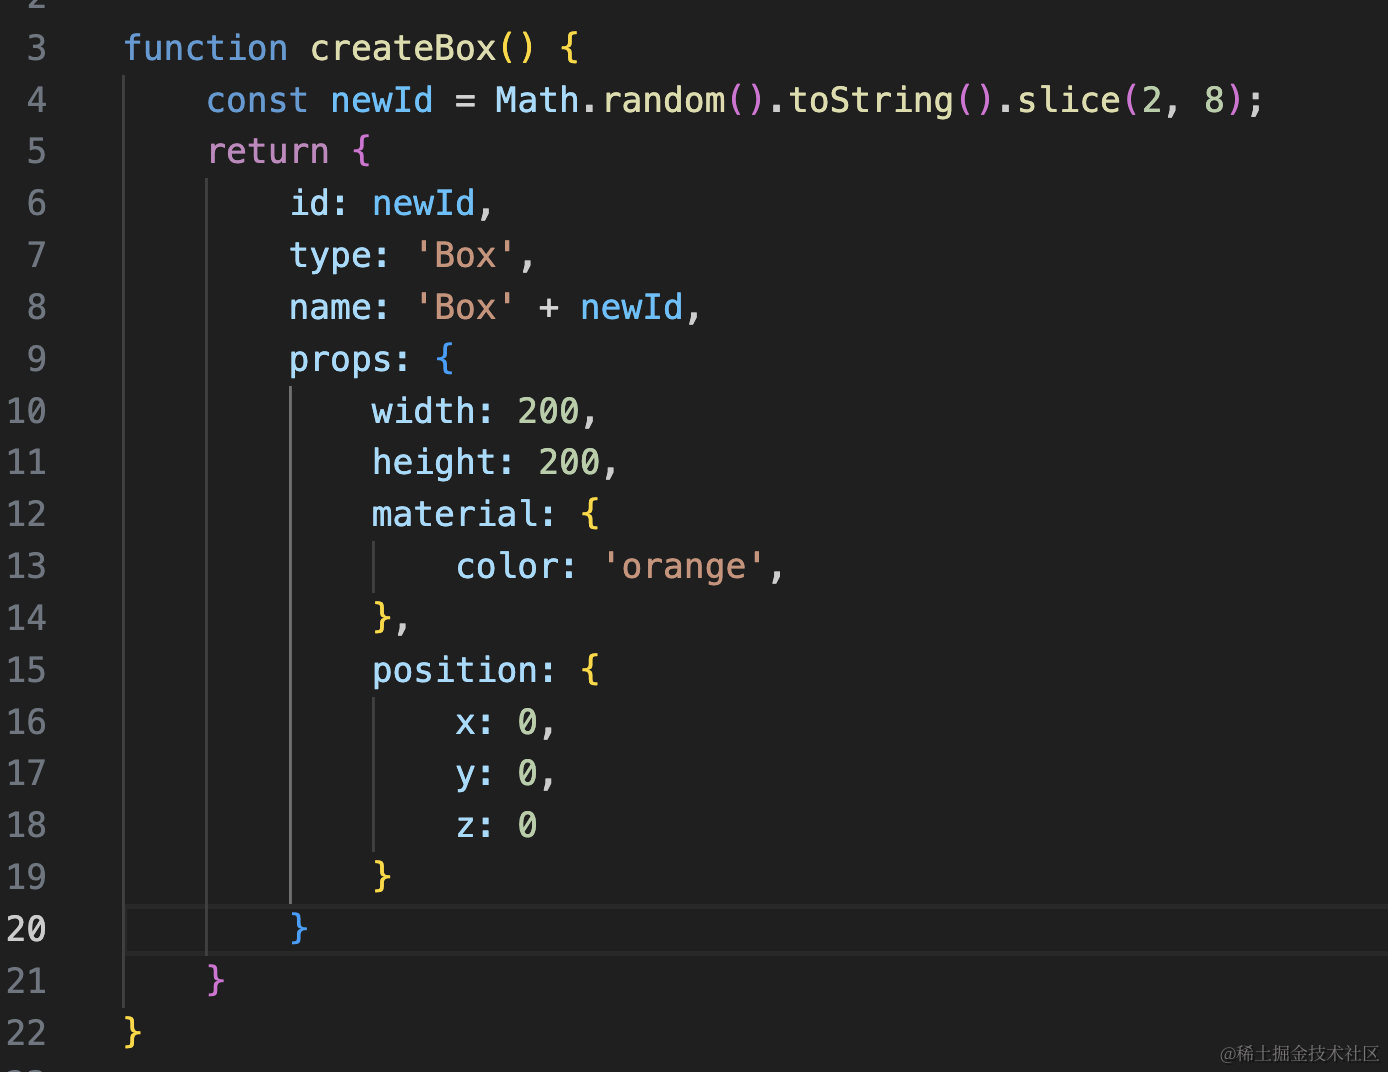
function createBox() {
const newId = Math.random().toString().slice(2, 8);
return {
id: newId,
type: 'Box',
name: 'Box' + newId,
props: {
width: 200,
height: 200,
depth: 200,
material: {
color: 'orange',
},
position: {
x: 0,
y: 0,
z: 0
}
}
}
}
const useThreeStore = create((set, get) => {
return {
data: {
meshArr: [
{
id: 1,
type: 'Box',
name: 'Box1',
props: {
width: 200,
height: 200,
depth: 200,
material: {
color: 'orange',
},
position: {
x: 0,
y: 0,
z: 0
}
}
}
]
},
addMesh(type) {
if(type === 'Box') {
set(state => {
return {
data: {
...state.data,
meshArr: [
...state.data.meshArr,
createBox()
]
}
}
})
}
}
}
});
const MeshTypes = {
Box: 'Box',
Cylinder: 'Cylinder'
}
export {
useThreeStore,
MeshTypes
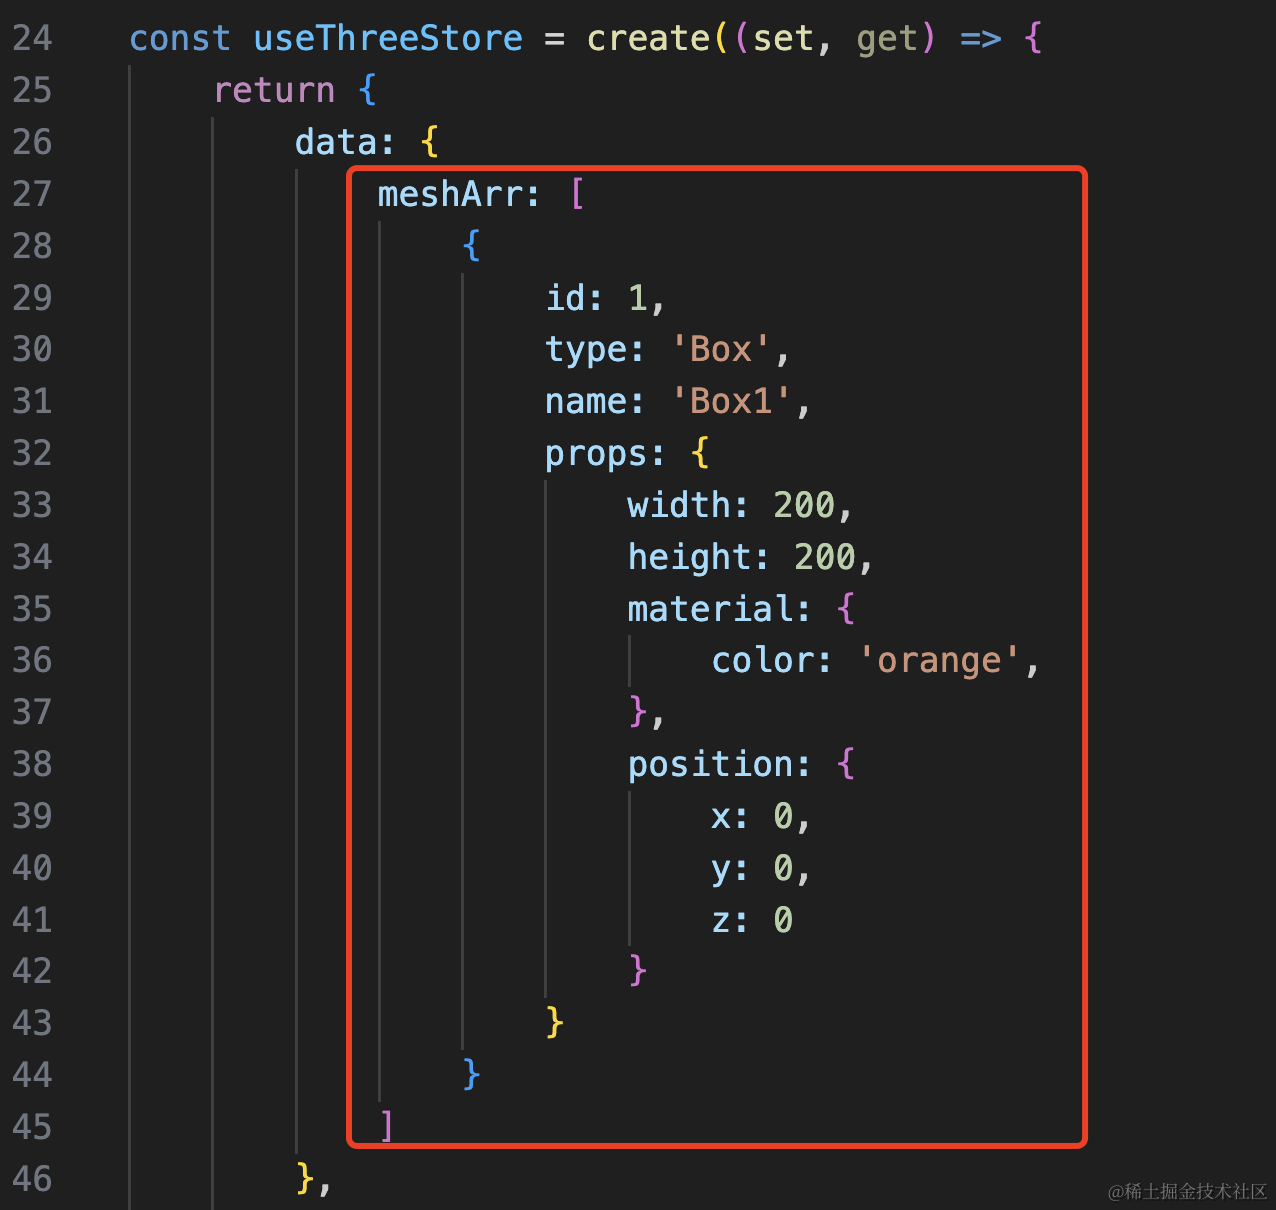
}首先,用 create 方法创建一个 store
data.meshArr 里保存着所有的 mesh:
有一个 addMesh 方法往这个 mesh 数组里添加 Mesh:
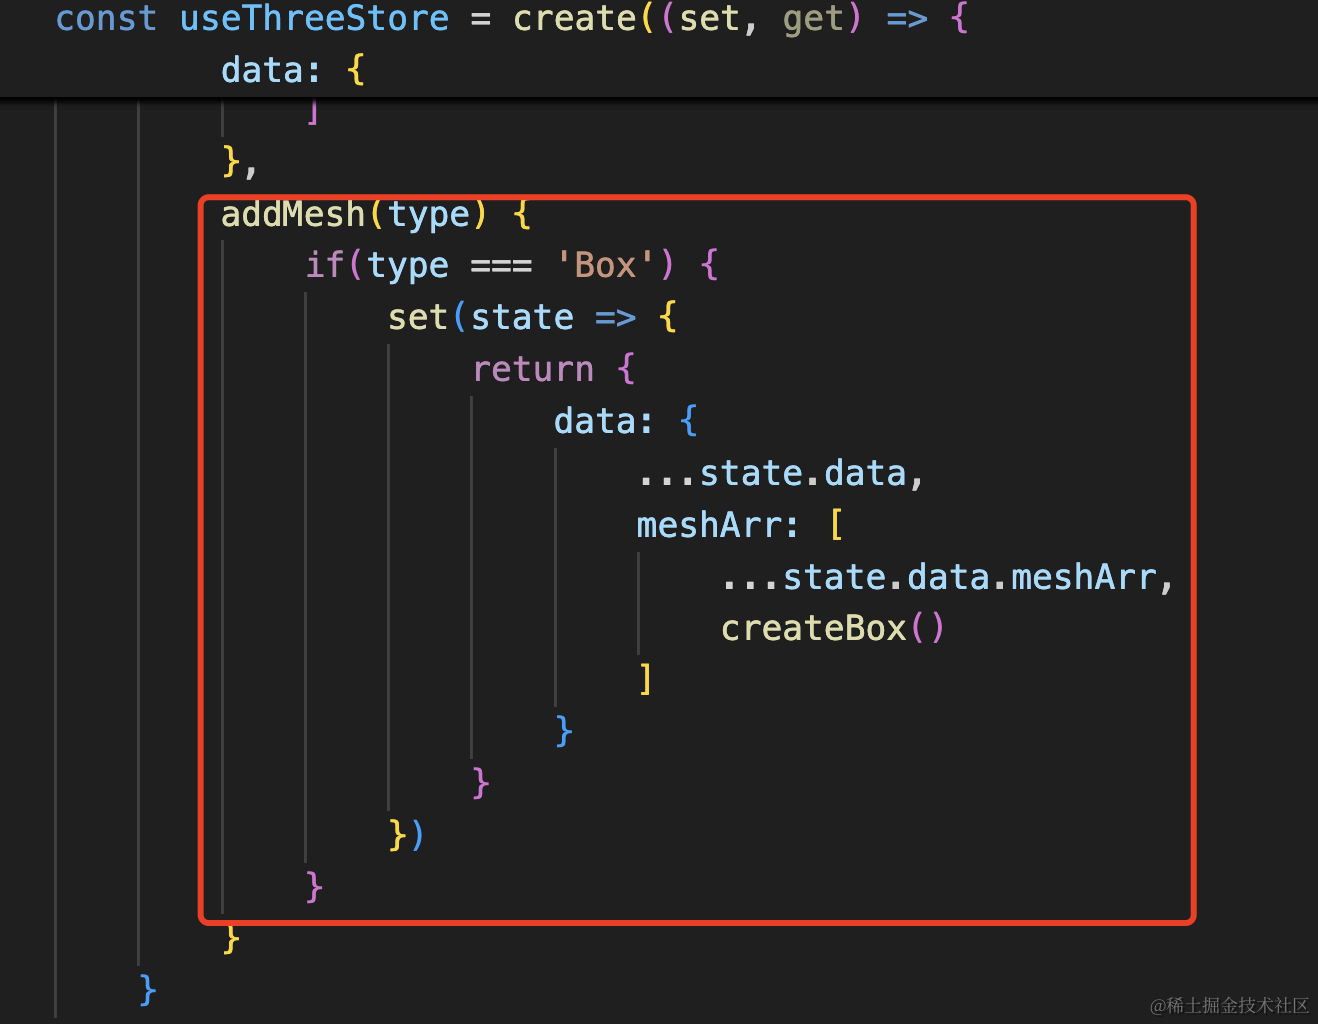
因为 react 状态是浅比较,所以这里 set 的新状态需要创建一个新的对象,用 … 把之前属性值拿过来。
这里的 createBox 就是创建一个 Box 的对象:
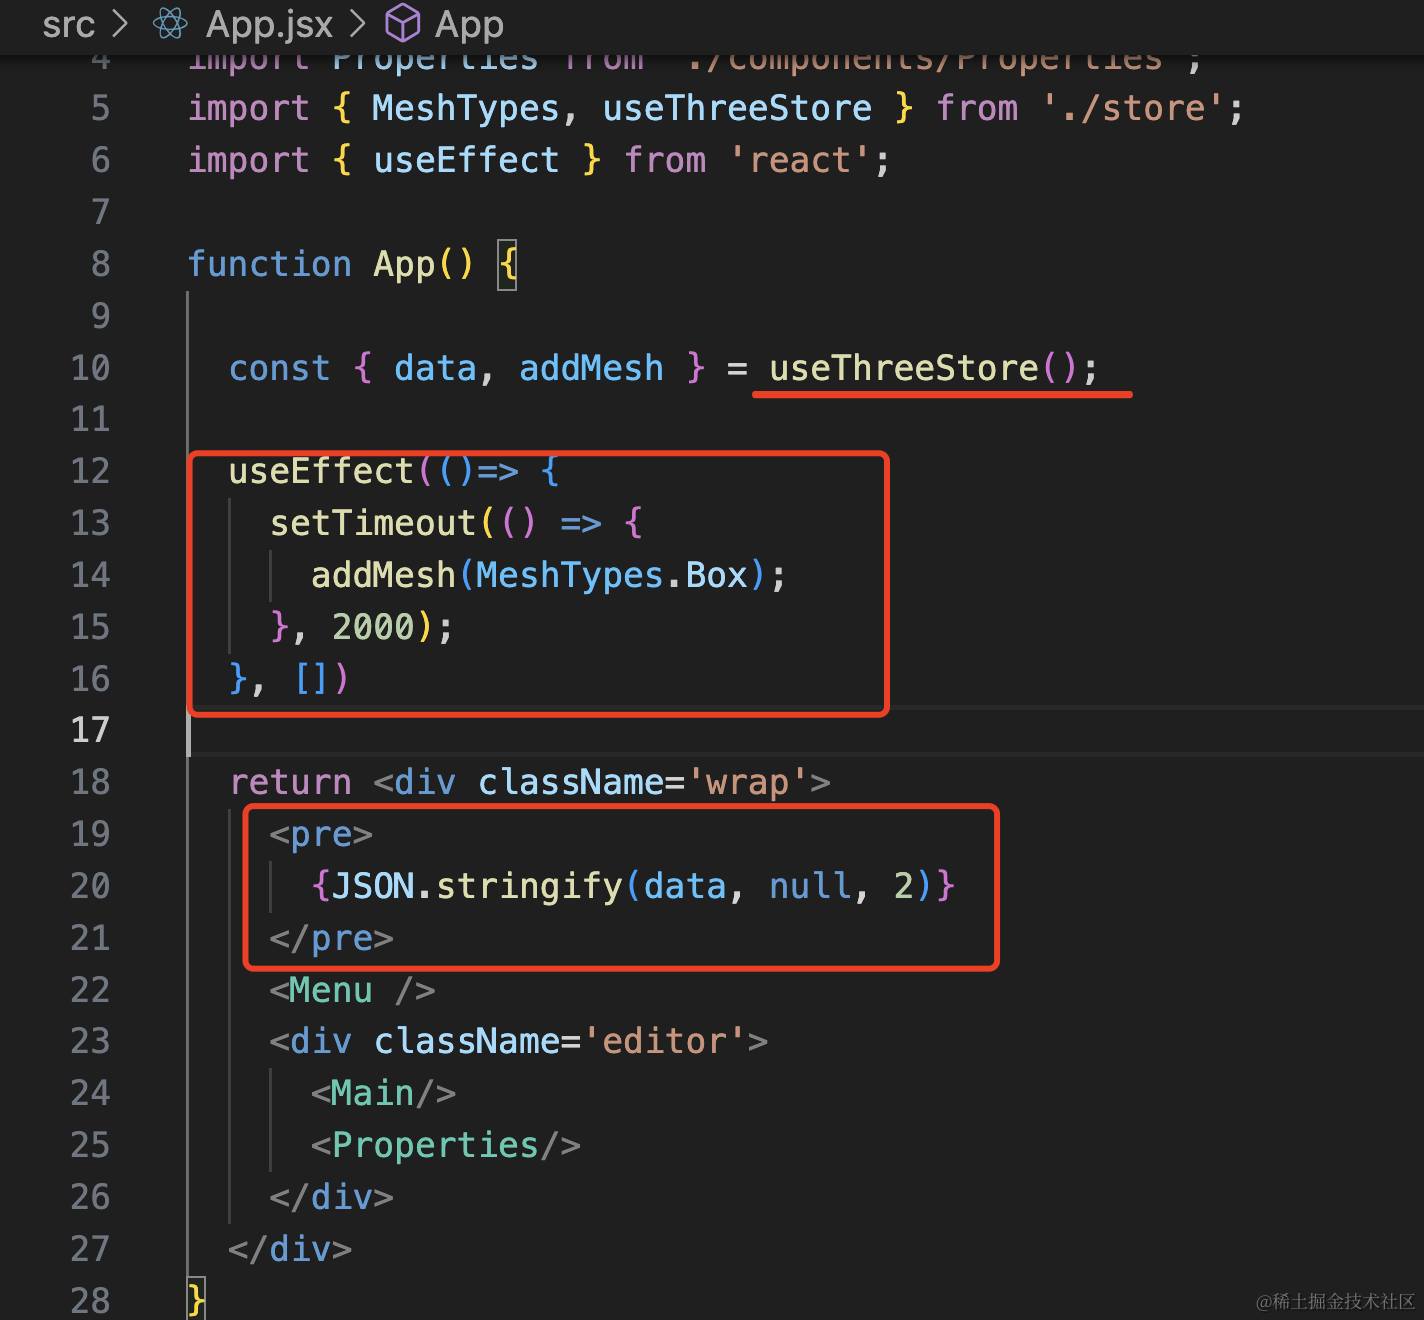
然后我们在 App.jsx 里用一下:
import './App.scss'
import Menu from './components/Menu';
import Main from './components/Main';
import Properties from './components/Properties';
import { MeshTypes, useThreeStore } from './store';
import { useEffect } from 'react';

function App() {

  const { data, addMesh } = useThreeStore();

  useEffect(()=> {
    setTimeout(() => {
      addMesh(MeshTypes.Box);
    }, 2000);
  }, [])

  return <div className='wrap'>
    <pre>
      {JSON.stringify(data, null, 2)}
    </pre>
    <Menu />
    <div className='editor'>
      <Main/>
      <Properties/>
    </div>
  </div>
}

export default App
用 useThreeStore 拿到刚才的 store 对象里的 data、addMesh
把 data 打印出来。
2s 后用 addMesh 往 data 里添加一个 mesh。
可以看到,2s 后 store 里多了一个 mesh

这样,全局 store 的 get、set 就跑通了。
然后我们在渲染 3d 场景的时候,就是基于 store 里的 data 来渲染:
把刚才的代码去掉:
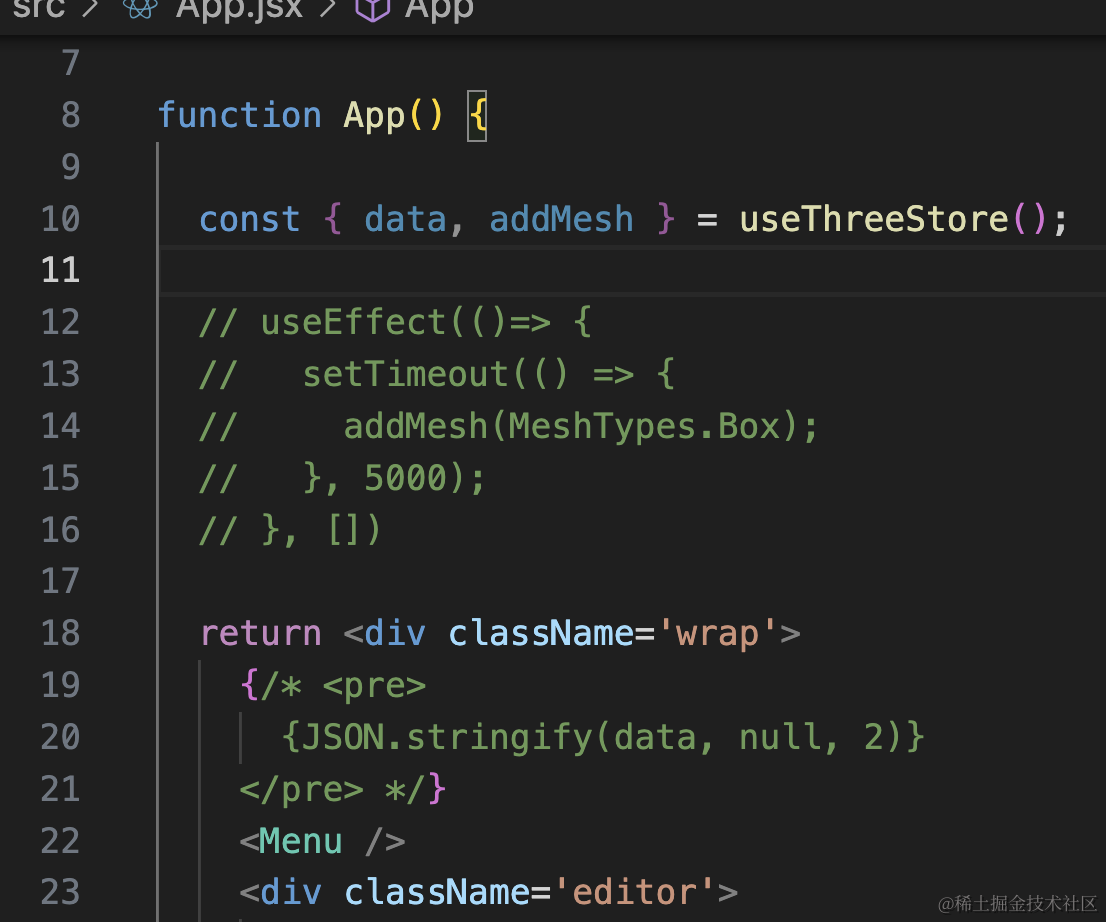
我们在 Main 组件里取出来,传入 3d 场景:
src/components/Main/index.jsx
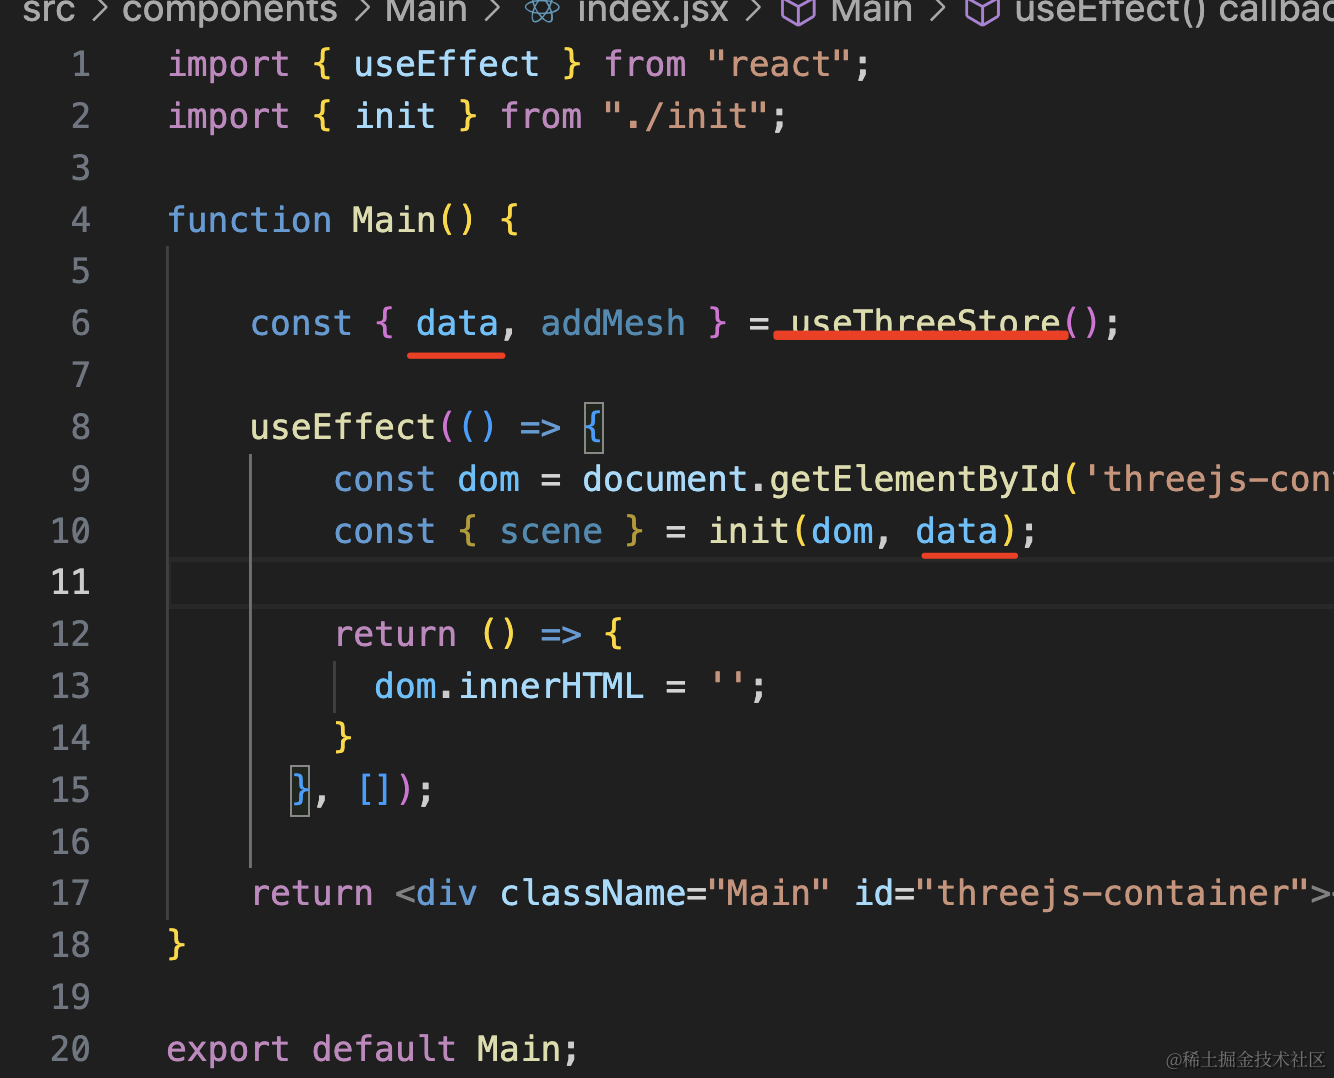
const { data, addMesh } = useThreeStore();const { scene } = init(dom, data);3d 场景初始化的时候根据传入的 data 来渲染:
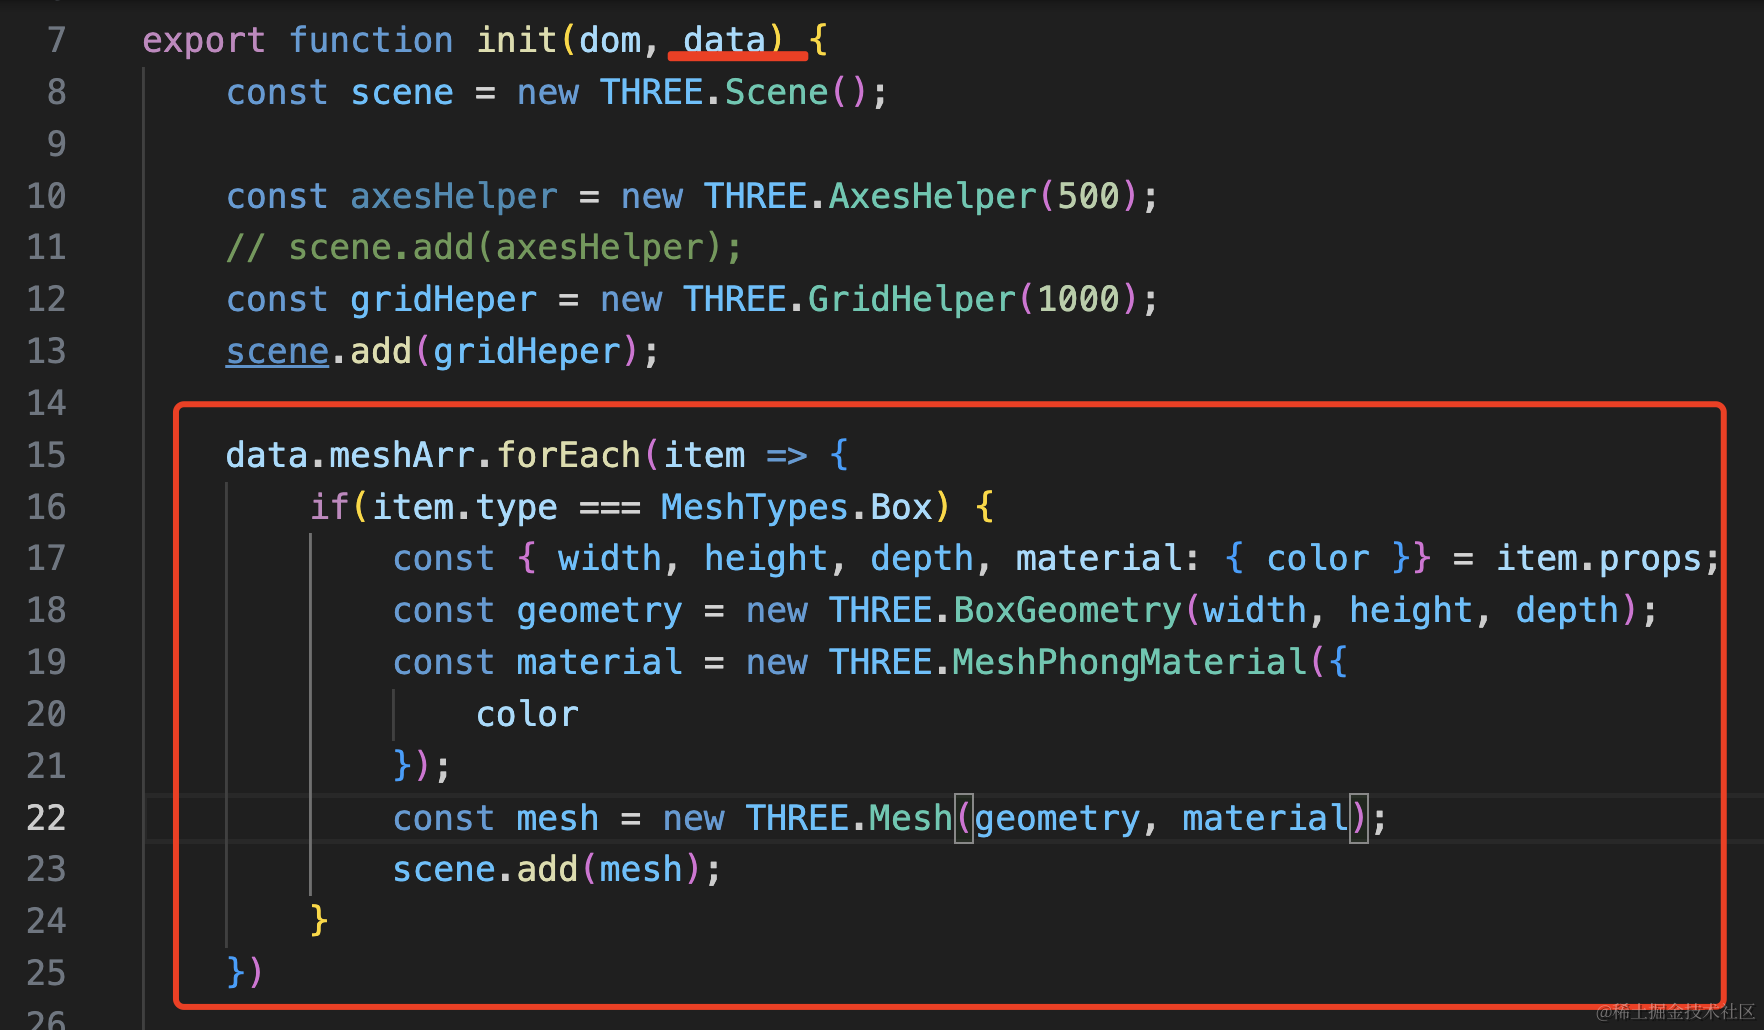
data.meshArr.forEach(item => {
if(item.type === MeshTypes.Box) {
const { width, height, depth, material: { color }} = item.props;
const geometry = new THREE.BoxGeometry(width, height, depth);
const material = new THREE.MeshPhongMaterial({
color
});
const mesh = new THREE.Mesh(geometry, material);
scene.add(mesh);
}
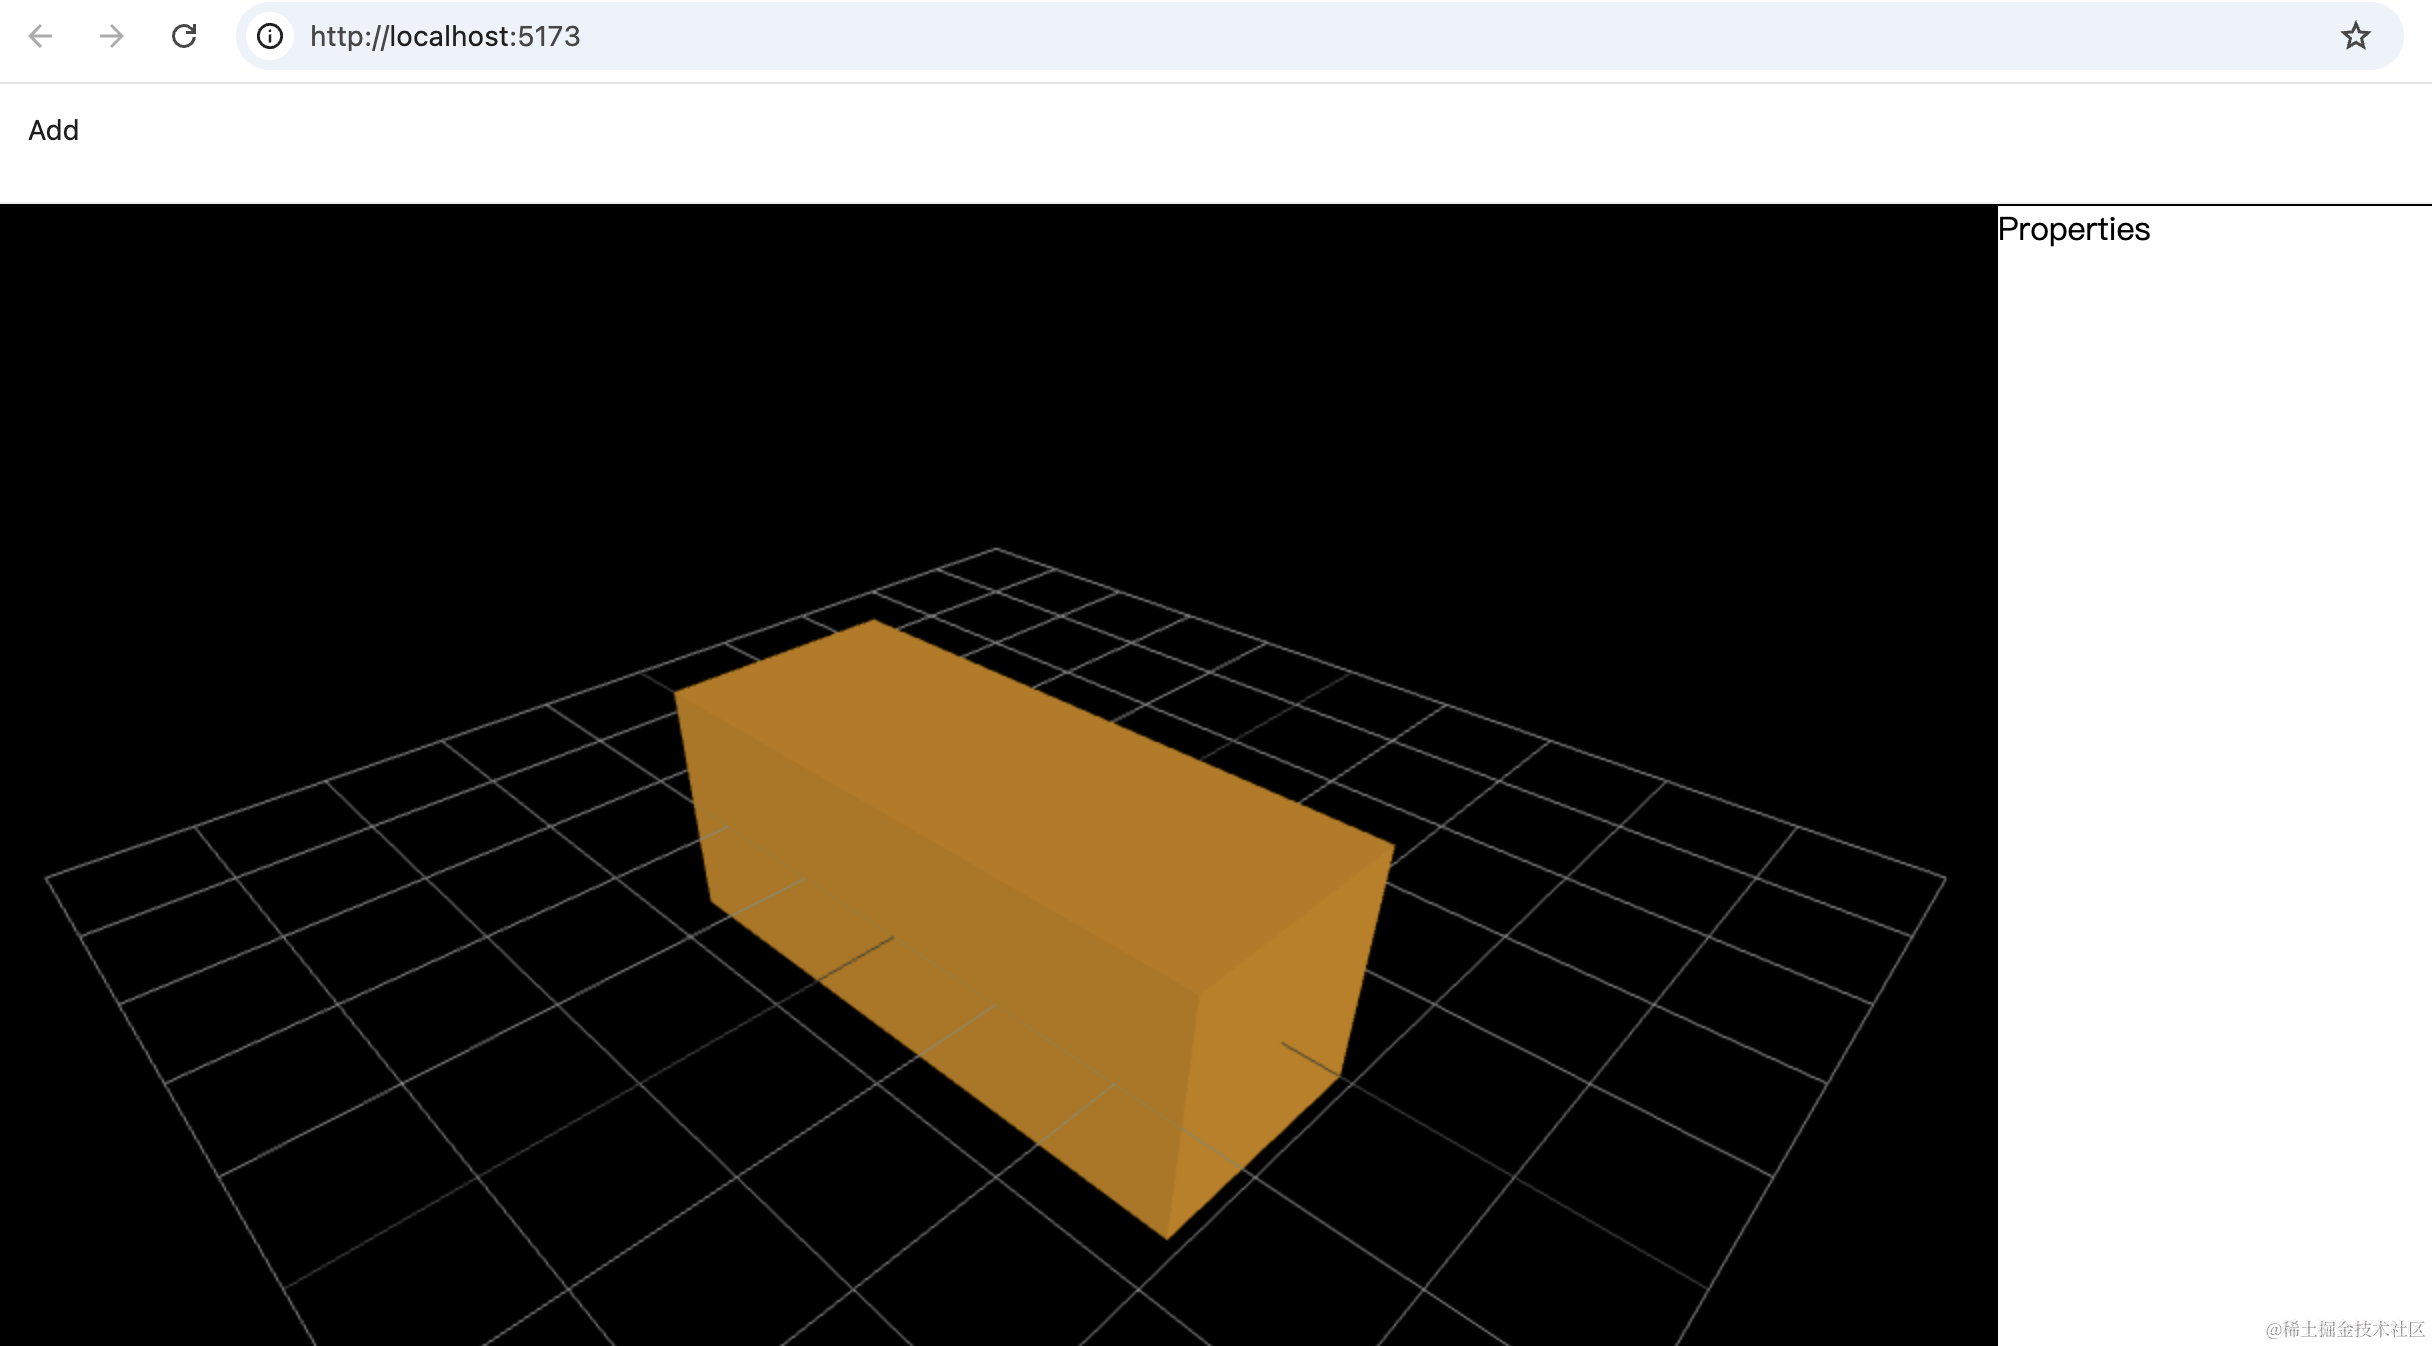
})看下效果:
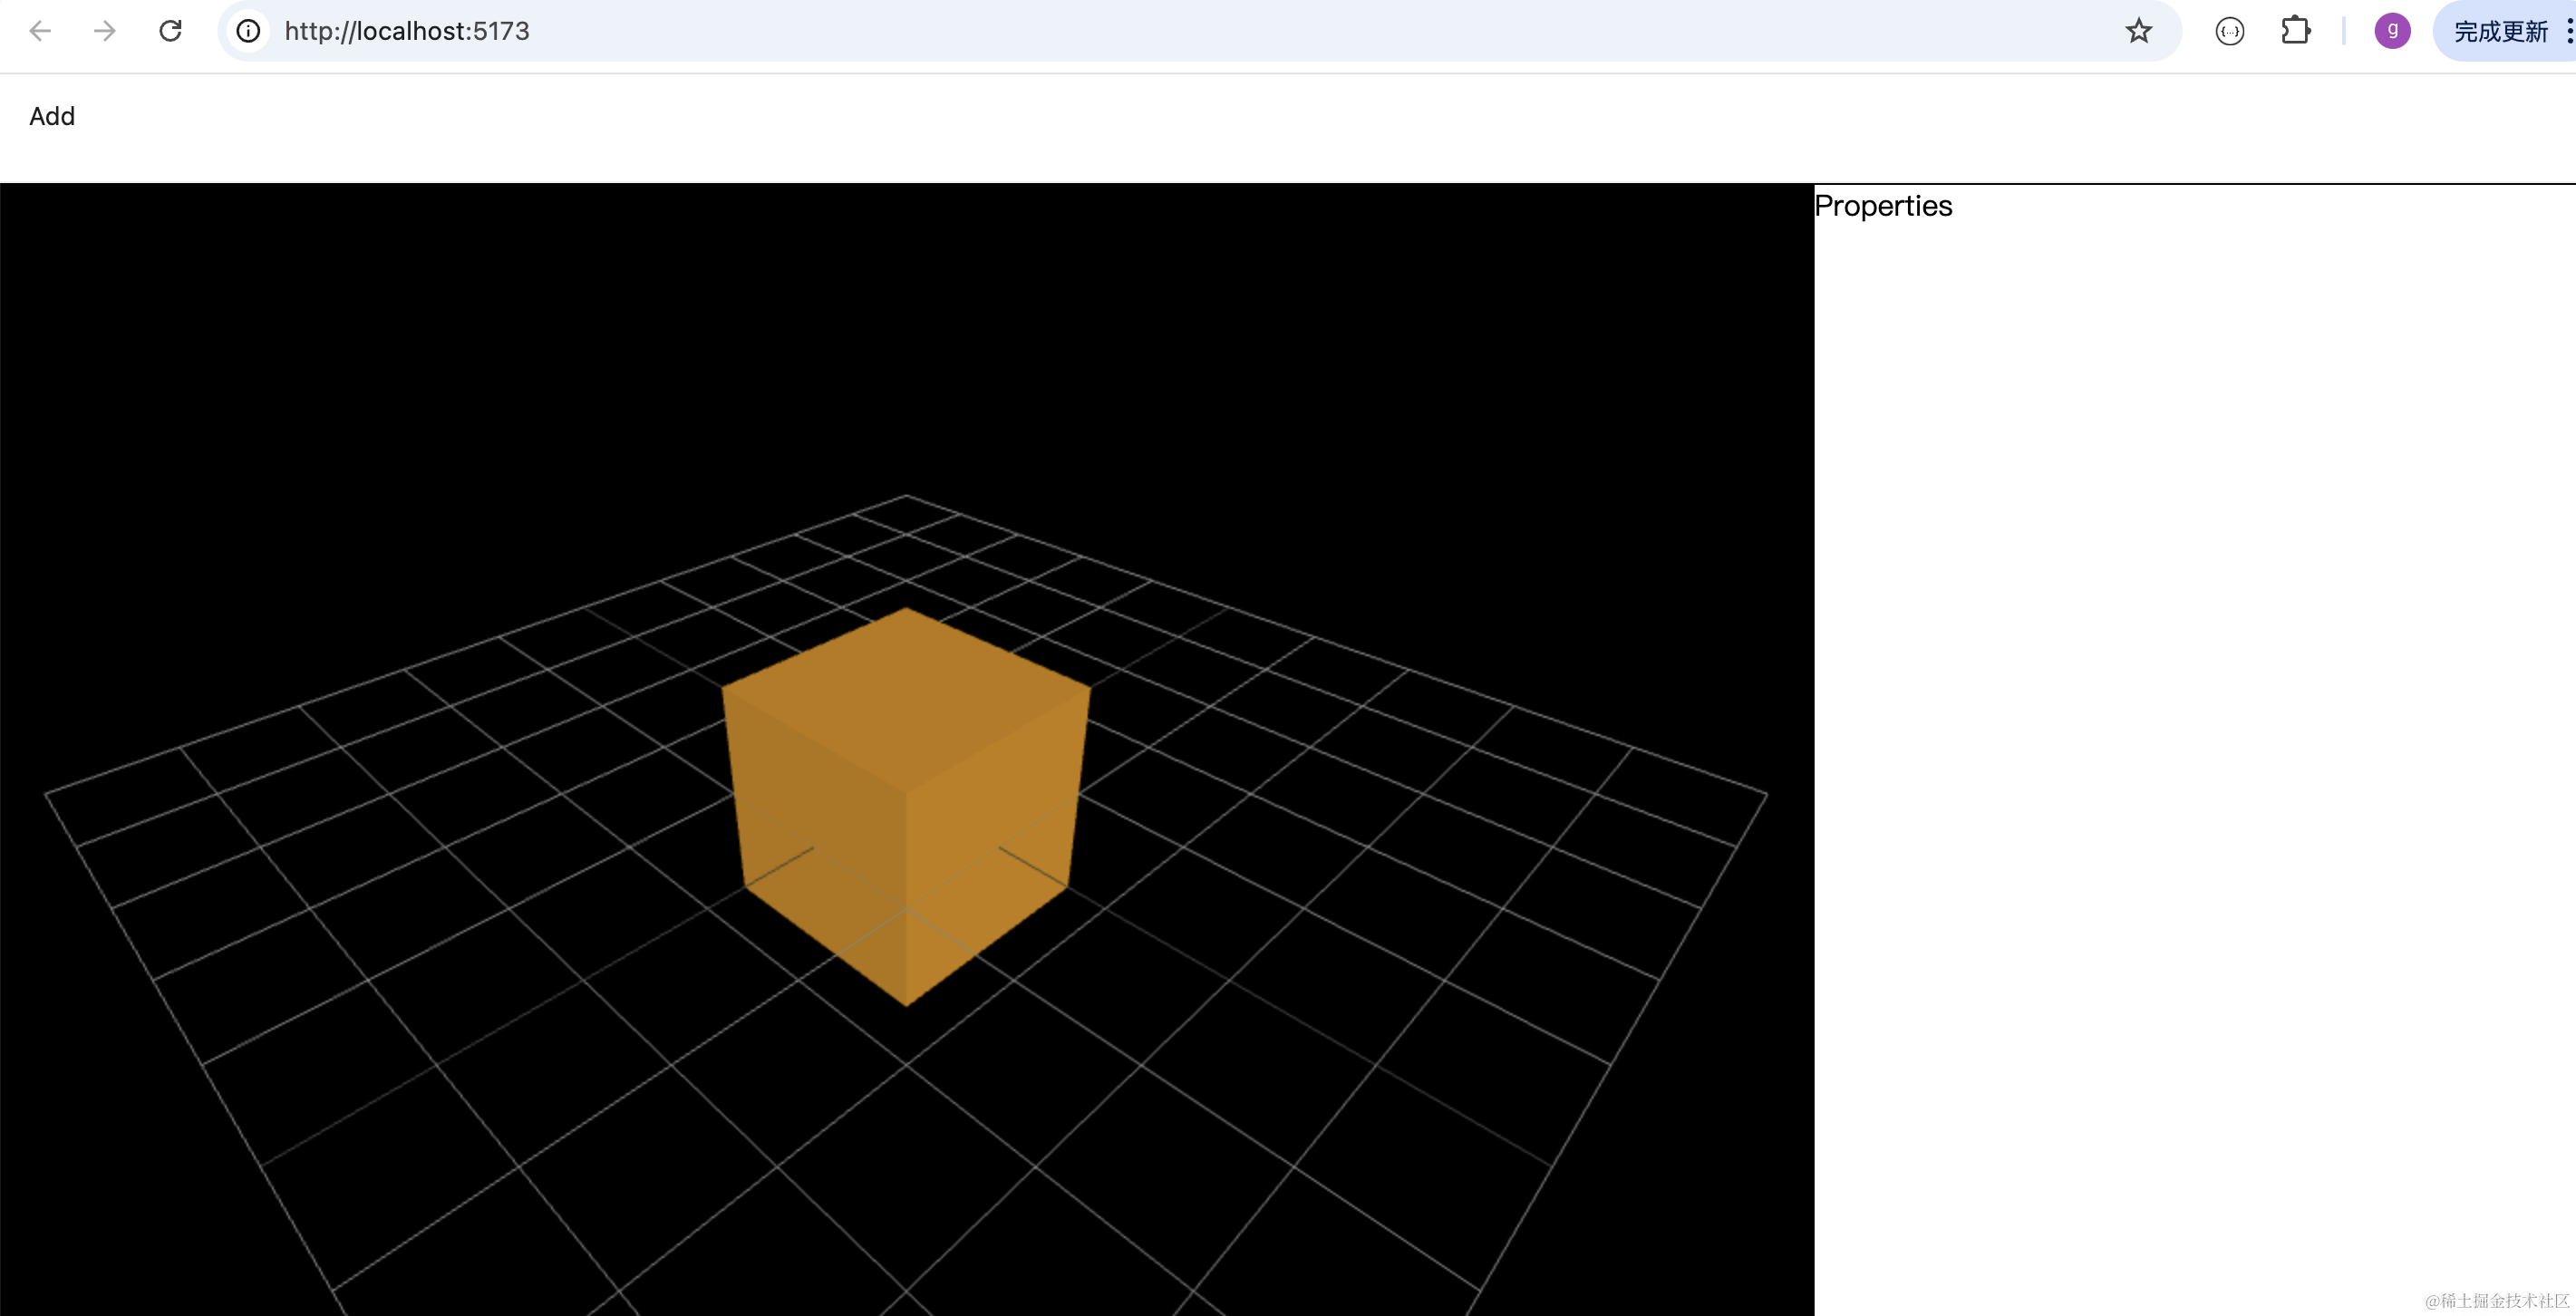
这样,根据全局 store 来渲染场景就完成了。
我们改一下 store 里的数据:
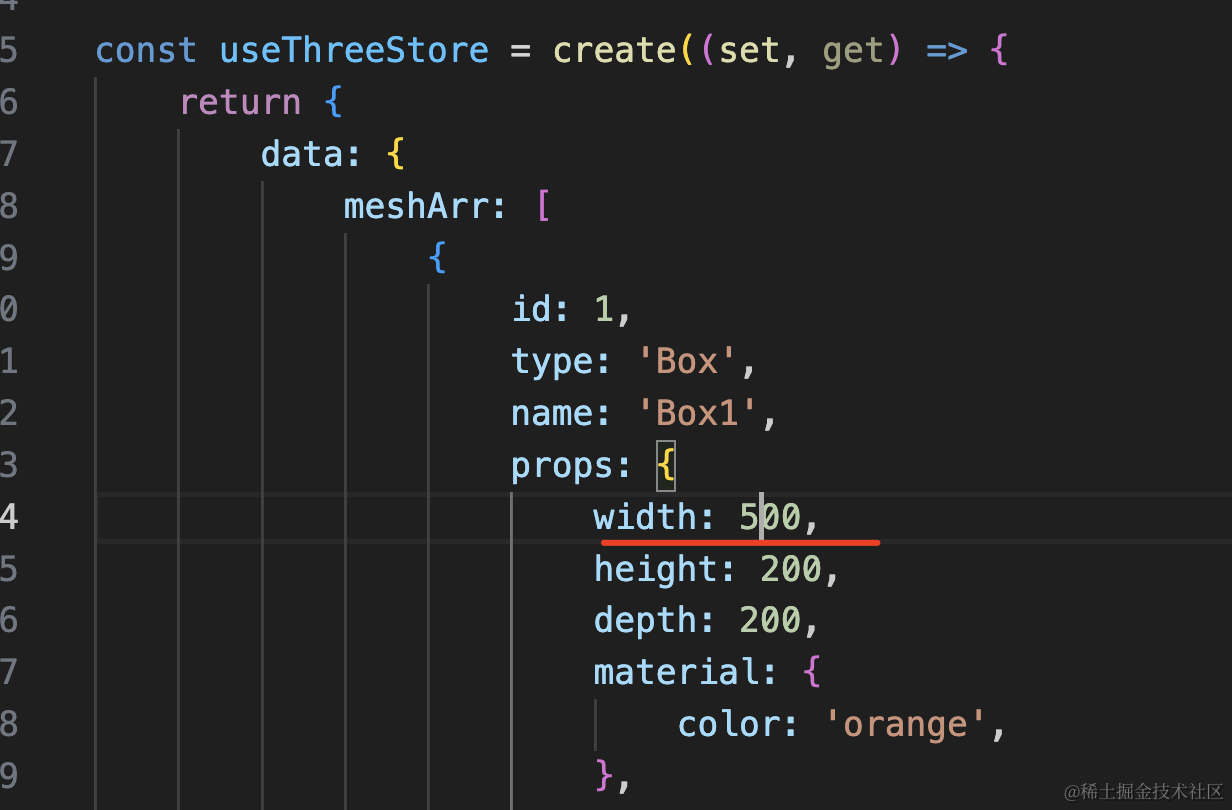
渲染出来的立方体也就变了:
案例代码上传了小册仓库
总结
这节我们完成了 Three.js 的初始化,在 dom 渲染完之后调用 Three.js 的 API 创建 Scene、Camera、Renderer,之后把 renderer.domElement 挂载到渲染出的 dom
然后用 zustand 创建了全局 store 来管理所有 mesh,在 json 里维护。
渲染 3d 场景的时候,传入 json,递归渲染 Mesh
这样,编辑器的 Three.js 部分的初始化以及全局 store 的存储就完成了。