Vector3 在我们开发过程中经常用到,这节我们过一遍它的常用 API。
Vector3 是向量,比如表示一个方向
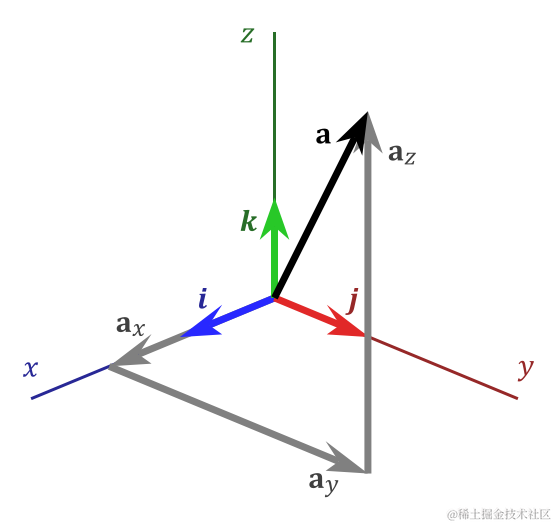
但它也可以表示一个标量,比如 obj.position
有向量、标量这两种含义。
我们经常需要对它做加、减、乘、除,经常会用到单位向量、向量长度等运算。
这节我们就来过一遍这些 API。
创建项目:
npx create-vite vector3-test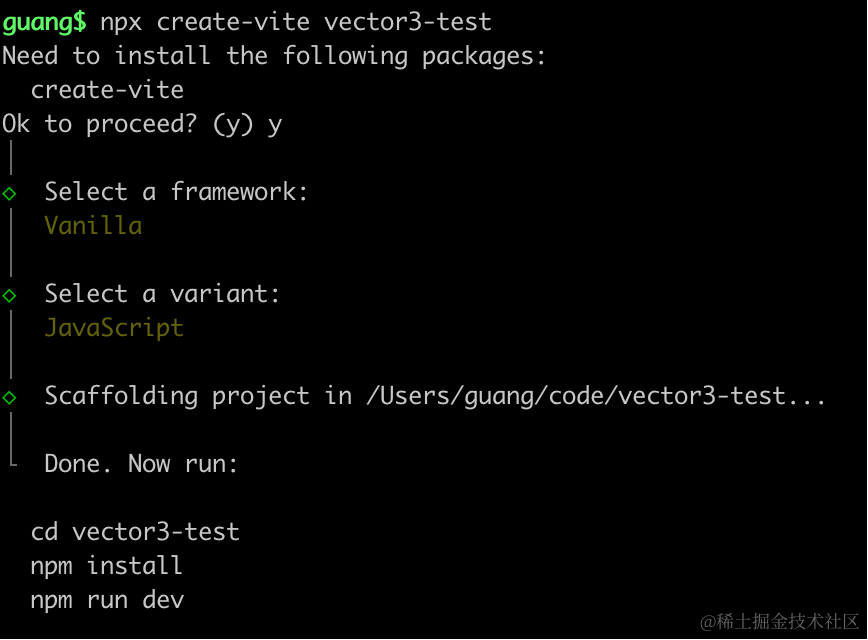
进入项目,安装依赖:
pnpm install
pnpm install --save three
pnpm install --save-dev @types/three
改下 src/main.js
import './style.css';
import * as THREE from 'three';
import {
    OrbitControls
} from 'three/addons/controls/OrbitControls.js';
import mesh from './mesh.js';

const scene = new THREE.Scene();
scene.add(mesh);

const directionLight = new THREE.DirectionalLight(0xffffff, 2);
directionLight.position.set(500, 400, 300);
scene.add(directionLight);

const ambientLight = new THREE.AmbientLight();
scene.add(ambientLight);

const width = window.innerWidth;
const height = window.innerHeight;

const helper = new THREE.AxesHelper(500);
scene.add(helper);

const camera = new THREE.PerspectiveCamera(60, width / height, 0.1, 10000);
camera.position.set(500, 500, 500);
camera.lookAt(0, 0, 0);

const renderer = new THREE.WebGLRenderer({
  antialias: true
});
renderer.setSize(width, height)

function render() {
    renderer.render(scene, camera);
    requestAnimationFrame(render);
}

render();

document.body.append(renderer.domElement);

const controls = new OrbitControls(camera, renderer.domElement);
创建 Scene、Light、Camera、Renderer。
改下 style.css
body {
margin: 0;
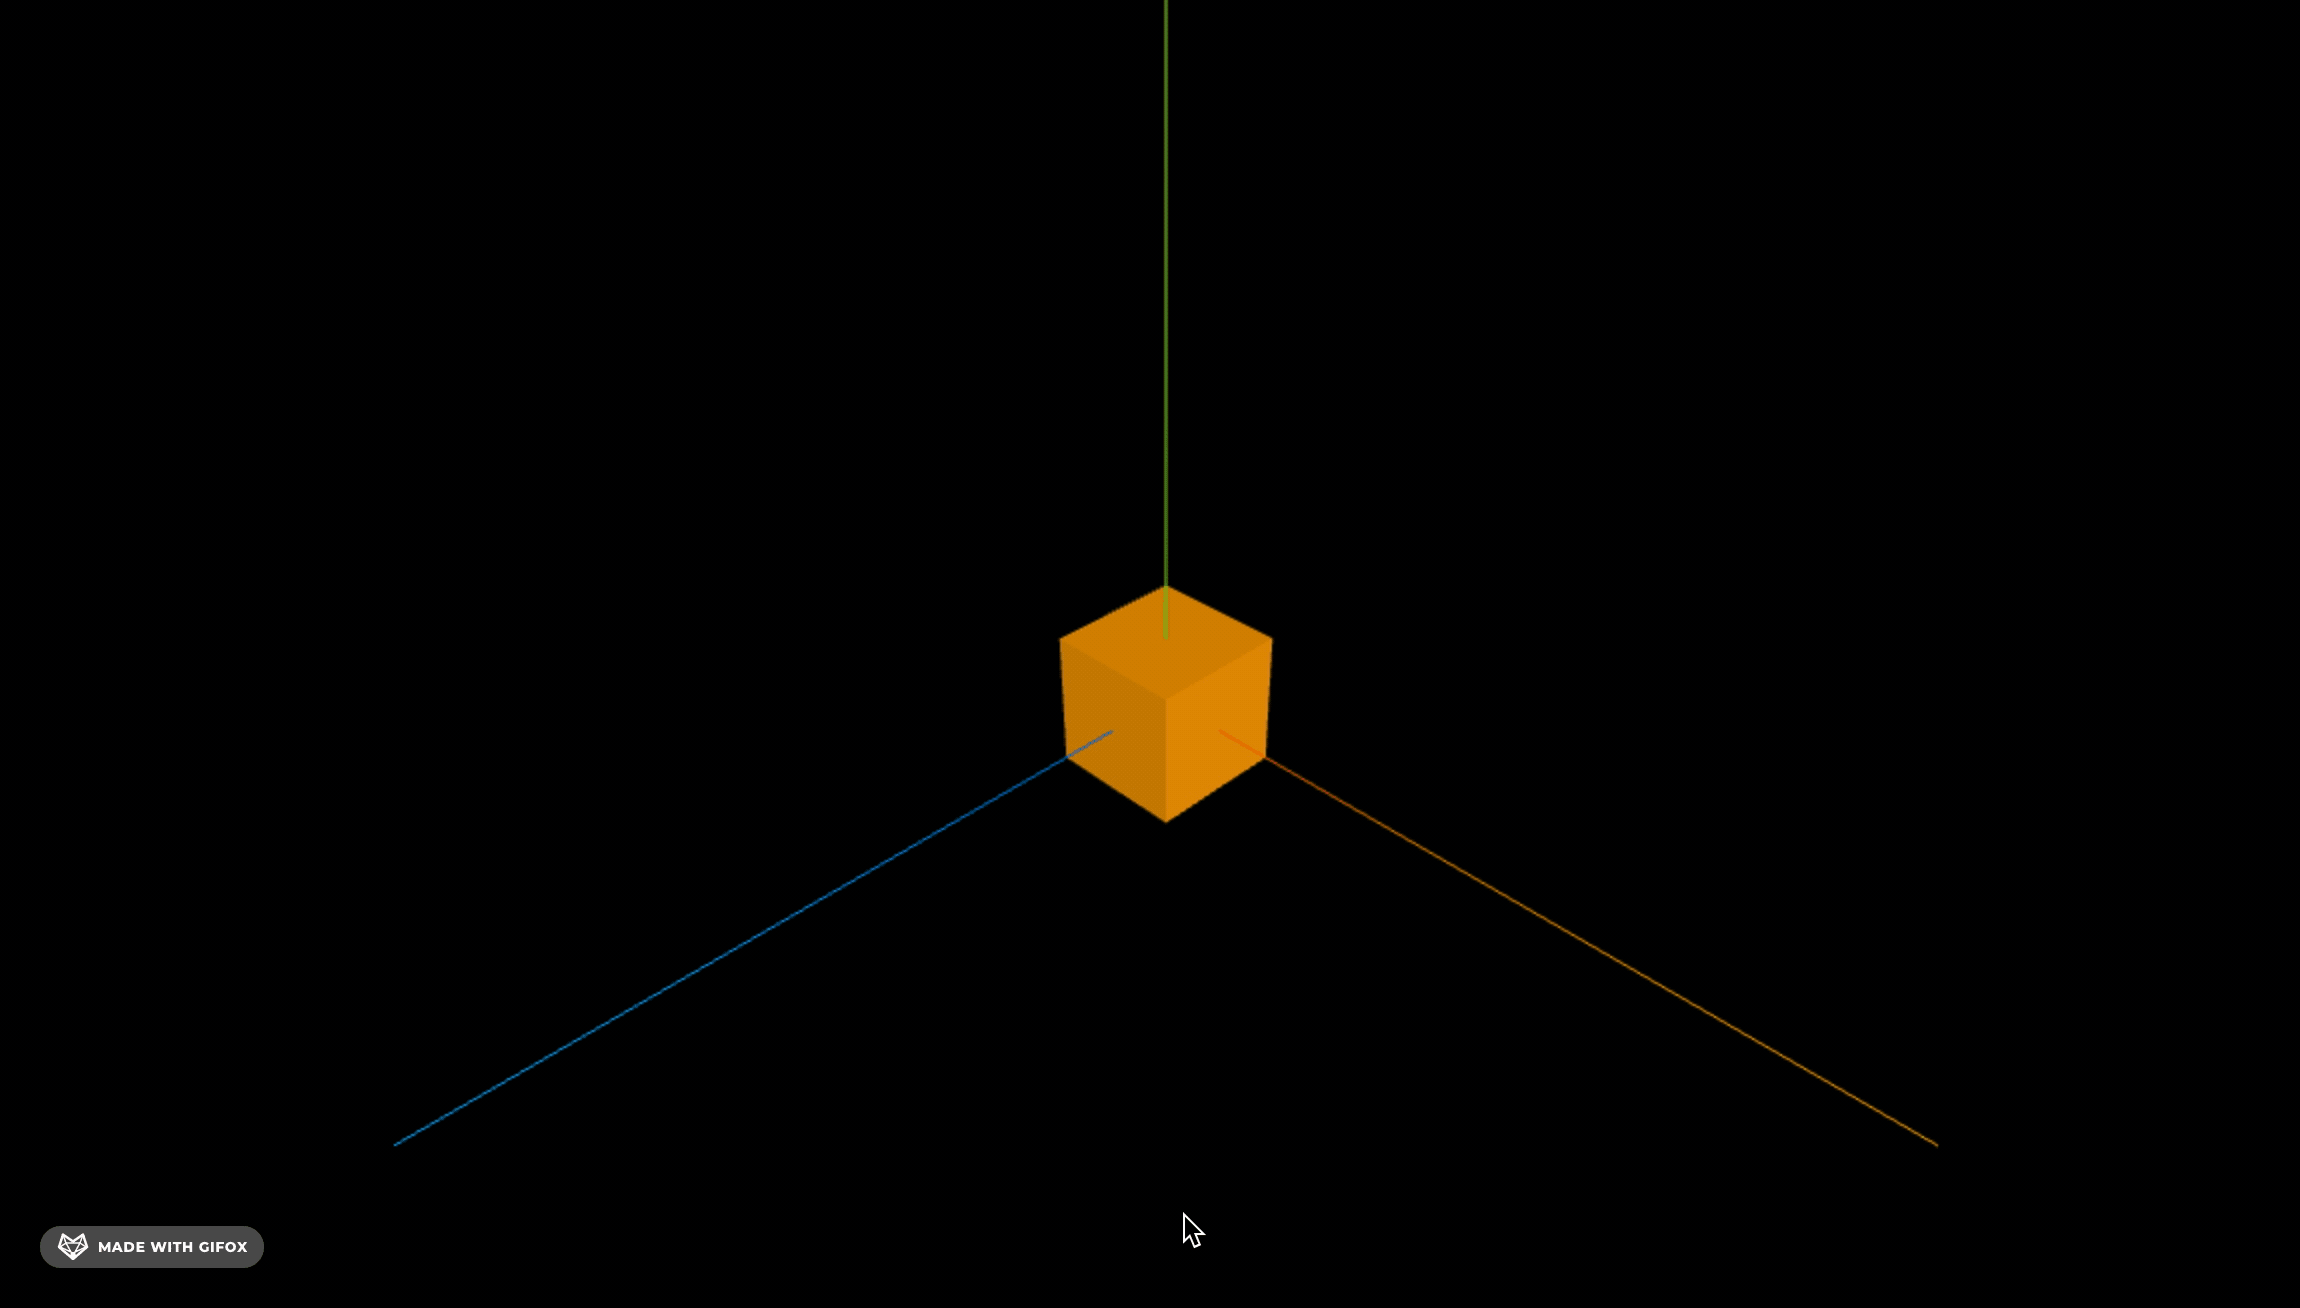
}创建 mesh.js
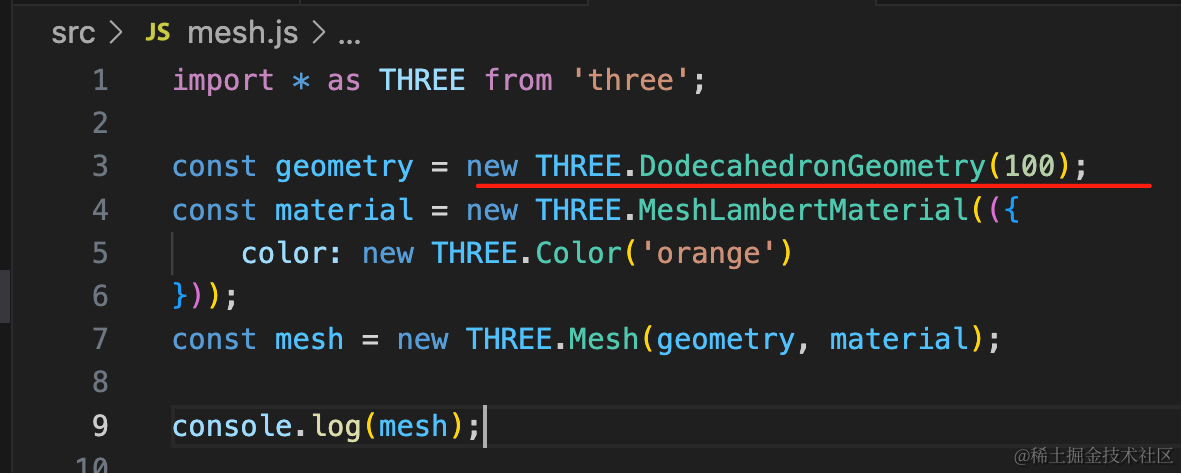
import * as THREE from 'three';

const geometry = new THREE.BoxGeometry(100, 100, 100);
const material = new THREE.MeshLambertMaterial(({
    color: new THREE.Color('orange')
}));
const mesh = new THREE.Mesh(geometry, material);

console.log(mesh);
export default mesh;
画了一个立方体。
跑一下:
npm run dev
前面学过,geometry.attributes.poition 是顶点位置,而 geometry.attributes.normal 是顶点方向向量。
我们把它可视化一下:
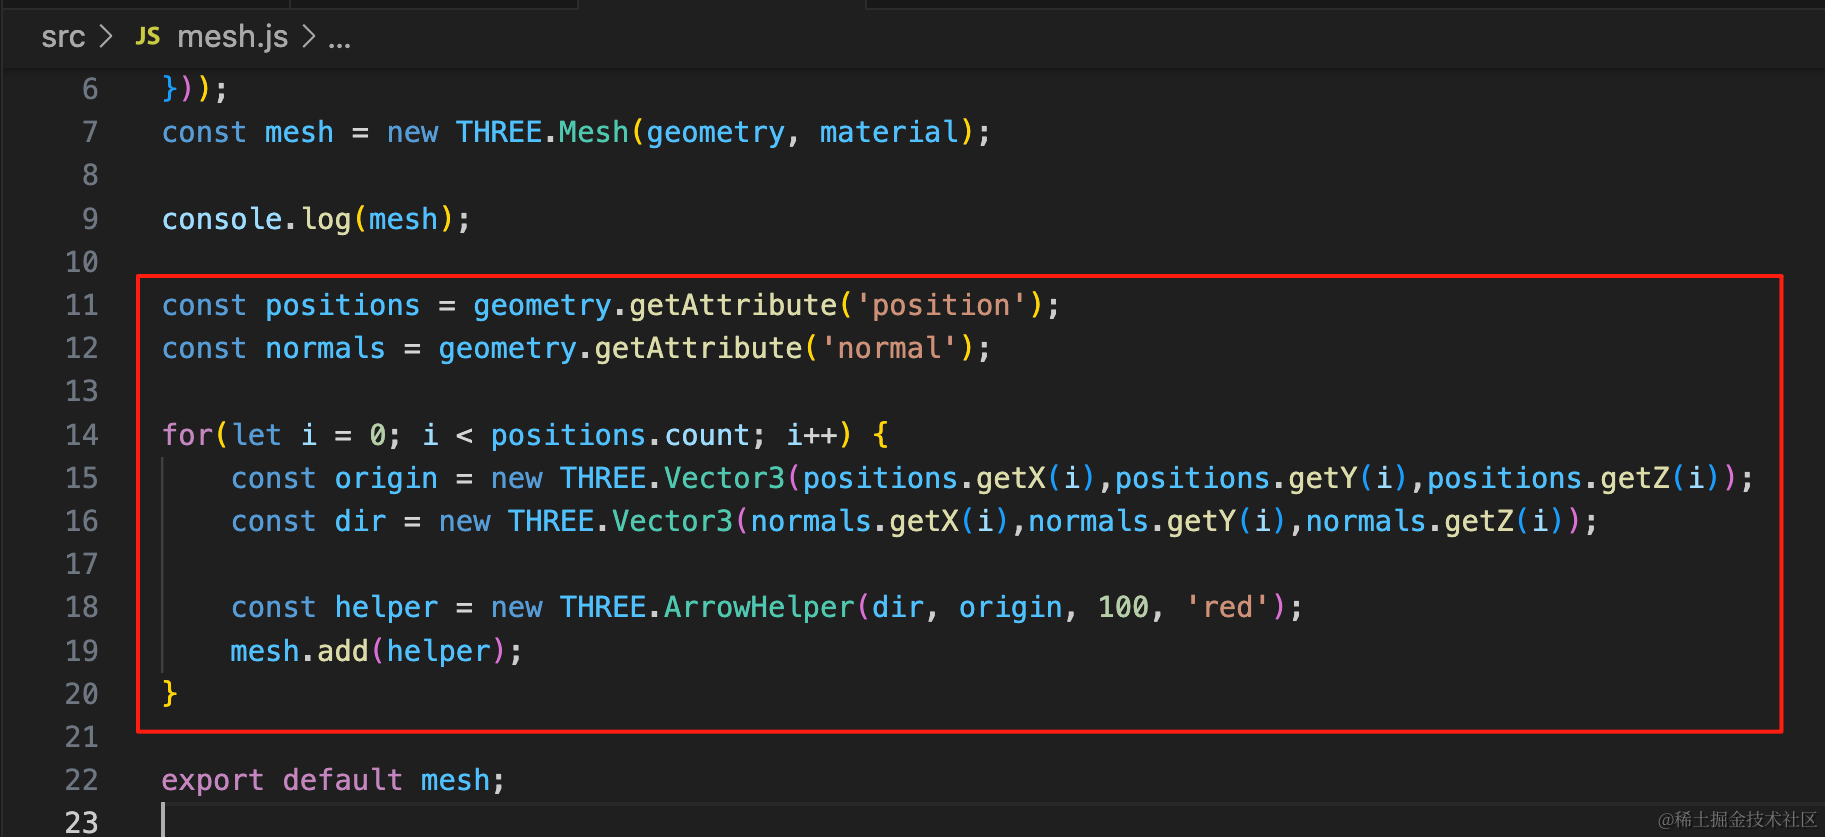
const positions = geometry.getAttribute('position');
const normals = geometry.getAttribute('normal');

for(let i = 0; i < positions.count; i++) {
    const origin = new THREE.Vector3(positions.getX(i),positions.getY(i),positions.getZ(i));
    const dir = new THREE.Vector3(normals.getX(i),normals.getY(i),normals.getZ(i));

    const helper = new THREE.ArrowHelper(dir, origin, 100, 'red');
    mesh.add(helper);
}
拿到顶点、顶点发现数据,用 ArrowHelper 把从顶点到法线方向的向量可视化出来。
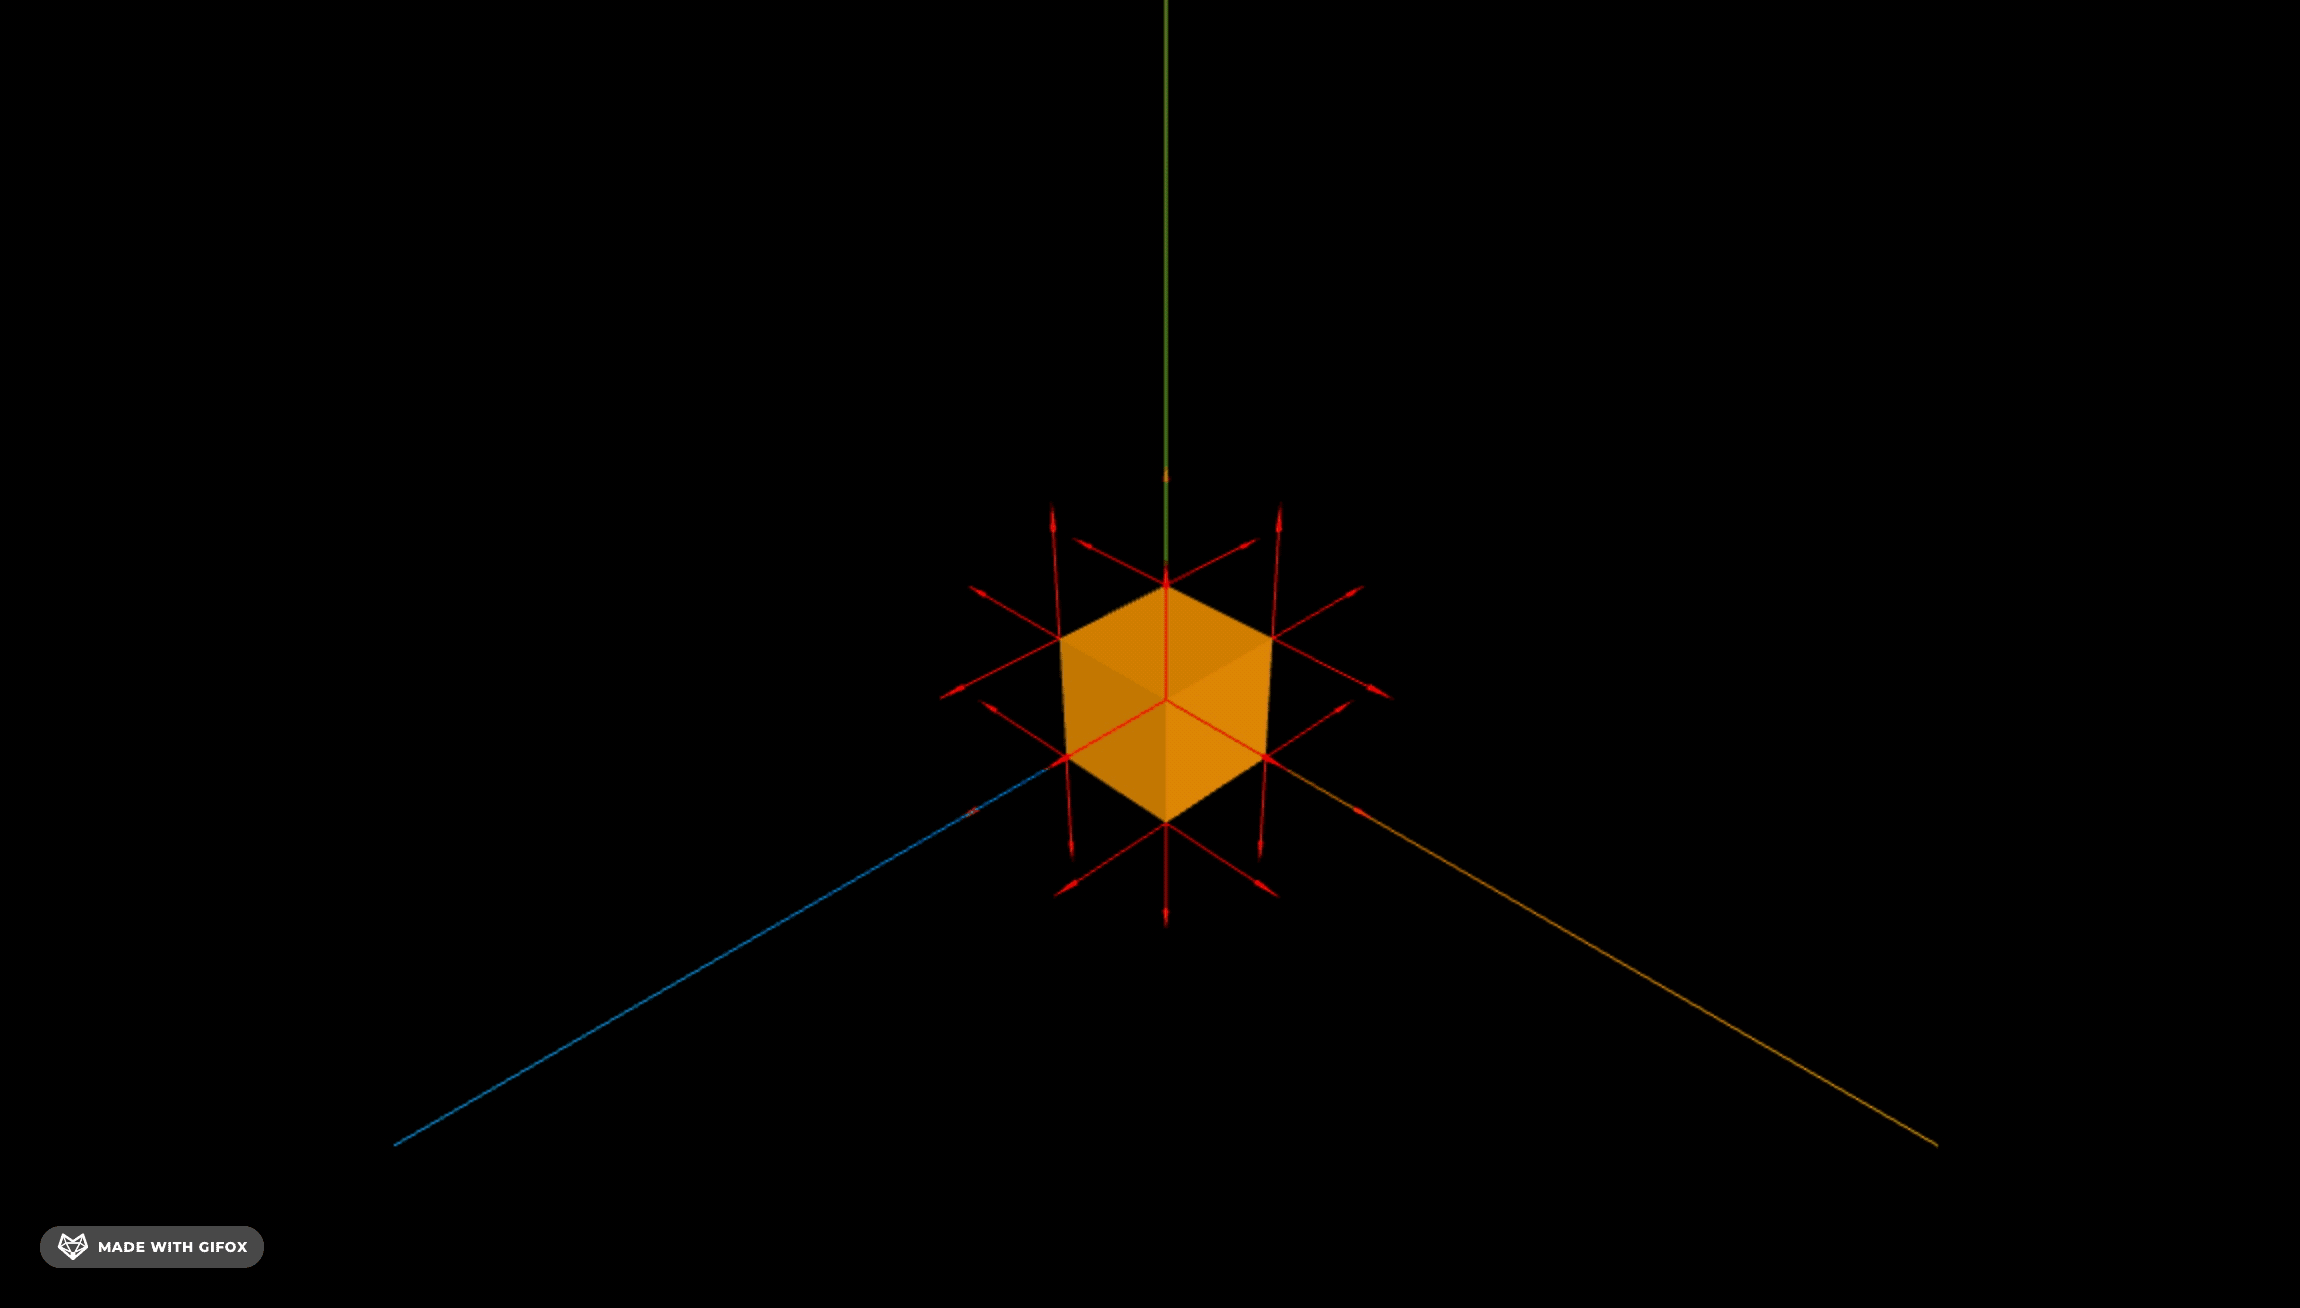
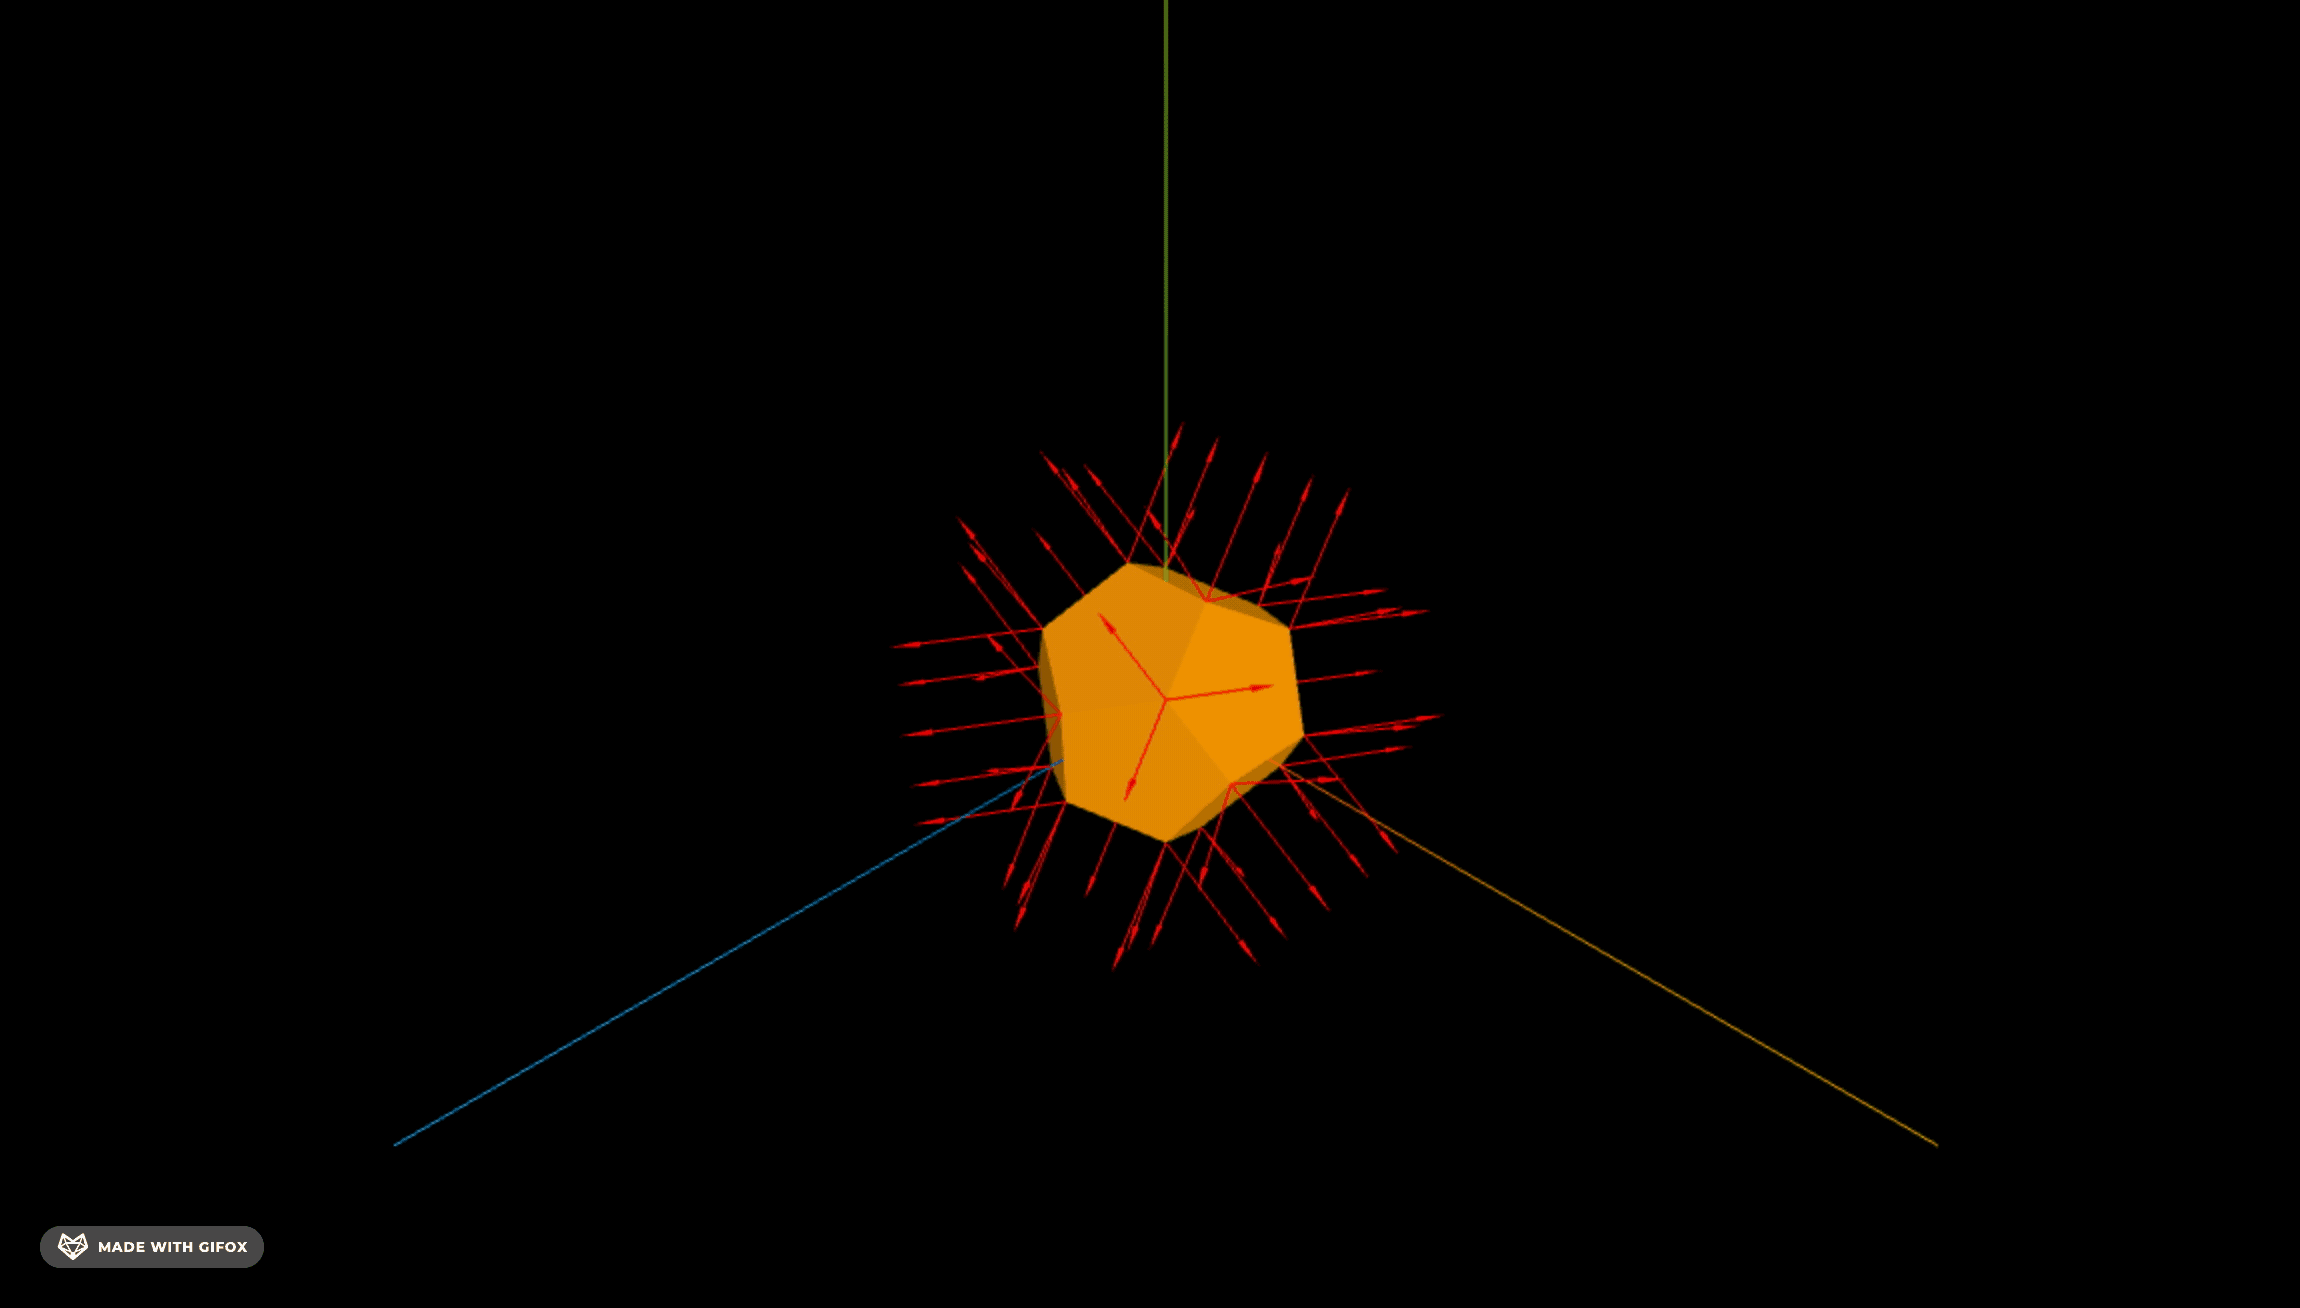
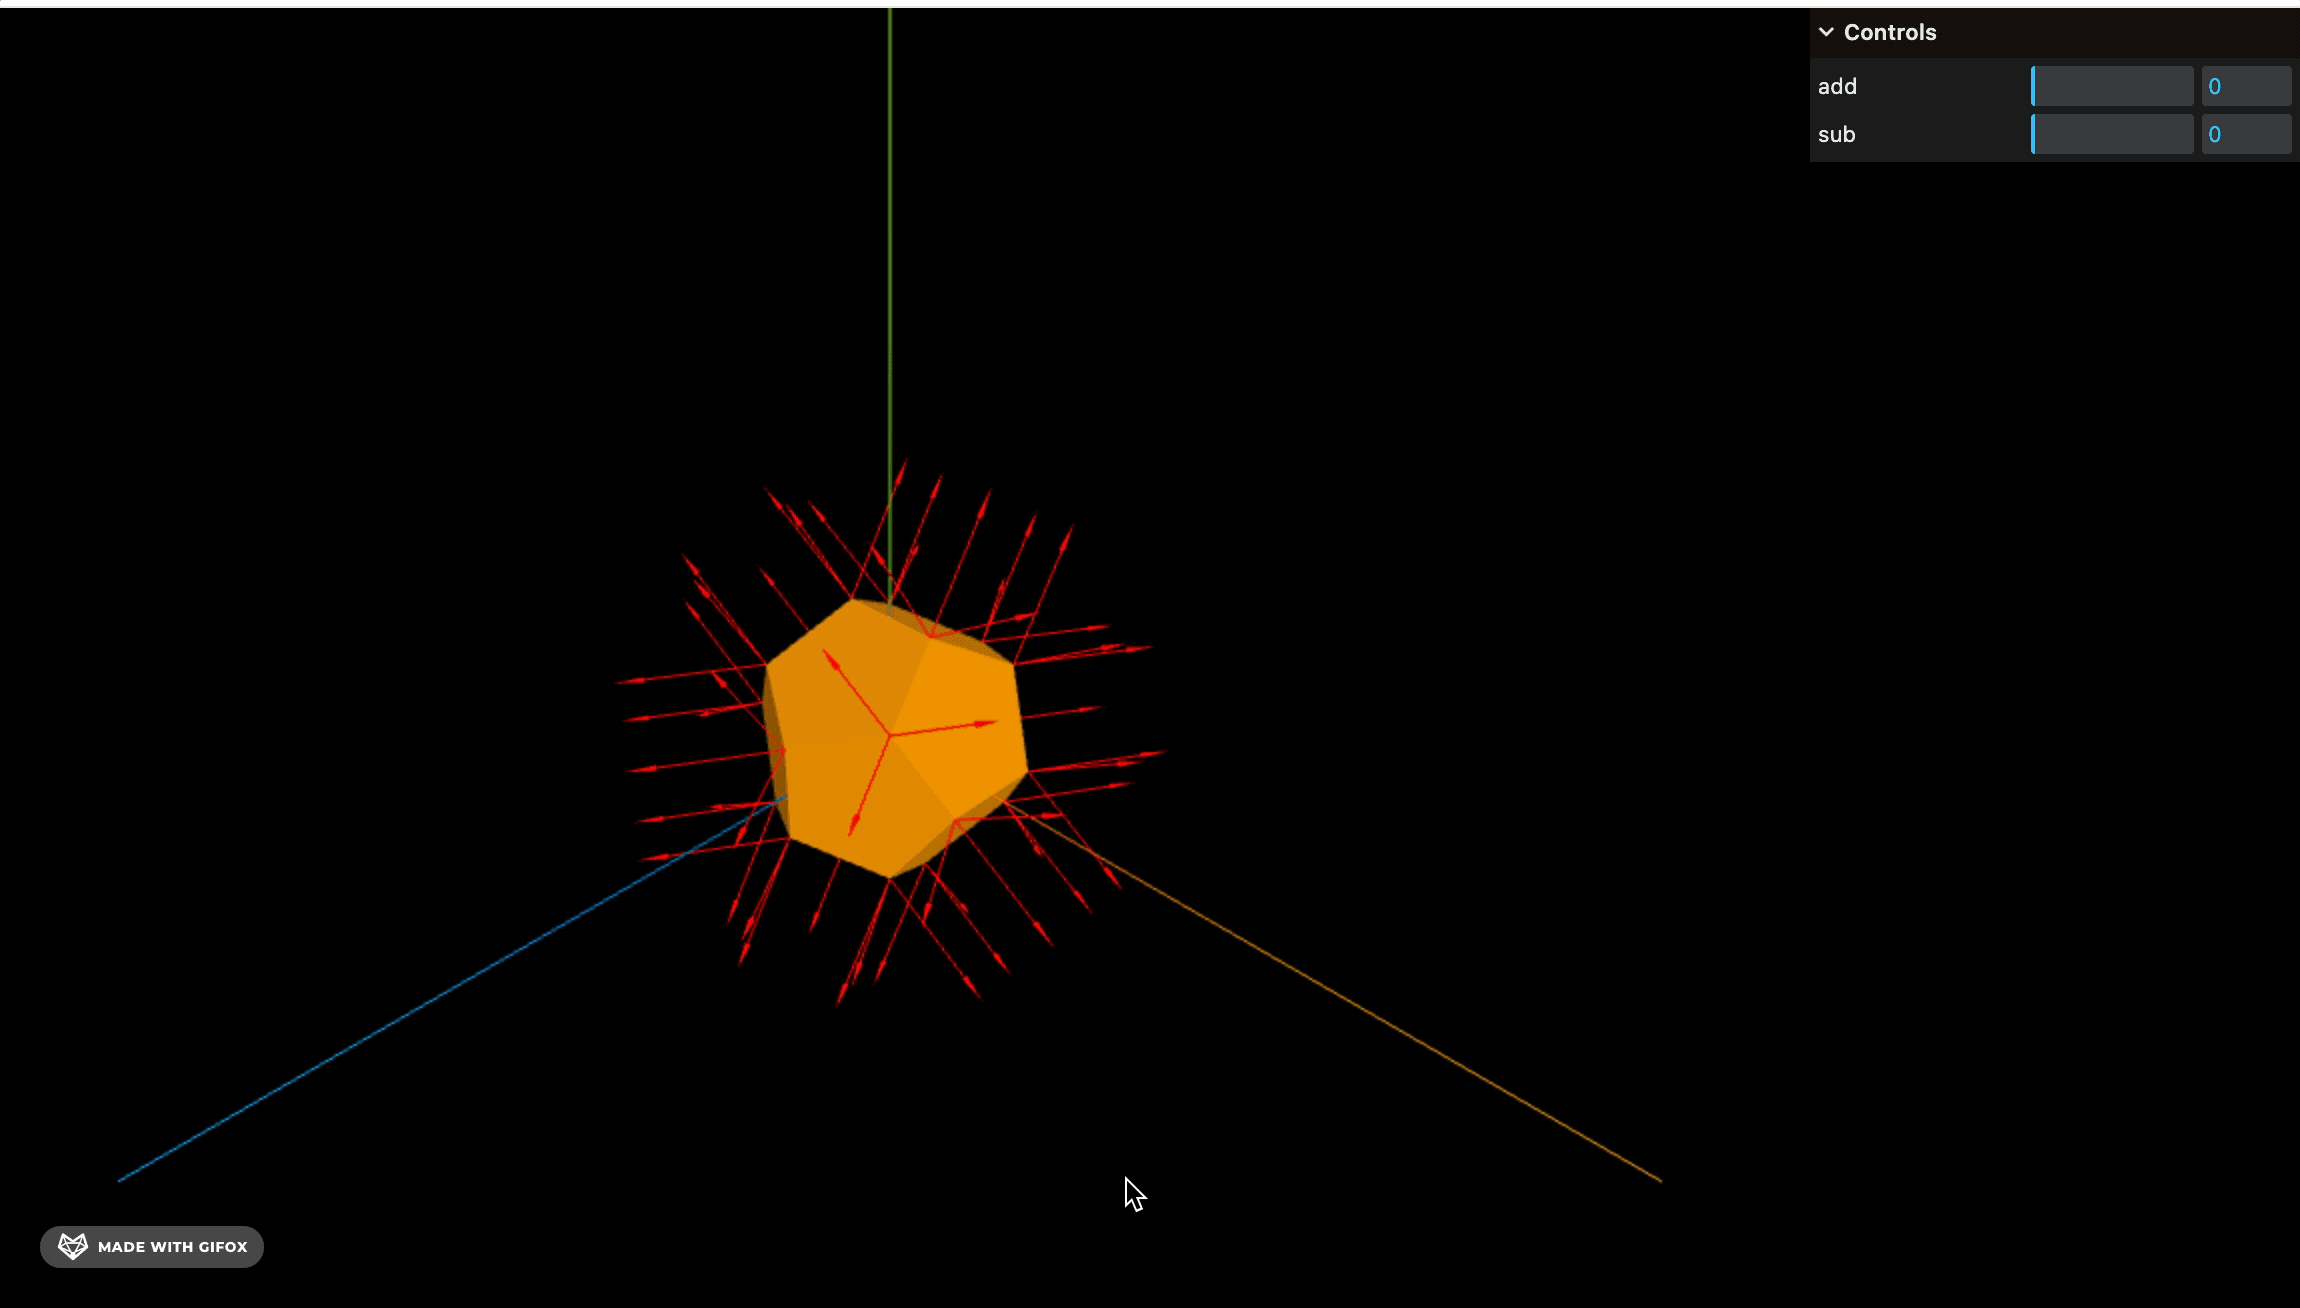
换一个几何体:
const geometry = new THREE.DodecahedronGeometry(100);
同样可以看到每个顶点的方向向量。
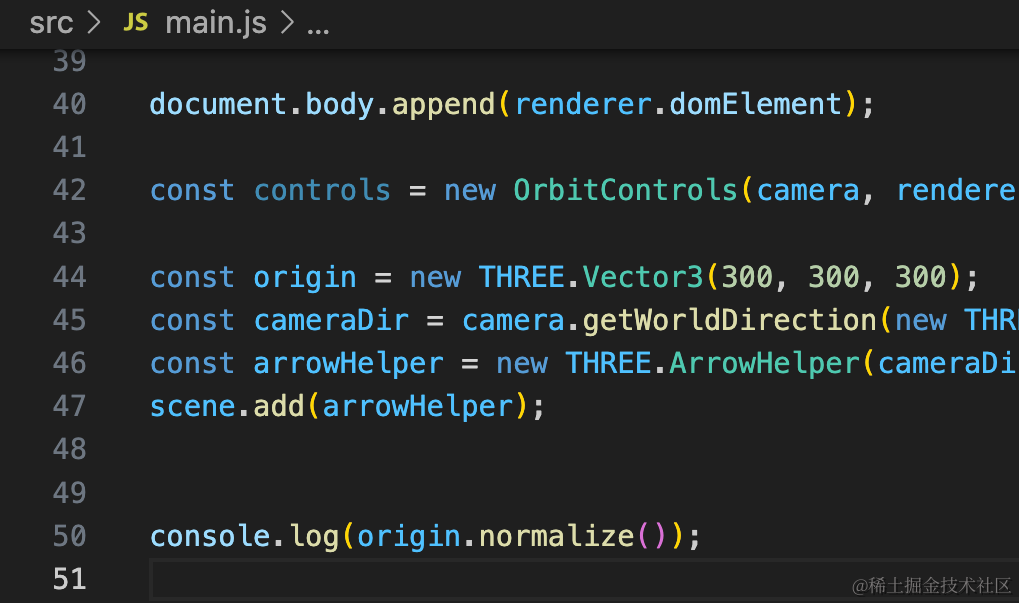
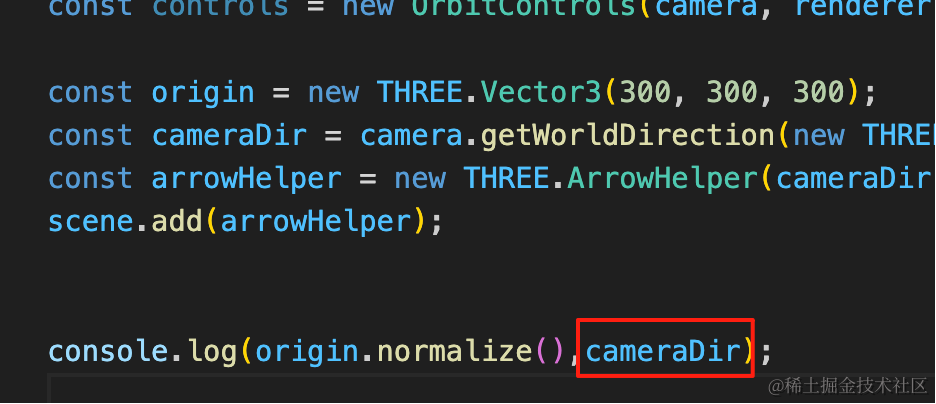
此外,我们相机的观察方向也是一个向量:
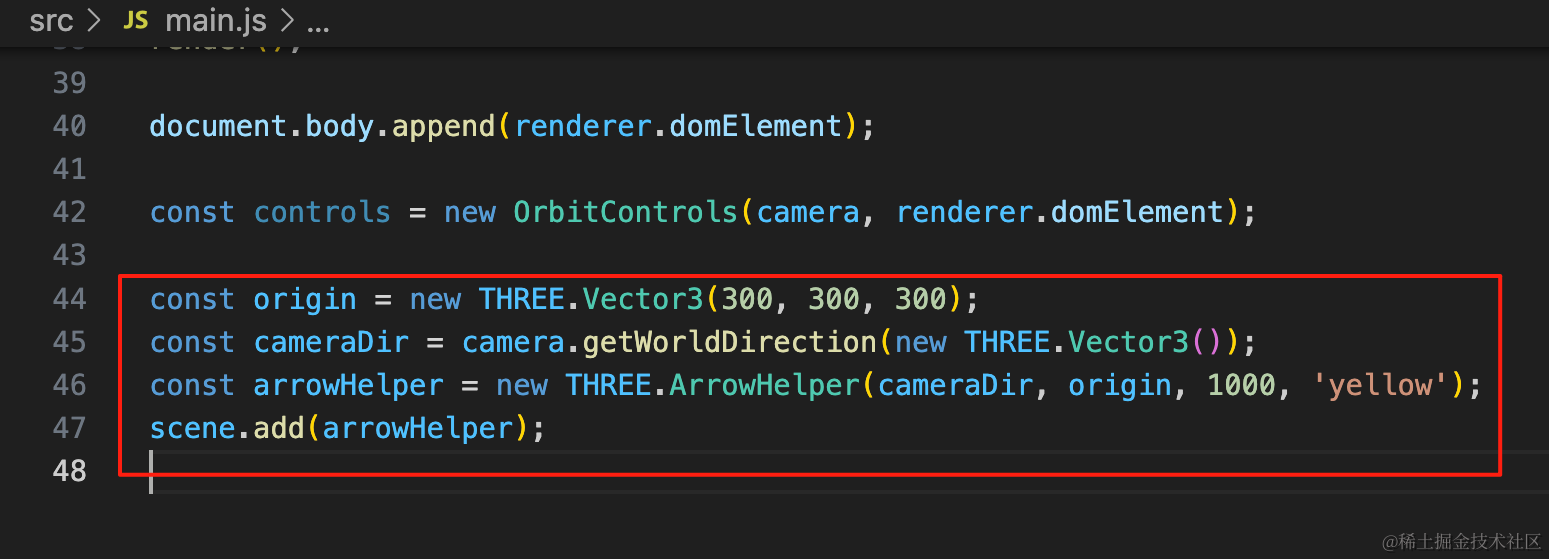
const origin = new THREE.Vector3(300, 300, 300);
const cameraDir = camera.getWorldDirection(new THREE.Vector3());
const arrowHelper = new THREE.ArrowHelper(cameraDir, origin, 1000, 'yellow');
scene.add(arrowHelper);
把相机方向可视化一下:
此外,每个向量都可以归一化,变成长度为 1 的单位向量。
console.log(origin.normalize());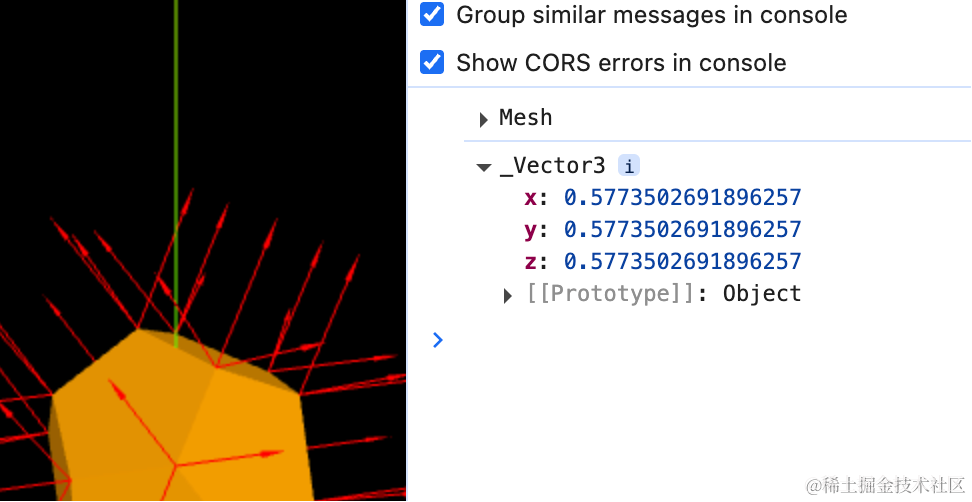
相机的方向就是一个单位向量:
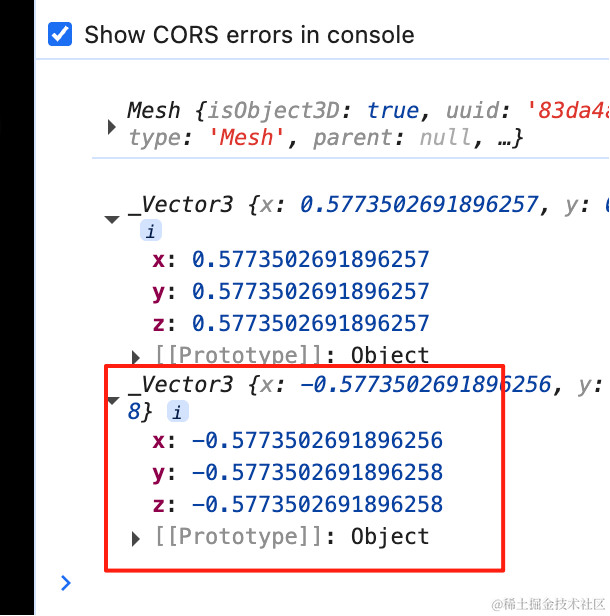
单位向量的好处是长度为 1,乘以多少长度就是多少。
我们让相机位置的 Vector3 加、减一个向量试试:
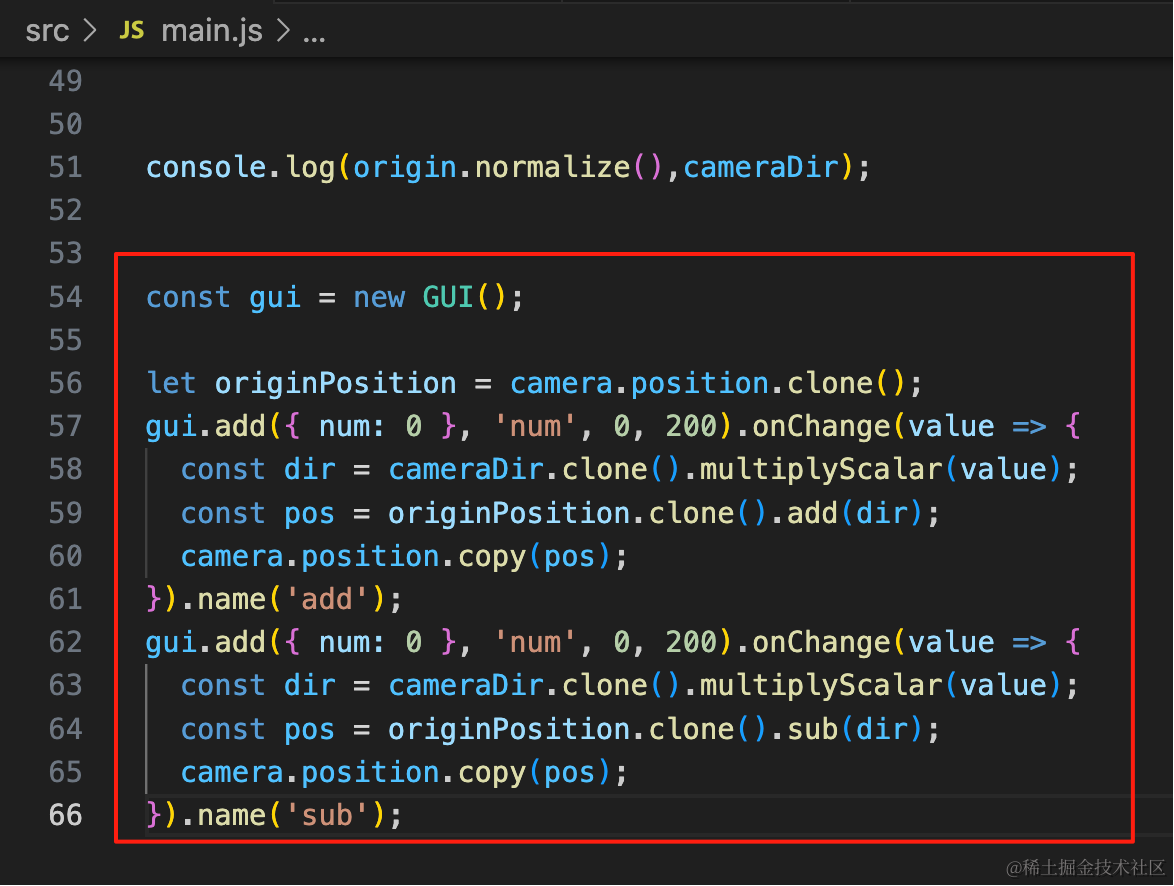
const gui = new GUI();

let originPosition = camera.position.clone();
gui.add({ num: 0 }, 'num', 0, 200).onChange(value => {
  const dir = cameraDir.clone().multiplyScalar(value);
  const pos = originPosition.clone().add(dir);
  camera.position.copy(pos);
}).name('add');
gui.add({ num: 0 }, 'num', 0, 200).onChange(value => {
  const dir = cameraDir.clone().multiplyScalar(value);
  const pos = originPosition.clone().sub(dir);
  camera.position.copy(pos);
}).name('sub');
相机方向的单位向量乘以一个值,就是移动多少。
然后相机位置 add、sub 这个向量,就可以实现相机移动的效果:
除了加减乘除外,我们还经常需要计算两个点之间的距离,这个用两个向量相减,然后取 length 就行。
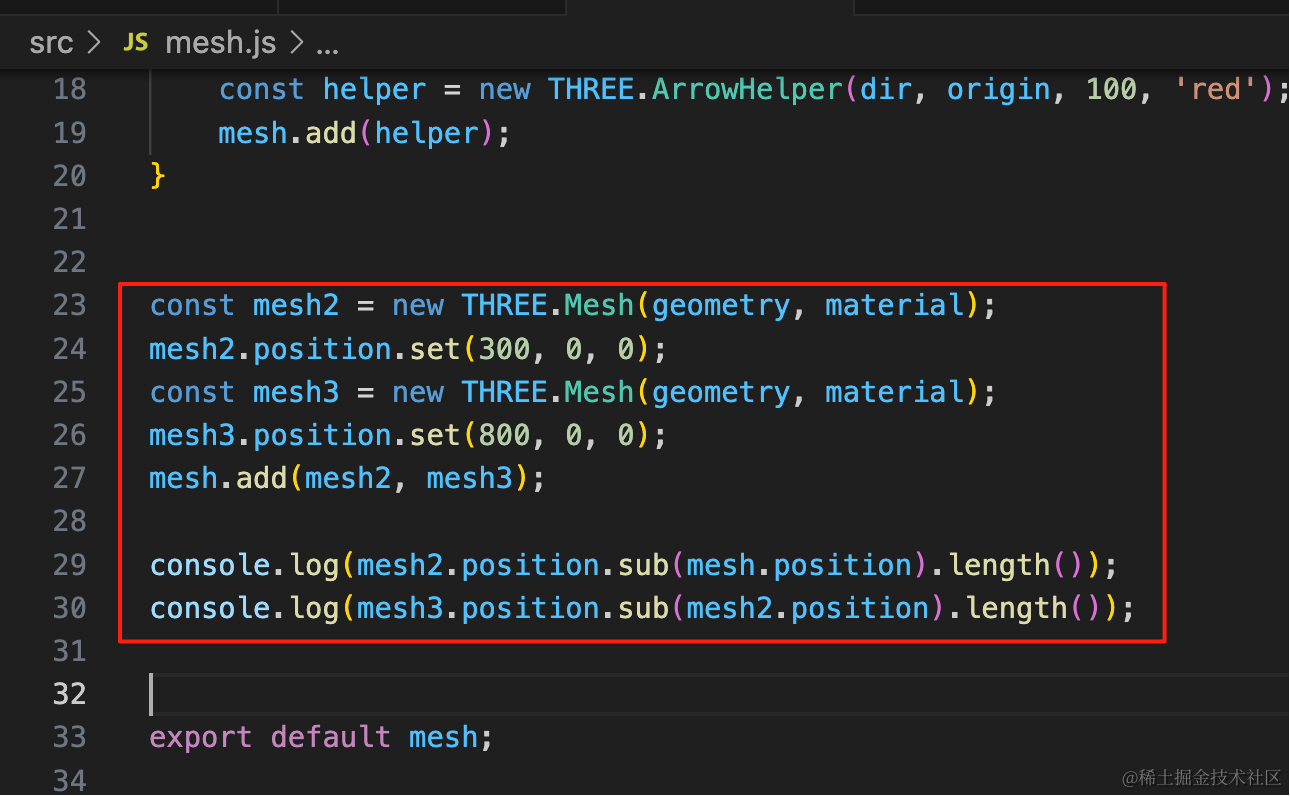
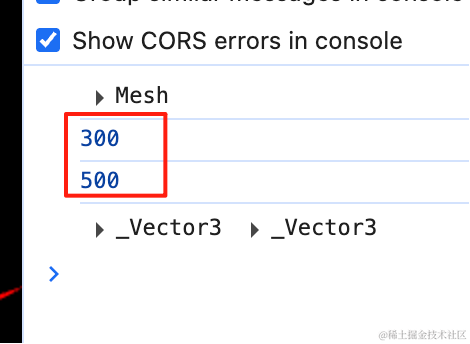
const mesh2 = new THREE.Mesh(geometry, material);
mesh2.position.set(300, 0, 0);
const mesh3 = new THREE.Mesh(geometry, material);
mesh3.position.set(800, 0, 0);
mesh.add(mesh2, mesh3);

console.log(mesh2.position.sub(mesh.position).length());
console.log(mesh3.position.sub(mesh2.position).length());
mesh2 在 300,0,0 位置 mesh3 在 800,0,0 位置
我们用两个 position 相减,然后取 length,就可以算出距离:
案例代码上传了小册仓库
总结
这节我们学了 Vector3 的各种 API 和应用。
首先我们用 ArrowHelper 把顶点的方向向量 geometry.attributes.normal 可视化了出来。
然后可视化了相机方向向量 camera.getWorldDirection(),它是一个单位向量和 vector3.normalize() 拿到的方向向量一样。
我们用单位向量乘以一个值,然后用 position 加减这个向量,就可以实现 position 的移动。
最后,我们还用 position 的 Vector3 相减取 length 的方式计算了两个对象的距离。
3D 场景的开发中会用到 Vector3 的 api,更多 api 用到的时候再讲。